 Images courtesy of the vehicle owners
LS swaps are the thing to do these days. In a recent conversation with Edelbrock’s Director of Advertising Eric Blakely he said, “At Edelbrock, we realize that the LS engine family is the small block chevy (SBC) of the 21st Century for the foreseeable future. We get it.” LS swaps are popular, but you’ll notice one thing, a large number of them are F-body cars, Camaros and Firebirds. We decided to put together a series of articles covering cool LS Swaps that might inspire our readers to go a different route. This is the first article in the series on alternative LS swaps and how the owners pulled them off.
Billy Sijthoff’s “Field Found” 1984 Volvo 245
Billy found his car in a field just like many of us do.
Kicking off this story is Billy Sijthoff’s 1984 Volvo 245. Billy and his brother found the Volvo listed on Craigslist, and when they went to look at it, found it sitting in a field near Houston, TX. A little bit of bargaining later, Billy was attempting to drive it home; it died two blocks away from the owner’s field.
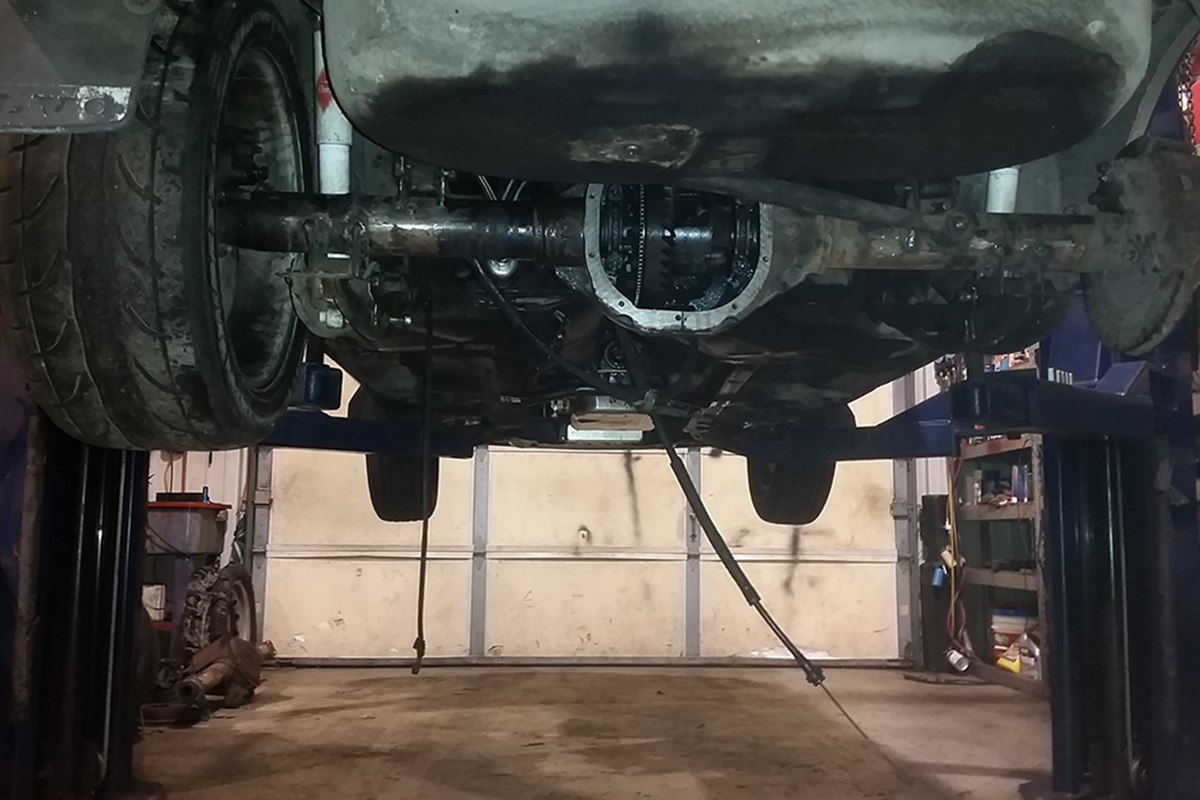
This shot shows the clearance Billy had with the LS installed. This shot shows the difficulty of swapping an LS engine into a vehicle designed for at most a 6-cylinder engine.
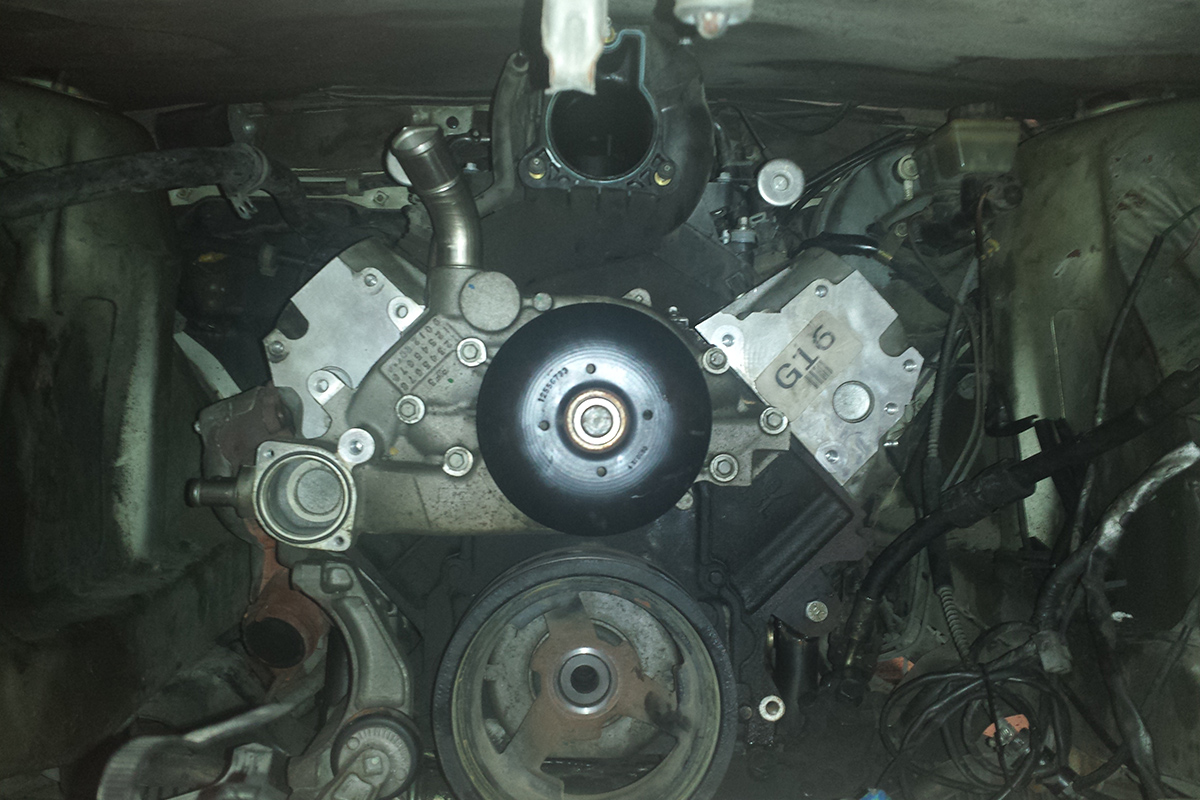
Once the brothers got the injured wagon home, everything engine-related was pulled-engine, transmission, and all associated wiring. Billy had the 5.3-liter LS out of a Tahoe sitting in the back corner of his shop, so after acquiring a few parts from a number of platforms, the brothers installed it as a “test-fit.” They had to use some scrap tubing from a roll cage, some polyurethane tubing mounts, and notch the frame in order to set the engine back far enough to allow the mounting of a radiator, give the first-gen Camaro LS swap oil pan room, and make some space for the turbo Billy wanted to install. For the install, the brothers used all truck accessories, which included the stock power steering pump.
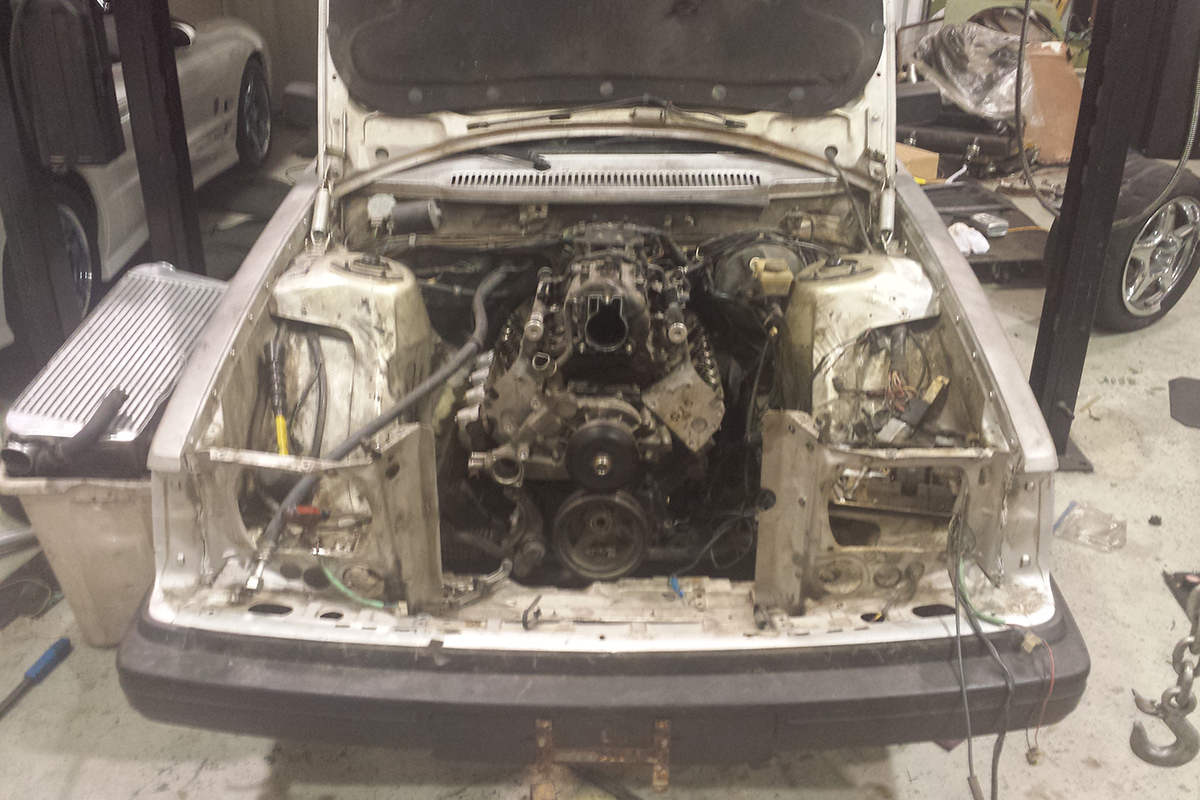
Installation Step 1: The LS engine and nothing else installed. Ready for plumbing and a turbo.
Putting the Turbo Together
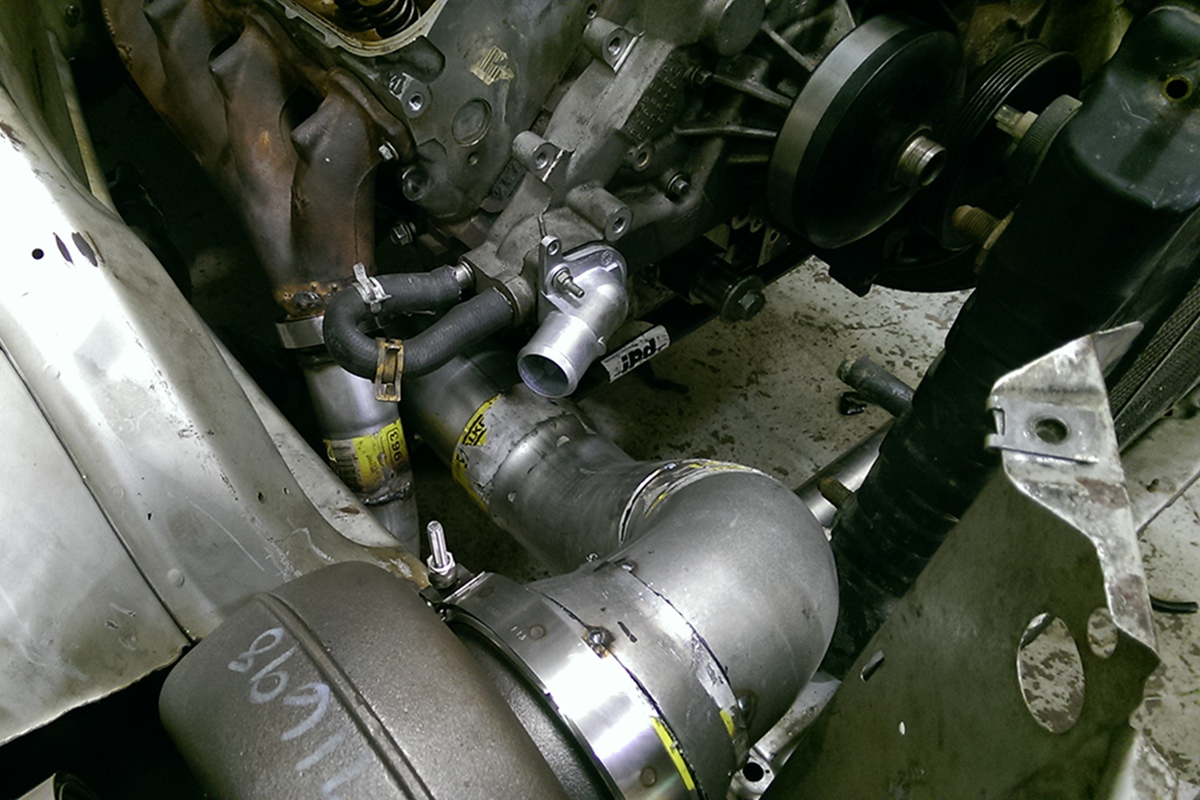
Billy custom-made the aluminum turbo down-pipes. .
The Volvo engine compartment wasn’t quite made for the installation of a turbocharger, especially with any LS engine. After setting the engine way back in the engine bay and notching the frame, Billy installed the LS truck manifolds backward and modified them with V-band clamps to get started. After moving the radiator over a little bit and a few bends here and there on some stainless exhaust piping he successfully mounted the turbo. The turbo down-pipe is a full four-inch diameter with no muffler. Billy found that the stock radiator wasn’t properly cooling the 5.3, so he pulled the radiator and fan shroud assembly from a late model Volvo 940. This will also help make up for the increased heat load once he installs the air conditioning.
Getting the Electronics Working Together
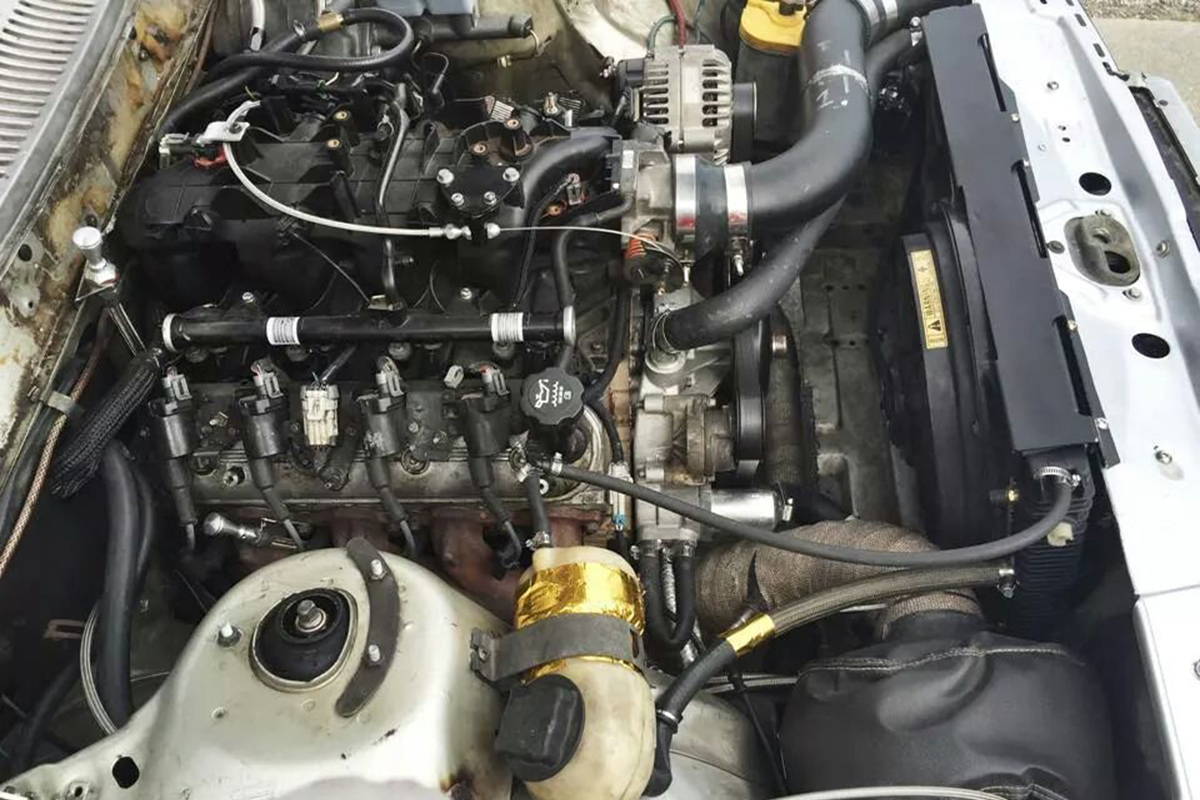
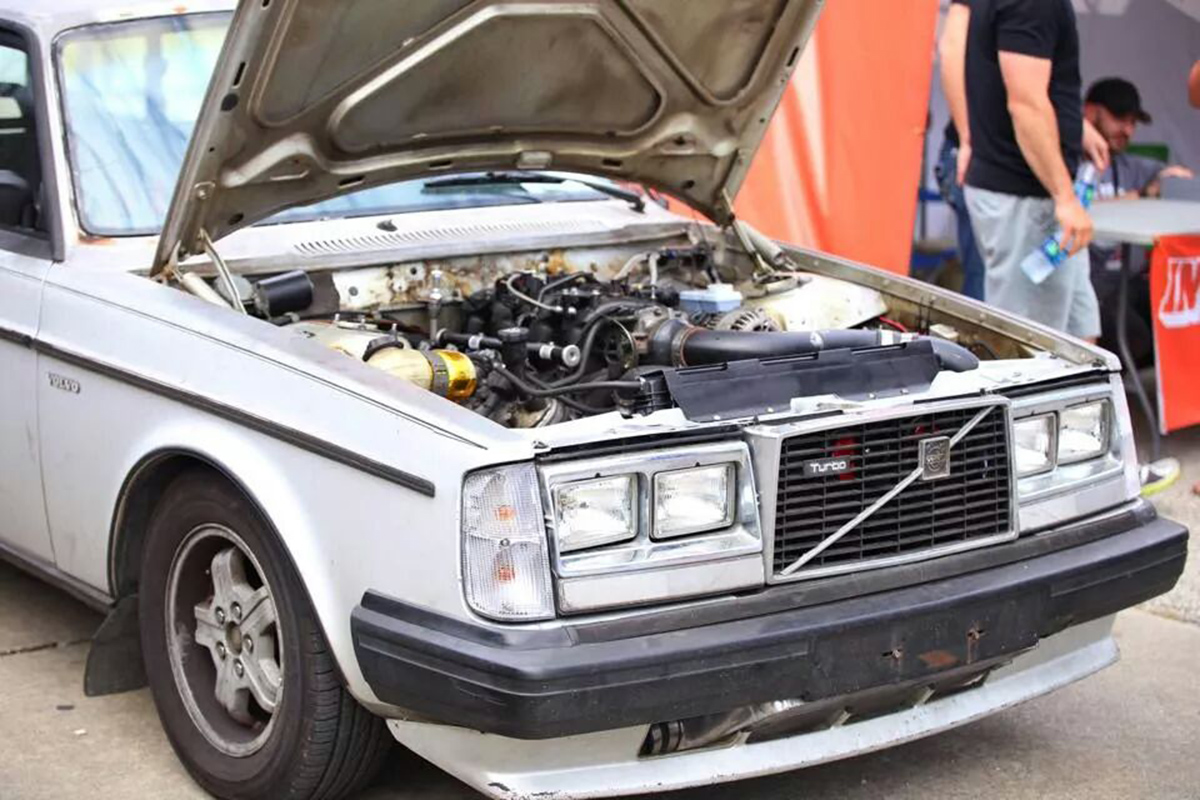
This image shows the engine installed and how Billy had to recess the radiator for extra clearance.
After pulling all the factory wiring from the engine compartment, Billy first had to make sure what was left –lights, horn, accessories, etc. still worked. He then mounted the OEM Tahoe PCM in the dash and then ripped into a stock truck harness and modified it to fit. After that he tied the car and truck harnesses together so the factory gauges would work in order to maintain a stock looking interior.
The Transmission
Most LS swaps use either a 4L60e or a 4L80E transmission and Billy’s is no different. Billy got lucky, his is a $100 find that came out of an early 90s Chevy truck that was already fitted with a TransGo shift kit, although it still had the stock converter. At the Tx2K15 event at Royal Purple Raceway March 19 and 20, he not surprisingly blew that converter up on his first full throttle pass against a Nissan GT-R. Jake’s in Dallas quickly supplied a Stage 2 trans kit and Circle D coughed up a billet converter. The transmission, in his eyes, is now pretty much bulletproof for this application.
“Minor” Suspension Modifications
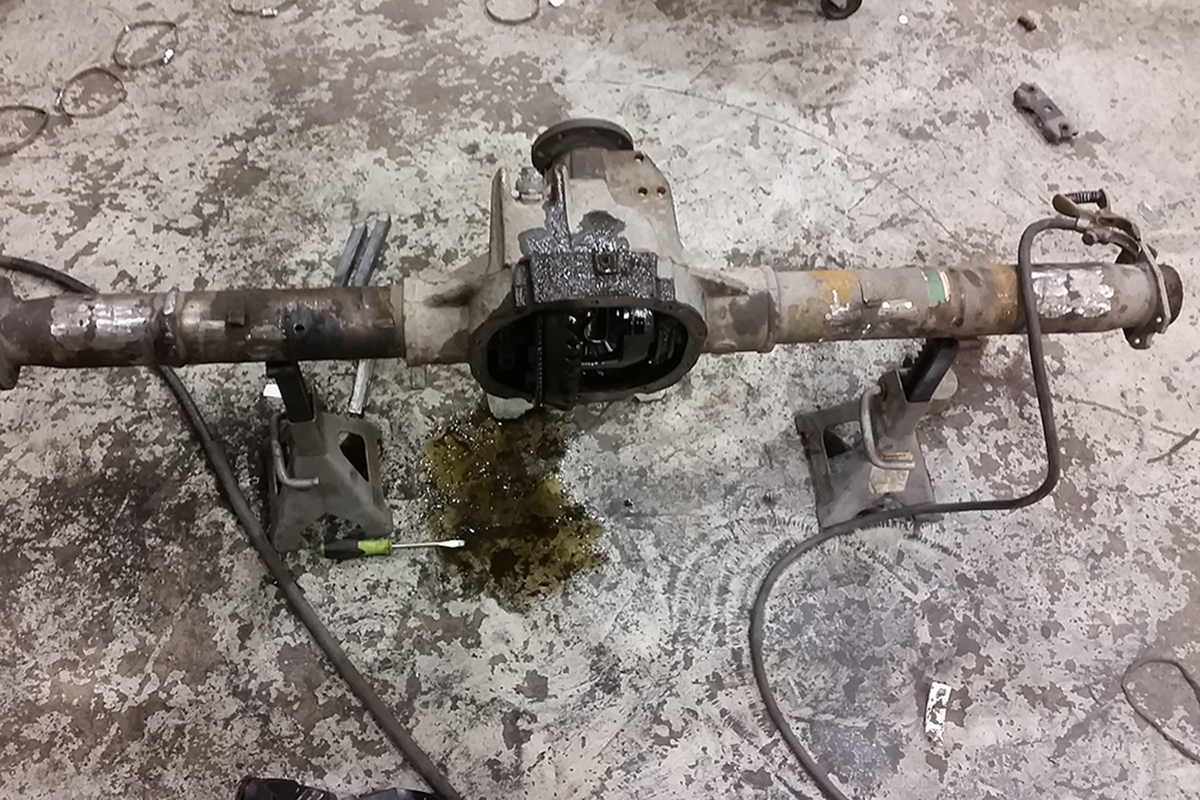
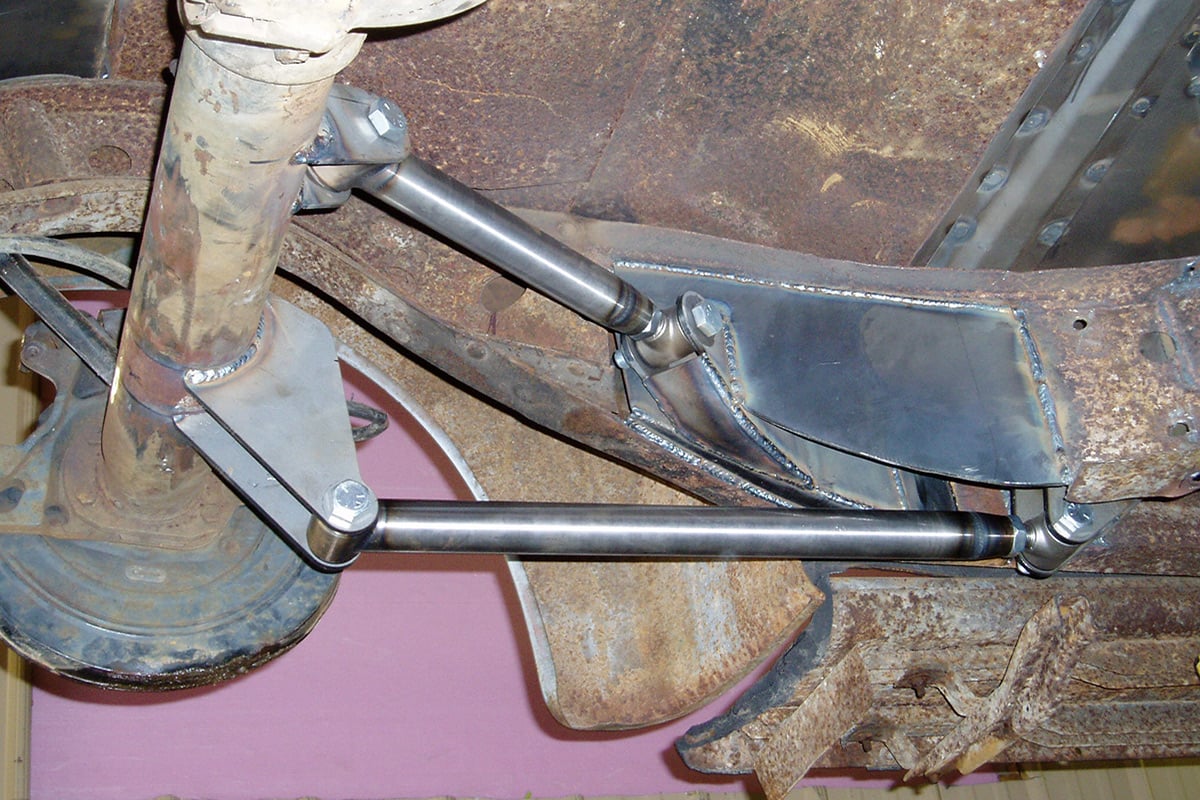
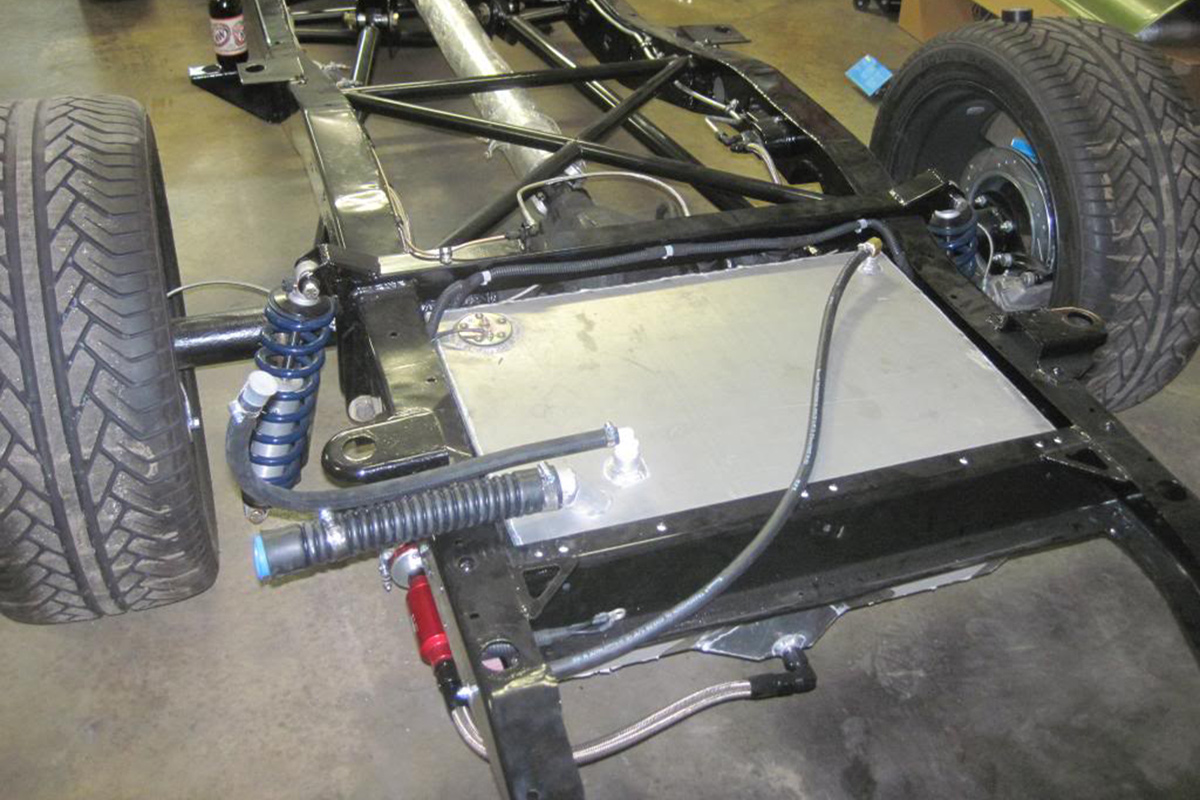
The Ford rearend ready for modifications that included a Chevy lug pattern and narrowing.
The OEM Volvo differential was pulled in favor of a narrowed Ford 8.8 with axle flanges modified for a Chevy lug pattern. The rear lower control arms were plated for extra strength and a set of QA1 coilovers was installed. A set of adjustable upper control arms was also swapped in place of the factory units. Part of the logic behind the coilover kit was to install beefier springs.
The modified rear-end is installed in Billy’s Volvo. It almost looks like it was meant to go there.
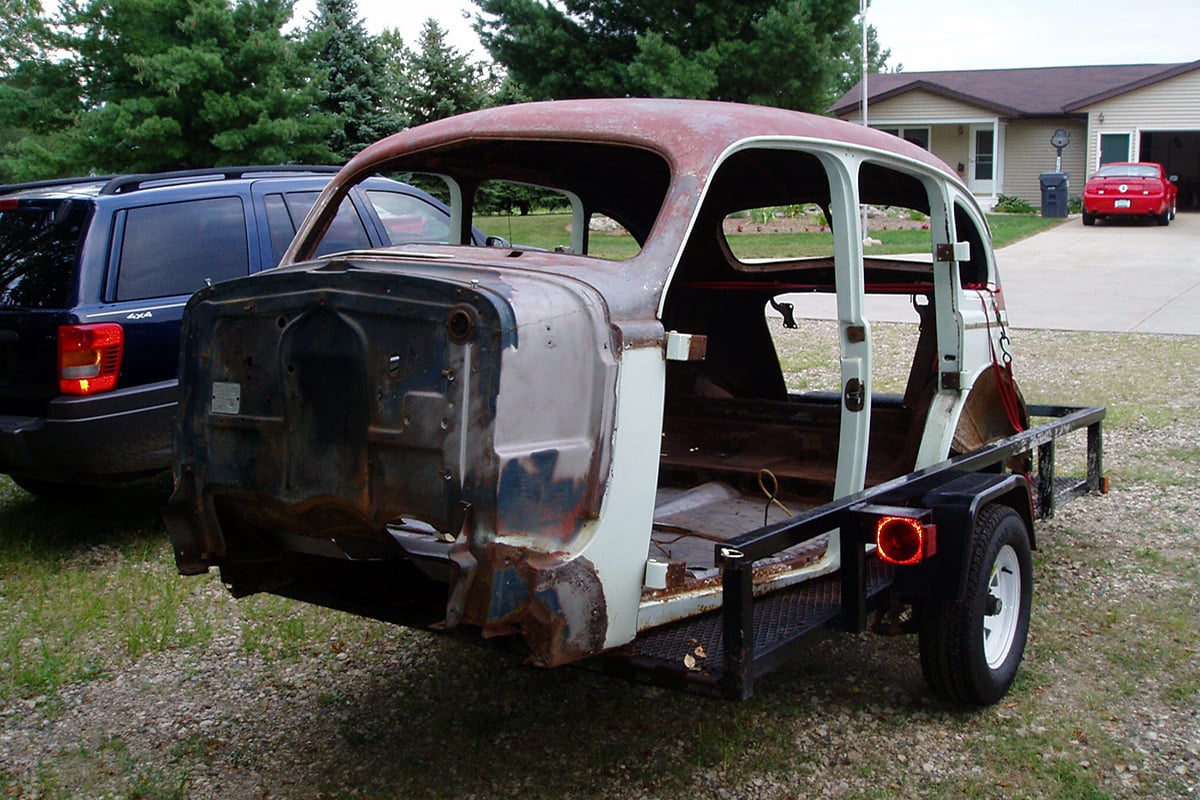
Jim’s Flat-Black ’37 Buick
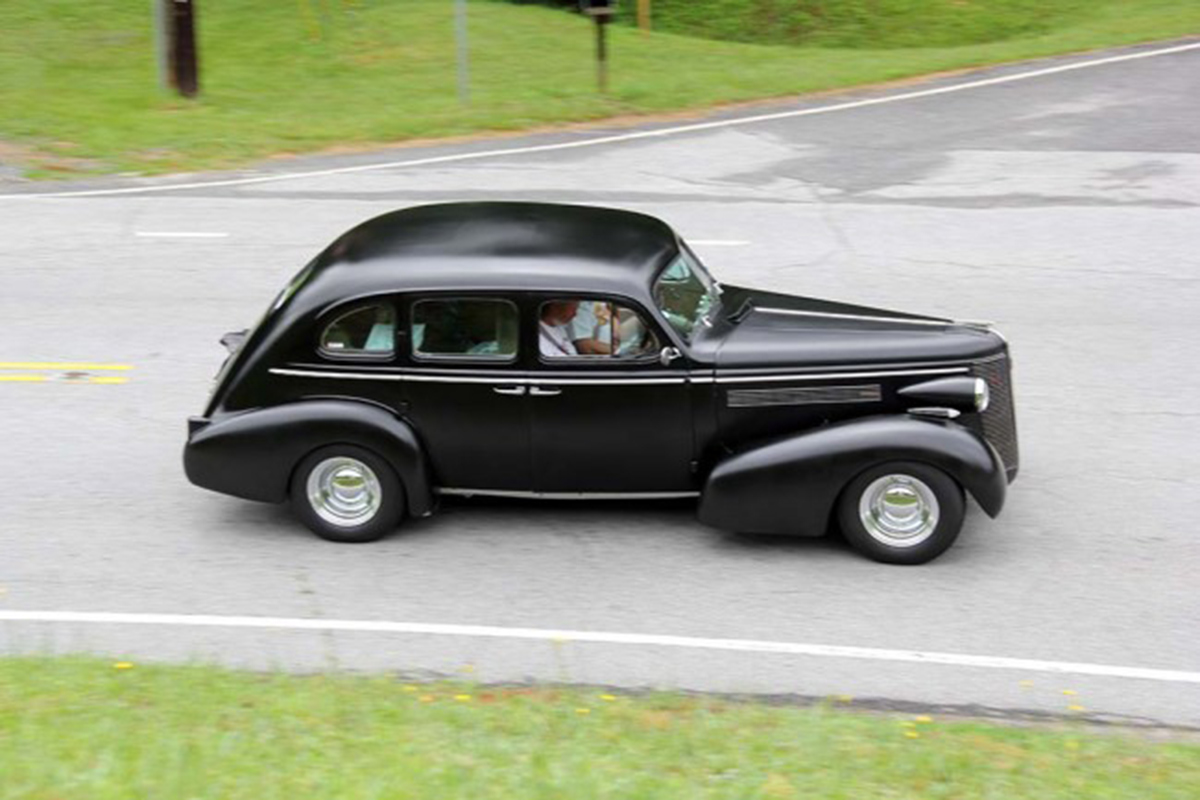
Jim Thomas’ flat black 1937 Buick is number two on this list of five cool non-F-Body LS Swaps.
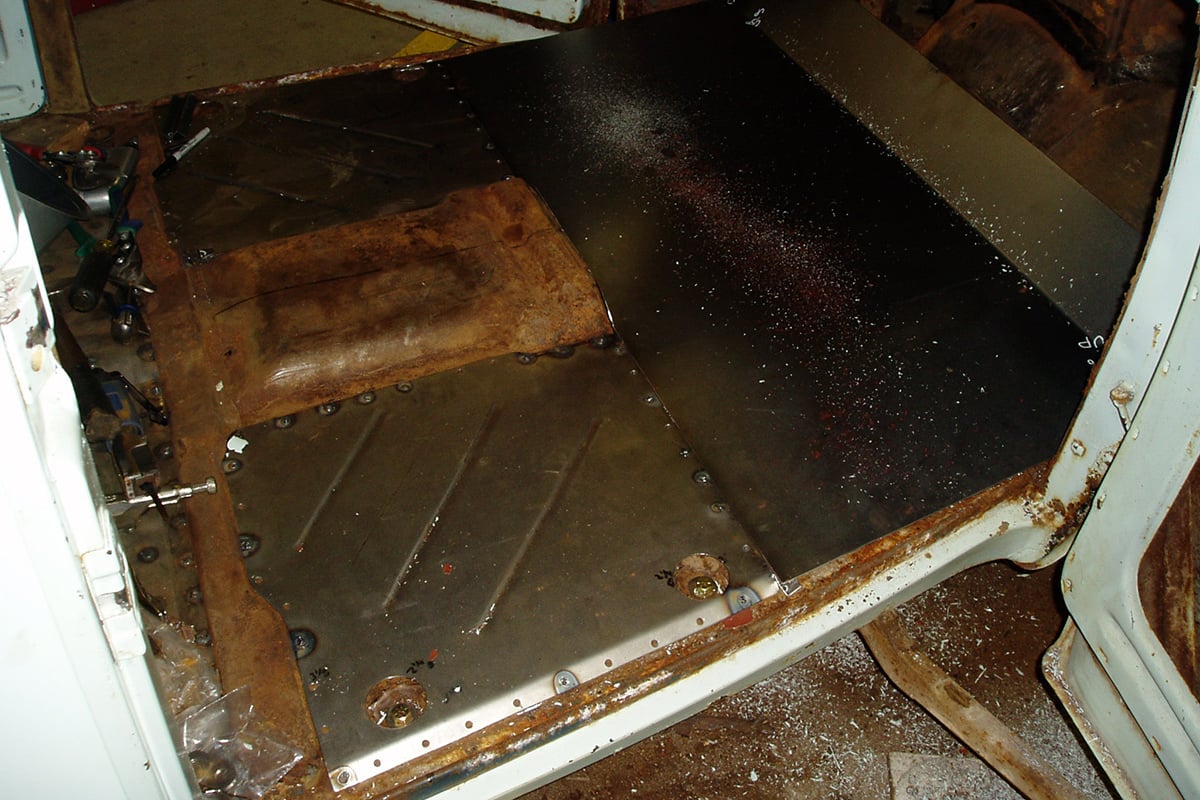
Jim Thomas bought his 1937 Buick as an all-original running project car, although as he says, “the engine smoked a bit.” He wasn’t worried about that saying “I knew down the road I was going to make big changes to the car,” which he started doing a year later. While tearing it down and intending to simply replace the floor and trunk pans, Jim and his friend Wade Stoyanoff ended up completely stripping the car. The entire car, including nuts and bolts, was media-blasted, but not before Wade installed a Morrison triangulated rear suspension. Jim then ordered a subframe front-end assembly with Mustang II power rack and pinion steering from Fatman. The frame was then silver powder-coated and the suspension assembled.
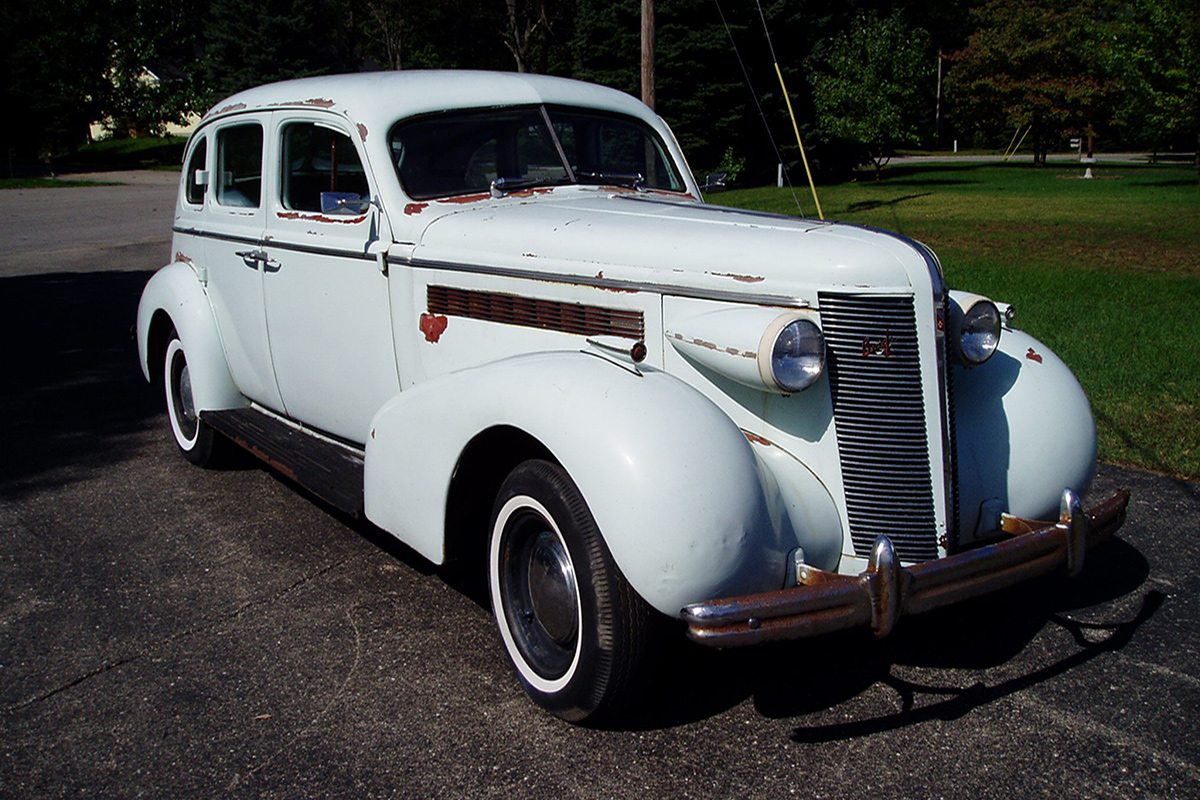
This is what Jim’s Buick looked like when he first got it. He drove it up until the existing engine gave up the ghost.
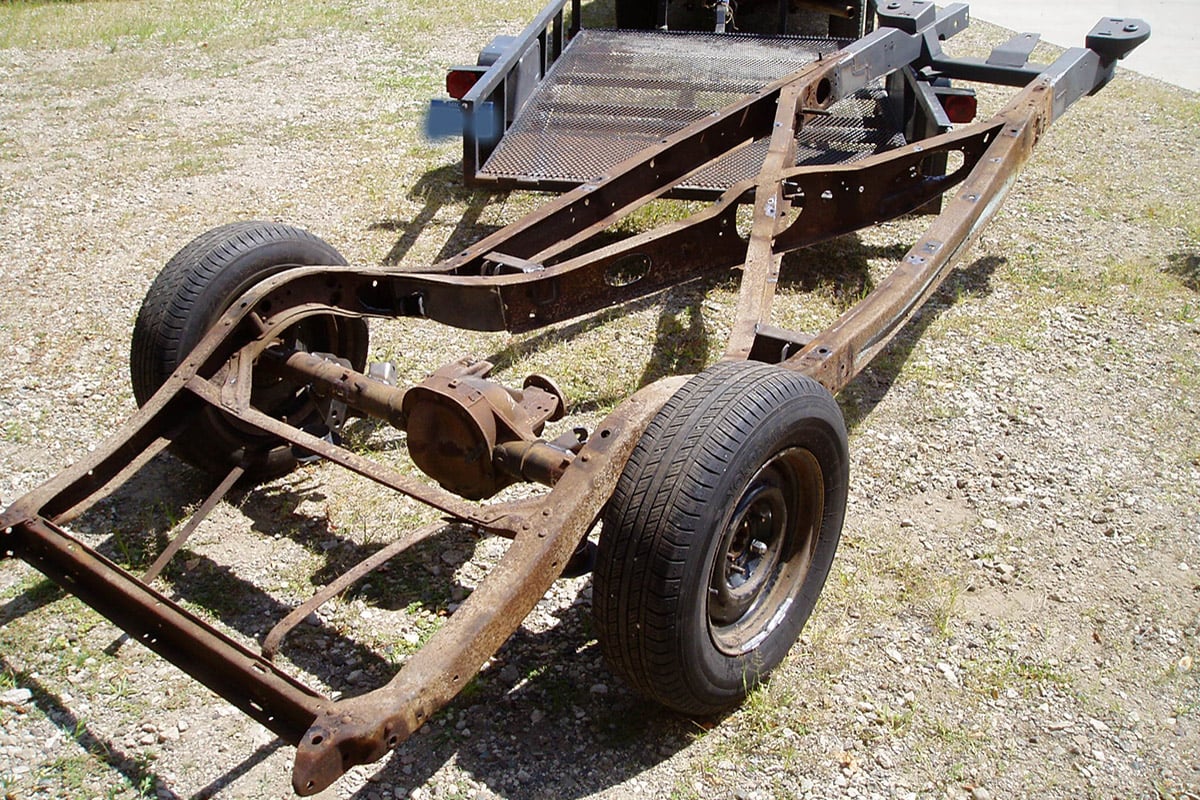


First order of business was to strip it and fix the body. Top Left: The frame was completely stripped for media blasting. Top Right: The body was stripped down and media blasted as well. Bottom Left: The frame was then silver powder-coated. Bottom Right: The body was primered to protect it from rust.

Prior to being media blasted, Jim and friends added some nifty new suspension components.
Putting the Engine Compartment Together
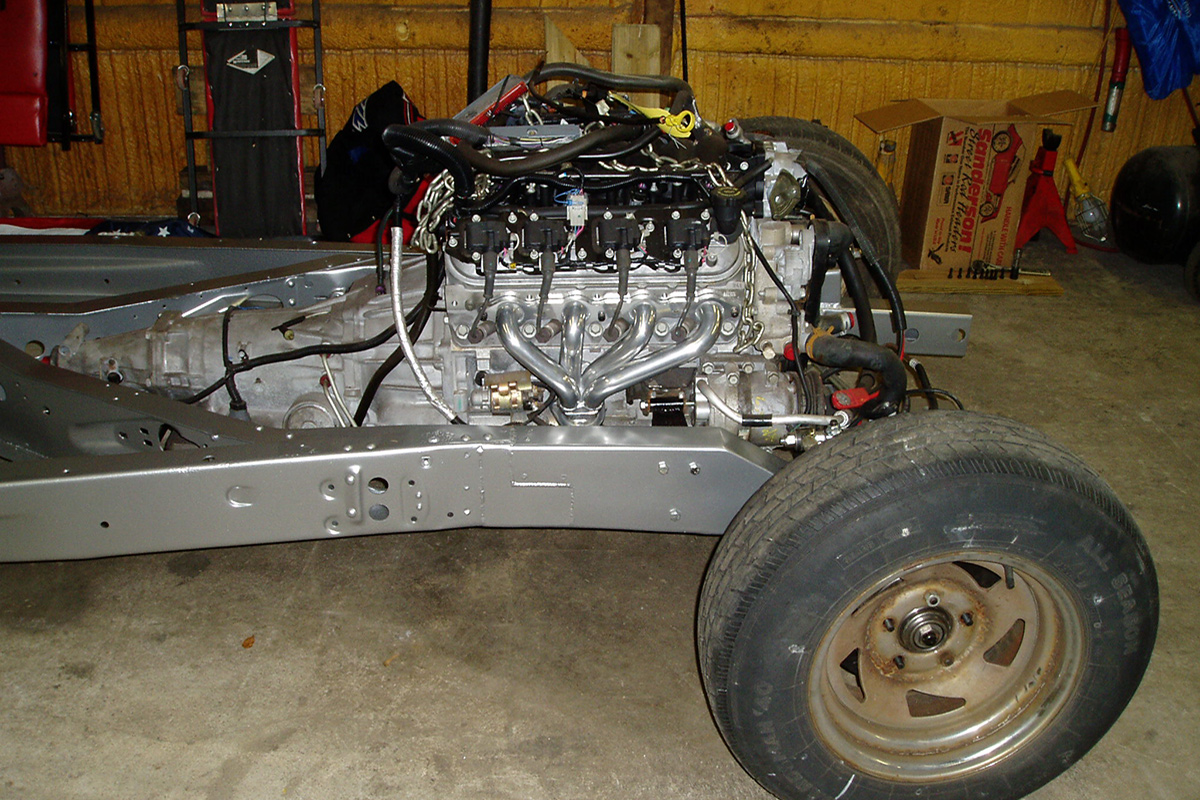
The engine and transmission were assembled to the frame without the body, making the installation job much easier.

Some body modifications and repairs were undertaken to strengthen the car for the engine and to repair for the deterioration brought on by age.
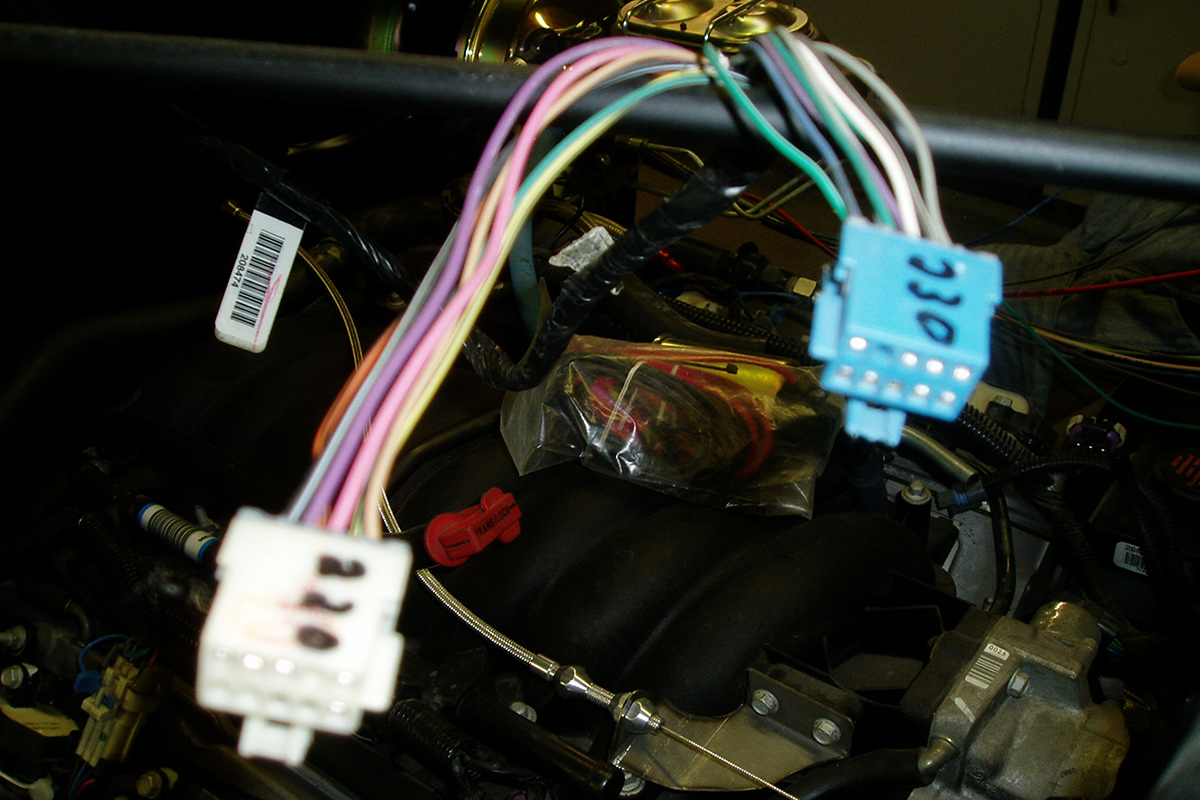
Jim had lots of help from friends, one of whom pinned out the wiring harness so everything would work.
For his LS swap, Jim went with an LS1 engine and 4L60e package. Wade installed an Ididit steering column to the Mustang II rack. Wiring for the build was supplied by Kwick Wire. After Jim ran the wiring, his buddy David LaLiberte mated up the harness to the computer and the sensors. To facilitate this, Jim spent hours in the junkyard hunting down factory harness connectors so he didn’t have to buy a pre-made harness. Upon firing it up for the first time, it was discovered that they had to disable the vehicle anti-theft system for the engine to run properly.
Finishing Up the Finer Points
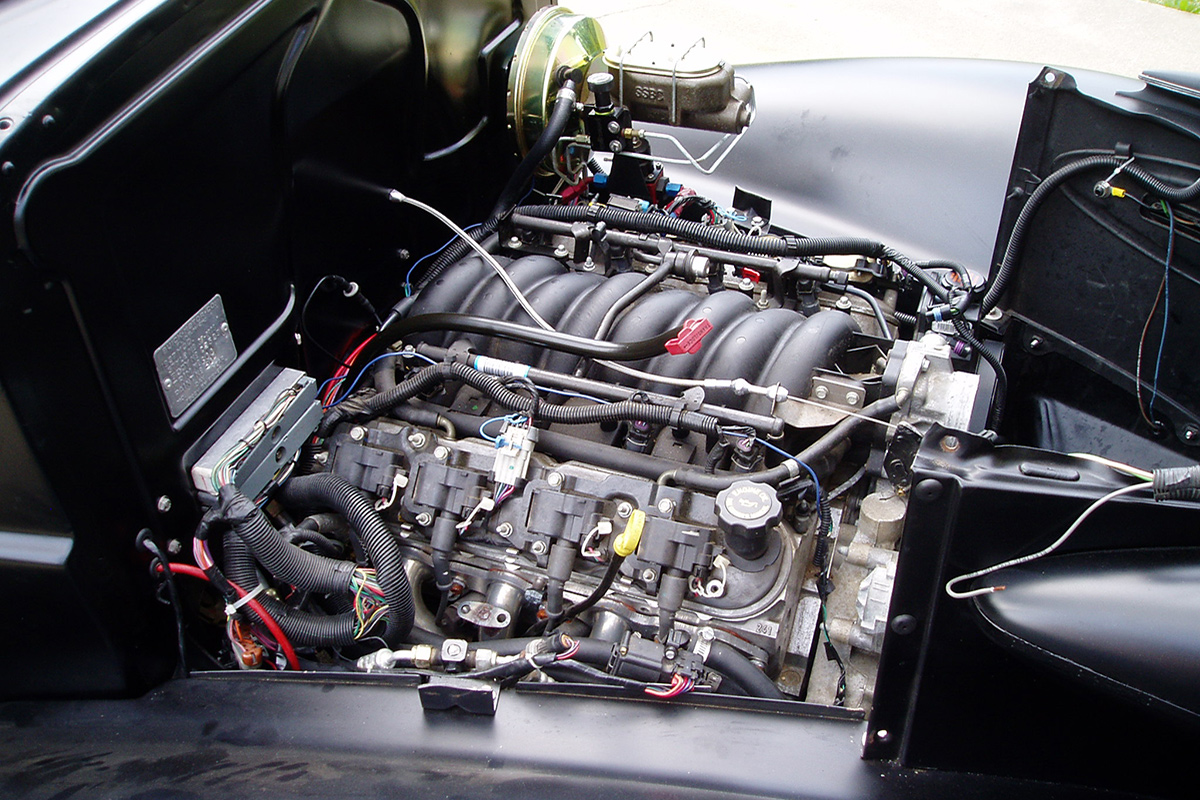
The LS looks really nice in the engine bay of Jim’s ’37 Buick.


It looks like a tight fit, but the new LS looks really good in there.
All this took two years, but Jim was finally able to bring the car home from the shop to finish up “the easy stuff,” then took the car to the National Street Rod Association (NSRA) Street Rod Nationals in Louisville, Kentucky. Along the way, co-pilot David tracked the fuel mileage. The car turned in a respectable 24 mpg using the 3.73 rear gears. Since then, the two friends have participated in three Hot Rod Power Tours and have only had to replace an alternator. Jim has done some mostly interior touch-up work in the past few months consisting mostly of new door and other interior panels. Next up is the headliner he said. “The Power Tour reminded us that the auto hobby is not dead in this country, just different then (sic) it was back in the ’60s and early ’70s. If you see a flat black 1937 Buick going by with chrome reverse wheels, wave because I sure will wave back.”
Jeff Jost’s 1972 K/5 Chevrolet Blazer
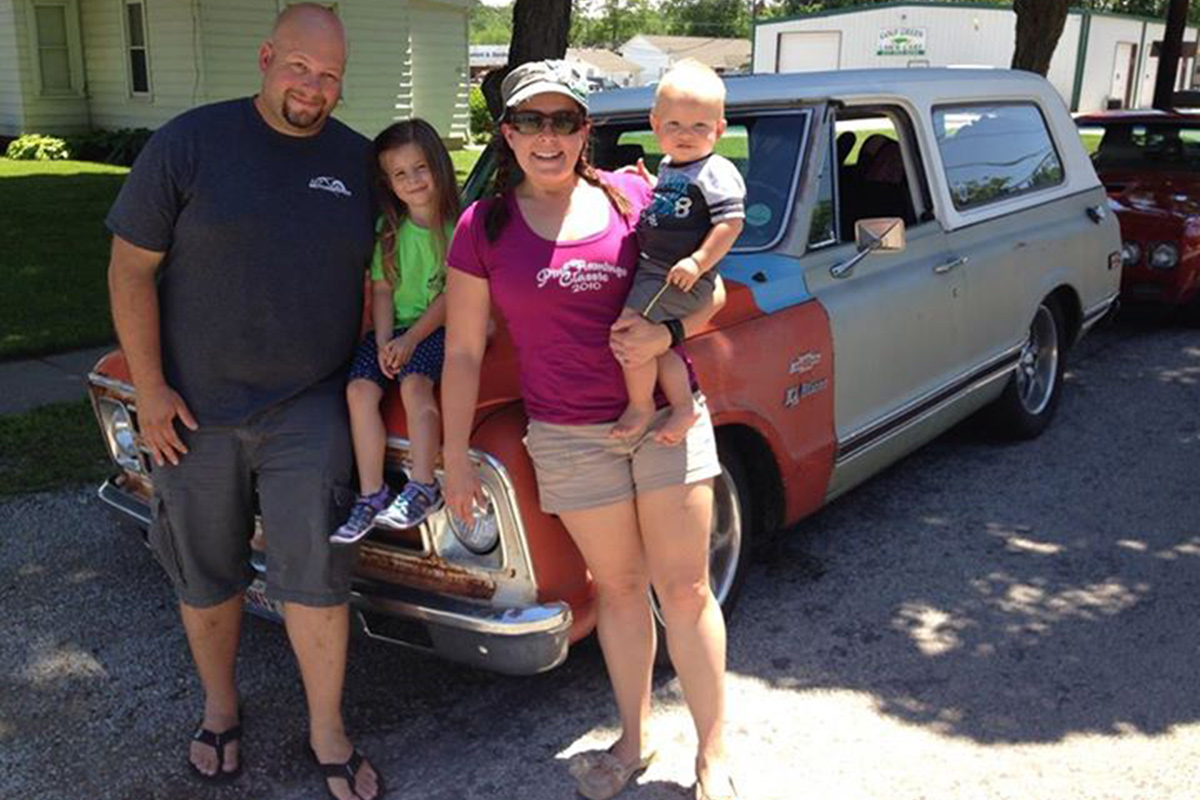
The Jost Family is one happy family with their 1972 K/5 Blazer.
Jeff Jost’s 1972 K/5 Chevrolet Blazer is another “field find” LS-swapped vehicle. Listed on Craigslist, he found it in a field in Montana. However, unlike the others listed here, Jeff started out with the intent of doing the LS swap. The procurement of the truck and the swap were out of necessity, he needed something roomier for his new and growing family other than the LQ4-powered C-10 he had. Although it was a field find, Jeff said it “was by far the most original and unmolested old vehicle that I’ve ever worked on.”
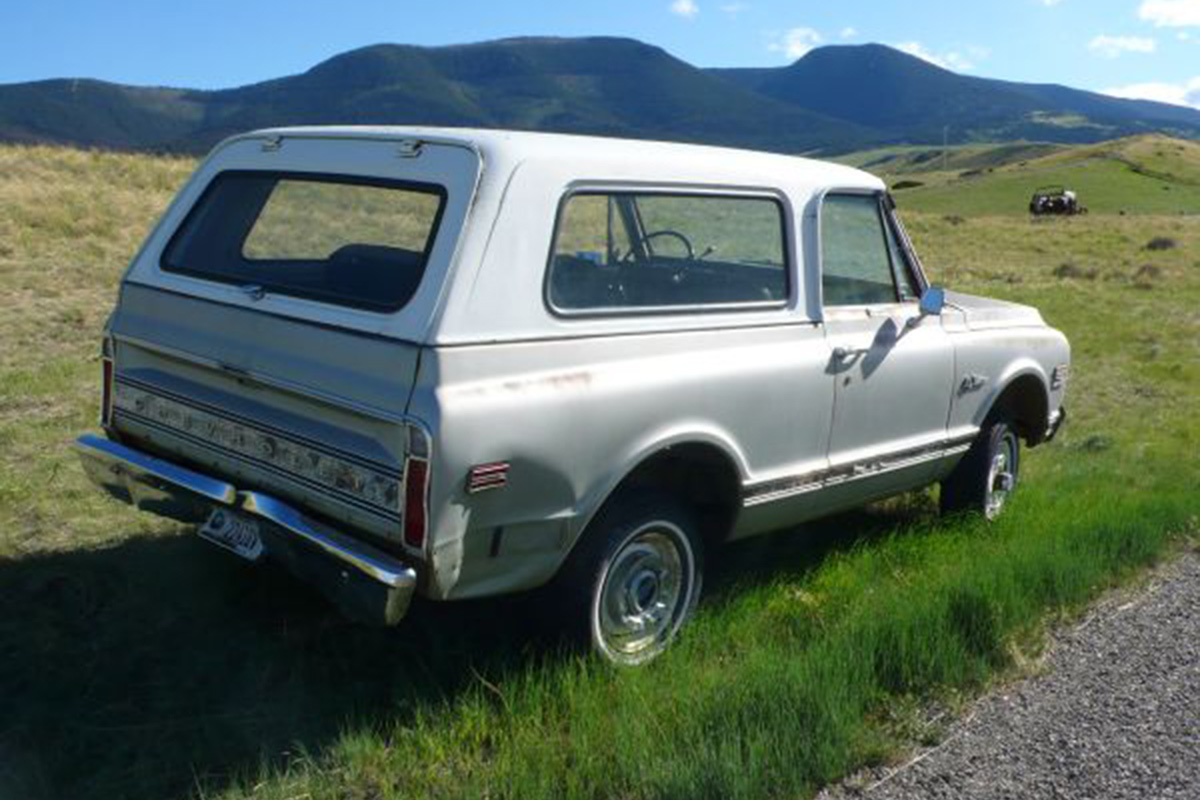
The “home on the range” field it was found in. Note that for a 1972, it doesn’t show much rust or body damage.
Although the body shows the effect of “parking by feel” there was no rust at all. The build took Jeff eight months from start to finish, just in time for an annual Wisconsin car show Jeff never misses. Although it’s an almost daily-driver, it still performs quite well at the track, turning an 11.22 at 122 mph with ten psi of boost. He plans on turning the boost up soon and seeing what it can really do.
Feeding the Beast Under the Hood
The sumped fuel tank hiding the secondary fuel pump feeding the beast under the hood of Jeff’s 1072 K/5 Chevy Blazer
For the fuel system, Jeff installed a sumped aluminum fuel tank and a Holley fuel pump to supply the fuel needs. He uses mostly E85 fuel in it, which is pumped through a flex fuel sensor to Holley 120 pounds per hour fuel injectors. Directing the air through the engine is a Holley Hi-Ram intake. The fuel injection system is controlled using a Holley Dominator EFI ECU, which also controls the electronic 90 mm throttle body, water-meth injection system, boost control, touchscreen gauges, and the secondary fuel pump.
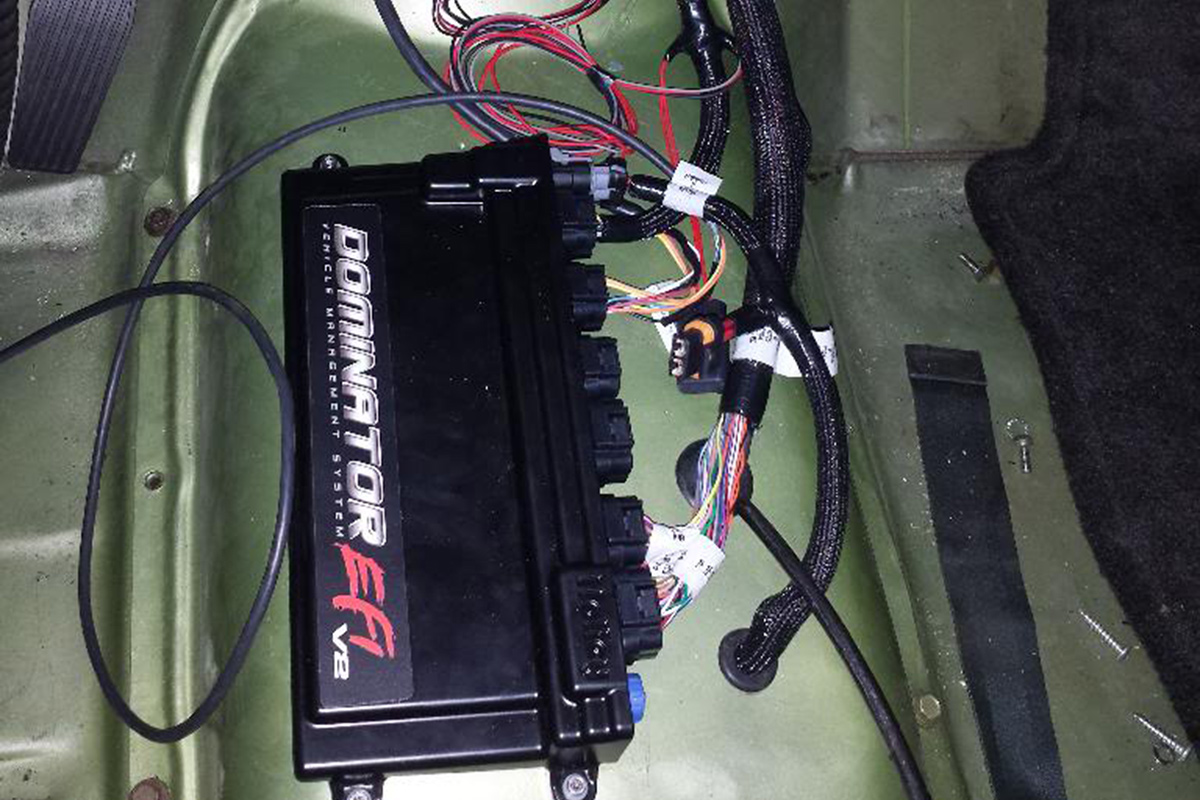
The Holley Dominator EFI control unit Jeff used in his Blazer.
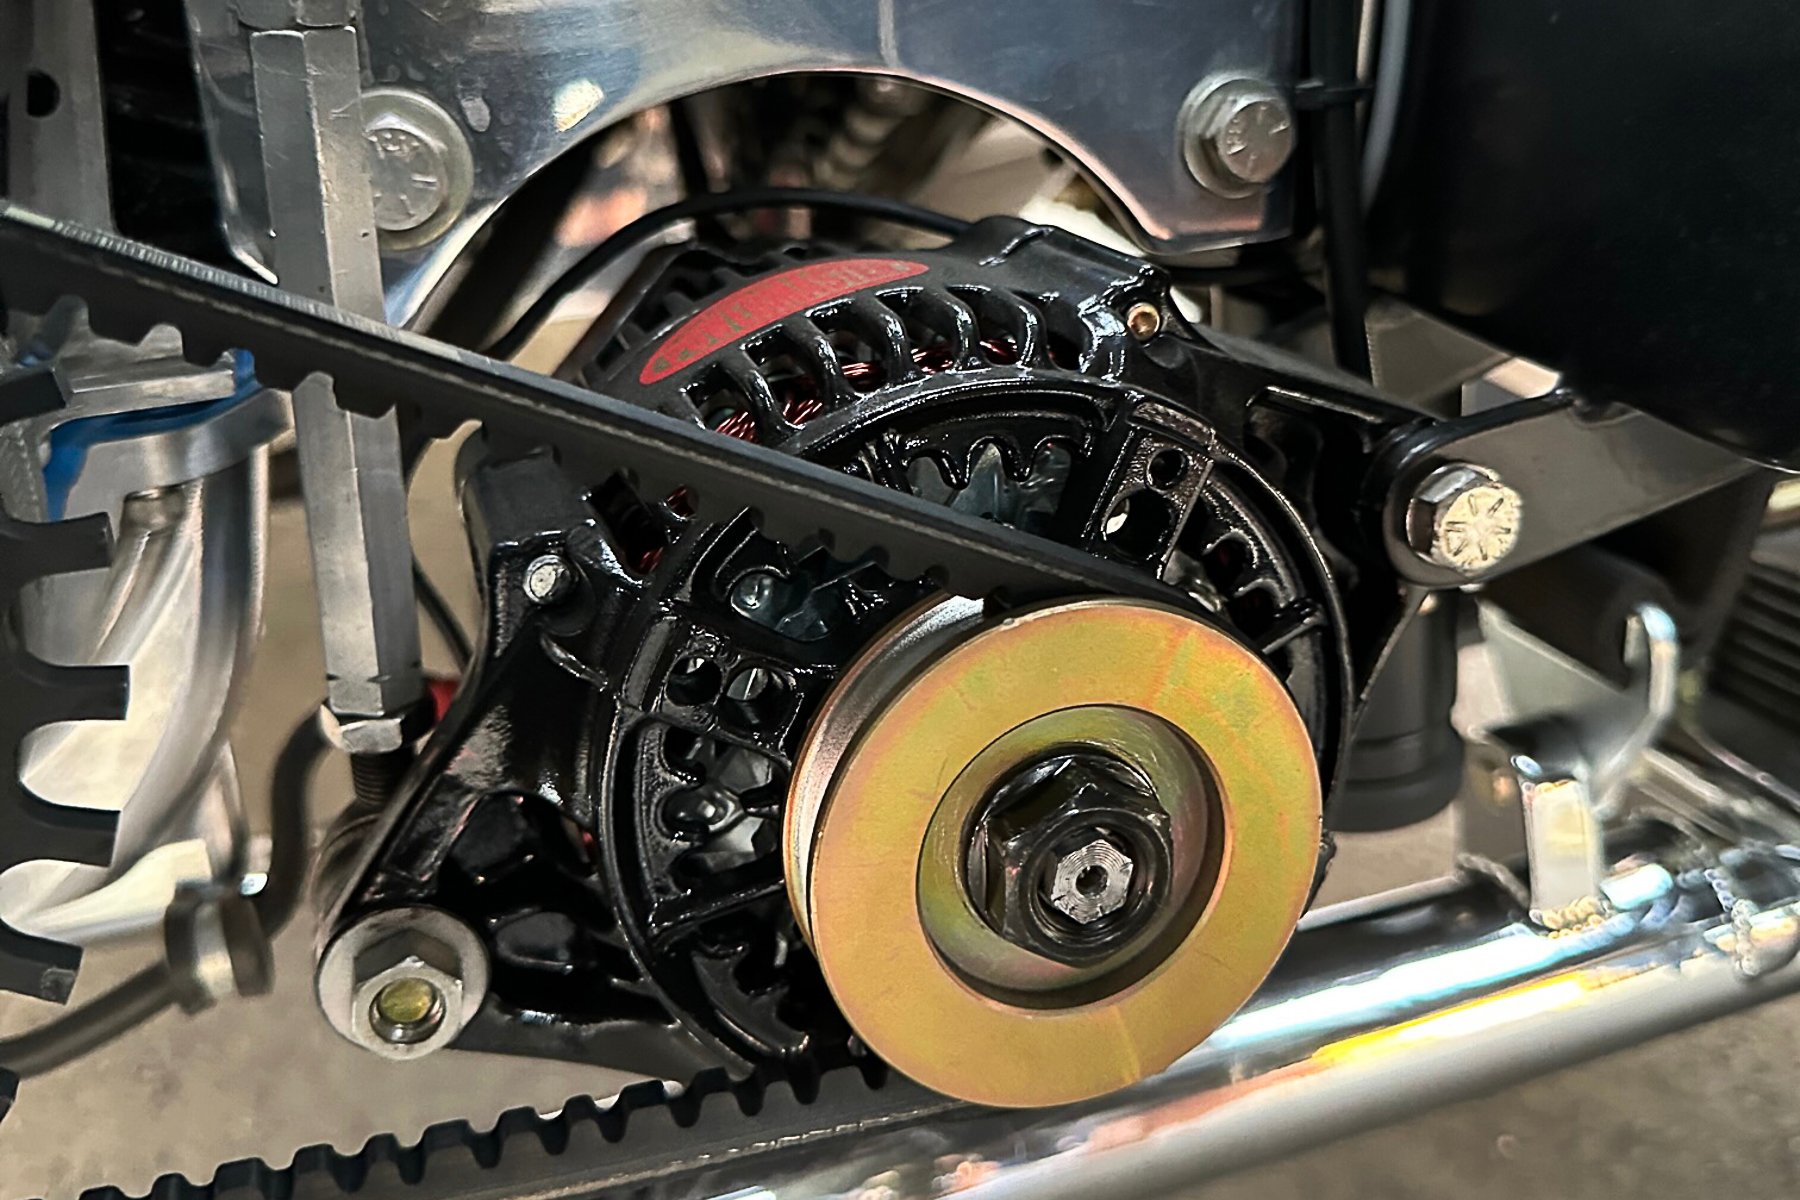
The block is 370 cubic-inch forged bottom-end LQ9. Sitting on top of the block are two CNC-ported LSA heads. Opening and closing the valves is a Lil John Motorsports Solutions custom turbo grind cam. Jeff made the plumbing for the Borg-Warner billet S480 turbo himself, by installing a Turbosmart Powergate 60 mm wastegate, and fabricating an aluminum downpipe. Although he installed a dual nozzle methanol injection system, there is no intercooler.

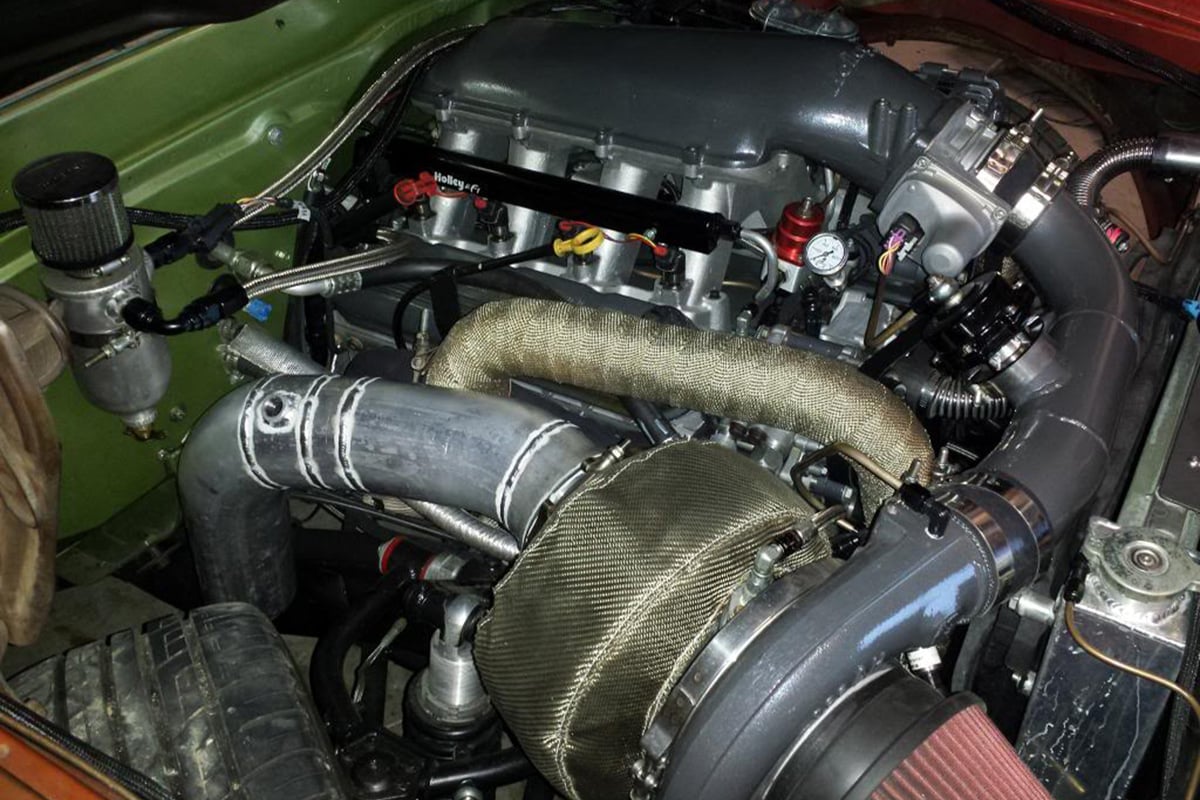
Jeff built most of the turbo system himself. Left: Here is the almost fully-assembled engine on the stand. Right: The engine in its rightful home.
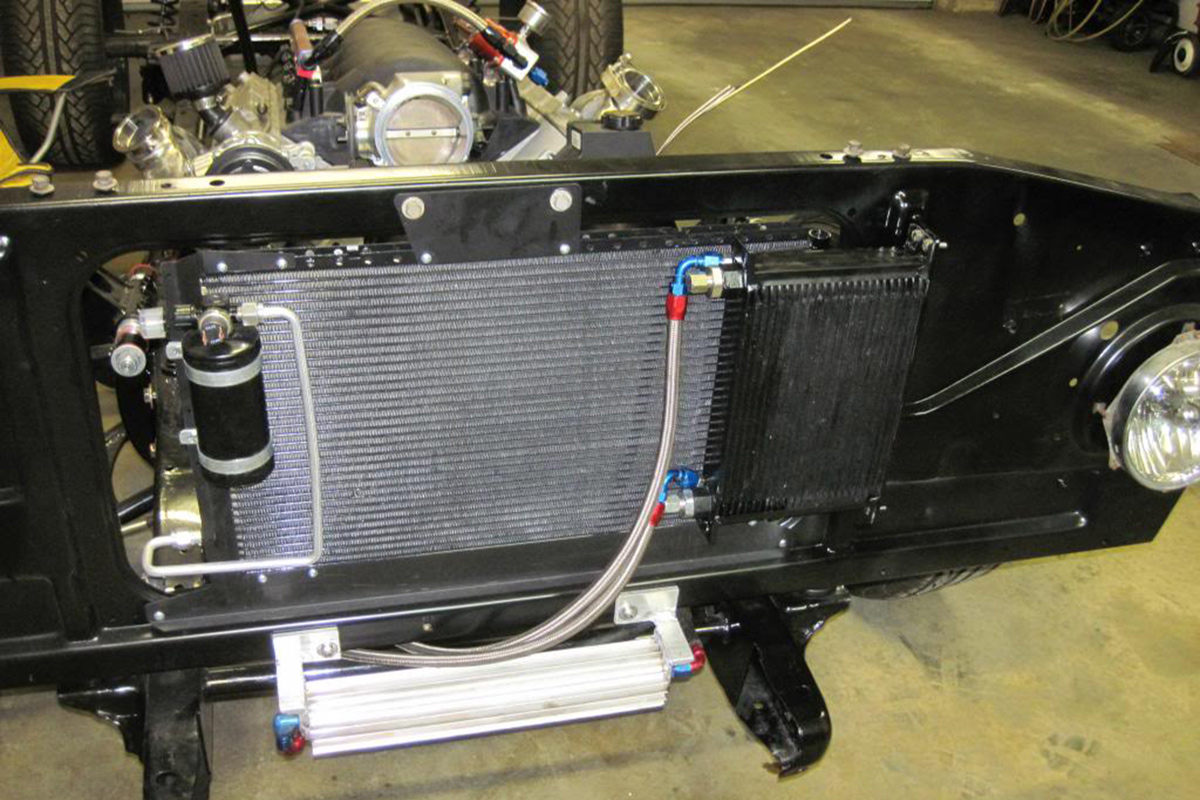
Customized cooling solutions.
The junkyard-found 4L80E is mostly stock with the exception of a TransGo shift kit and Circle D triple disc lockup billet converter. Jeff uses a two-button TCI Outlaw shifter, which are used to electronically tap shift the transmission. This setup delivered 629 rwhp on the dyno immediately after he built it. Jeff has since turned it up to 23 pounds of boost and saw 825 horsepower and 899 lb-ft of torque at the rear tires on E85.
Suspension Changes
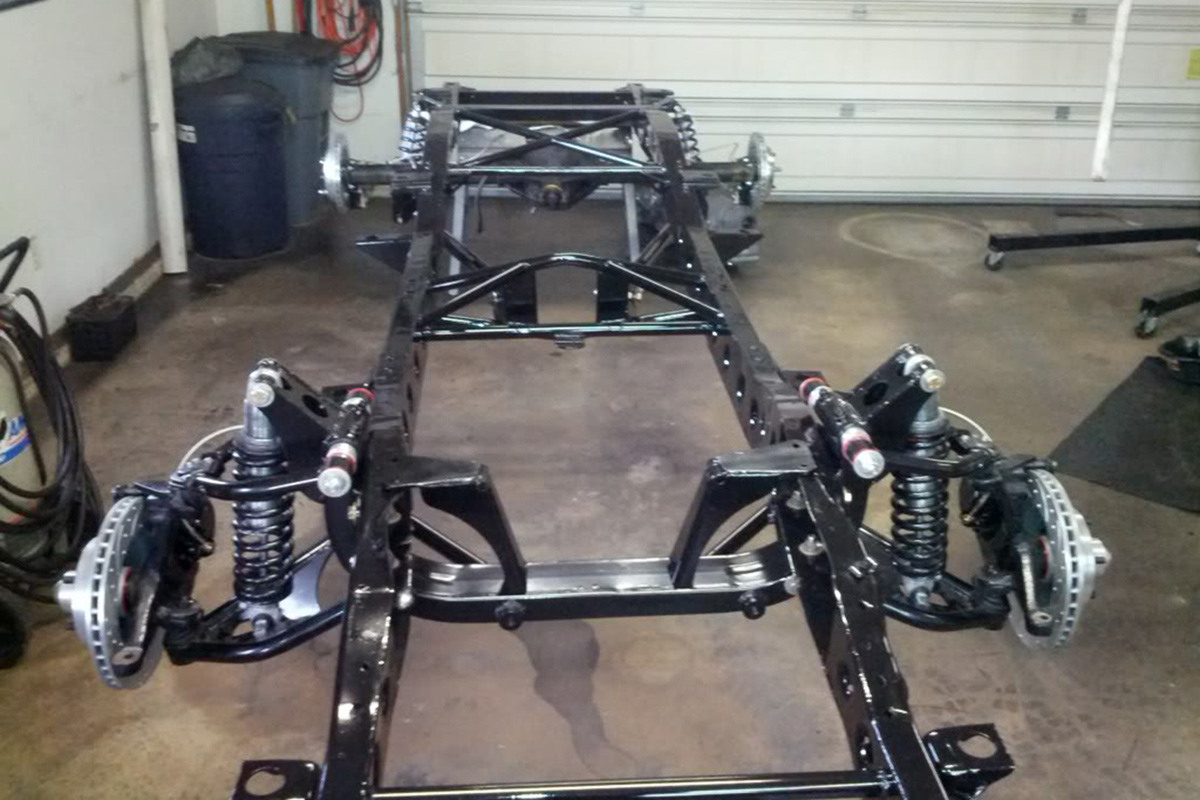
With the body off you can see the suspension mods Jeff did, although these weren’t required for the LS swap.
Jeff said that he really didn’t need to change much about the suspension for the engine swap, although it is a tubular NoLimit Engineering setup, but he went with the front clip from a ’68 C-10 telling us, “I like the way the ’67-’68 front-end looks. It’s more sleek and ‘car-like. GM didn’t produce the Blazer and Jimmy until 1969, so an early clip on a 1972 Blazer is kind of unique, since that combo never existed.”
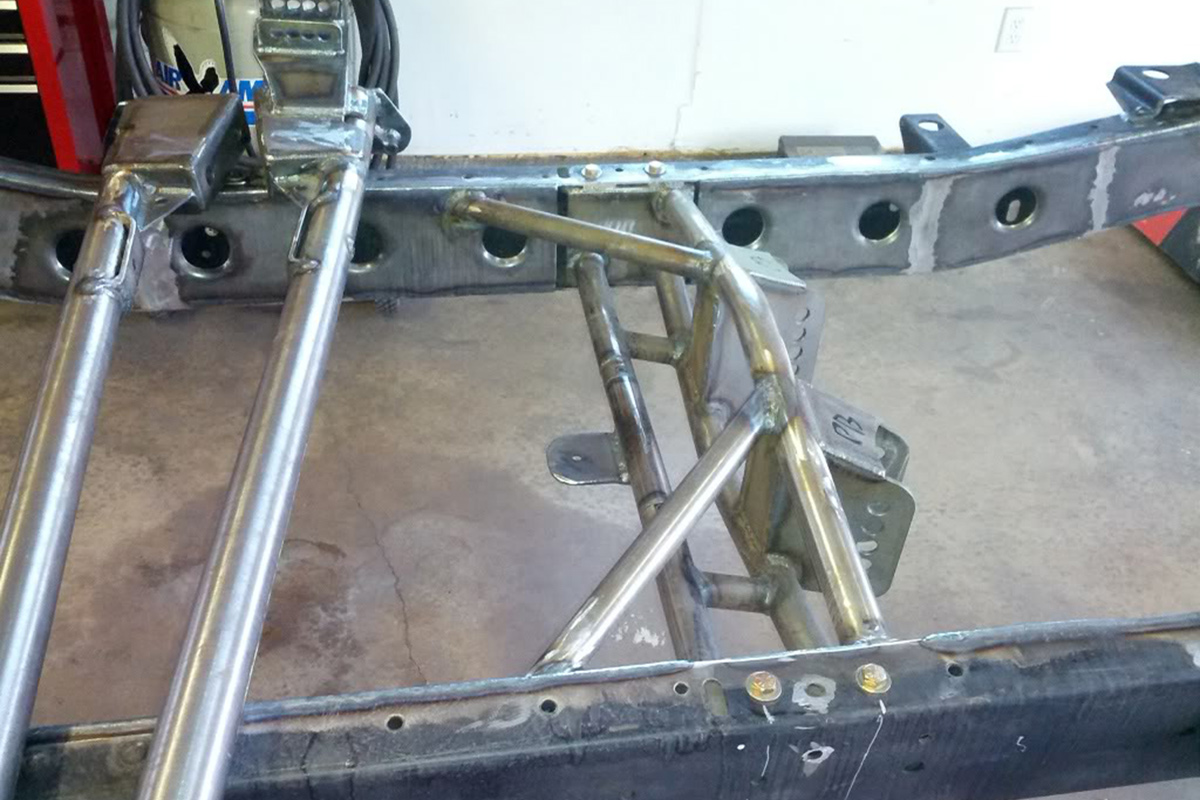
Showing some of the rear suspension and frame bracing that was added to the ’72 Blazer.
The truck was converted from 4WD to 2WD with a rebuilt disc brake 12-bolt and aftermarket independent front suspension with rack and pinion. All four corners are equipped with RideTech coilovers, four-wheel discs, and HydroBoost brakes. Jeff boxed the chassis with homemade dimple pie plates and added lots of extra tubing/bracing to stiffen it up since it’s a convertible.
This Is A Finished Project
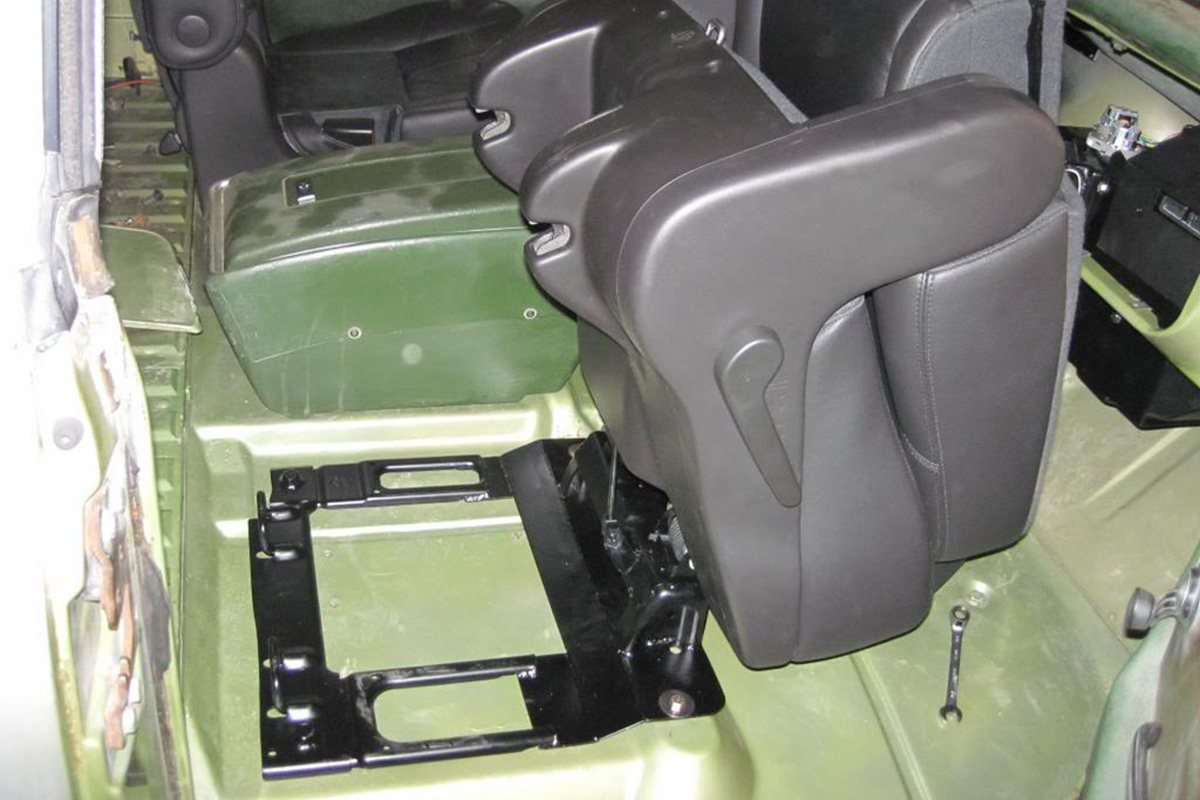
Custom-built rear seat brackets. These swing-down seat brackets come in handy when Jeff has to load the back of the Blazer up with supplies, tools, or groceries.


Left: The K/5 on the dyno for the first time. Right: This is the finished product, Jeff says. He likes not having to worry about minor dents and dings.
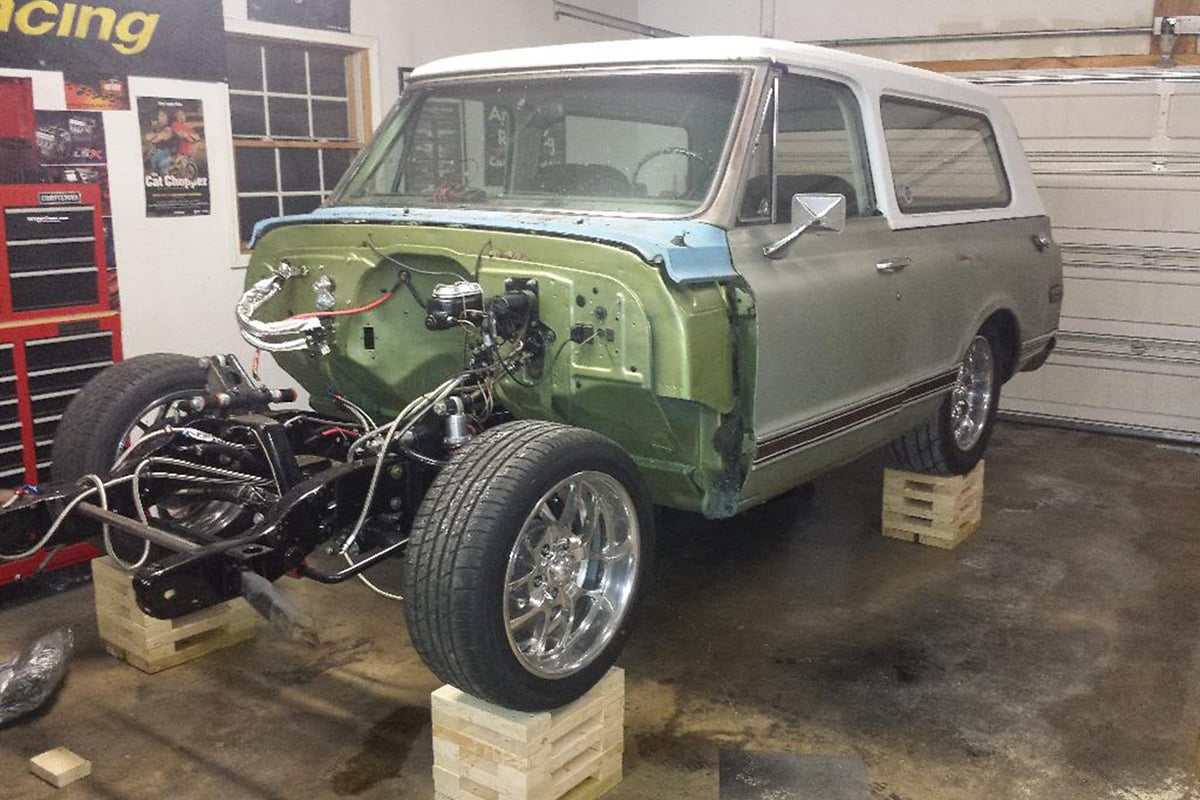

Left: The front end coming together. Center: The engine coming together. Right: Front end and engine come together.
Modifying the interior for the family was, quite literally, quick and dirty. Jeff reworked a set of 2012 Suburban middle-row seats for the front seats. Rear seating is the original third-row seats from the Suburban installed on a homemade aluminum quick-release mount-it now only has two rows of seats. Jeff says if the kids make a mess while on a trip, all he has to do is hose it out quickly and doesn’t have to worry about bumps and grinds when at the grocery store and such. Interior cooling is via a Vintage Air system.
Kyle Scherff’s 1994 Chevyrolet S-10
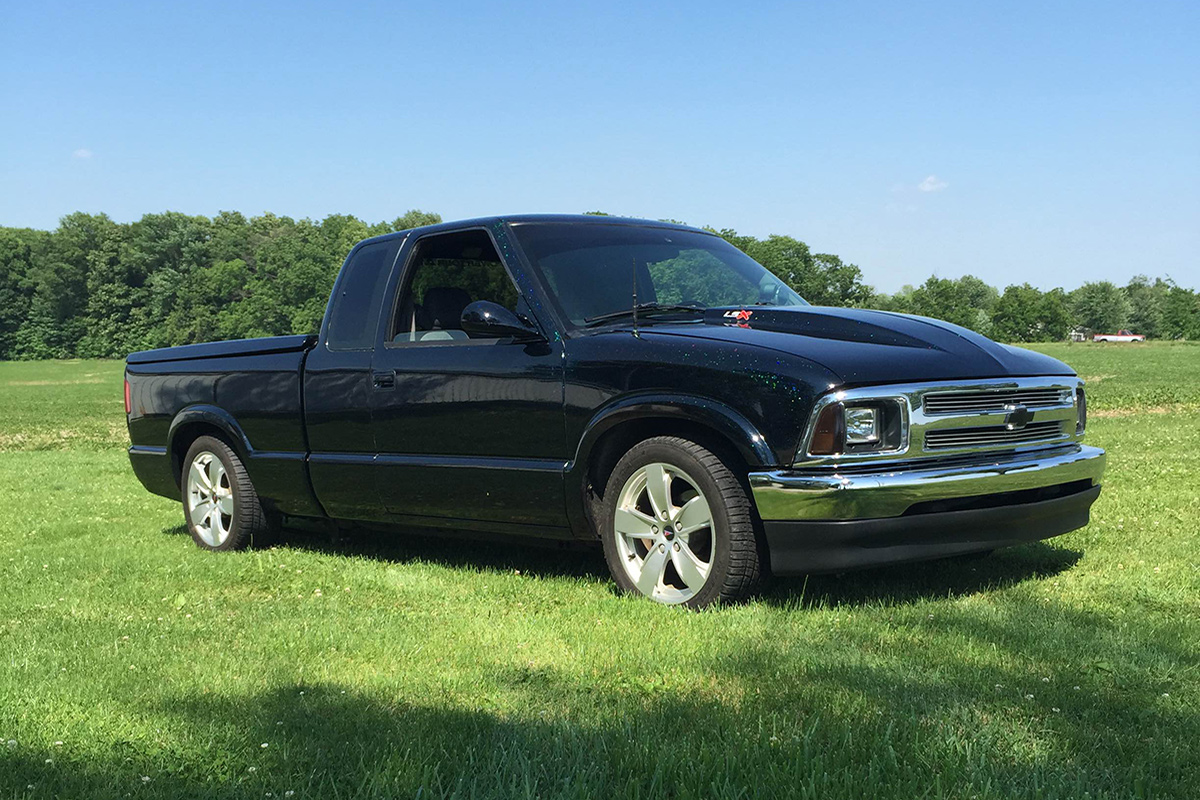
Kyle Scherff’s LS-swapped 1994 Chevy S-10 is fourth on our list of cool non-F-Body swaps.
Kyle Scherff’s ’94 Chevy S-10 is a single-owner vehicle; check that-single-family vehicle-his dad drove it off the showroom floor when it was new in 1994. Kyle wanted more power than the stock engine or the one he had already swapped delivered, so he picked up a rolled 2003 Chevy Silverado and pulled the 4.8-liter LS and 4L60E, as well as the accelerator pedal and ECU. No clearancing was needed for the engine since the truck already had a 383 in it when he started the LS-swap. However, he did have to customize the transmission crossmember because he didn’t want to cut the frame at all to make the trans mount fit.


Left: The install went pretty quickly since Kyle previously installed a 383. Right: This image shows how much of a tight fit it was, even being a fairly easy swap.
Kyle says that since the truck already had the 383 in it, the swap was pretty easy. As for advice for others behind him, he simply says taking your time is the best thing you can do. “That really helped the outcome was just not rushing it,” he said. “The CPW poly conversion mounts also helped save many headaches.”
Gathering His Parts List
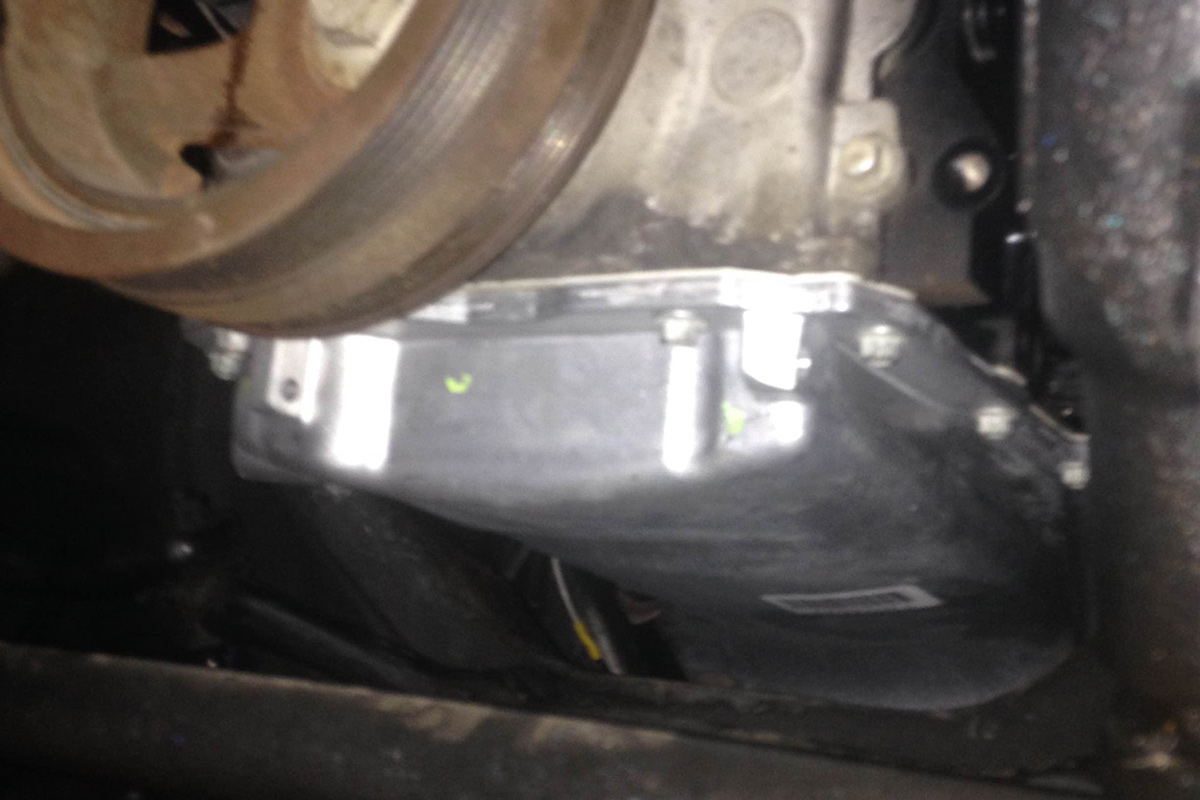
There wasn’t much room under the engine, so Kyle had to use a reduced clearance oil pan.
Kyle used a standalone LS1 swap wiring harness from PSI. To help the transmission hook up better, he installed a Stage 3 3200 stall converter from Monster. For clearance in the engine compartment, he used Sanderson Shorty headers with a custom three-inch exhaust. Instead of buying a cold air intake Kyle crafted his own. Another piece of advice he wanted to pass along was that in this type of swap you must use tubular upper control arms for header clearance. He also needed to recess the Superior radiator into the core support to give it extra clearance.
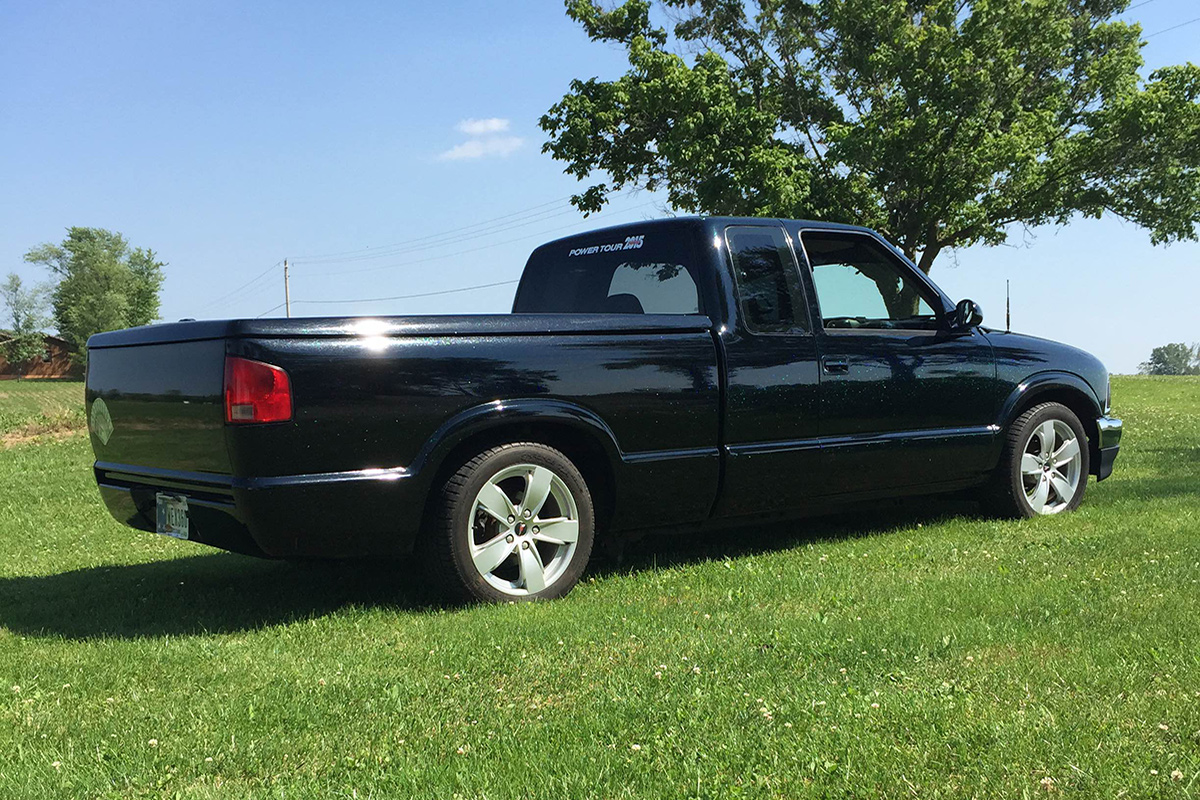
Kyle was so pleased with the outcome and reliability of the LS that he said he’d never go back to a carbureted engine equipped with a distributor for a street vehicle ever again.
Brad Pierson’s 1972 Chevy Suburban
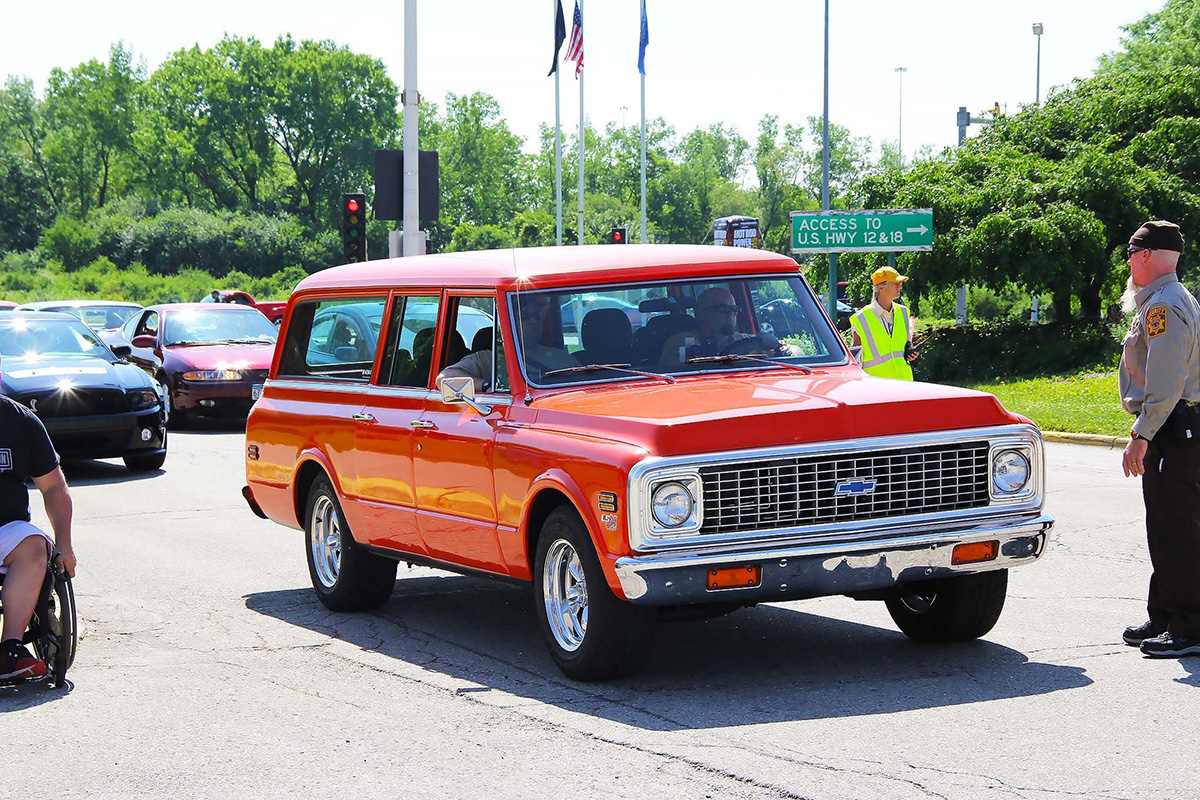
Brad Pierson’s LS-swapped ’72 Suburban rounds out this installment of alternative LS swaps.
Brad Pierson is something of an LS-swap junkie and we will be showcasing a few of his projects in the coming months. This one is his most recent, a 1972 Chevy Suburban with a 6.0-liter LQ9 and a 4L80E trans. The engine has a mild cam swap and Brad did a bit of engine bay detailing while performing the swap. The LQ9 engine is out of a junkyard Denali while the transmission is out of ’99 Chevy ambulance. The rig was purpose-built as a family cruiser for camping, cruise-ins, etc. The engine swap took the Suburban’s gas mileage from 10 mpg to 17.5 mpg, even with the 3.07 rear gears it currently has.
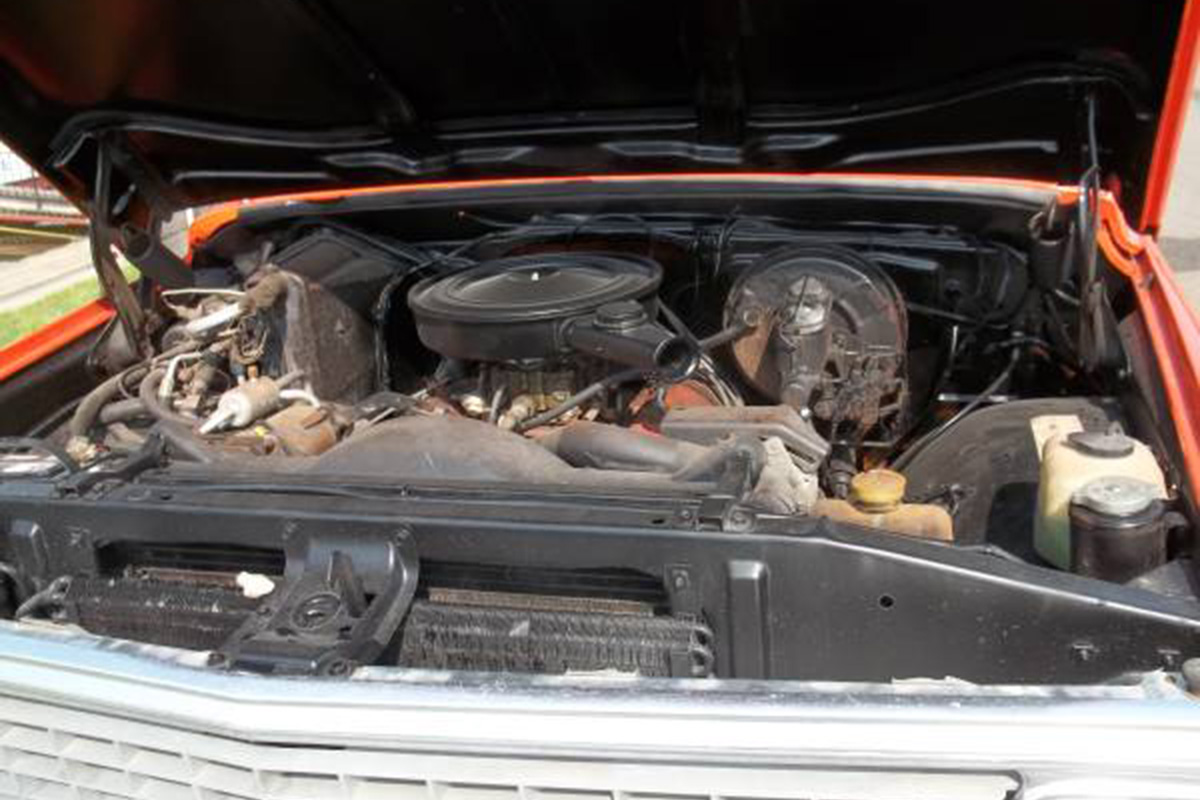
The old 400 ci the Suburban had in it prior to the swap.


Left: Brad used LS swap motor mounts. Right: Custom-made three inch exhaust with H-pipe.
Expert LS Swapper
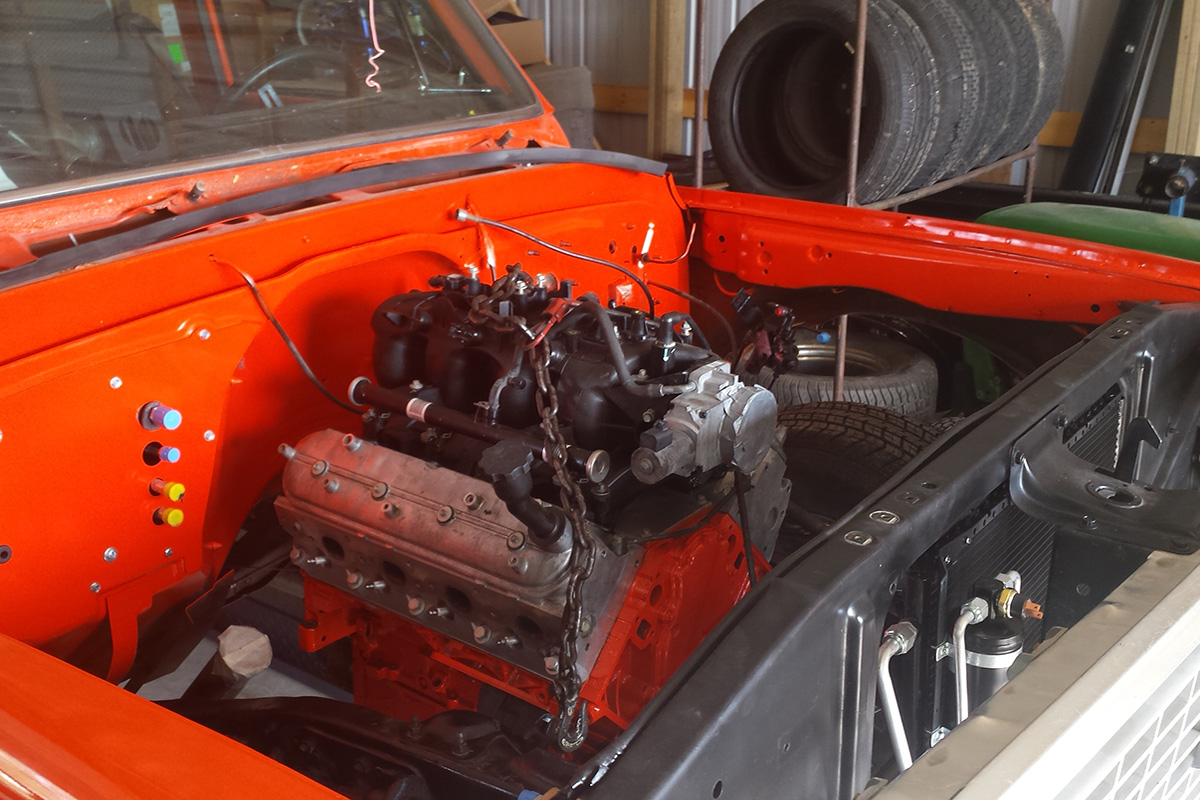
The LS is installed in the engine bay. This shot shows how cavernous the Suburban’s engine bay is, making most of the installation go fairly smoothly.


These images show the modifications to the fuel pick-up Brad had to do to make it fuel injection-compatible. Far right image shows the finished product in the fuel tank.
Brad has performed a good number of LS swaps in engine bays similar to this one, guaranteeing that this one went smoothly. Due to the age of the truck, he did have to retrofit the factory replacement LMC 21 gallon tank for fuel injection. The EFI system is a Holley Commander 950 Brad scored off Craigslist. To supply the demands of the EFI for the LS, he installed a Walbro 255 fuel pump and modified the stock replacement tank with AN fittings for supply and return. For the beginners out there, he had this to say: “Read. Educate yourself before asking questions, do the research and then post your questions to the forums only after you’ve searched out answers on your own.”
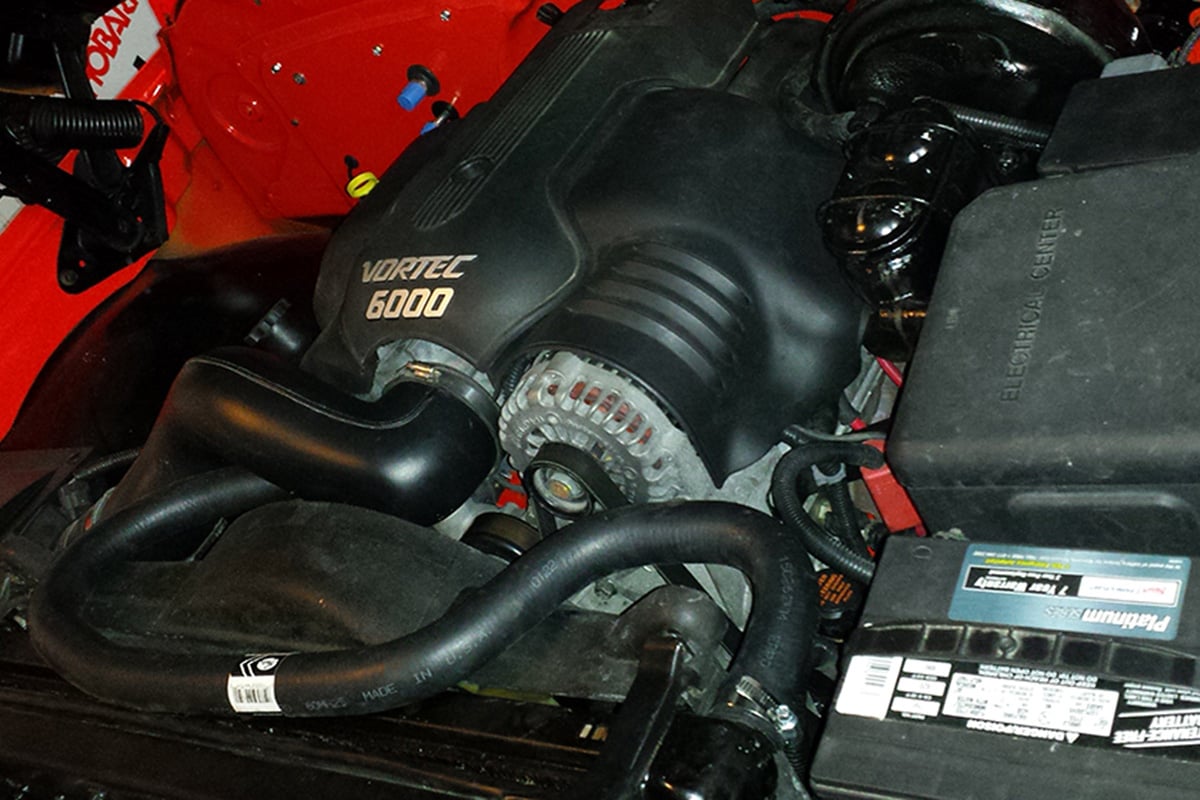


These images show engine installation and final assembly almost complete.