All photos from goodson.com.
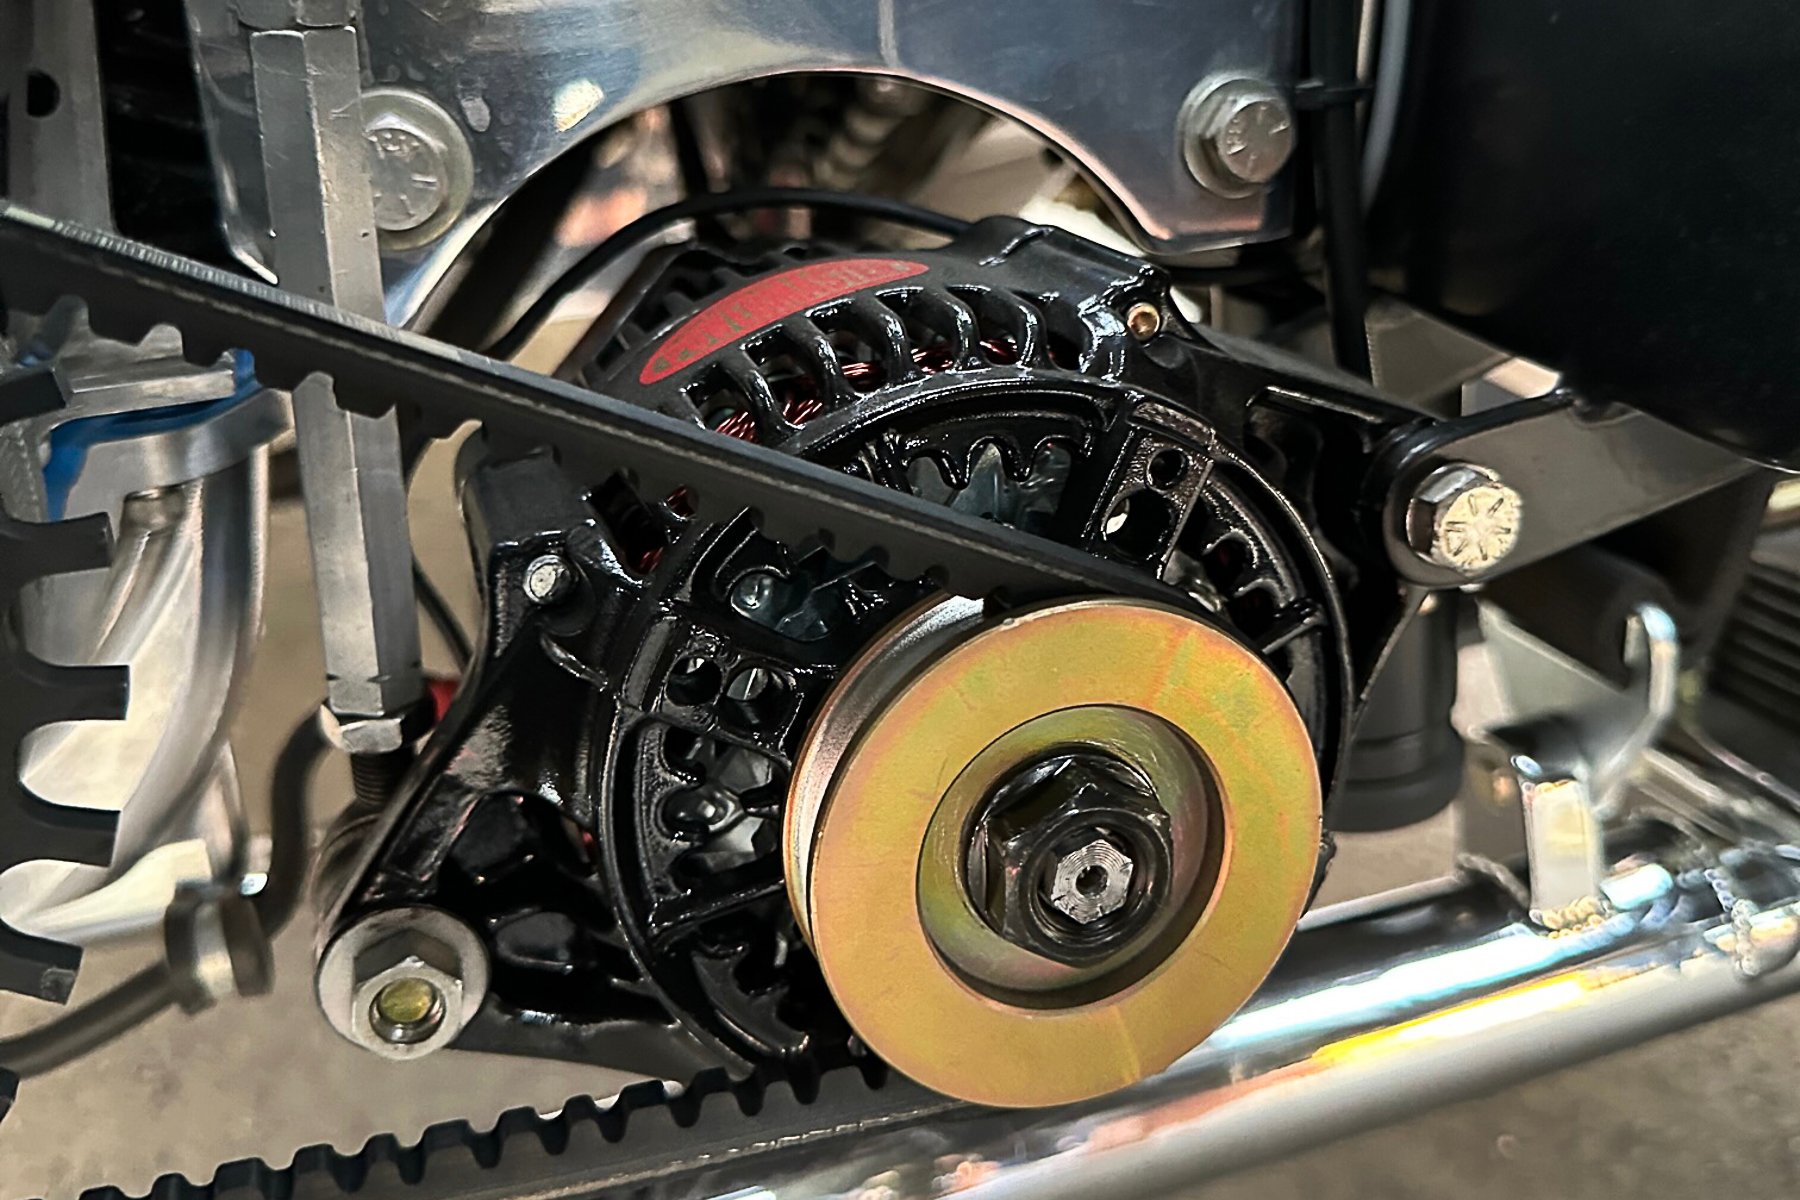
LS engine swaps have become the norm in hot rod powertrains during the last decade. More horsepower, a lighter package, and very affordable, so there is not a lot to dislike about these LS engine swaps. Sooner or later however, a sensor will fail, and in some cases, a reluctor ring may fail or require removal for further engine service.
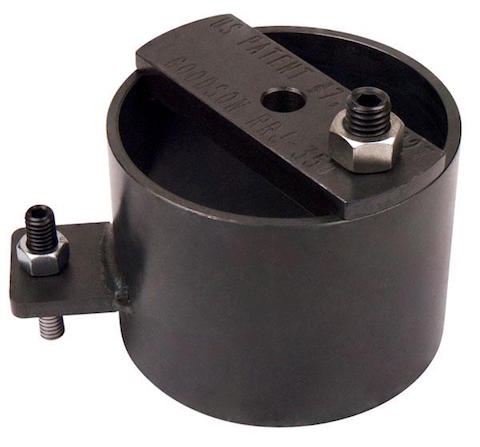
Goodson’s jig is all steel construction that features two indexing dowels that properly align the reluctor ring when installing it on the crankshaft.
If you don’t have experience with these magical little multi-toothed timing rings, removal and installation can be confusing. We found a great little blog article on Goodson’s (the engine tool people) webpage that helps demystify the R & R process, and they even have a nifty little tool that makes the job easier.
Many homebuilders have attempted to reinstall the reluctor wheels by cold-pressing them onto the crankshaft, which tends to warp and damage the wheel or worse yet, banging on the wheel with a mallet.
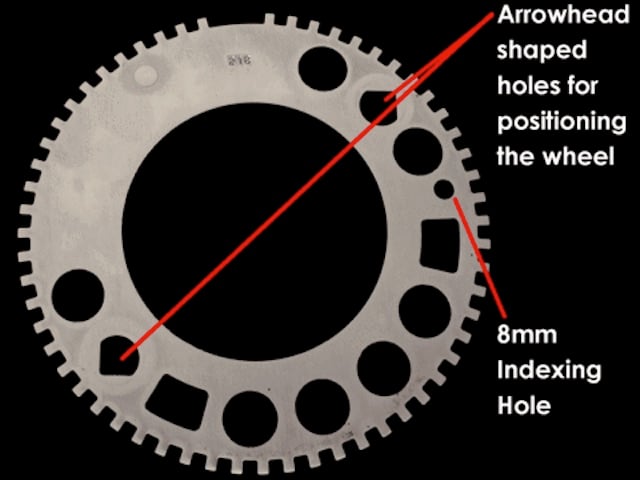
Goodson’s Reluctor Ring Jig (RRJ-350) makes it practical to do the work in your own garage. According to the blog, removing the wheel with the jib is simply a matter or marking the reluctor wheel and the crankshaft flange for to ensure proper positioning during installation. Heat up the wheel with a torch, somewhere near 200-degrees (fahrenheit) and using heat resistant gloves, pull the reluctor wheel off of the crankshaft.
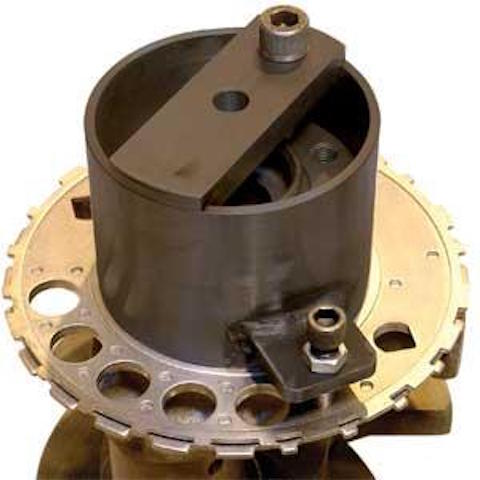
The reluctor wheel with Goodson’s jig in place.
Installation is just as simple. Check for any burrs on the wheel or mating surfaces. Remove any burrs or rough edges that could cause a problem by catching the wheel as it is slipped into place. This time the reluctor wheel’s inside diameter lip needs to be heated up near 450-degrees (fahrenheit) by torch or in an oven.
Attach the jig by lining up the indexing dowel with the indexing hole on the jig. Then slip the entire assembly onto the crankshaft where it should slide down to the mating flange. Goodson points out that the jig is designed specifically to fit Generation III (LS1 and LS6) and Generation IV (LS2, LS3 and LS7) GM motors.
For more information about Goodson, or their Reluctor Ring Jig, visit them online at goodson.com.