It is a well-known fact that there is an obscene amount of power to be made with the Gen III and Gen IV GM small-block (LS) engine. In so many cases, people nonchalantly achieve over 800 horsepower out of 200,000-mile junkyard engines by simply bolting on a pair of massive hair dryers, throwing in some bigger fuel injectors, and gapping the engine’s existing piston rings. Sure this is easily feasible and will make for a lot of fun, but if you’re one who likes to leave an engine bolted in place for more than a few months, there are many, necessary upgrades that should take place, starting with your rocker arms.
We have all seen that old, rusted out 6.0-liter Chevy or GMC work van with 350,000 miles on the clock, and the engine still runs like it did the day it came off the dealer lot (we won’t say showroom, because no dealer has a van in their showroom). The components within those engines work exceptionally well together and are practically impervious to wear (sure we could get into the rare occasions of number 2 cam bearings dislodging, lifter failure, or oil pump bypass failures, but that isn’t what this article is about). These engines, when used as they were intended, live a really long time. When we try to squeeze more power out of them, that’s when we start to find the weak links in the design.
In this article, we are primarily focusing on GM rocker arms: their strengths, their weaknesses, and how to overcome those weaknesses. In completely stock applications, factory GM rocker arms hold up just fine, day in and day out. For those of us who have built virtually any other pushrod engine, we know one of the first upgrades to make to our valvetrain is to throw away those garbage stamped-steel rocker arms with highly-antiquated pivot-ball design, and to install some billet aluminum roller-rockers.
This theory holds somewhat true to LS engines; the only difference is that the rocker arms themselves, as well as the integral mounting stands they are attached to, are a pretty darn great design from the factory. They just need a little tweaking once the performance envelope of the engine is changed. The good news is Engine Pro has an easy fix, and literally anybody with basic mechanical abilities can do it. Upgrading the factory rocker arm’s trunnion is an affordable — and plenty-strong — way to achieve a much more durable valvetrain.
GM Didn’t Skip Arm Day
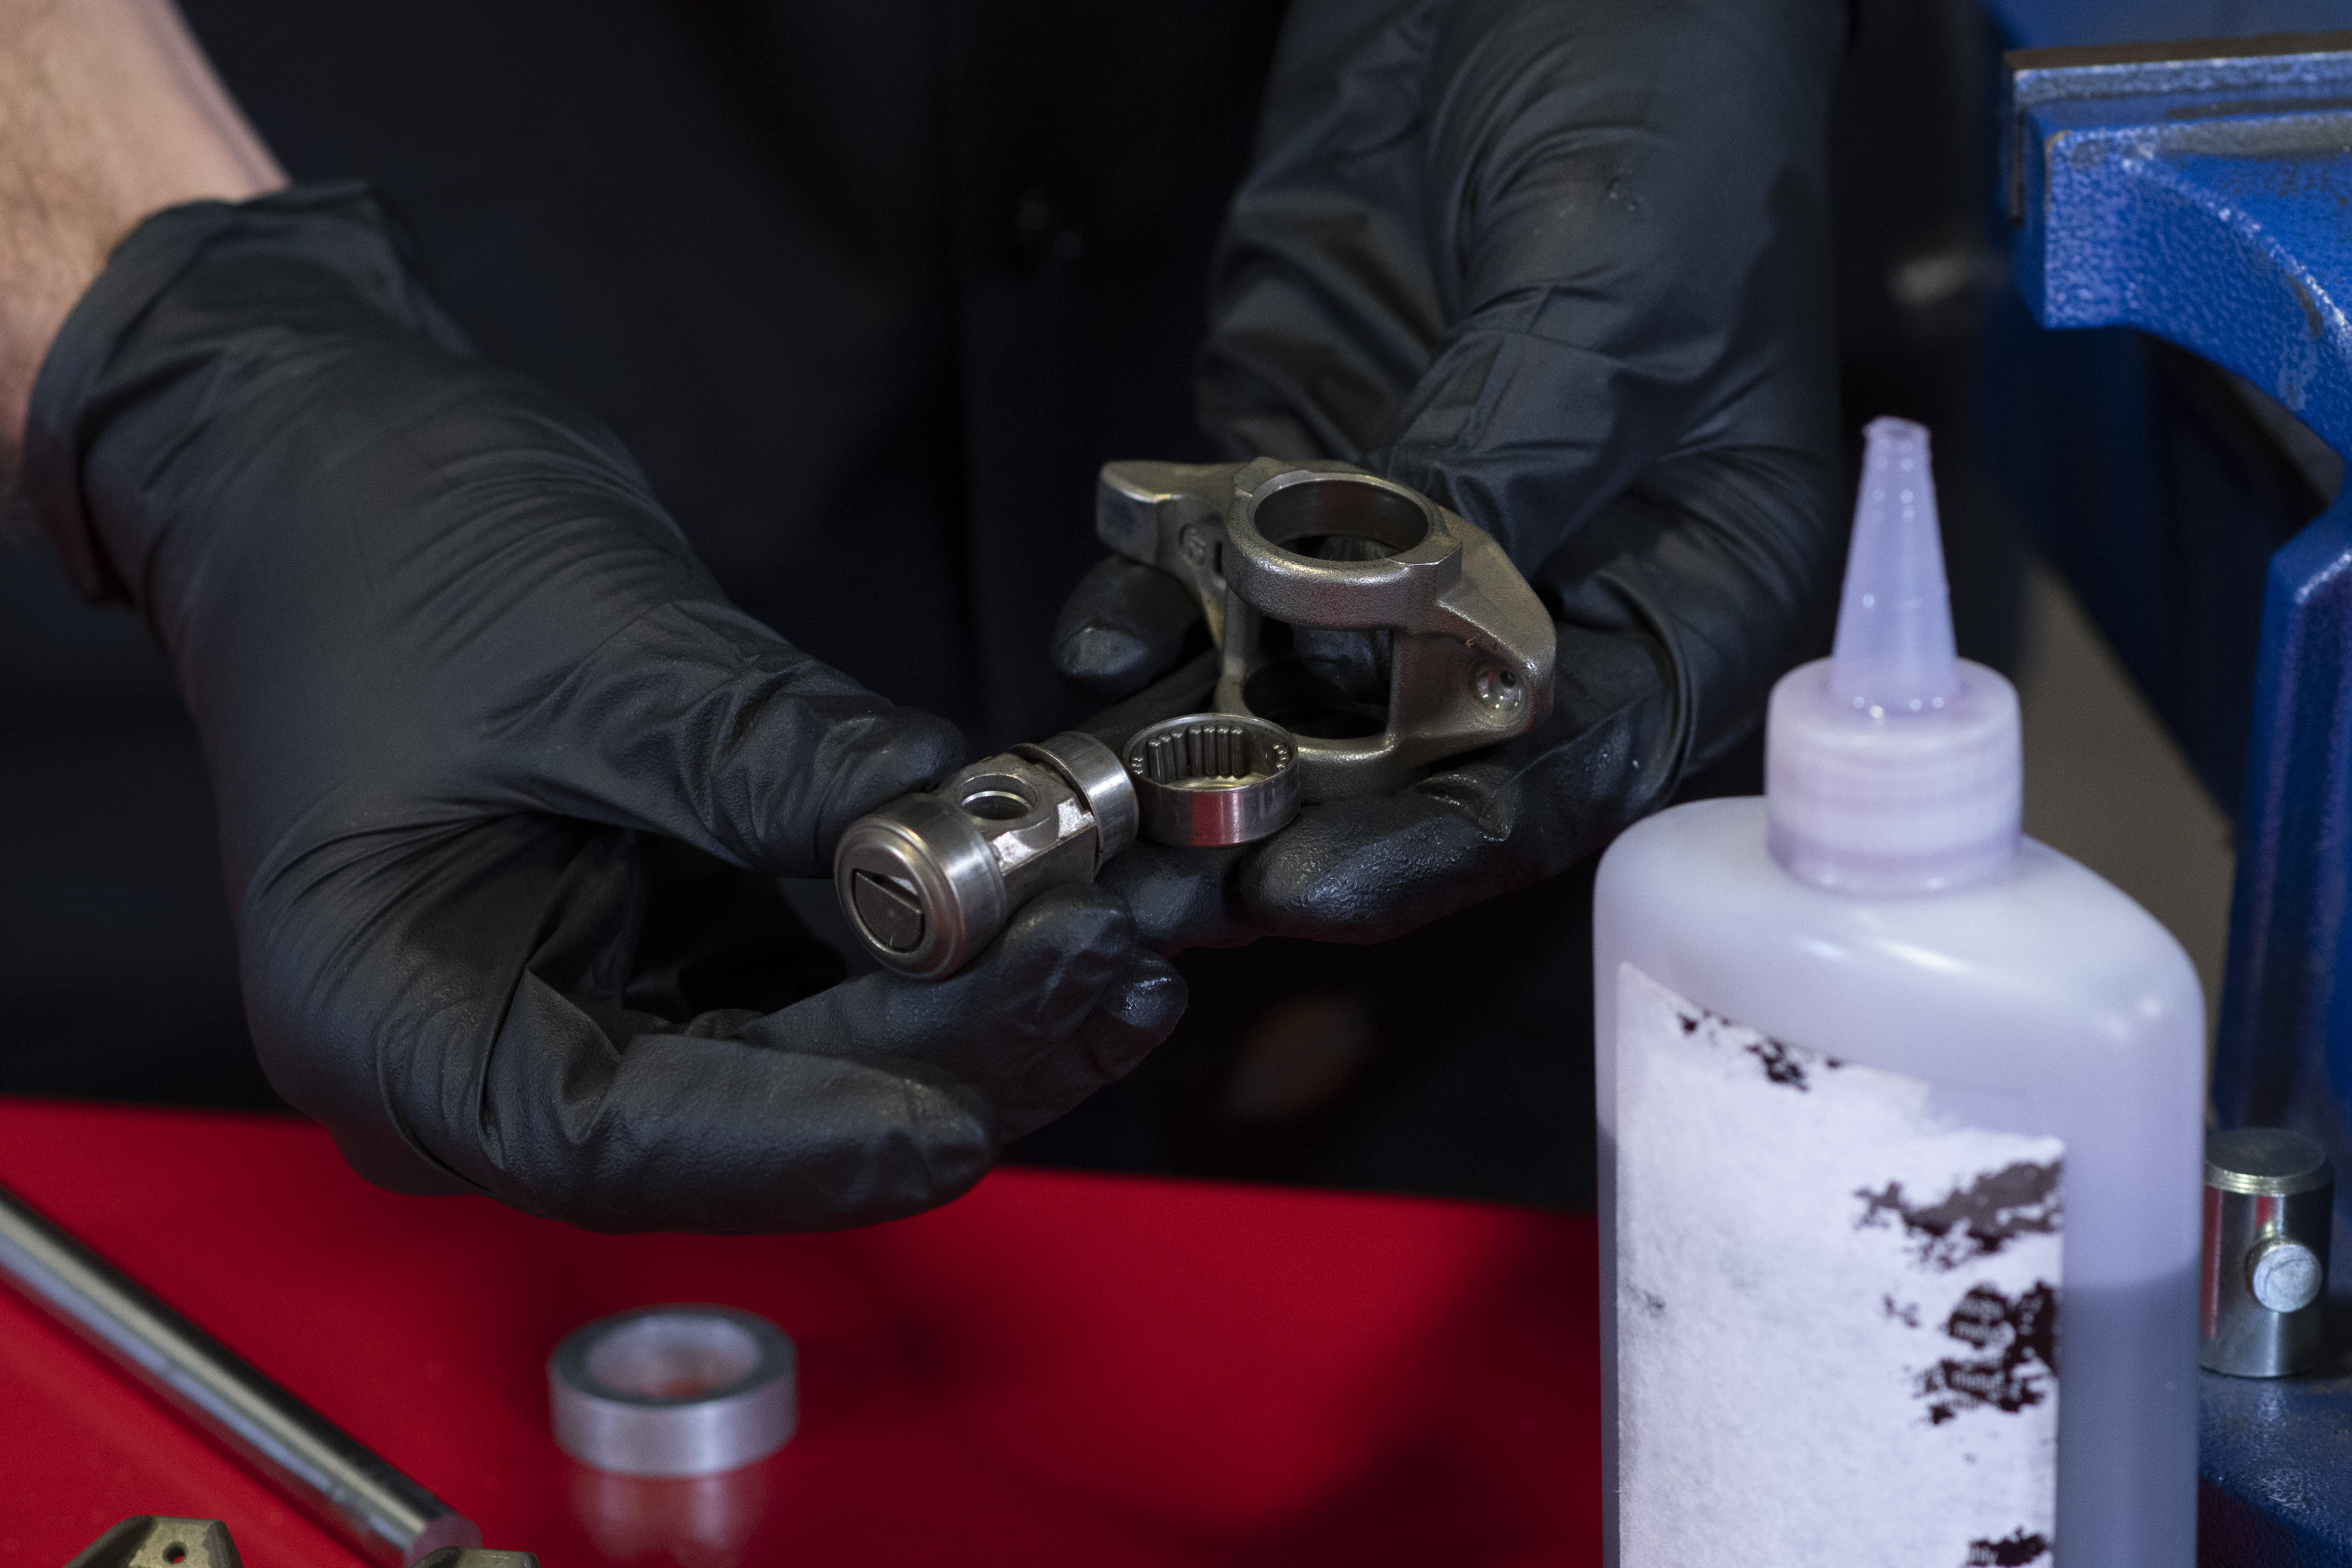
GM’s trunnion rocker assembly design in Gen III (LS1) engines and their offset counterpart used in Gen IV (LS3) engines share a ductile iron 1.7:1 rocker arm, with a flat tip, which makes contact with its respective valve stem. The arm has two sets of needle bearings — one on each side — which are pressed into the body of the arm itself. Between the bearings is a trunnion shaft, which ultimately holds the rocker assembly in place, and serves as the fulcrum.

Original GM rocker arms with needle bearings. Unlike many other engine families, the OEM rocker arm itself is a capable piece. The only part that needs upgrading is the OEM needle-bearing trunnion.
Using an M8 bolt, each rocker arm assembly fastens onto an integral mounting stand, which aligns the trunnion shaft and helps stabilize all eight rockers on each side of the engine. One user-friendly aspect associated with LS rockers is they are not adjustable like their predecessors were; they are simply torqued to yield, and that’s it. Make sure to get your pushrod lengths right if you are upgrading camshafts!
The weak links in these rocker arms are the needle bearings on which they ride. As stated before, when these are put to work in environments above and beyond their intended purposes, they just can’t hang. Factors such as higher lift, steeper ramp rates of aggressive camshafts, heavier valvespring pressures, and higher engine speeds all take a toll on those bearings. The concern is that the needles end up wearing down under the heavier abuse and can eventually find their way out of the bearing race and into your oil pan.
Can you imagine all those needle bearings floating around inside your engine? It would be like the shrapnel from a hand grenade.
From there, all hell can break loose in an engine; we don’t need a PhD in engineering to know that little pieces of metal bouncing around in your engine result in less-than-desirable consequences. In addition, the outside caps, which retain the needle bearings, have a threshold of rocker rotation before metal-on-metal encroachment occurs between it and the end of the trunnion shaft.
The Solid Bushing Solution
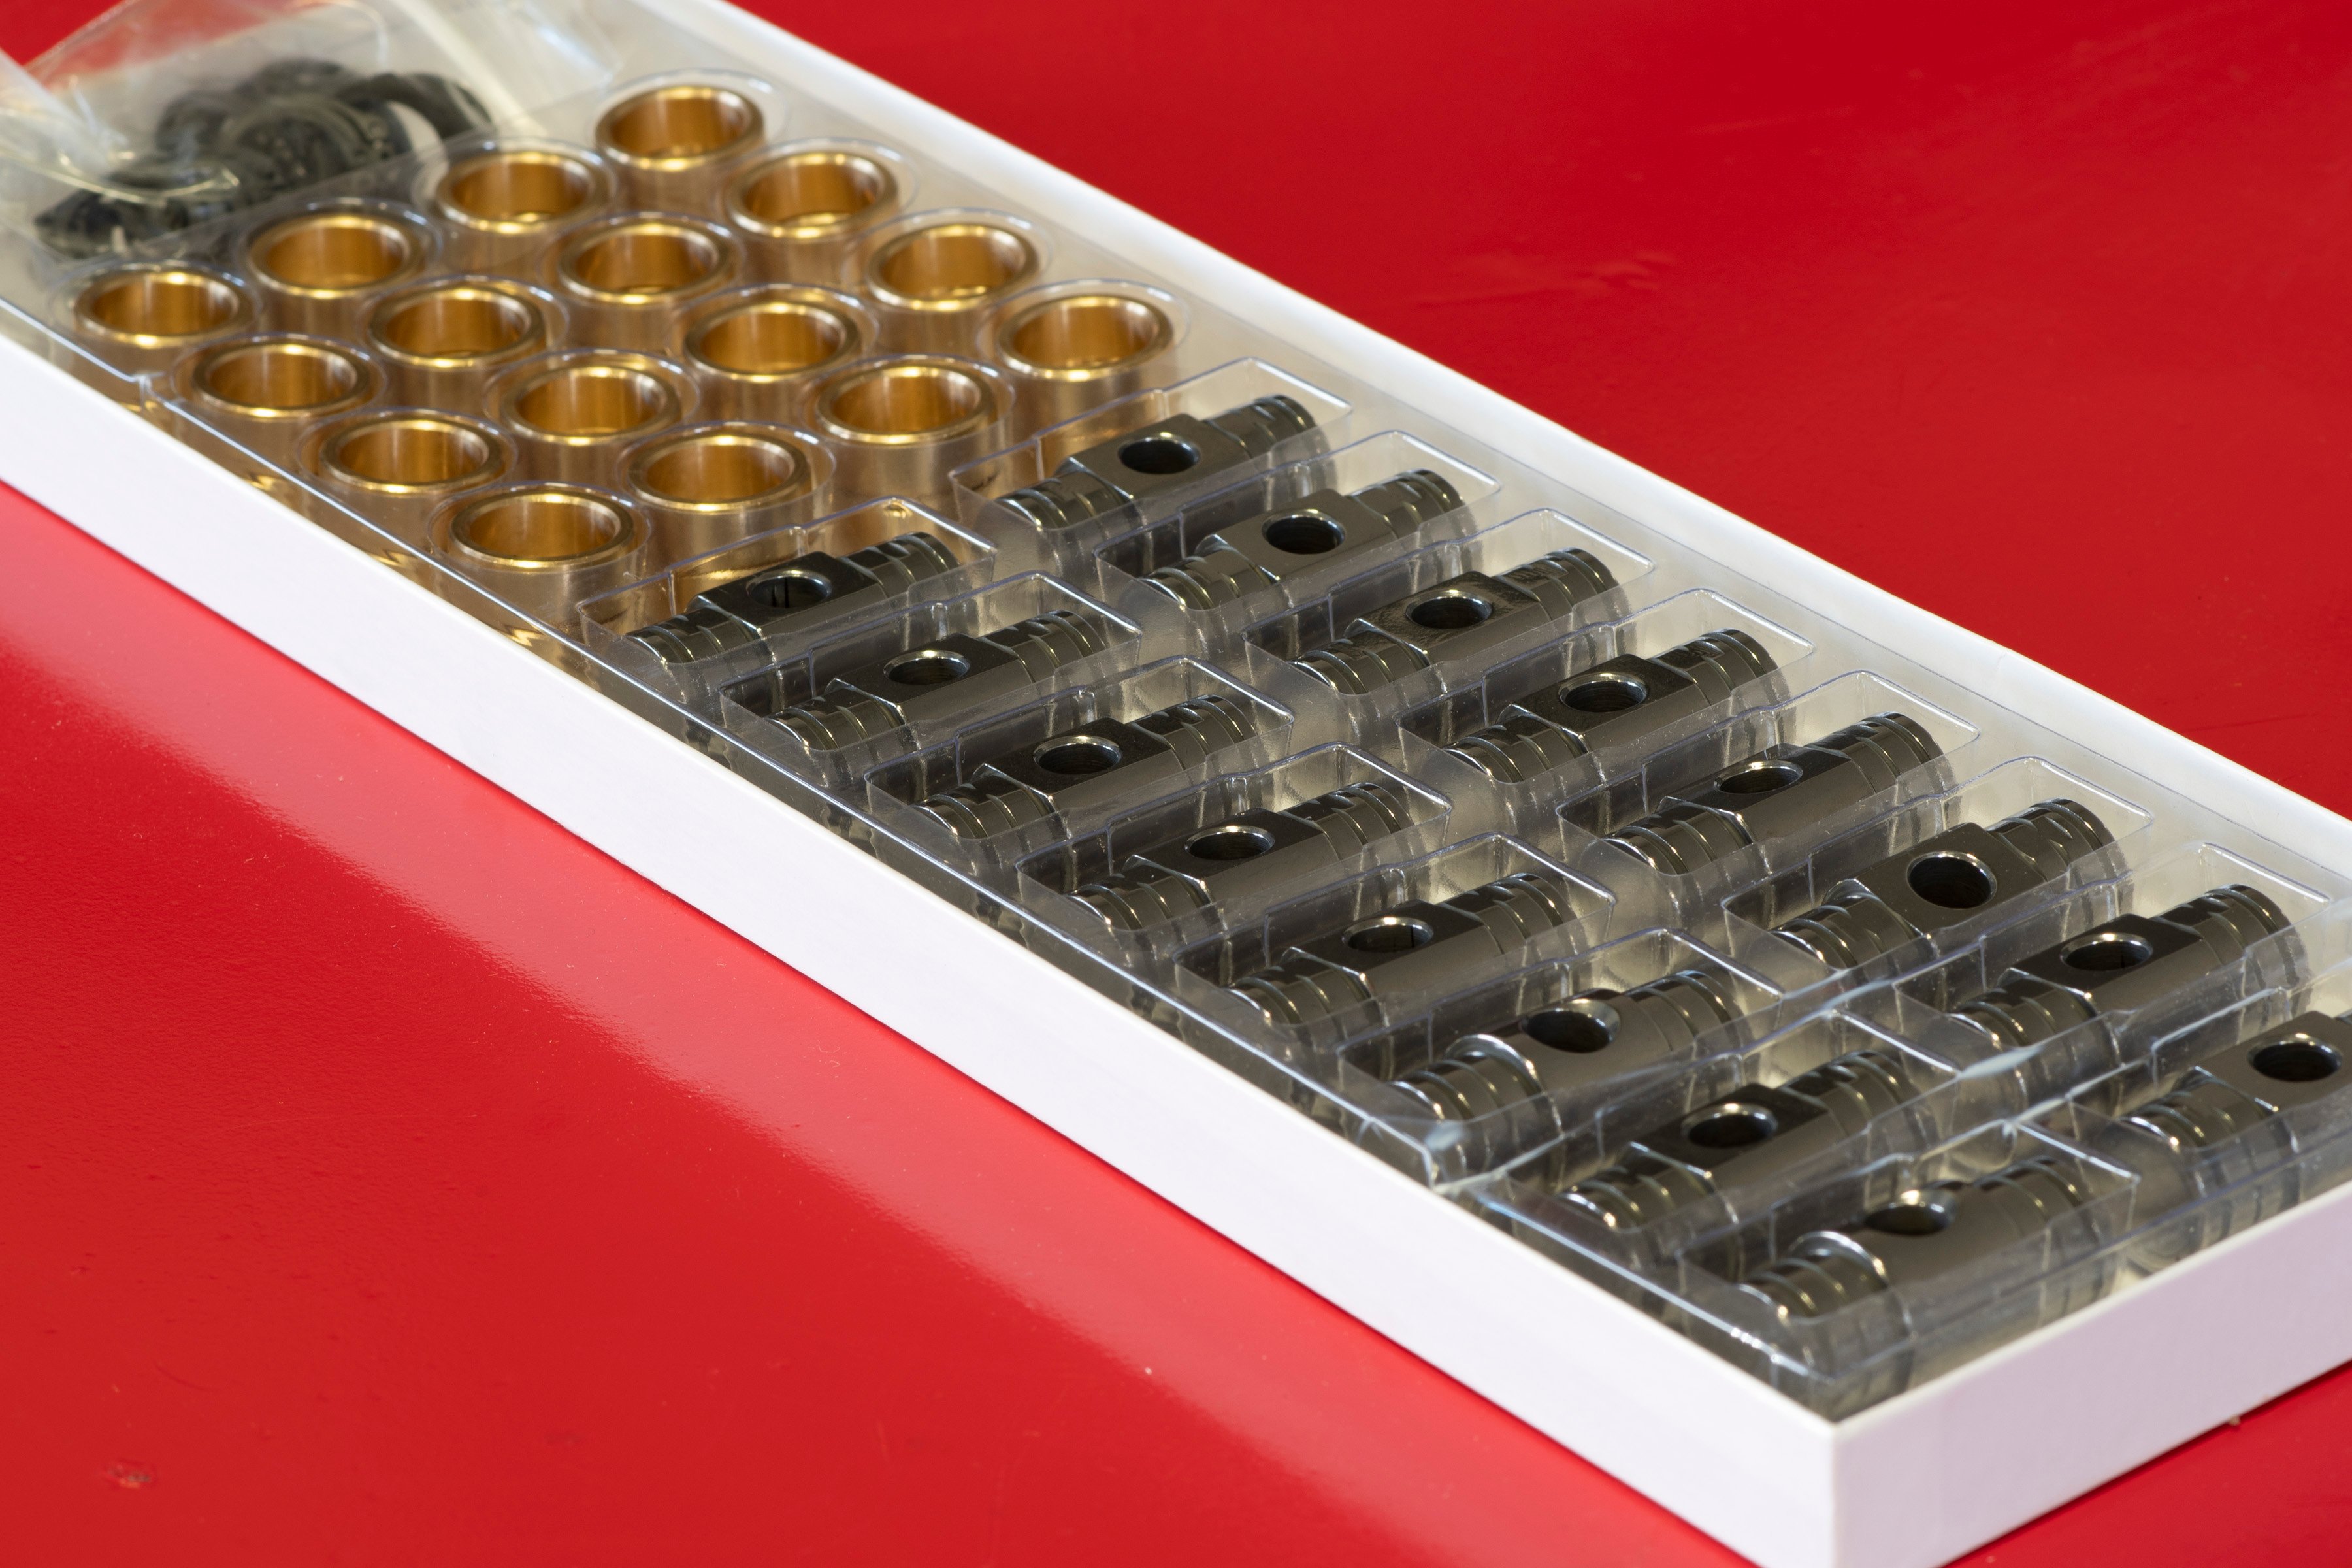
Engine Pro has come up with an easy-to-use kit that contains all of the pieces needed to convert a full set of 16 trunnion rocker arms from needle bearings to solid C932-alloy bronze bushings. Engine Pro tells us that this kit makes the trunnion assembly 300-times stronger than what came out of your engine from GM. To put the improvement into perspective, Engine Pro says the new combination of a stronger trunnion shaft and their bushings can take more abuse, and are better lubricated, than an engine’s wrist pin assembly. This added lubrication is achieved with oil grooves that are milled into the trunnion shafts, which the bushings ride on.
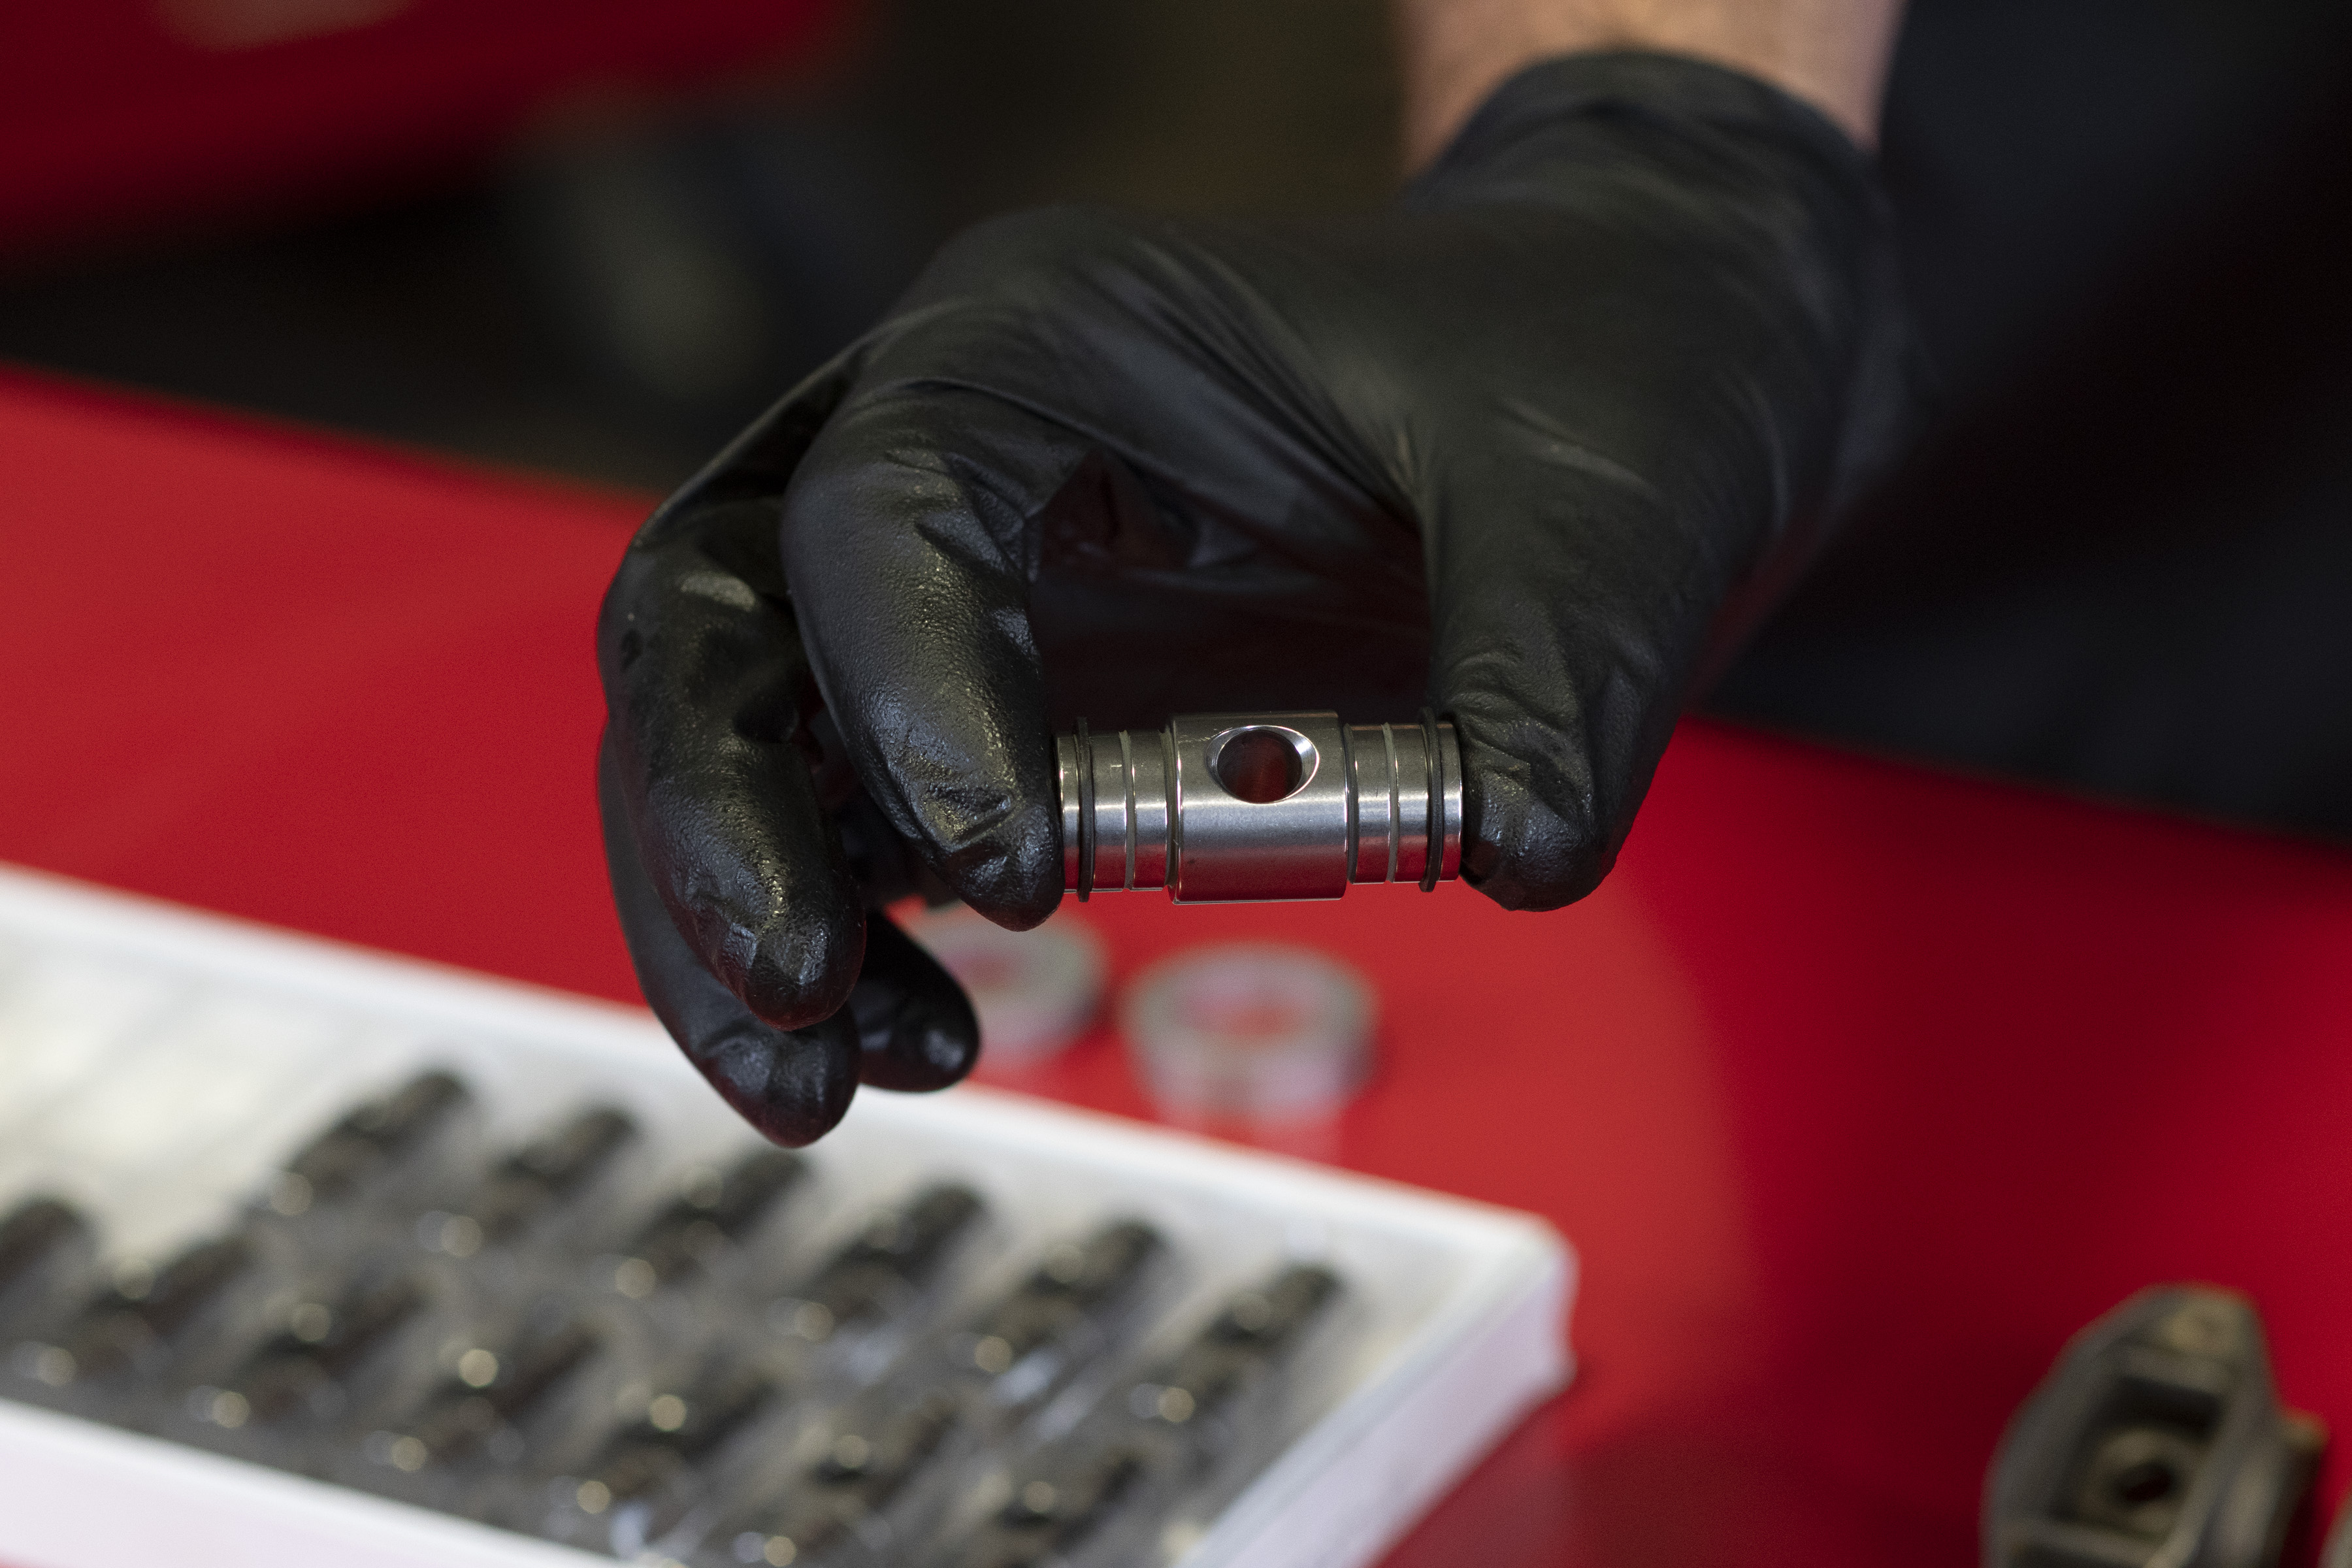
Here, you can see the oil grooves milled into the trunnion shaft, which provides exceptional lubrication to the rocker arms.
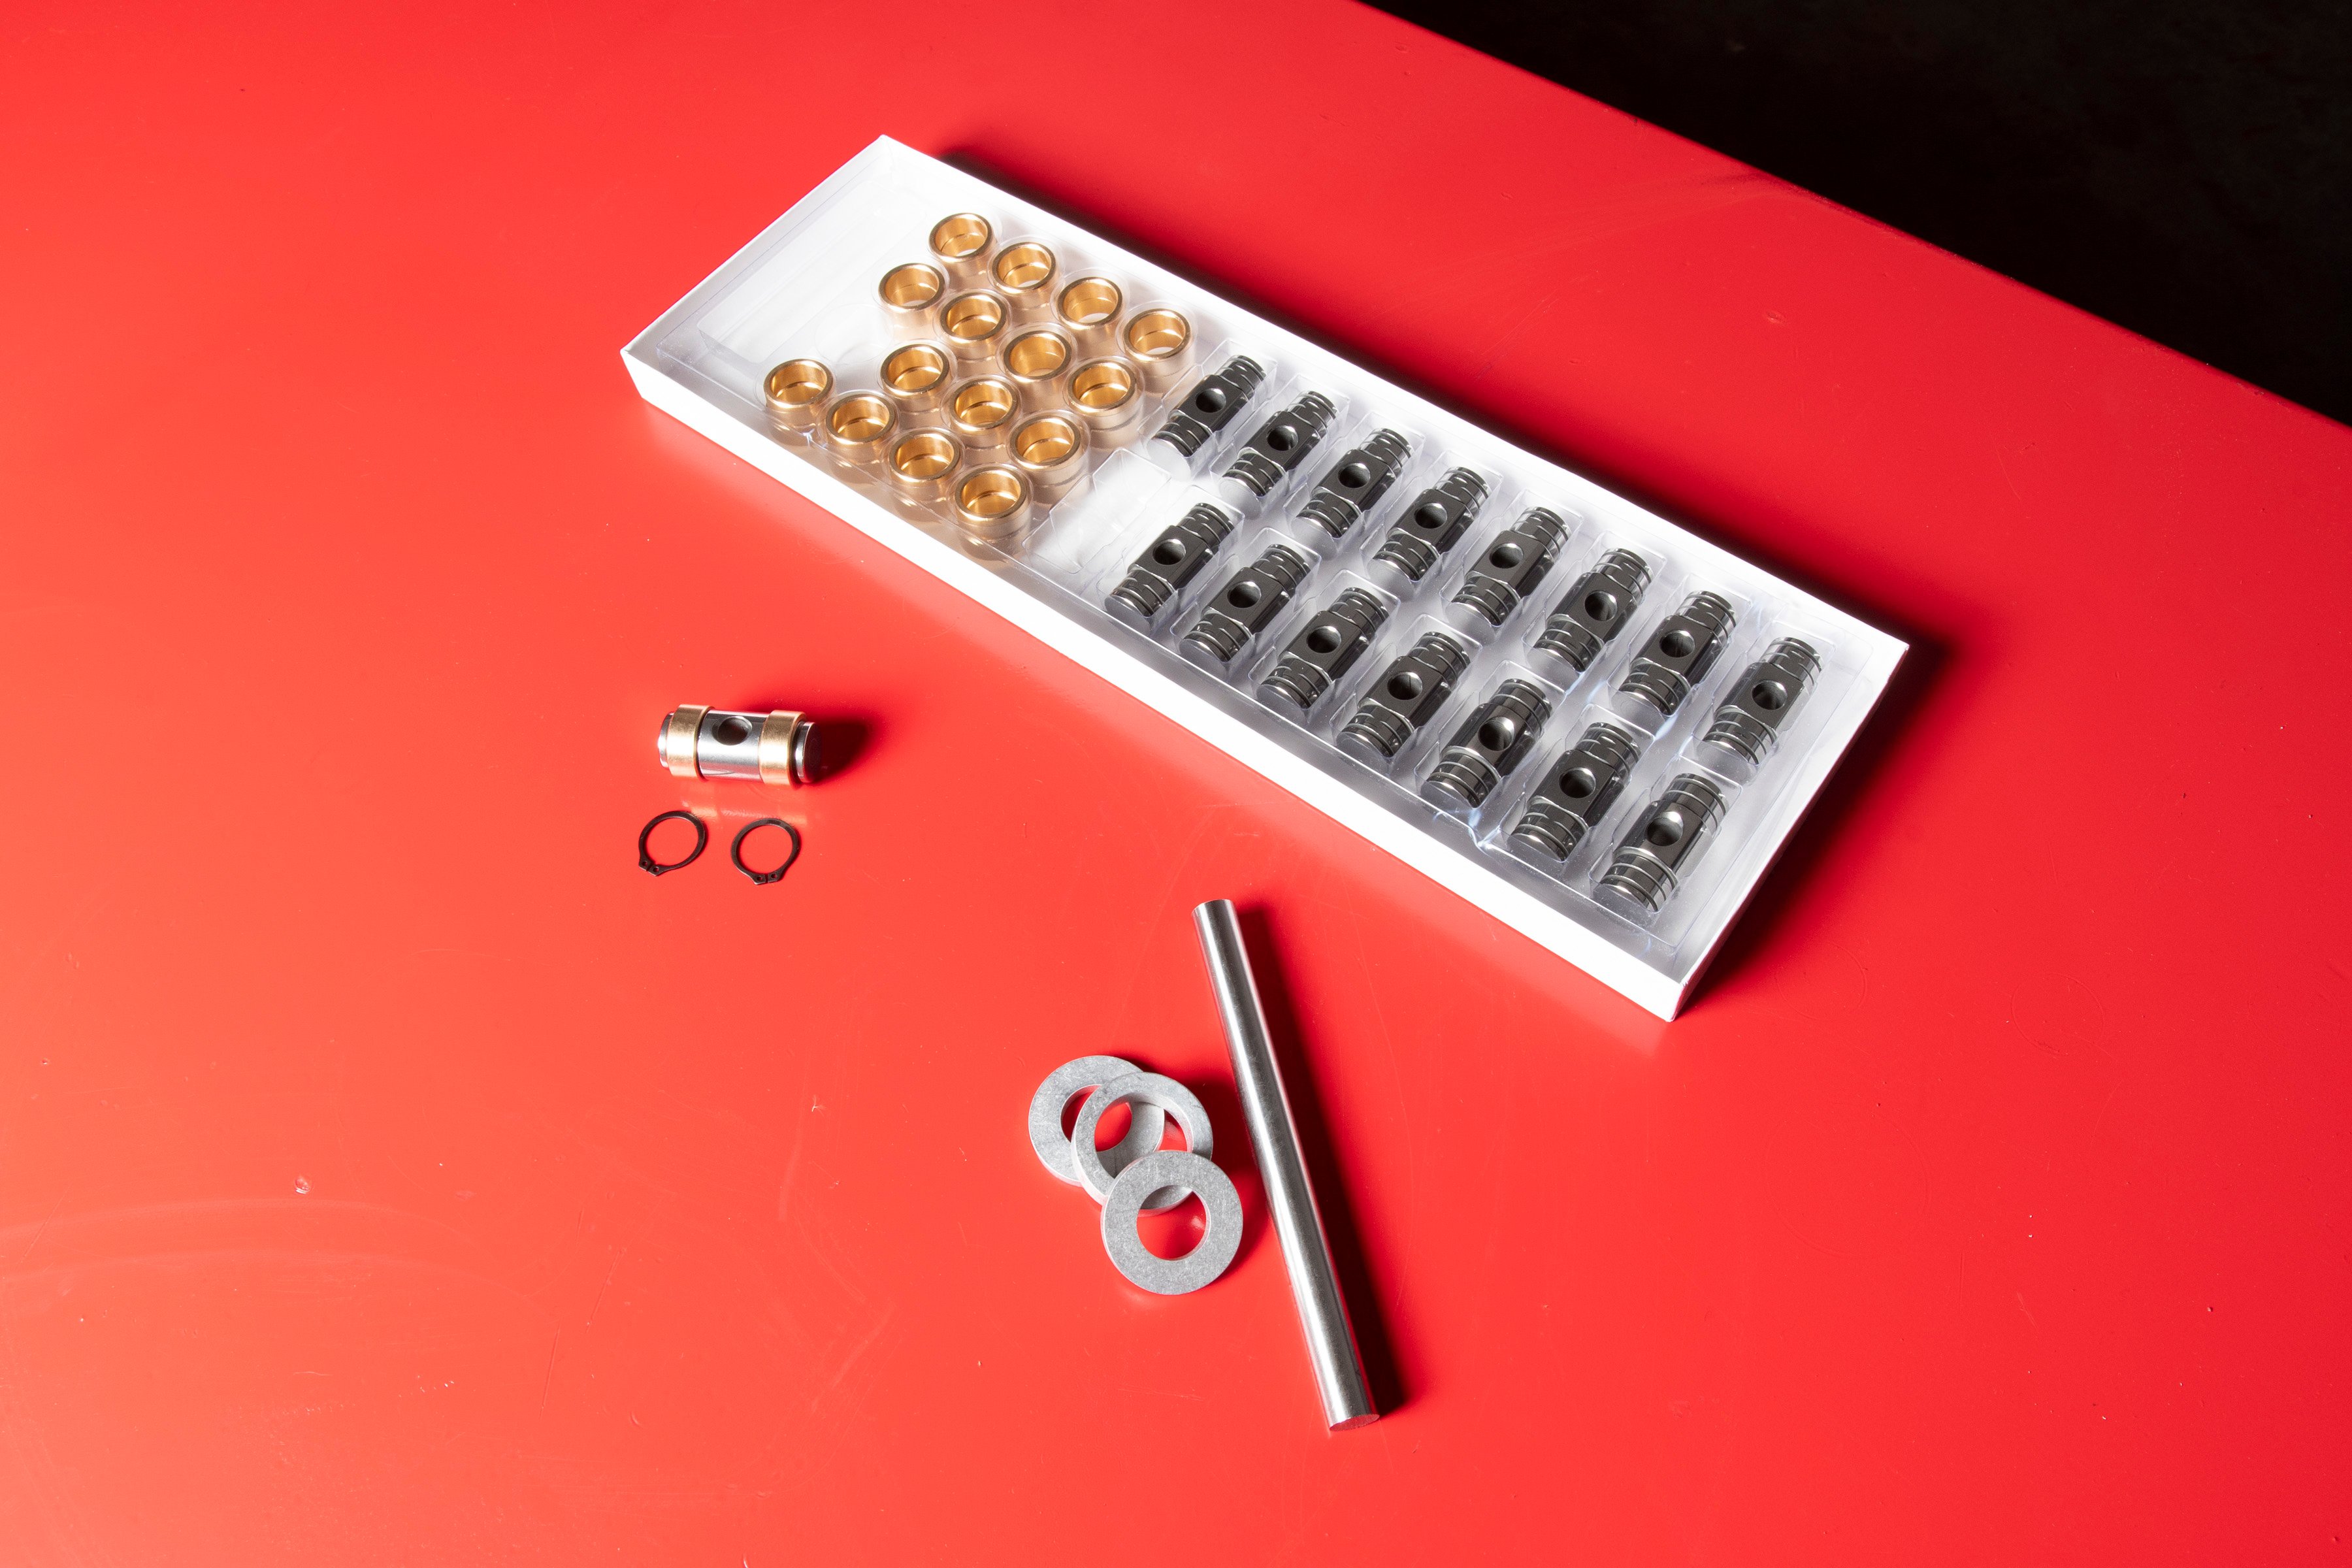
In this kit (P/N: 07-13702-16) there are 32 heavy-duty bronze bushings, 16 trunnion shafts, and 32 snap rings (circlips). The entire kit retails for around $150. A 4-piece tool kit made specifically for this conversion can be purchased from Engine Pro (P/N: LSTINST-KIT). This tool kit will make the installation very smooth, though a socket and hammer can also get the job done if you’re extremely careful.
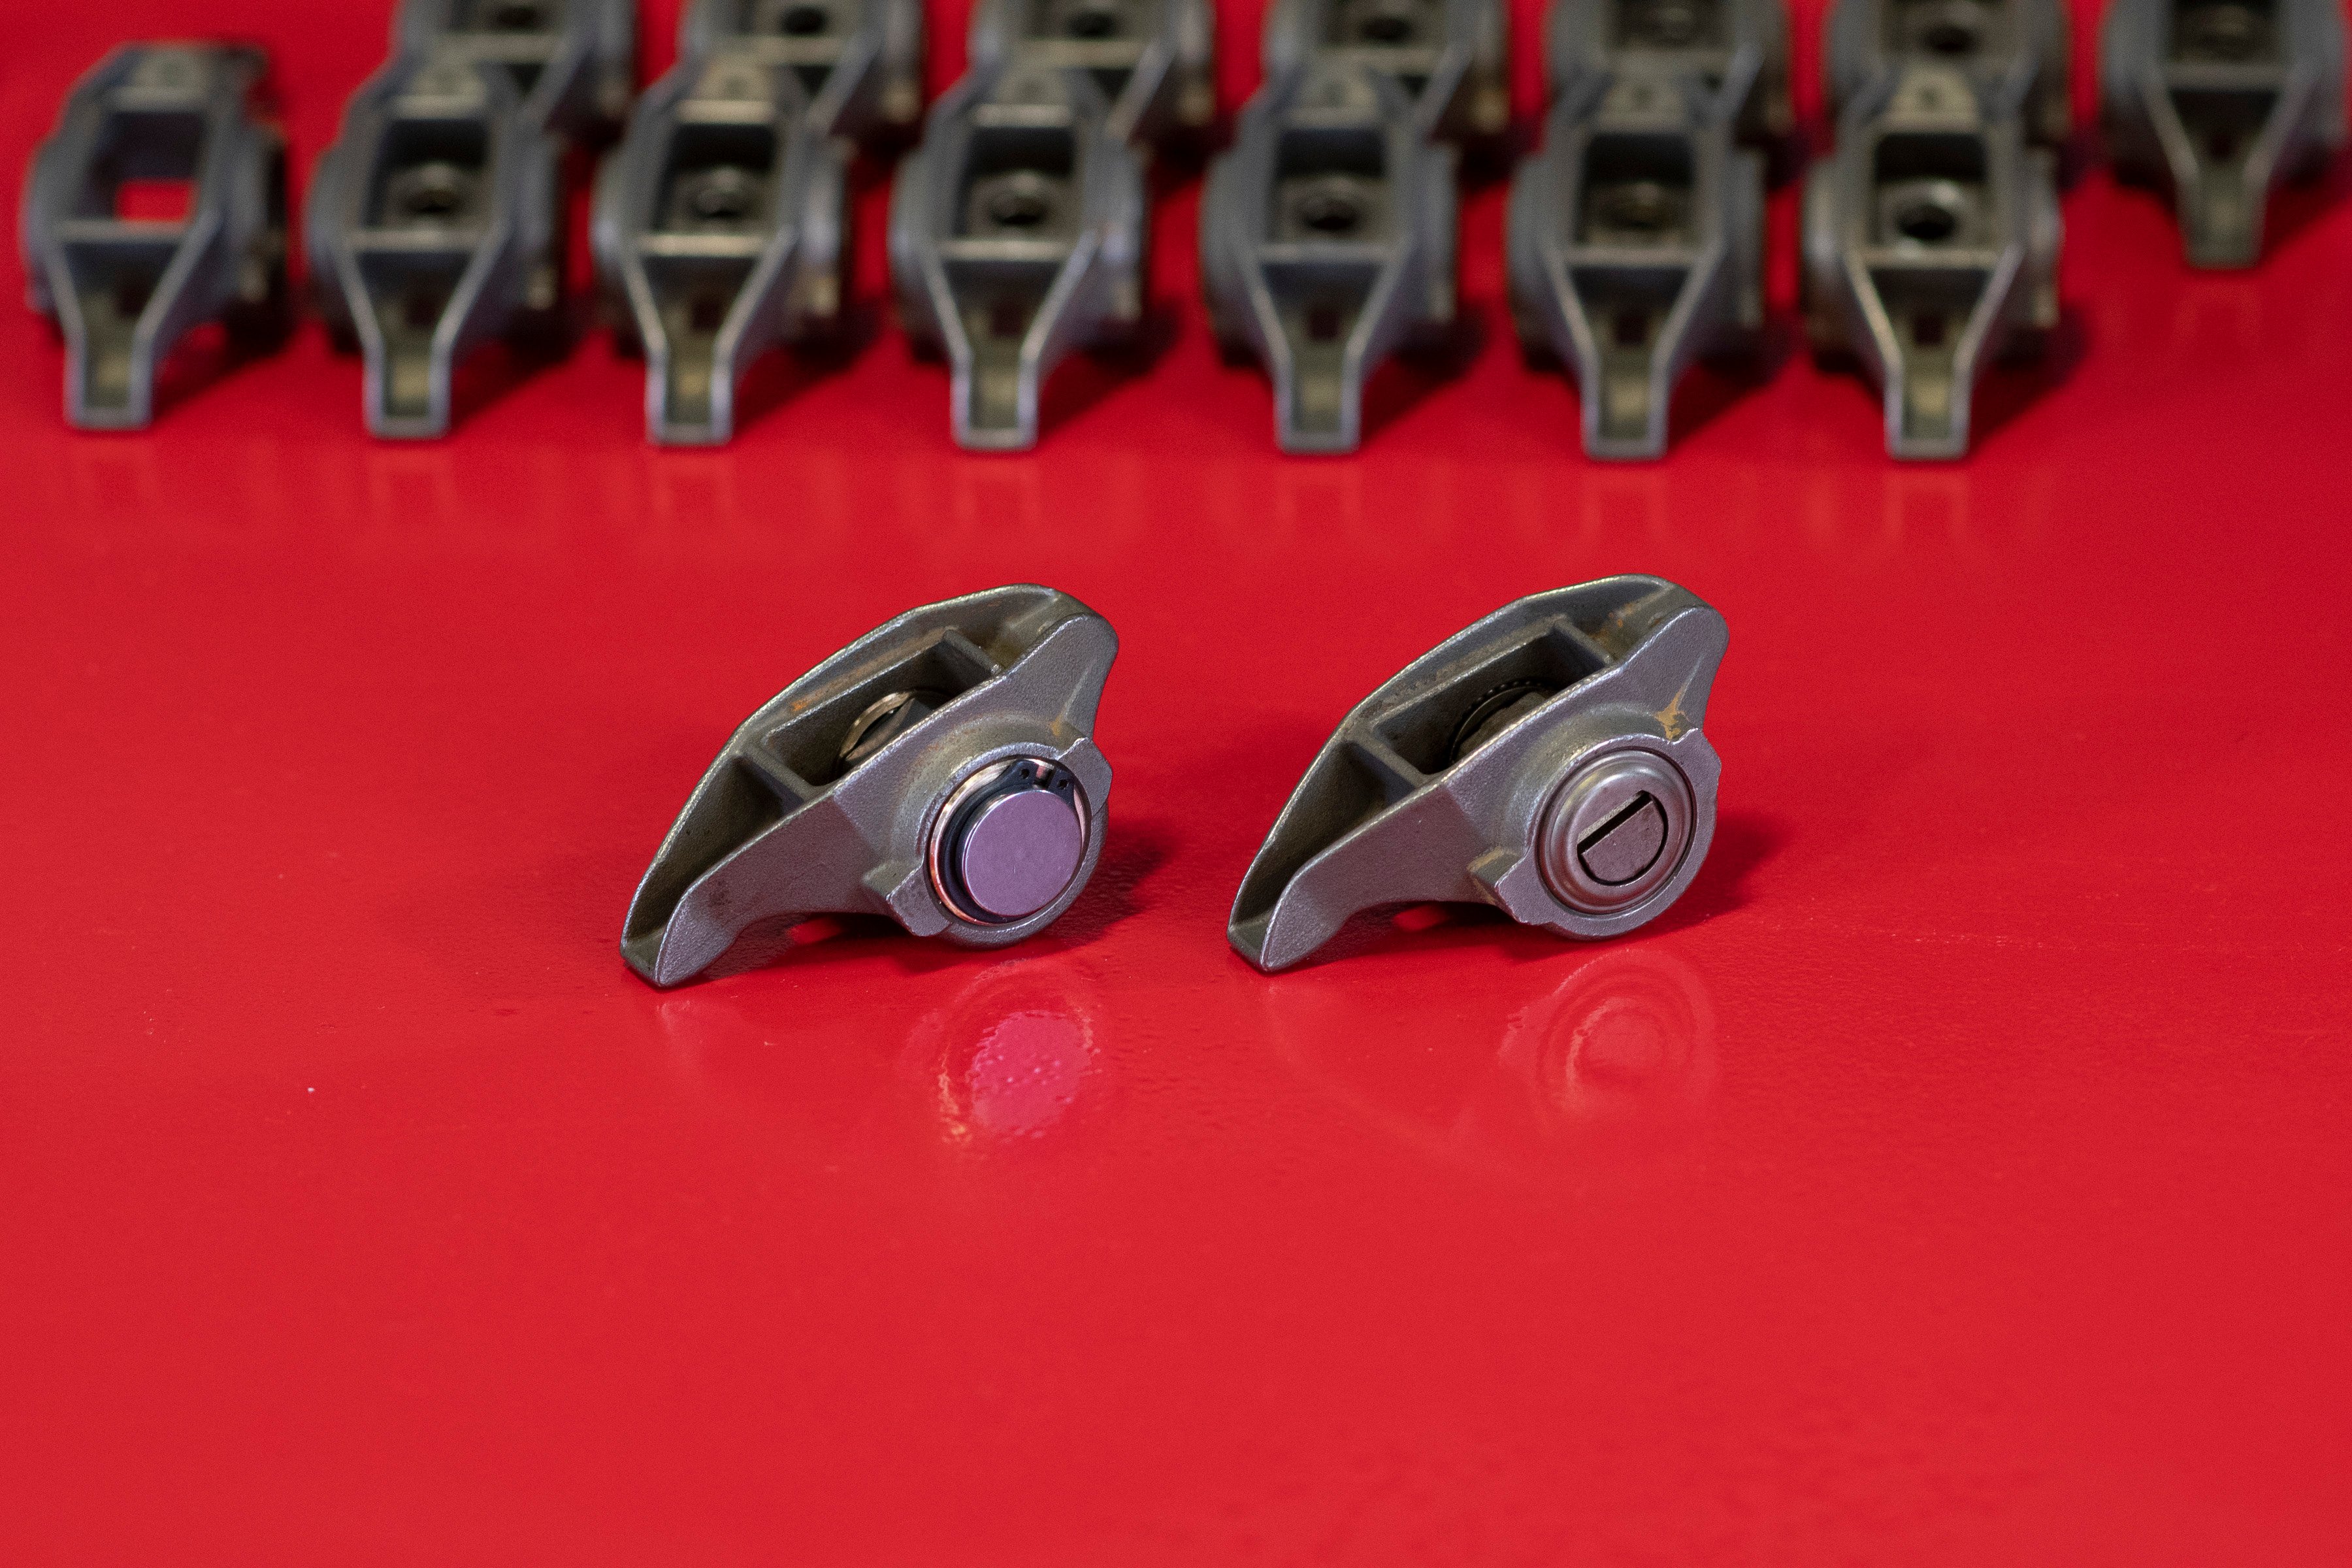
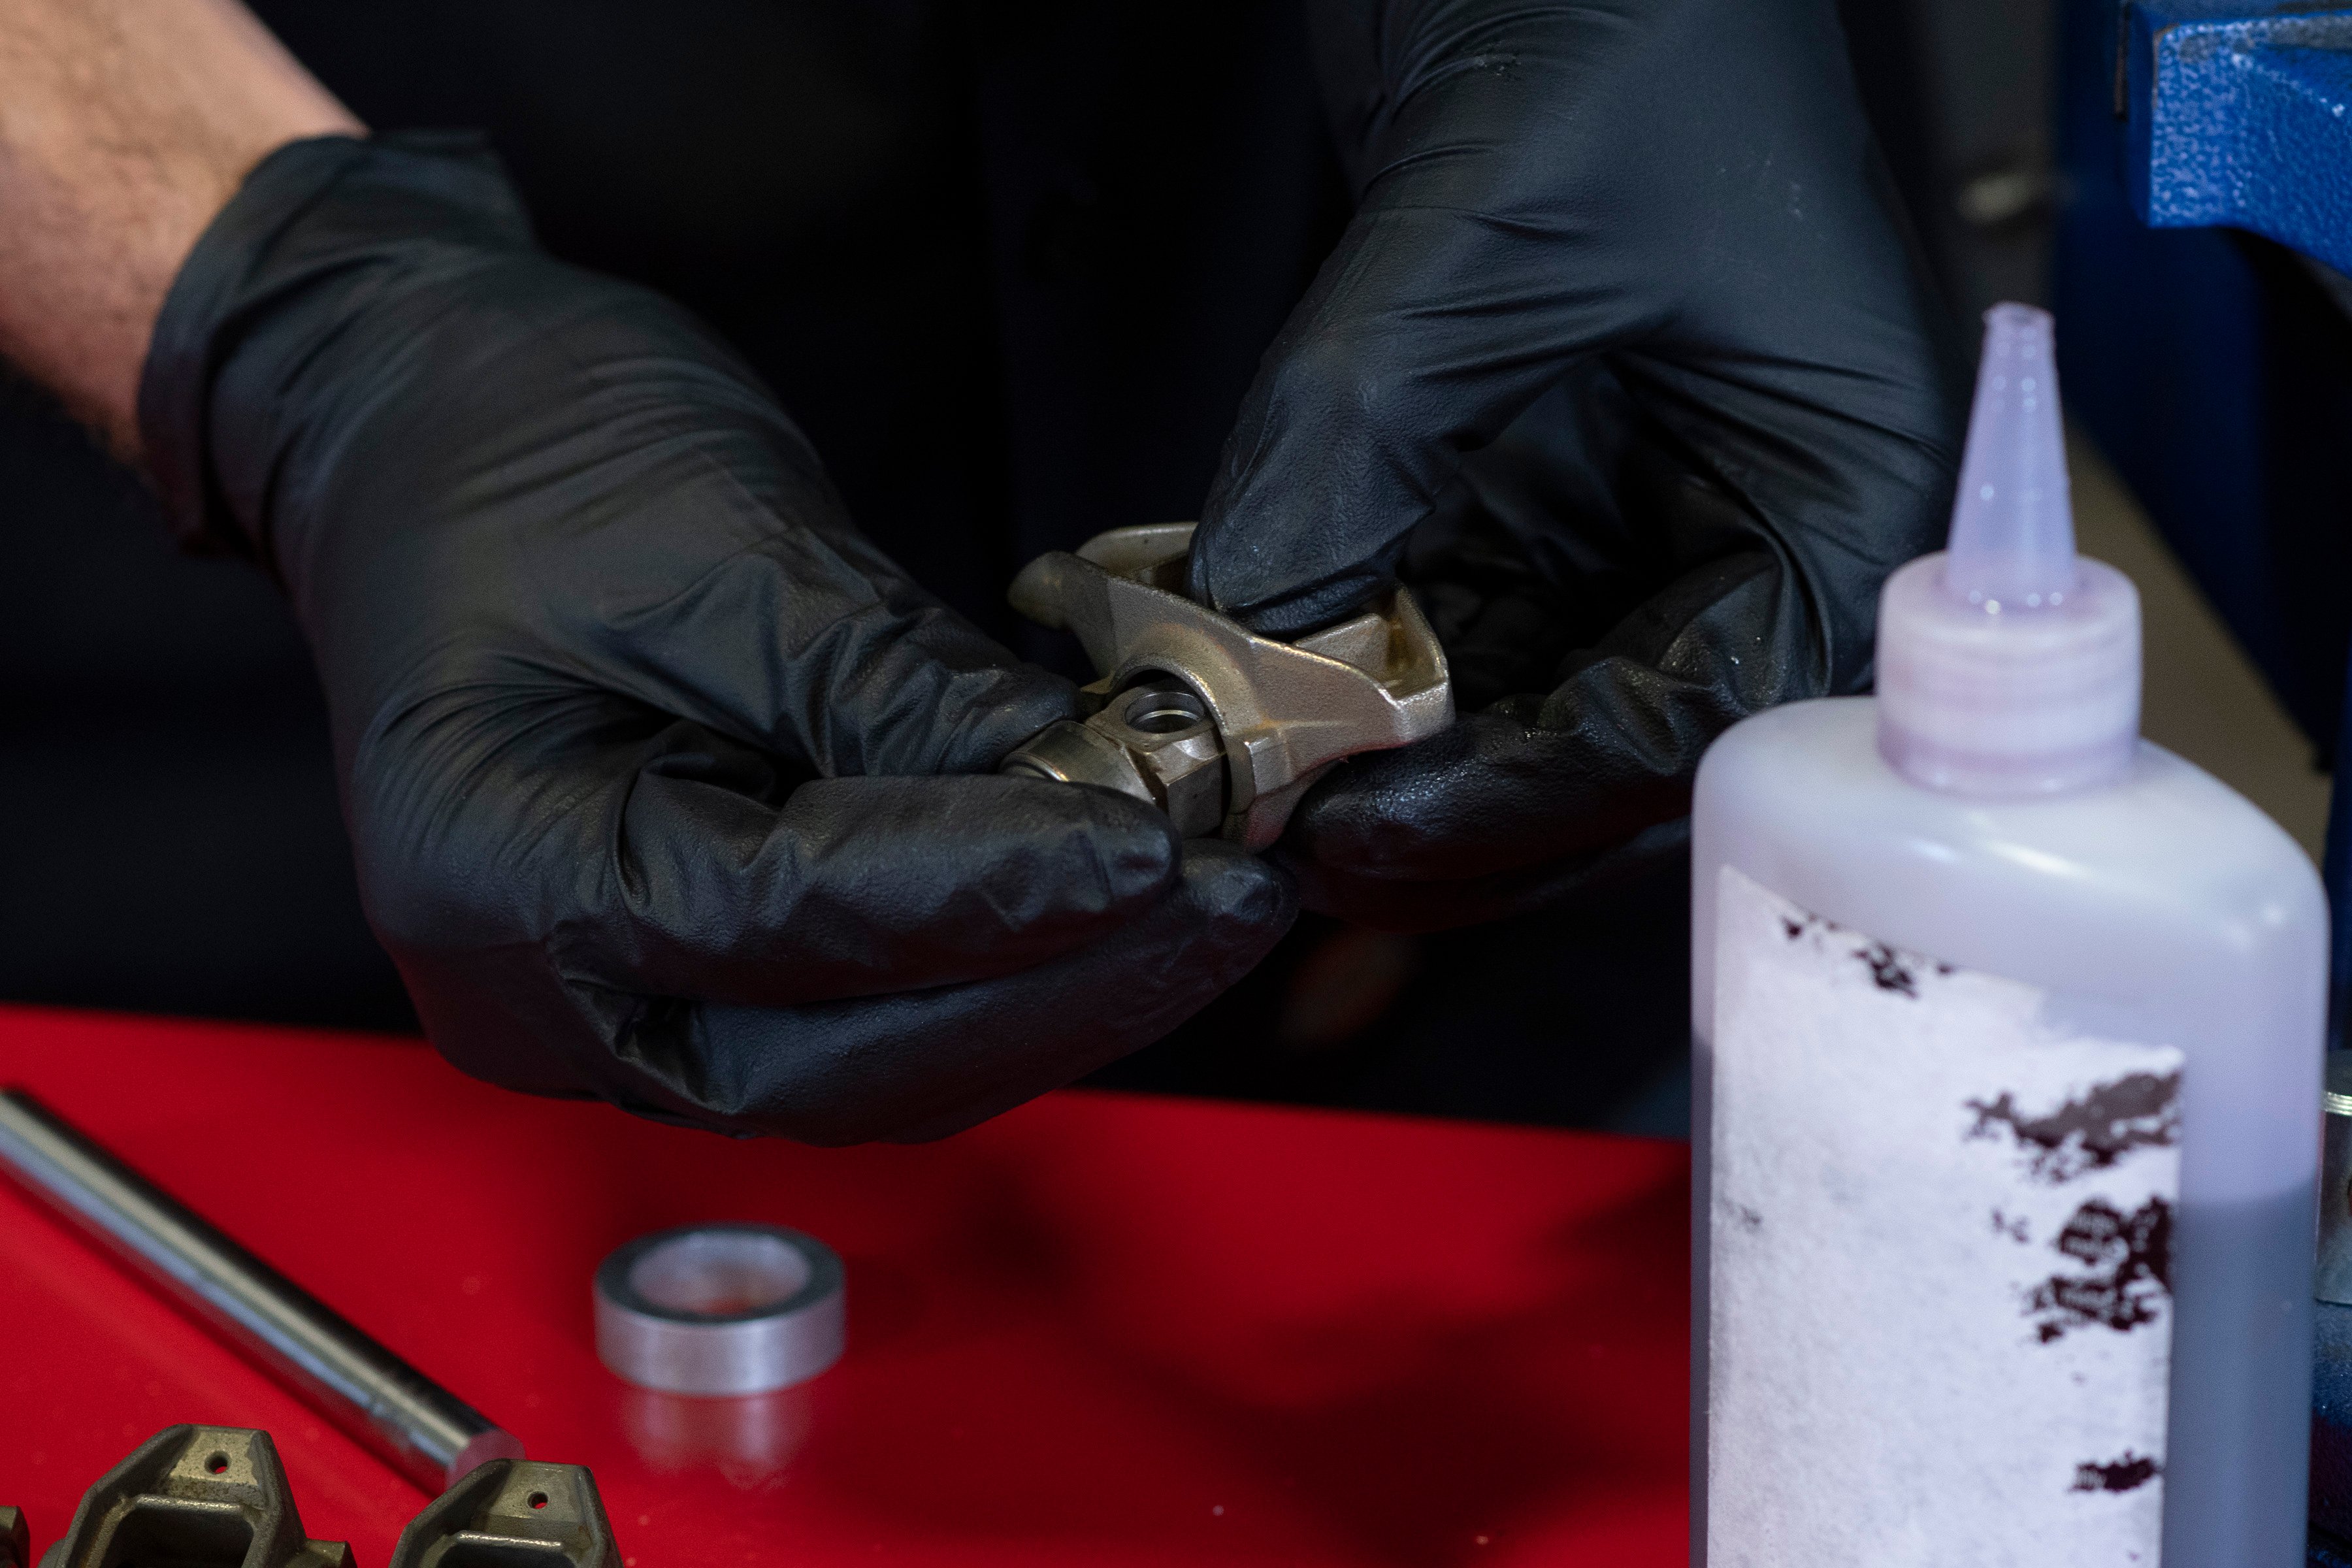
Note the difference between the completed, bushed trunnion rocker versus the original arm to the right of it. (Left)
It’s A Lot Easier Than It Looks
Tools/supplies you will need in addition to the kit provided, to convert the trunnion bearings to bushings, using the Engine Pro tool kit:
- Needle-nose pliers
- Snap-ring pliers (circlip pliers)
- A bench-mounted vice with at least a 6-inch jaw
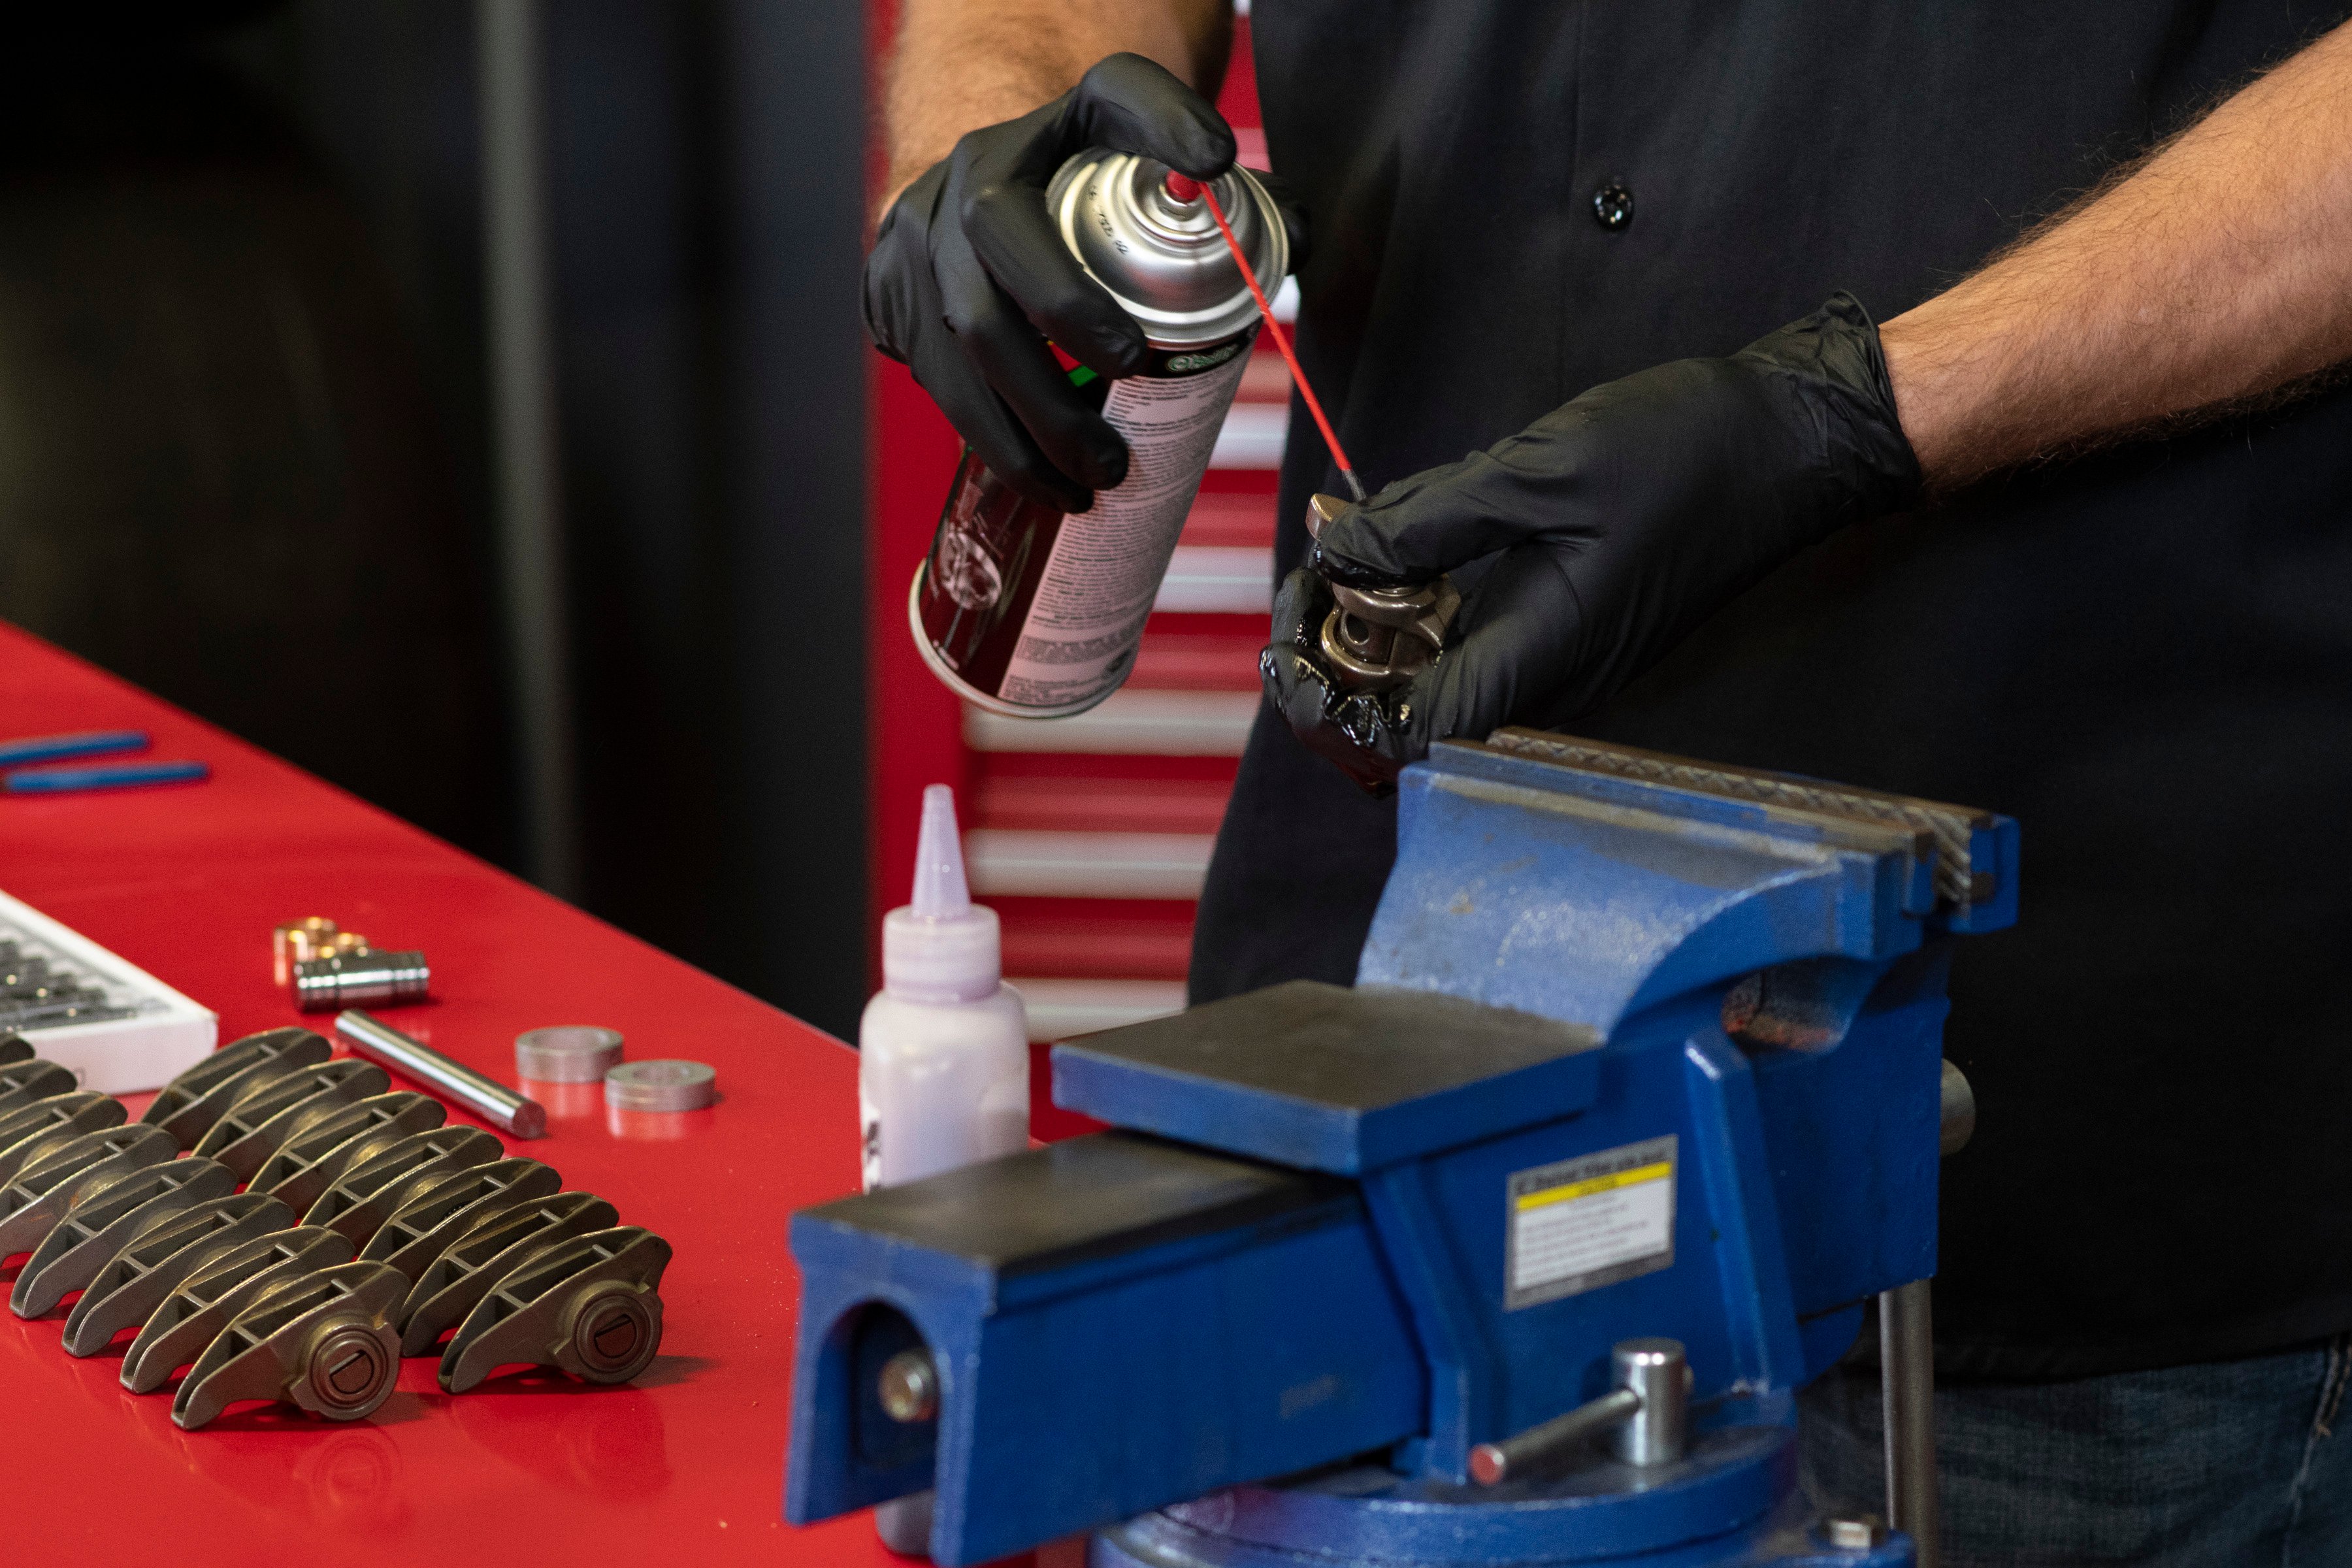
- Brake parts cleaner or other solvent
- Engine assembly lube
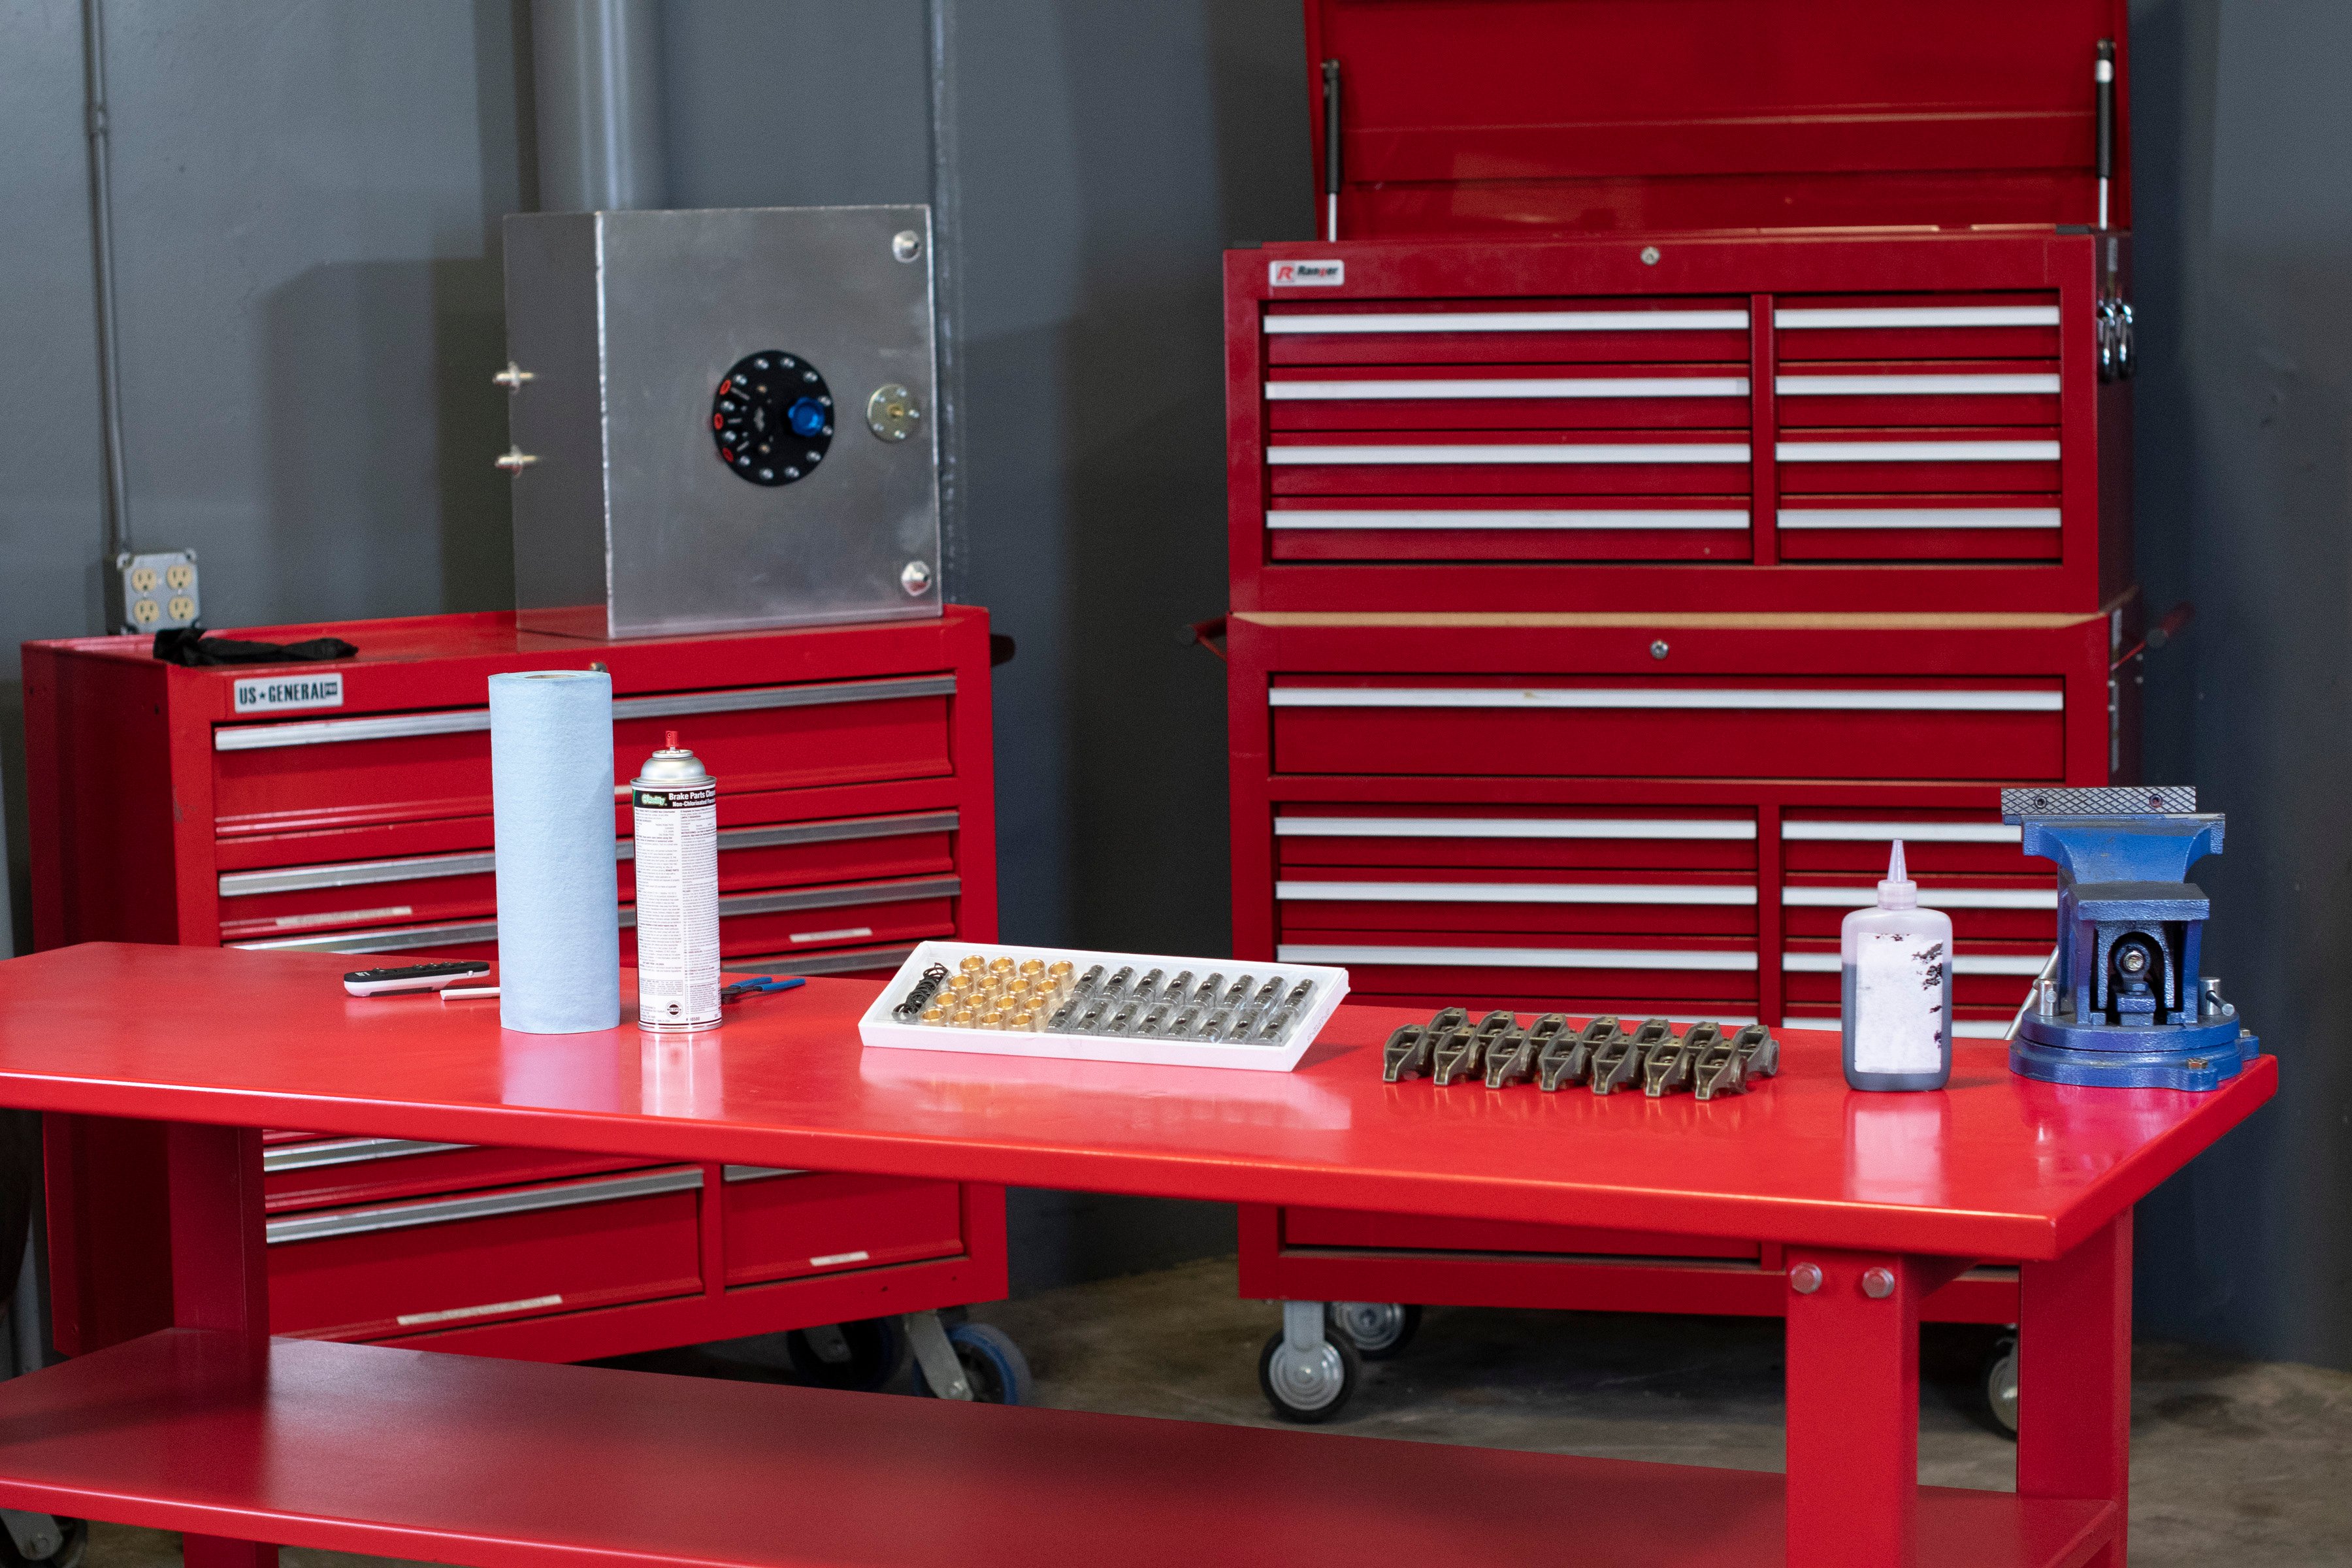
Basic hand tools, a vice, brake parts cleaner, assembly lube and an optional tool kit upgrade makes for an easy conversion.
First things first, the rocker assemblies must be removed from their respective cylinder heads and mounting stands. Chances are, if you are doing this upgrade, the heads are already off the engine, as there is no such thing as doing a cam and lifter swap on an LS-motor without pulling the heads off.
Open the jaw of your vice out approximately 5-6 inches. Take the largest of the three dies in your Engine Pro kit and place one side of the rocker (bearing) against it. Make sure to have the bearing aligned in the center of the die cup, to insure you are not pressing the bearing against the die itself. Align the long pin from the tool kit to the center of the opposing trunnion shaft end. Begin closing the vice, and watch for binding as the shaft and bearing begin to press into the die cup. At this point, the trunnion shaft should be free. The opposing bearing can be removed from the center of the rocker arm once the trunnion shaft is removed.
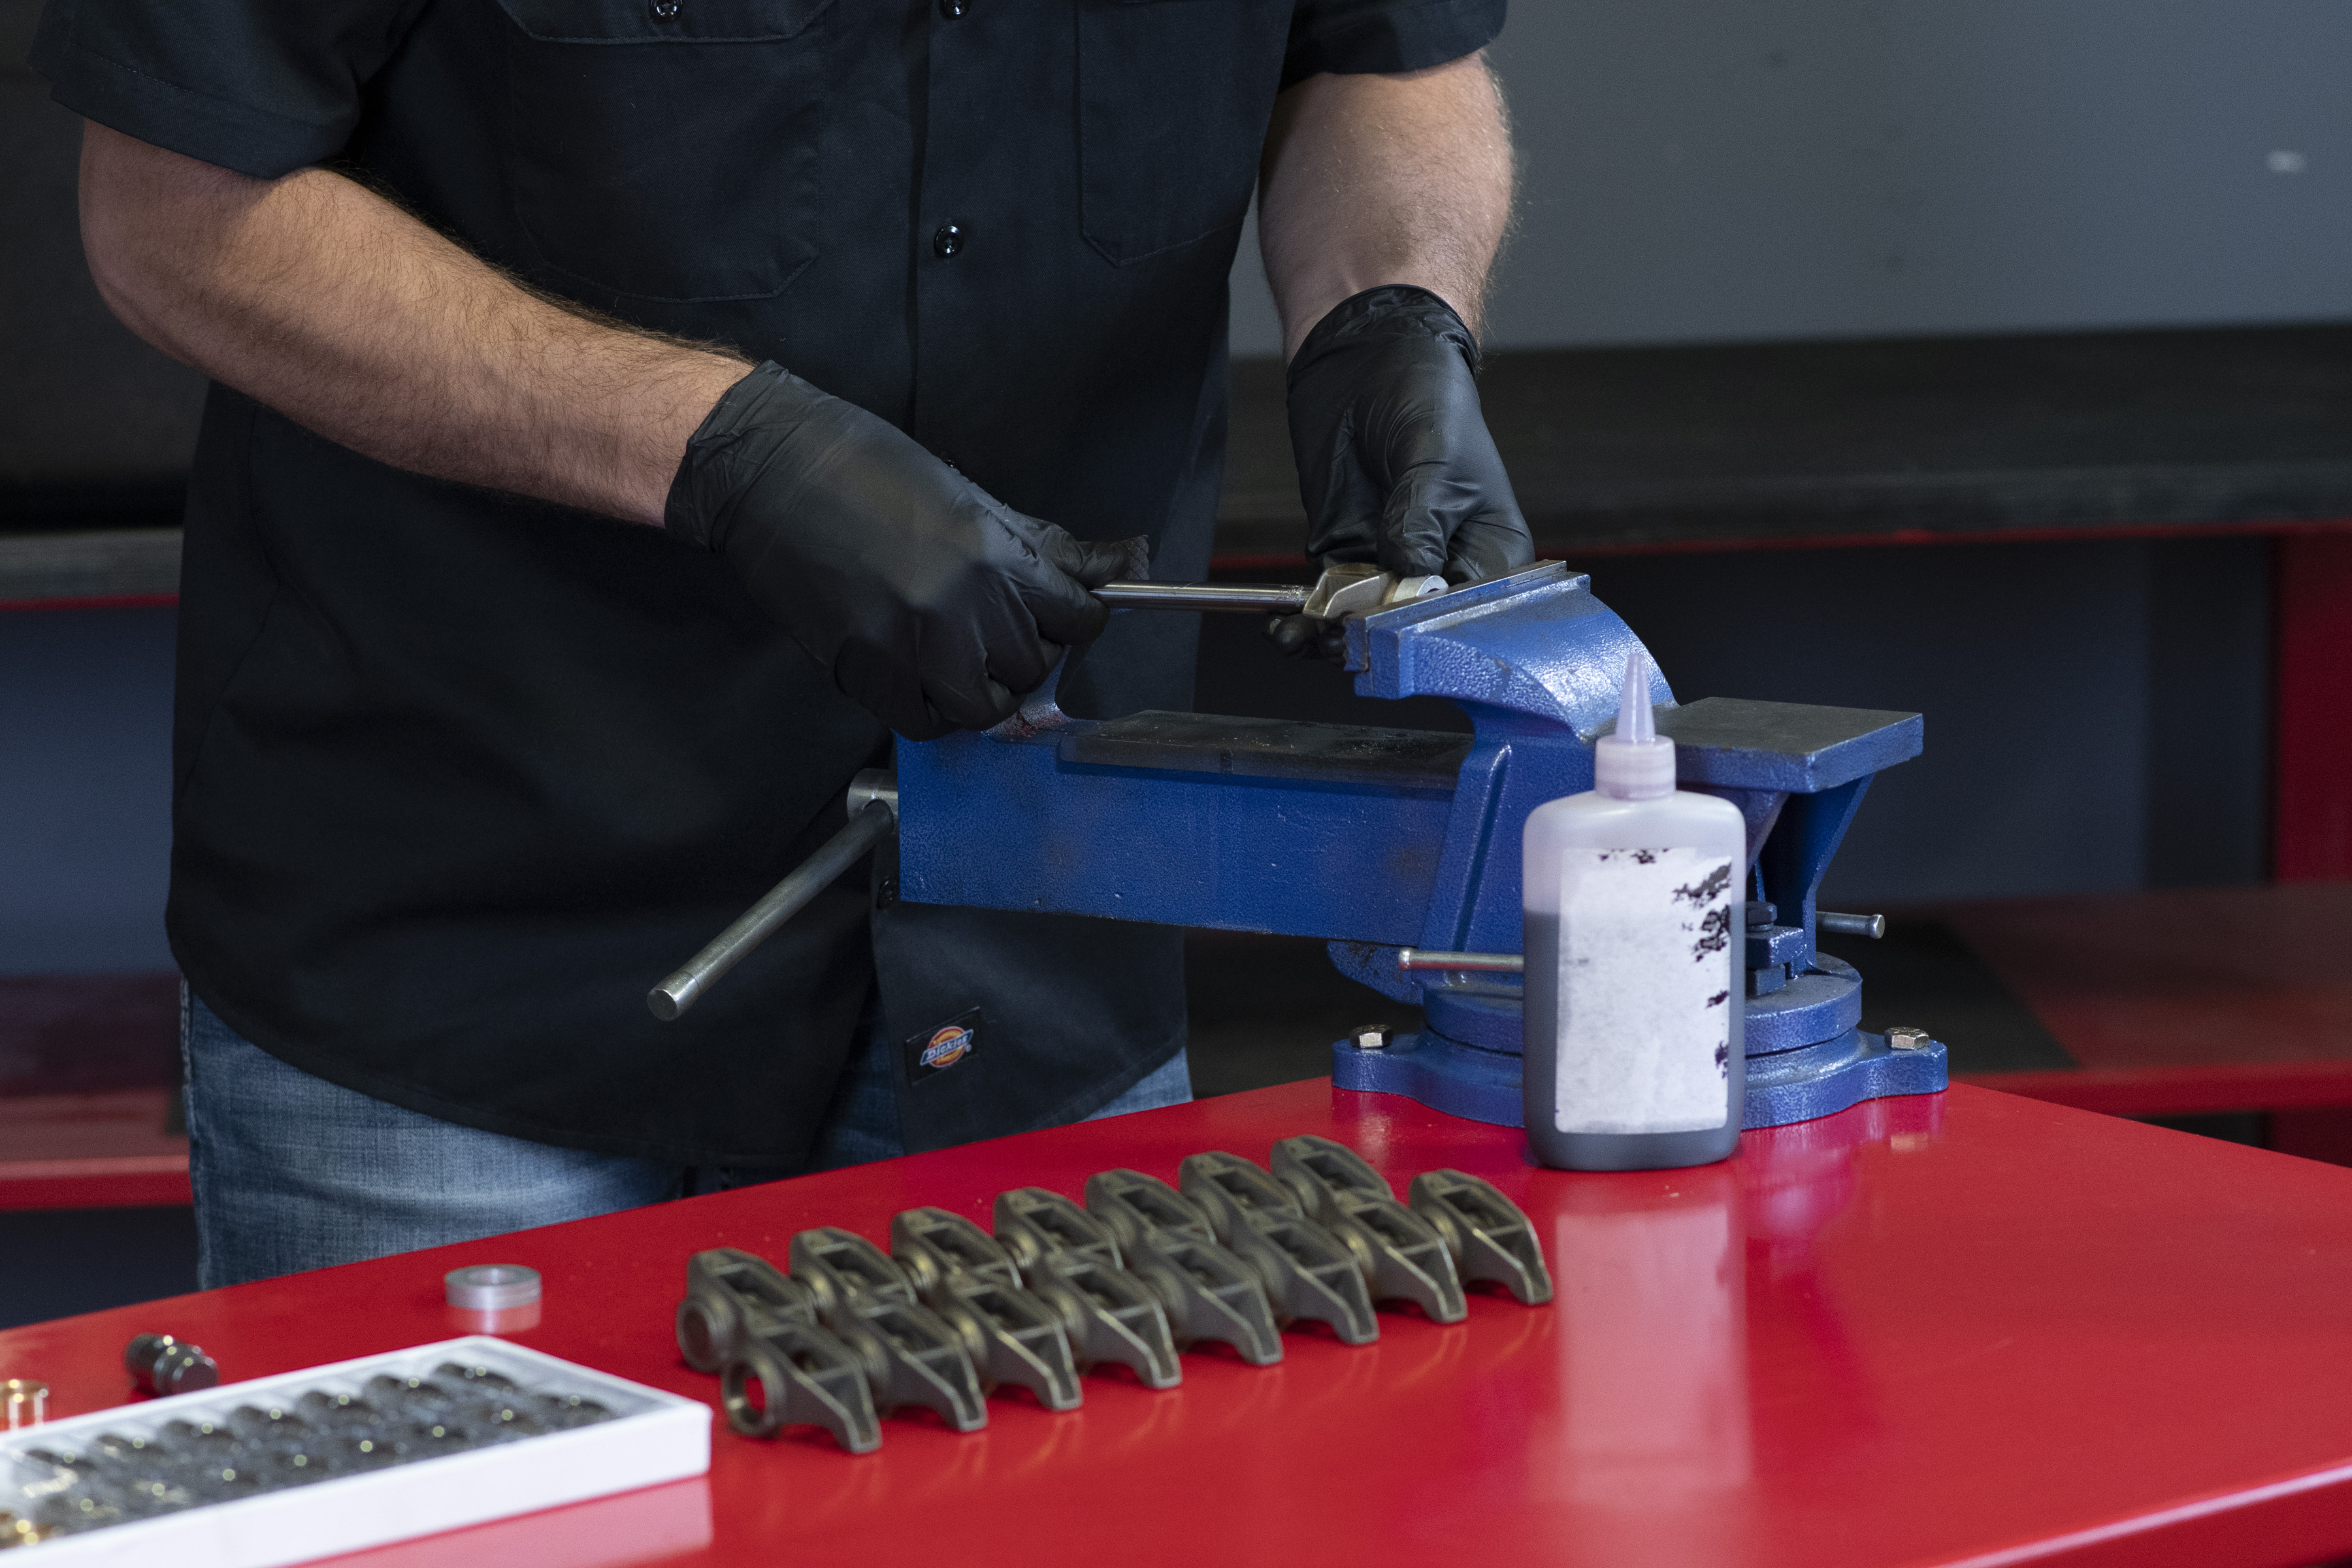
The root process to install the trunion upgrades is really simple at it's core. You just need to make sure to take your time, and complete each step with care.
Remove any loose needle bearings that are left over, and be sure to thoroughly clean the rocker arm with a solvent such as brake parts cleaner. Using one of the smaller two dies, press one of the new bushings into the rocker arm until it is flush. Do not use excessive force; it could result in damage to the rocker arm. Lubricate the inside bearing surface with assembly lube and align the trunnion shaft into the center. Lubricate the other bearing surface of the trunnion shaft. Using one of the matching dies on each side, press the second bushing into the rocker arm until it is flush.
Important: Make sure the trunnion shaft rotates freely inside the rocker arm. If it does not, you will need to press the bushings back out and either try again or consider replacing the rocker arm itself, as it may be bent. We cannot stress how important it is to make sure that the trunnion shaft spins freely.
From here, install the provided snap rings into the grooves of the trunnion shaft, on the outside of the bushings. These help hold everything together and prevent the pressed bushings from sliding out of place (and the rocker assemblies from failing as a result).
This sequence will need to be completed for each of the 16 rocker arm assemblies. The whole job should take around one to two hours if you’re thorough. Once installed back onto the mounting stands and properly torqued to the bolt manufacturer’s specifications, your upgraded trunnion rocker arms will be set to endure a long service life of hard abuse.
Whether you are looking to see what a simple camshaft swap can do to wake up an otherwise stock engine, building a sloppy junkyard turbo engine, or sparing no expenses on a 1,000-horsepower, high-end engine assembly, you must give great consideration to the 16 weak-links in your valvetrain: your trunnion rocker arm assemblies. Regardless of how elaborate your combination may be, this kit should live up to almost anything you throw at it. The cheap insurance you will gain from a $150 upgrade will prove itself invaluable; it is truly a must-have for any LS-engine.