Want to strike fear in a C4 Corvette owner? Tell them that the hood latch on their car just disconnected. Many C4 owners live in fear that one day, the cable may disconnect from one (or both) of the latches or the plastic handle under the hood may break. This makes it impossible to open the hood, which can range from problematic to catastrophic.
The fire company is there to put out the fire, and they’ll get to the fire using any means necessary.. We’ve seen several hoods opened this way once a fire renders the cables inoperable.
There are numerous reasons why the hood latch might cease to work. We’ve seen cars that have had engine fires and before anyone could think to pop the hood, the heat burned the cables, rendering the system useless. If the thought of a fire ravaging the under-hood side of your pride and joy makes you nervous, just wait until the fire company brings out their chop saw to gain access to the burning engine!
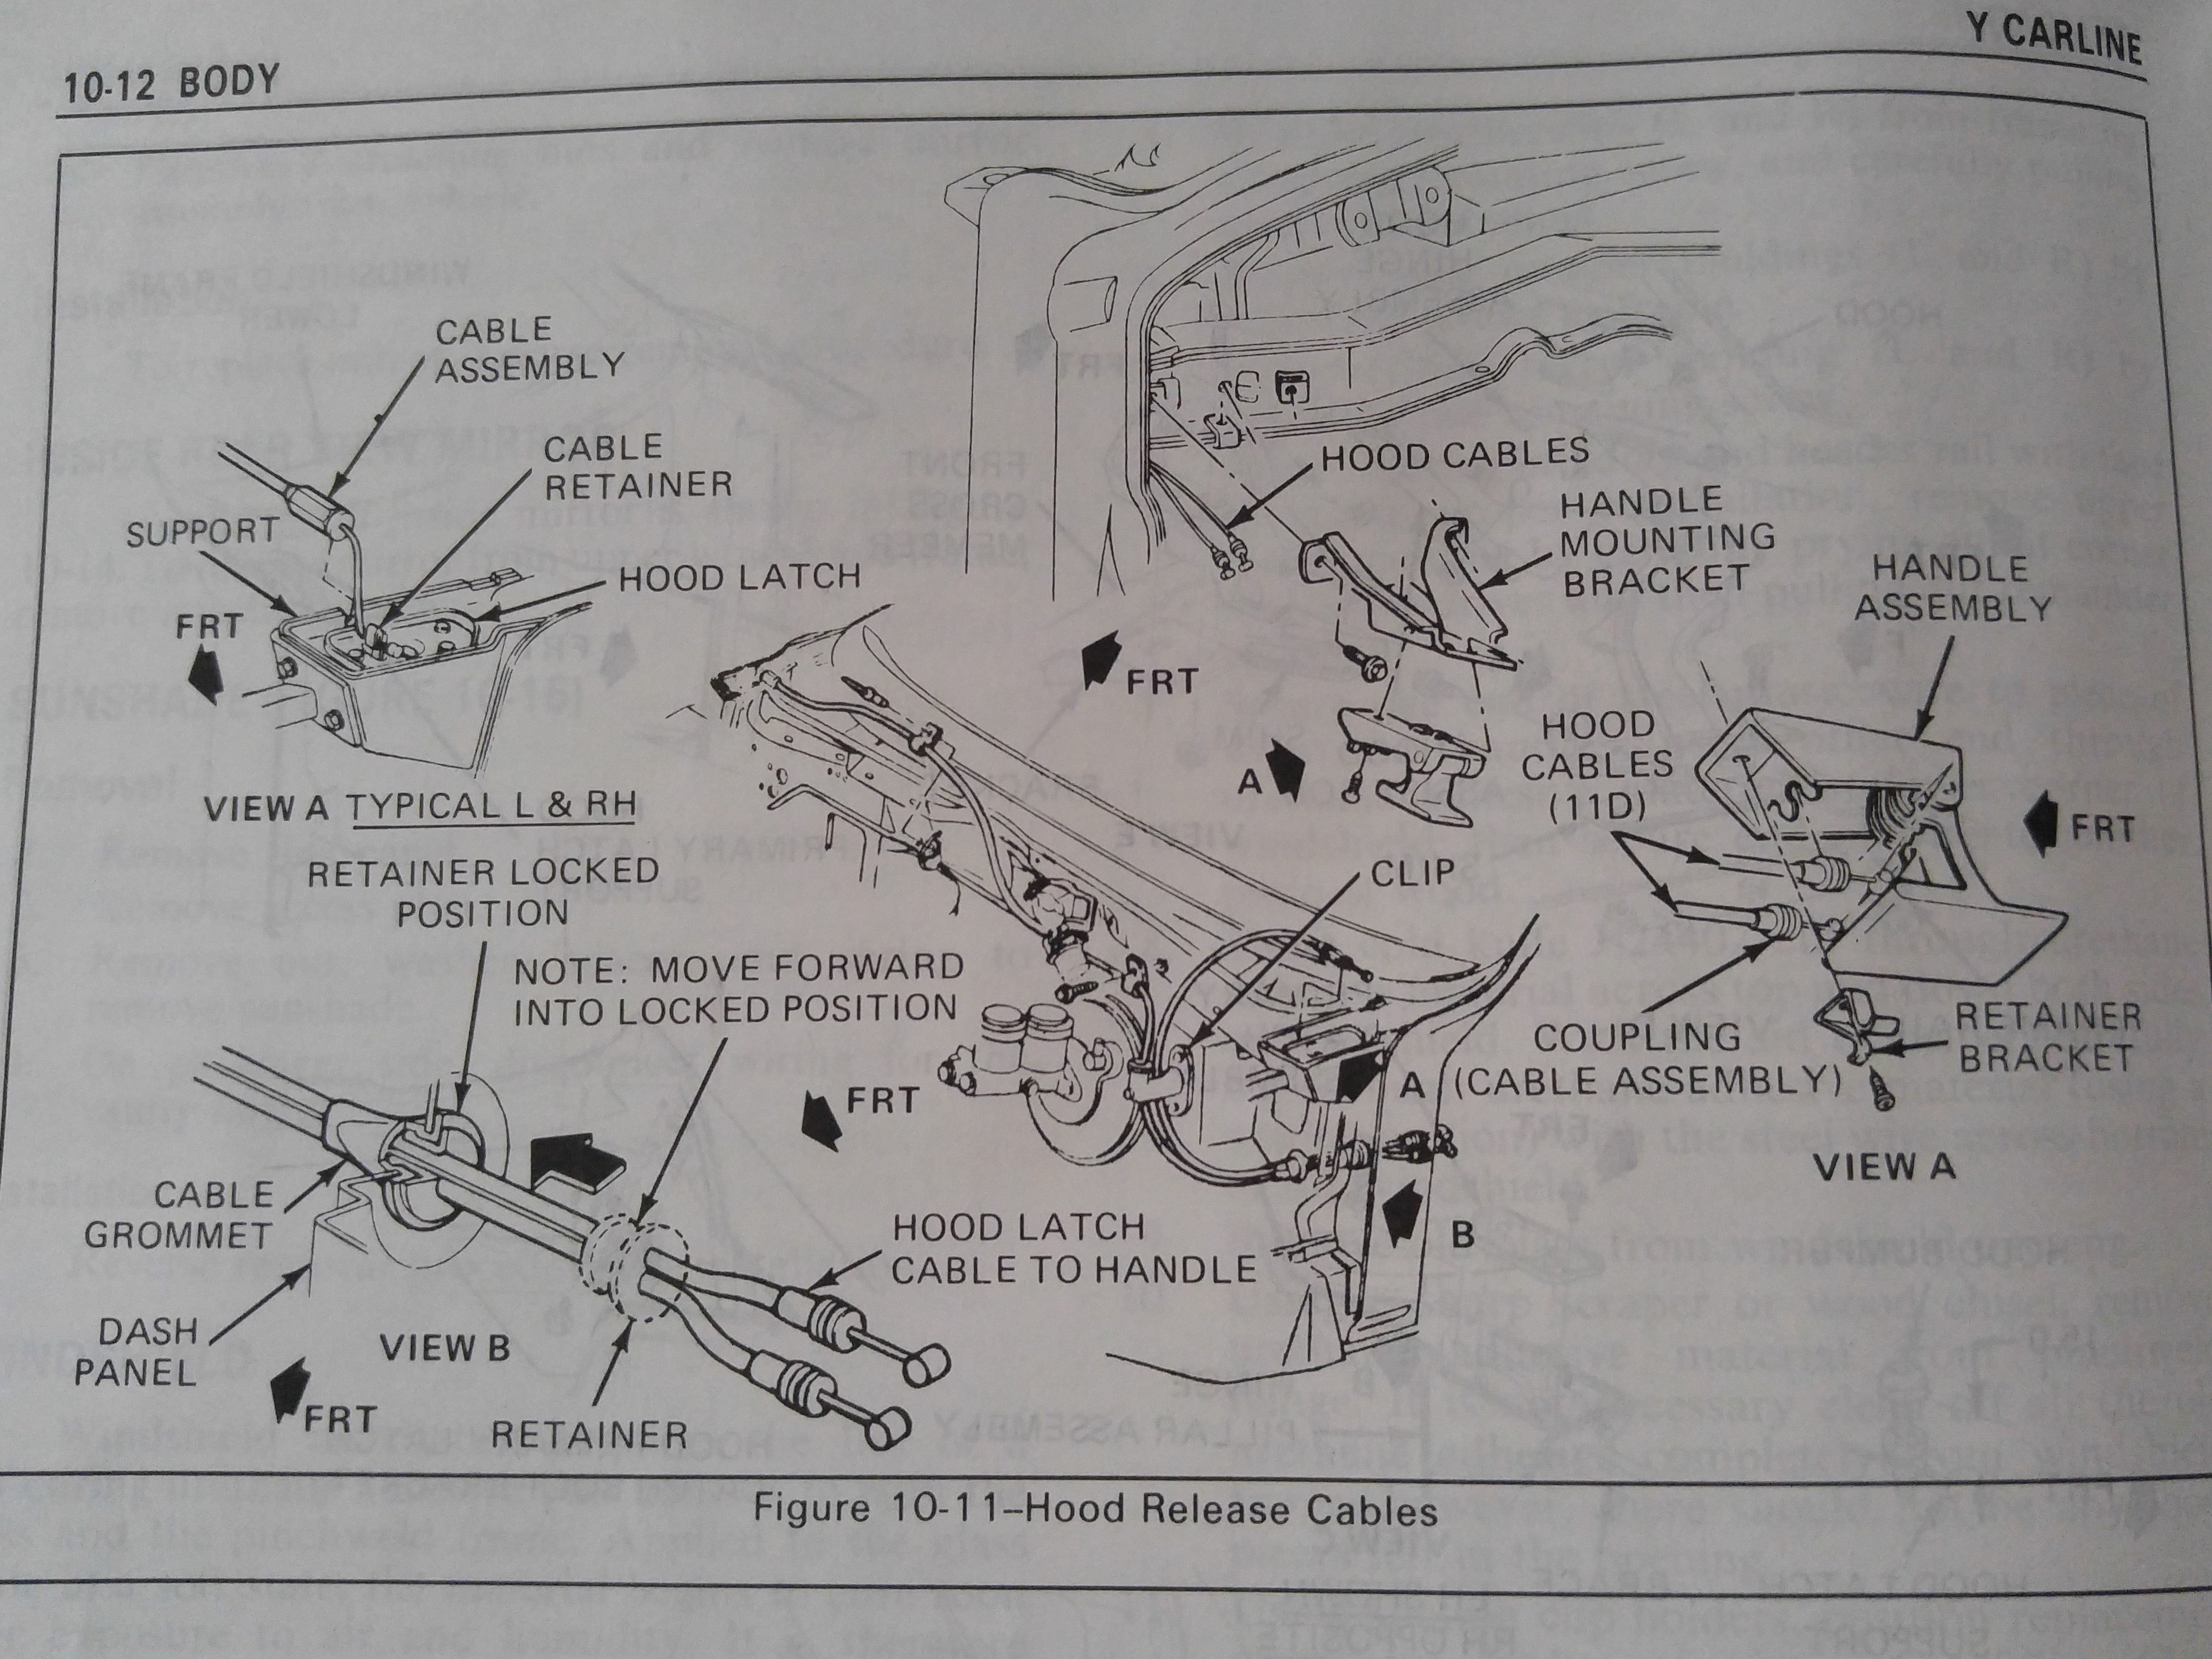
This page from the service manual shows how the cables are run from the release handle to each of the latches.
Hood latch issues have plagued C4 Corvette owners for decades, and GM even had a bulletin on combating them way back in 1993. The Corvette Action Center now archives the bulletin on its website for future owners.
Most of the time, hood latch failures can be prevented by taking just a little bit of time adjusting them, cleaning years of crud and grease from the latch assemblies and cleaning out the wells under the latches. Many folks didn’t own their C4s when new, and they may not know how easily the latches worked when they were in proper operating order. As grease ages and hardens, the force to open the latches increases gradually, until one day, it surpasses the strength of the plastic handle mechanism under the dash. Usually, one of the tabs breaks off and the handle doesn’t pull on the cable anymore.
We decided it was about time to free up our hood latches so that we don’t have an issue like that later on. We also went a step further and made up an auxiliary latch cable, just in case the factory one should ever decide to go south. There are tools available to open a stuck hood, and the aftermarket Corvette supply houses have sold thousands of them for around $15.
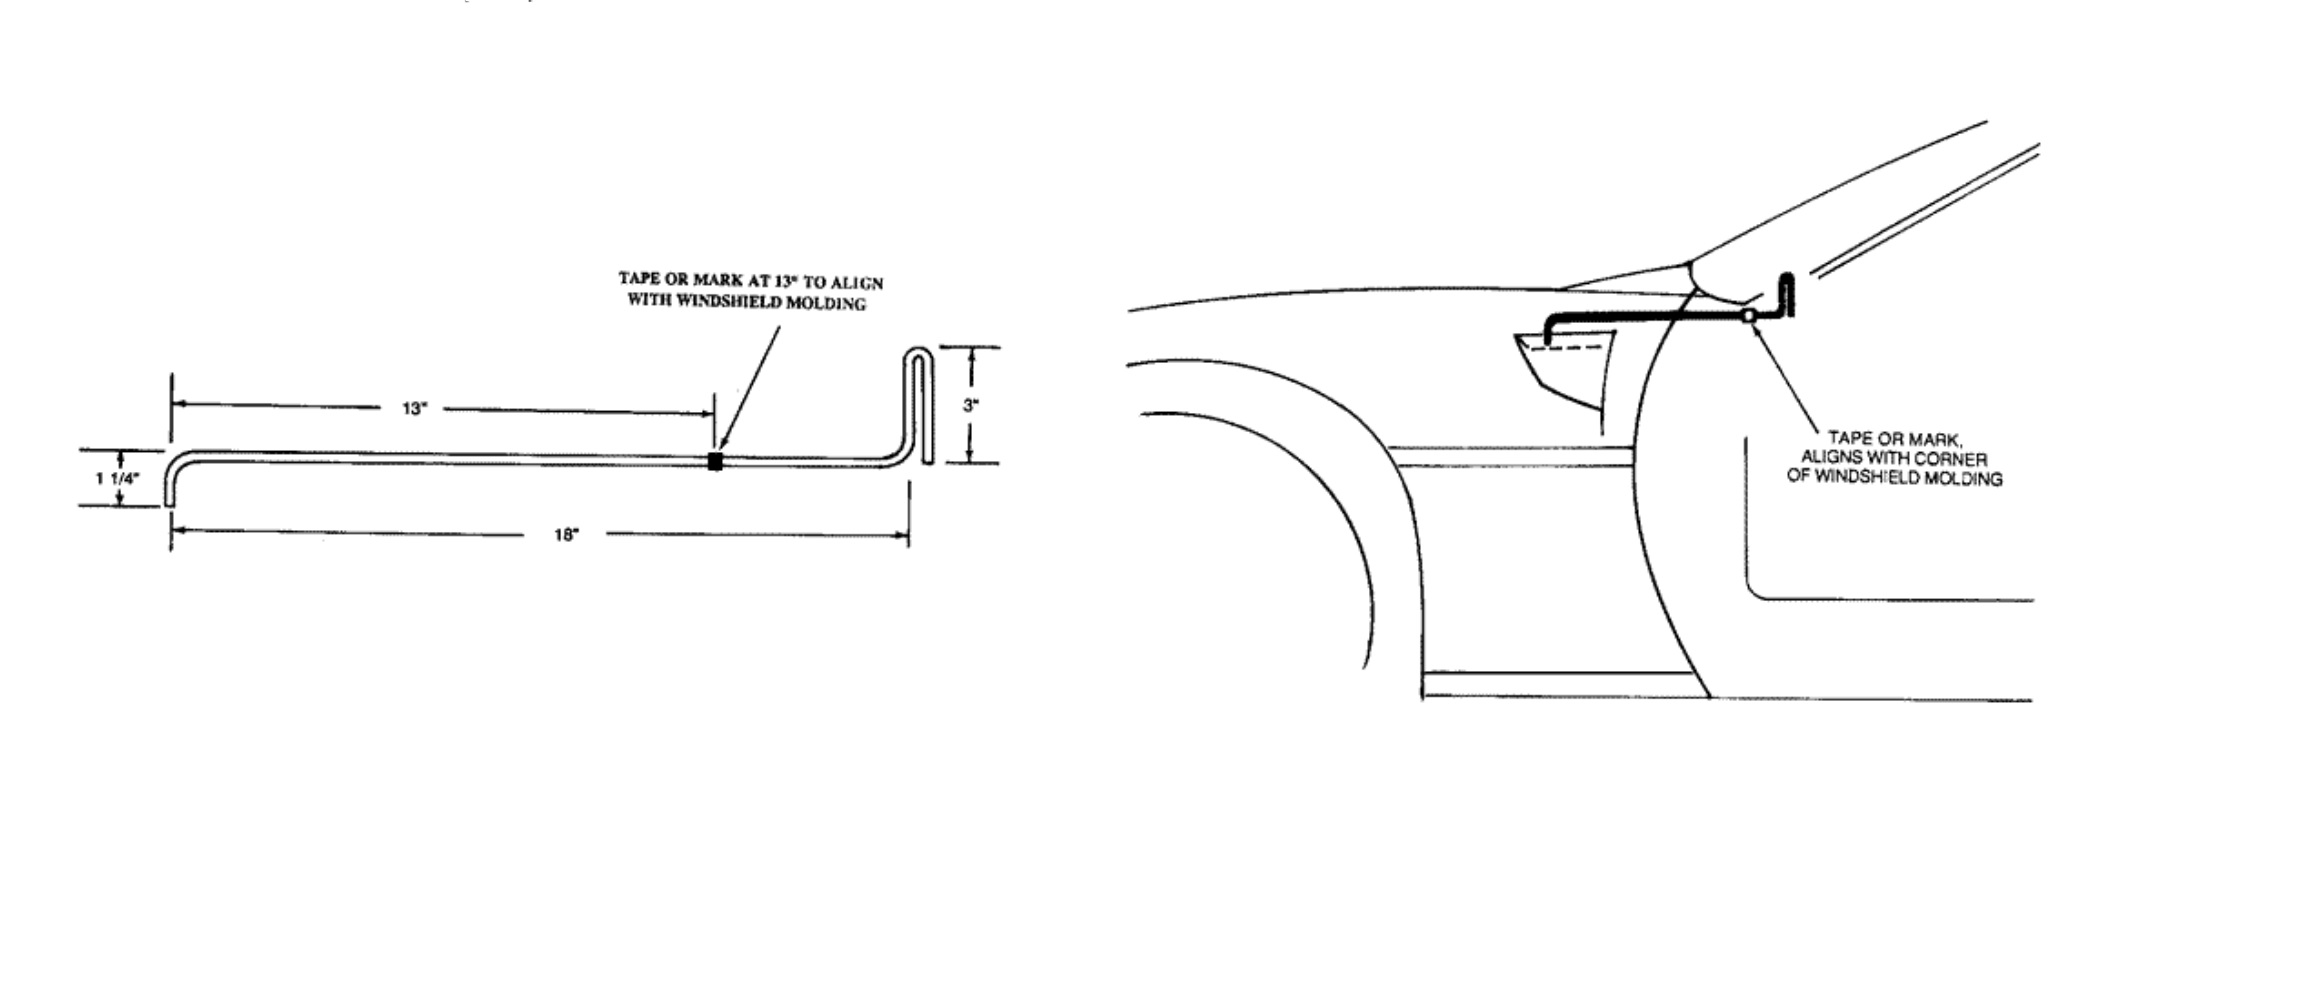
This diagram shows the basic tool design and how it is intended to reach under the hood and operate the latch. Usually some fiddling is required to get it aligned properly and past the rubber seal at the rear of the hood, but it does work.
We went another route for two reasons. We didn’t want to carry a tool around everywhere, and, to be honest, we’re thrifty. That said, we utilized a different method as a back-up plan should our hood cable become unable to perform its intended duties. With a little ingenuity and a trip to the sporting goods section of our local super-store, we purchased a set of black-coated steel fishing leaders. There are a couple of different lengths, so we purchased both 12-inch and 18-inch leaders. We wound up using the 18-inch leaders but the shorter ones were a little thicker and had hooks on them. For under six-dollars, we had enough materials to ensure entry to our engine and put a meal or two on the table!
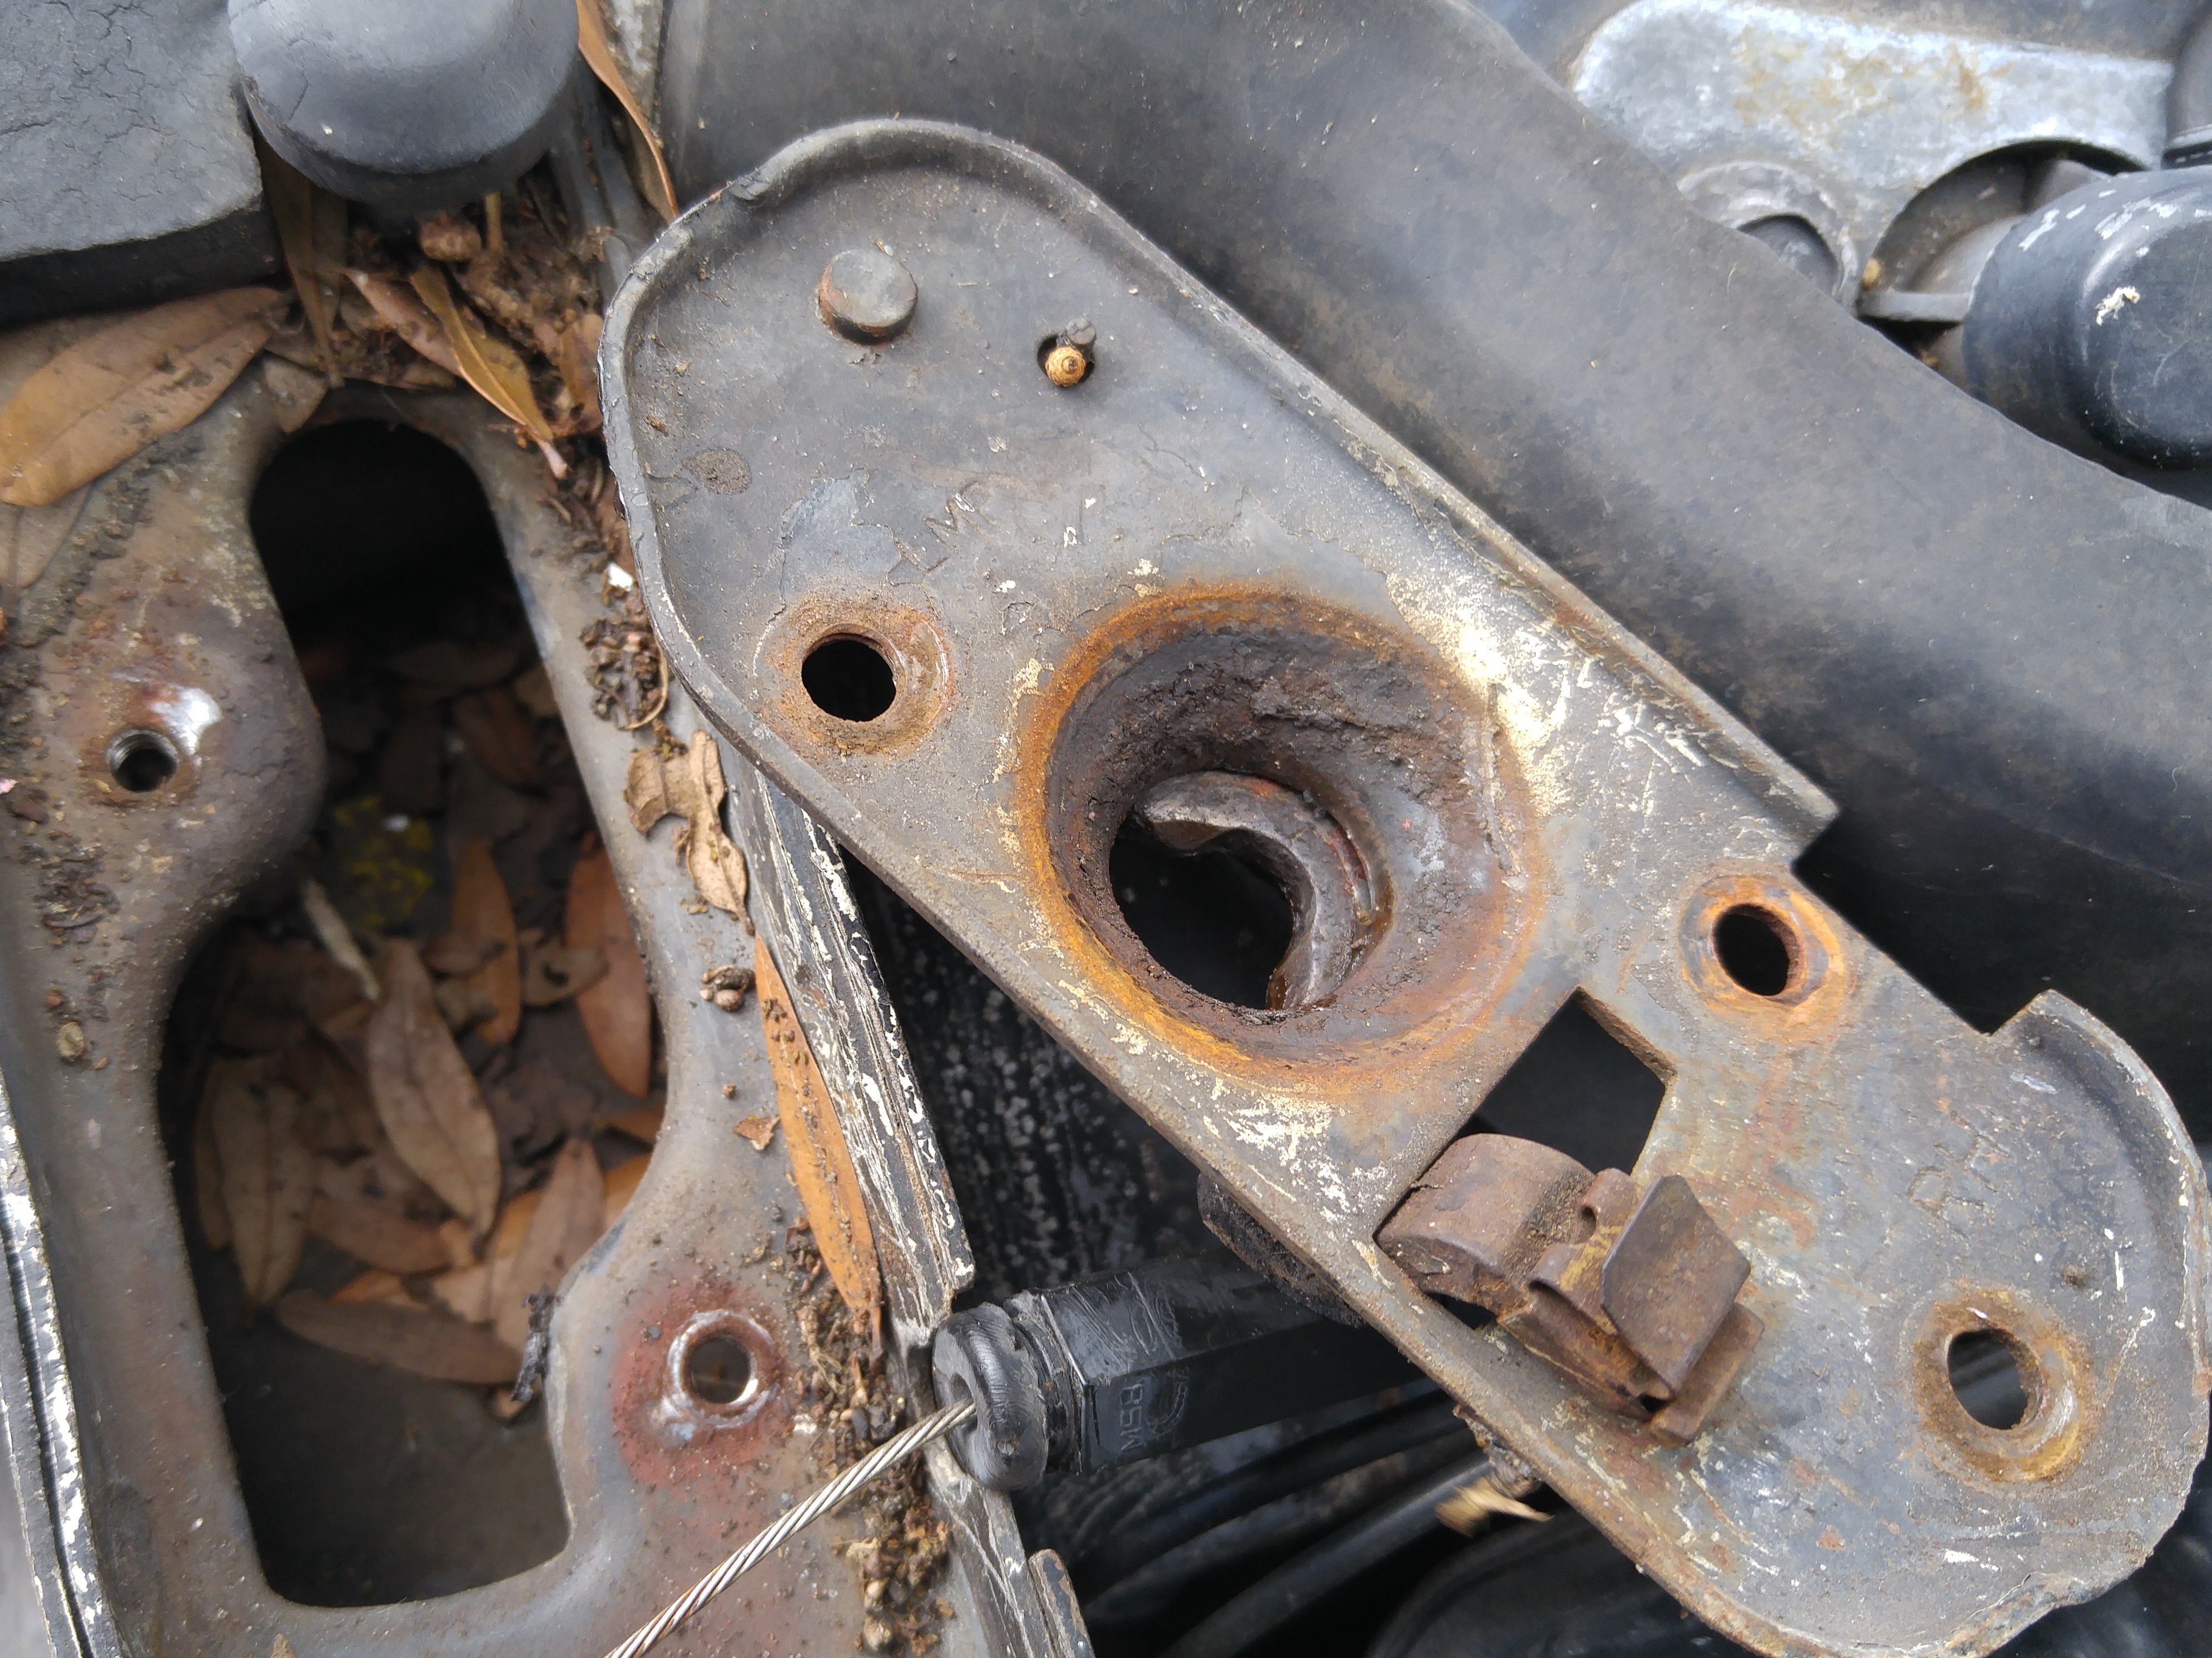
Simply cleaning the latches and the area under them will help immensely. You can see the years of caked-on grease under the latch assembly. Many will take this time to detail the latch area, but our car is a dedicated driver so we'll leave that step for another time.
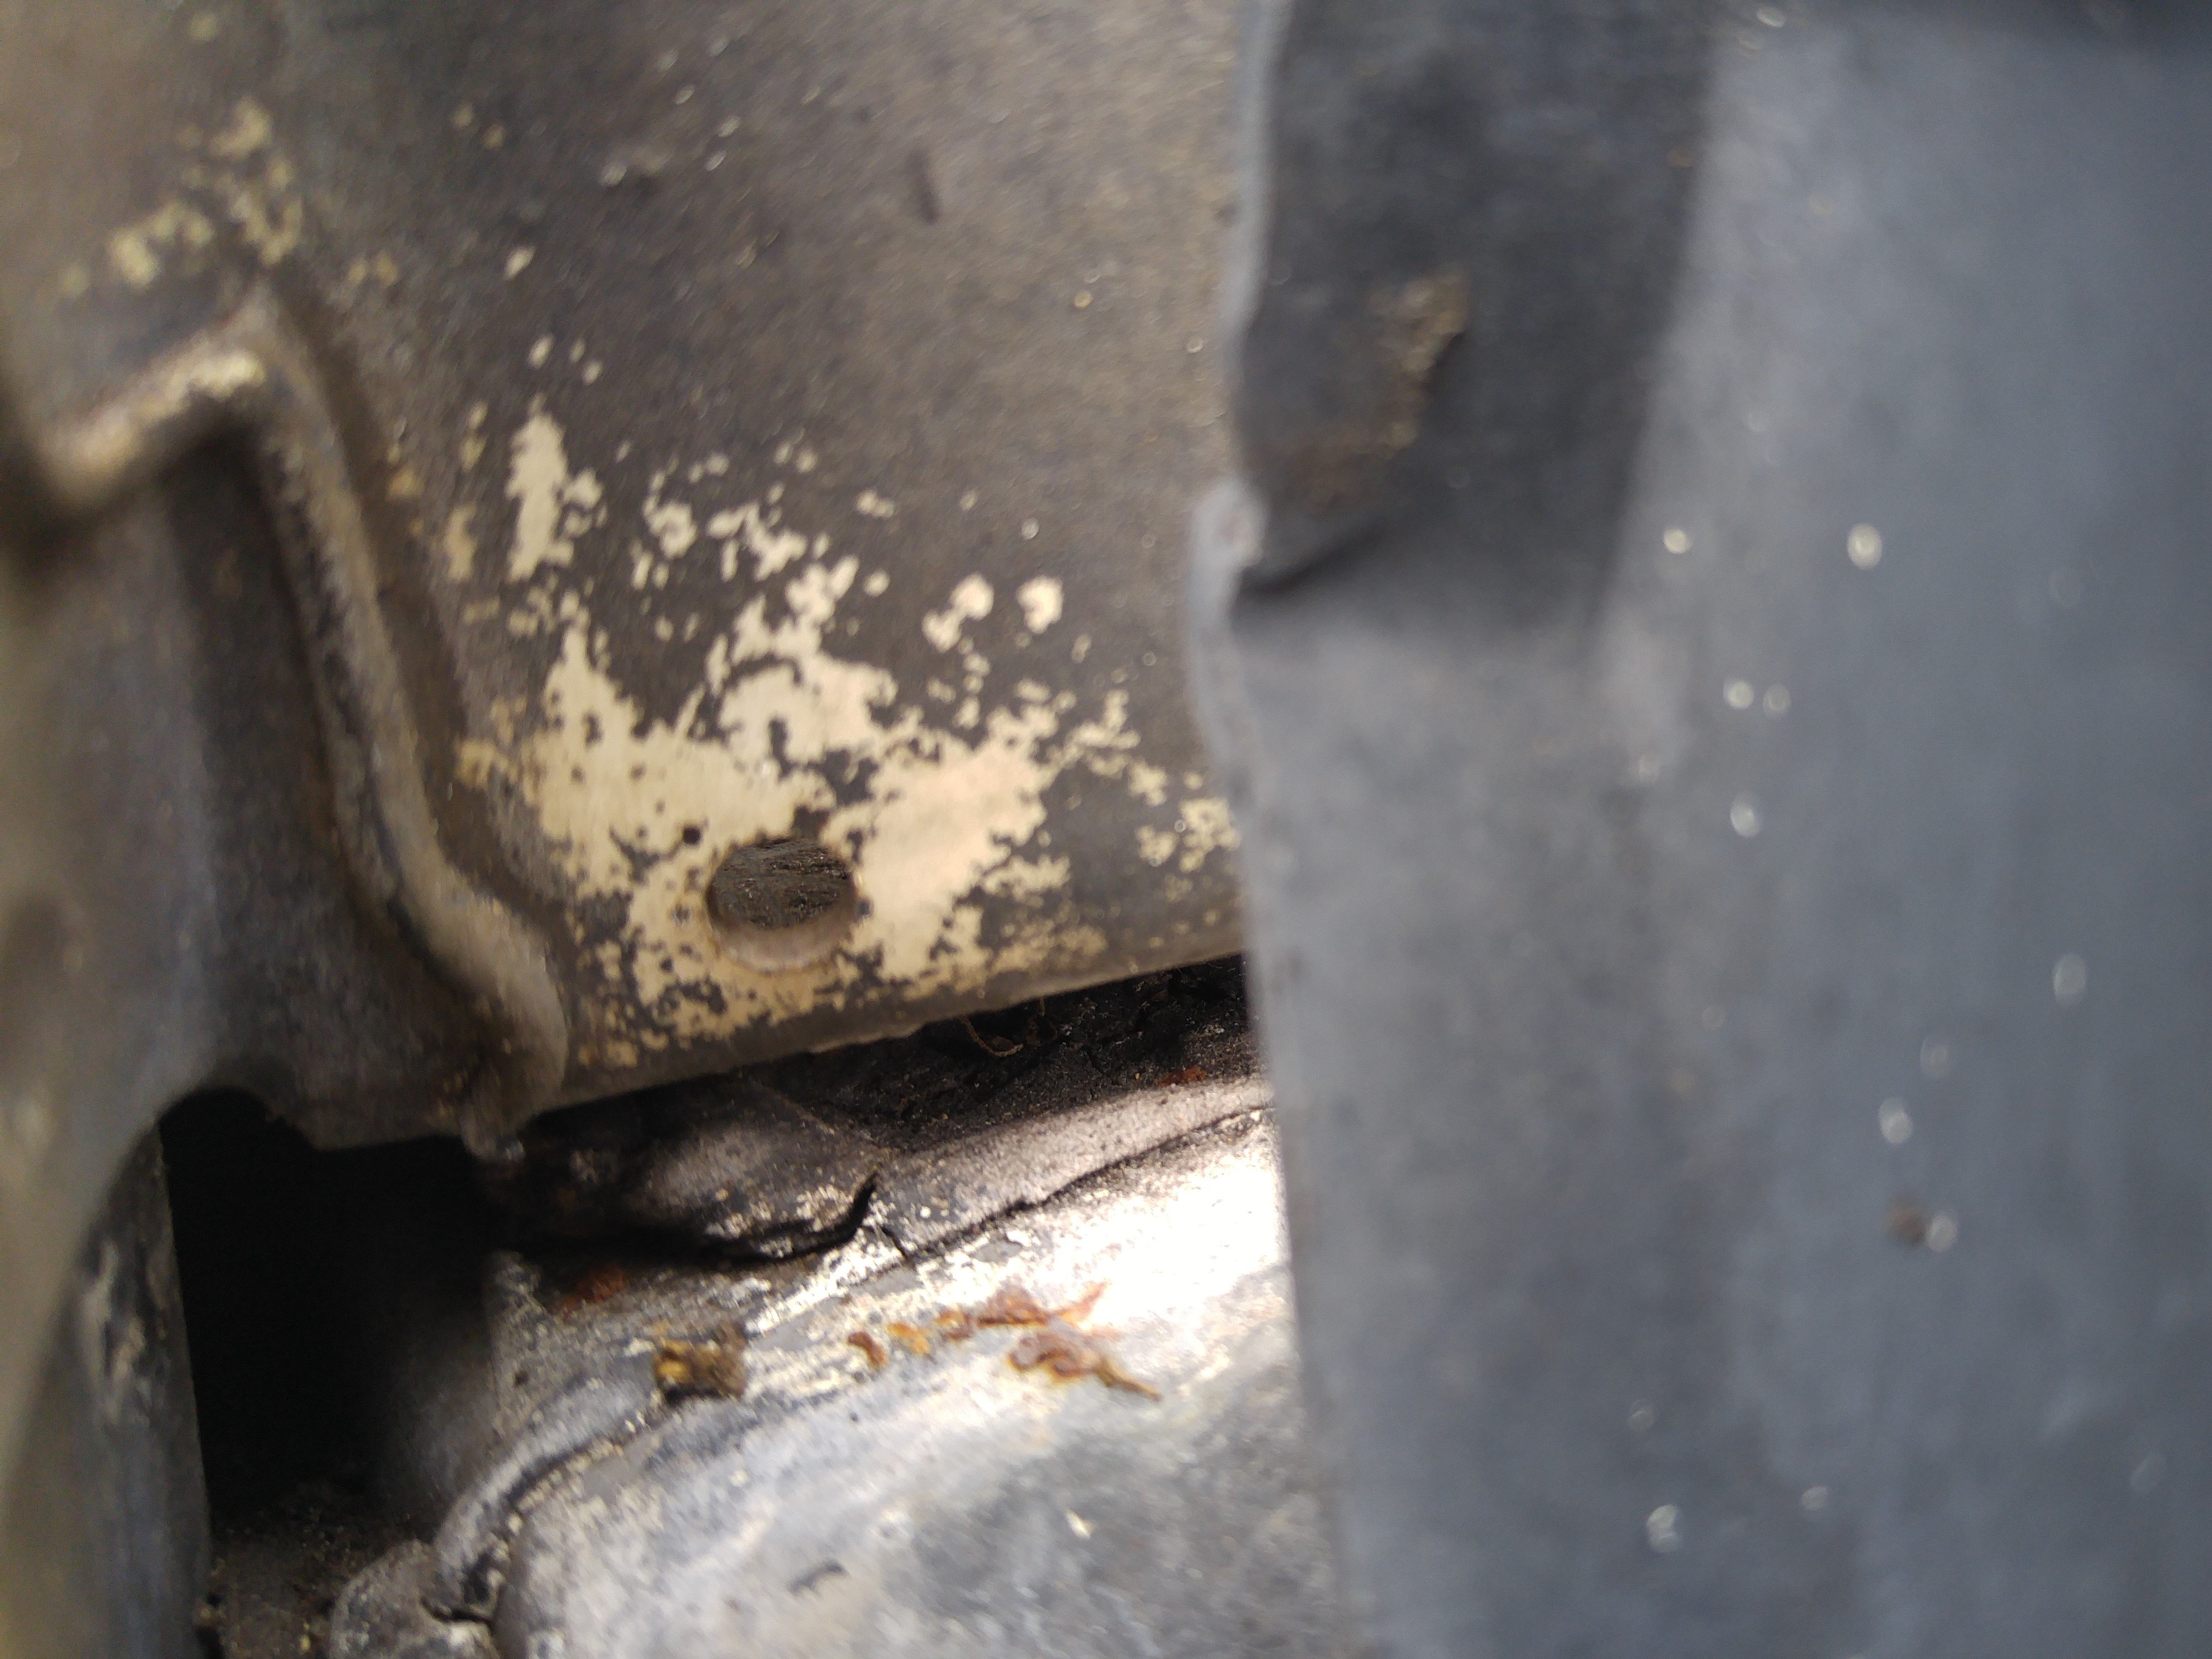
The only modification necessary was to drill a small hole for the cable to go through the rubber seal at the top of the firewall. Other than that, some elbow grease and a couple hand tools were all that was necessary. We know that some folks wince at the thought of drilling the seal, but we’ve also seen the black paint get pretty scratched from trying to wiggle the tool through the door jamb, under the hood and around the foam seal between the hood and the firewall. Either way works, but each one has its pros and cons.
Start Scrubbing!
Pulling off the latch mechanisms, you’ll see how much grease is actually caked up under them. Also, years of leaves and crud settling into the cavities under the latches deposits debris into the latches as well. We removed the latches entirely and cleaned them in our parts washer. Once they were clean, we simply put enough grease on the necessary areas, so as not to attract too much dirt.
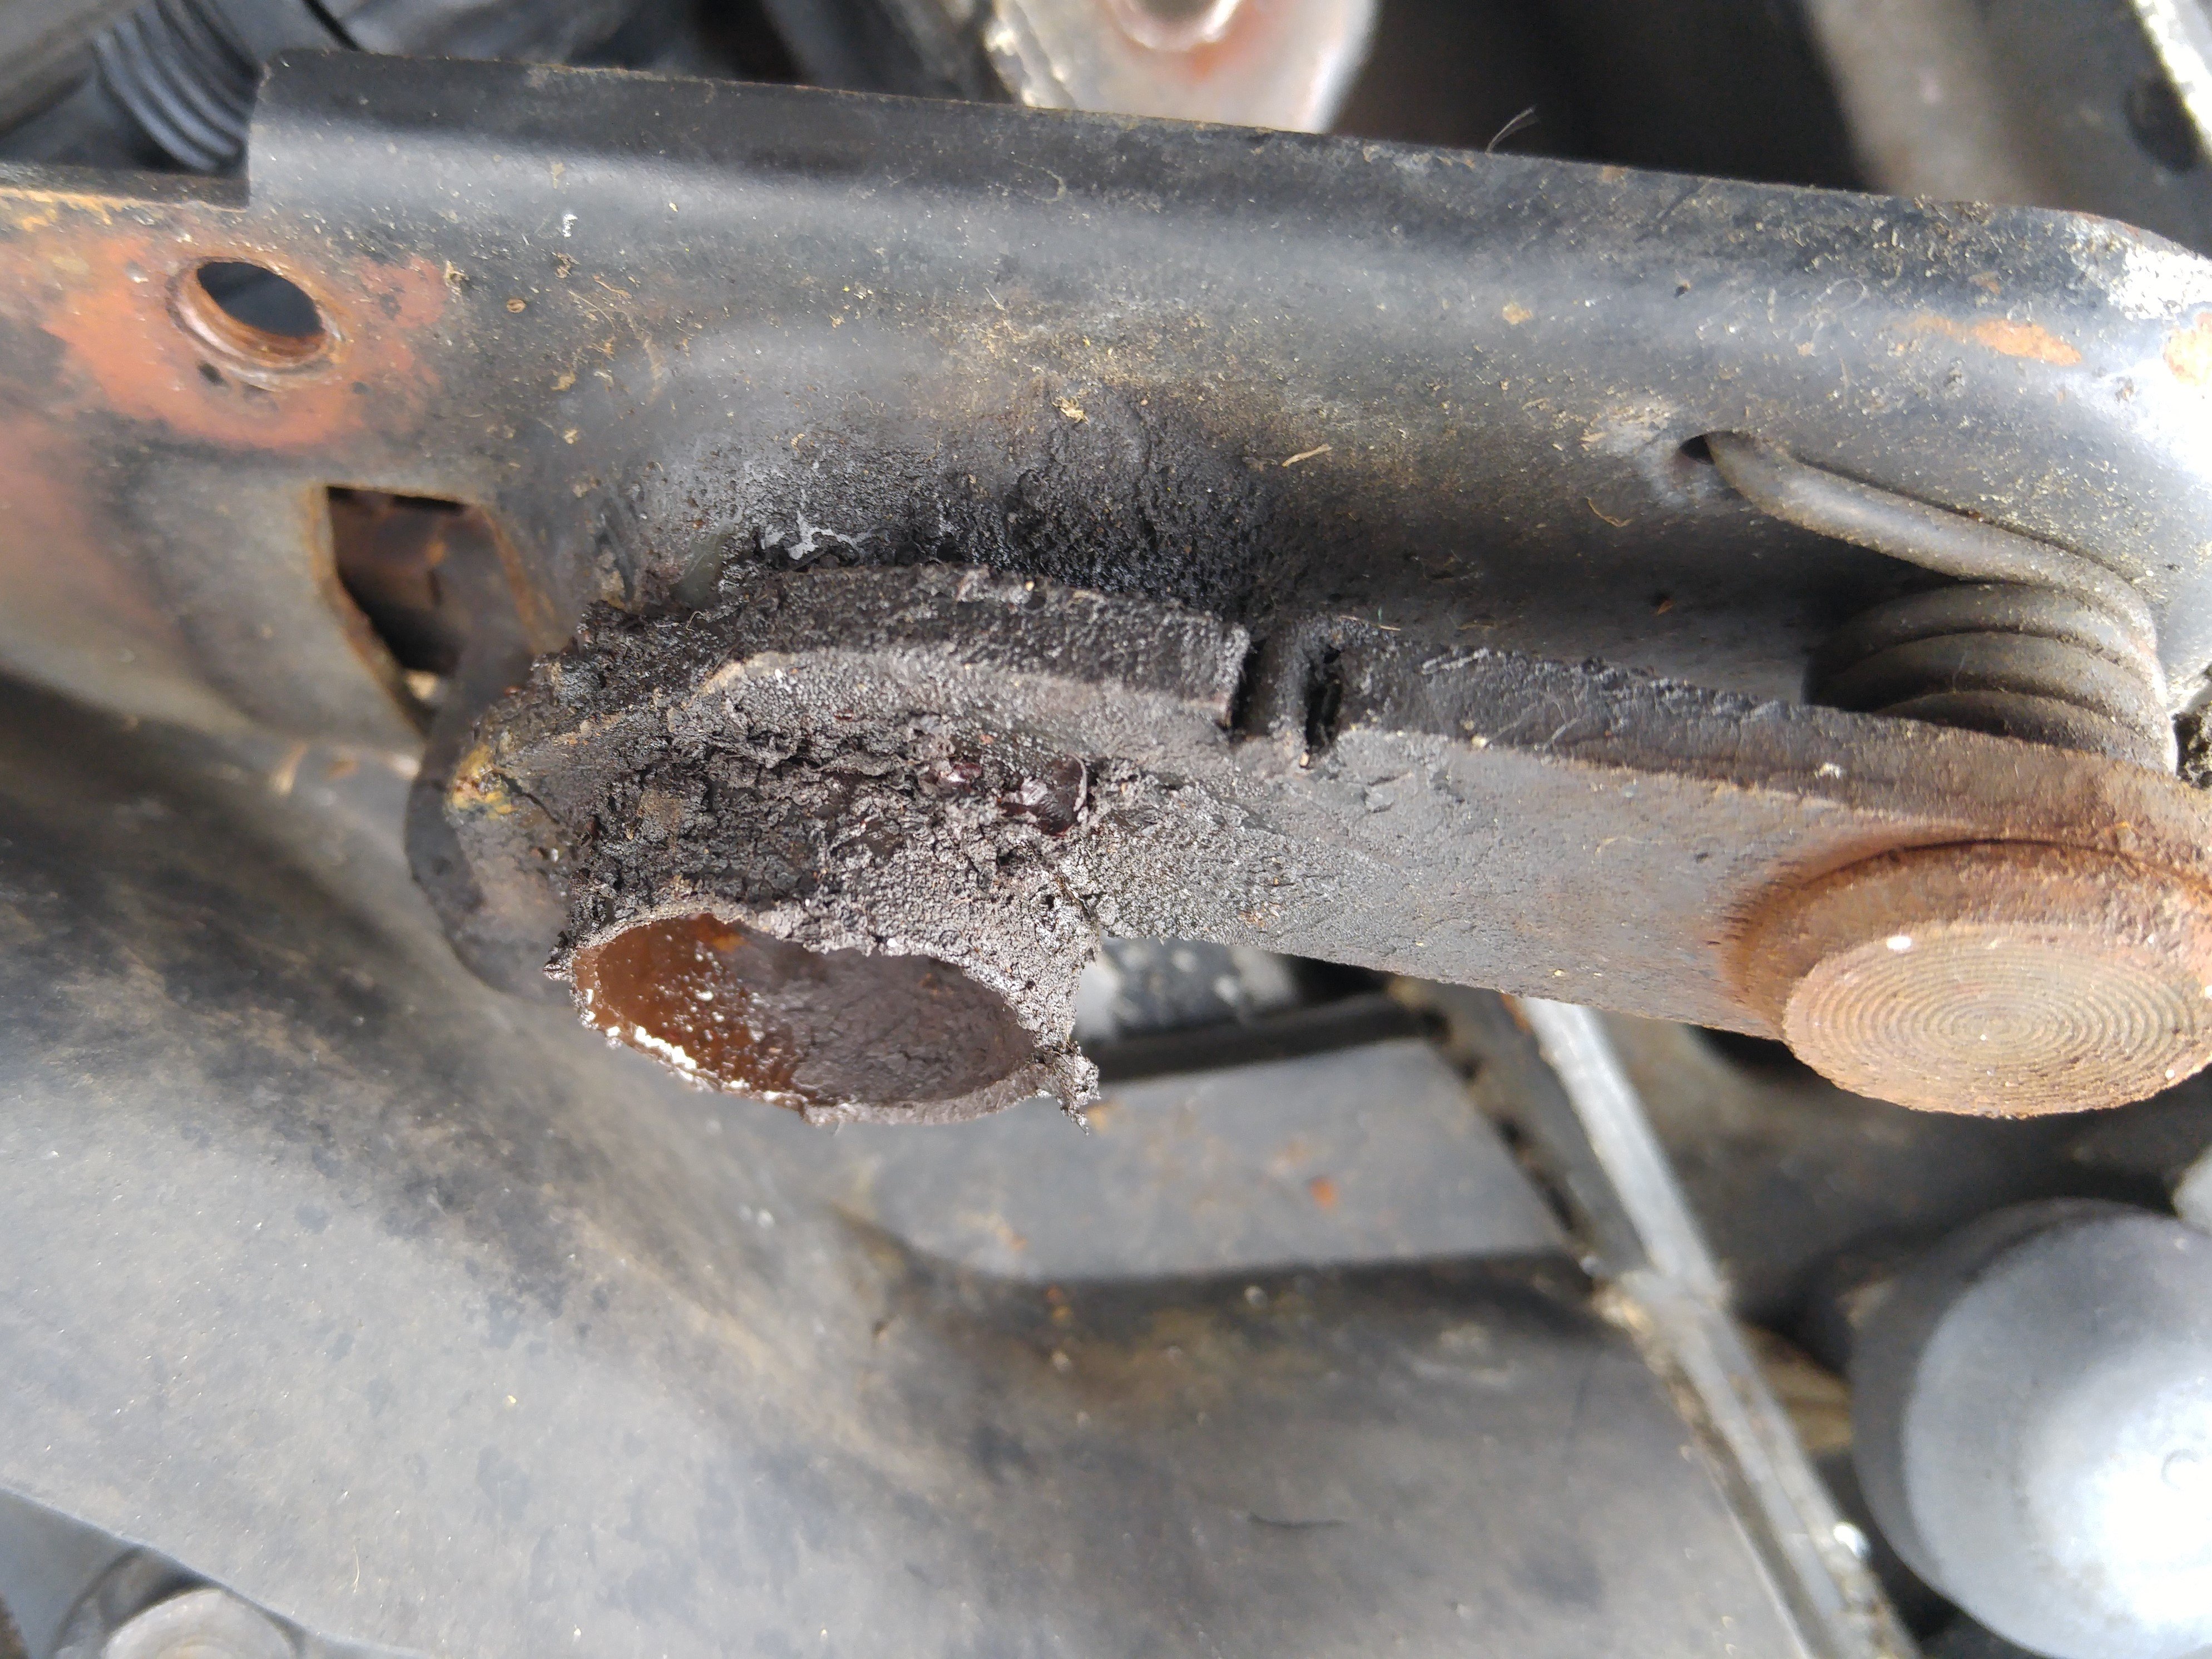
While you're cleaning, make sure that the drain hole is open and that all the old grease is off of the pin on the hood side of the latch.
While the latches were out, we vacuumed all of the leaves, dirt and debris out from the cavities under the latch. It’s amazing how leaves and crud are attracted to these small areas! Once you clean them out, you’ll see that they have holes in them to allow water to drain. If you look into the holes in the latches and see standing water, you need to clean out those cavities so the water will drain!
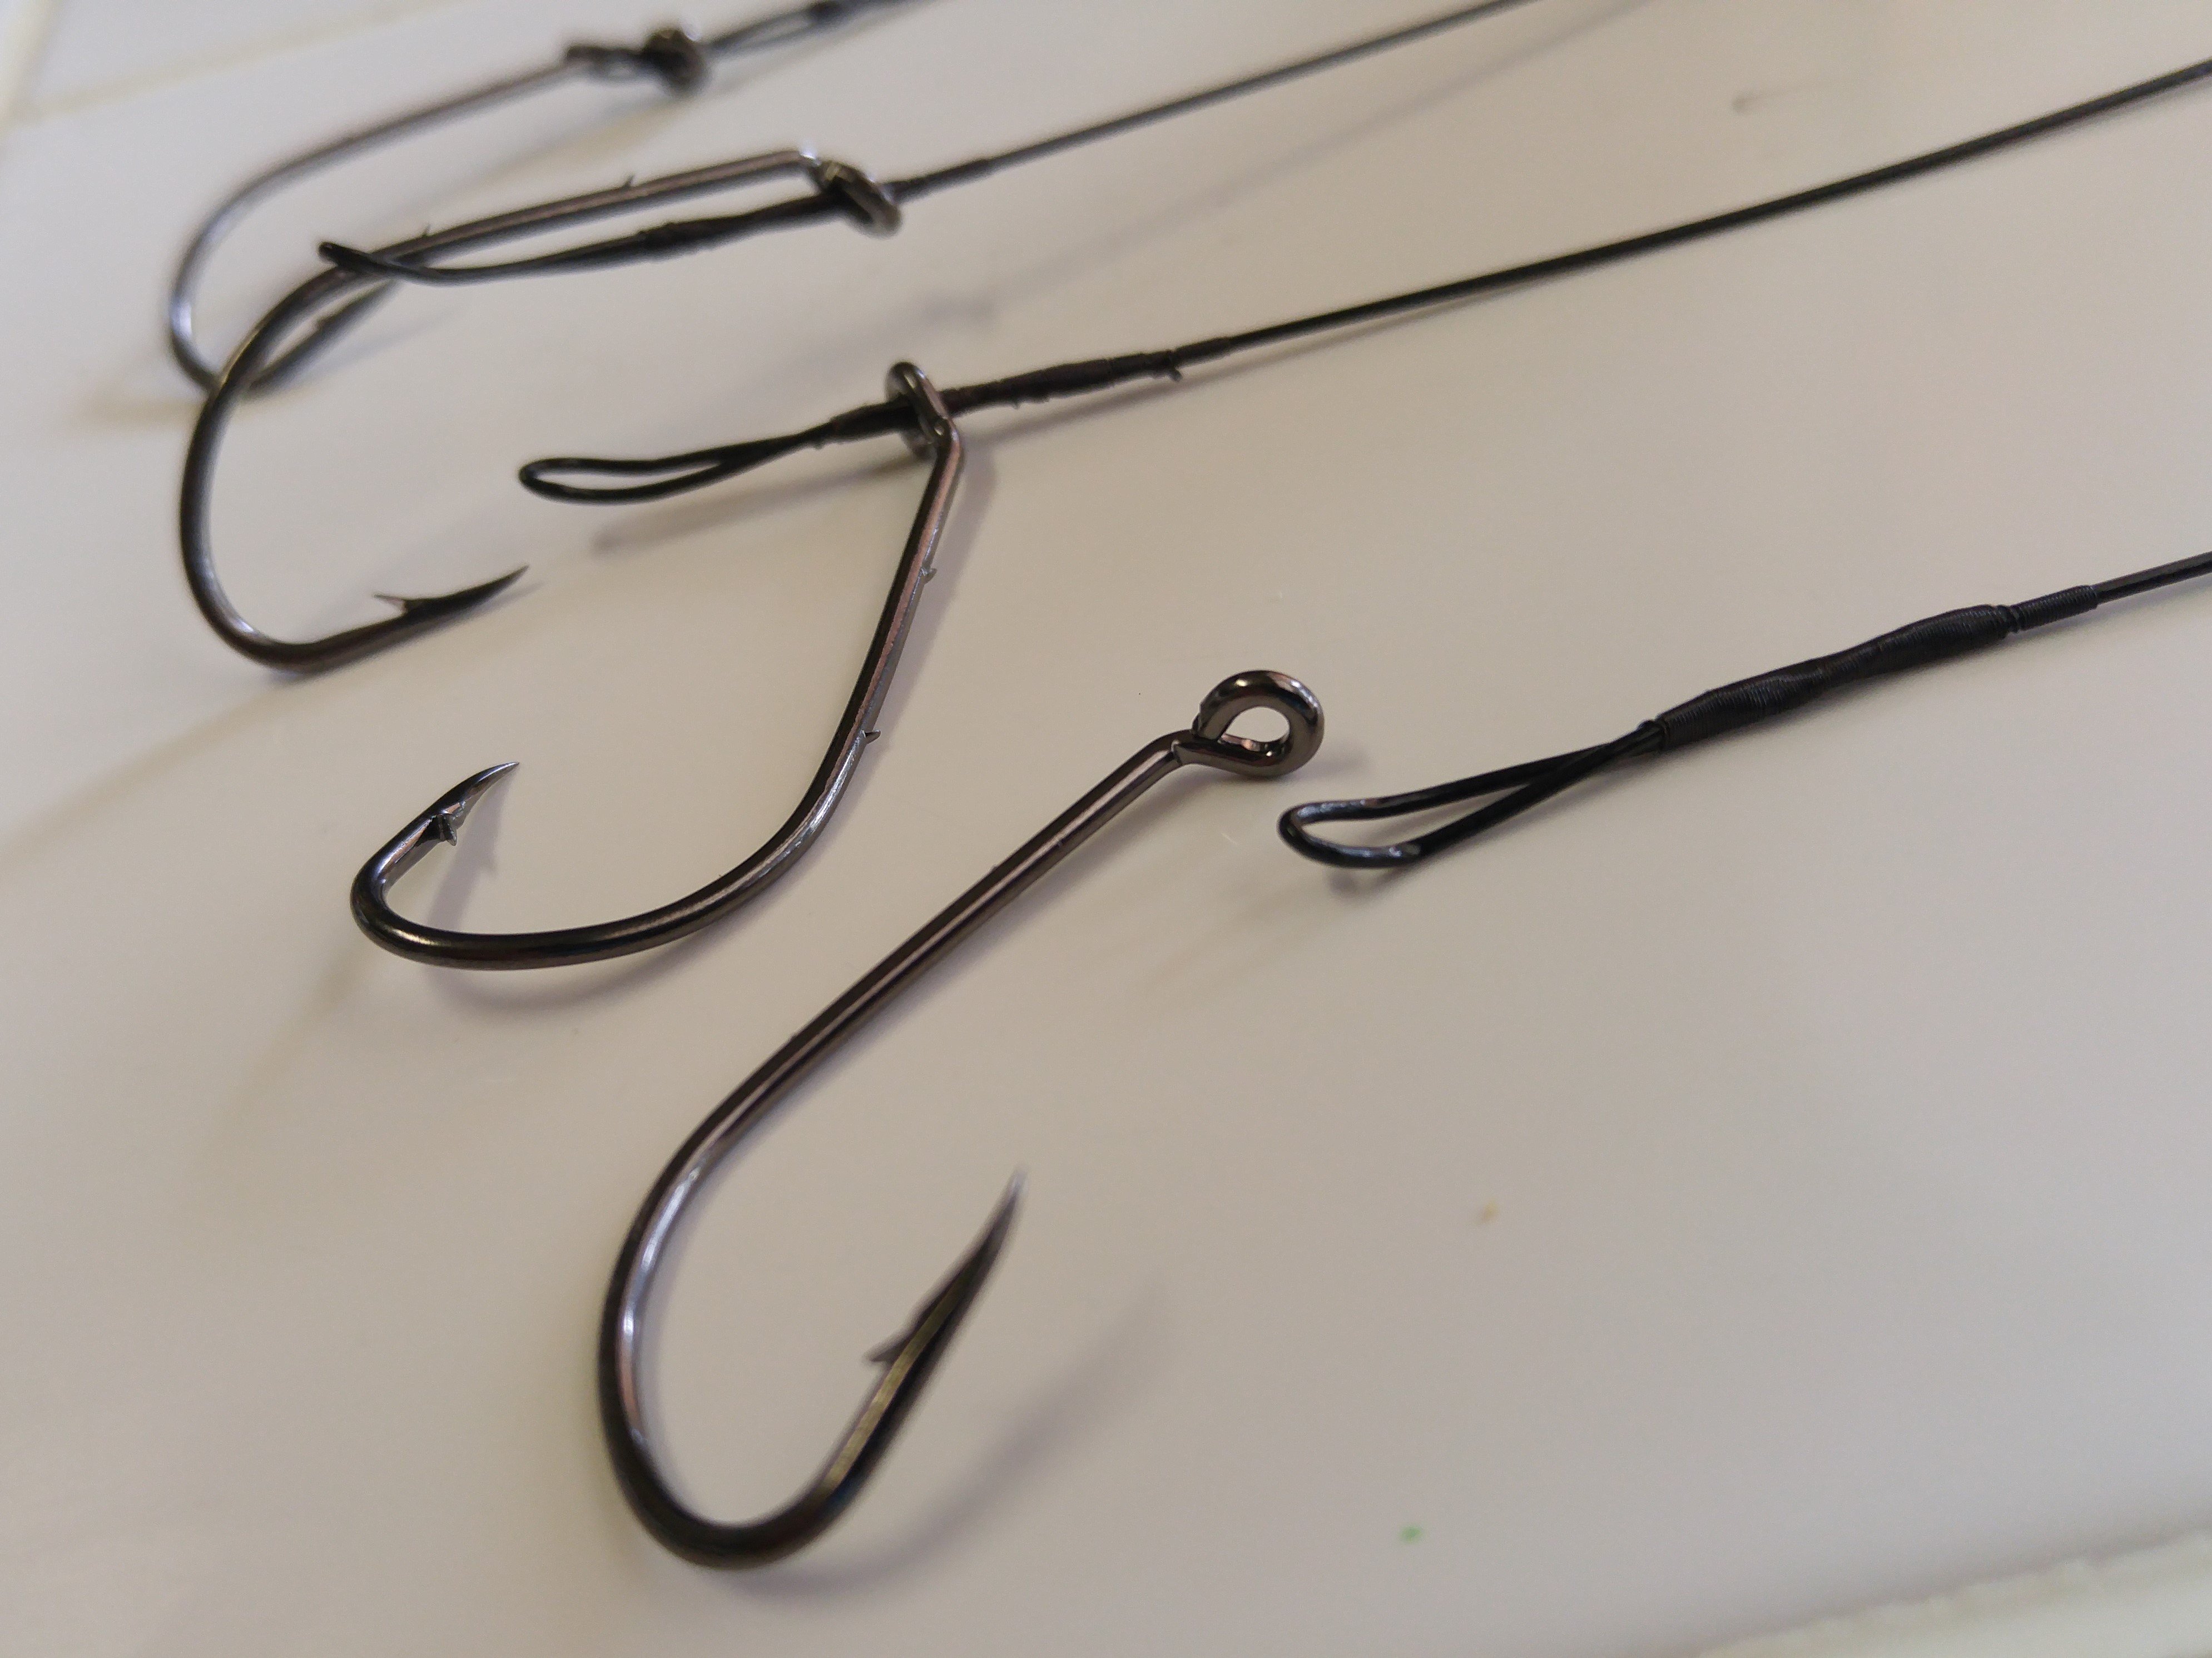
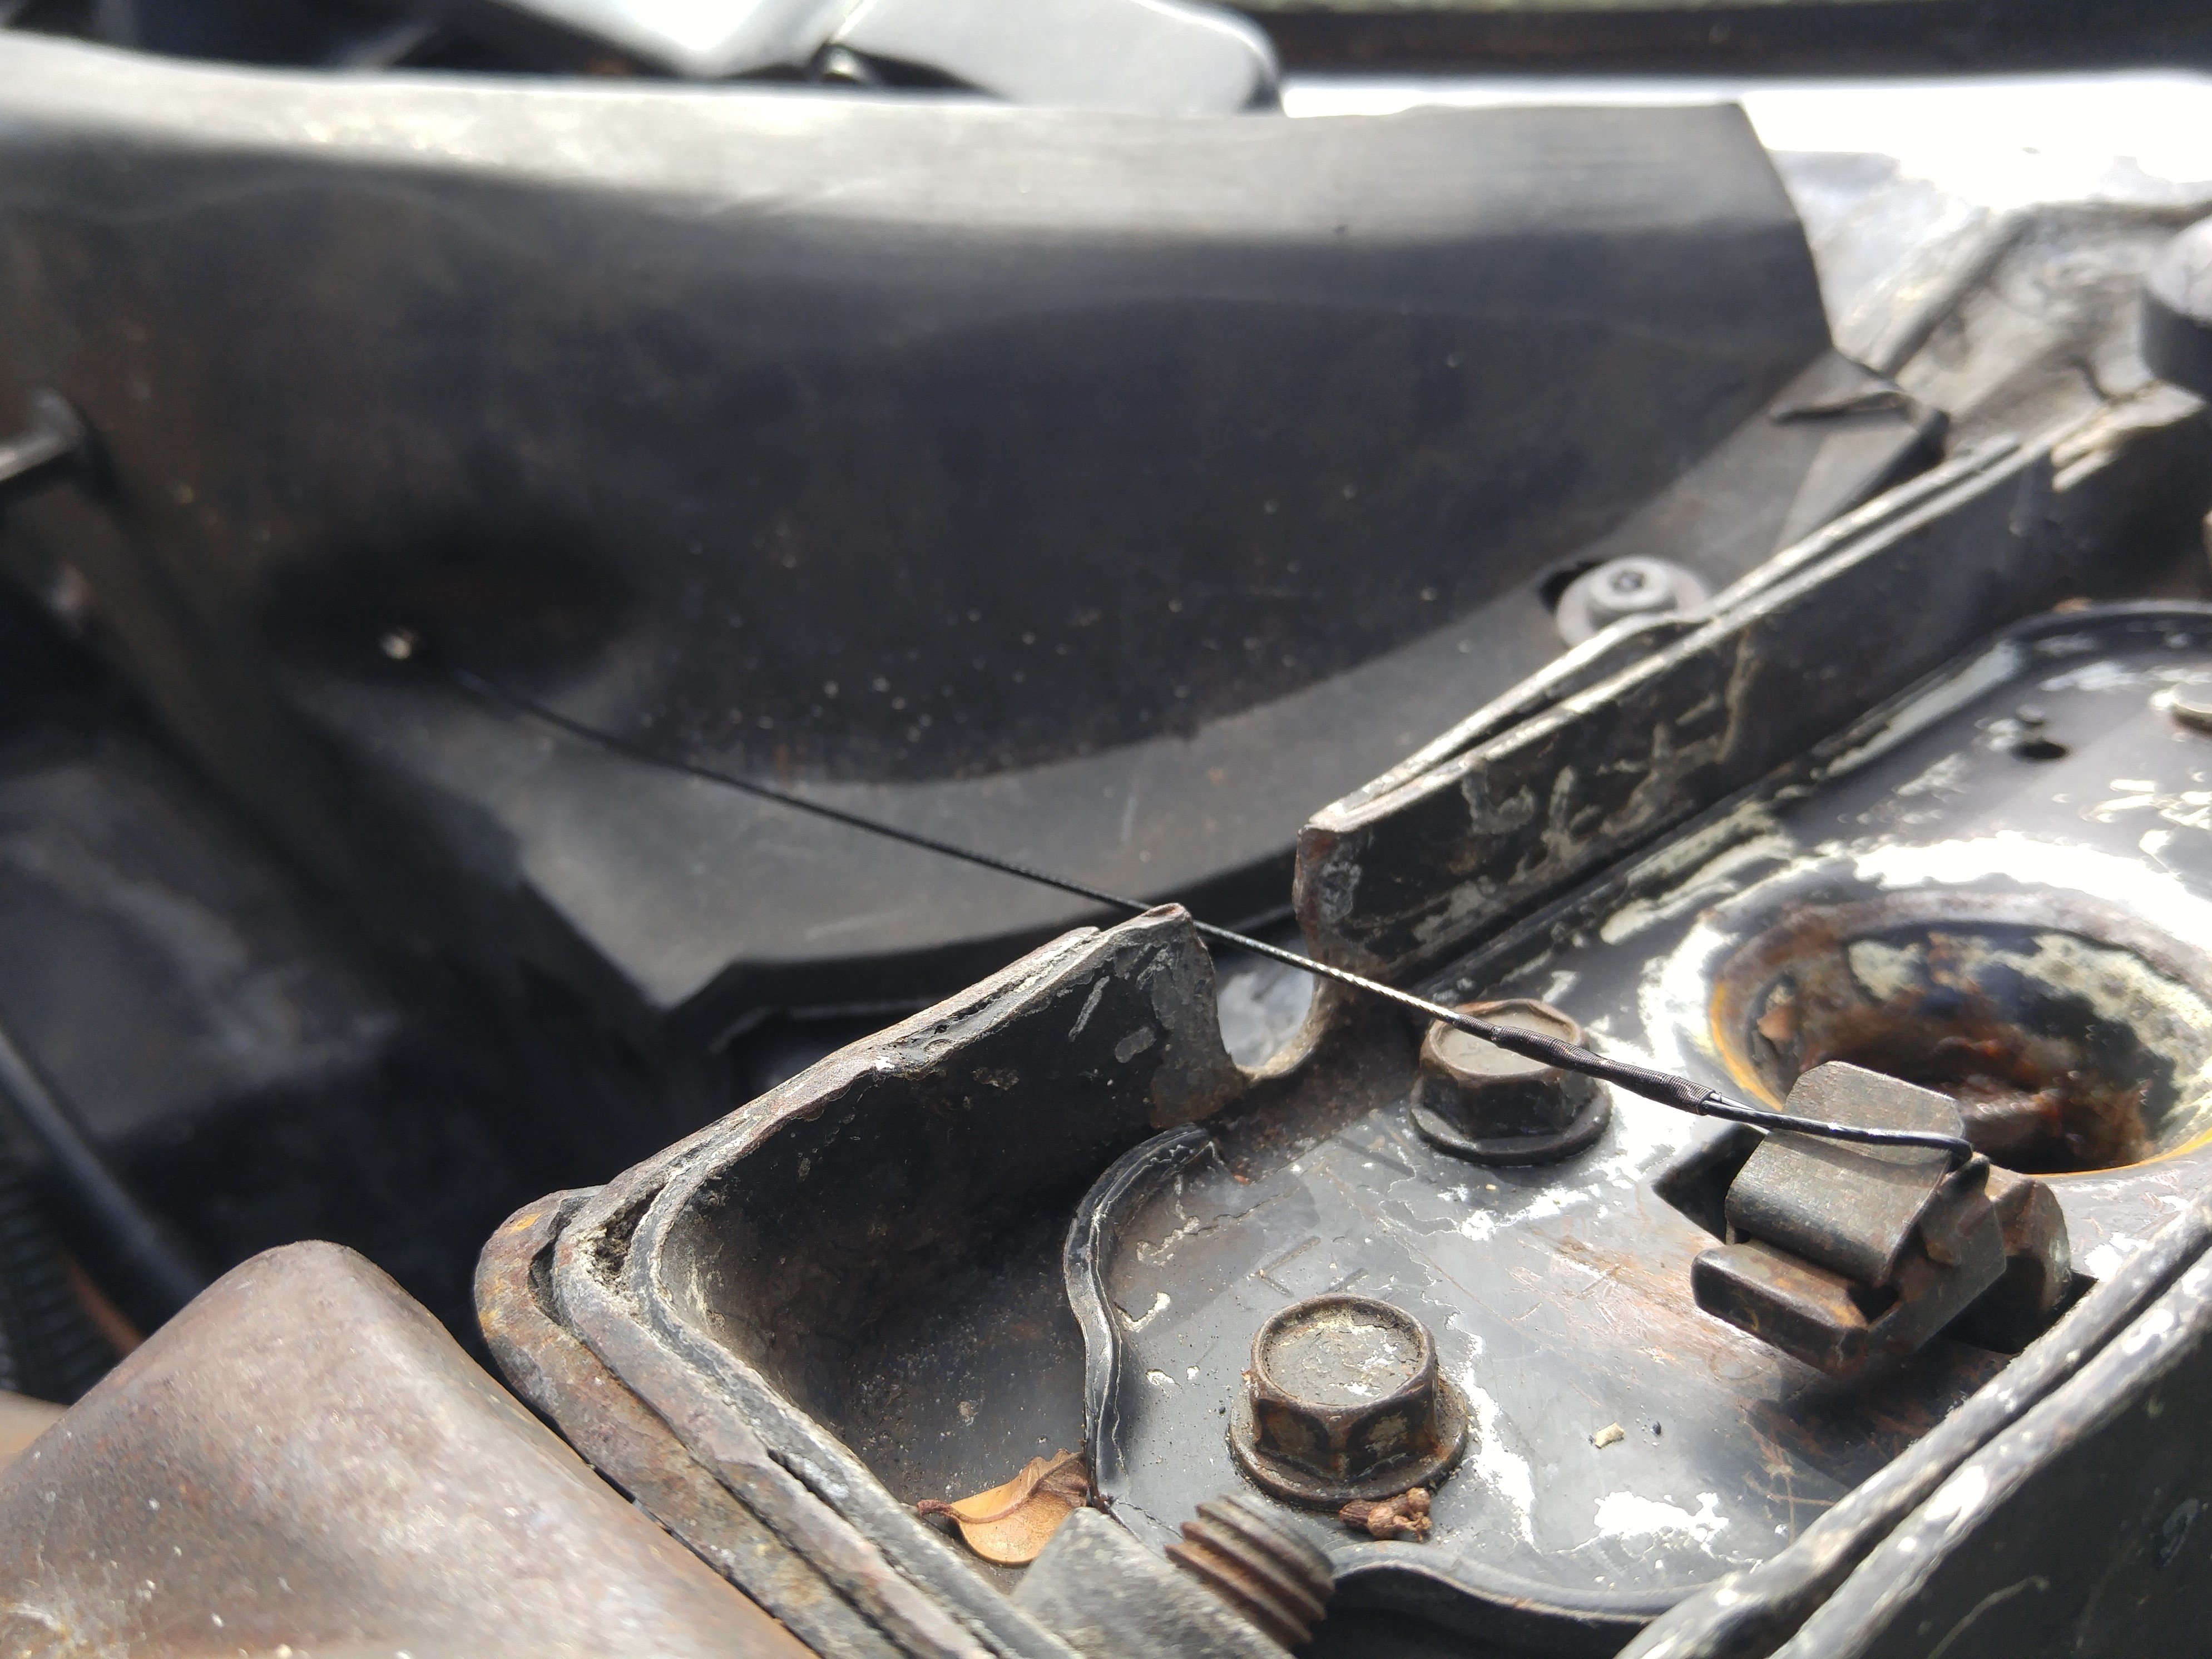

The leaders were already coated black and the 12-inch ones had a hook on one end and a weight on the other side. We pulled the hook off by feeding it back through the loop. Then, we slid the leader through the small hole we drilled in the rubber and hooked it on the latch arm. We used a flat-blade screw-driver to pry the catch open just enough to get the leader and the cable securely on the arm.
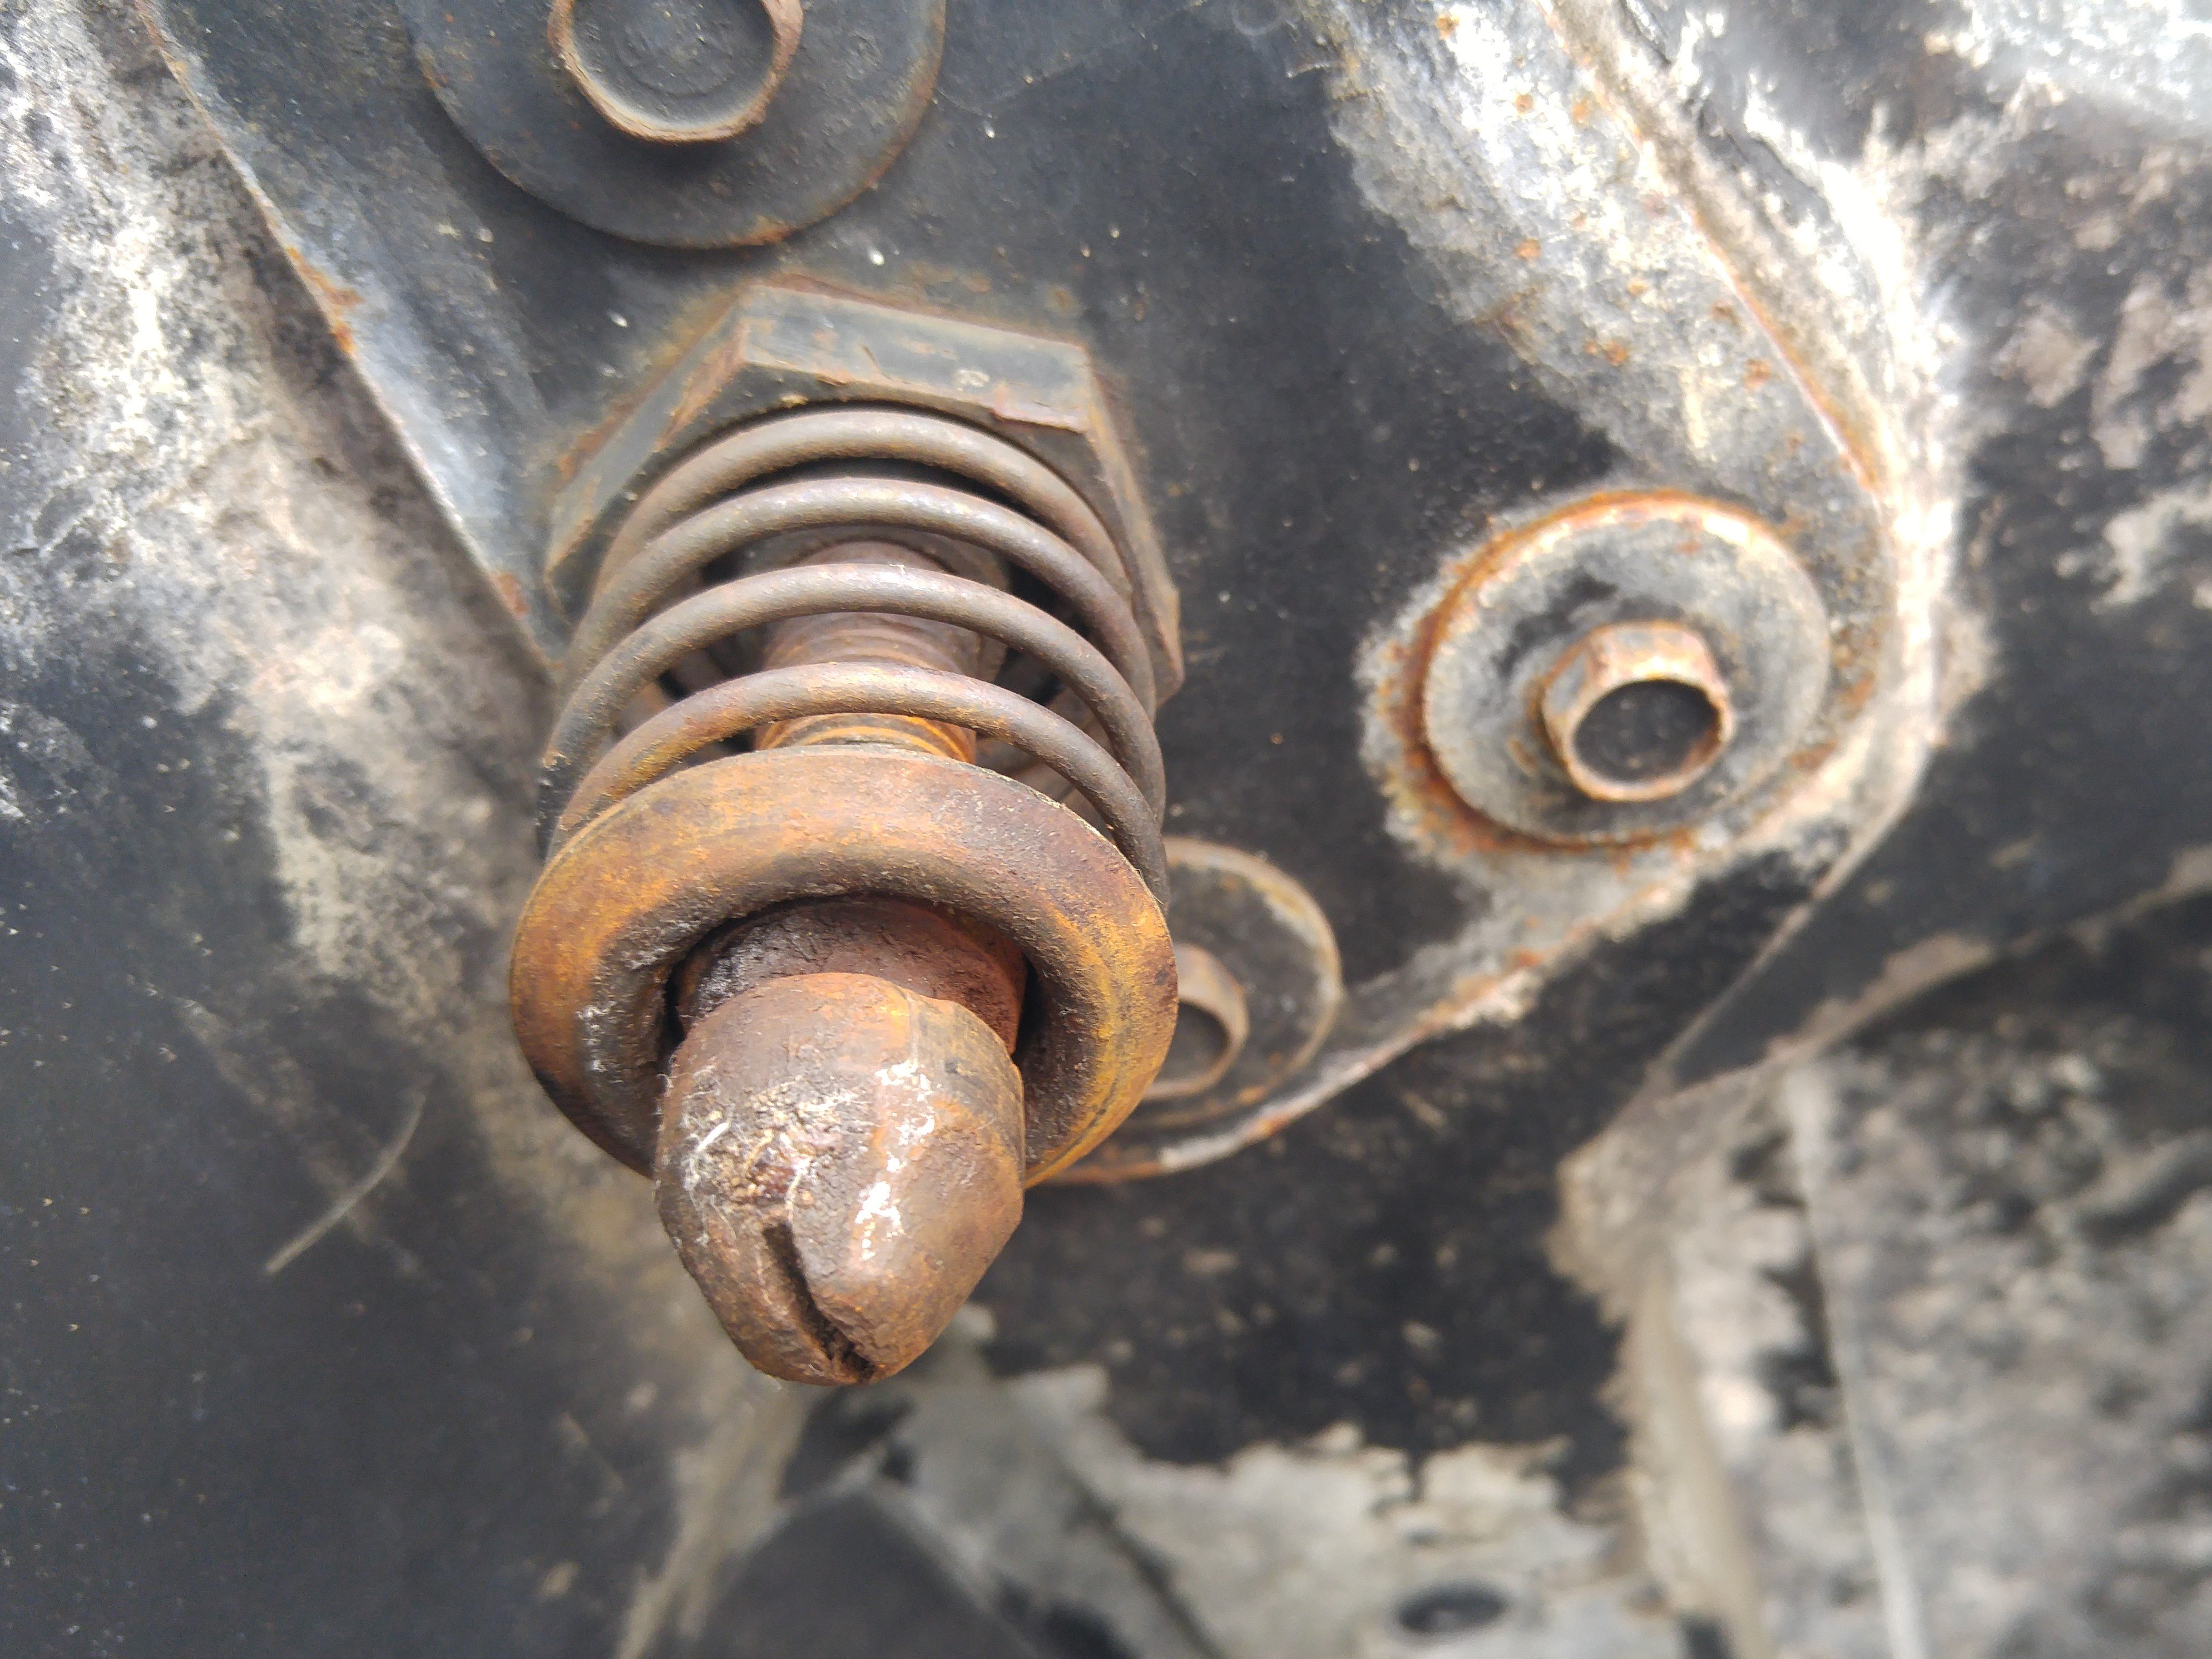
Once everything was cleaned and lubricated, we installed the latches. But, before we hooked the cables back up, we drilled the holes for the new safety cable and fished them from the windshield side, through the seal and hooked them on the latch mechanism. With that done, we hooked the cables back up and checked our hood and latches for proper adjustment/operation before closing the hood. It didn’t take more than about a half-hour to do everything, but it’ll save you hours if your hood latches decide to go south.
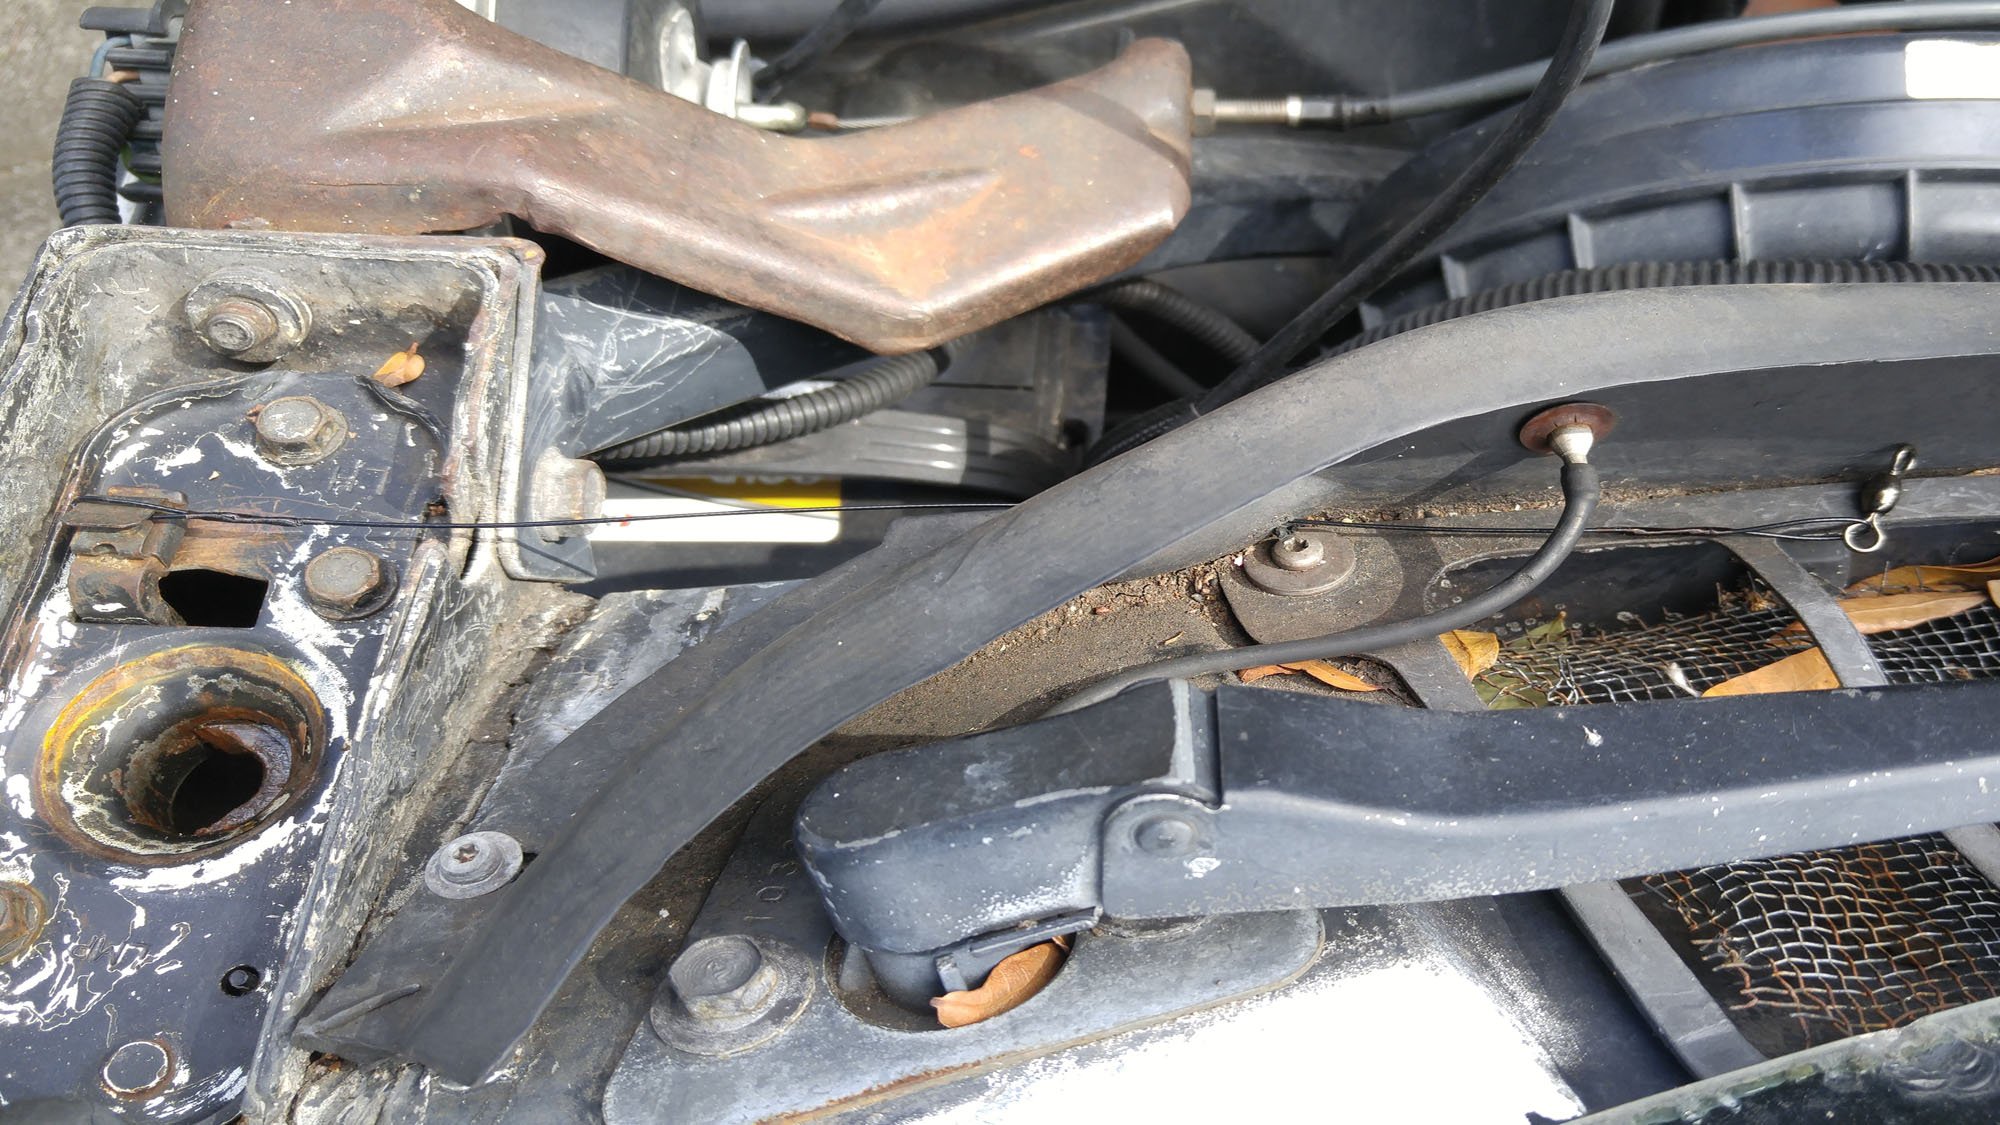
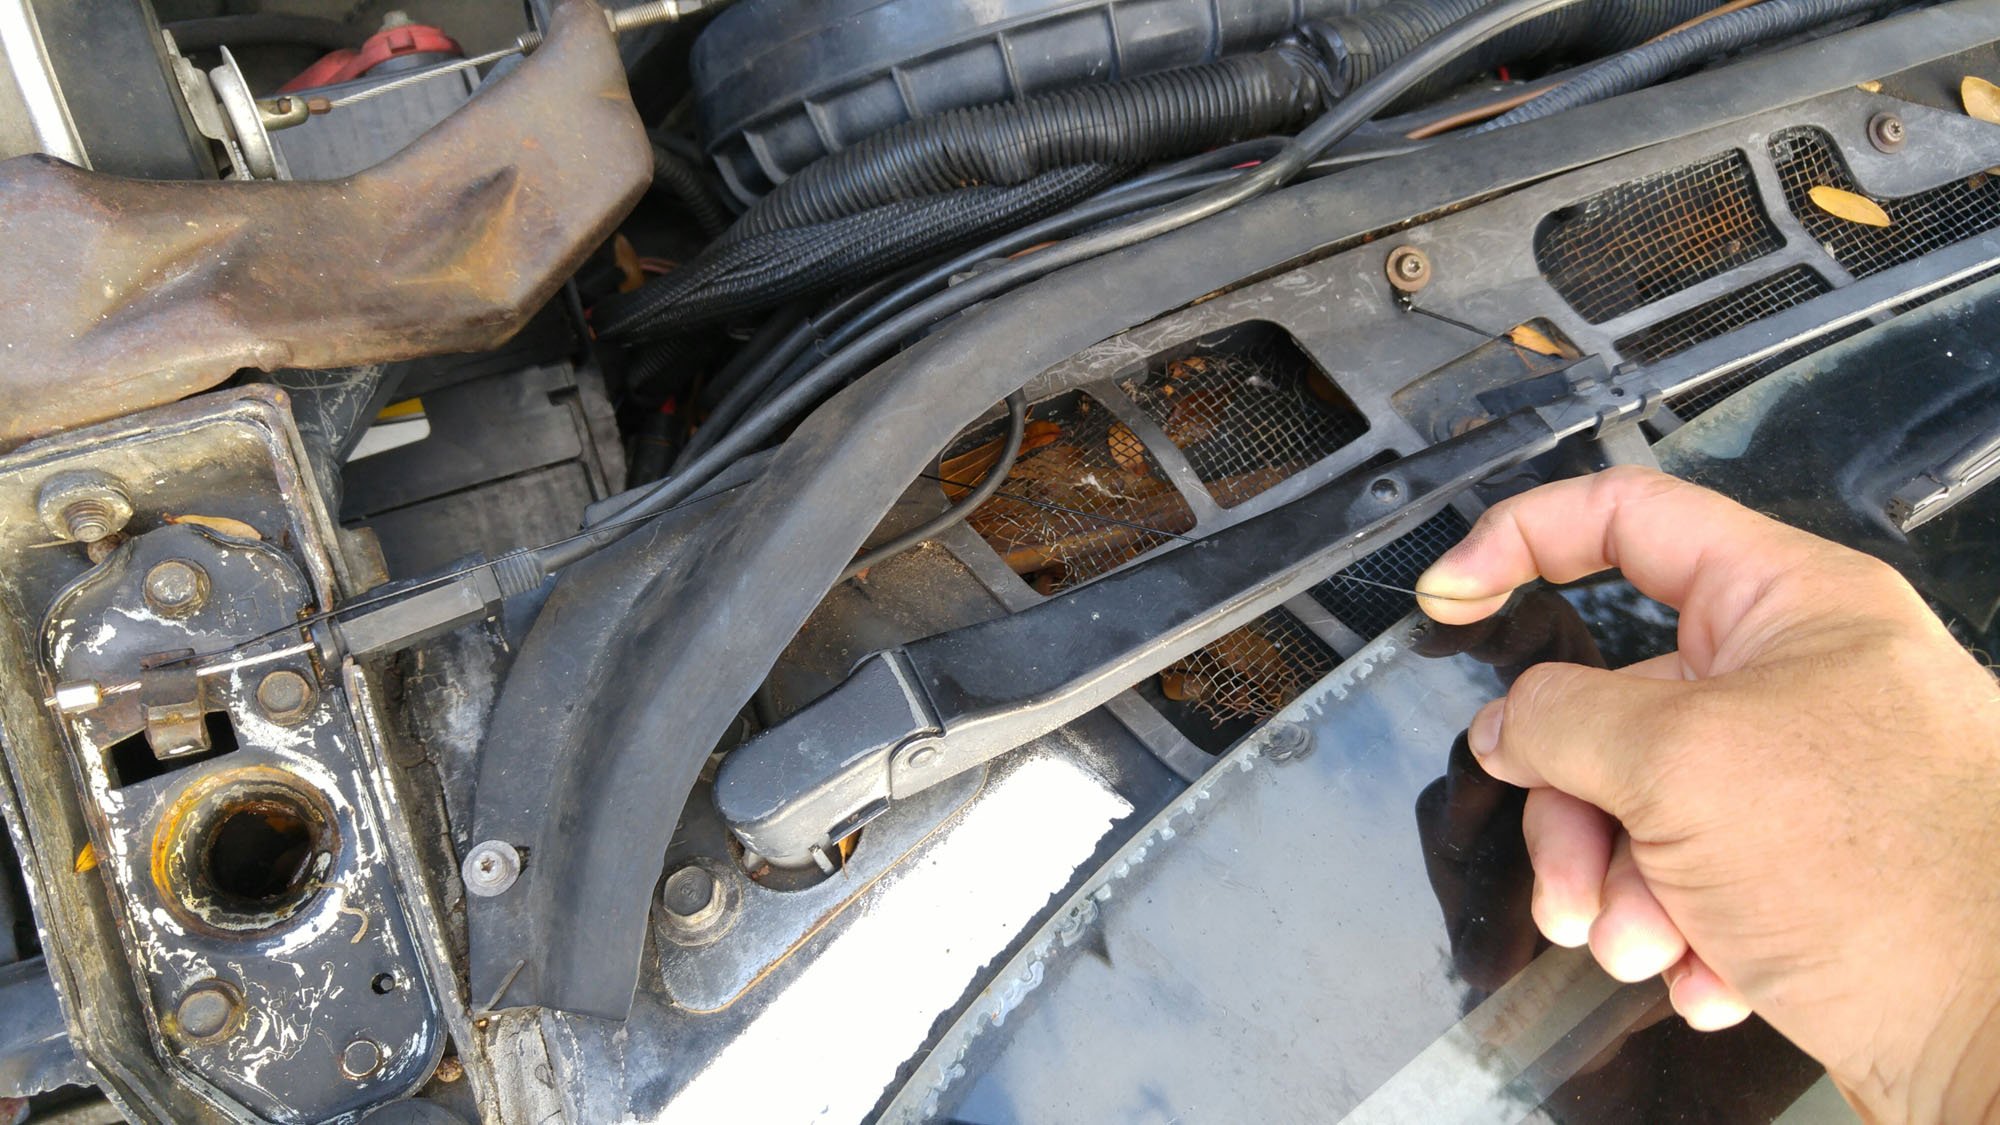
The 12-inch leader laid down into the wiper cavity quite well, but did require needle nosed pliers to grab it. The 18-inch leader was long enough to loop over the wiper guide and connect onto one of the Torx screws to hold it. This meant we could get to it with our finger and open the hood without any tools. Even though it was a little thinner than the other, we decided to stick with the ease of use of the longer leader. Some will say that it makes it easier for others to open your hood, but actually, it's still quite hidden unless you know what you're looking for and, it stays down, out of the way of the wipers as they operate.
The leaders are strong enough to operate the latches, especially since we cleaned them and got them working properly. We don’t think they would be durable enough for daily use, but they’re only there for that one time when you need to find an alternate way of opening your hood. Some may prefer to purchase and carry the tool for this. Either way, it pays to clean those latches to limit your chances of ever needing either style. Now, we can operate our hood latch with ease and can sleep soundly, knowing we have a way of countering Murphy, should he ever find us out on the open road.