They say the best two days of a boat owner’s life are the day when you purchase a boat and the day you sell it. And like any boat owner, I certainly have both good and bad memories over the years. But here we are, much older, a little wiser, and still playing with boats. And if I’m being honest, I don’t see much changing in the future as boats have always been part of my life.
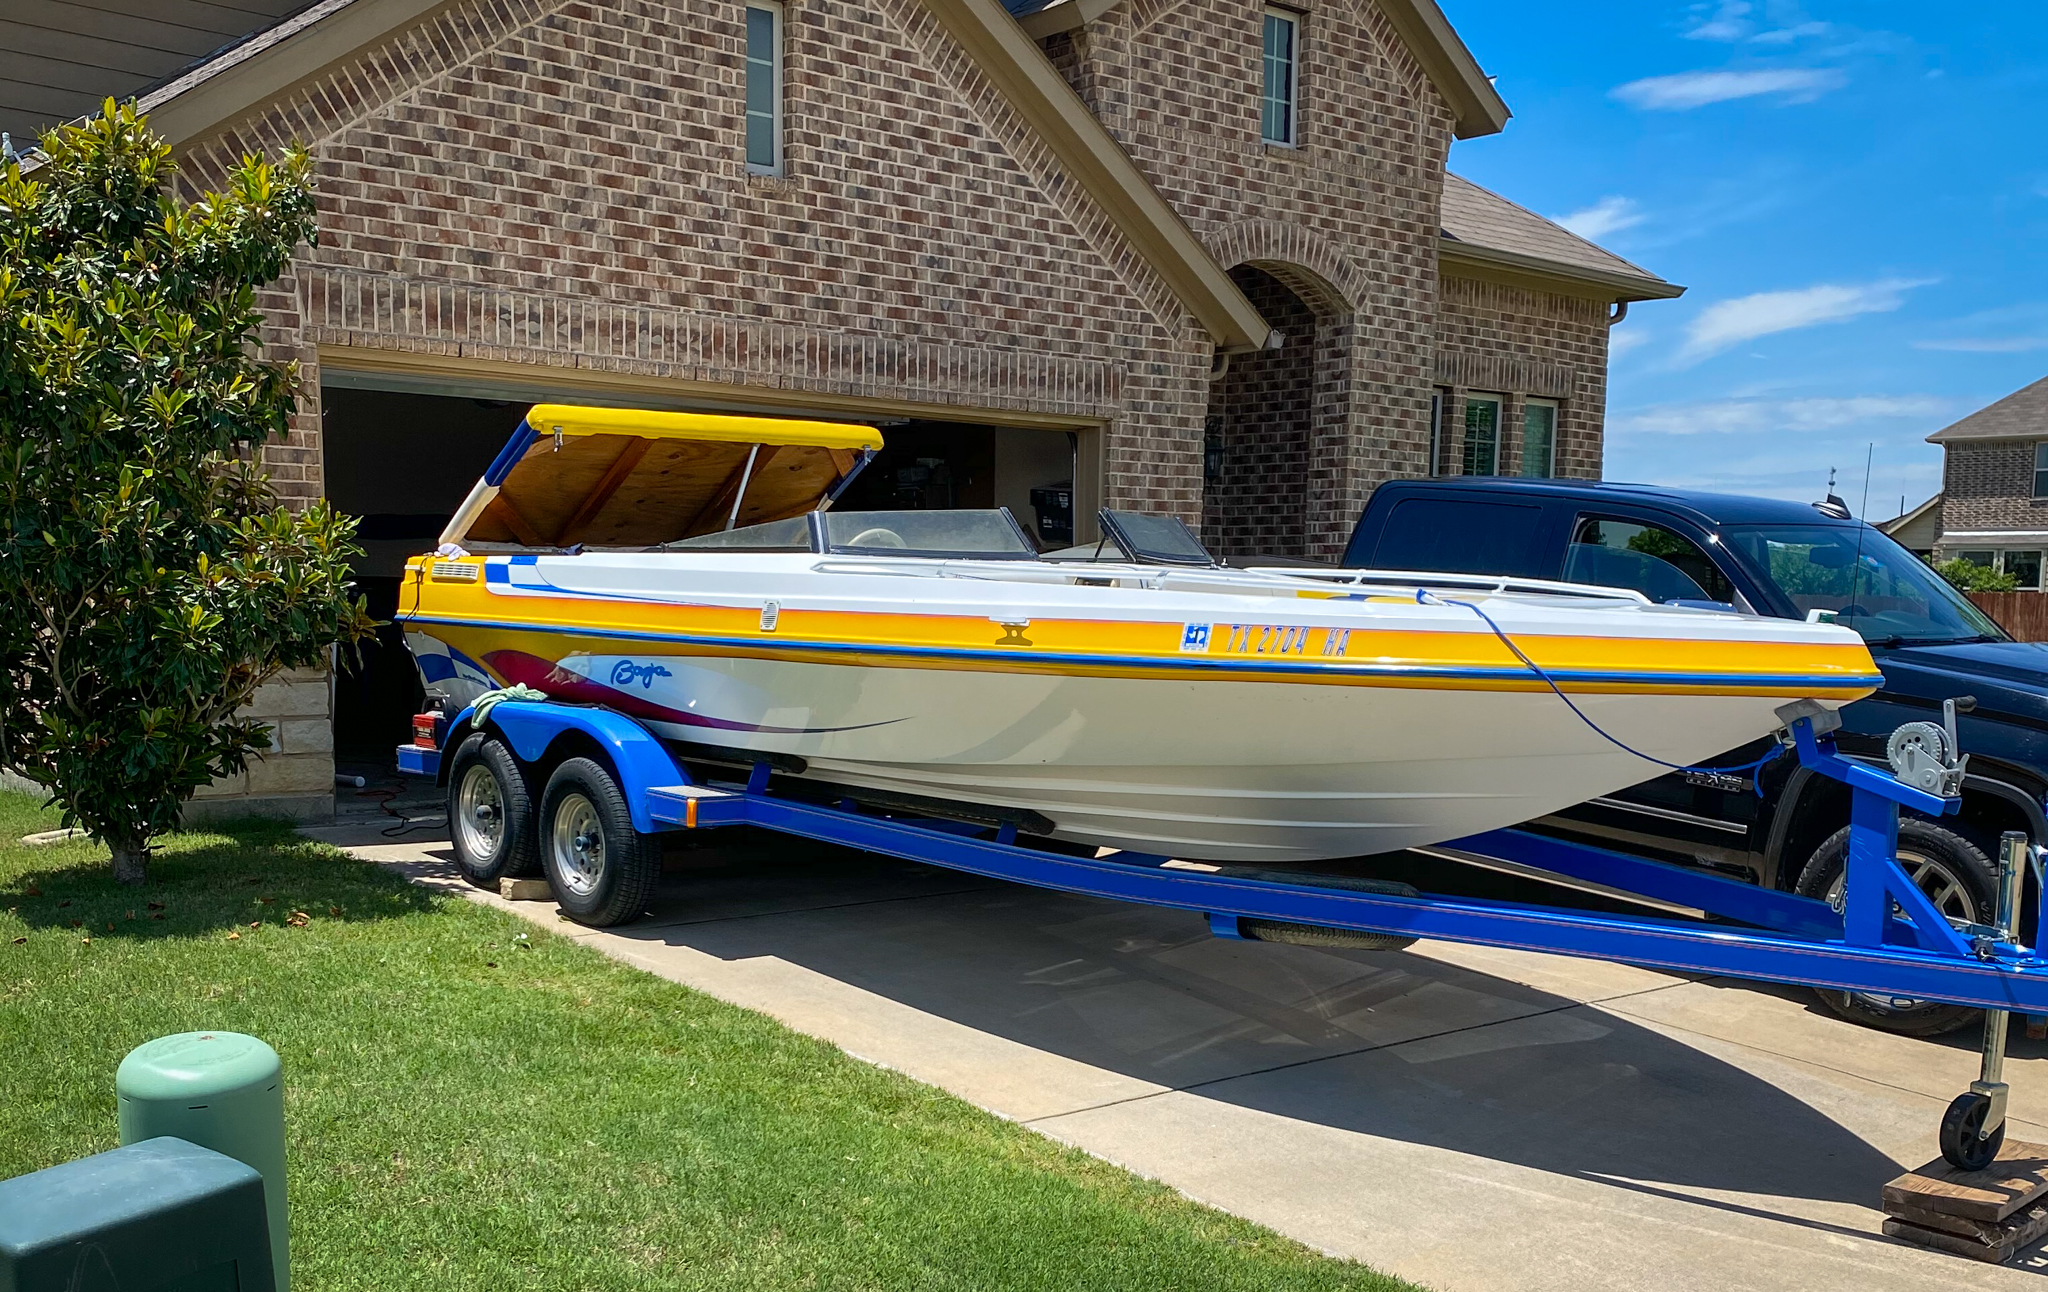
Our 1996 Baja project houses a 489 cubic-inch big-block Chevy and makes a little over 600 horsepower with cast iron heads and pump gas. Will an aluminum LS be able to perform close to the hefty BBC on the water?
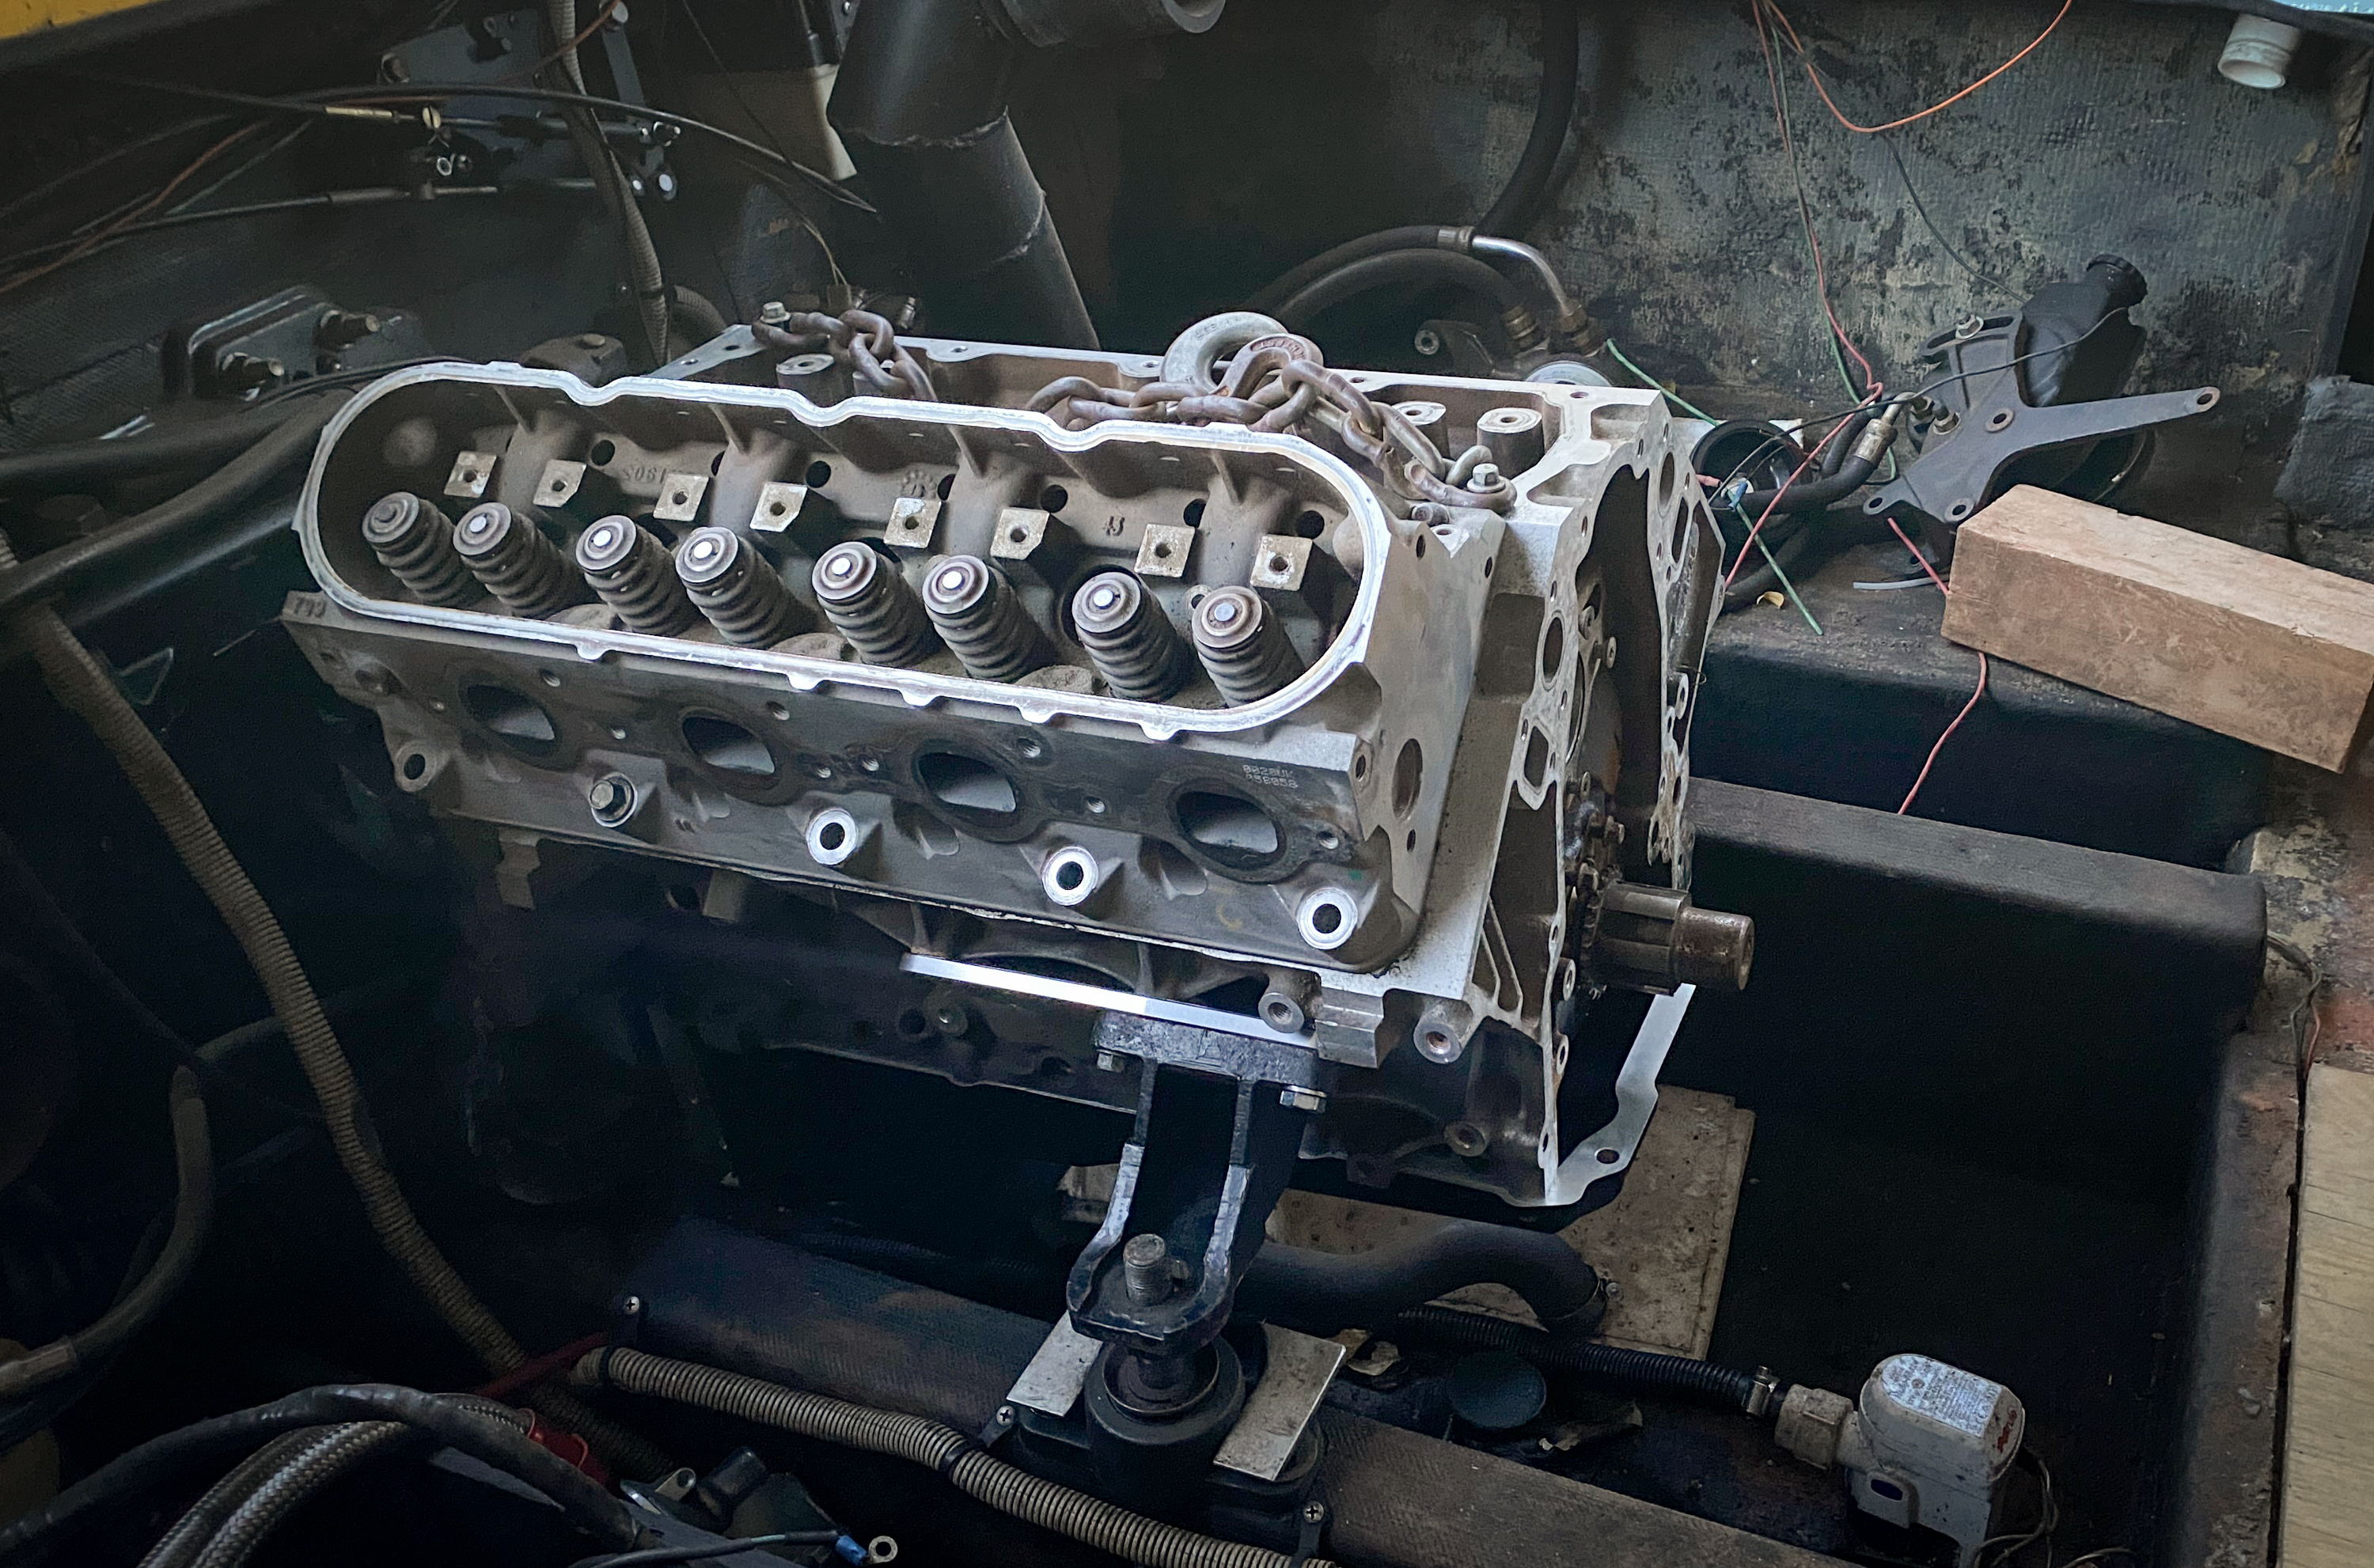
As summer ended a few months ago, my dad and I worked on his boat, getting it ready for winter. His 1991 Baja houses a 489 cubic-inch big-block Chevy and makes a little over 600 horsepower with cast iron heads and pump gas. This got me thinking: how hard would it be to drop an aluminum LS engine in the 21-foot boat, and what would the performance be like compared to the notorious big-block? After all, LS-swapping a vehicle is straightforward and there are boats out there with LS engines already, so why not give it a shot? With the aluminum LS, we would be able to drop 220-pounds over the BBC, and should be able to hit the 500 horsepower mark without much effort. So armed with some aftermarket parts and a Gen-IV mockup engine block, we removed the colossal engine and went to work.
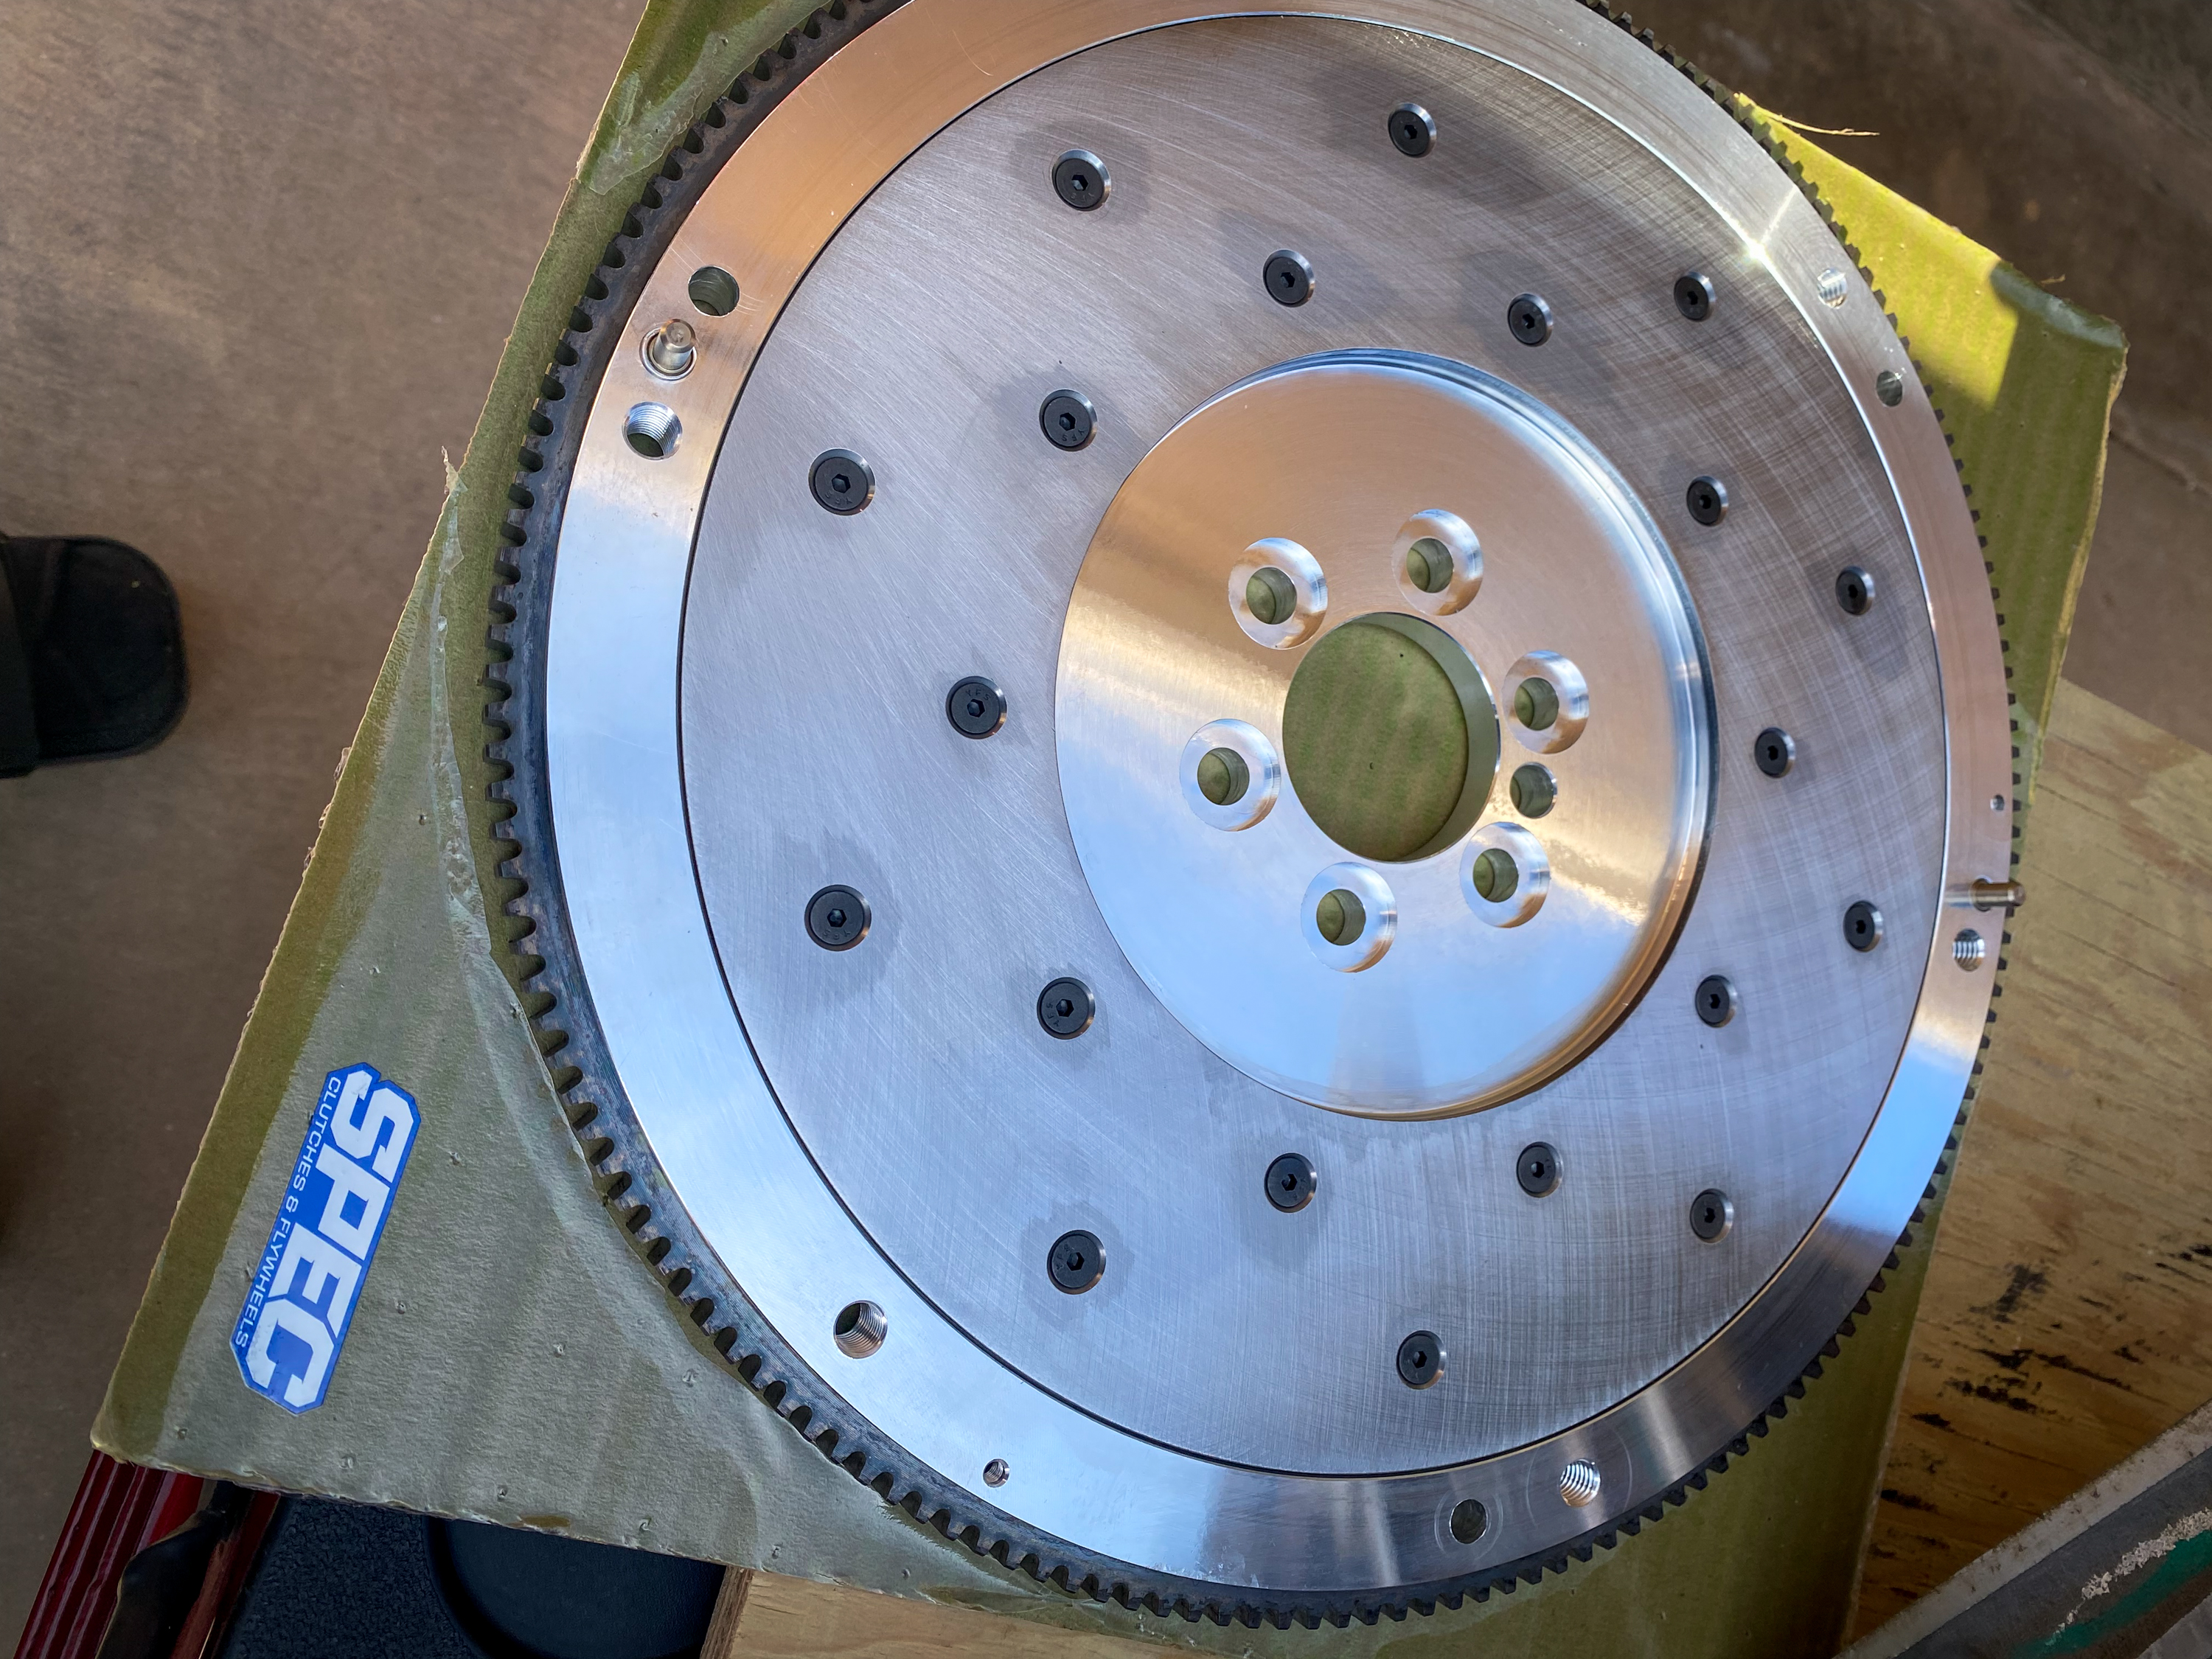
To shed even more weight, we opted for an aluminum flywheel from SPEC Clutch. The company’s Billet Tuned Flywheel weighed in at just 12.6-pounds, which is a considerable weight reduction compared to the factory unit at 24-pounds.
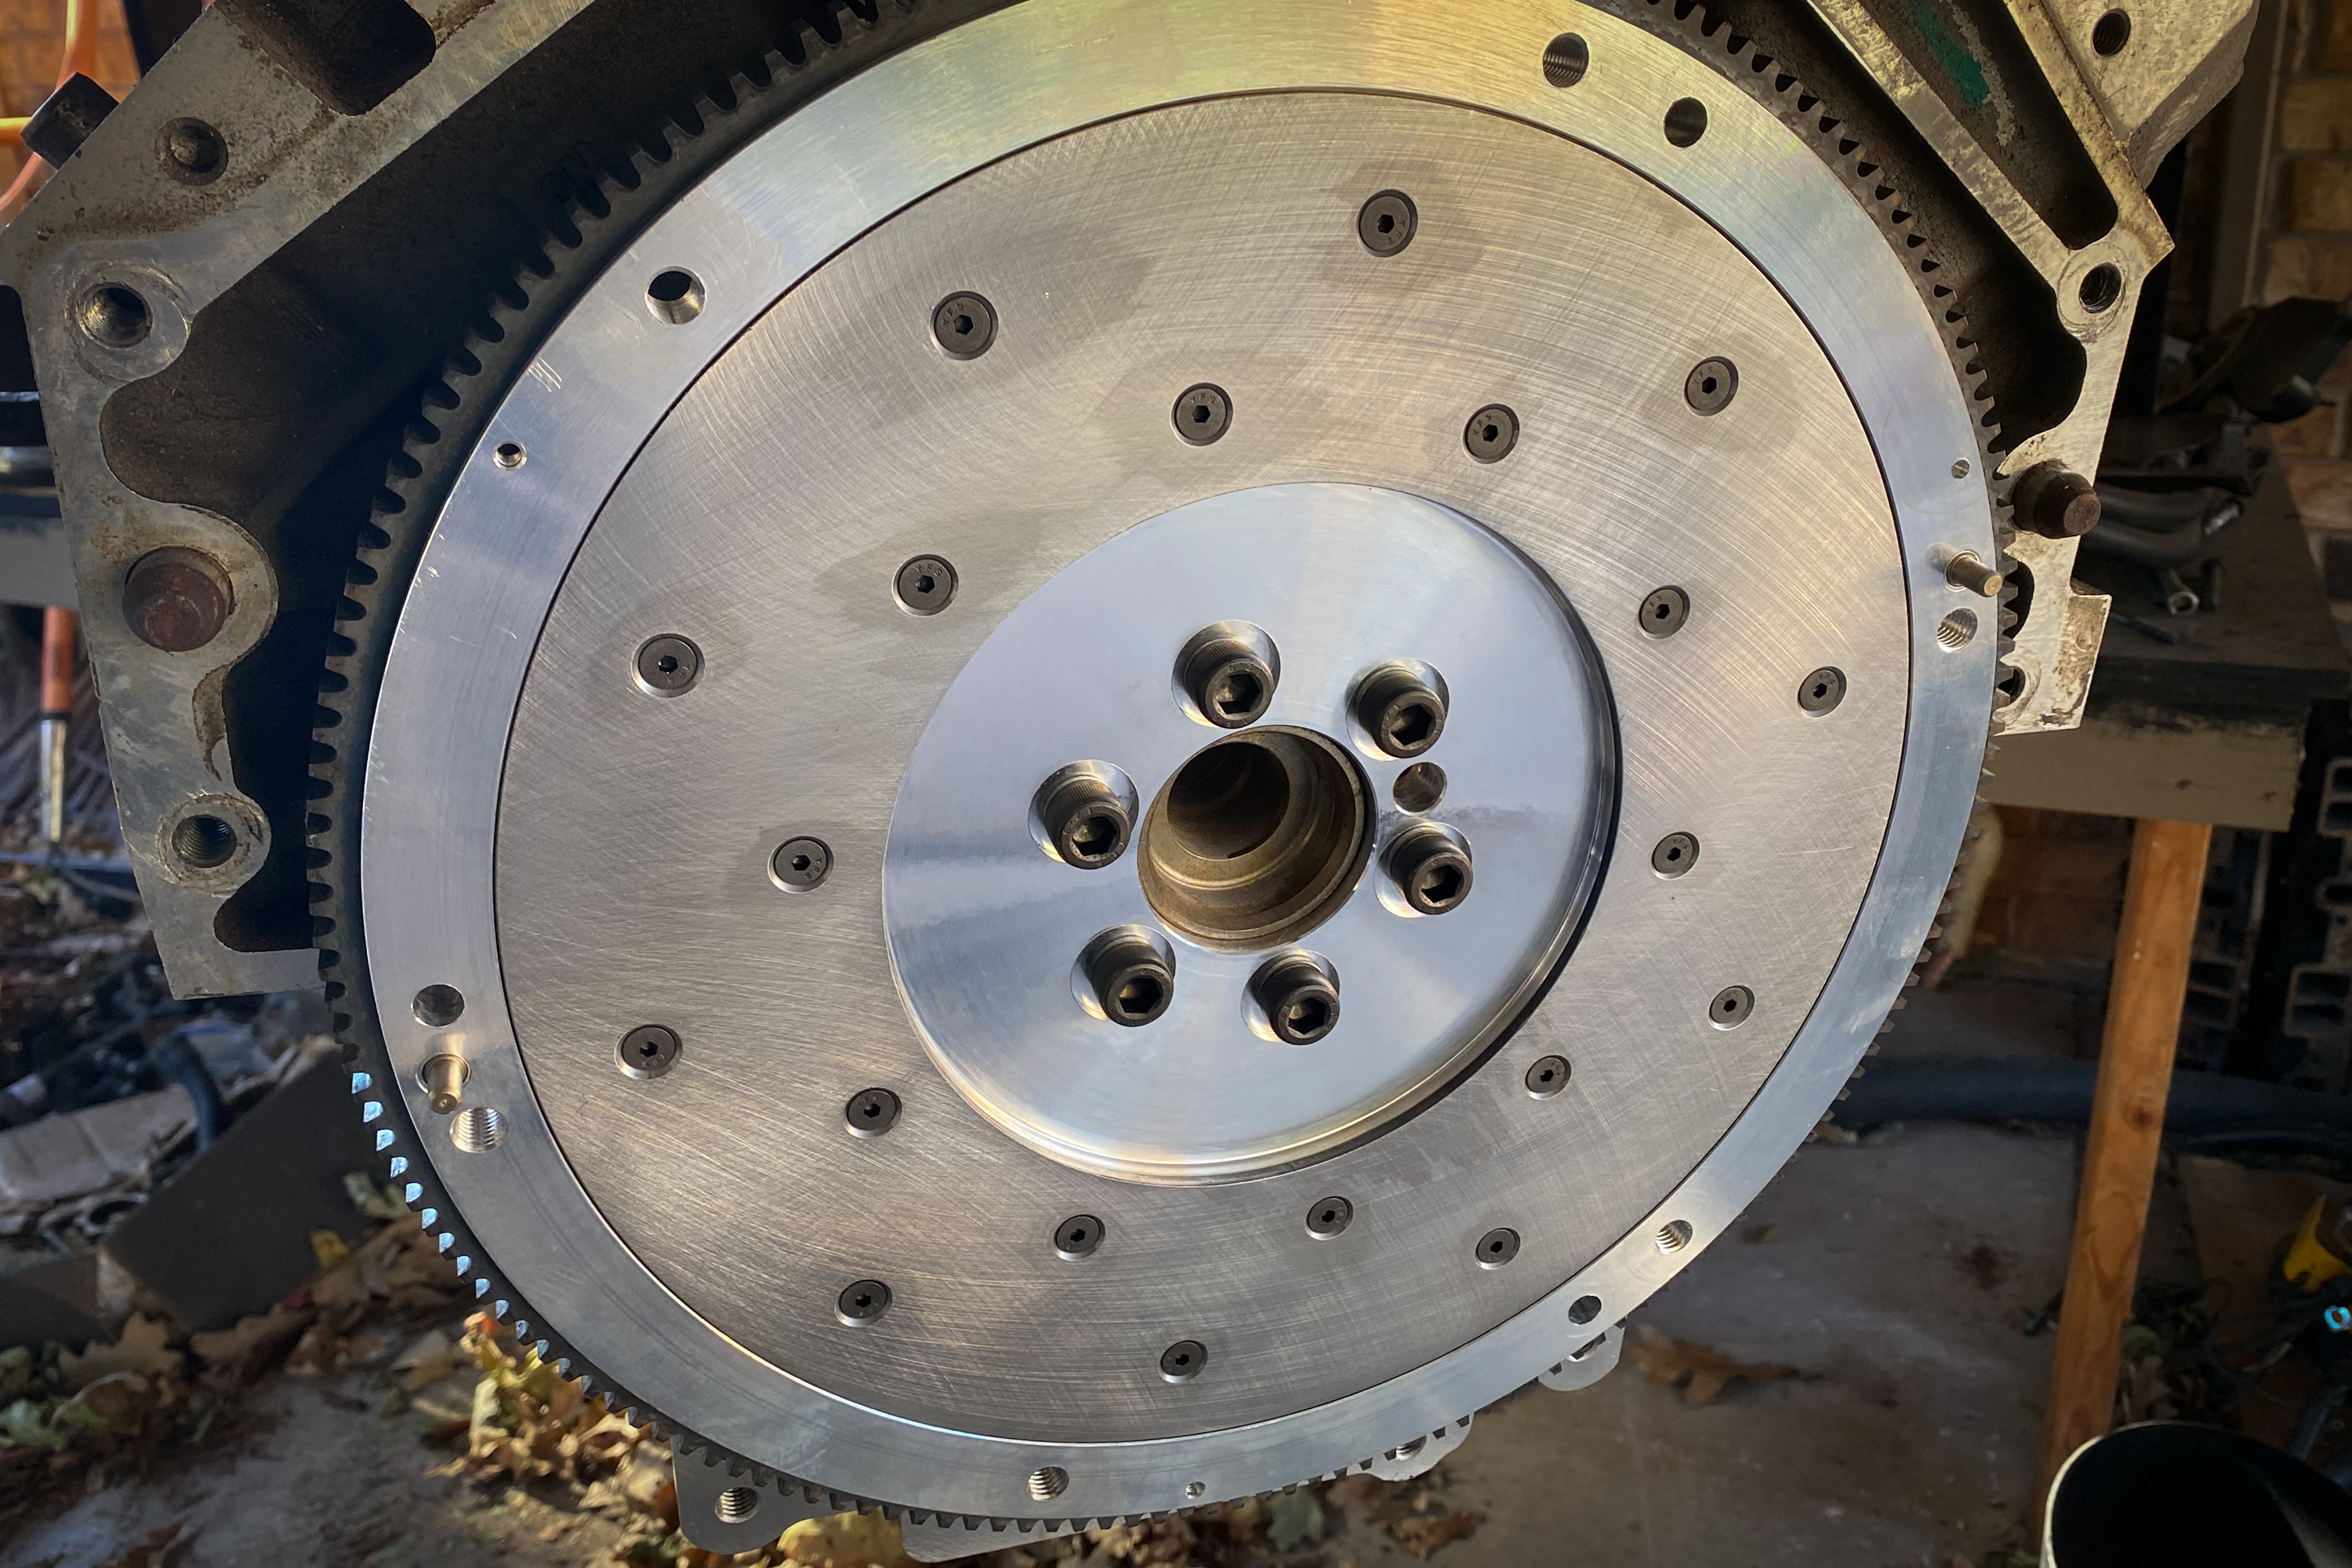
Our first order of business was to figure out how to get the Bravo One outdrive to connect to the new powerplant. We turned to SPEC Clutch for this first piece of the puzzle. Instead of using a factory steel flywheel, we opted for one of its aluminum units. Since the flywheel is in a boat, we don’t need the extra inertia generated by a heavier steel flywheel. So the question is, does a lightweight flywheel increase horsepower? We turned to David Norton at SPEC to help us with this topic.
“I see a ton of statements on the web that a lighter flywheel does not increase horsepower. However, a lightweight flywheel reduces the combustion resistance starting at the pistons, through the rods and crankshaft, then through the flywheel and down the driveline to the wheels. Of course, a real-world illustration of this effect of mass on force is the dyno. And lightweight flywheels have always shown measurable horsepower increases on the engine and chassis dynos. We see an average of 10-12 horsepower at the wheels on LSX engines with our aluminum flywheel,” Norton explained. “So why the conundrum in our industry of how to label the increases? Here is my stance: if a lightweight flywheel produces measurable horsepower increases at the flywheel or wheels, then it is a power modification.”
SPEC’s Billet Tuned Flywheel weighed in at just 12.6-pounds, which is a considerable weight reduction compared to the factory unit at 24-pounds. The only thing we needed to do to bolt on the Mercruiser outdrive couplet was to remove the dowel pins from the flywheel. The pins are in a different location on the big-block flywheel. With the pins removed, we could bolt the coupler on the SPEC flywheel.
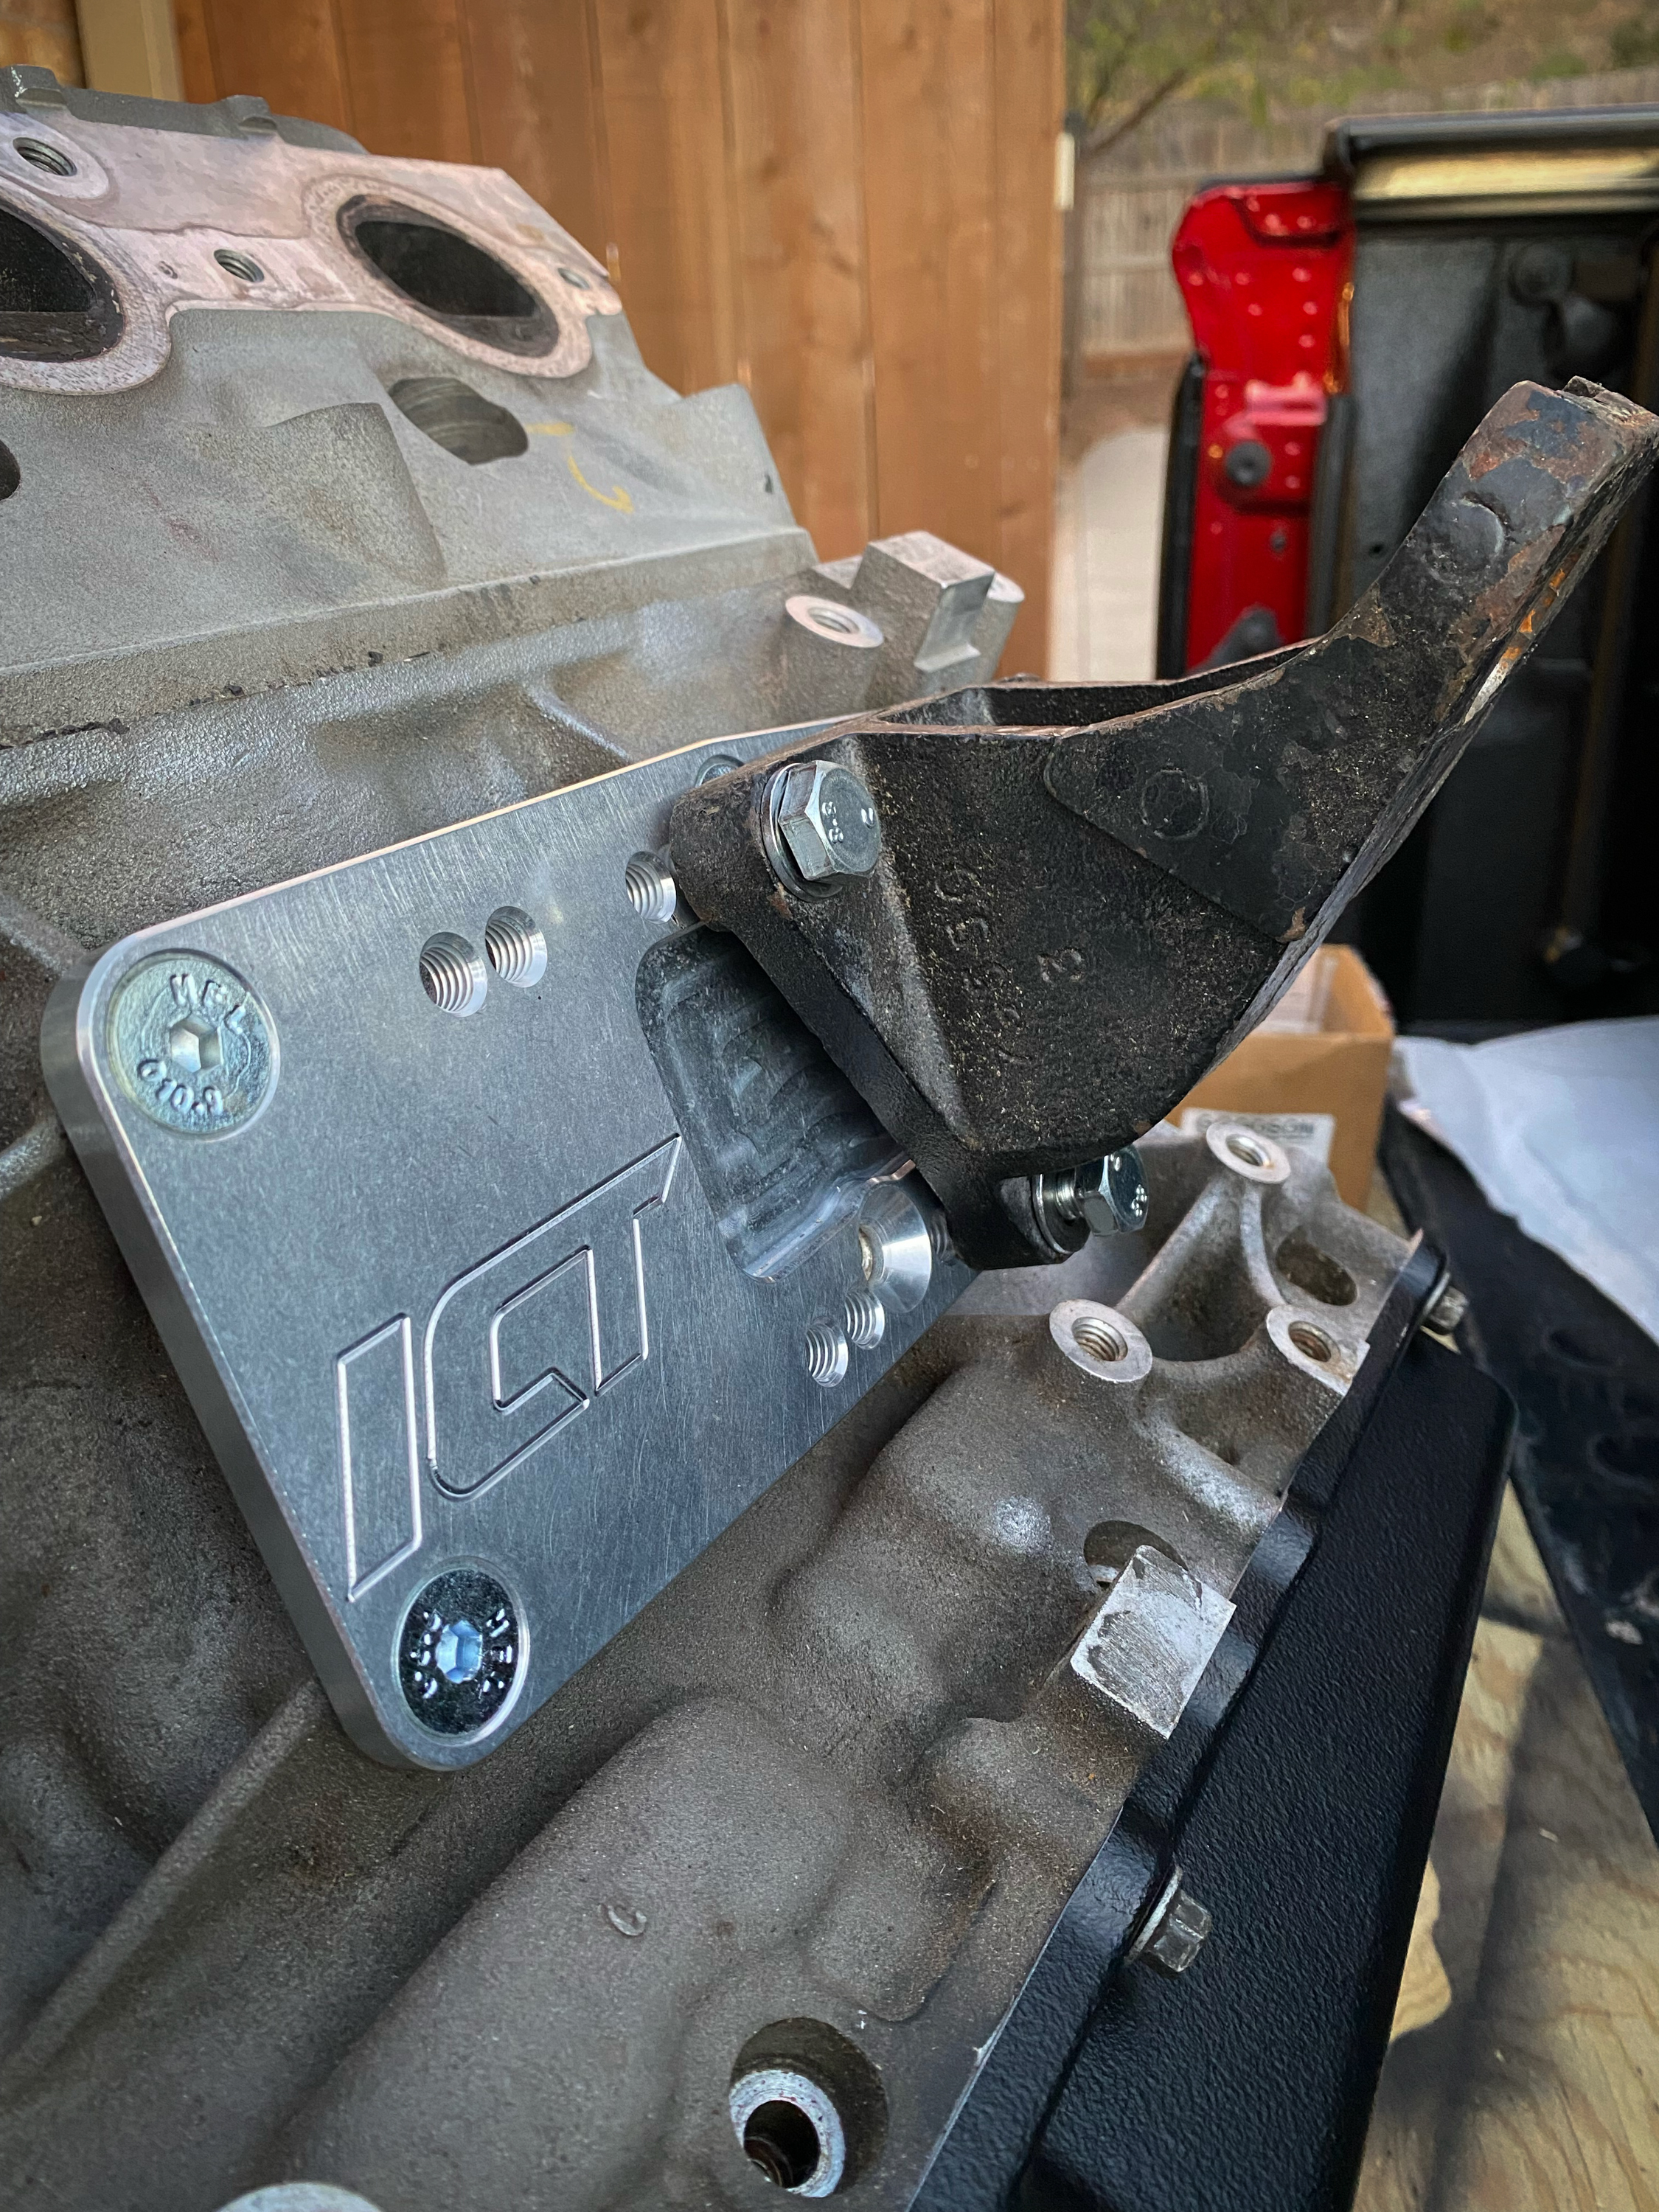
ITC Billet’s adapter plates offer multiple holes to move the mounts forward or backward, as needed. This gave us some flexibility to mover the mounts around as needed.
With the coupler buttoned up, our attention then turned to the bellhousing. We knew from past projects that this piece would bolt on to the LS without much effort. The only problem is the lack of one bolt hole in the block. You can drill and tap the block if you want to, but we opted to leave it out since it’s not needed. Next, we used ITC Billet’s adjustable LS adapter plates (PN 551628). A nice feature about the ICT Billet adapter plates is that they have multiple holes to move the mounts forward or backward, as needed. We measured the mount location on the big-block and then replicated it on the LS.
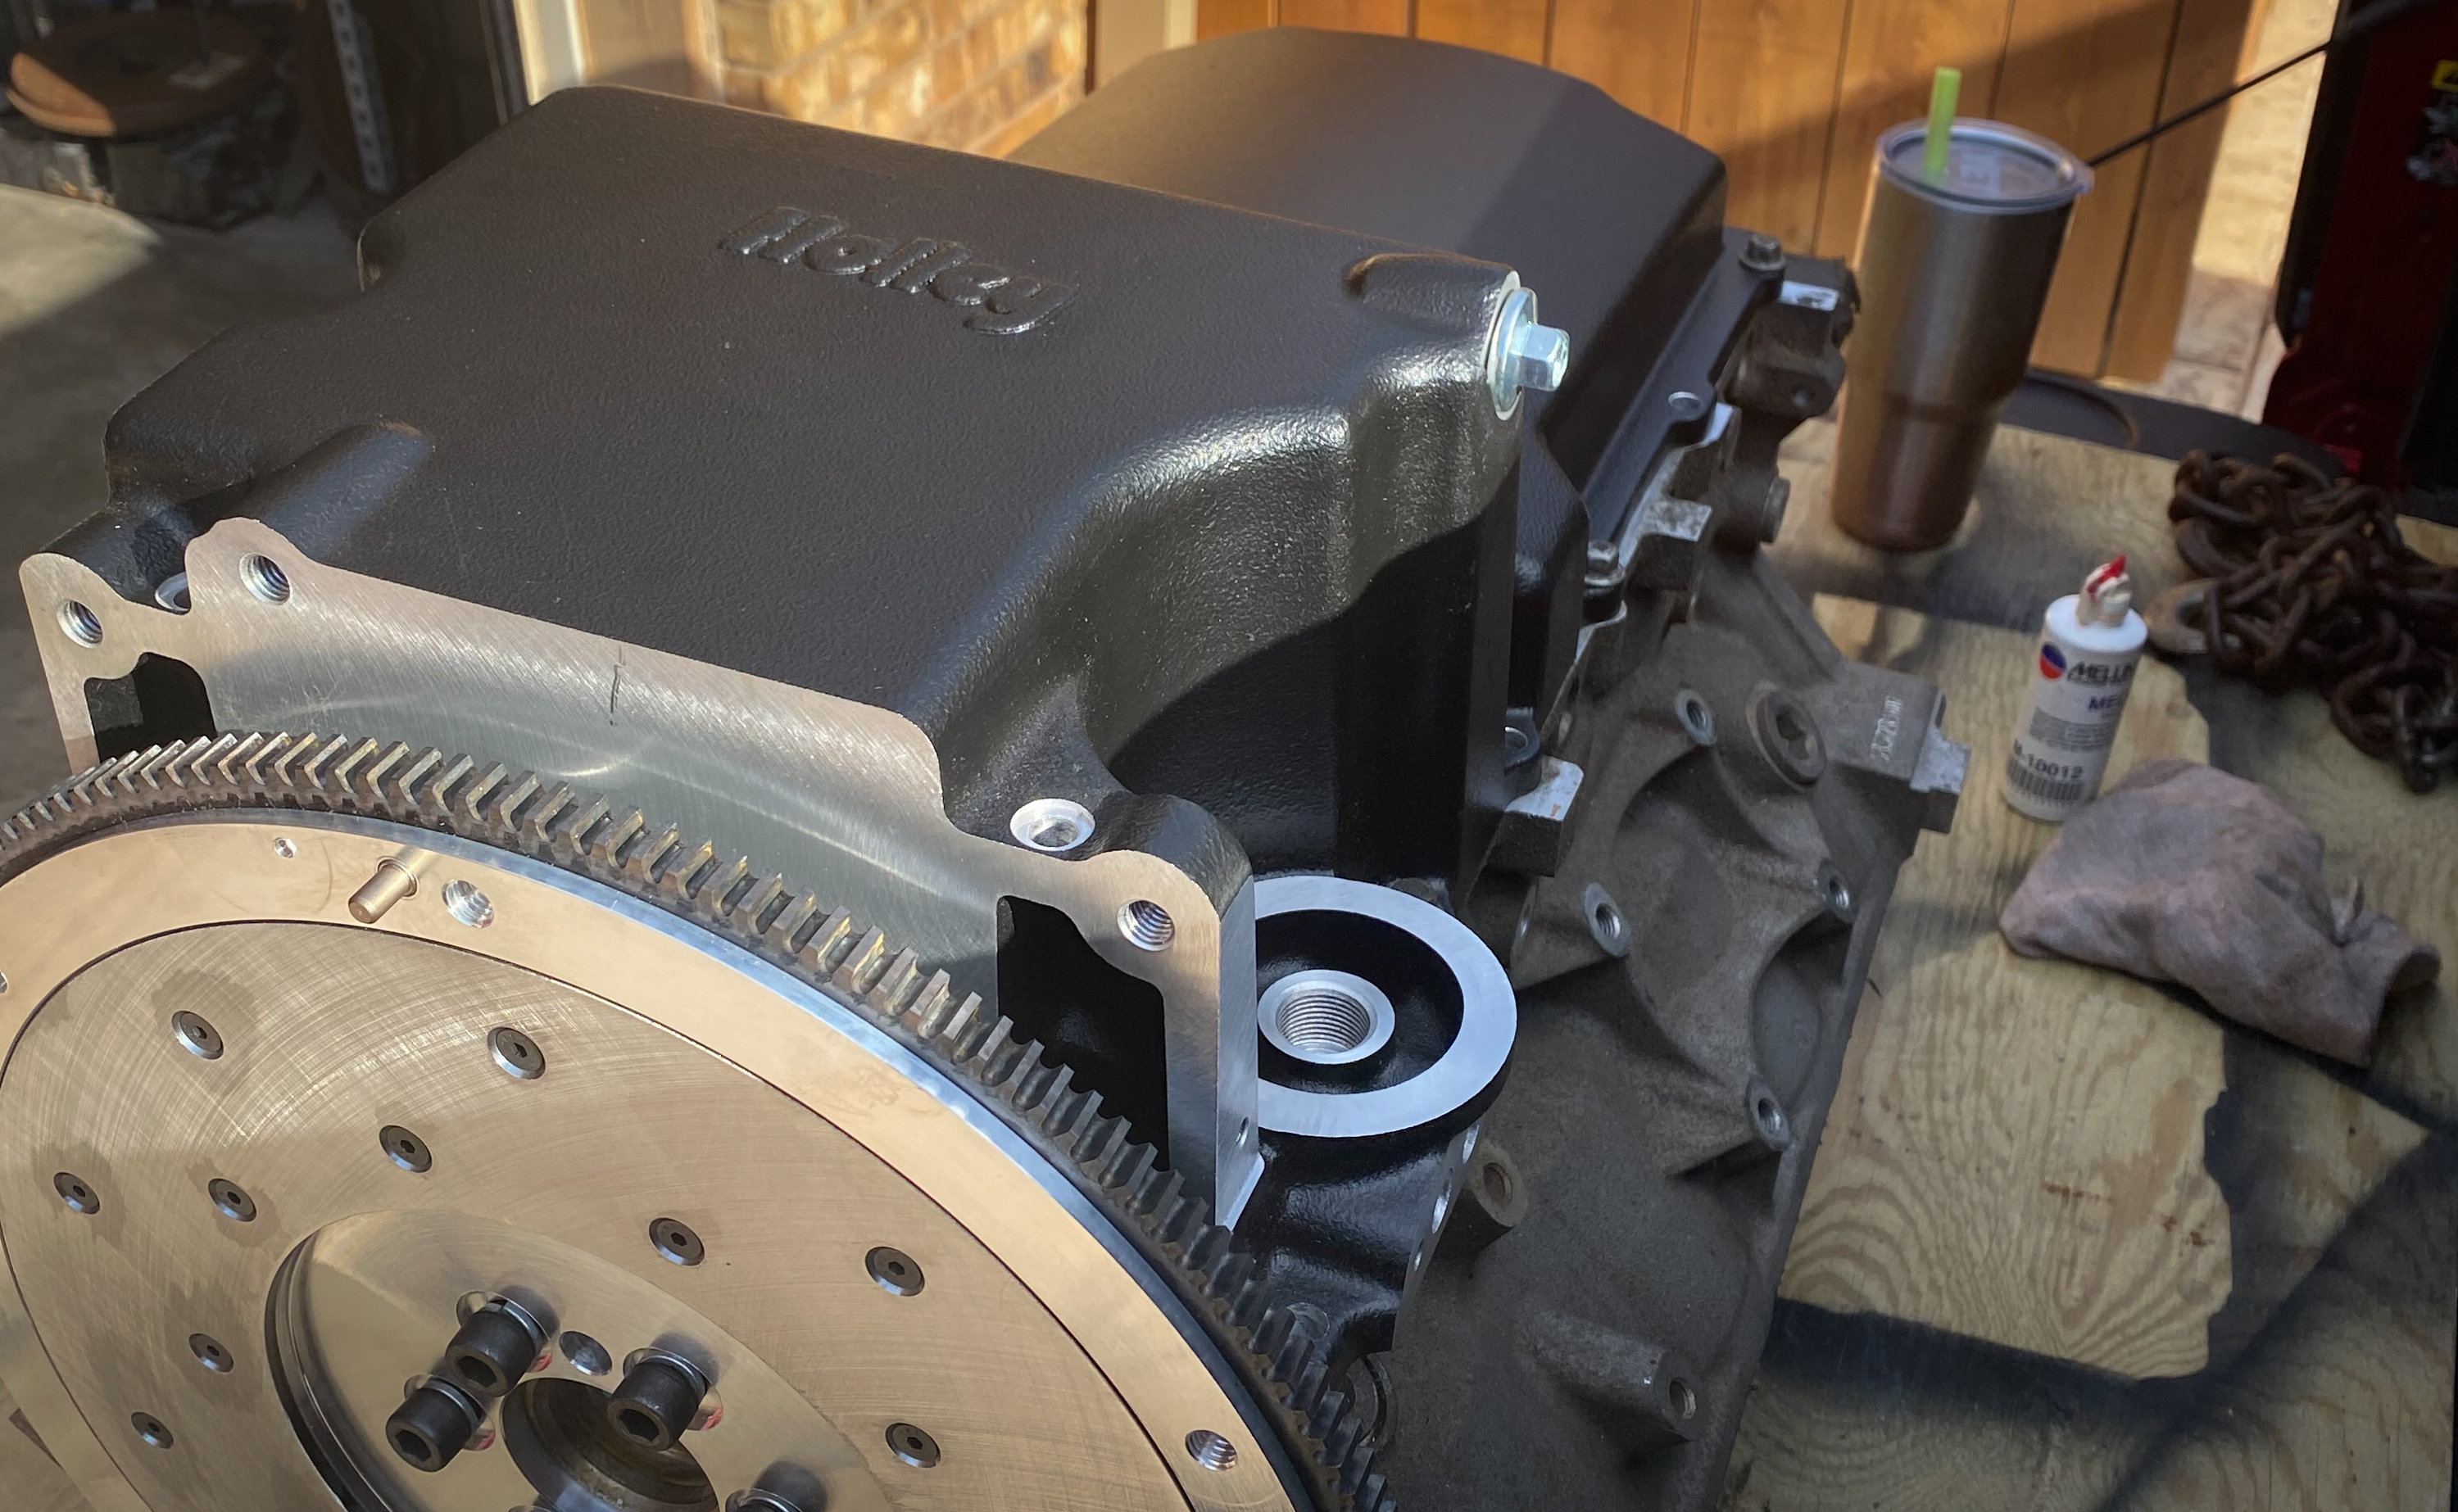
We decided to use a Holley oil pan and baffle kit to make sure oil was at the pickup while we smash running across the lake.
Unlike a car, boats tend to bounce around a lot on the water. Since oil starvation can be a problem, we decided on Holley’s LS oil pan (PN 302-2) with the addition of the company’s oil pan baffle kit (PN 302-10). The oil baffle is a direct bolt-in design and offers vertical baffles with one-way trap doors keeping the oil at the pickup tube. This baffle is an excellent addition for street, road racing, drag racing, off-road, and marine applications.
After we mocked up the engine, it was finally time to drop it in the boat….or so we thought.
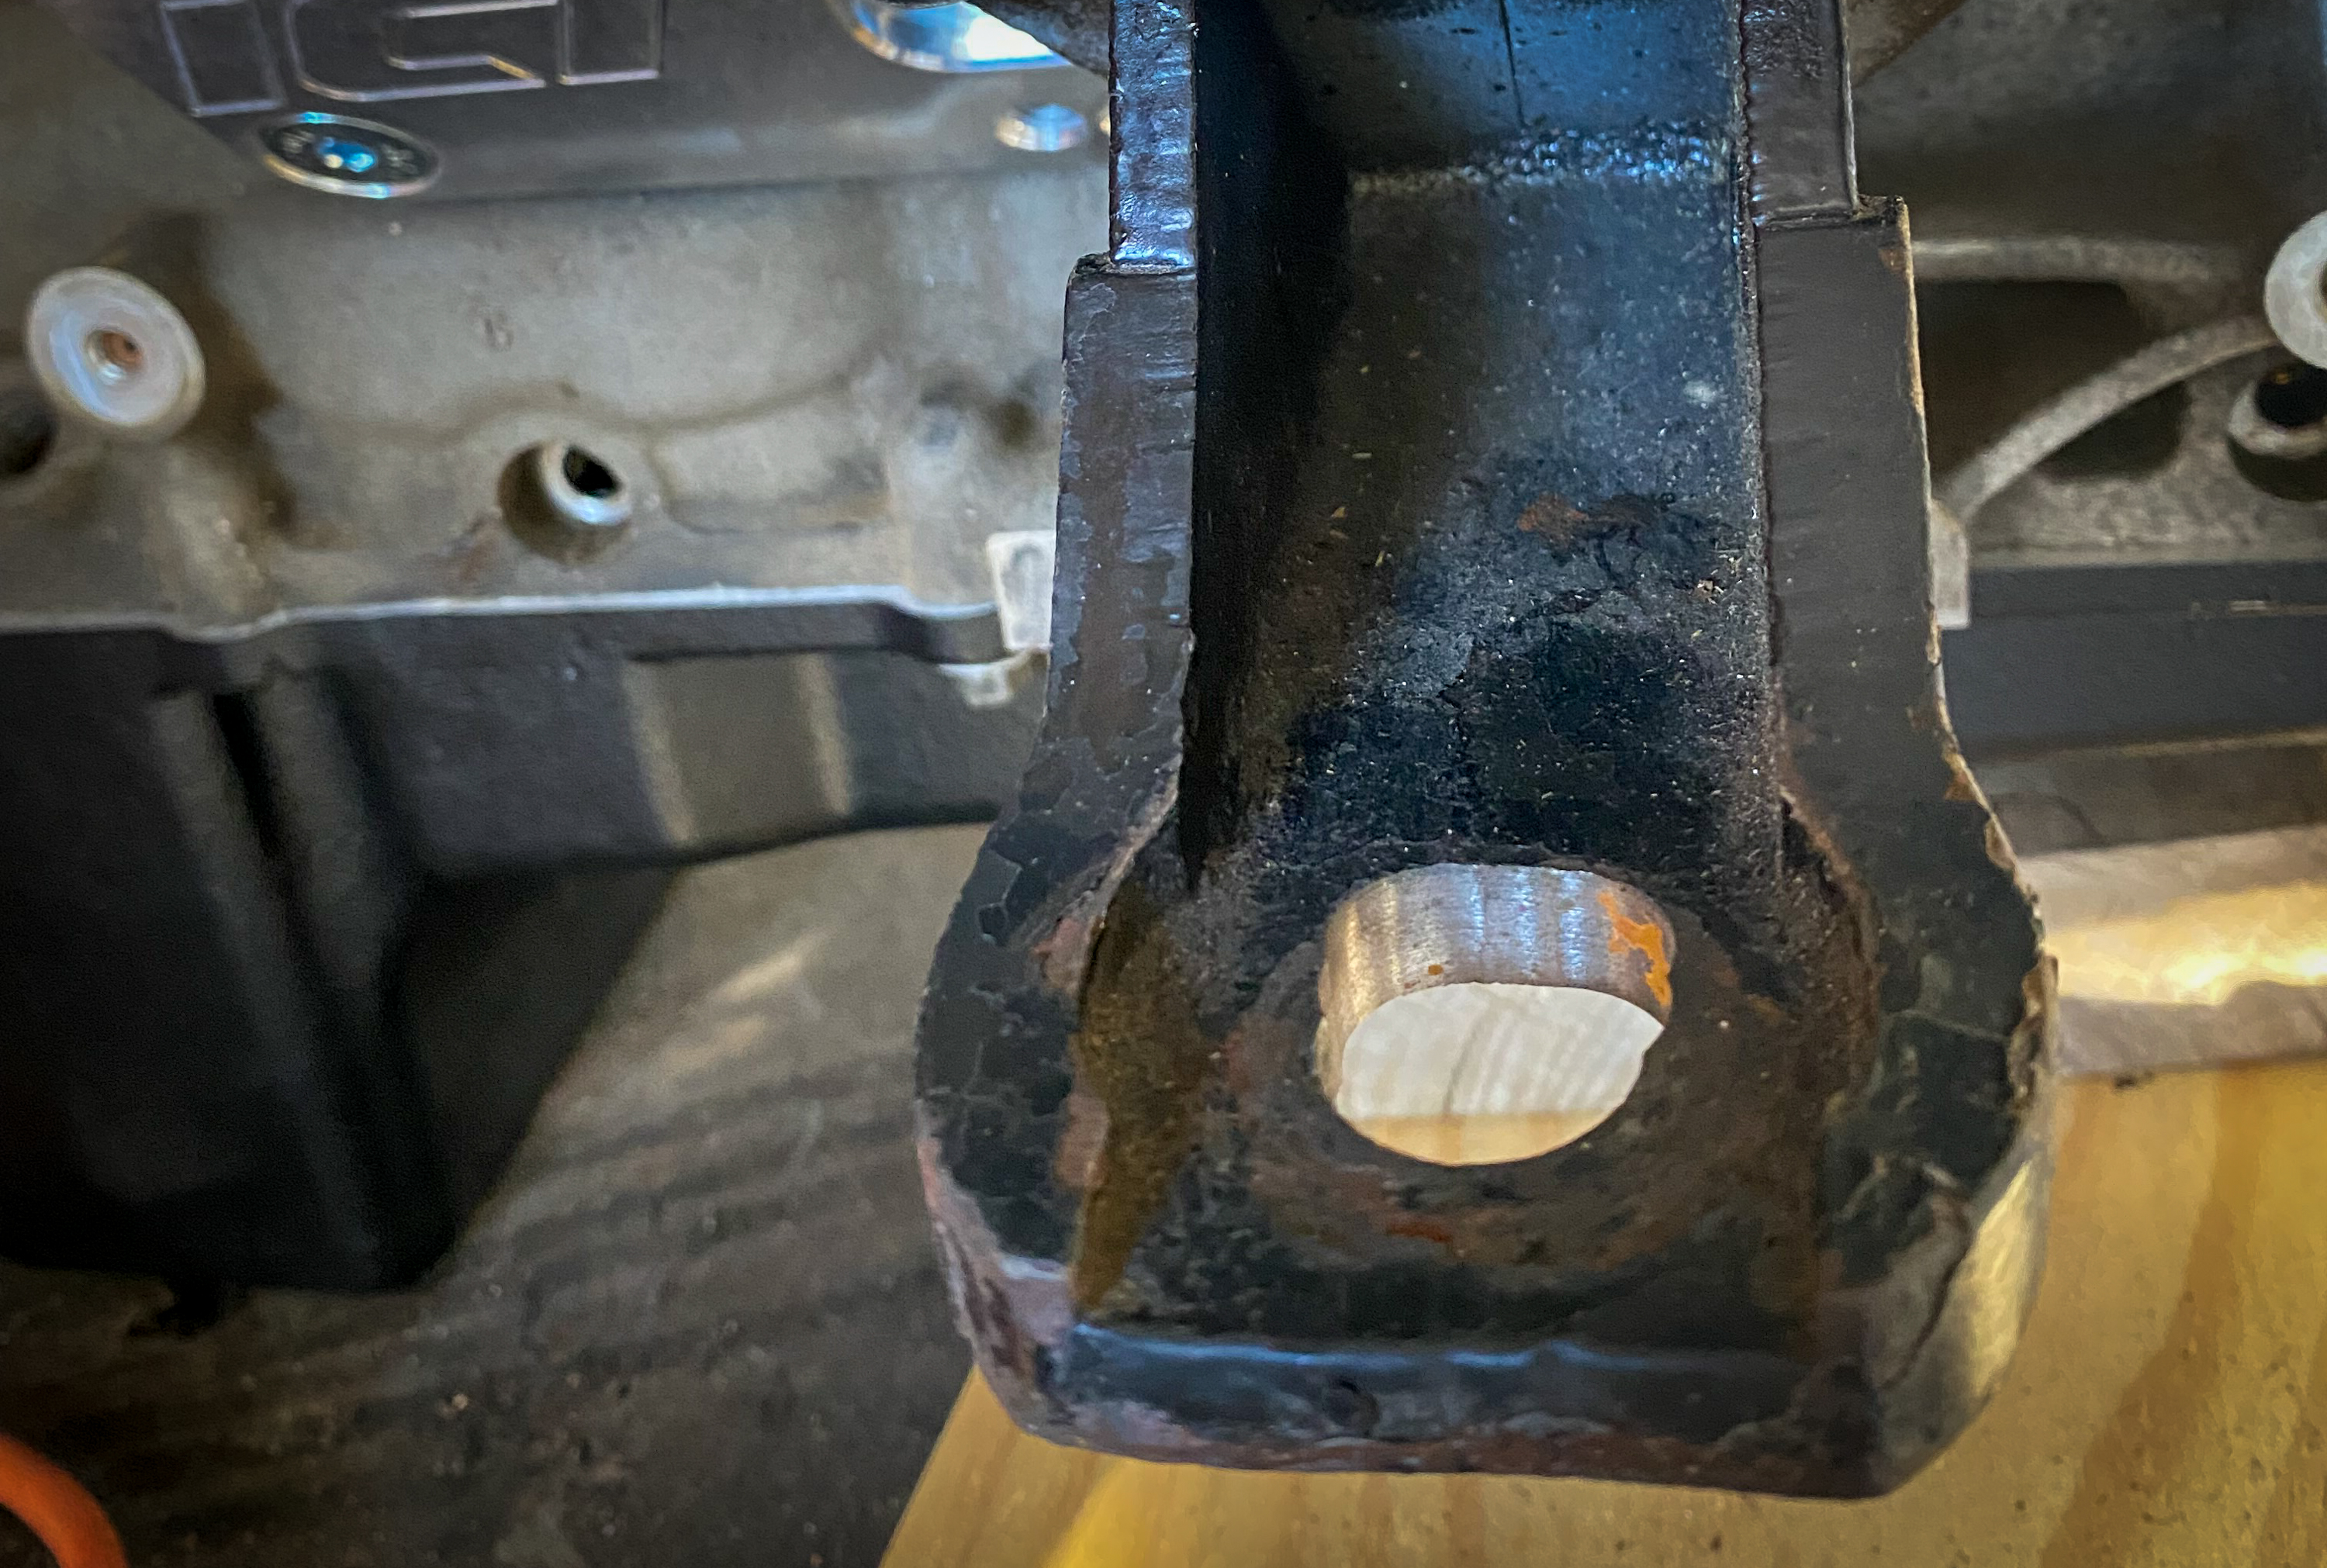
The only modification needed to the motor mounts was to machine them to outside about 1/2-inch.
With the engine on the hoist, we raised the LS and set it down on the BAJA’s mounts. However, we had a problem: the ICT Billet adapter plates didn’t push the engine mounts out far enough so that they would not line up in the boat. Fortunately, there was an easy fix. All that needed to be done was remove the engine mounts and machine them to the outside about 1/2-inch. So we made a quick trip to the shop to remedy this problem. Much to our surprise, the LS dropped in the boat with an OEM-like fitment, with everything in place. And with that, we were off to our next nuisance: the exhaust system.
Much to our surprise, the LS dropped in the boat with an OEM-like fitment, with everything in place.
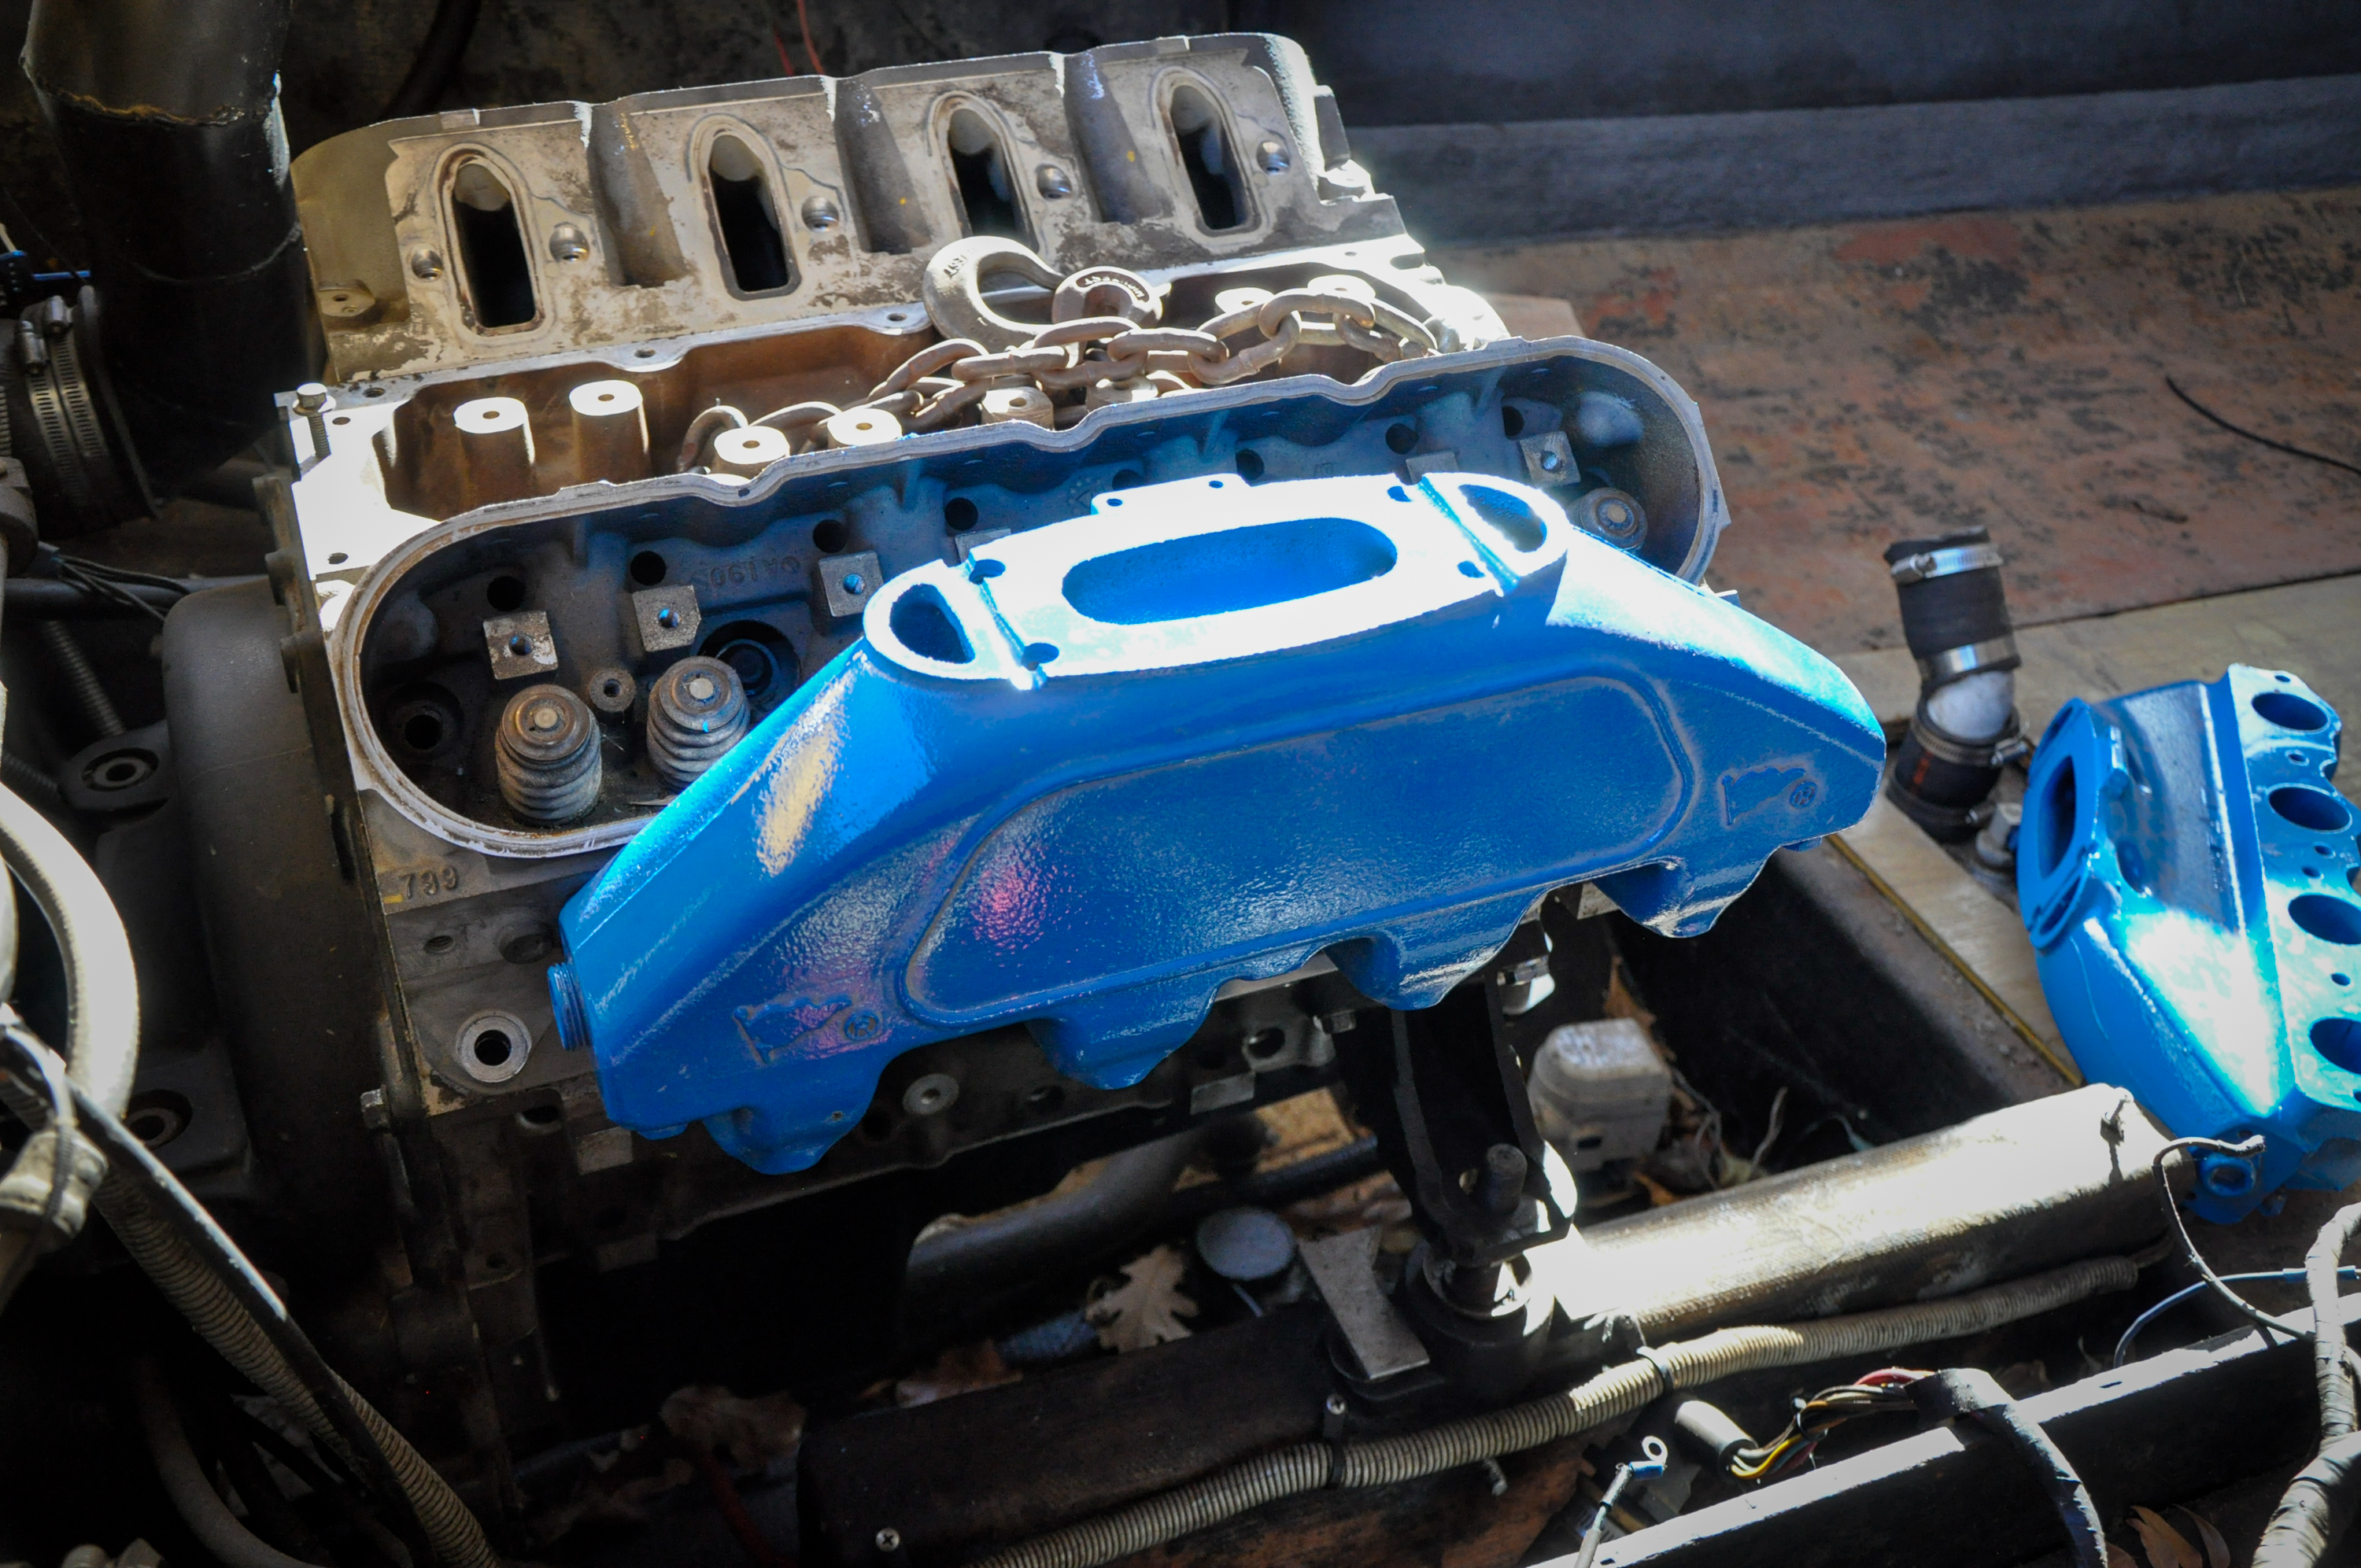
If you’re not very familiar with boats, the exhaust system is entirely different from the one you would find in a car. Typically, boats have either water-injected headers or water-jacketed exhaust manifolds. Using water is an easy way to cut down on heat in the engine compartment. And if you’ve ever seen something made of fiberglass, like a boat, catch on fire, then you know why this is a good idea. The only problem is that there are no affordable choices out there. For now, we purchased a set that we found online but are already looking for a better solution, as the cast iron units are heavy. However, these worked well for mockup.
With the engine set in the boat, we’re done with part one of this installation. And while the process went pretty smoothly (for the most part), round two might be a little more involved. We still need to figure out the cooling system, power steering, coil mounts, and the dreaded sea pump. But more on that at a later date, so stay tuned.