When it comes to trucks the stance is everything, and it says a lot about what a vehicle represents. If the truck is lifted, it’s off-road time, in most cases. If the truck is still at stock ride height, it’s probably just headed to Home Depot to haul some lumber. We wanted the stance of our supercharged 2014 GMC Sierra project truck to tell people this pickup was built to haul butt. We wanted to lower the ride height to accomplish this task, which sent us to MaxTrac for the parts to get the job done correctly.
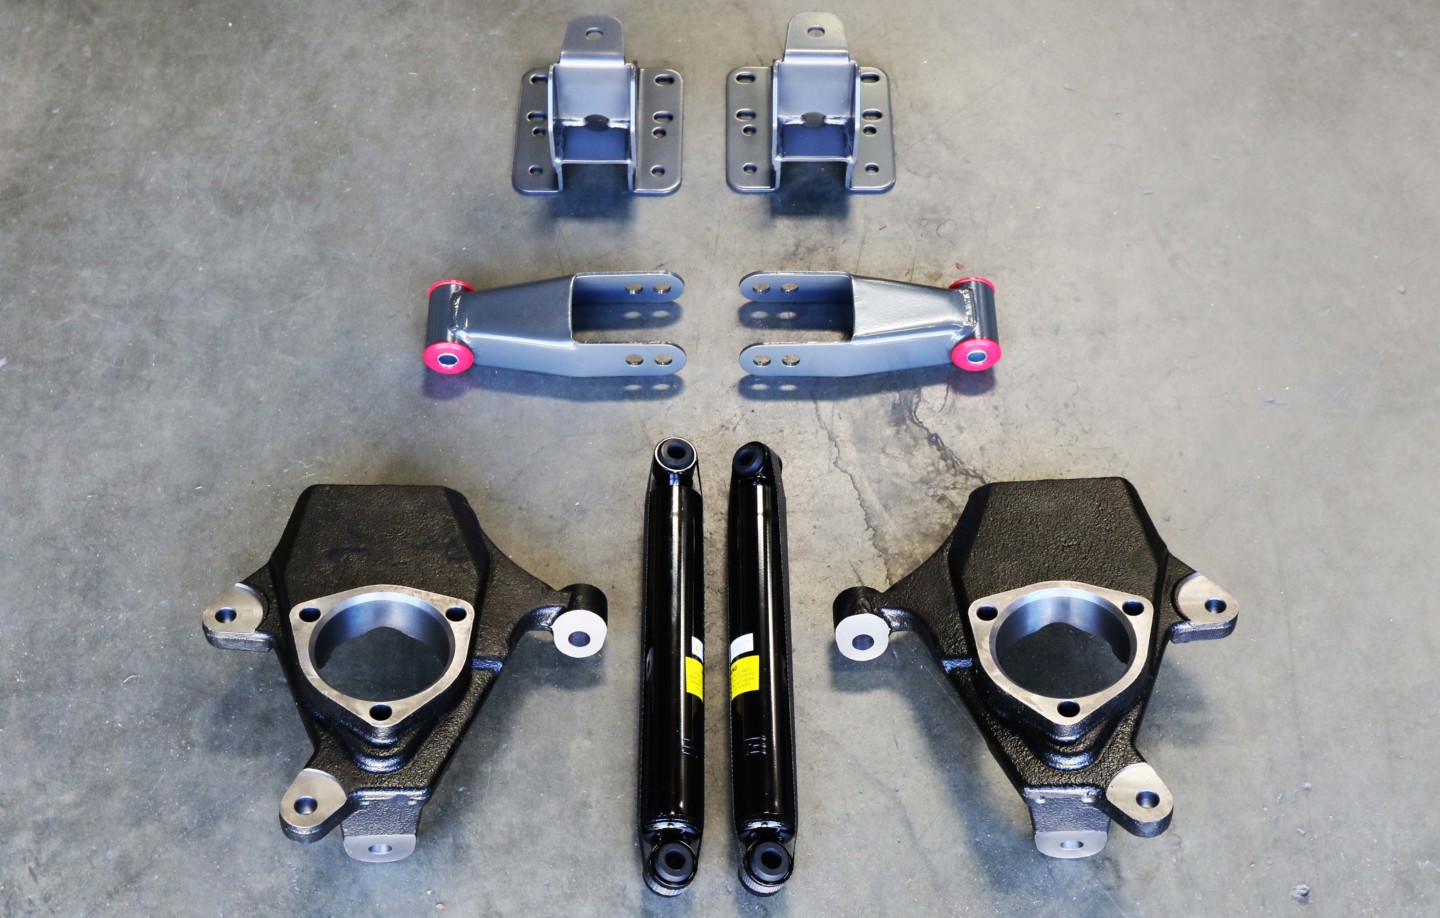
Powder-coated leaf spring shackles and new shorter shocks for the rear and some cast drop spindles for the front were just the parts we needed from MaxTrac to lower our GMC Sierra into the weeds.
Most trucks come from the factory with a standard rake in the ride height, meaning the rear is higher than the front. This is done so when a heavy load is placed in the truck’s bed, the rear springs will compress, and then while the loaded vehicle is traveling down the street, the headlights aren’t shooting up at the stars.
Because our truck will spend its days running down the dragstrip instead of running to the job site, we wanted to delete the factory rake as we lowered it. To get the proper ride height, we wanted to drop the truck’s rear 4-inches while reducing the front 2-inches to give us a flatter stance. The MaxTrac lowering kit for a 2014-2018 GMC Sierra/Chevy Silverado drops the front 2-inches using new spindles and lowers the rear between 4- to 5-inches depending on the holes used on the rear shackles, which was perfect for our application.
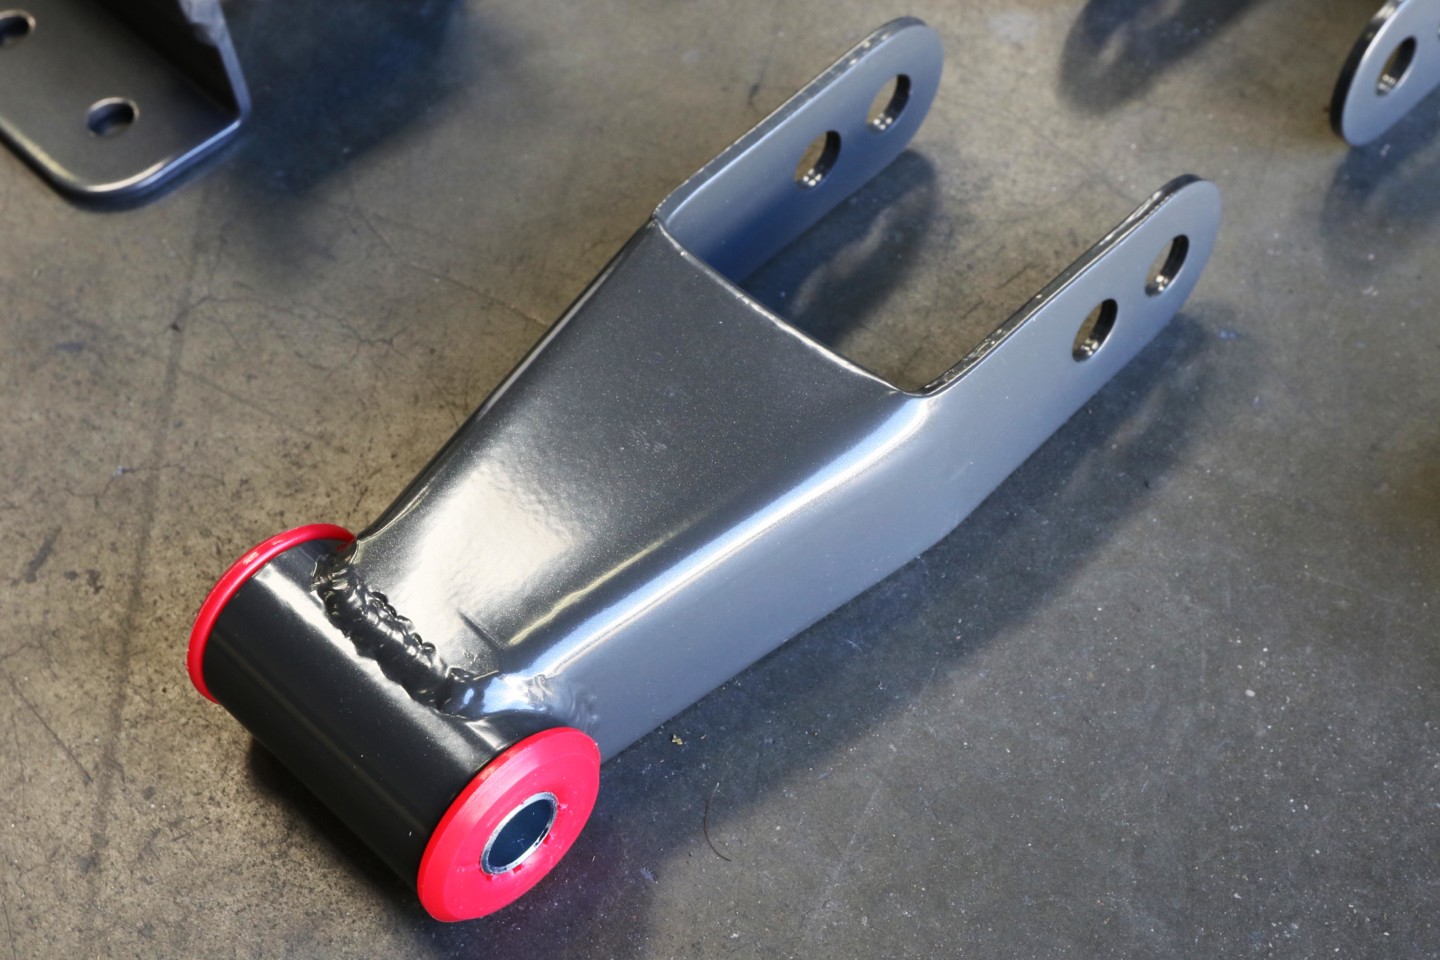
The MaxTrac lowering kit re-uses the stock rear leaf springs (inverted and placed into the new MaxTrac mounting shackles) and depending on which hole you bolt the leaf springs into you can lower the rear ride height by 4 or 5 inches.
When choosing a lowering kit (and there are a lot of choices out there), one specific feature that sold us on the MaxTrac system was the design and engineering that went into the replacement front spindles. Rick Freeman, the tech specialist at MaxTrac, detailed the advantages of its product.
“Our 2014-18 GMC/Chevy spindle design is the best and strongest casting on the market. The MaxTrac spindle uses all three bolts to hold the factory hub, where other major competitors only use two of the factory bolts and a set screw that tends to shear.” Rick also explained that the design of the drop spindle was set up so while it lowers the truck, it does not give you bump steer in the alignment.
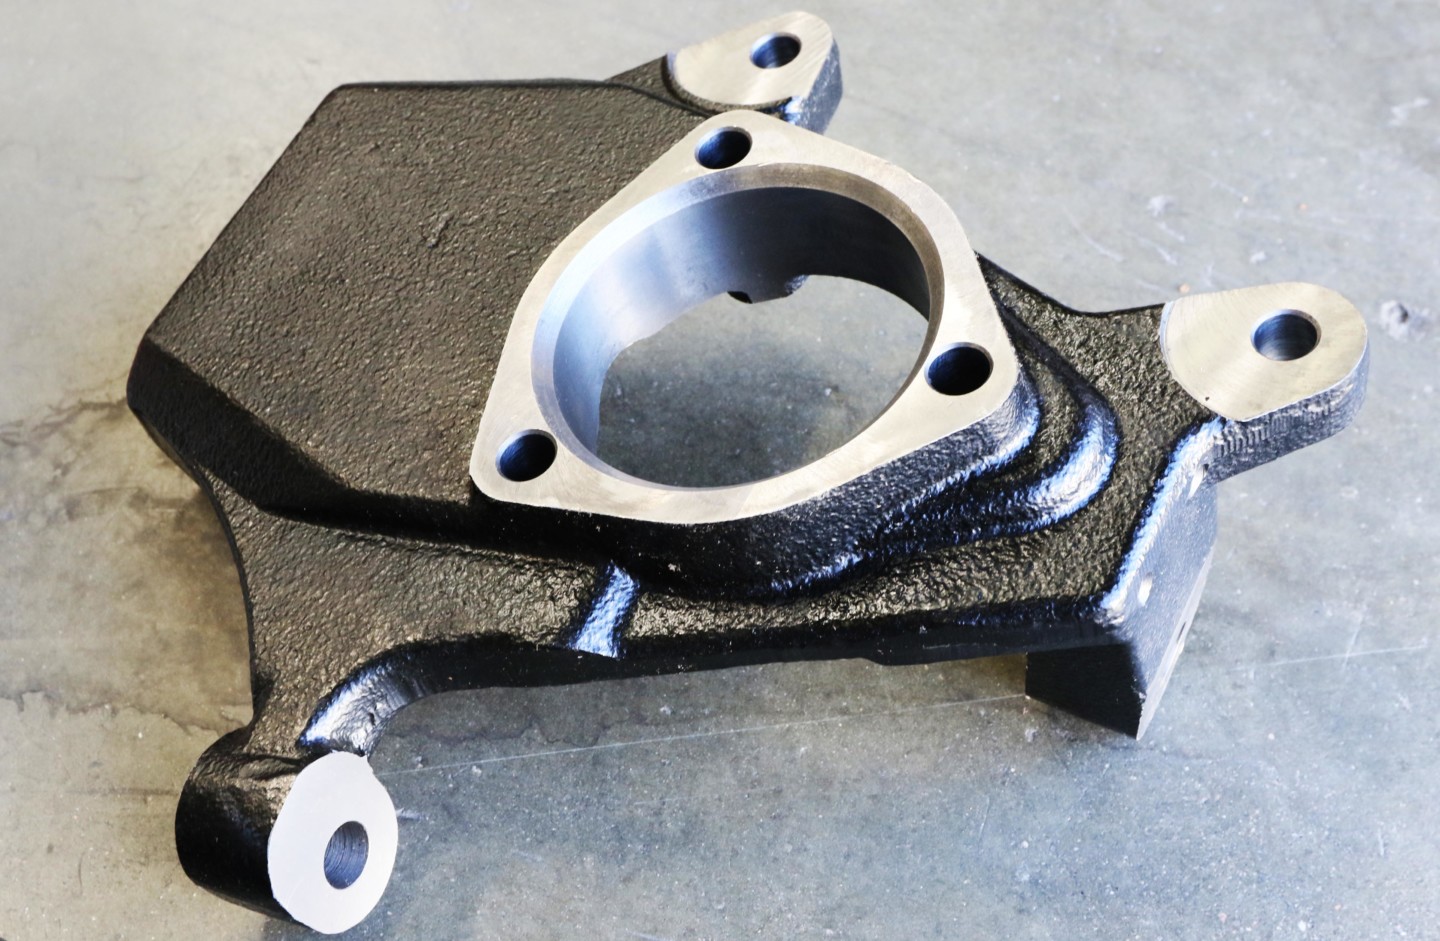
A factory GMC/Chevy hub uses three bolts to hold it in a spindle and the MaxTrac lowering spindle has three holes to accommodate those three bolts. Other manufacturers who build lowering spindles only use two of the three bolts to hold in a stock hub along with a set screw that tends to shear.
Once we had our parts lined up and the Sierra on the lift, it was time to stop talking about lowering this truck and get our hands dirty. We started with the front because reading the MaxTrac installation instructions — yes, we read the instructions before we do a project — it looked like replacing the front spindles would be pretty straightforward.
We unbolted the ball joint, tie rod, hub, and ABS sensor from the stock spindle and then slapped in the new lowering spindle. Everything bolted up easily to the new lowering spindles. The only thing we changed was the ABS sensor bracket, which needs to be trimmed to fit on the spindle with enough slack in the ABS wire. This was quickly done with a grinder. After this slight modification, everything worked great.
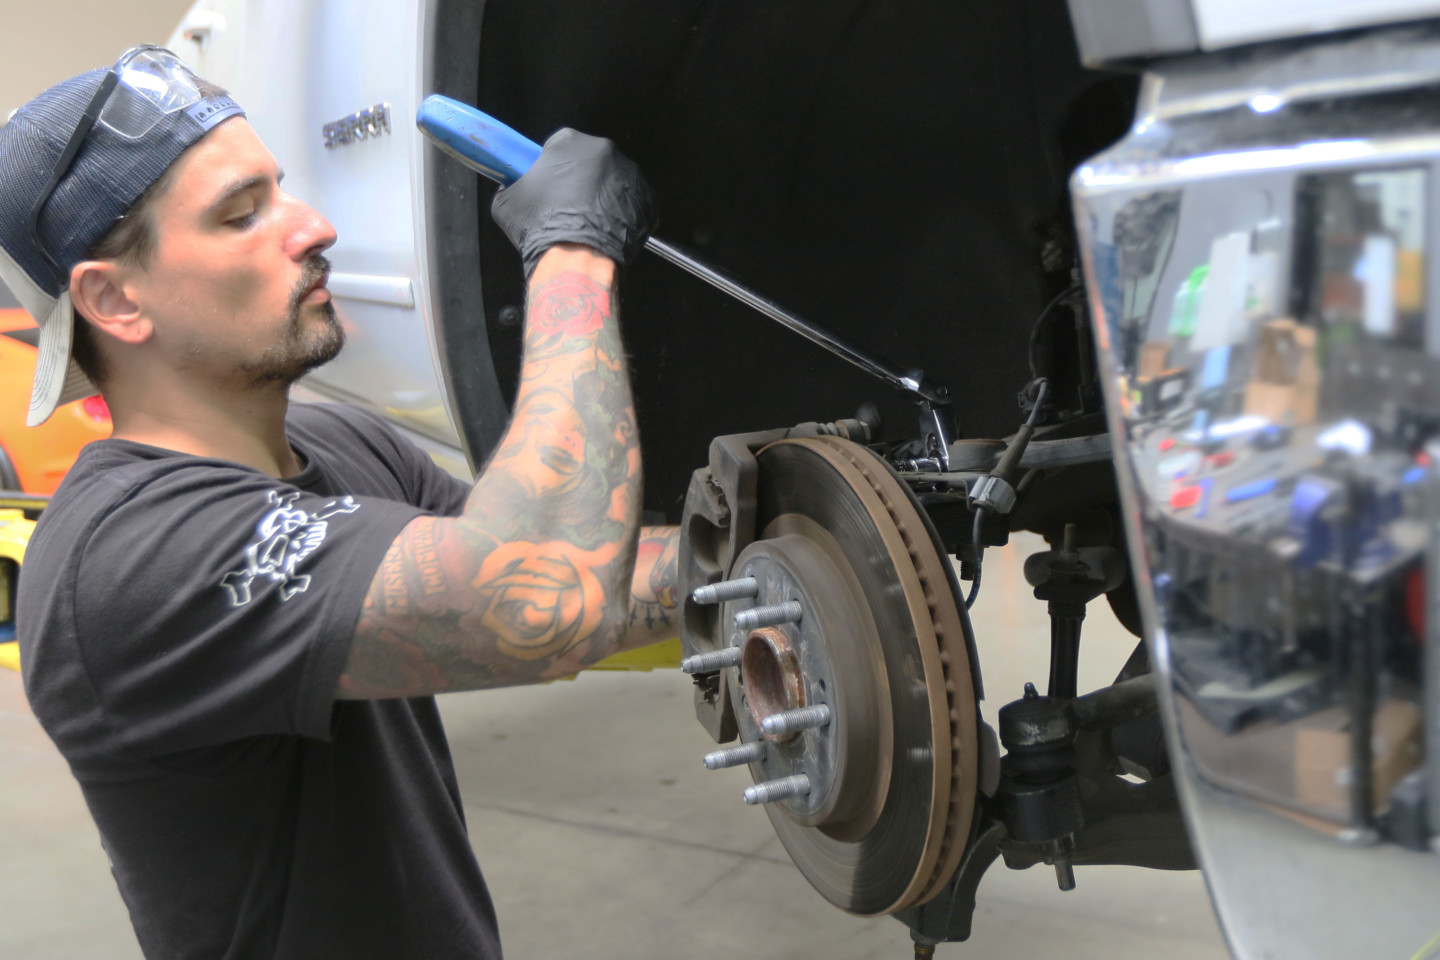
Replacing the stock front spindles with the MaxTrac drop spindles was as simple and unbolting the stock spindle and swapping in the new spindle. No issues.
With the front of the truck lowered, drama-free, it was time to take our attention to the rear of the Sierra. The back was more involved because we needed to remove the fuel tank. This is where some planning ahead helps. Truck fuel tanks are big, and fuel tanks filled with lots of gas are cumbersome to deal with. Luckily we brought the Sierra into the shop low on fuel, so dropping the tank wasn’t a complete backbreaker. Nonetheless, the tank was required to be removed to access the inner bolts on the leaf springs and the shackles on the driver side.
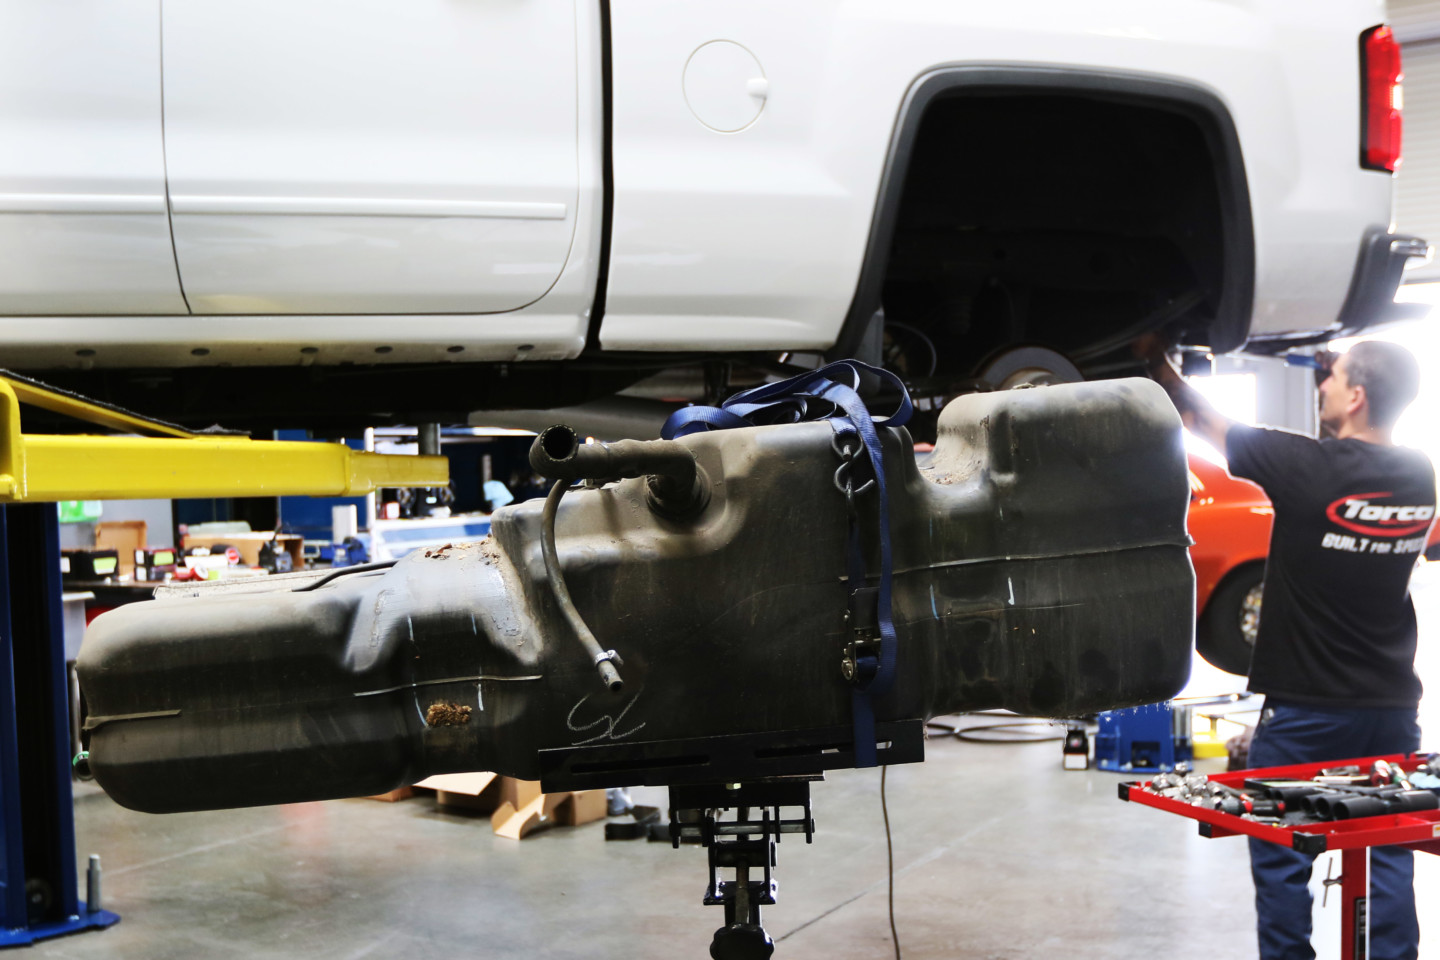
The big tank is out! Pro tip: Don’t try to remove a full fuel tank (way too heavy). Start with something empty and light. We had to pull the tank to get access to the bolts for the rear leaf springs.
Once we had the outer cover off and the fuel tank removed, we unhooked all of the connections to the tank, including the EVAP tank, which likes to leak fuel on you. We then used a transmission jack to lower the tank out of the way. Next, to assist with access to the leaf springs, we removed the trailer hitch and the rear tailpipes. Finally, we had unadulterated access to the rear suspension we wanted to modify. Because we were going to remove the rear leaf springs and shocks, which hold the axle in place, it’s essential to use a screw stand to hold the axle up safely, because nobody needs a truck axle falling on their head.

With the truck up on the lift and the shocks and rear leaf springs coming out something was needed to hold the rear axle in place or gravity was going to take over. We put a screw stand under the pumpkin to hold it in place.
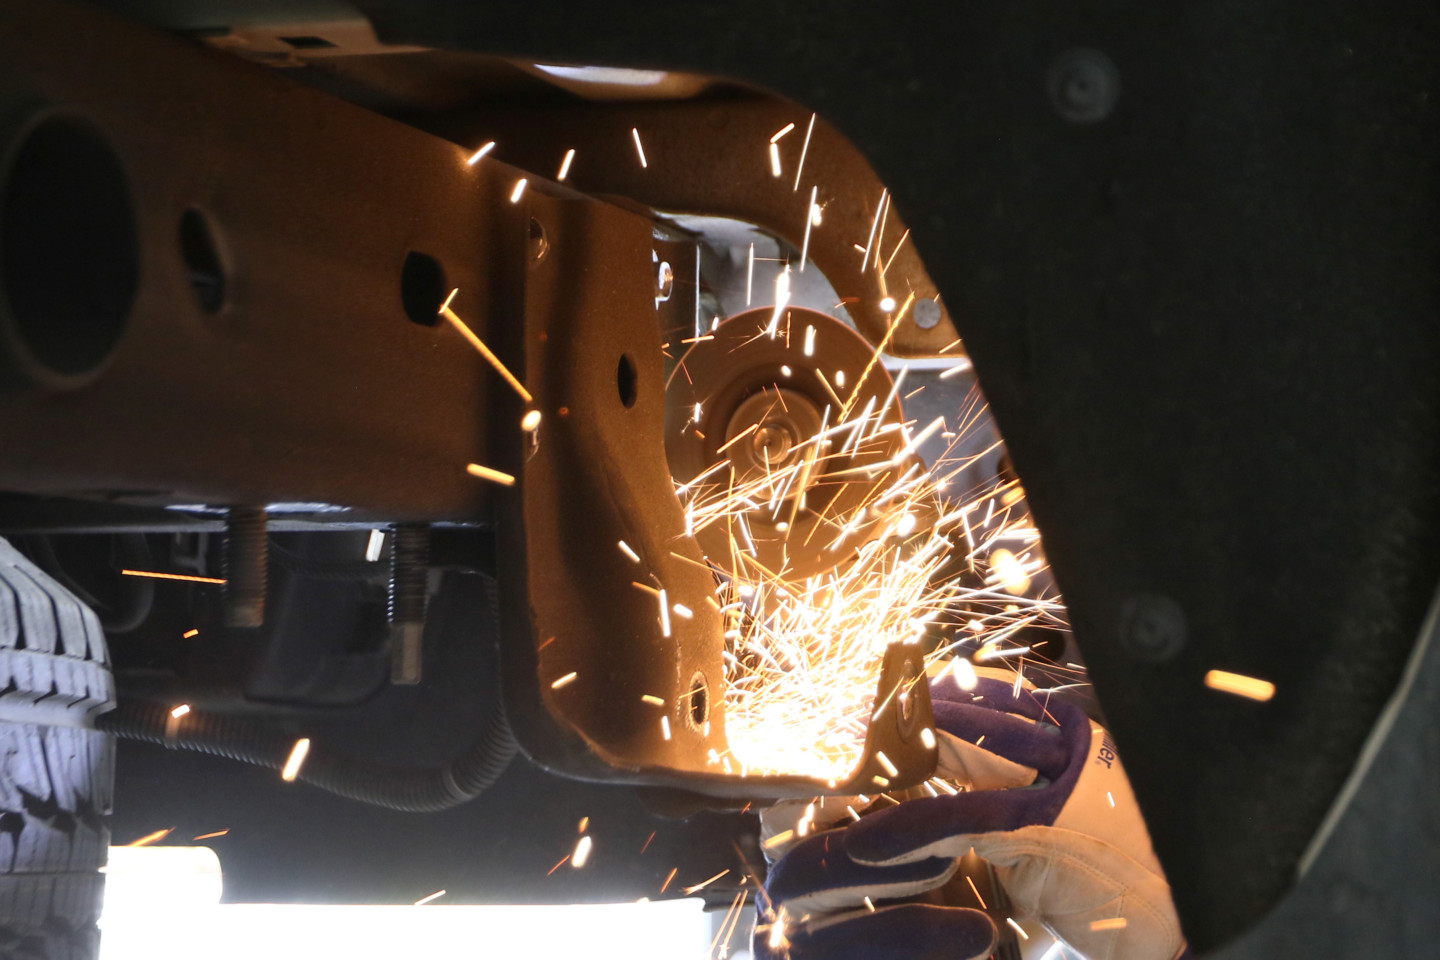
With everything out of the way and the ease of accessing the leaf springs and their mounting points, it was time to get serious. The MaxTrac kit replaces the stock leaf spring shackles. However, those stock shackles are bolted, riveted, and welded to the frame. That means it was time to make some sparks. First, we had to cut/grind/chisel the factory shackles from the frame to make room for the powder-coated versions from MaxTrac. Then, it was time to grind and do our best to keep our fingers safe from the spinning grinder wheel.
The good news was even though we had to cut and grind away the stock shackles, the MaxTrac powder-coated shackles bolt directly in place using the stock bolt holes in the frame, which meant no drilling into the frame was required. But before we bolted them in, we hit the bare areas of the frame with some spray paint to ensure we didn’t incur any rust problems in the future. In addition, some of the bolts used to hold the spring shackles in place are also rear bumper brackets, so we didn’t drop the rear bumper for installation. However, this part of the job requires friends to help out, aligning the bumper straight as you tighten all of the bolts.
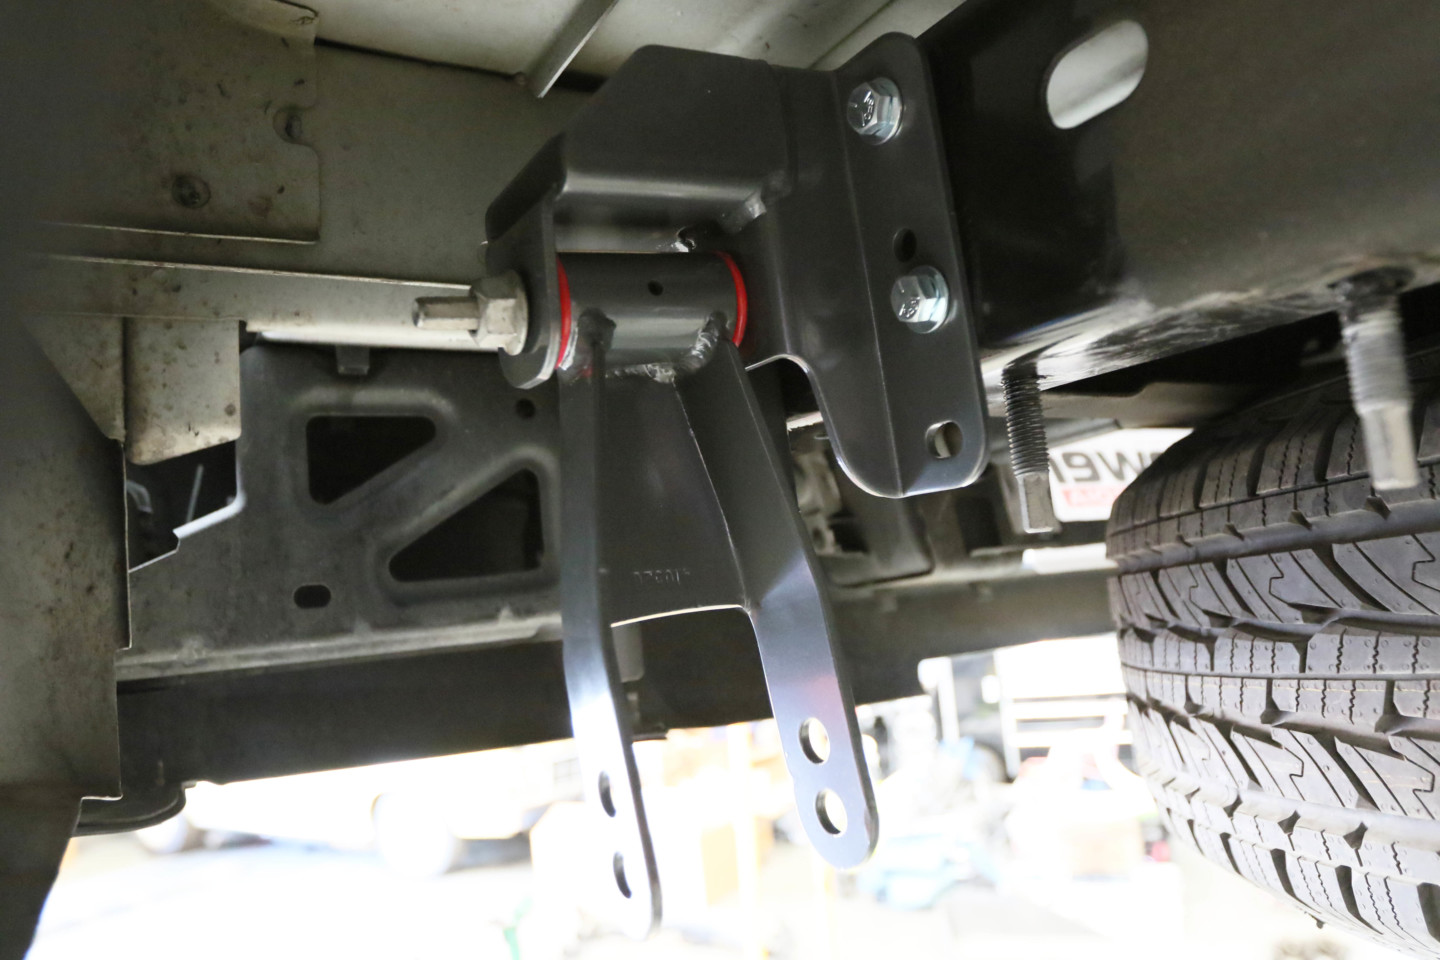
With the stock shackle ground off and some fresh paint on the frame, we began to install our new powder-coated shackles from MaxTrac.
The rear lowering suspension kit is a flip design that moves the stock leaf spring from the top of the axle to the bottom. The bolt in the center of the leaf spring needs to be reversed or flipped to accomplish this process. Then a leaf spring locator is attached to the bottom of the axle. This requires trimming of the brake line bracket (more simple grinder work). Then U-bolts and plates are installed to sandwich the leaf springs together and secure them to the rear axle’s bottom. It is important to torque the U-bolts to spec at this phase to pre-load the springs correctly. Next, we installed the shorter MaxTrac shocks, which bolted right up.
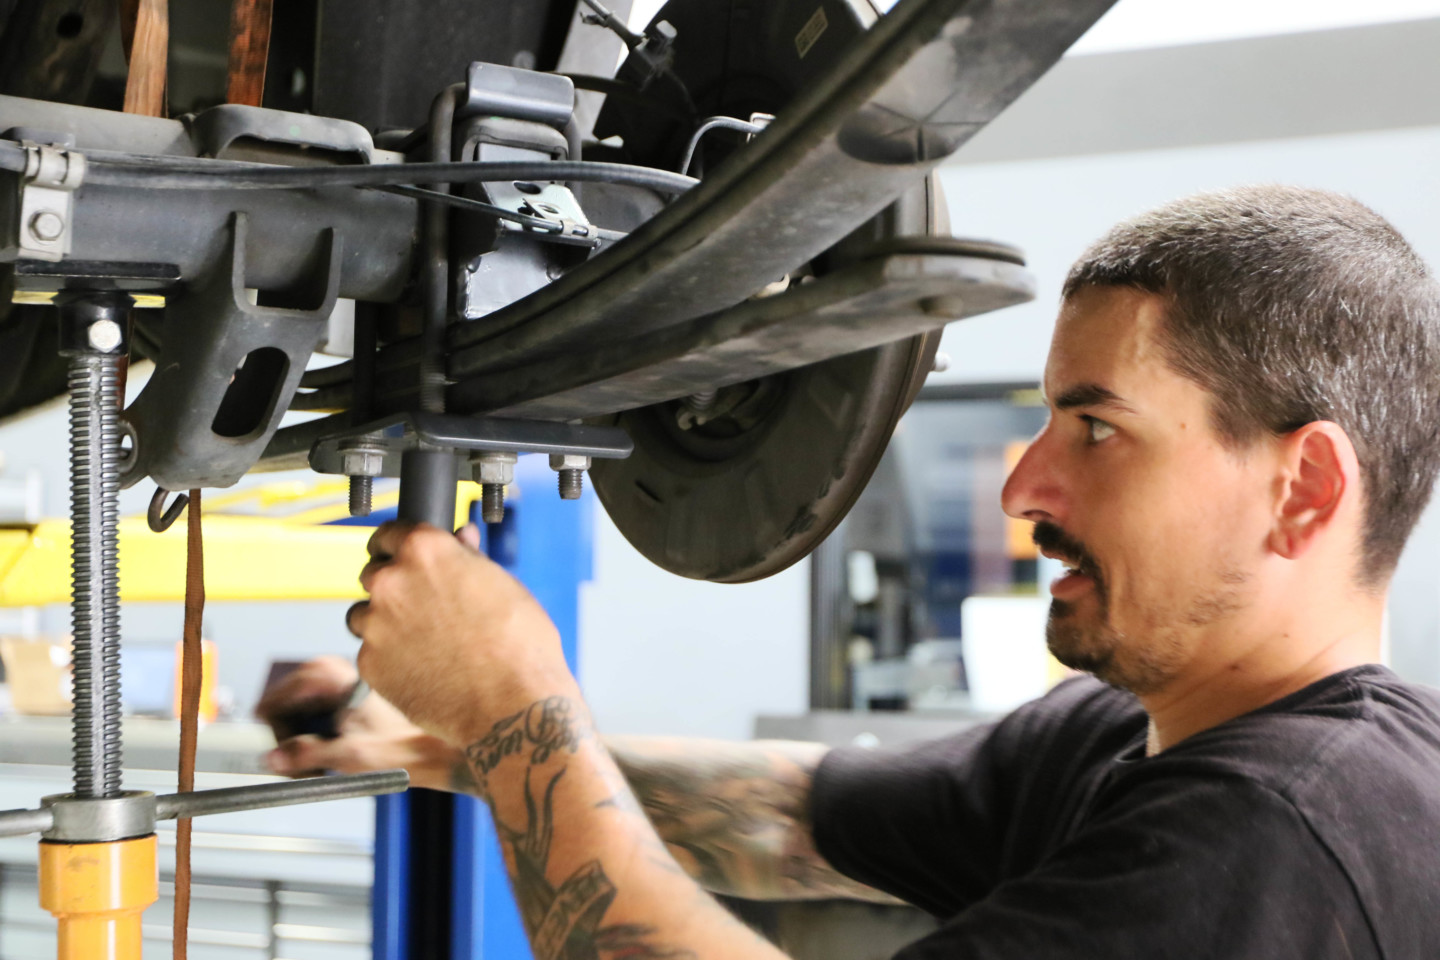
Seth Ward gets busy installing the inverted leaf springs under the rear axle (which were originally located above the axle) by cinching down U-bolts.
As we bolted the leaf spring to the new MaxTrac shackle, we chose the lowest bolt hole on the shackle, giving us the 4-inch drop instead of the 5-inch. The last thing that needed to be completed was removing the stock bump stop, both the metal and rubber material, from the frame, which required more grinding. Max Trac supplies a shorter urethane bump stop to replace the stock piece.
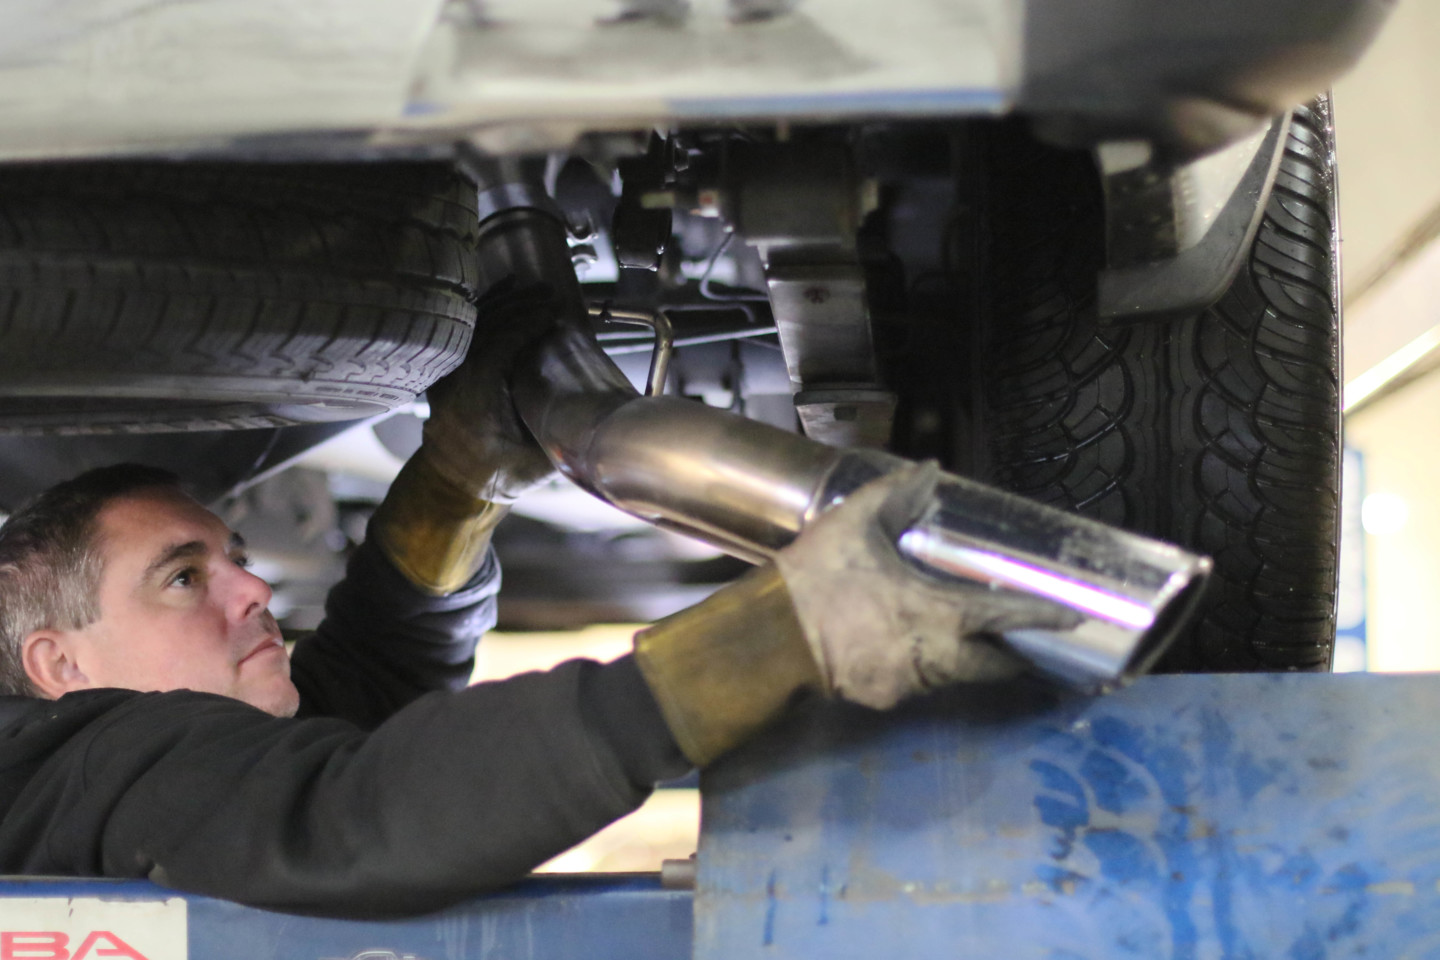
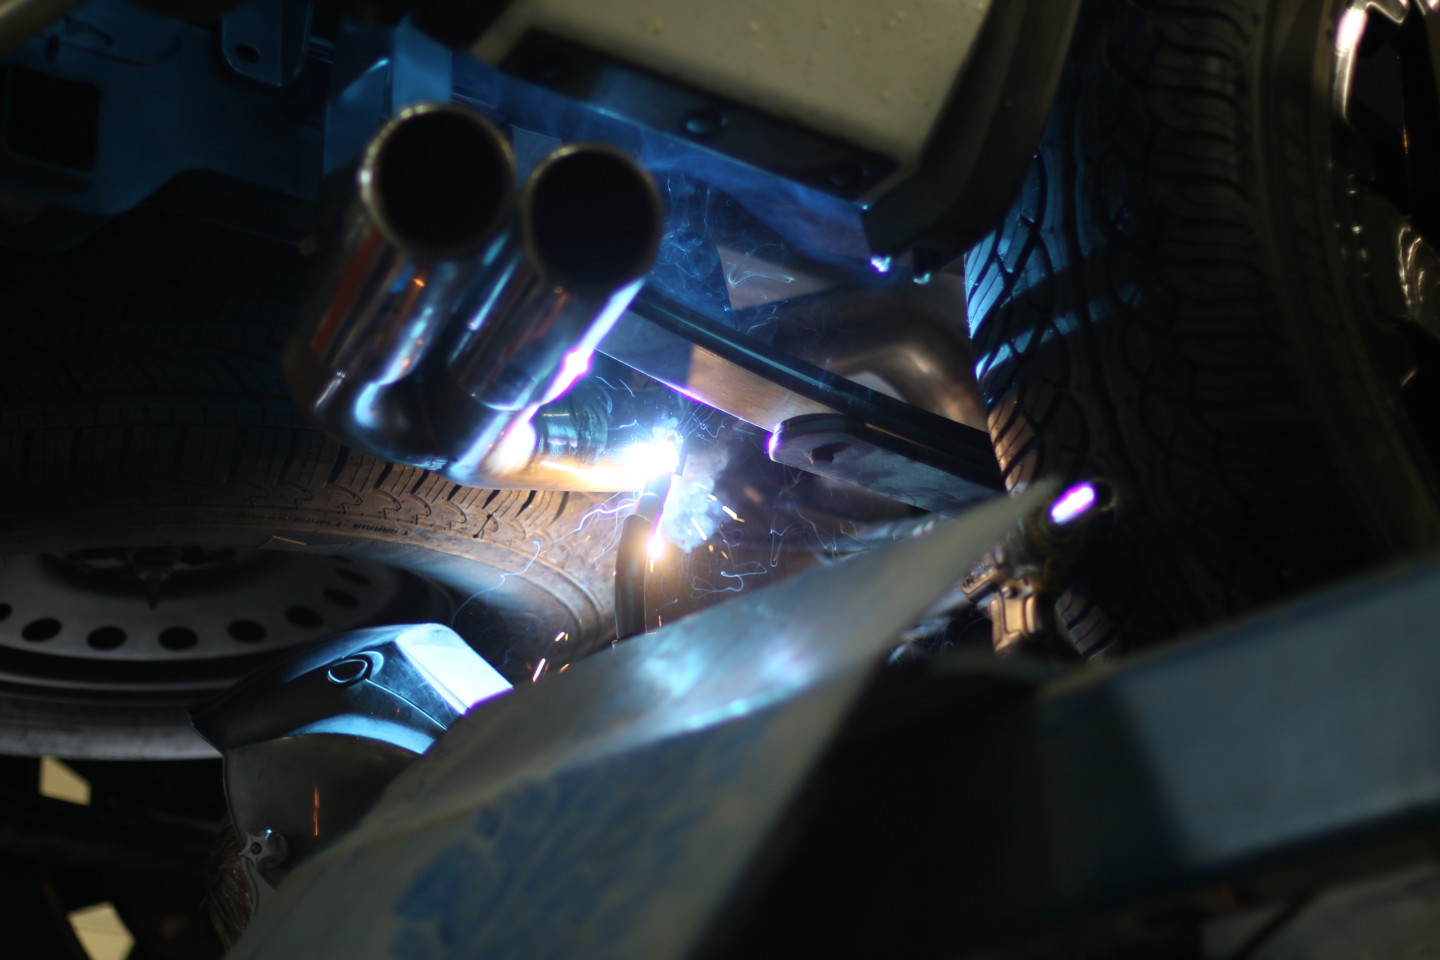
We had to make a quick change to our recently installed JBA exhaust system to accommodate the new rear spring shackles. The good news was there is enough adjustment in the JBA system to realign things and get us back on the road.
Our previous project on the Sierra was installing JBA headers and cat-back exhaust for more power. But like any hot rod project where multiple parts are applied to one vehicle, adjustments must be made. For example, the rear spring shackle from MaxTrac proved to be a bit lower than the OEM piece, conflicting with our aftermarket JBA exhaust pipe. This was quickly rectified by adjusting the twist of the slip-fit pipes and using a new exhaust hanger.
With the ride height dropped, we realized we needed to change the aspect ratio of our tires and pick a tire with a shorter sidewall. This was also an excellent opportunity to select a tire with more grip to handle the power coming from our supercharged LS engine. After some research and pouring through tire reviews, we settled on the Yokohama PARADA Spec-X Street/Sport Truck All-Season 285/45/22-inch tires. As soon as we got them mounted/balanced and on the Sierra, we immediately knew this was the perfect tire for the stance we were hoping to get.
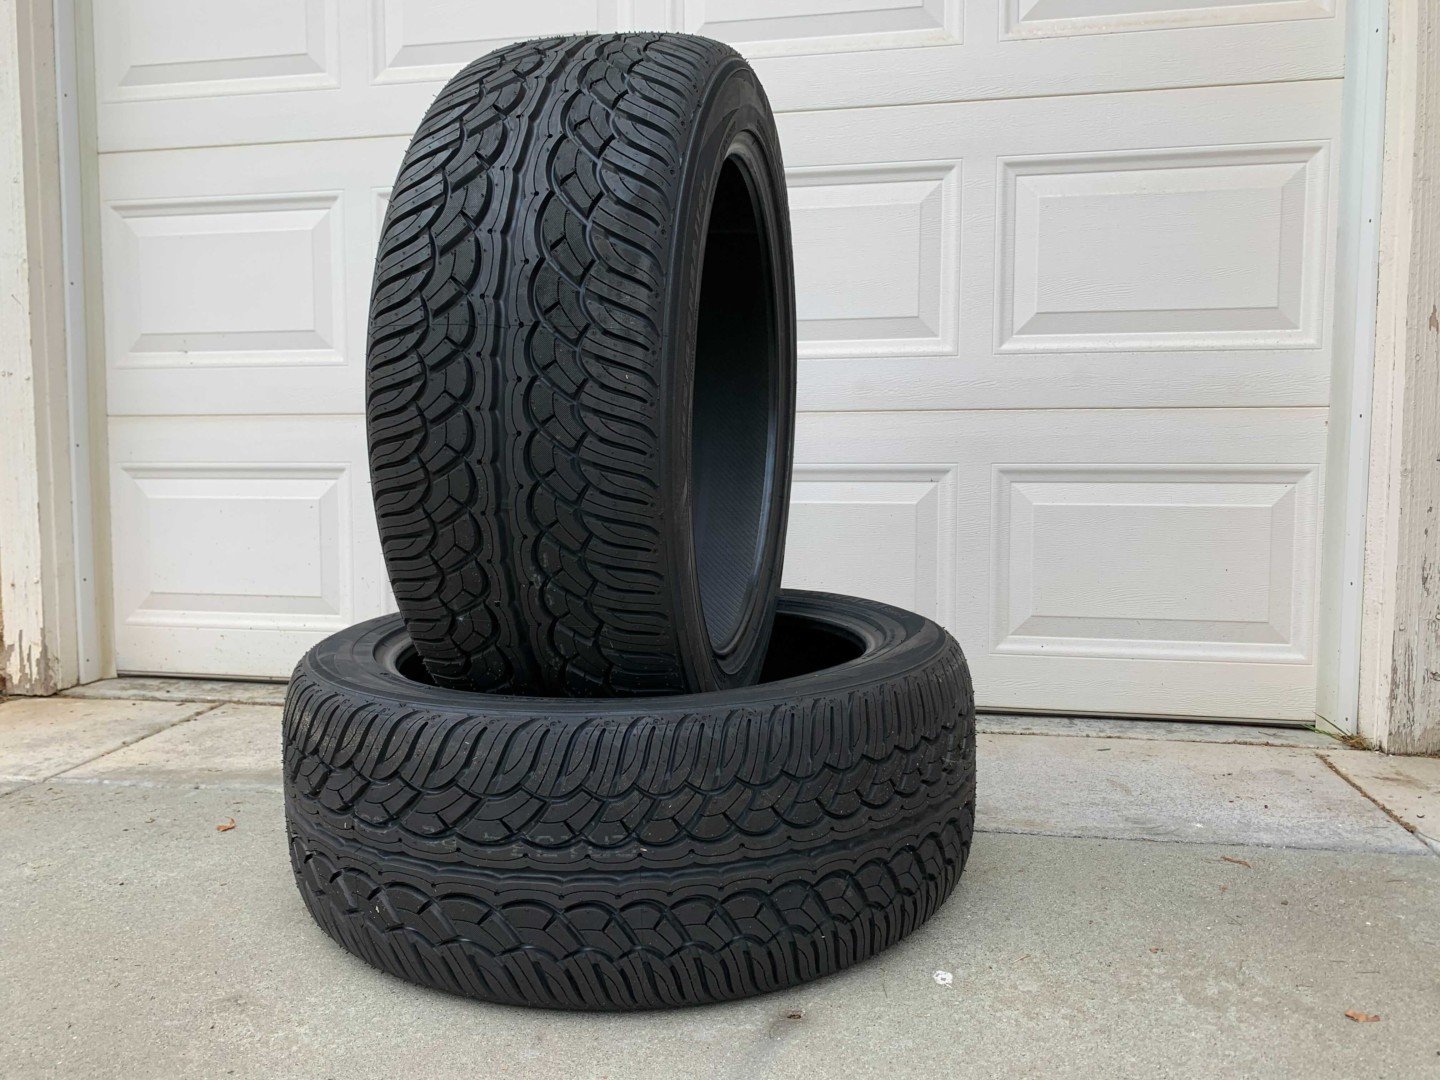
A set of Yokohama PARADA Spec-X Street/Sport Truck All-Seasons tires were used to get the stance right.
The Yokohama PARADA Spec-X Street/Sport Truck All-Season tires were noticeably grippier in the dry, and they also handled much better in the rain than the Goodyear’s, which were on the truck before. In addition, there was no noticeable increased tire noise from the Yokohamas, which was great so we could enjoy the sound of the JBA exhaust as we powered the supercharged Sierra up the highway. The next stop for this project will be the dragstrip as we see what all of our new modifications do at the track compared to our stock times. So stay tuned…
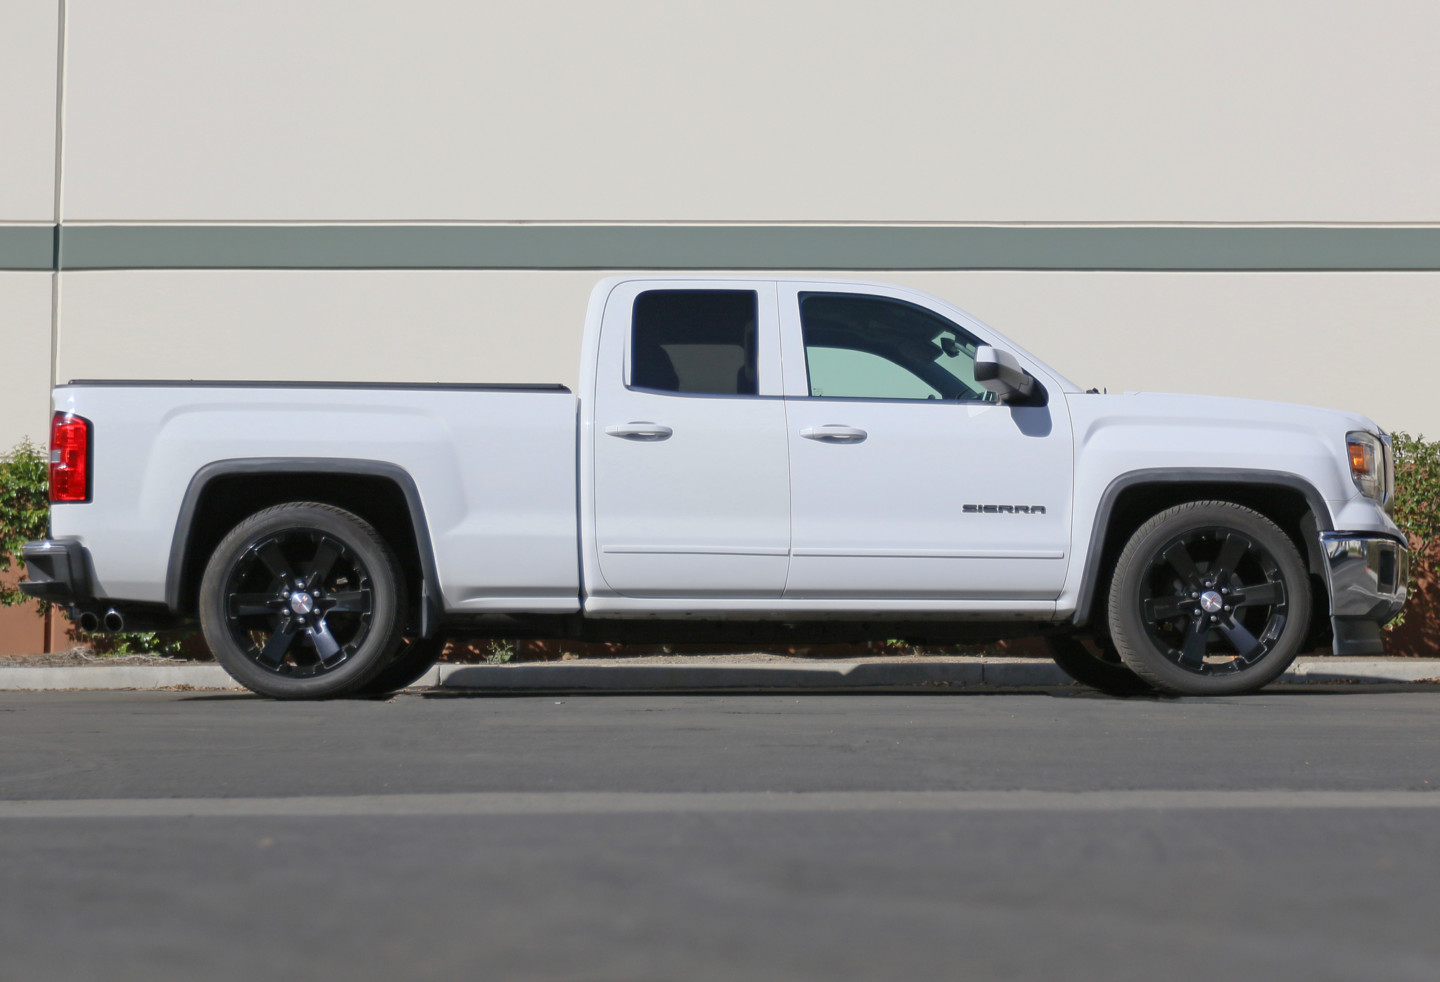
With our MaxTrac lowering kit installed, our JBA exhaust adjusted and a new set of Yokohama donuts on the rims the stance on the Sierra was just right and the was truck ready for a proper test drive.


