As someone who has spent more time working on cars in the driveway than anywhere else, the thought of having a lift is a luxury that seems unattainable. A good jack and jack stands have been my faithful companions for over twenty years. But as age and injury catches up with us all, we start to look for better solutions. And that’s when we found BendPak’s line of QuickJack portable car lifts.
You’ve likely seen these somewhere before, as the QuickJack itself isn’t a new invention, and has even been sold in stores like Costco. However, what caught our attention recently, was the introduction of QuickJack’s TL and TLX line of models, which offer an additional 3 inches of lift height over the previous SL lineup. It’s no surprise that the extra height appealed to us. And with a new project car sitting in the driveway, we have a whole list of projects stacking up fast, so we decided it was finally time to take a hard look at a QuickJack portable lift.
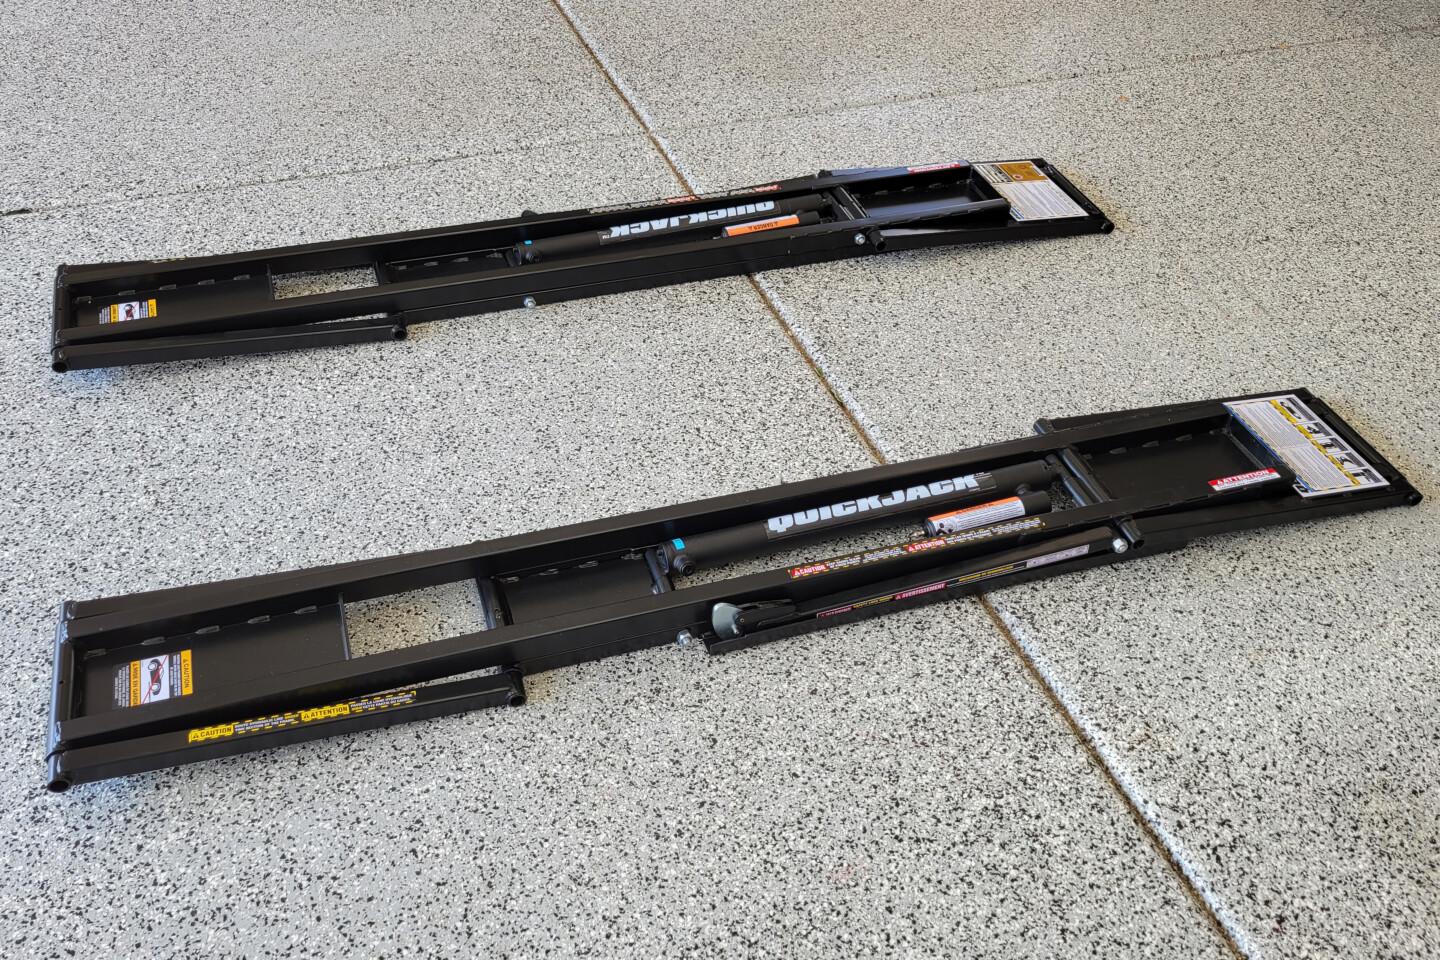
The lift units themselves are quite low profile. So, if you decided you just wanted to leave them in the garage and park over them, that’s a valid storage solution.
Getting The Right Model
While BendPak makes it easy to just go on the website and figure out which model is right for you, we wanted to be doubly sure we were choosing correctly. They were exceptionally polite, even though the website and all of their measuring videos really did answer all of our questions. The first thing you need to figure out is your vehicle’s curb weight. The four-digit number in the model number is, as you might have guessed, the load capacity in pounds.
Since our daily driver S550 comes in at a touch over 3,500 pounds, the two SN-95s in the driveway list at about 100 pounds less, and our new-to-us C5 Corvette another 200 pounds less than that, the 5000-series QuickJack was the obvious choice. Also, just for giggles, we looked up the curb weight of our truck only to find that it falls well within the 5,000-pound capacity of the 5000-series lifts. More on that in a bit. But, with all of the weights sorted, it was time to move on to the next measurement — length.
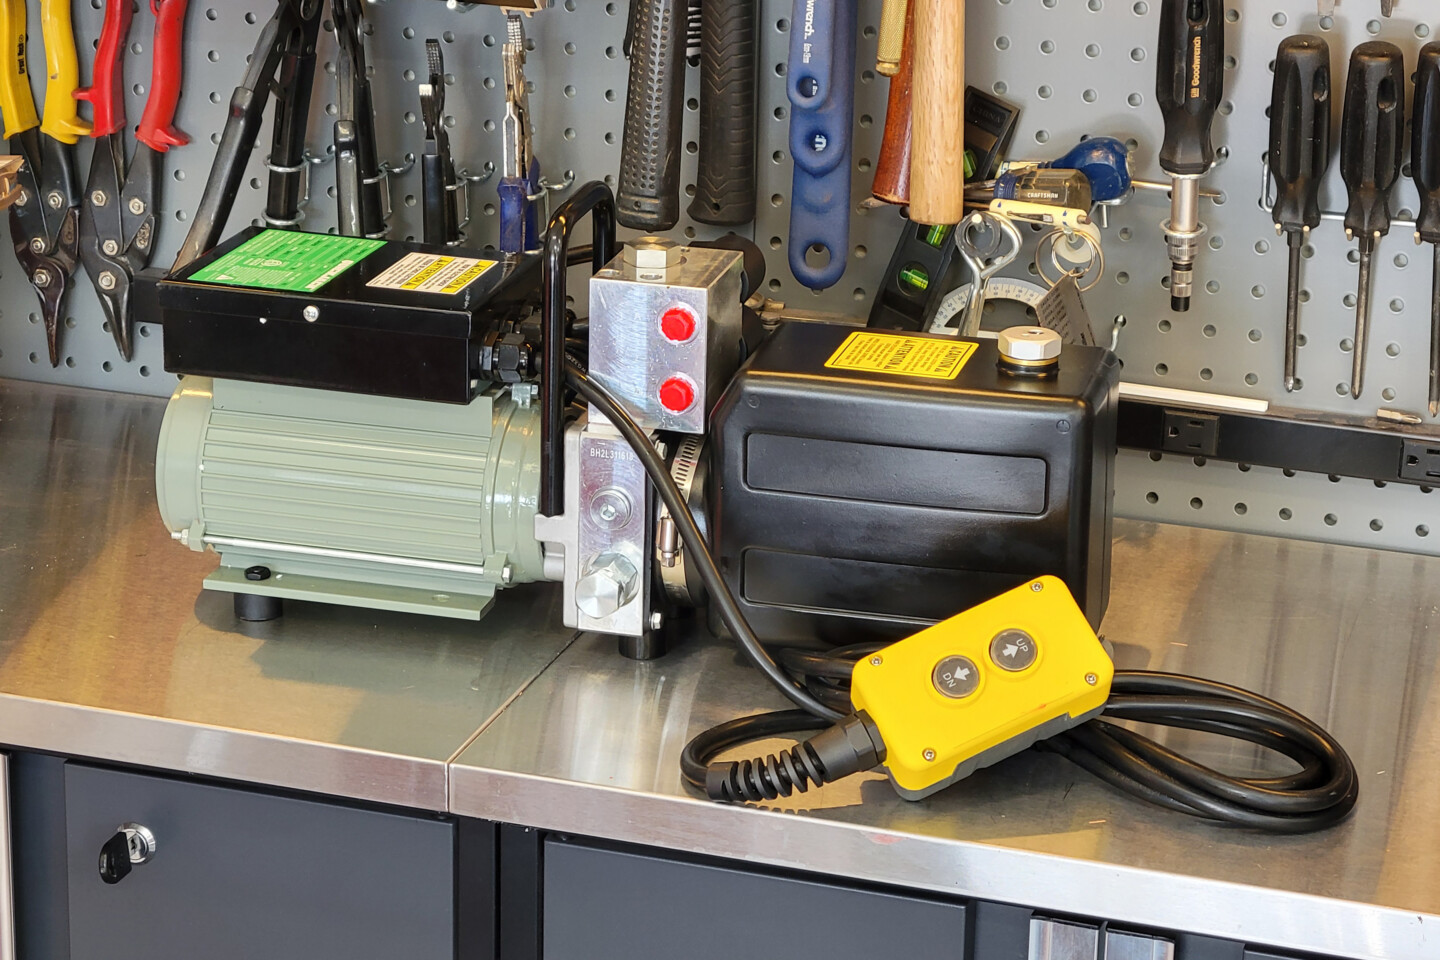
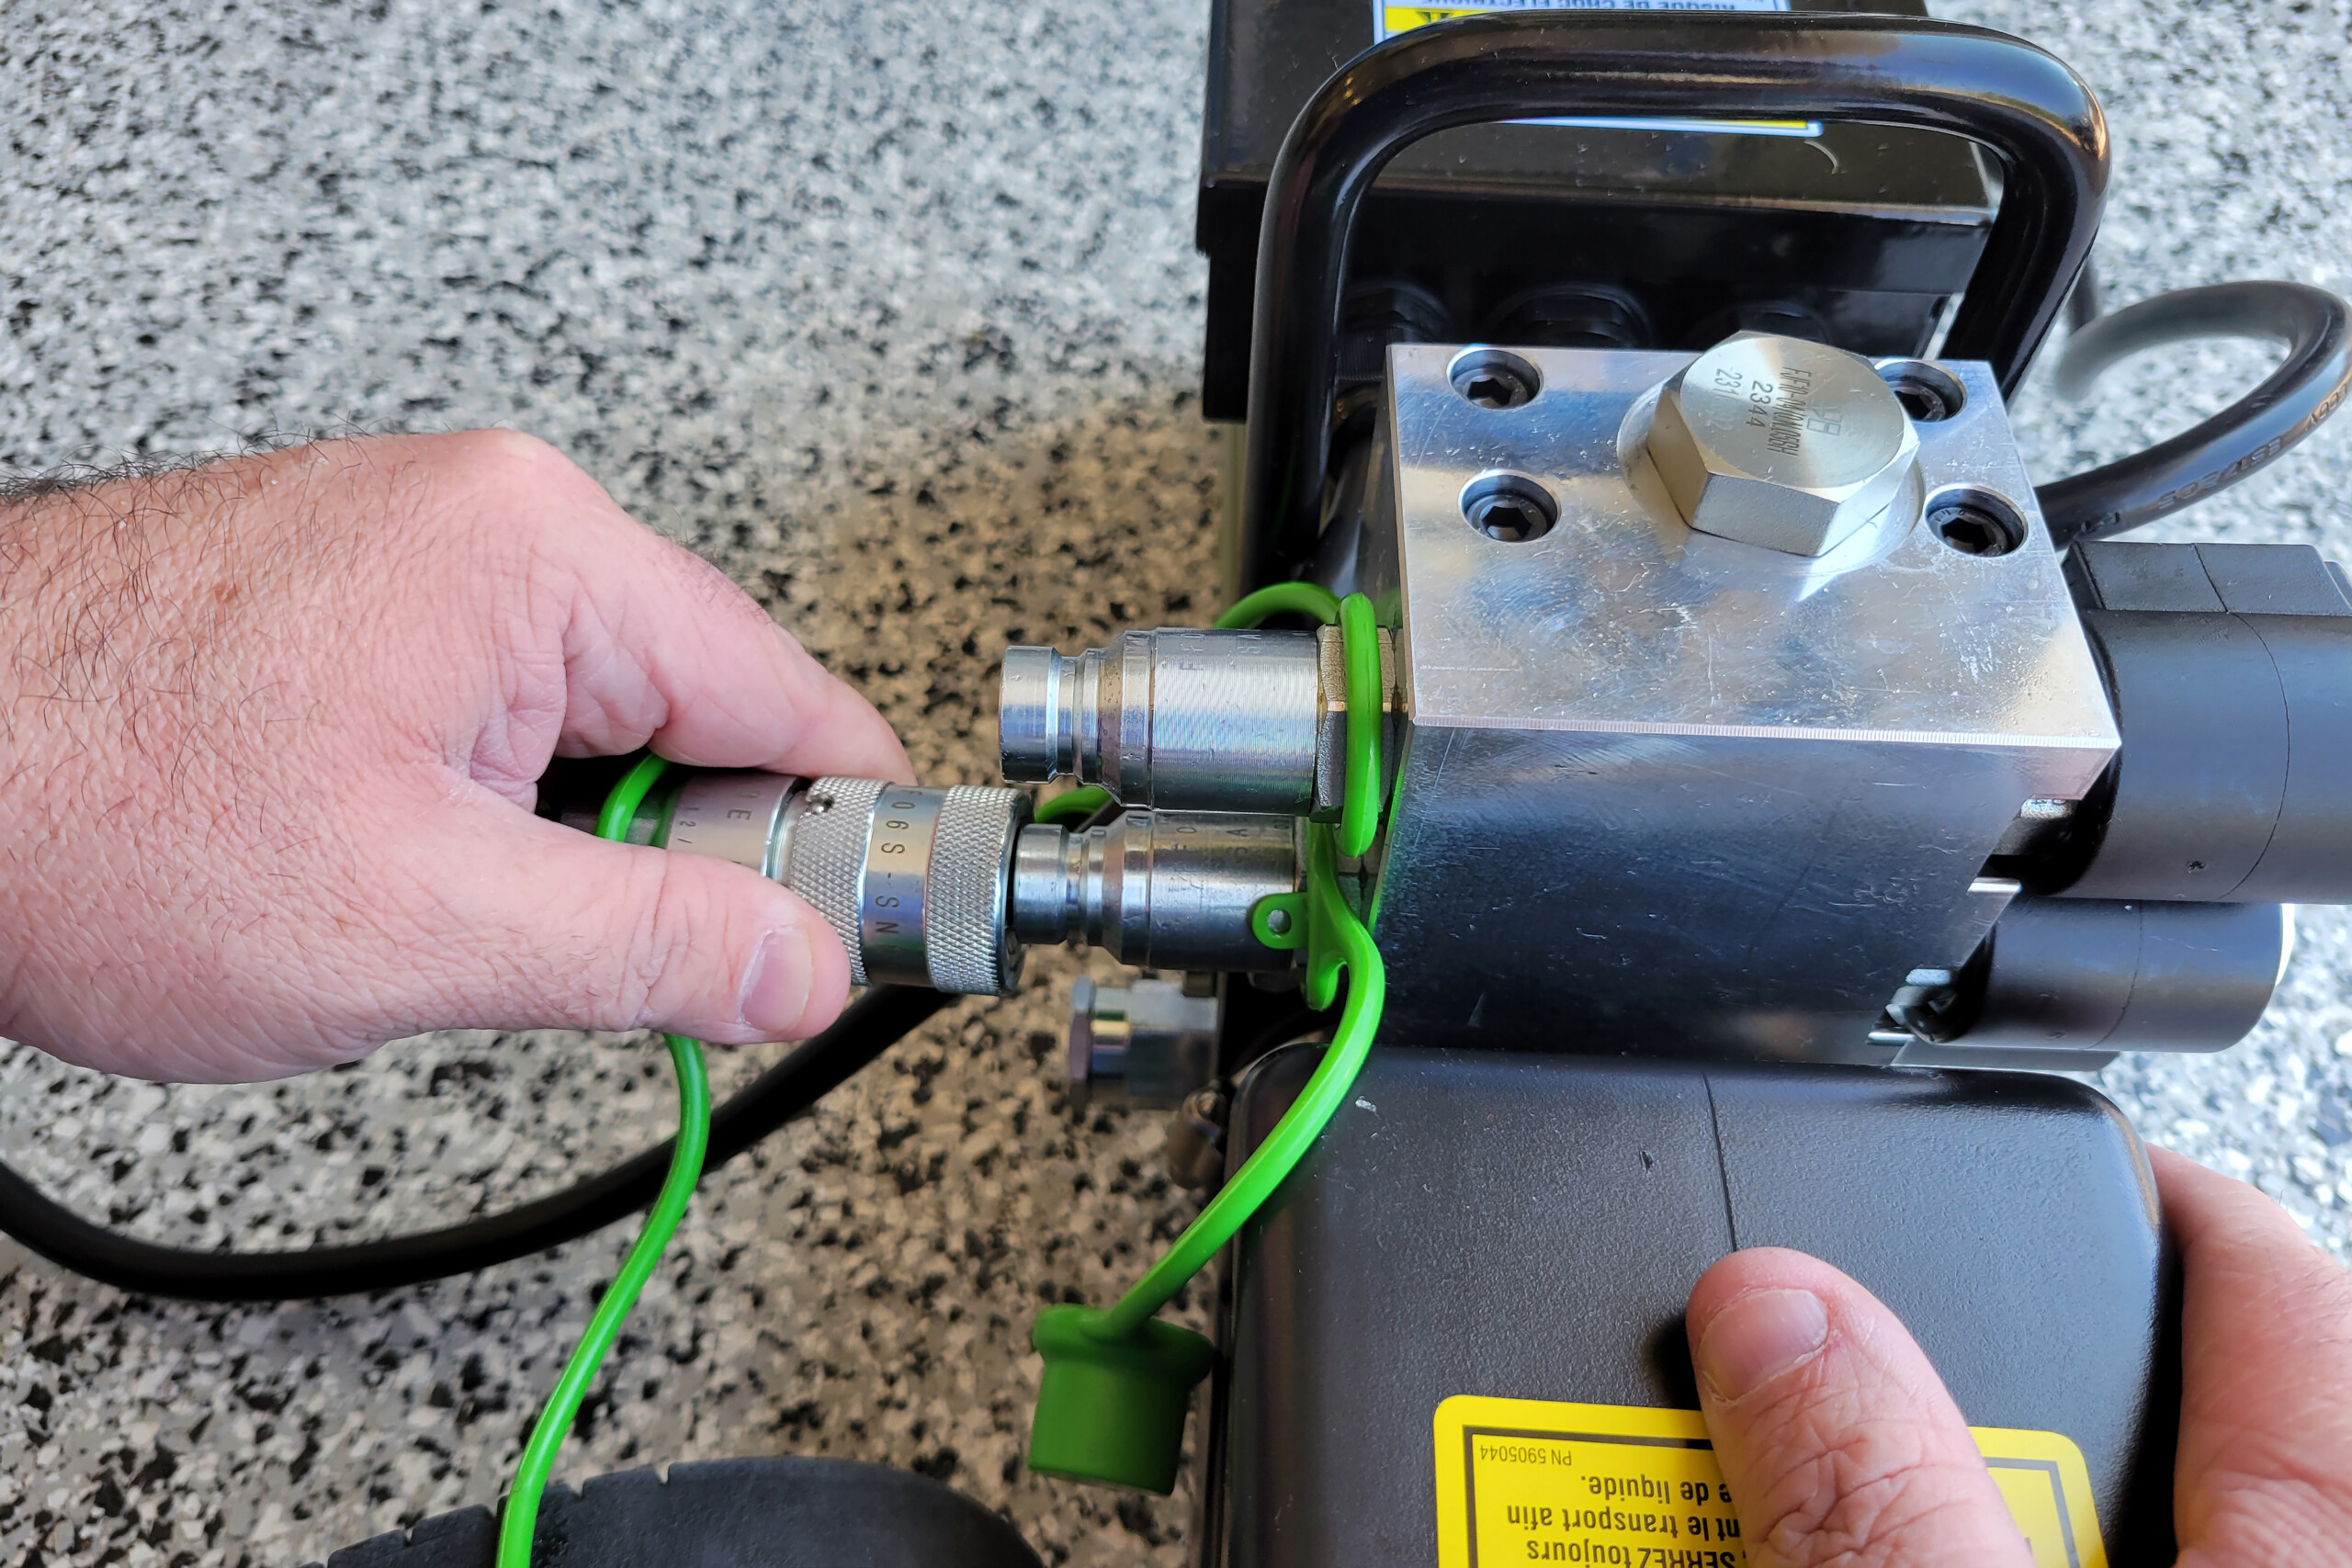
The centerpiece of the unit is the hydraulic pump assembly. It has a reservoir, electric pump, and hand controller to operate the whole shebang.
Measuring for length is actually a two-measurement affair. The first is your tire spread. That’s the distance from the front of your rear tire, to the rear of your front tire, 3 inches off the ground. This measurement ensures that you get a unit that will physically fit between your tires. Per the QuickJack website, we took this measurement on all of our vehicles and subtracted two inches from that number.
The second length measurement is a two-part measurement. First, you measure the distance between the jacking points, inside to inside. Then, you measure those same points, outside to outside. Those two numbers are what QuickJack refers to as your lift-point spread. This is important, because the QuickJacks have a range of adjustment on where to place the lifting blocks in the unit.
Once you have all those numbers, you simply measure ground clearance between the lifting points. You then take all of those dimensions, and look at the handy chart on the website, to guide you to the right model. Surprisingly, all of our vehicles fell squarely within the specs for a 5000TLX model lift. So, that’s what we ordered.
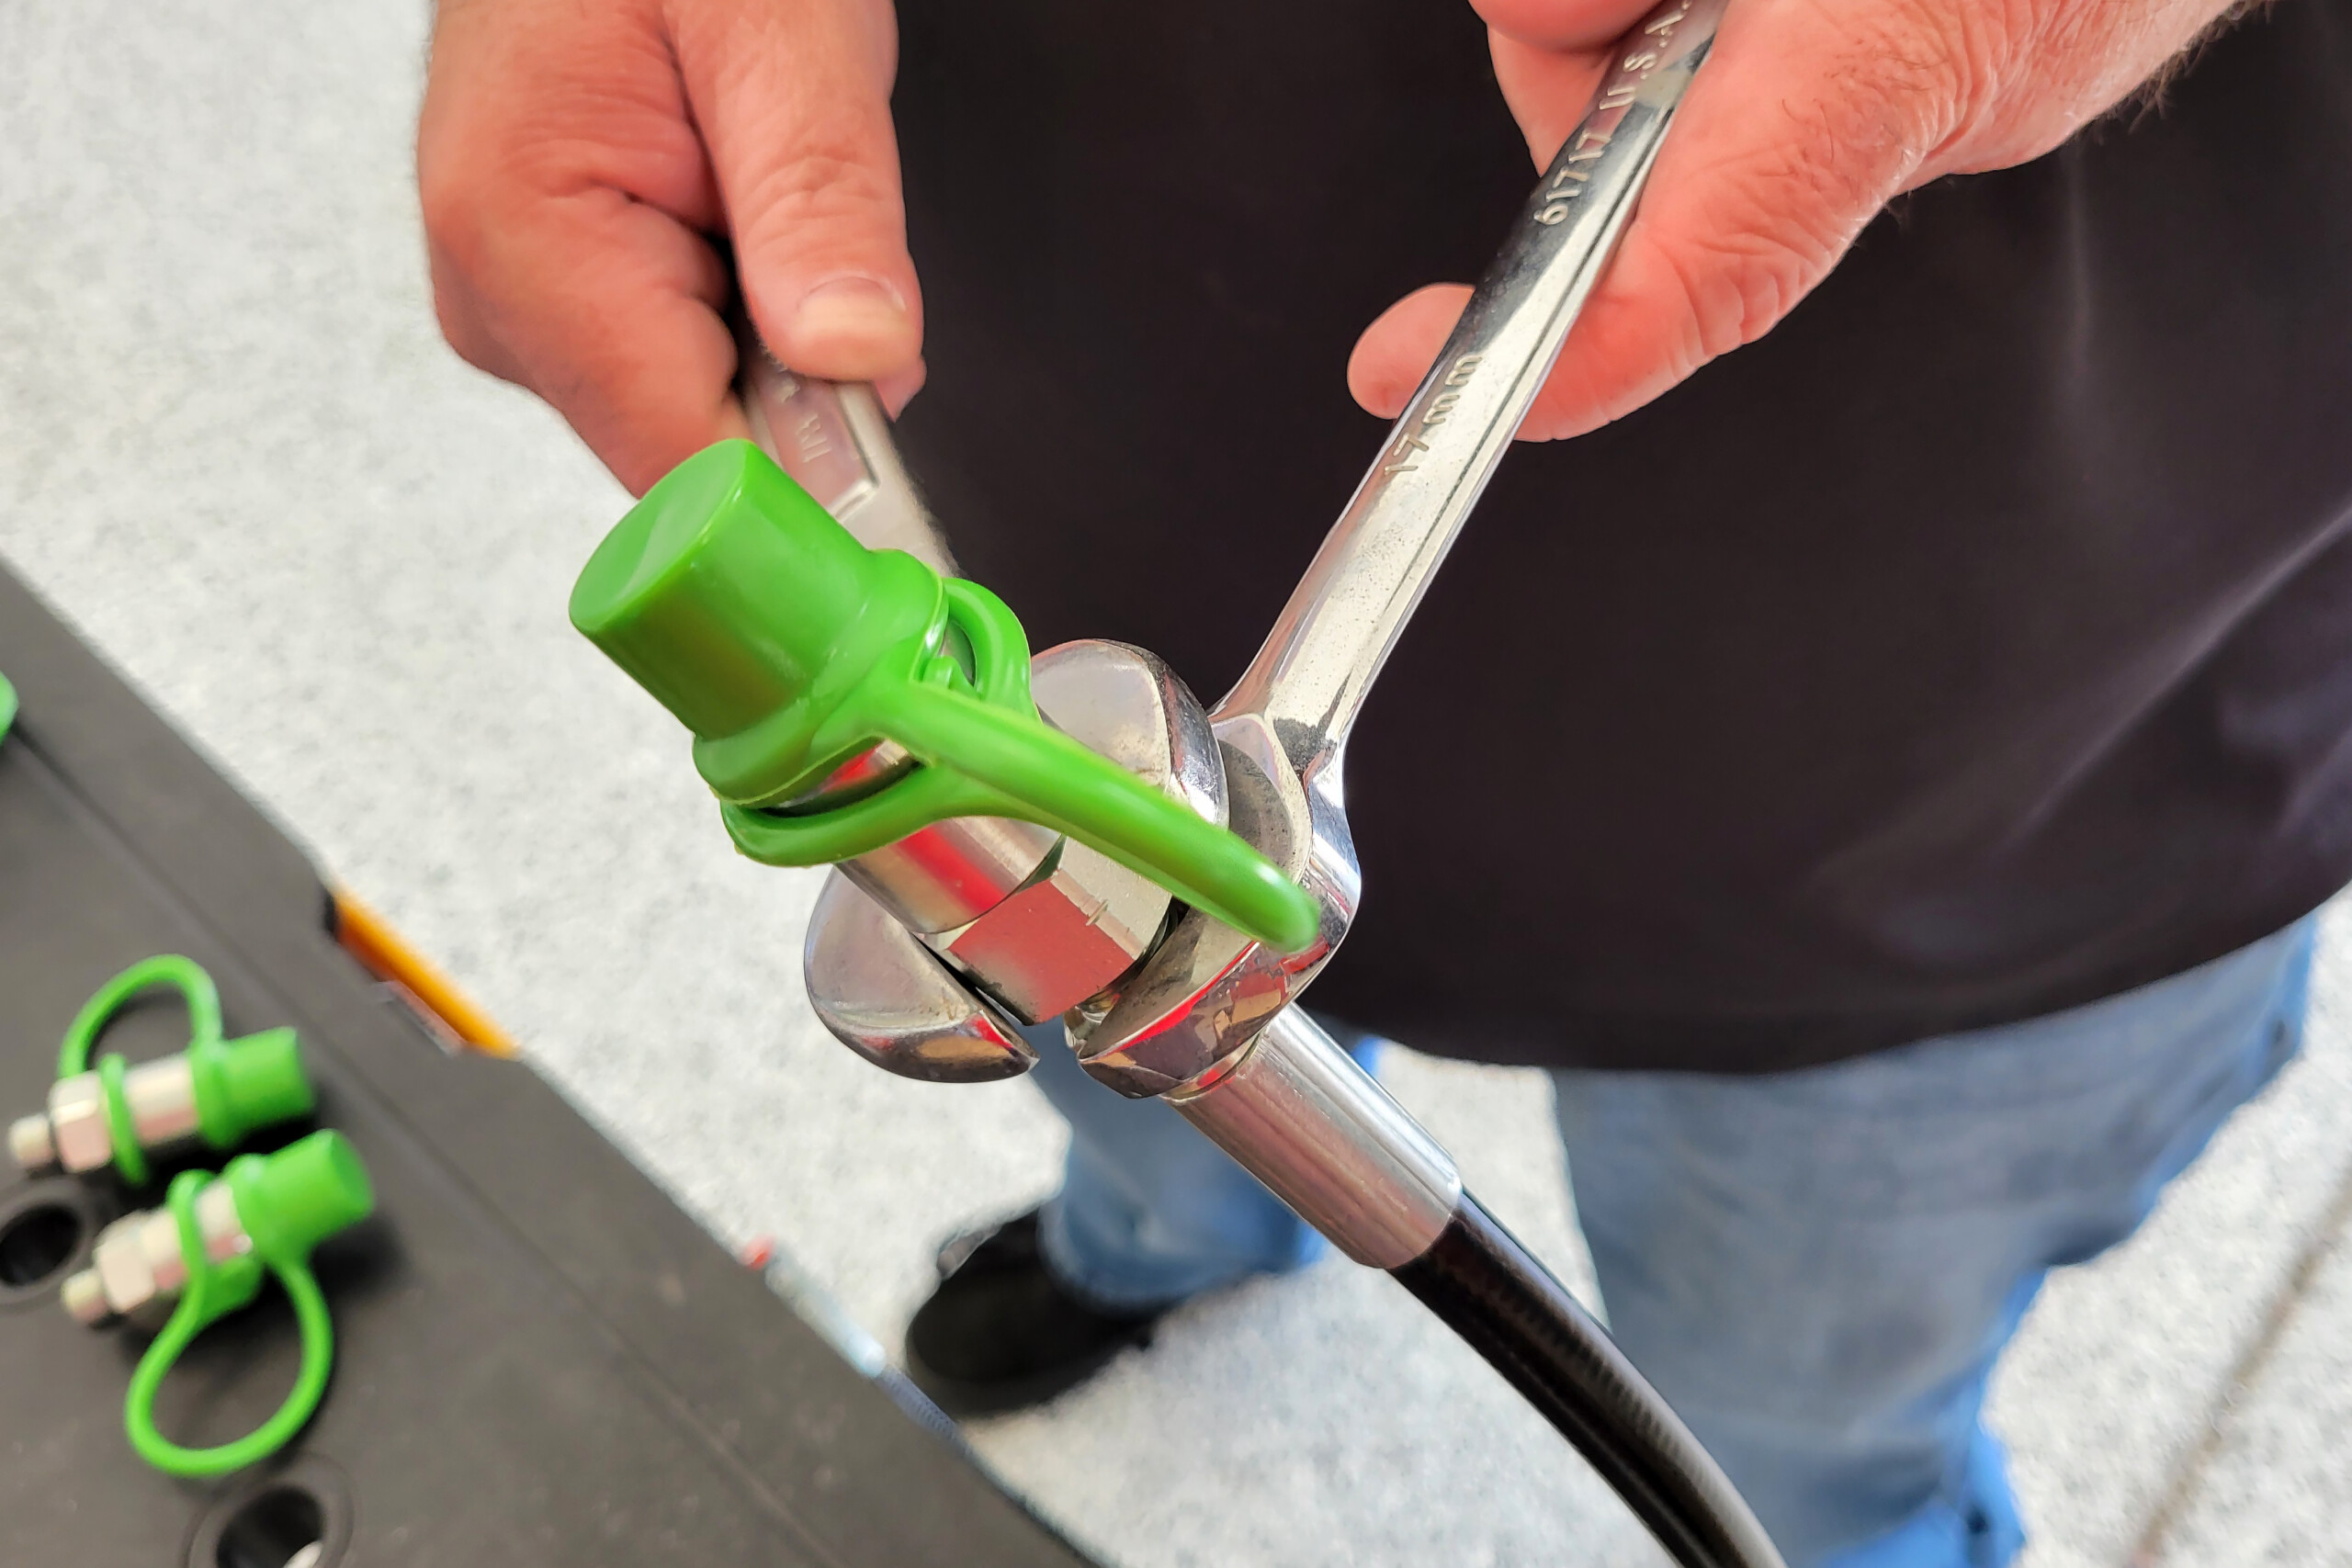
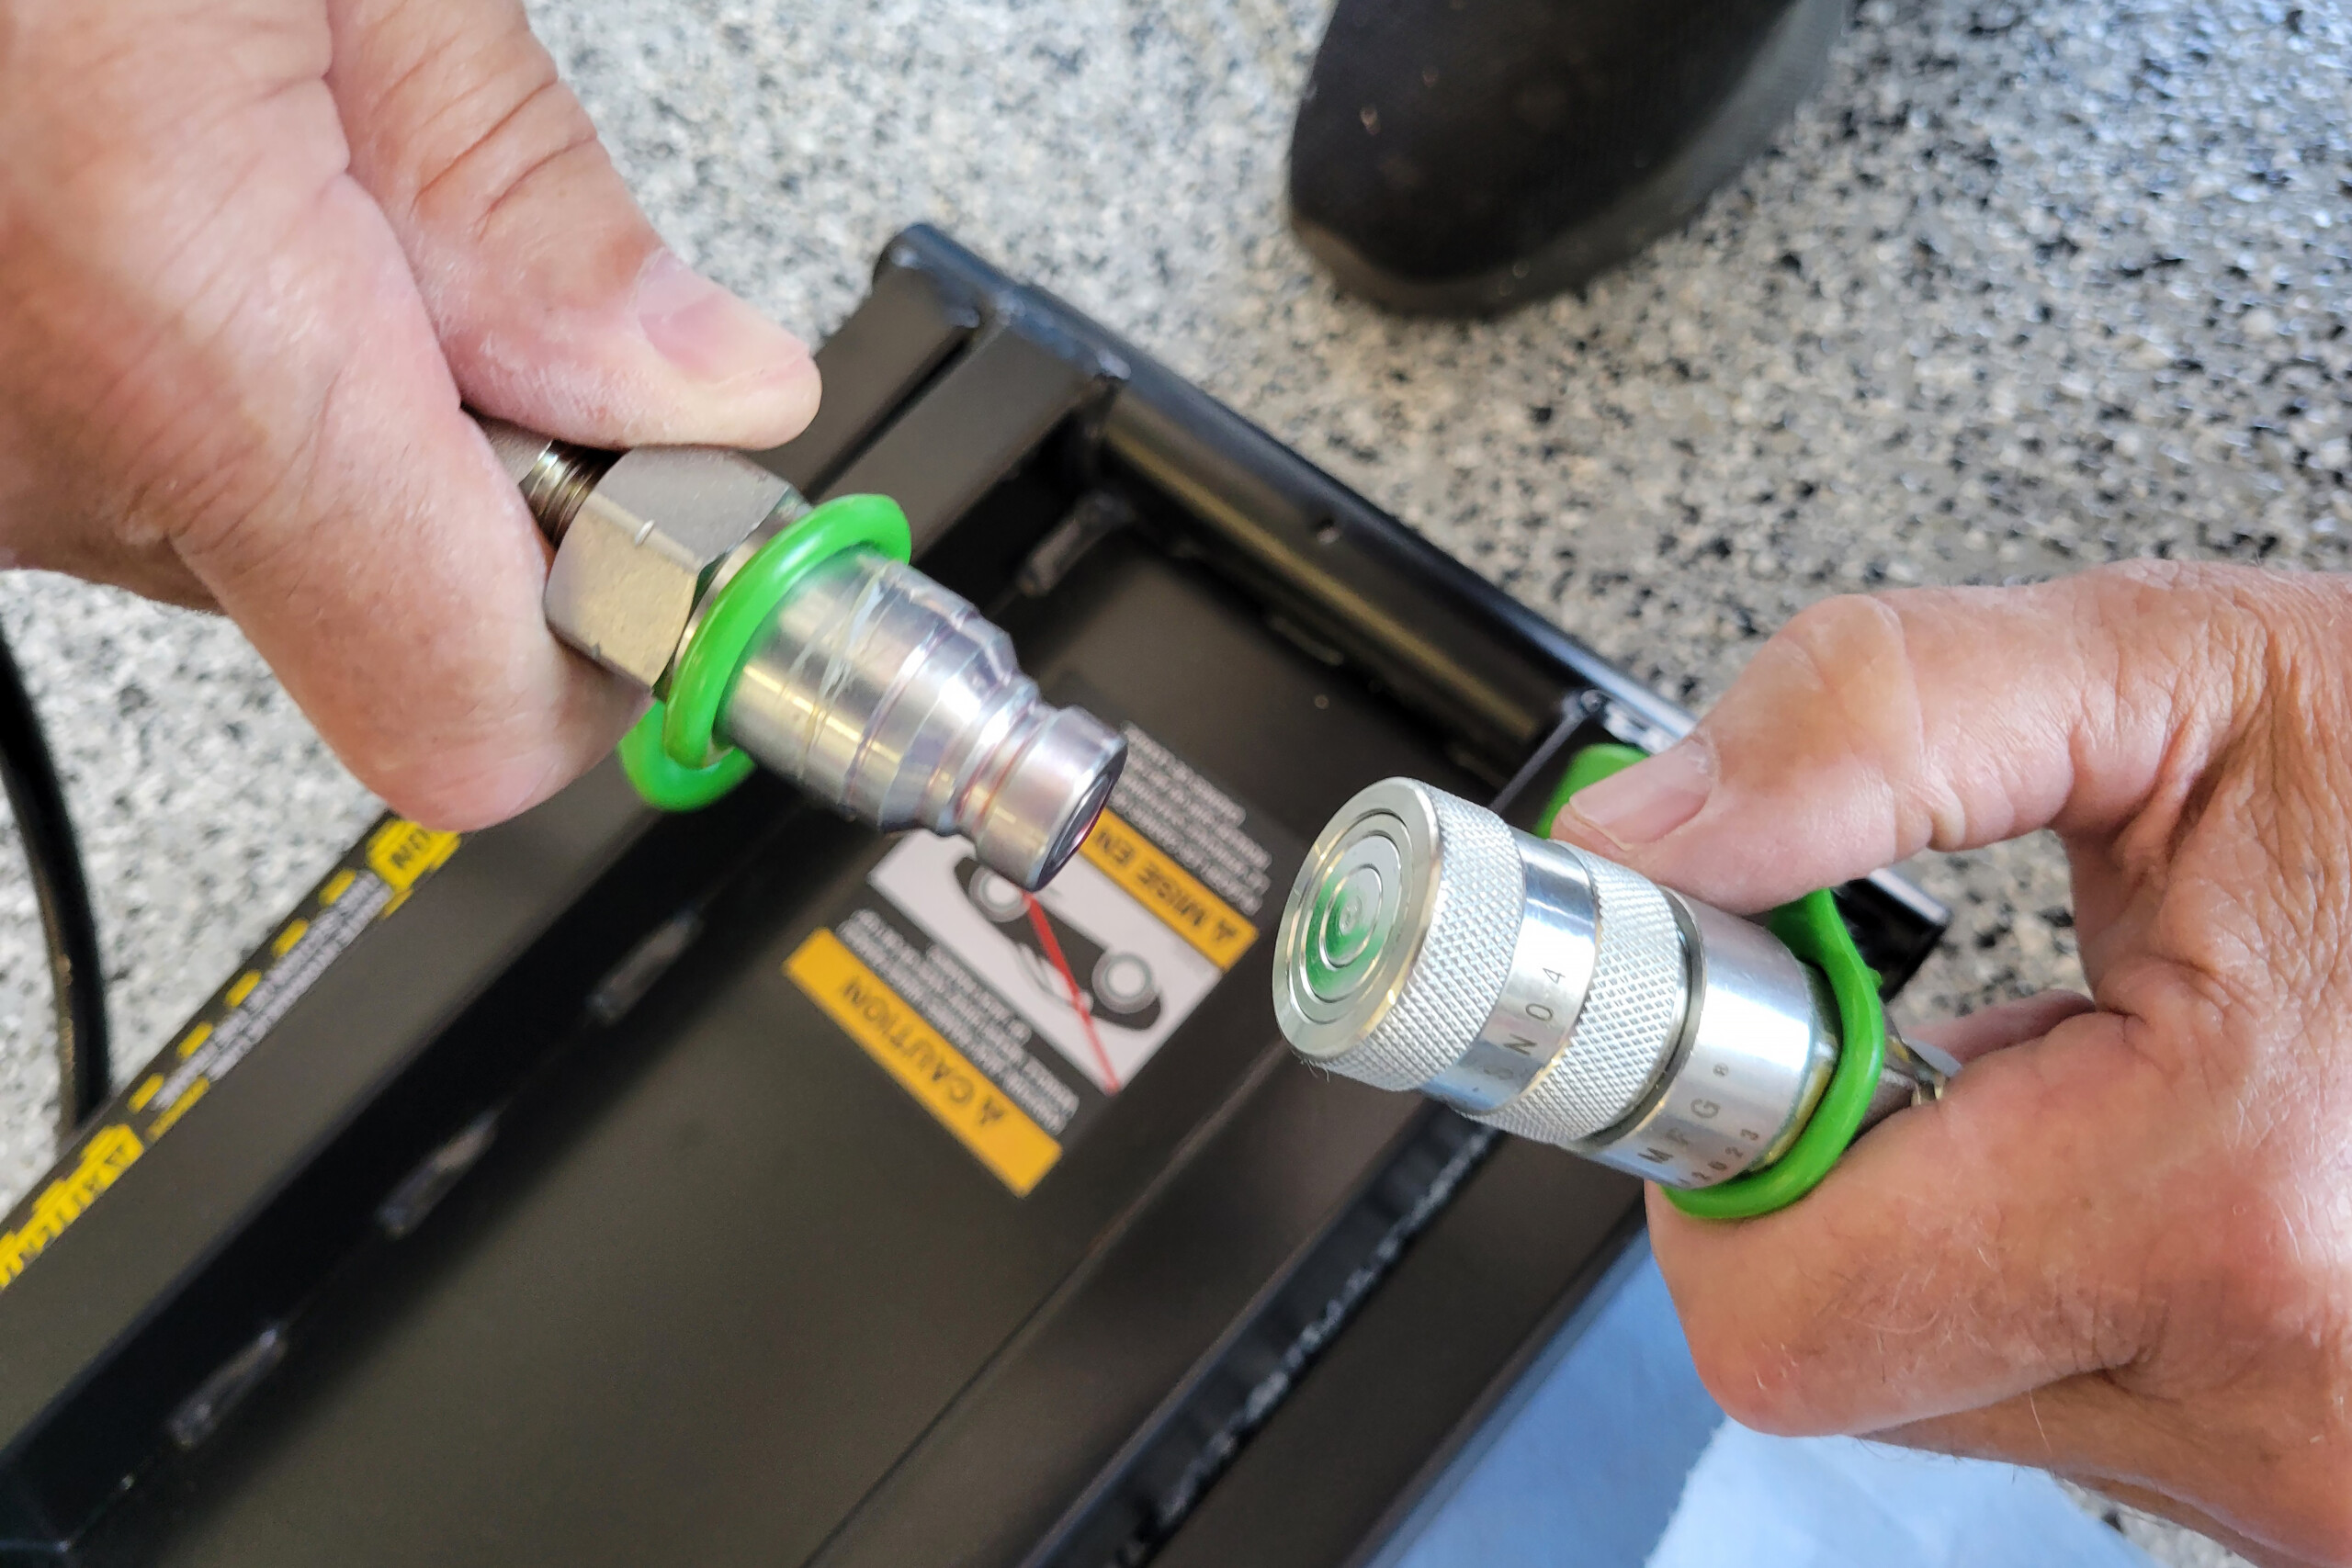
Assembling the dry-break hose ends (left) is simple enough. Just use the liquid Teflon sealant and tighten the fitting onto the hose and control unit. Once assembled, they just push to lock and don't leak fluid anywhere.
Setting Up The QuickJack 5000TLX
There is a healthy list of warnings and instructions included with the QuickJacks, and while they look intimidating at first, they are very easy to follow along with in actuality. The only thing to be aware of beforehand is that you’ll need 3 quarts of hydraulic fluid (ISO-32, -46, or -68 rated) or Automatic Transmission Fluid (Dexron, Mercon, etc.) and there is a 24-hour break built into the assembly process to allow the liquid thread sealant to fully cure, so make sure to plan an extra day into your timeline for the first lift.
The actual assembly process is as simple as screwing dry-break fittings onto hydraulic hoses, and then filling and bleeding the system. Anyone who is going to be working on their own car possesses the requisite skills to assemble the QuickJack System. Just make sure to follow the instructions and not jump ahead — not that any of us would ever do that…
In the setup process, you will need to provide a small compressed air charge. QuickJack included its JackPack Ultra2500A roadside tool (jumper box, air compressor, power bank, and flashlight), which made absolutely short work of the 50psi the air springs required. Just make sure that you have some source of compressed air for the setup process.
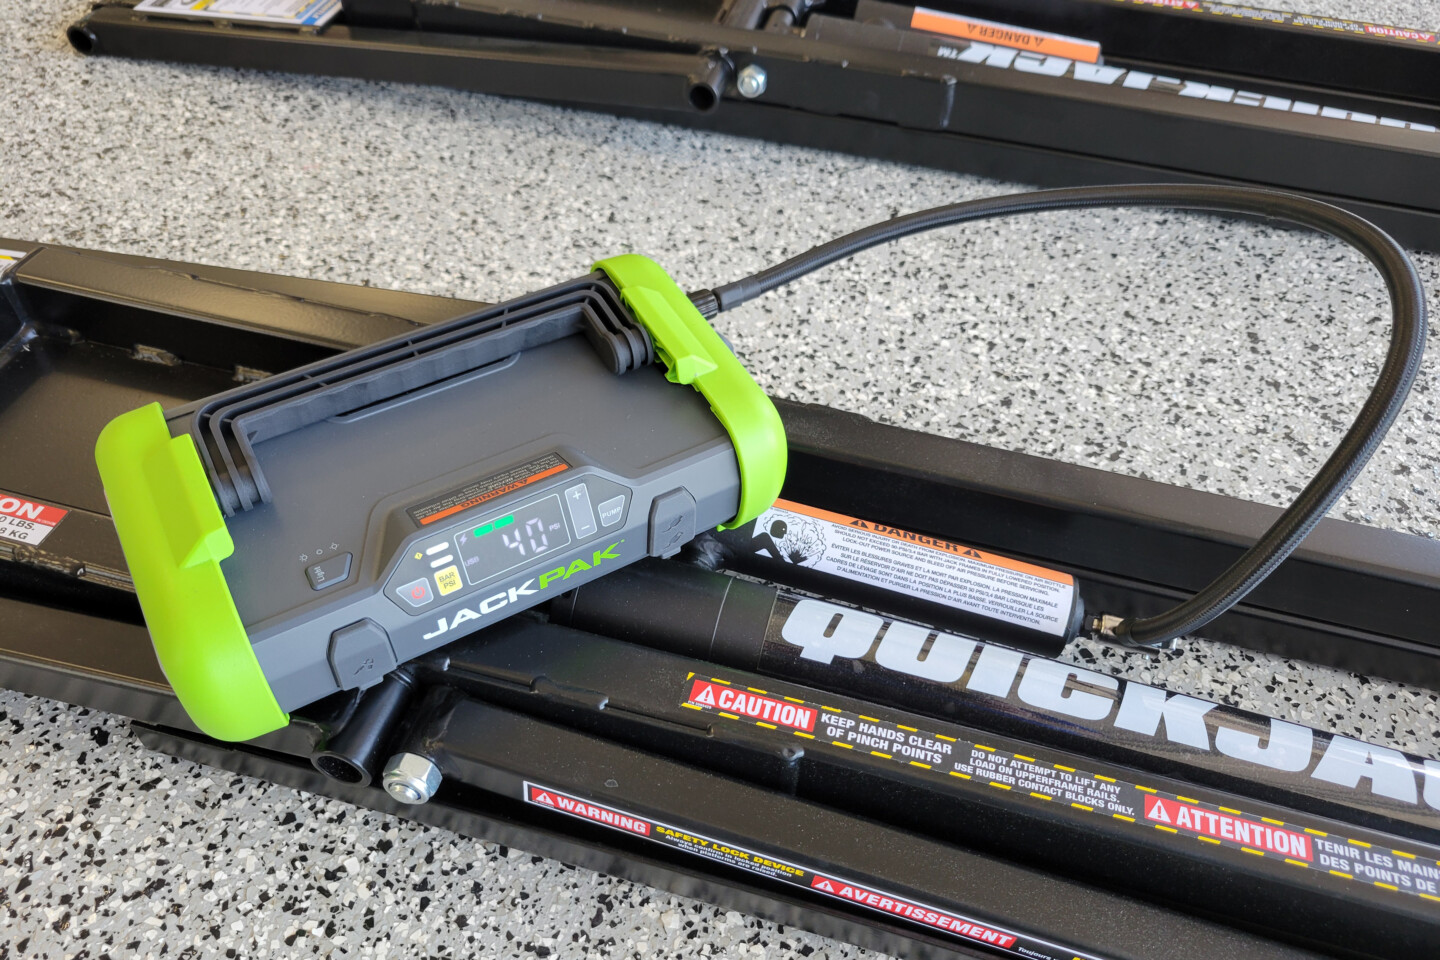
BendPak supplied their JackPak 4-in-1 roadside tool, which features a tire inflator, jump box, flashlight, and power bank. We used it to provide the compressed air to the air spring, and now it lives in the trunk of the car.
Using The QuickJack
Once we finished setting everything up, of course we started lifting everything with wheels. Right off the bat, that extra three inches of lift is HUGE. The amount of room under the car is more than enough to use the tallest of creepers, and if you happen to have one of BendPak’s MaxJack reclining creepers there’s enough room that you don’t have to be perfectly flat under the car.
One thing to note as well, is that there are two locking positions for the QuickJacks: full lift and approximately half lift. This doesn’t seem like all that big of a deal, until you’re trying to lift wheels back onto the hubs, or in our case, we were reaching into the trunk to access the rear shock towers to replace the rear suspension. Unfortunately for us, we realized that we could lock the lift at a lower height only after finishing the rear suspension, so learn from our misfortunes.
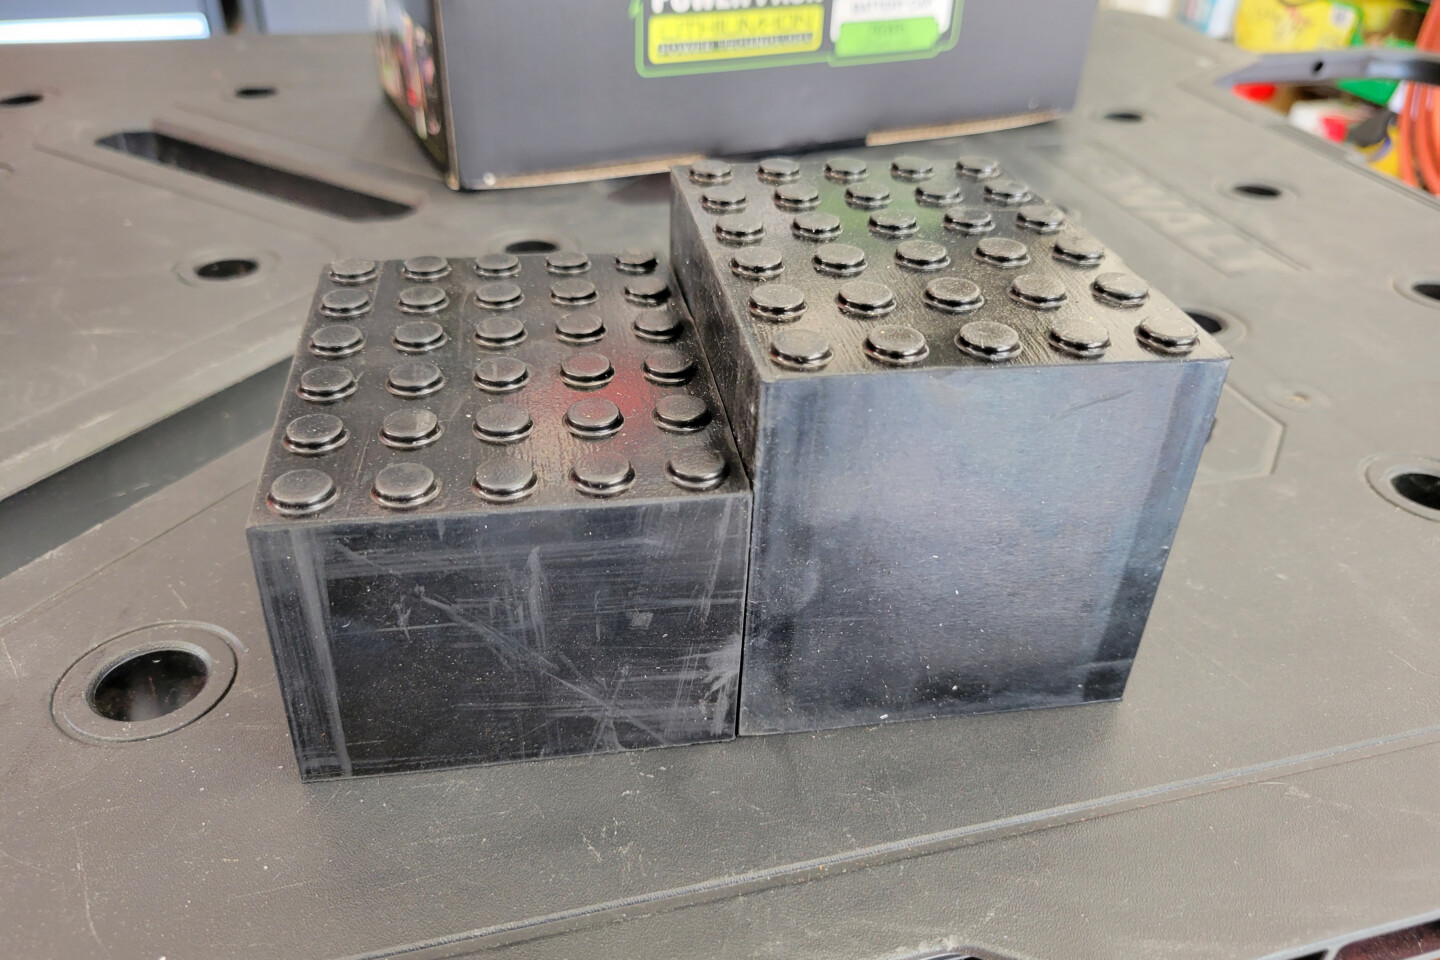
The QuickJack comes with four of each of these rubber lifting blocks. The shorter of the two is 50mm tall, and the taller one is 75mm tall. The closer the block is to the lift point when the lifts are completely flat, the more you’ll be able to raise the vehicle.
The QuickJacks come with two sets of rubber lifting blocks — 50mm and 75mm tall — which is nice, to be able to maximize the actual height off the ground you get from the unit by minimizing the free space between the lift and the frame at the start. Remember how we mentioned that our truck also fits the capacities of the 5000TLX model? Well, QuickJack has an optional truck adapter kit that features heavy-duty risers to allow you to maximize the distance the QuickJacks can lift your truck. While we don’t tinker with the truck like we do with the cars, this will make oil changes almost as easy as having a pit.
Quick Jack also offers a bundle package with the lifts themselves, which includes a set of heavy-duty wall hangers and pinch-weld blocks, specifically designed to protect rocker panels and pinch welds on your car, if that’s how you plan on lifting it. The hangers are very nice powdercoated steel hooks with the QuickJack logo laser-cut into them, which makes storage extra easy, especially with the nice rollers on the end of the units, designed to make the jacks extra portable.
Having already completed two projects with the QuickJacks, they have more than proven their worth. They offer more than enough height, are incredibly stable, and are remarkably easy to use. The only question going through our heads is, why didn’t we do this sooner?
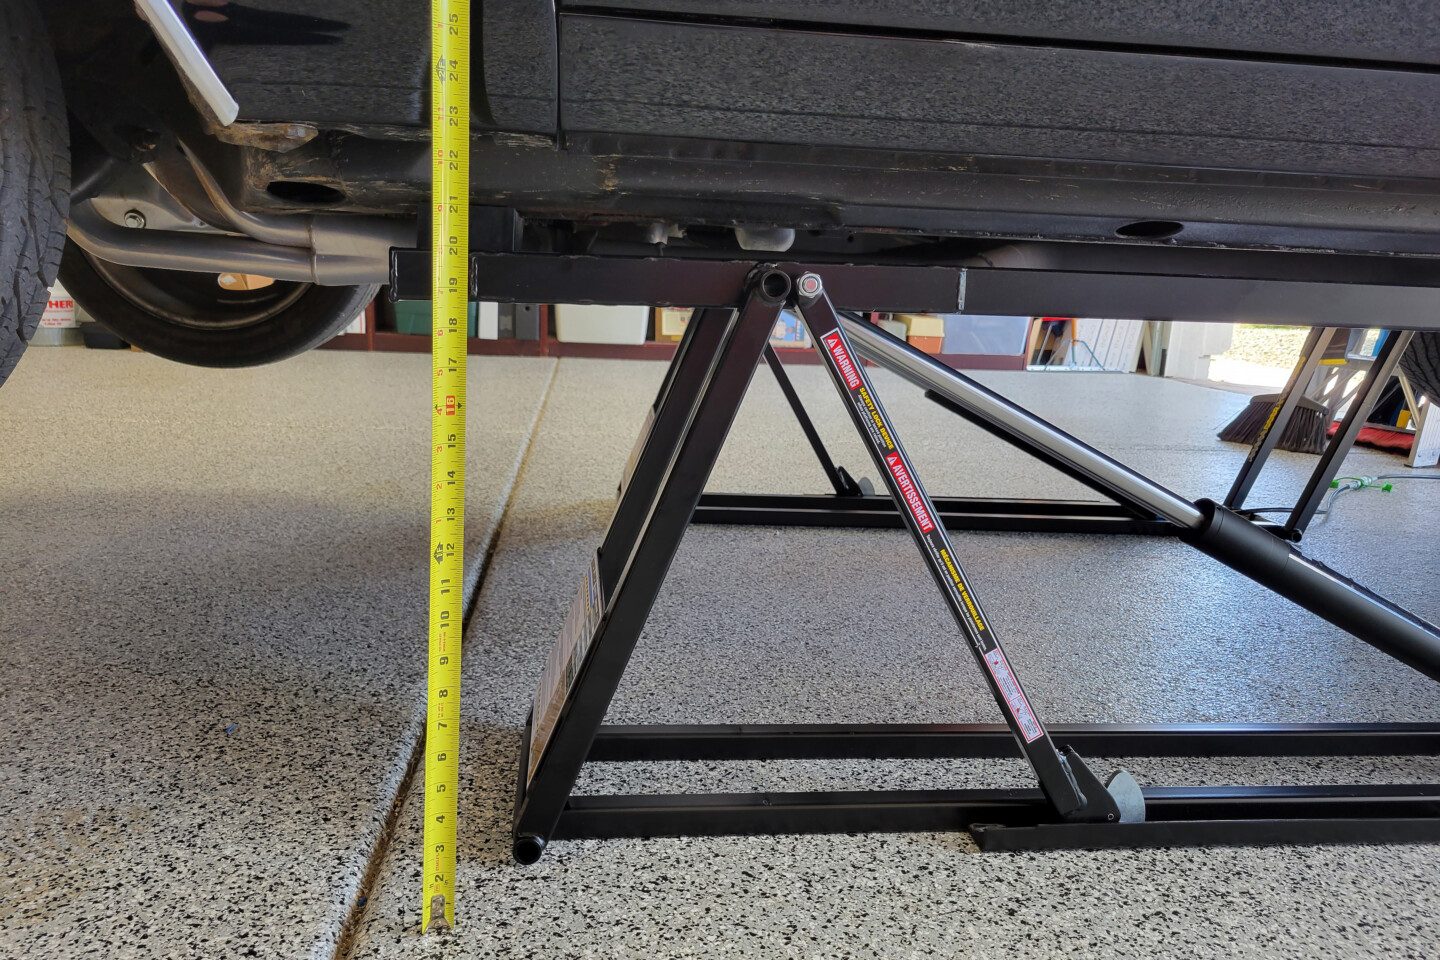
Here, you can see that we got the Chevelle’s frame 22 inches off of the garage floor. The Mustang was a little closer to the blocks to start, and we got 23 inches of lift with that car.


