Installations can only go one of two ways: the right way, and the oh-my-God-what-happened (i.e. wrong) way. Add in the fact that manuals can only explain so much with ink and paper, and you’re bound to run into issues that have you scanning over page after page on internet forums.
 So it’s nice to get little how-to videos like this one from Flaming River. Today’s topic is the installation of universal joints and steering shafts. A technician describes to us the process of putting all the pieces together: a steering shaft, a U-joint, and a support bearing with bracket.
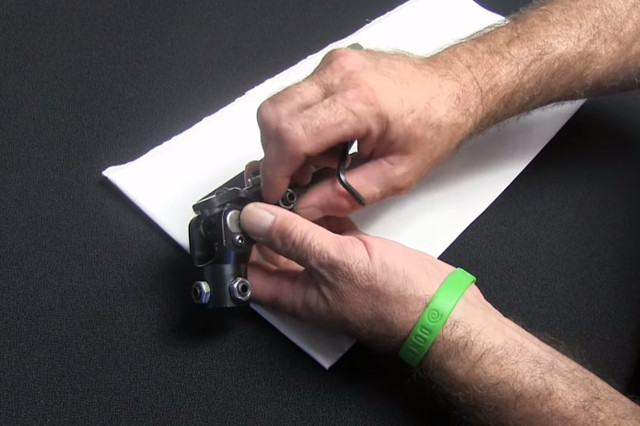
After marking the steering shaft at the 7/8-inch point from end, we observe the U-joint being slipped on and the set screws tightened until an indent is left on the shaft. A drill is used to dimple the shaft where the indents once were. This lets the set screw lock into the shaft, with little probability of sliding out of place.
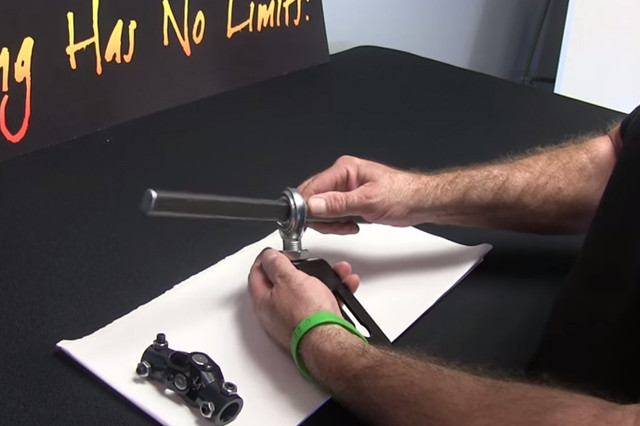
 Next is the support bearing. Here, the technician takes the time to explain how different cars will require different approaches: “[The number of] joints that you use in the linkage will make the determination on how many support bearings you use…but you do want to keep your U-joint angle to a minimum. If you have it too tight, it will bind.”
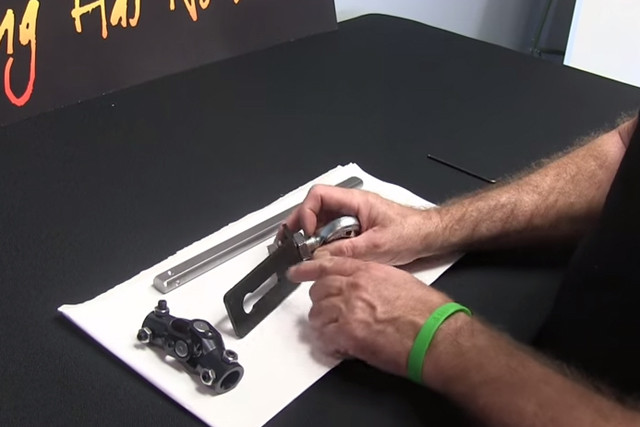
The how-to proceeds as the bracket is mounted to the frame, and then the shaft is inserted into the support bearing. Two jam nuts allow for adjustment of the support bearing, while the bracket has a slotted mount for adjustment as well.

The technician points out the slotted mount for the bracket. It allows for adjustment prior to final installation.
With these tips and parts at your disposal, installing fresh steering components becomes one more skill to add to your set. Check out more from Flaming River on the company’s website, and don’t forget to Like it on Facebook too.


