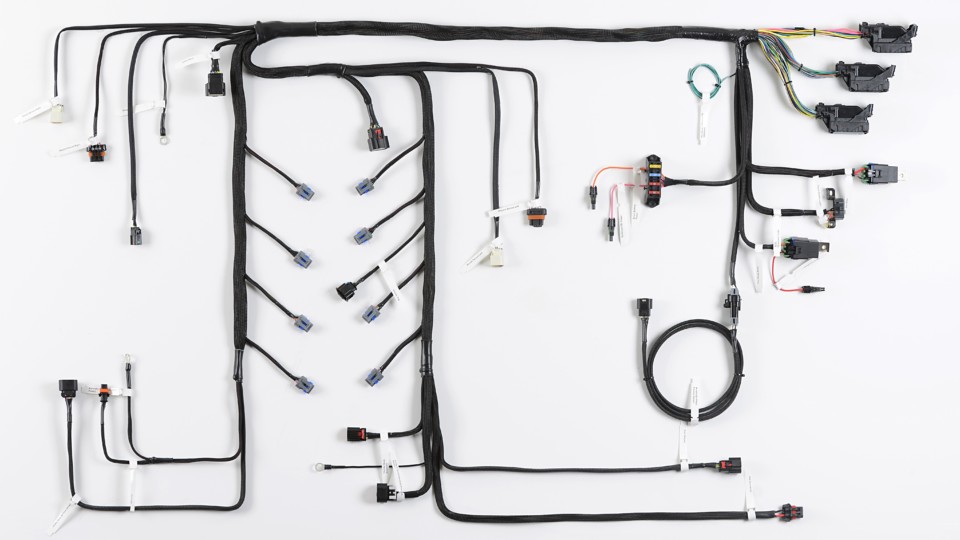
So you found that perfect gem of a low mileage 5.3-liter LS out of a rotted-out SUV to donate to your latest creation. Luckily, you have some old parts laying around from the F-body you had in college. So how do you get your 20-year-old LS1 intake manifold, Camaro fuel injectors, and long-tube headers talk to each other through a wiring harness designed for an early-2000’s Suburban? Better yet, what happens with all the wiring you don’t need?
In this specific scenario, some significant changes need to take place to the wiring harness to make it work as a stand-alone. First and foremost, a power source needs to be created, as well as usable grounds and a key source. Outputs for fans, fuel pump, and a tachometer are also minimum requirements. From there, we know that the LS1 intake manifold will need different (EV-1) plugs for its respective fuel injectors.
Truck wiring harnesses travel over the top of the intake manifold, so do we want that massive bundle of wires loosely sitting on top of our pretty car intake? Oil level, oil pressure, and EVAP (Evaporative Emission Control System) wiring should likely be eliminated; also catalyst O2s and potentially the entire transmission harness, should you be running an older GM four-speed or aftermarket, manual transmission.
Depending on header configurations or turbo applications, lengths and locations for oxygen sensors could be drastically different than from that of the SUV you robbed your $300 engine from. A common problem with aftermarket headers, the coolant temperature sensor may need to be moved to the passenger side head. Now, where does the computer go? Is there a good place for it in the engine bay, or do you want it tucked away somewhere under your dash or center console?
There are numerous options to overcome this quandary.
The most cost-effective is to download a schematic online and relocate your sensors where you want them, delete unnecessary wires, solder in the plugs you want, where you want them and add wire where it needs to be added. Sounds easy, however, if you’re anything like me, what starts as a well-orchestrated plan turns into an unorganized rat’s nest. Another option is to send your truck harness to a reputable source that can reuse what you have and turn it into what you want for about $200-$250. These guys are out there however, there are a ton of fly-by-night operations on eBay that may not deliver, so choose wisely.
Last but certainly not least, many companies will construct custom wiring harnesses for a multitude of applications. These harnesses can range from $350 to $1,000 depending on what loom is used, turn-around time, and how elaborate your customizations are.
In one of our custom builds, we chose to utilize a small operation out of Kentucky, who builds its harnesses from all-new equipment. We explained all of the modifications and they offered some great suggestions and handled the rest. Some of the changes were: forward-facing oxygen sensors, passenger-side coolant temperature sensor, EV-1 (SD 80) injector plugs, and a 5-foot lead for the primary fuse block. This harness cost around $450 shipped, and was seamless to install. The layout was flawless and the wires were neatly strung throughout their looms. This could be an ideal situation for someone who picks up a junkyard engine with a botched harness (they aren’t always nice to the wires on the way out).
All of these options, from re-pinning your original wiring harness to purchasing a complete, standalone operating system, come with different individual costs and level of complexity. Hopefully, you can find guidance, or at least some clarity in what options are available and make a decision that best fits your application and budget.


