
 There’s no question that a C5 is a great beginner Corvette – it’s got an LS1 powerplant, a six-speed Tremec transmission, and can be found for under $15k.
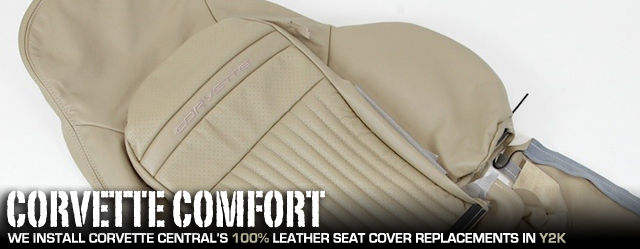
 Just like any used 10+ year-old vehicle, the seats start to lose their structure after a lot of constant use and they become less comfortable and even less aesthetically pleasing – the bottom seat bolsters and cushion lose their shape and sag over time. Our project, Y2K, had some pretty weathered seats, but that was only until we hit up our friends over at Corvette Central for their seat cover upgrade as well as their Seat Bottom Cushion Repair Kit.
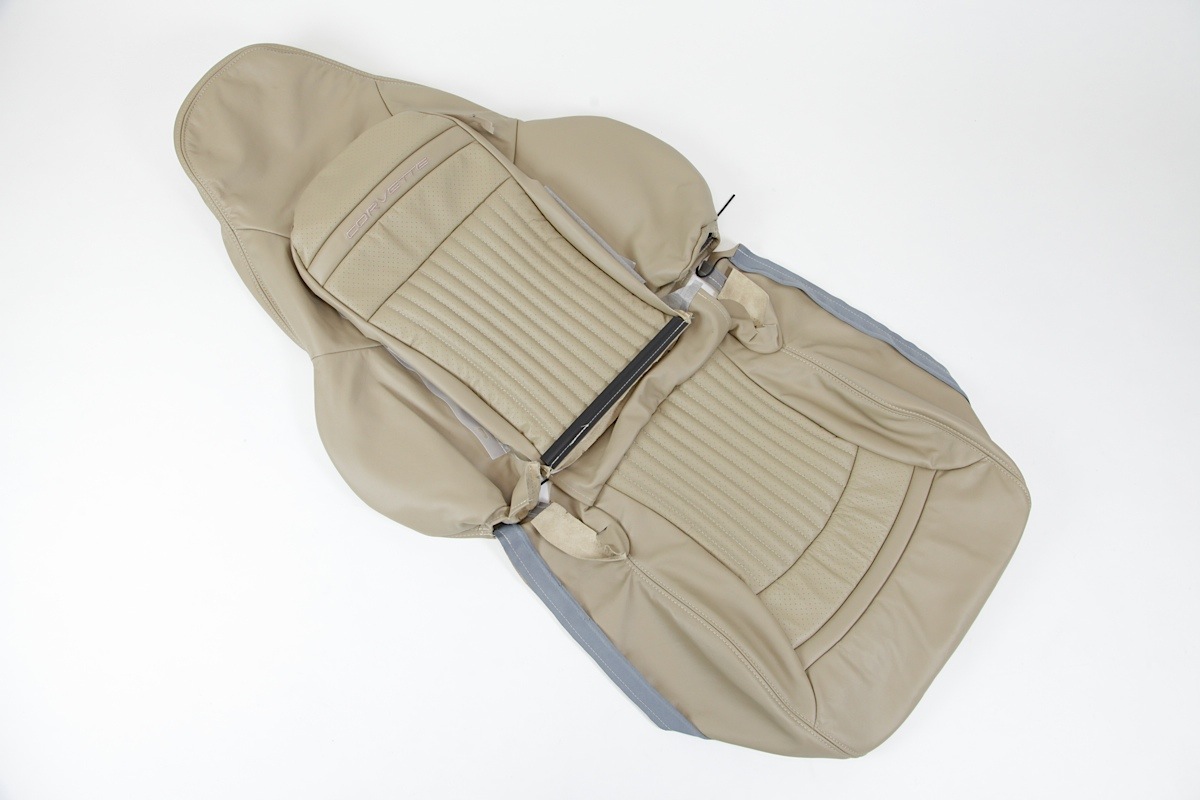
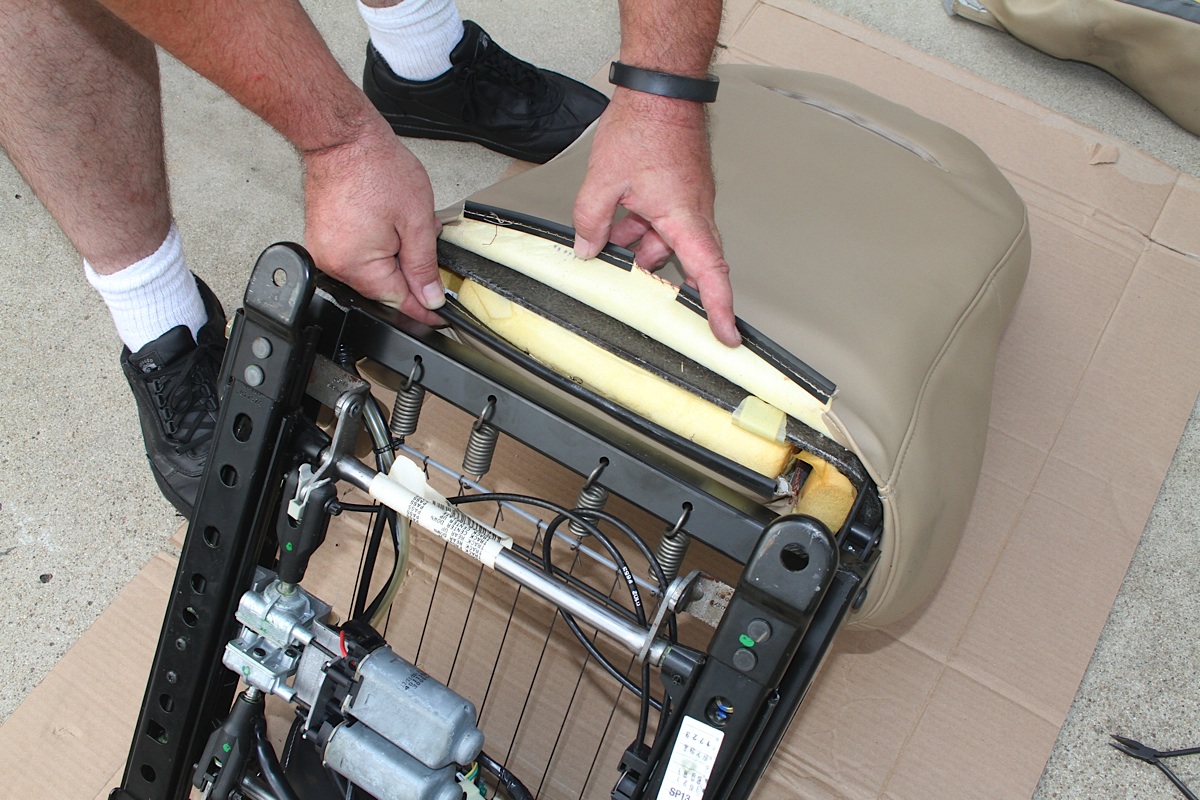
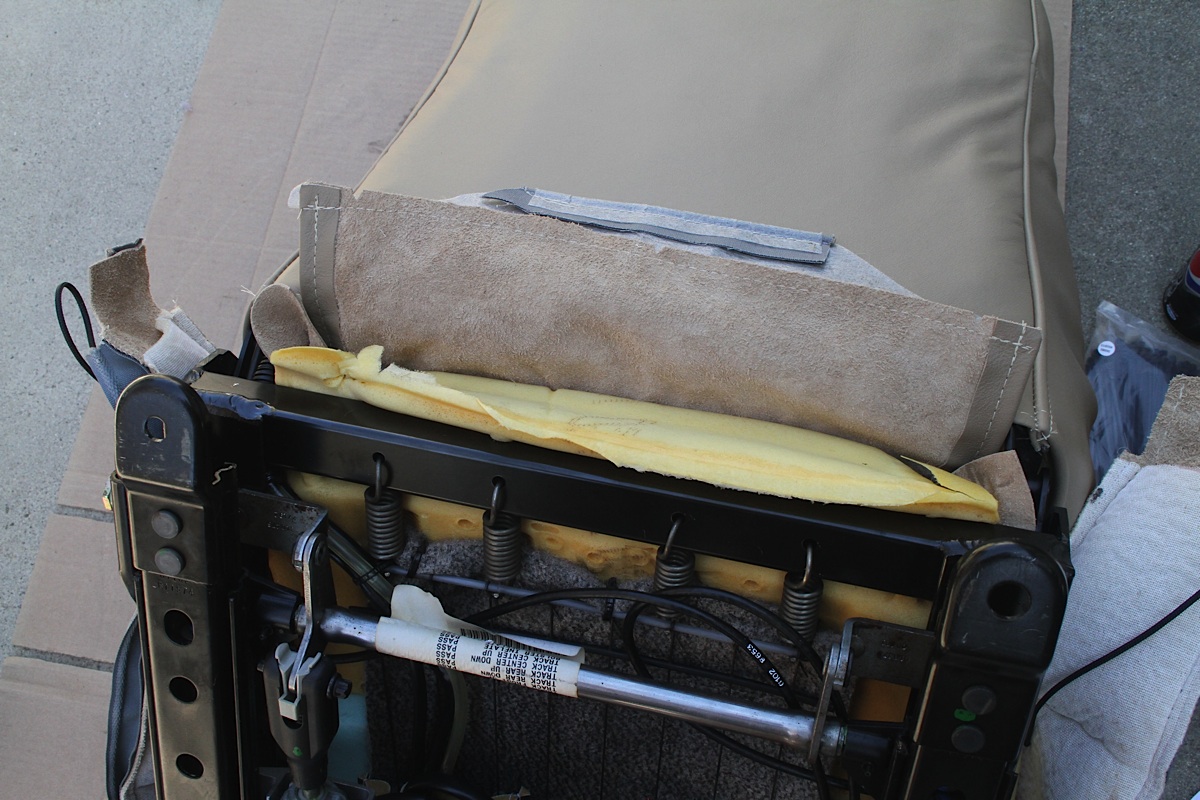
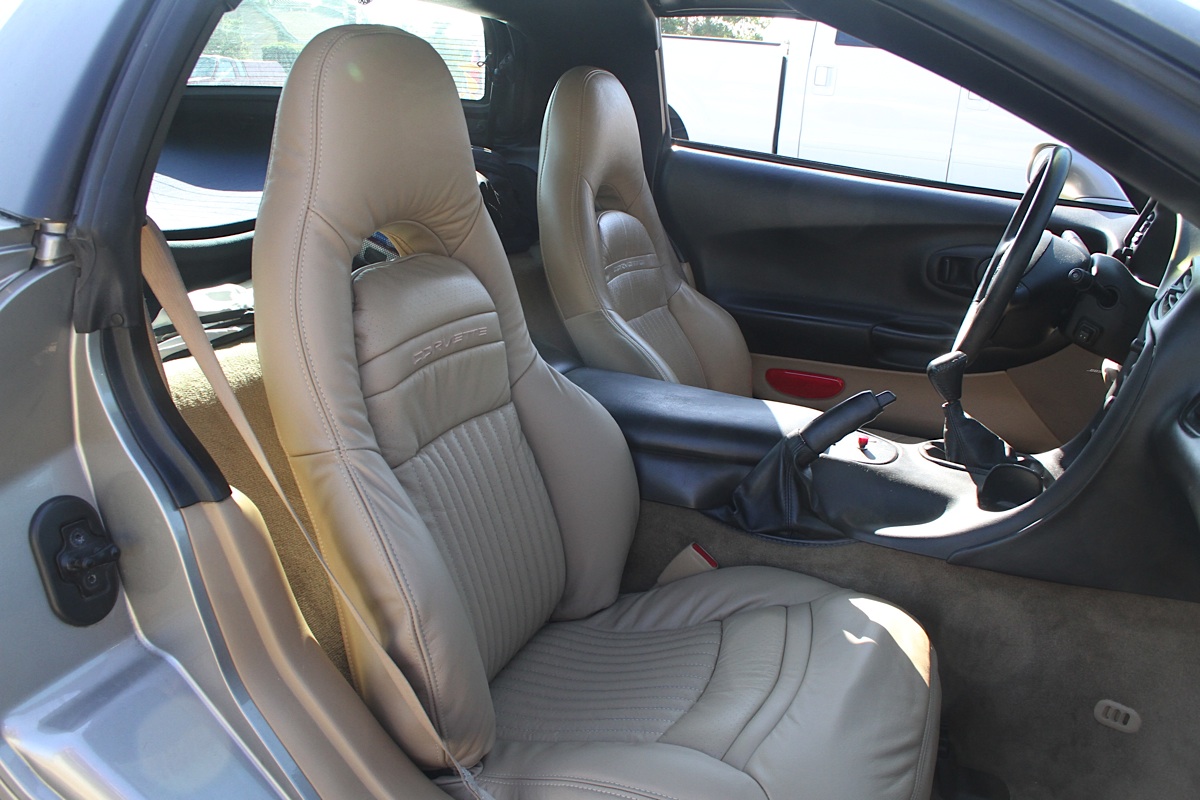
Top Photo: one of the 100% leather seat covers we received from Corvette Central, Bottom Two Photos: are of the seat bottom repair kit.

The Product

C5 Interior Restoration
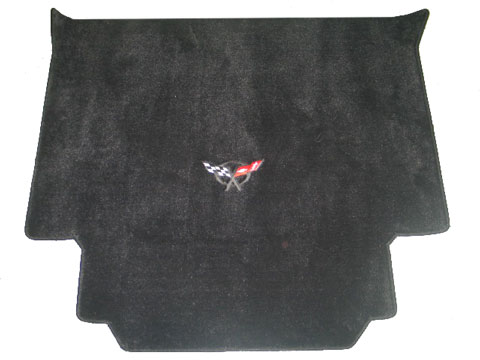
Aside to the awesome seat covers and seat bottom repair kit, Corvette Central has a plethora of interior restoration parts and upgrades for C5 Corvettes. Anything from the cargo mat you see above, seat adjuster switch panel covers, floor mats, center console covers, etc. – Corvette Central has you covered!
Their Seat Bottom Cushion Repair Kit is also a great little kit and can save you a lot of money as opposed to buying completely new seats. The kit includes everything you need to restore the bottom cushion and bolsters to their original shape and feel – upholstery-grade high-density foam for the bolsters, wear-resistant nylon fabric, zip ties to replace the hog rings, and an optional quarter-inch-thick high-density jute pad to add between the original seat foam and support wires, should you want your seat a little more firm. “Our repair kit adds a layer of new high-density foam to restore the bolsters to their original shape, as well as a tough, wear-resistant ballistic nylon fabric to stop the support wires from cutting into the seat foam,” Kohn added.
Removing The Seat
Installing the seat covers and the repair kit went really smooth, it was just a time consuming process to get the leather to fit right. “It would be best to not drink a six-pack while doing this.” – Paul Huizenga, Editor of LSXTV. As you would imagine, the repair kit is installed in the process of installing the seat covers.


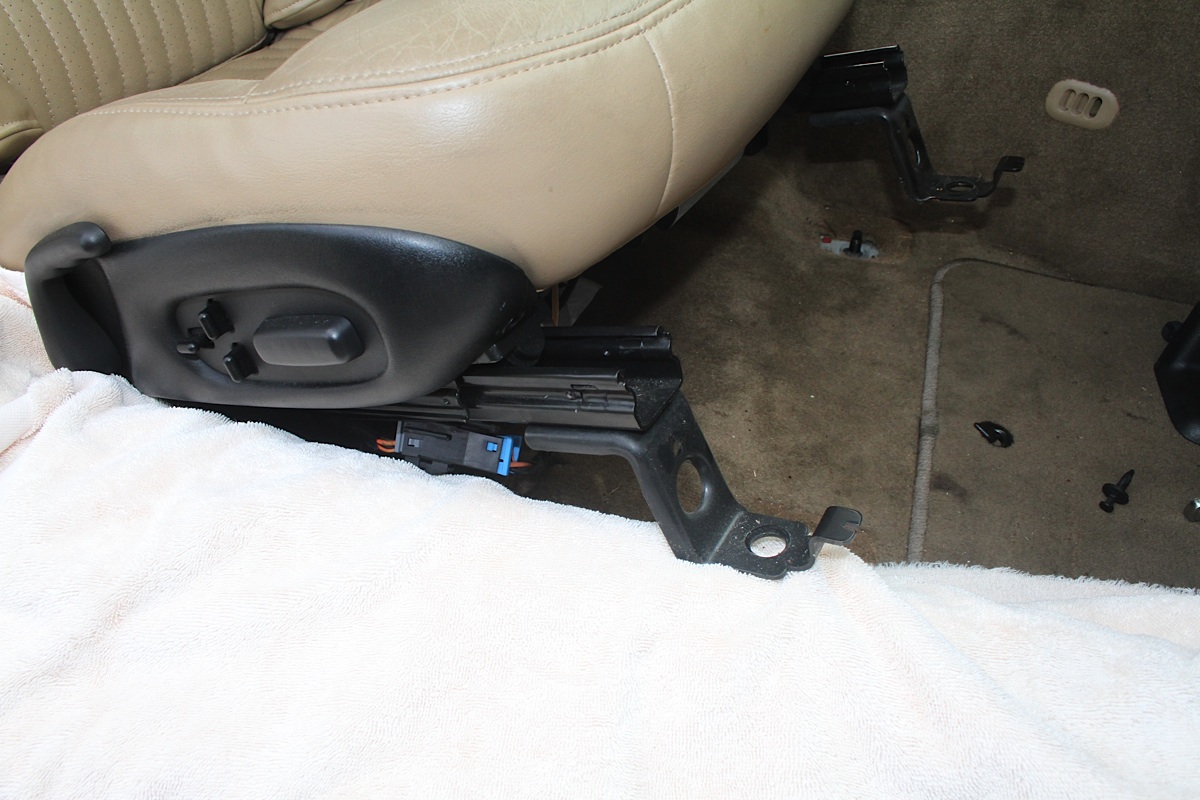 Once all four 15 mm nuts were off, we covered the sill plate with a towel to prevent any unwanted scratches because the seat has to be lifted off of the studs and propped on the sill to disconnect the power connector for the seat controls. With that out of the way, we were able to get the seat out of the car to start the disassembly of the seat (these seats are pretty heavy, so make sure you have a good grip on the seat and a comfortable lifting position).


The Installation
Okay, so getting the seat out wasn’t too hard or time-consuming, but with the seat covers, you’re going to want to gather all of your patience because there are a lot of little steps that can’t be overlooked in order to get them on correctly.


The seat bottom is a single piece, held on with a drawstring and a series of hog rings. The center flap gets removed first and the hog rings come right after the center flap. A good pair of side cutters is what worked for us, but you can also pry apart the hog rings with a pair of regular pliers, which will take a considerable amount of persistence.


The side flaps of the bottom upholstery are held on with more hog rings, which are hidden in the slot between the back and the bottom of the seat - these are harder to get to, so you'll definitely want those side cutters. The photo in the middle is just to show the location of the hog rings in perspective to the seat, and the photo on the right is what the seat should look like after the seat bottom upholstery is completely removed.
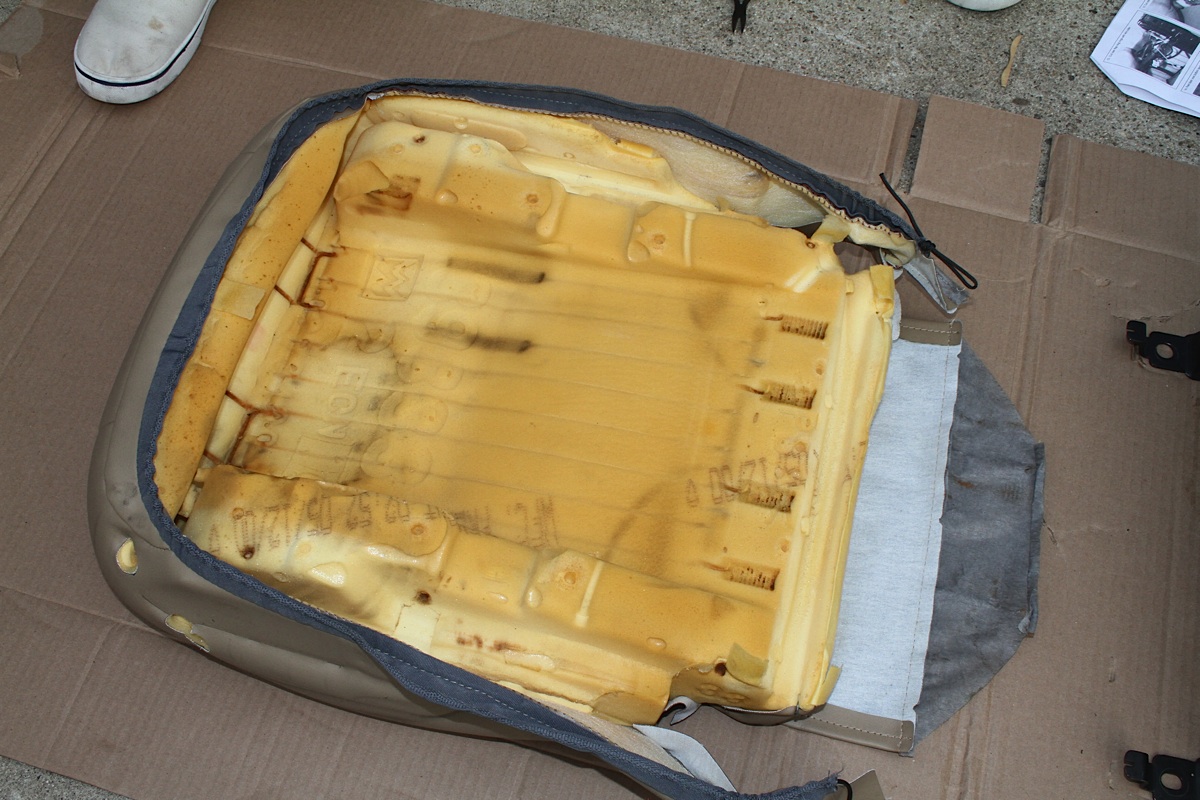
This is the underside of the stock seat base – you can definitely see where the support wires were rubbing through the foam, making the seat less comfortable to drive on a daily basis.
Moving on to the seat back, the bottom flaps are held together with plastic strips that interlock – you’re going to want to separate them in preparation for ‘skinning’ the seat back.


The center section in the seat backing is secured with a partially hidden zipper at the top, which you're going to want to unzip. Separating the center upholstery section from the seat frame, we ran into some hidden push fasteners that go through plastic tabs on both sides of the seat back and center section to lock the center section in place - these have to be gently pried out before the center upholstery can be removed. As you can see from the photo on the right, our tabs were broken.


Beginning to 'skin' the seat back, but there is one more step until the old upholstery can be completely freed. That step would be to remove the forward-tilt release lever from behind the headrest - you're going to want to push the inner section back through the seat shell, so that you have access to the trim plate from the back. We used a small screwdriver to pop the cover plate off the latch and ultimately free the old upholstery from the seat frame.


Being that there are no pre-cut holes in the leather for the forward-tilt lever or the other seat controls, we had to cut them ourselves. For the forward-tilt lever to pass through, we pulled the new upholstery over the headrest portion of the seat back and made sure that we were going to cut in the right spot. After repeatedly checking that our measurements were right we used a razor blade to start cutting the leather. The cover plate needs to be able to click back into the mount, so all of our cuts were small - you can always make the cut bigger, not smaller, so just start small.


As you can see, our cut came out great and the cover plate snaps right back into the mount like it should. If we were to give any advice about the cutting stage, it would be to measure a lot and start with small cuts.


Pulling the leather over the side bolsters, we noticed that it takes some massaging to get it to lay in place with little to no wrinkles - depending on the condition of the seat, this may take a while. After the side bolsters were fastened in place, we zipped up the skin under the headrest so we could start on the center upholstery section.


The factory center section upholstery is retained with hook-and-loop fasteners (left) - this is where gentleness is needed because these can pull loose from the foam, instead of separating like they should. The new center section upholstery (right) is secured with plastic interlocking strips, and is ready to be reunited with the back frame. Using the zipper at the top and the push fasteners, it fit right back in place.


Just like the center section, the seat bottom upholstery is held in place with hook-and-loop fasteners that you're going to want to be gentle with while removing. While we were tackling the seat bottom upholstery, we came to realize that there was no better time to install the seat bottom repair kit, which was actually very simple. We used foam-safe spray adhesive (not included) to tack down the nylon reinforcement fabric to the seat foam, as well as the bolster foam reinforcement pads. As you can see, both are installed to the bottom side of the seat foam that sits in the frame.


The repair kit comes with an optional quarter-inch jute pad and can be used to provide additional firmness in the seat as well as help the nylon fabric further reject the support wires located in the seat bottom. We decided to install the jute pad and it was a breeze. We poked holes in the pad to thread the provided zip ties through and zip tied it right to the frame of the seat bottom. You can also see the two foam pads located in the seat frame to provide extra support for the bolster pads that we tacked onto the bottom seat foam.
With the seat base covered with the new upholstery, it’s ready to be reunited with the frame. Grab your patience again for this step, because you’ll want to take your time and make sure everything is sitting where it’s supposed to be before it gets all buttoned up.


Now that the seat base is in place, we can finally move on to the last steps. The side and back flaps go back together with the provided zip ties in the reverse order they were removed. After securing the side and back flaps, we made sure everything laid out correctly on the top of the seat base and pulled the drawstring to tighten the lower edge of the upholstery around the base of the seat. In order to put the seat lever, power seat controls, and side panel back on, the leather will have to be cut again. You're going to need one hole for the lever shaft, two for the retaining screws, and one for the plastic retention post. Once again, make sure that the upholstery is positioned right before cutting so that you can keep the holes as small as possible.
With the holes cut, our seat lever and power seat controls reinstalled, the seat was ready to be placed back in the car and tightened down with the factory 15 mm hardware. The seat might look wrinkly right now because it’s fresh, but some occasional massaging will help the upholstery conform to the seat in no time.
Conclusion
Overall, installing the seat covers wasn’t the hardest task we’ve accomplished, but it was rather tedious, detail oriented, and time consuming. The seat covers are made with great quality and look as good as factory, if not better. We were also really pleased with the seat bottom repair kit and how it literally brought the seat bottom back to life.
If your C5’s interior is looking a little weathered, Corvette Central’s seat cover replacements and seat bottom repair kit are a great start to an interior restoration – with different materials and combinations to choose from, the seat cover replacements are even appealing to smaller budgets as well. For more information on their seat cover replacements, seat bottom repair kit, and many other interior and exterior Corvette accessories, head over to Corvette Central’s website to start enhancing the appearance and performance of your Corvette!


