When we last left you in Part One, I admit it was a bit of a cliffhanger, but in my defense I was left unattended without adult supervision. On top of that, we have a lot of ground to cover when it comes to reversible upgrades to the C6Z platform. So for this reason, we want to be as methodical as possible when it comes to making those modifications to get the most bang for our buck.
You see, if you haven’t heard, the LS7 has a notorious issue with valve guides that either has affected the heads or will in the future and grenade the motor with some rare exceptions. So, buying a heads and cam package on a Z06 is almost ubiquitous. That of course will bump up the horsepower by a fair margin, bringing the 505 stock horsepower at the crank to easily 500+ to the wheels. The car I picked up had the work done by 21st Century Muscle Cars so I knew the engine had been worked on by a professional outfit and that made me feel good.
Safe Is Fast
Going fast is all about safety. Going fast and scaring yourself is pretty dang easy to do in a Corvette. They have plenty of power from the factory to kill yourself or at least land you in county jail for the night, so that’s never the problem. Admittedly, there is no safer form of racing than autocross so not many modifications need to be done, but having the experience of other forms of racing, you really do enjoy the comfort that some of the safety items bring you.
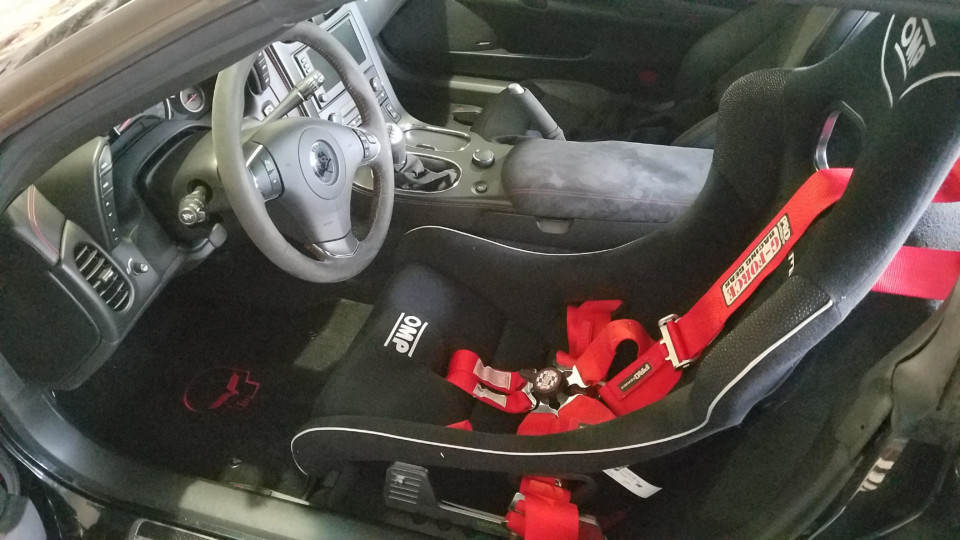
The autocross is a great place to let out your inner Senna but it never hurts to upgrade the safety of your ride so the first thing that needed to happen to our C6Z was improving the seat and seatbelt. I’ve found over my car career that having a solid race seat and a 5- or 6-point harness increases my comfort while driving. There is nothing like being tightly strapped down into a side, leg and shoulder hugging seat to make you feel like you’re planted and not going anywhere even in a violent turn or braking.
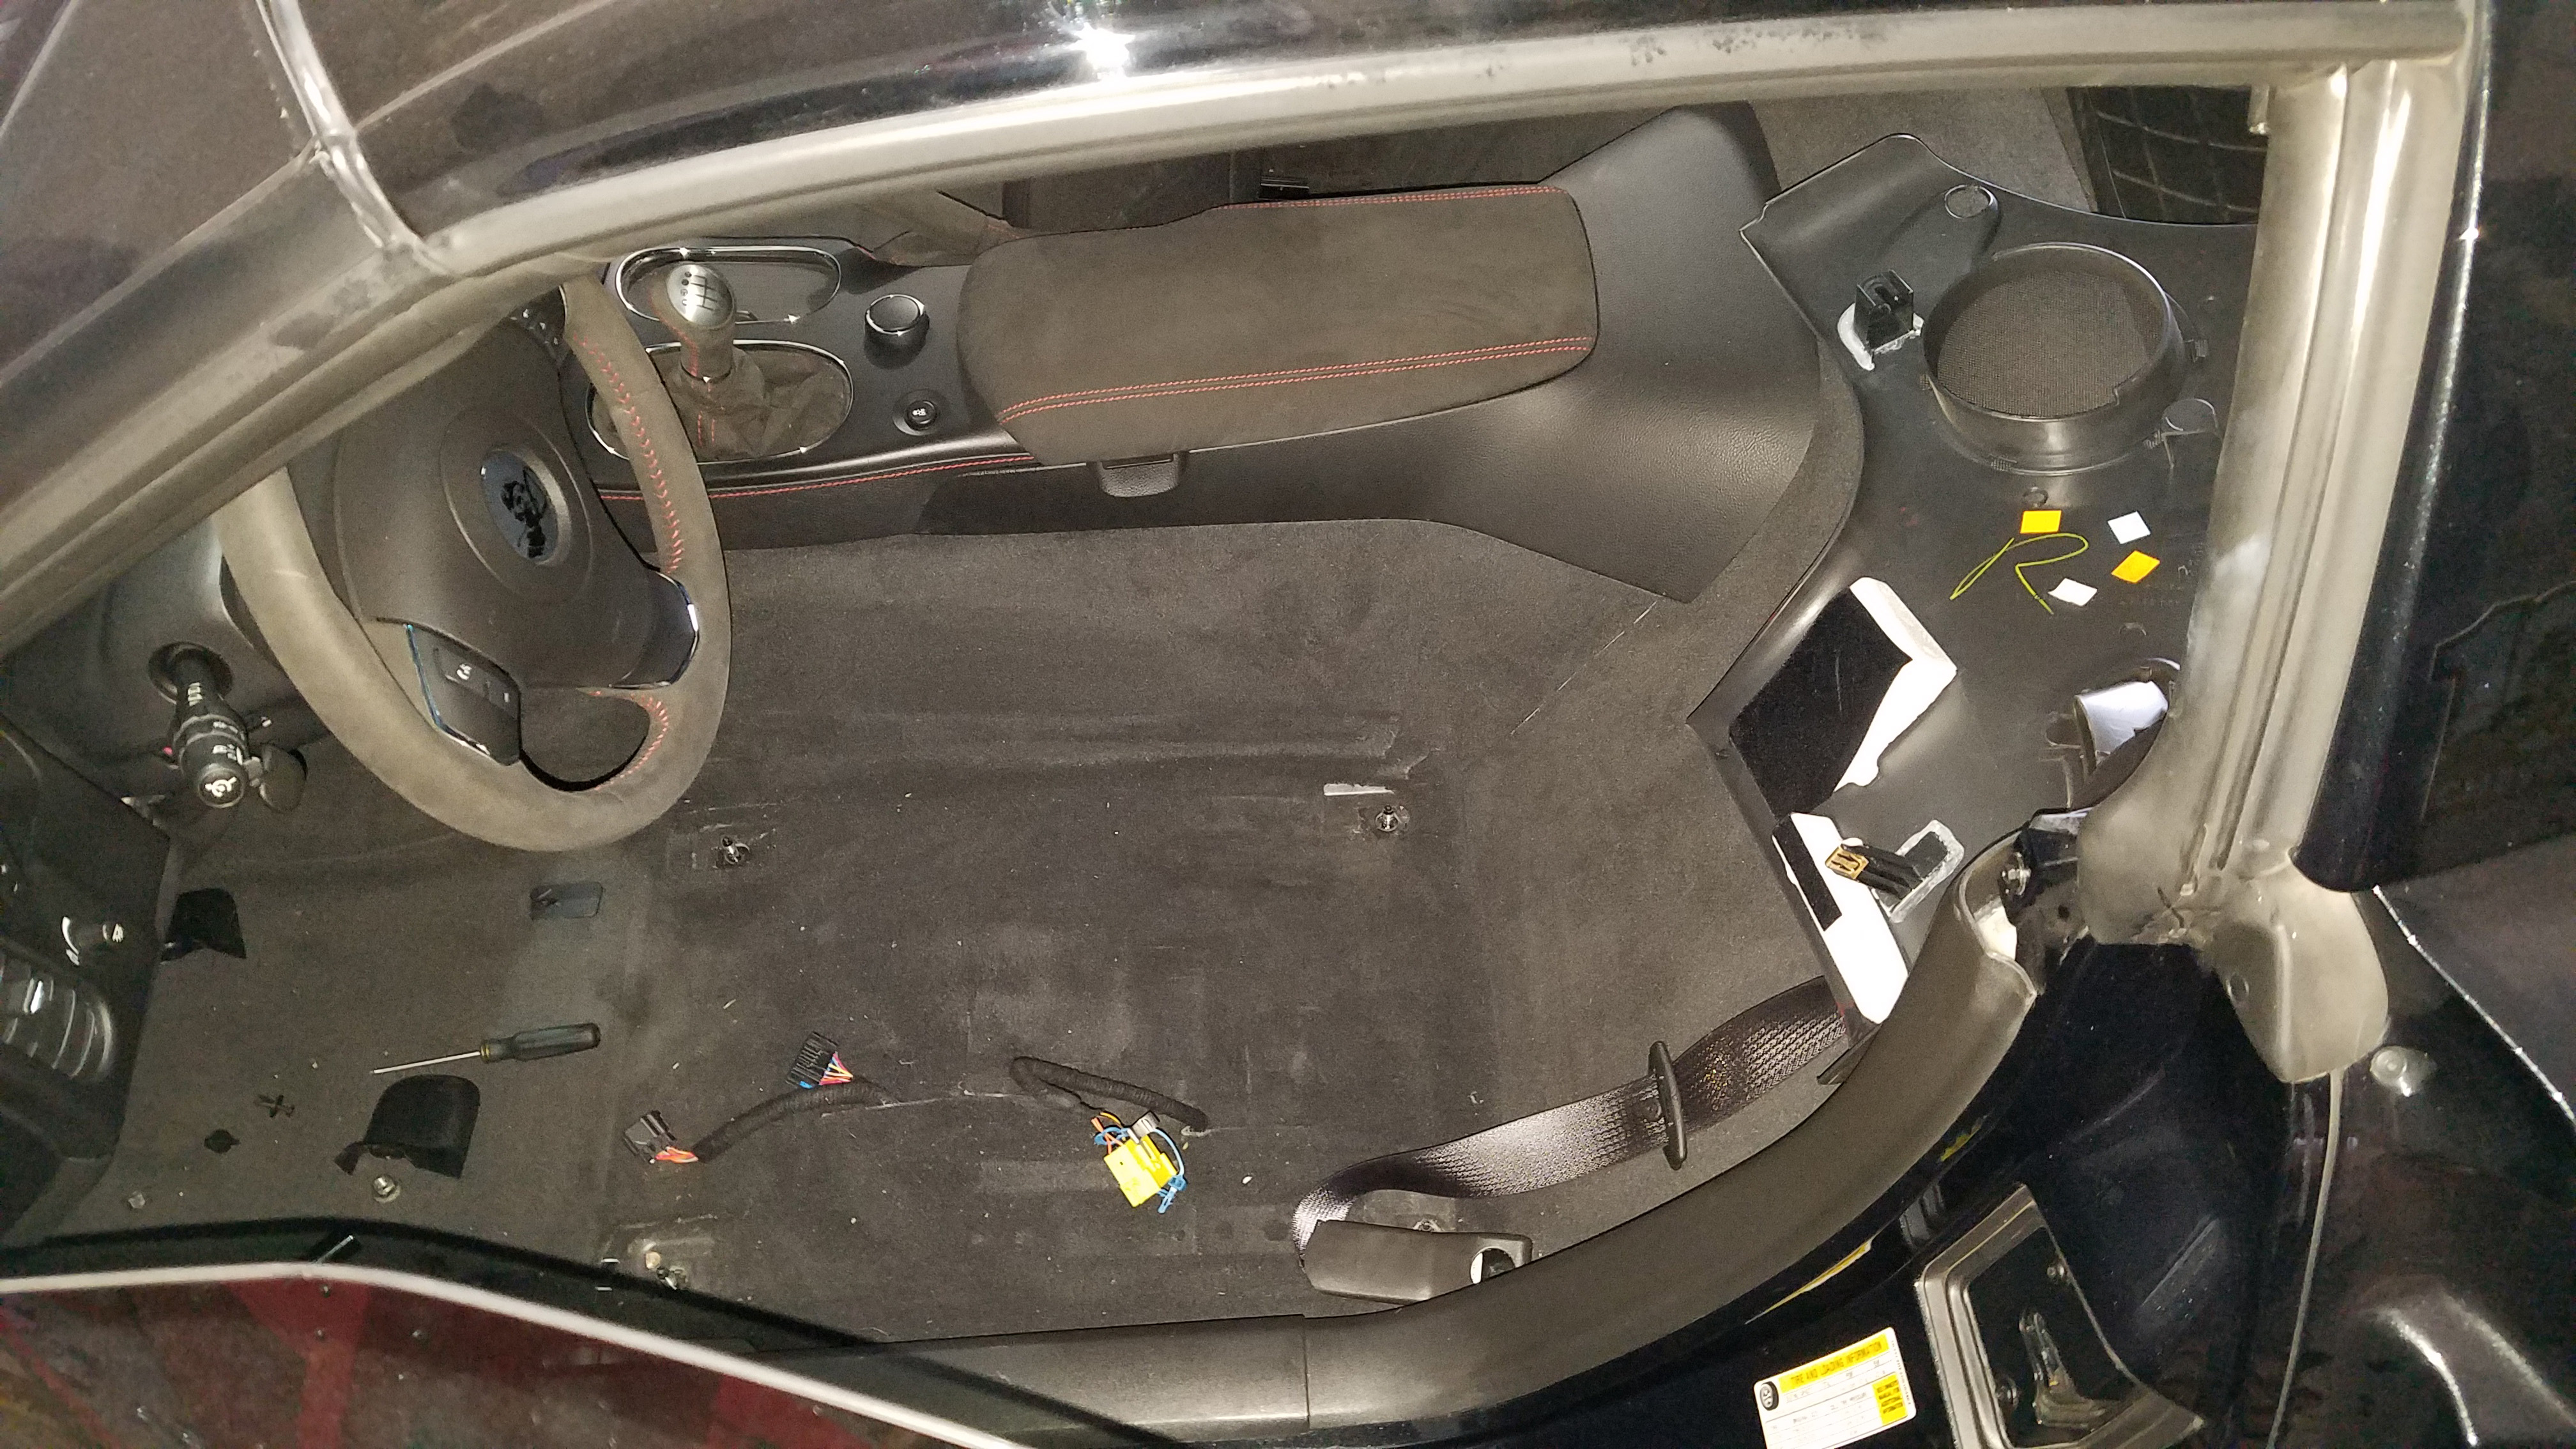
The factory seat comes out easily with 4 bolts, one bolt for the lower seat belt and unclipping the electrical connections for the power seat and air bags. This might be a good time to vacuum. The new seat and bracket will be in and out a number of times so get used to it. We need to get an accurate measurement for the driver with a helmet.
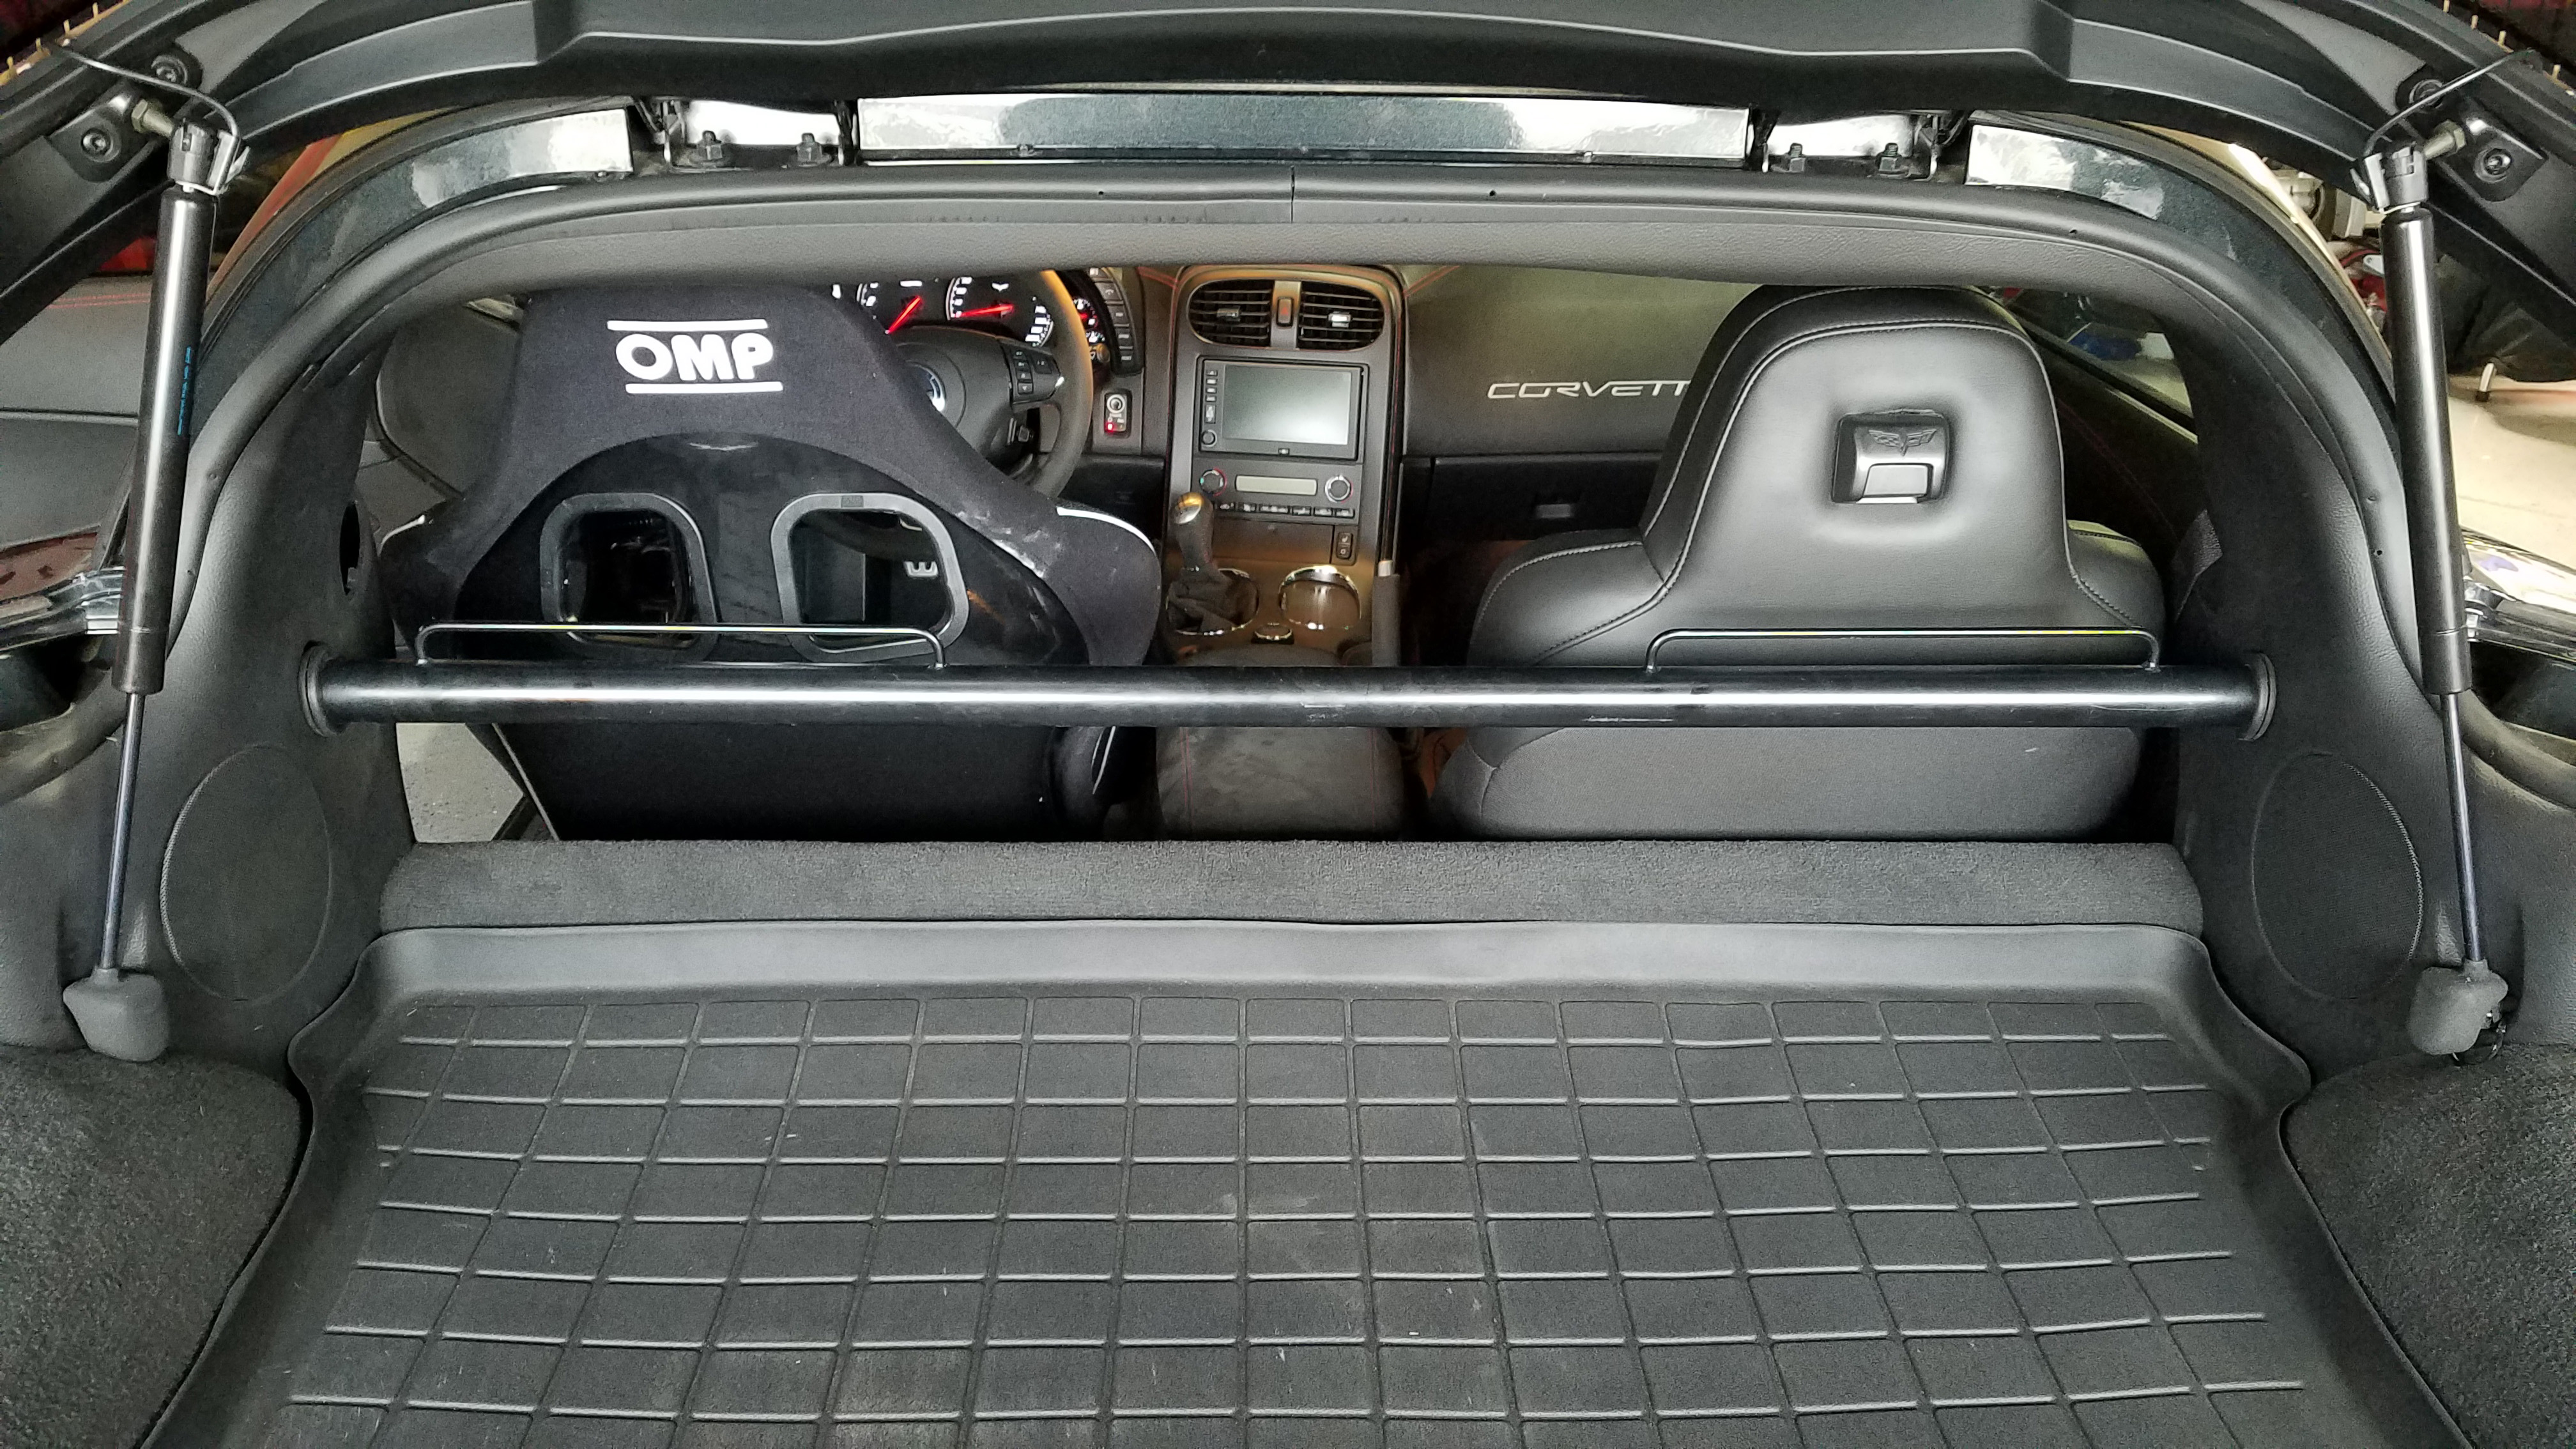
Those two components were easy choices, but took some work in application. That is because there are a few things that need to be worked out before you can slap on the harness and throw in the seat. I found a pair of used, but still date-legal 6-point harnesses and a used harness bar made for the C6. The harness bar is a necessity if you want to run a 5- or 6-point. Those who may be worried about their safety can only look right at GM for their proof. They and other manufacturers run the harness bar in all their cars when they want to test them at such places like the Nürburgring, so if it’s good enough for GM it should be good enough for me.
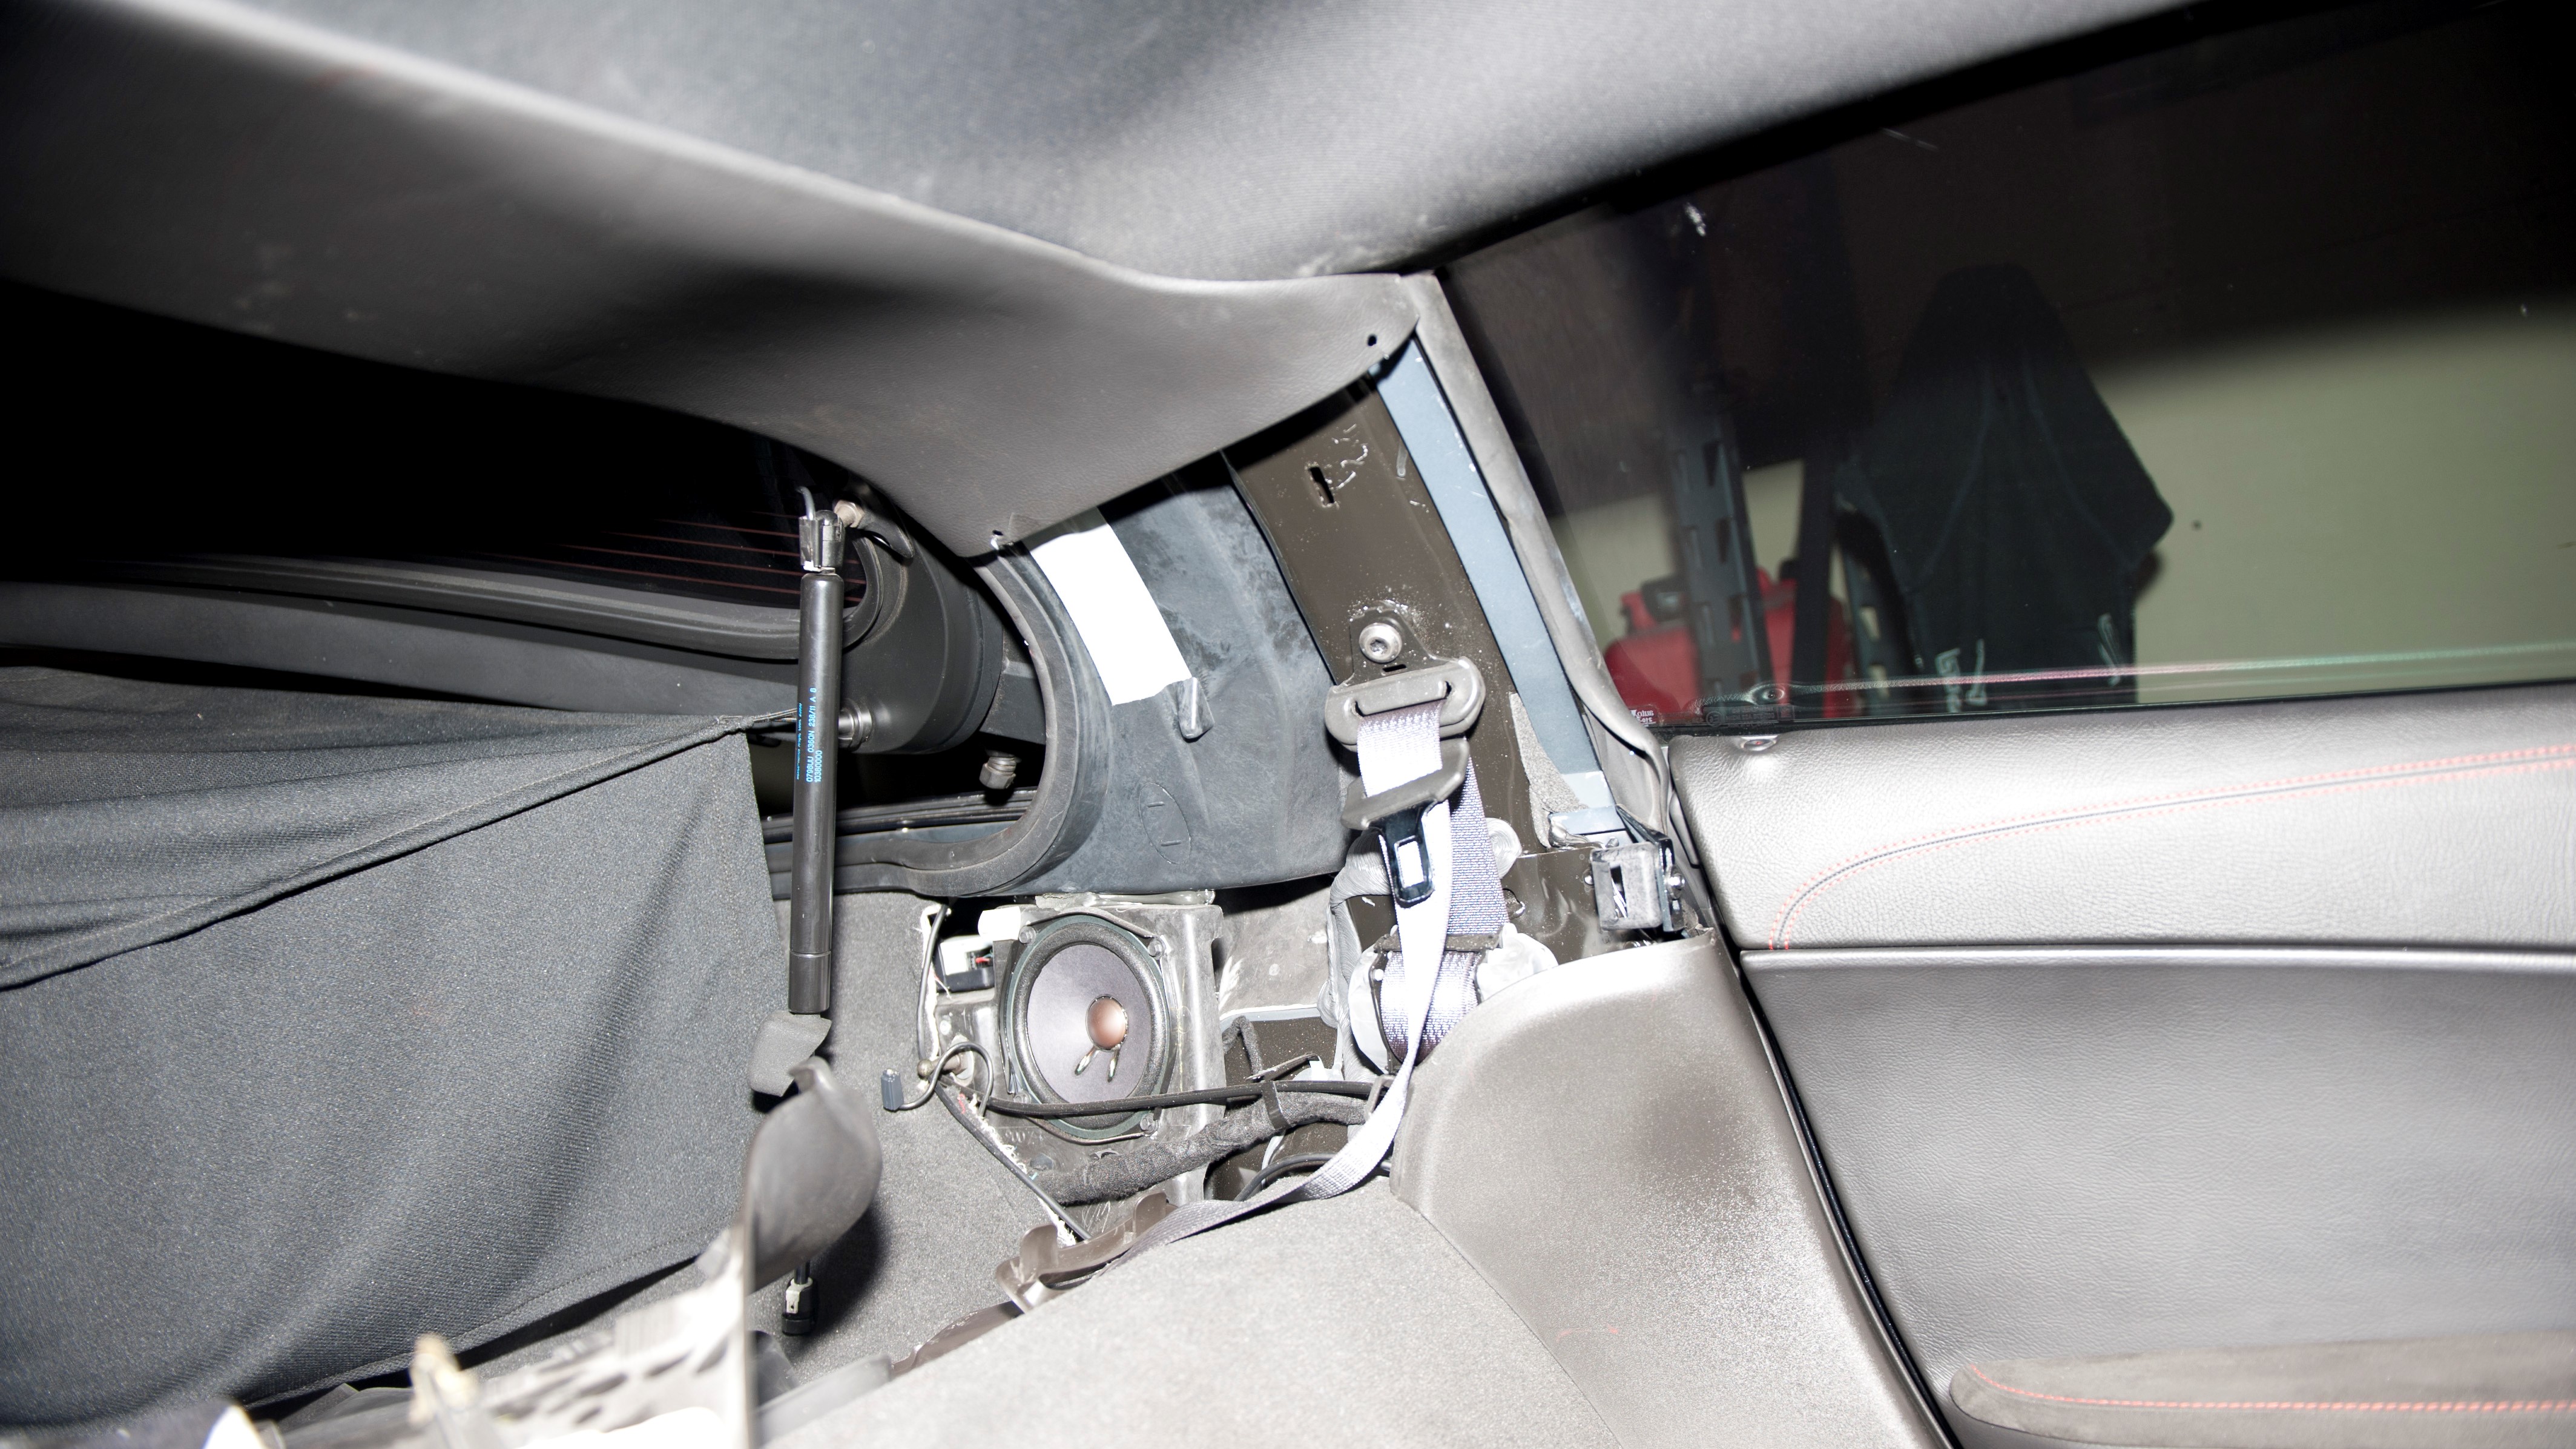
Here’s how the Shark Bar from Vetteworks.com works; it bolts to the existing seat belt locations. The stock seat belt can be retained if needed. Two holes need to be cut in the speaker grills but those can be purchased if you want to reuse your old ones.
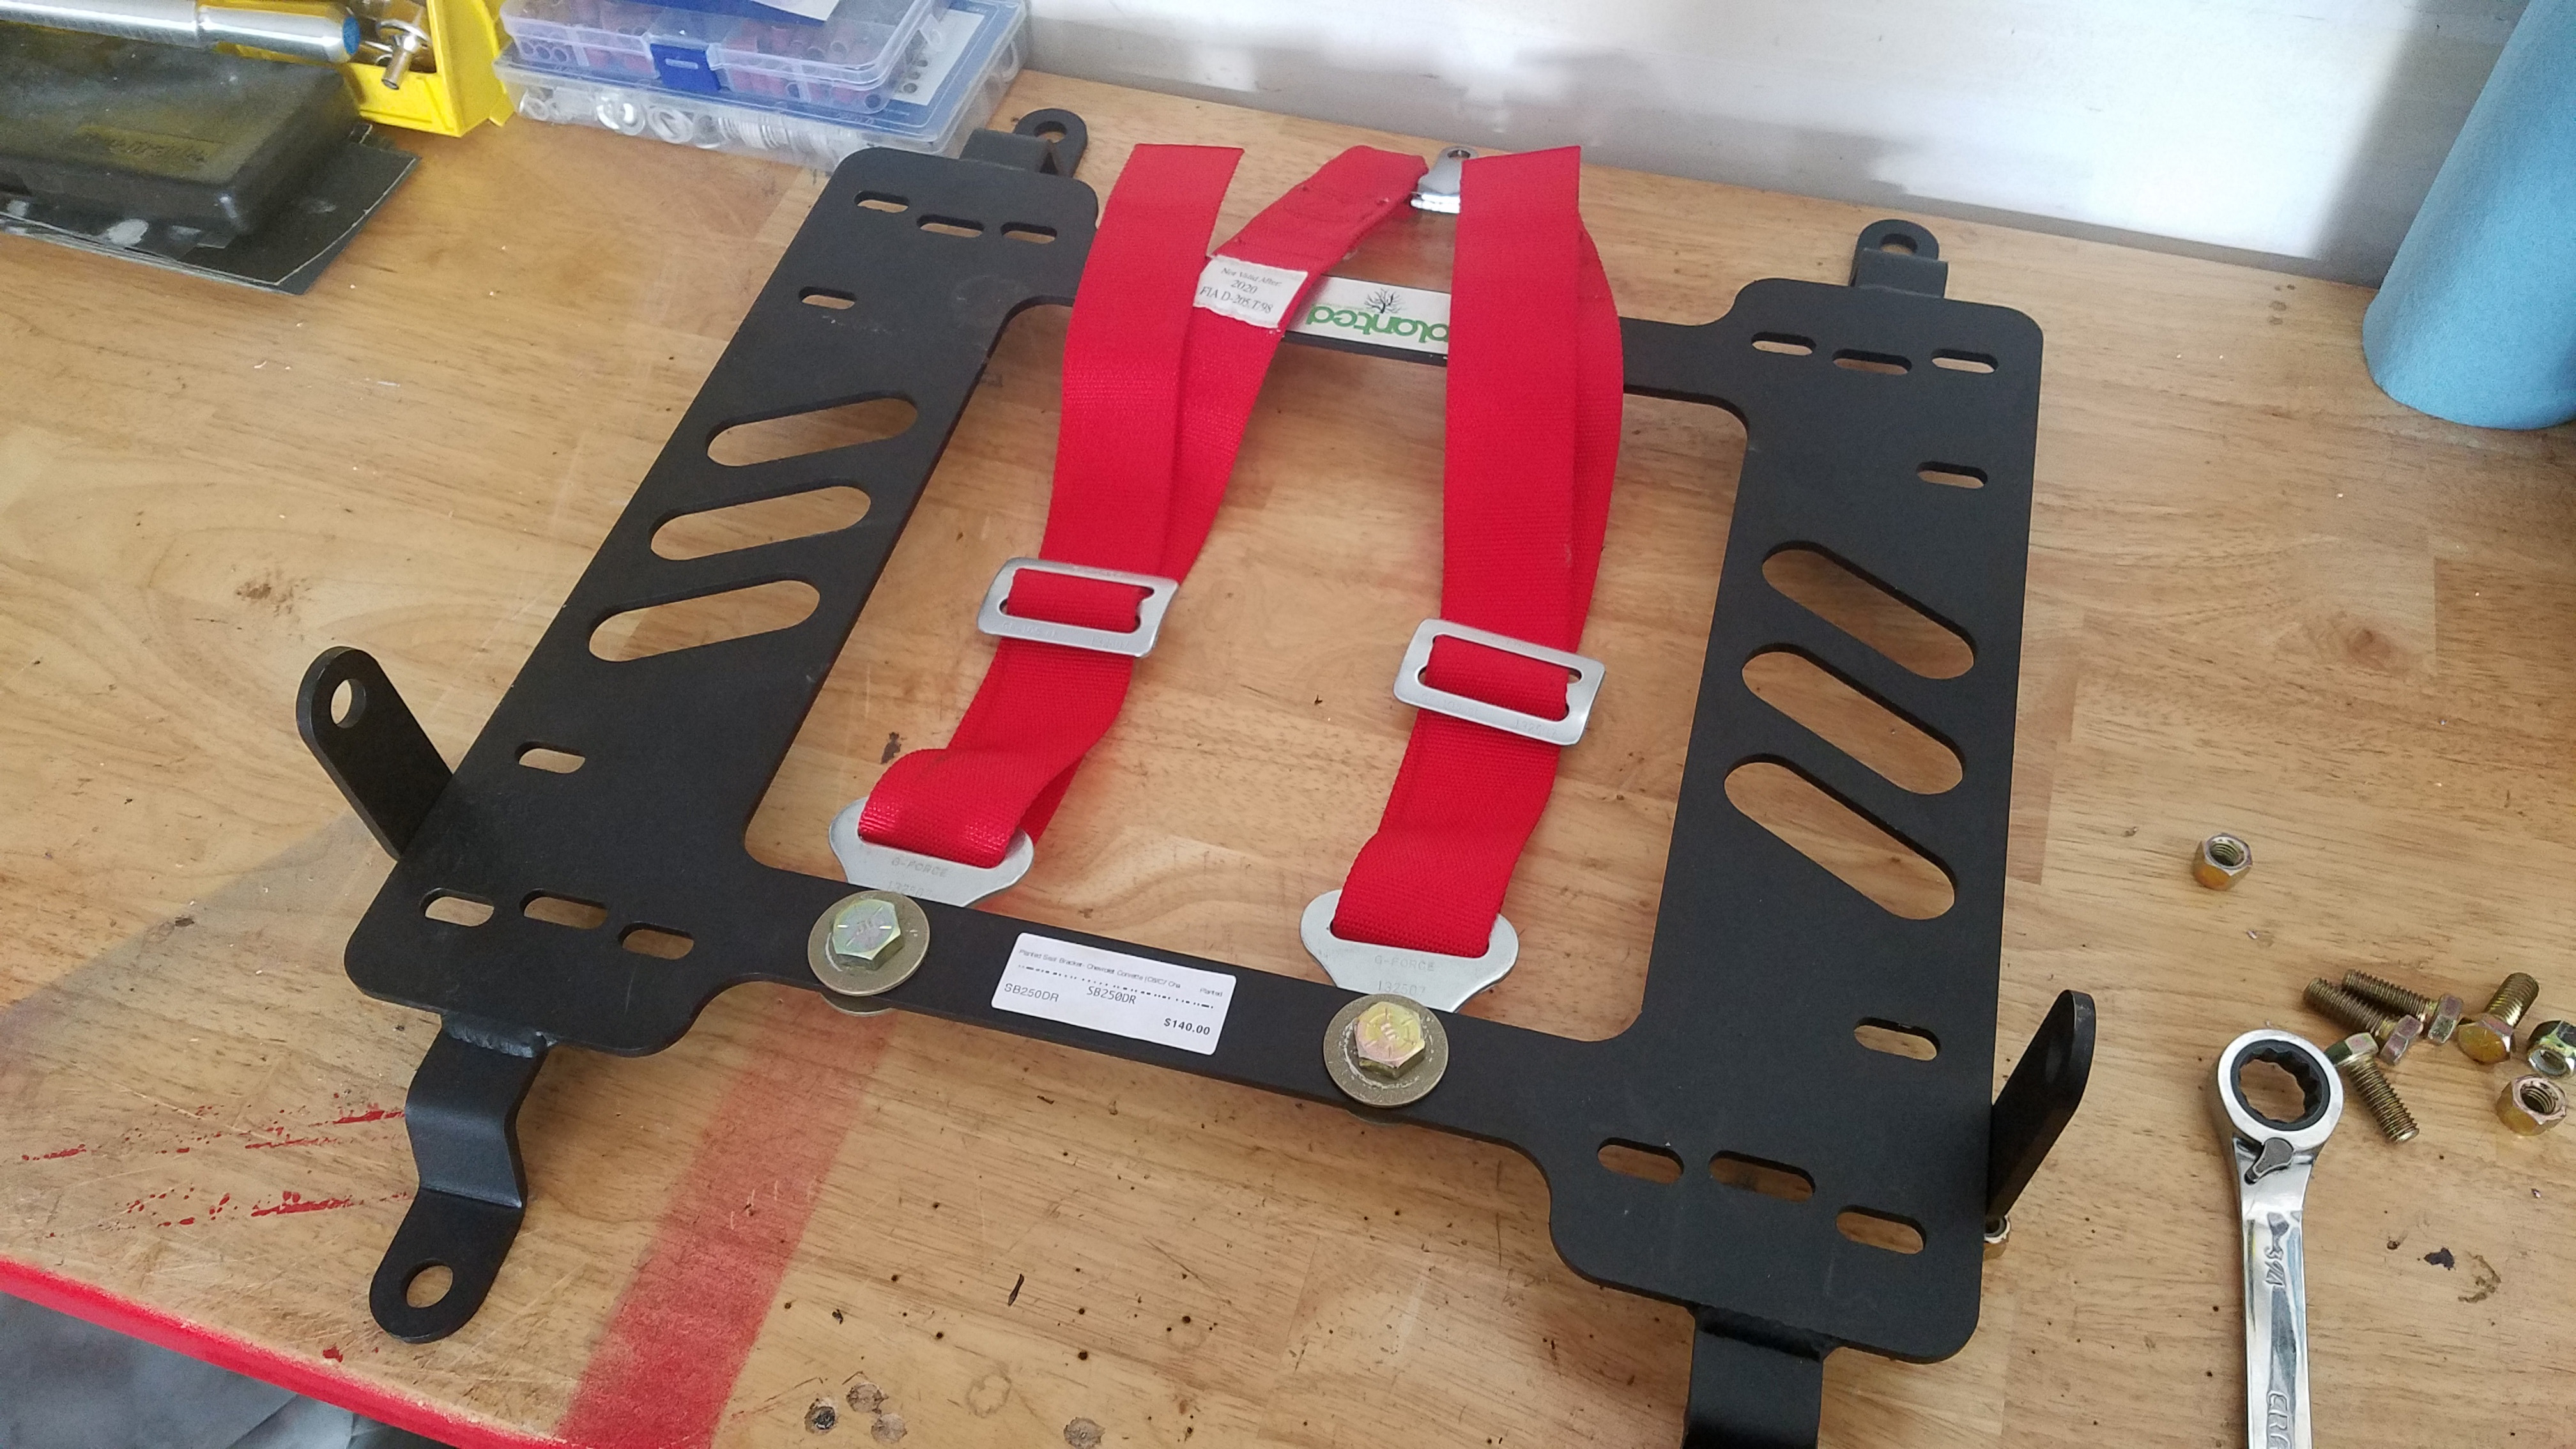
The seat is another problem area because it involves not only finding the right width seat, but the mounting brackets and electronic defeats need to be in place to retain the airbag functionality as the Z06 includes airbags in the seats themselves, in case of a side impact. For those two things I went to Planted Seat Bracket Technology and Vetteworks. Both have vastly more knowledge than I about the topic and were more than happy to help me figure out everything I needed.
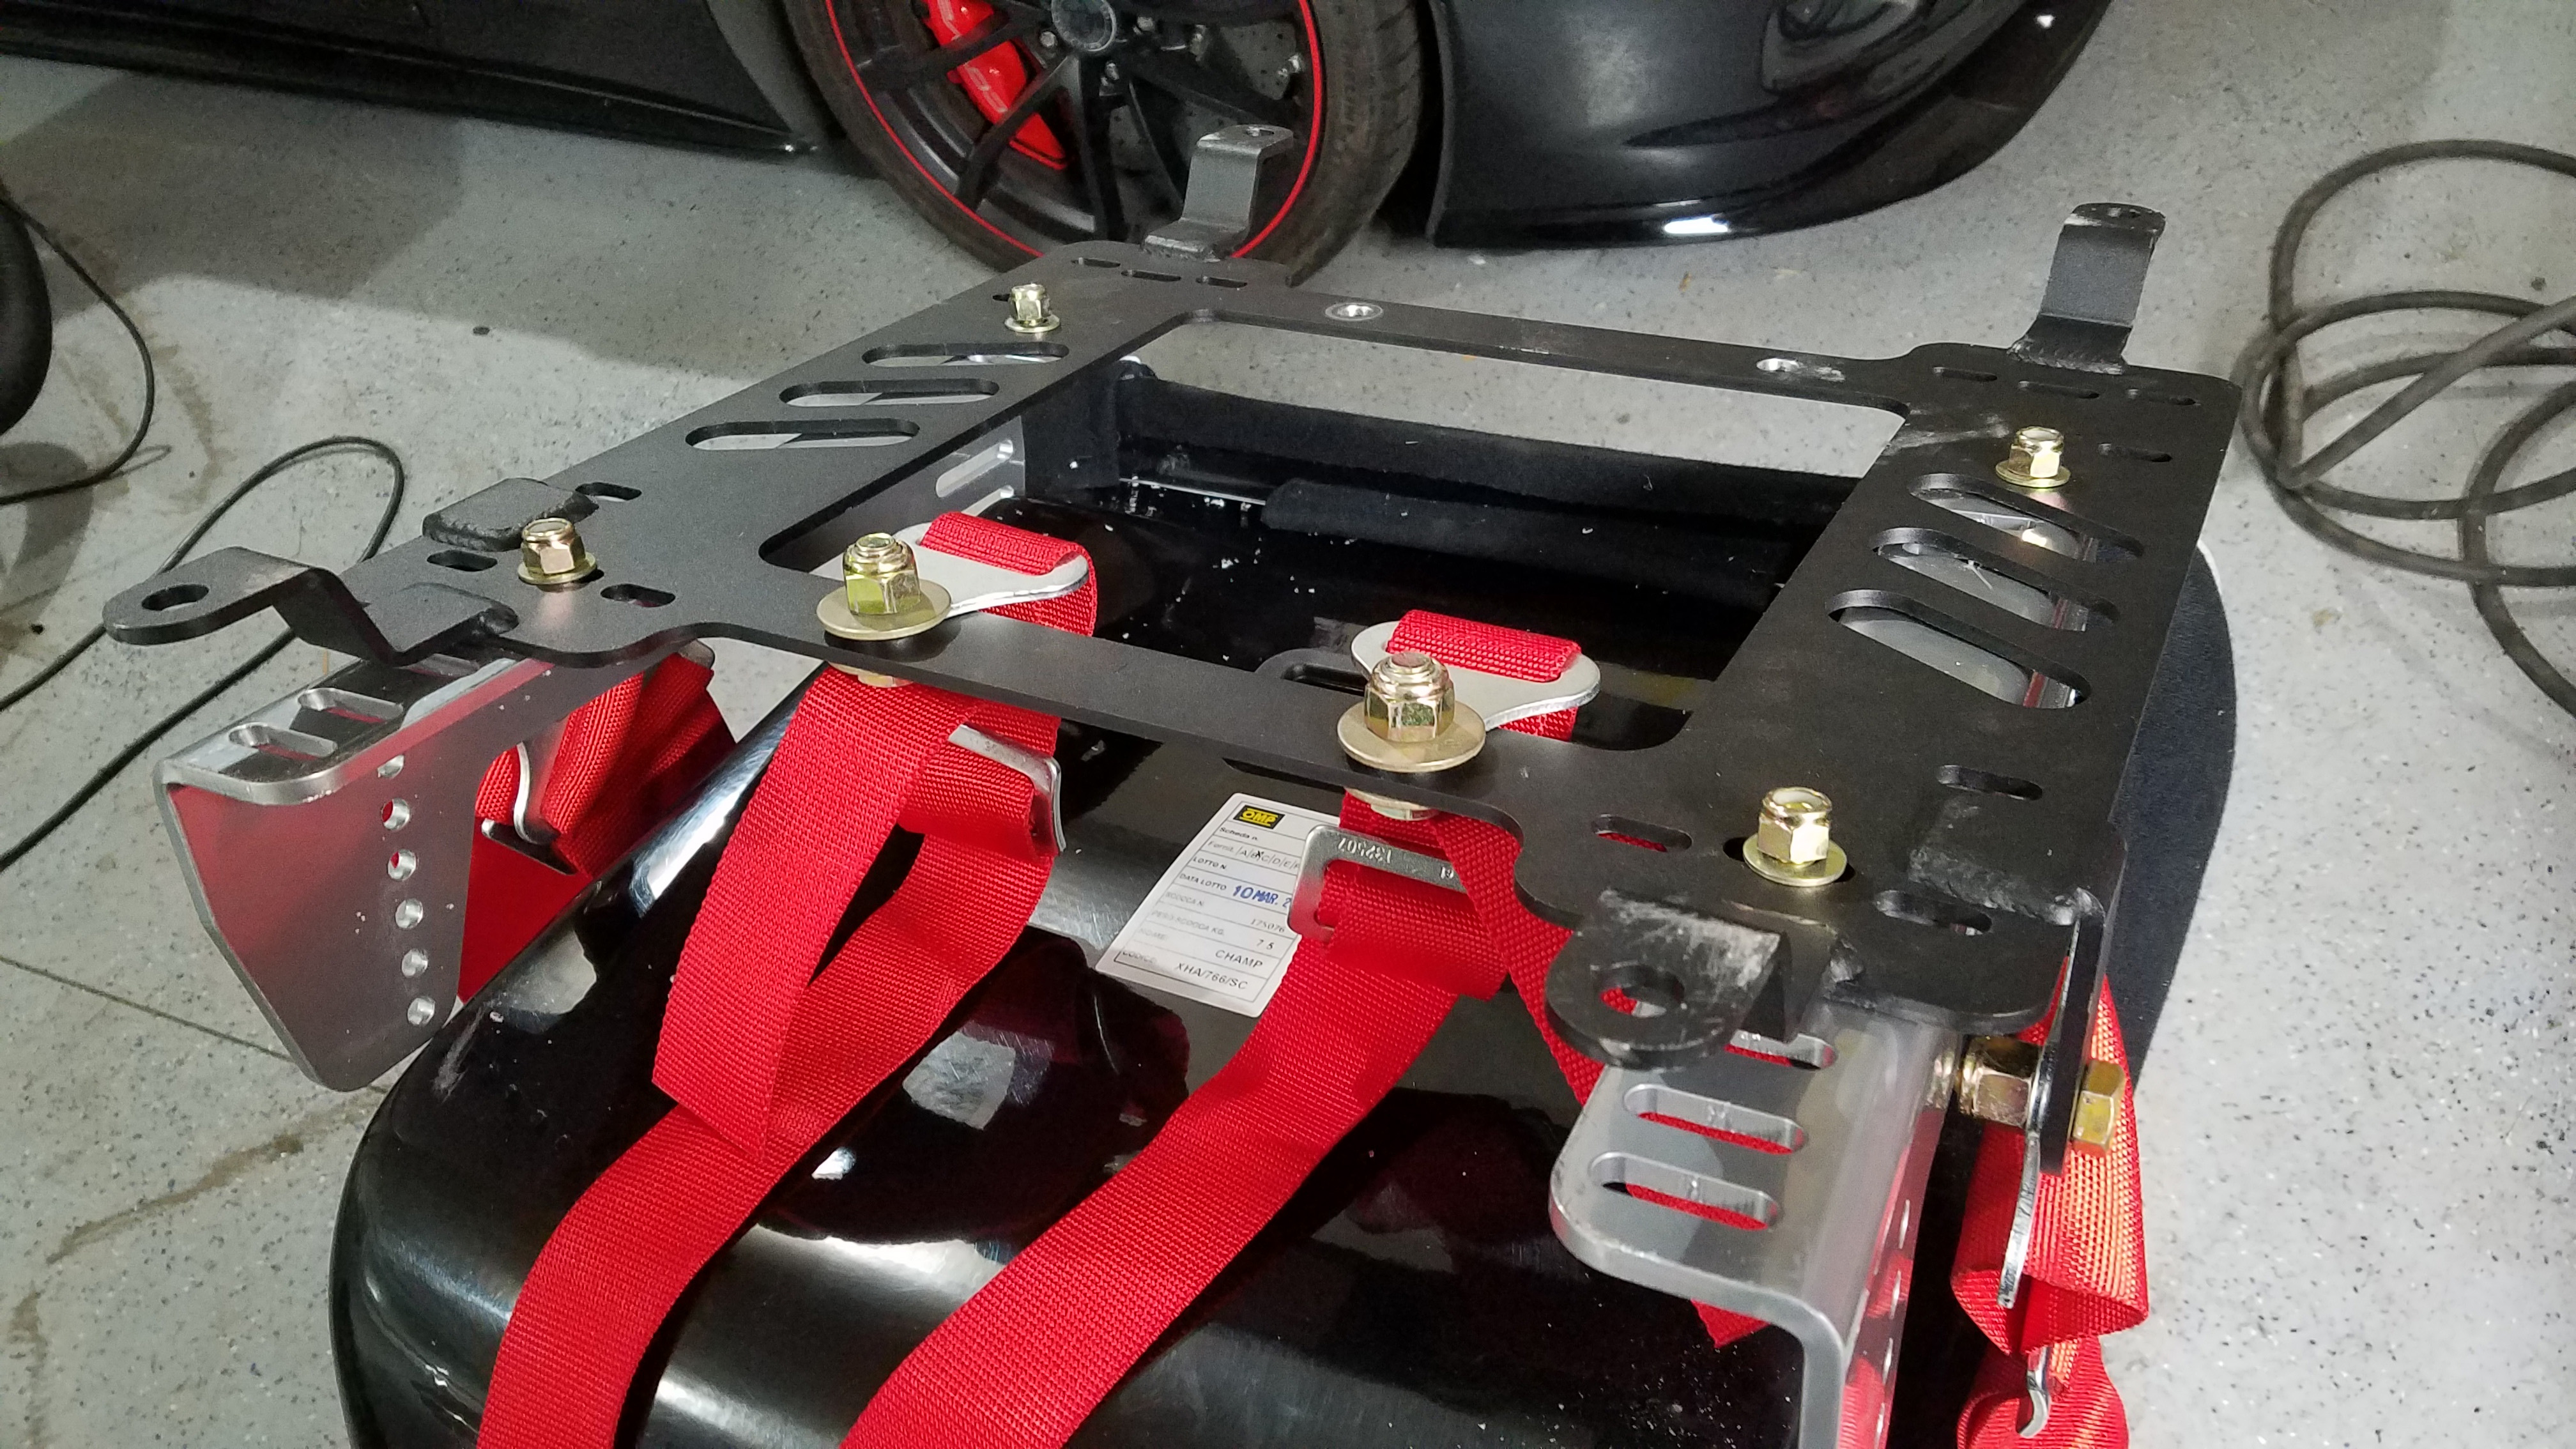
I had already figured out that the seat was going to be an OMP WRC seat but the rest was a bit of an enigma. I tried the OMP seat brackets and that was a major problem, my head was nearly touching the headliner even before I chin-strapped on a helmet. The guys at Planted set me straight and walked me through why my seat was so high. They even let me doodle with the crayons they used to explain it all for me, but in the end, the seat sits as low as possible in the bracket and I fit with room to spare with a helmet.
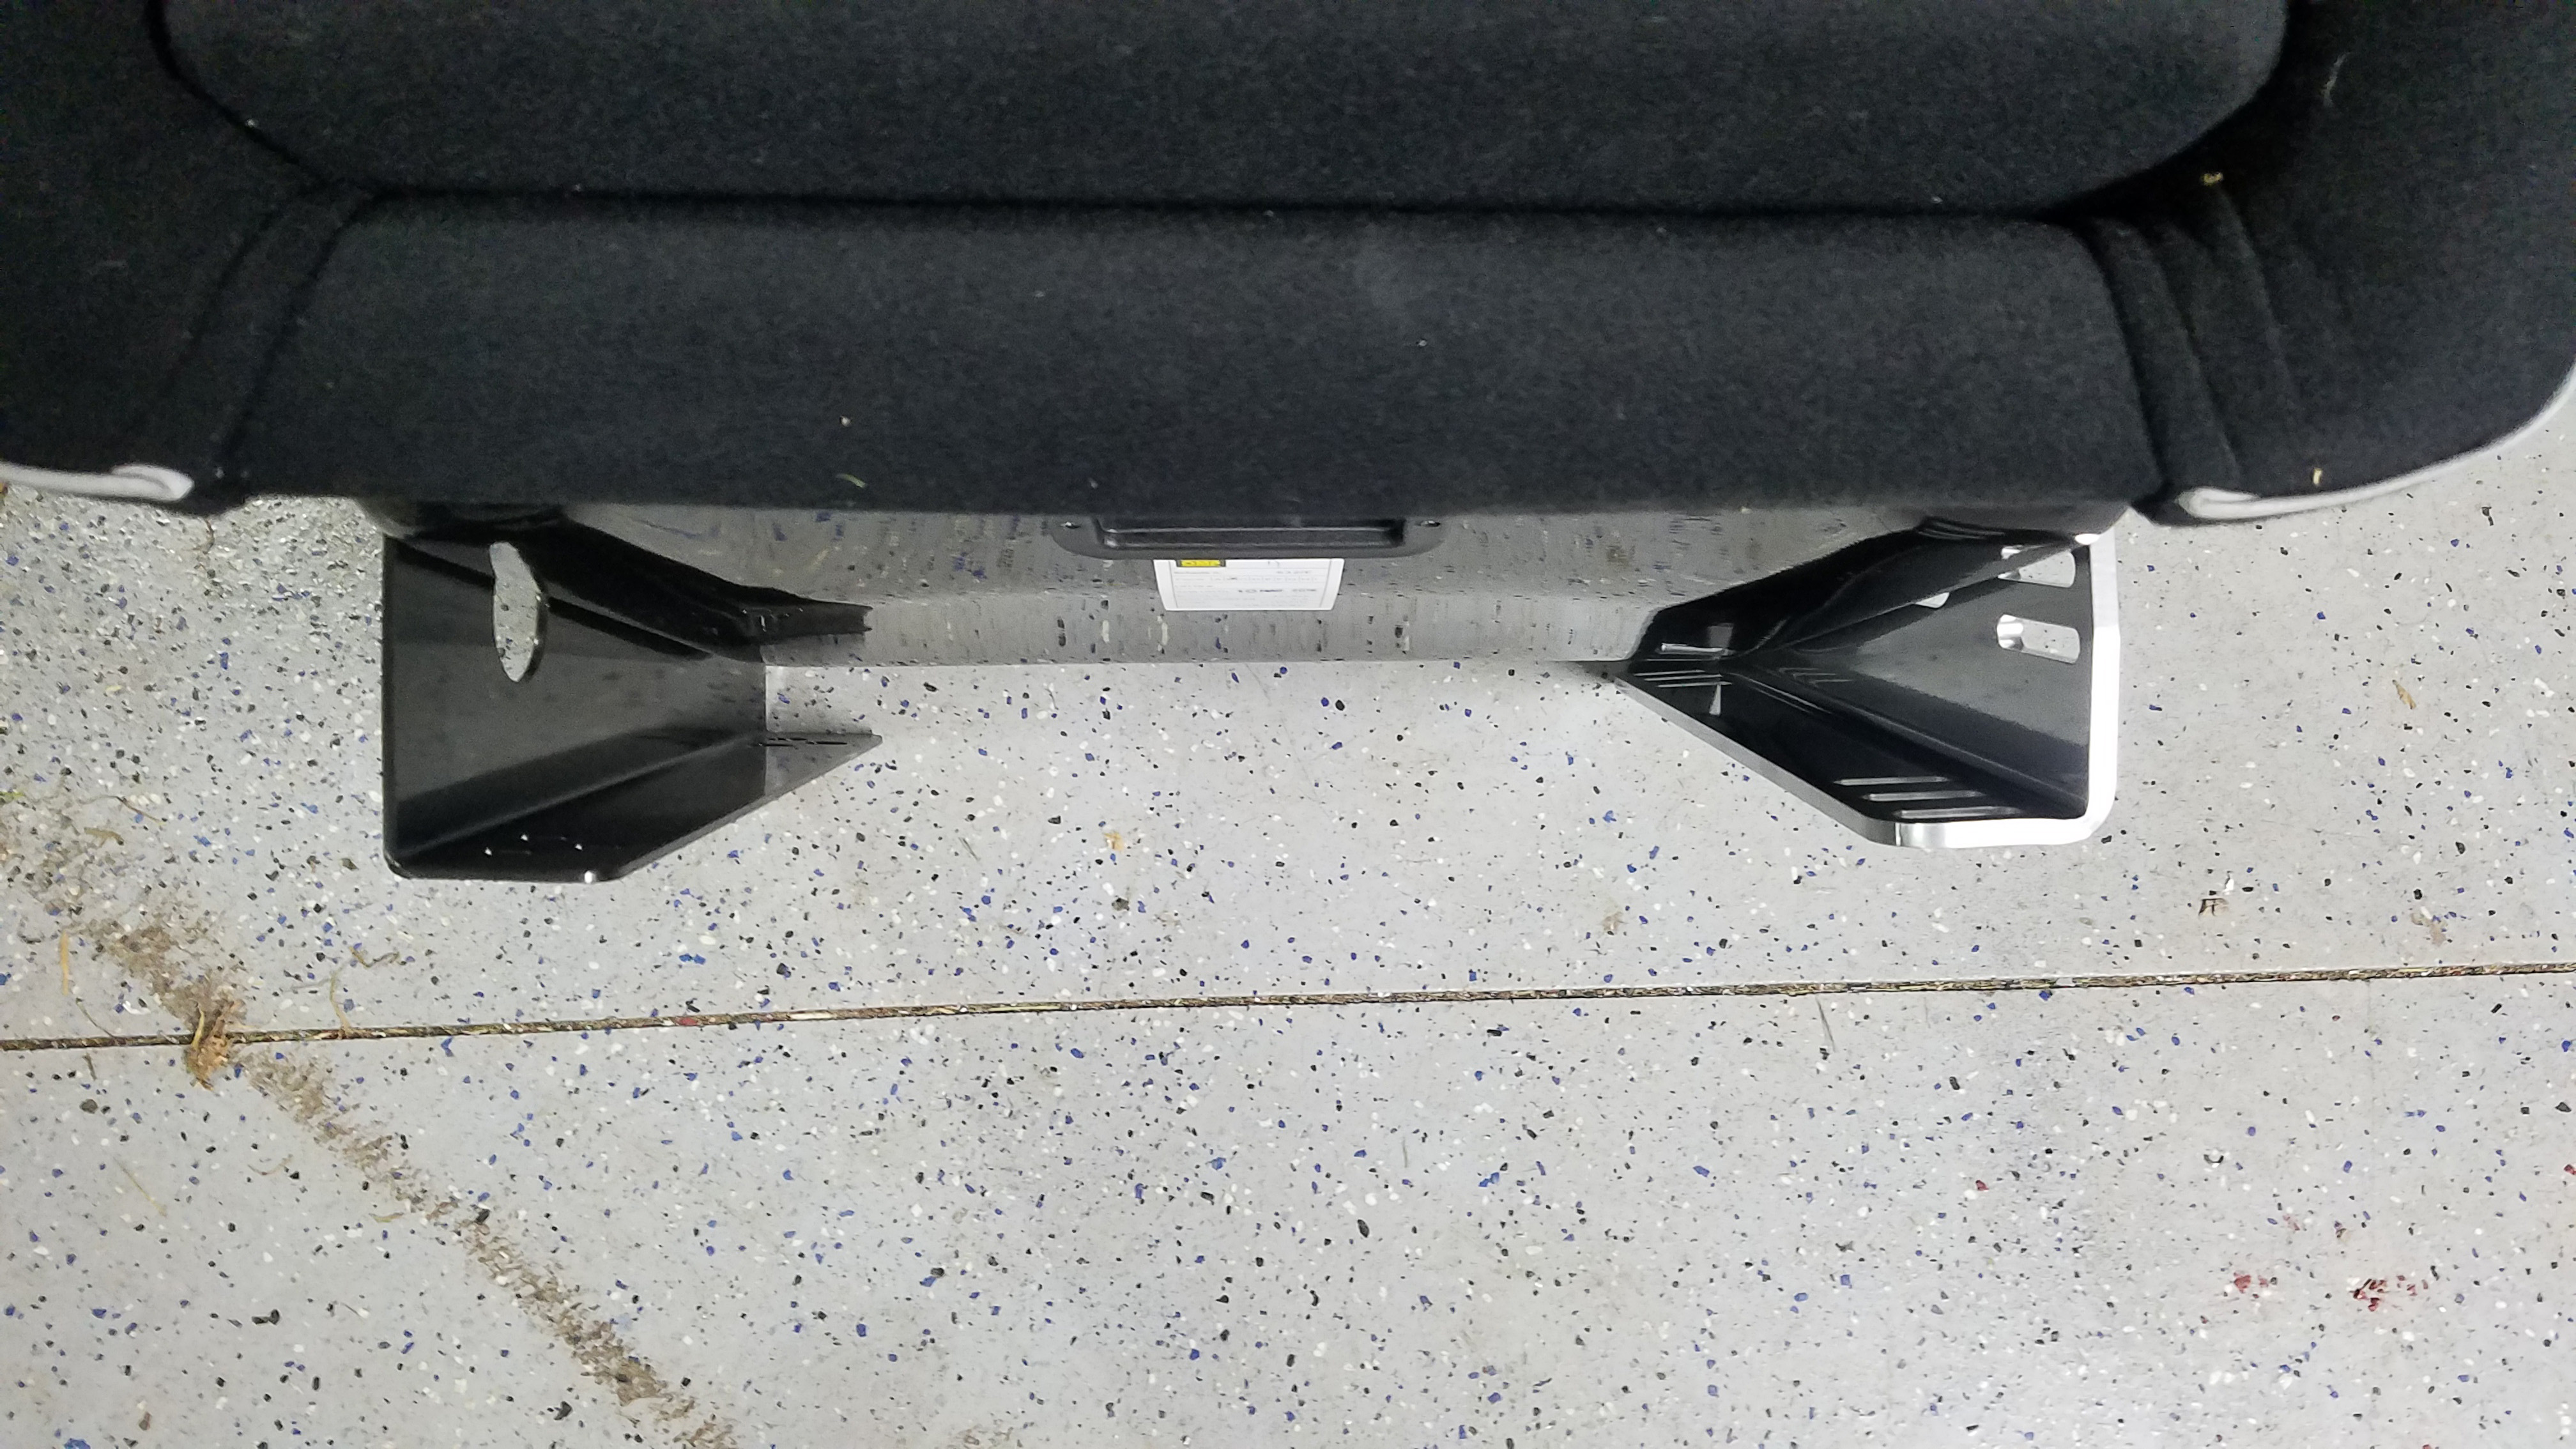
The bottom of our completed seat and Planted Technology seat brackets. We use the back rail for a 6pt harness and can use the front brace for a 5pt. This is all part of seat bracket prep. If it isn’t obvious, use grade 8 or higher hardware. Here’s the difference in height between the OMP bracket (left) and the Planted Technology bracket (right). It may not seem like a lot but for us, it meant almost 2-inches from head to headliner.
Seeing as how my goal was to have all mods completed with zero dash lights on, the seat belt dash light was going to be a little more complicated. The enginerds at GM had changed designs midway through production of the C6, so there’s a couple different variations for air bag and belt configurations. Thankfully, Dan at Vetteworks allowed me to pick his brain a bit.
They are wrapped in the, holy-beejesus-please-don’t-rain Michelin Pilot Sport Cup II tires, which are virtually street slicks and look bald from the factory.
While the early C6’s could get away with just a simple seat belt plug to make the chimes go away, the newer ones have airbags built directly into the seats and need to be essentially plugged up so that the computer thinks they are still attached to the car. He also said that without a certain module, the power tilt steering column will cease to function, however the up/down function still remains with the manual stalk but the forward/backwards ability is lost. In the end, I opted to remove the driver’s seat and use the sims to delete the airbag light and forgo the power tilt option, leaving it in place permanently.
Weakest Link
The Corvette is a competitive car from the showroom. I’ve seen very competent drivers wheel a stock Corvette with very competitive times. That doesn’t mean that GM got it perfect (see LS7 valve drop issues). The Corvette has a weak link in the suspension that I’m almost 100% positive was a decision based on comfort; the control arm bushings. In a hard turn you can easily gain several degrees of camber and go into the negative range really quick. Not to mention that on hard acceleration, the rear control arms have a nasty habit of moving horizontally, forward and backwards. Seriously, check out the video, it’s astonishing how much movement there is. I’ll wait.
Now that you’re back, you can see what I mean, simply atrocious amounts of deflection. Thankfully, there are lots of places out there that sell upgrades to remove the squishy rubber bushings from the factory. With so many options out there, (some require sending in your control arms for cores) we decided that the tried and true material of Delrin was the best based on cost and wouldn’t put us in the ‘full race car’ field.
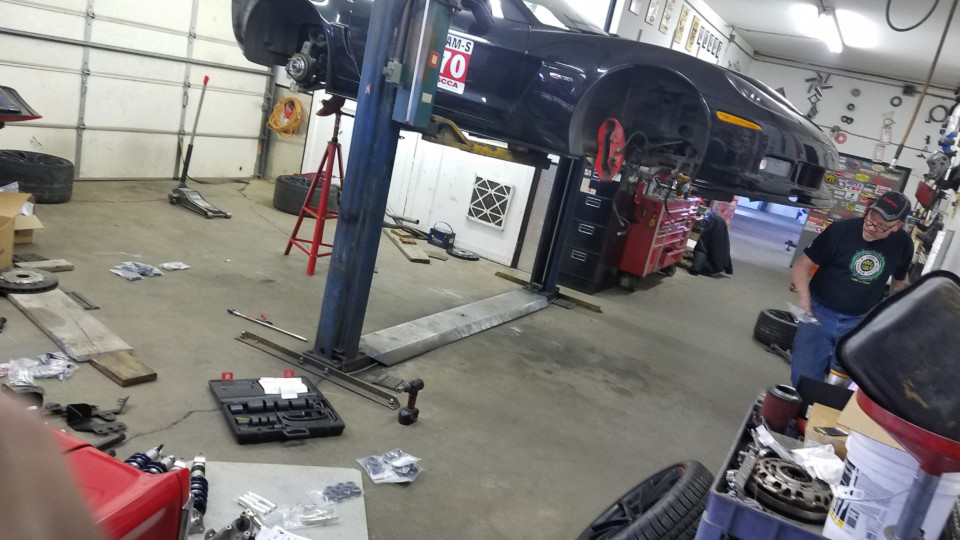
Here we are at Denny Baierl’s shop, Sharadon Performance in Hugo, MN. We’ve fully disassembled the front end and parts are lined up to get slapped back on.
We contacted Ridetech (aka Air Ride Technologies Inc.) and bent their ears for quite a bit on bushings and all things C6 suspension. They offer a compliment of C6 Z06 suspension upgrades and being a firm believer in buying into a system, we opted to order a full suspension upgrade for our C6Z. This included the requisite control arm bushings, coilovers and sway bars. To say that all of these pieces is an improvement is a massive understatement.
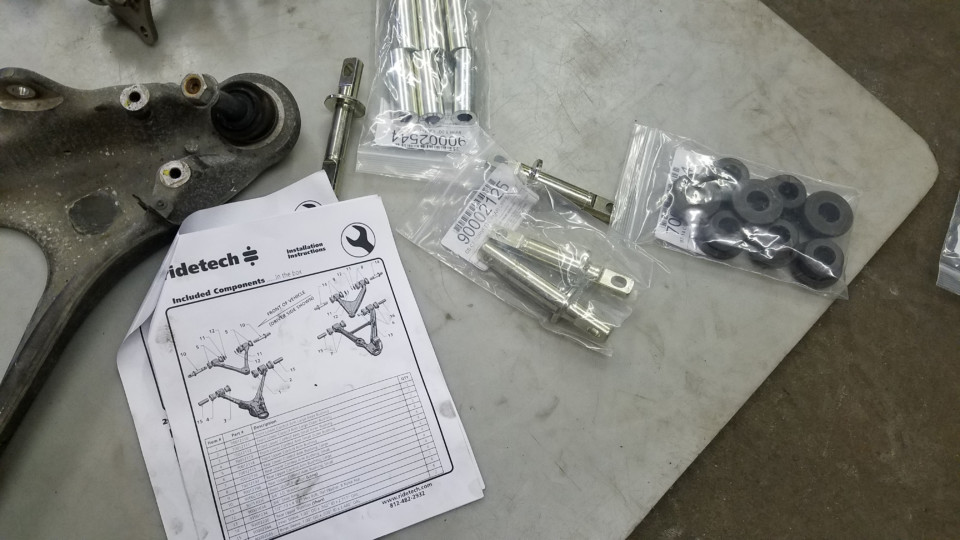
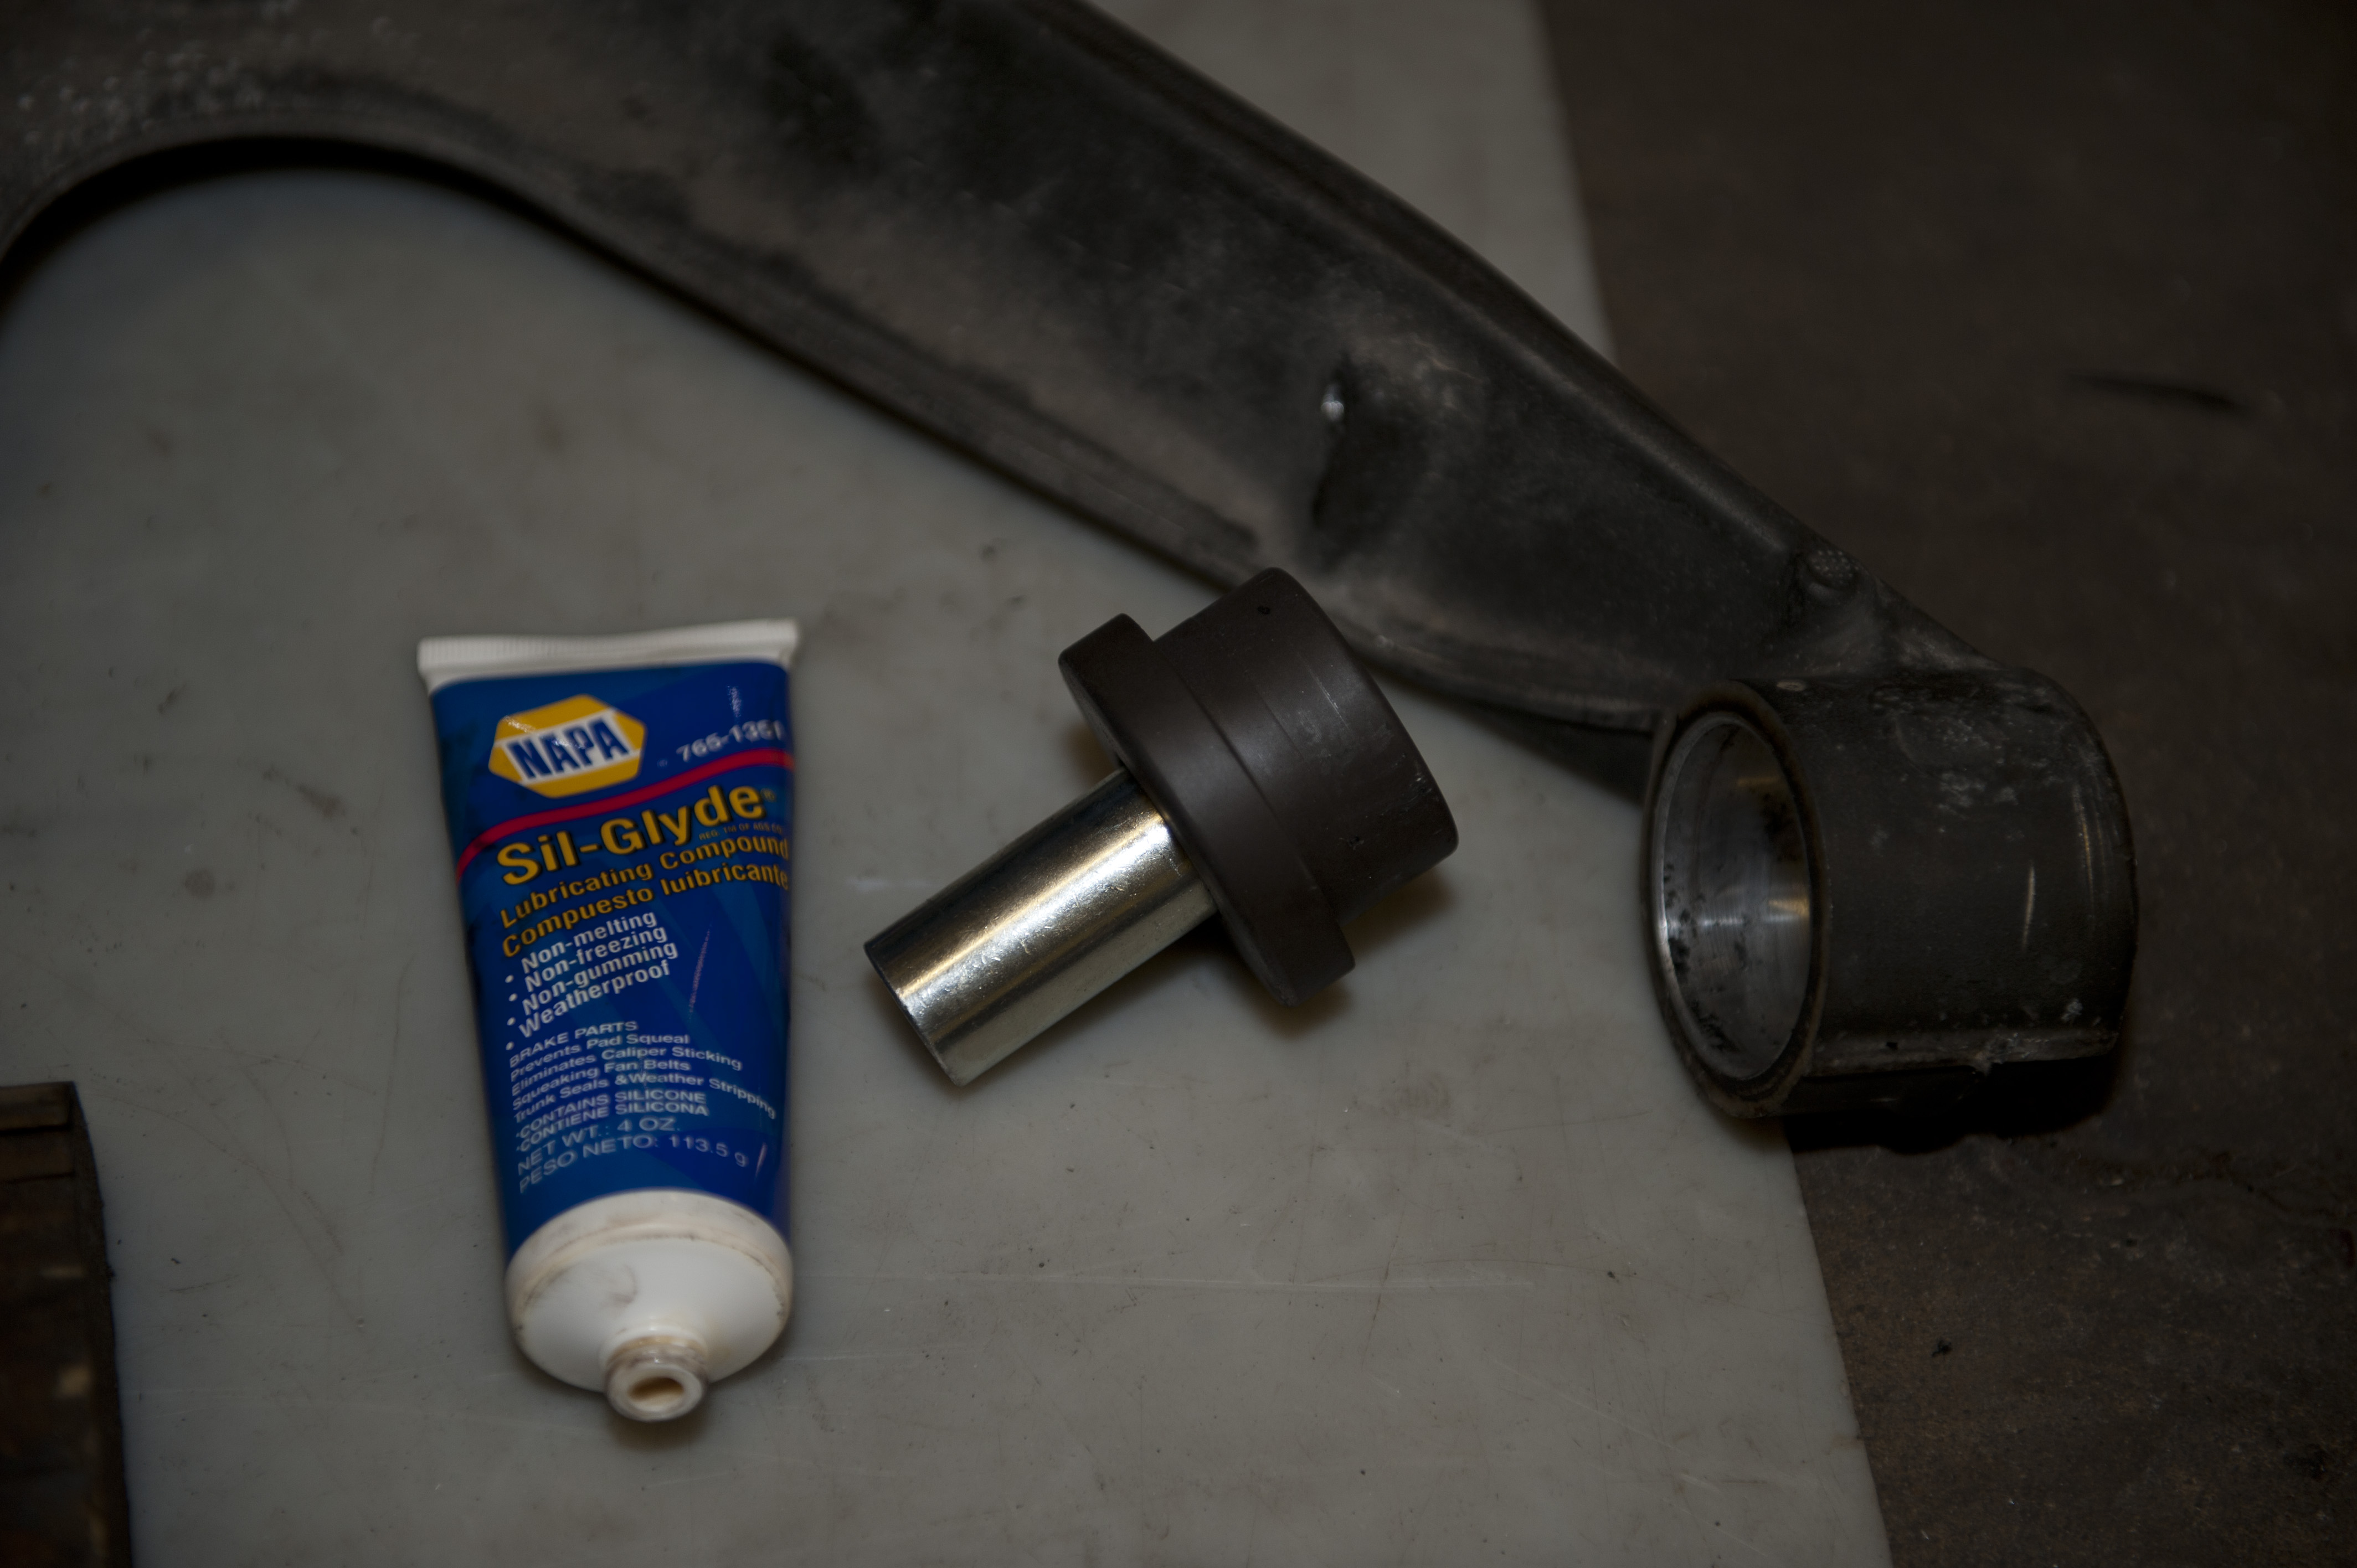
Here’s the Delrin bushing kit from RideTech. This will remove any sloppiness in the suspension. This is the first thing you must do to get a better handling C6.
Once all the boxes showed up and we unpacked everything, the real work had to begin. We are fortunate enough to have good friends around town who happen to own a lift. We drove the car in the snow (yep, it’s totaled now, it has seen snow) to SharaDon Performance in Hugo, Minnesota for a very long day of a complete suspension rebuild. Denny Baierl did the bulk of the work while I fetched wrenches and held things steady.
To replace the control arm bushings, make sure you budget a good weekend and store up a good amount of patience as it can be quite the doing. Having a lift and a competent mechanic on hand, it still took us a little over 10 hours to complete the job. It took that long mainly because the entire suspension needs to come out to replace them. This is a great time to assess other things of the build since you’re already in there, we certainly did, but more on that in the third half of our build coverage.
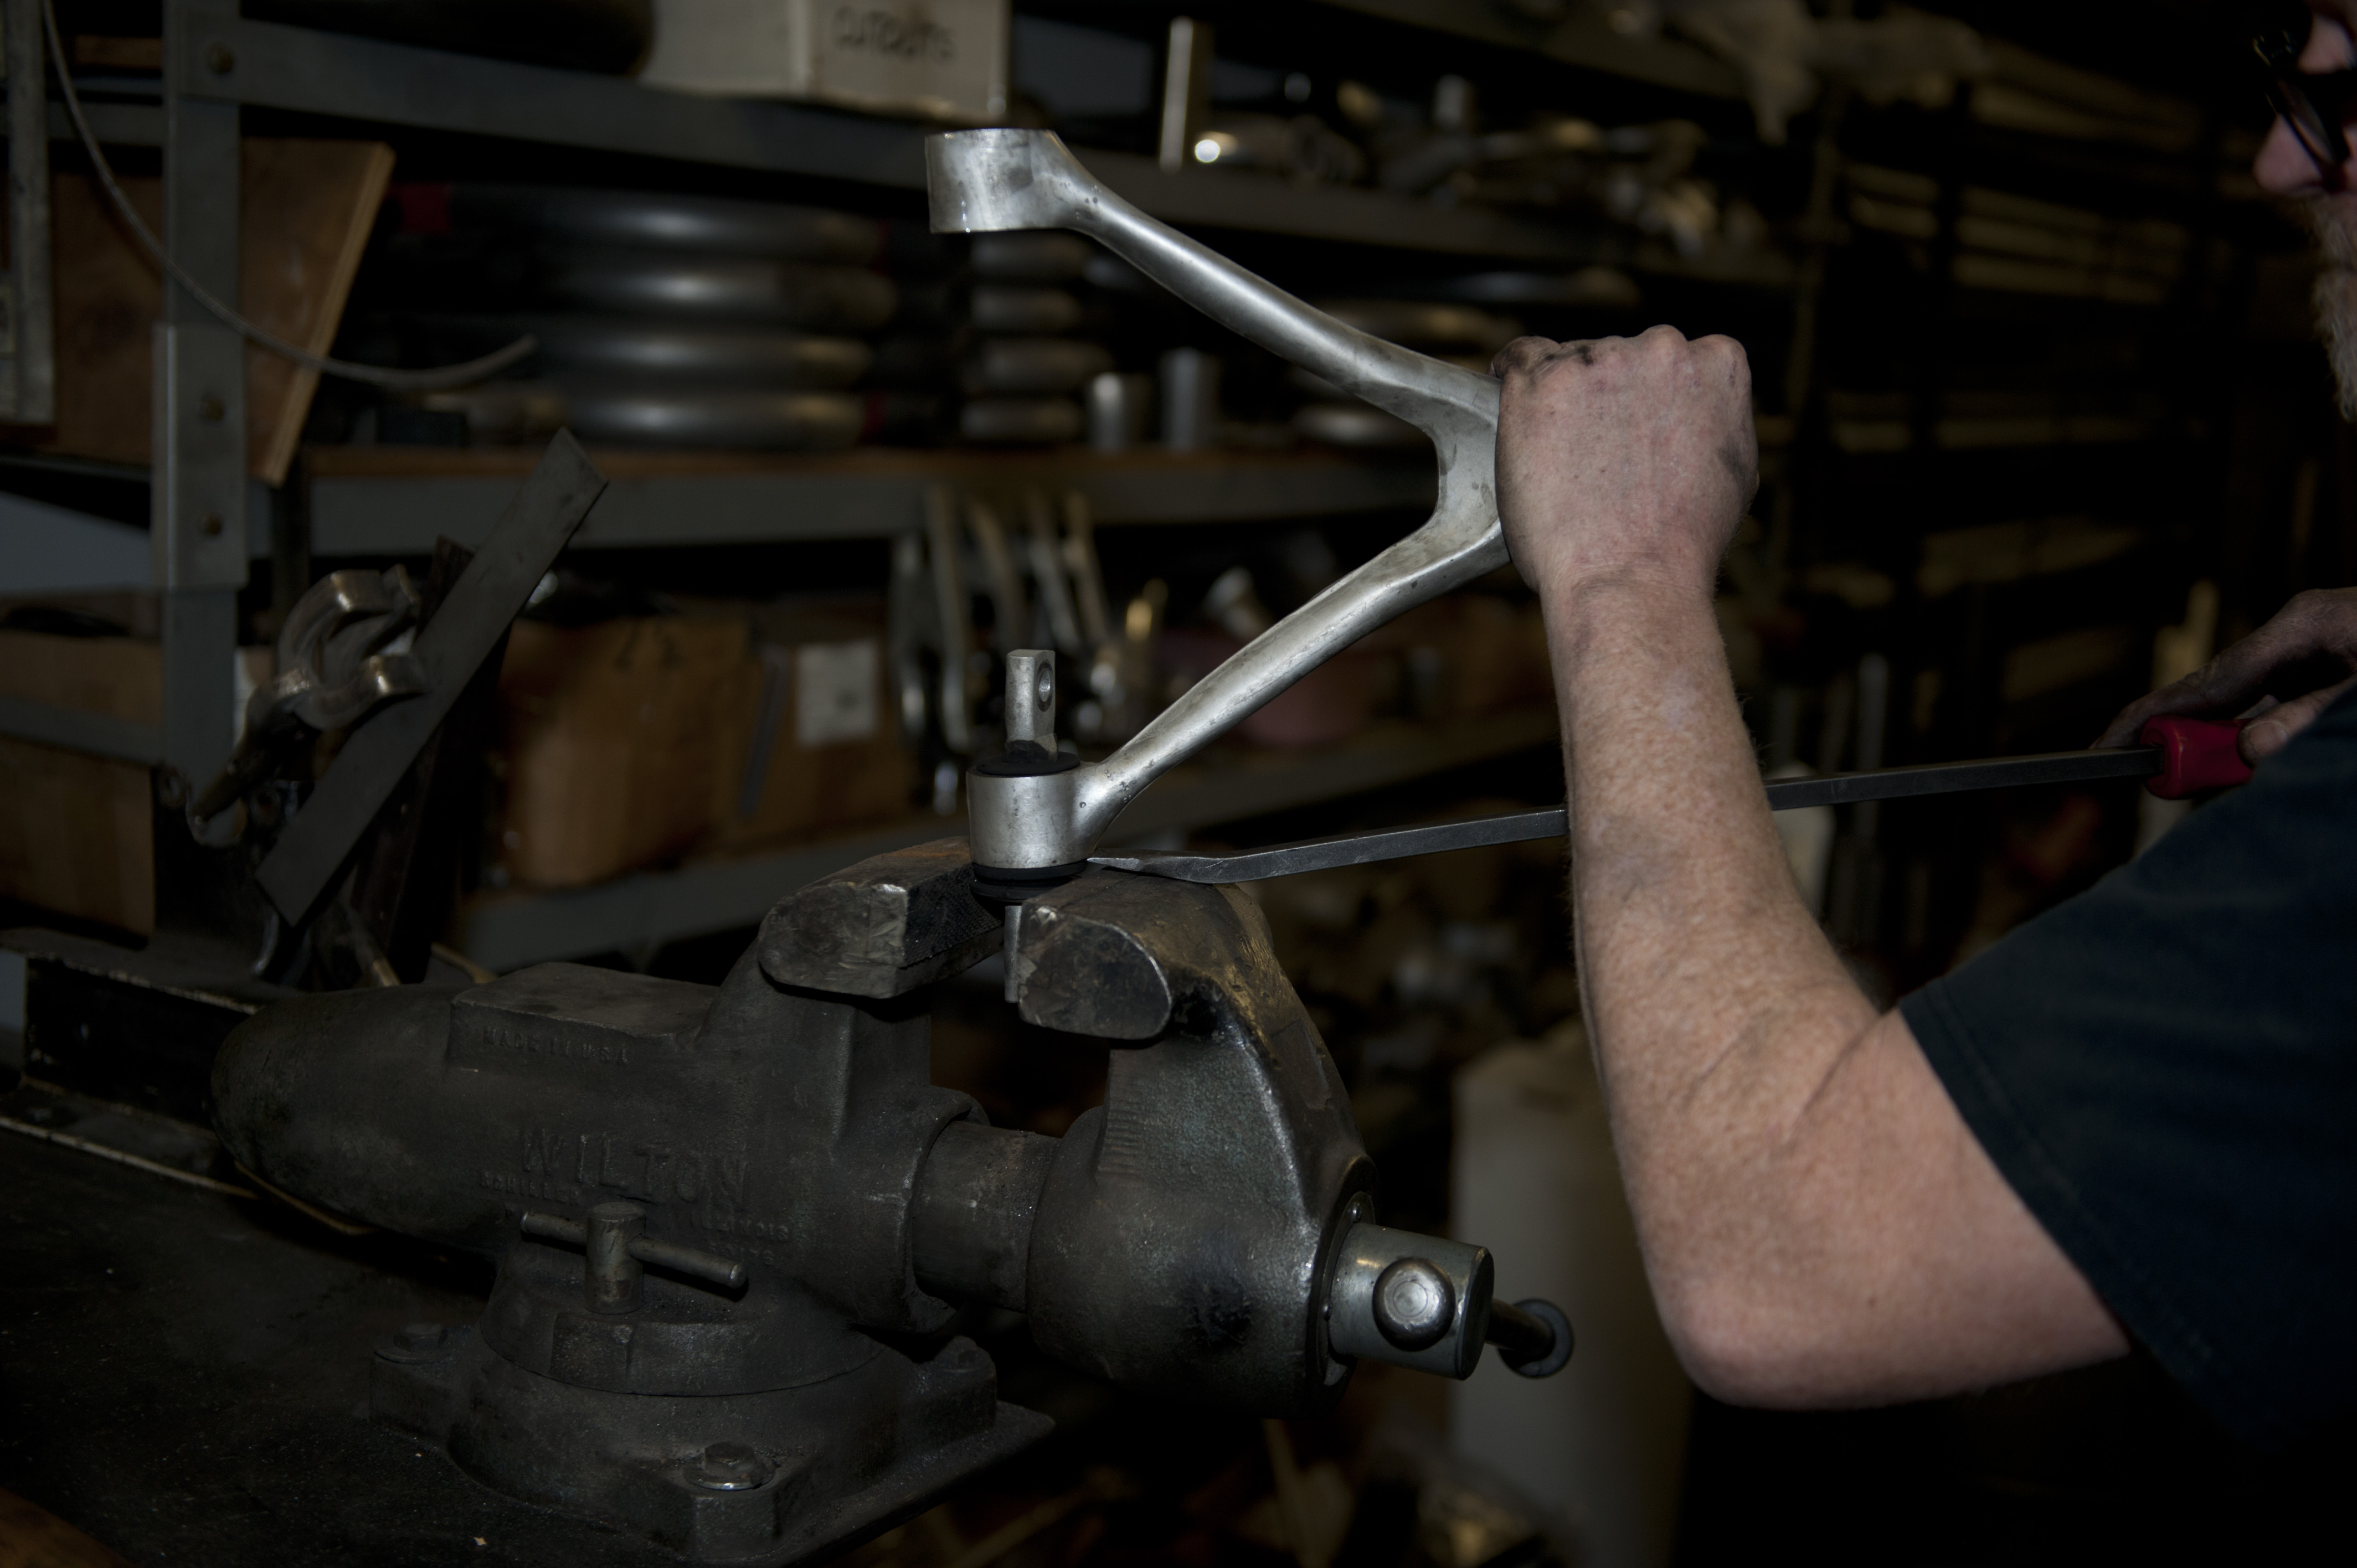
This was Denny’s idea for removing a stubborn control arm bushing. After a test run or two we got it down to a science. A little dap will you do when it comes to rebuilding the control arms. The RideTech kit comes with inserts for the Delrin bushings, but a little compound lube makes it a tad easier. Always make sure to read the instructions carefully, the bushings are oriented differently and have to go on the correct side in the correct way. The upper arm is back in and ready for the shock. If you guess that the F55 Mag Ride system was going the way of Old Yeller, then you’d be right, but that’s for Part 3.
Getting A Grip
The final piece of the “must-do list” is the wheels are tires. The Centennial Z06 comes with red-lined “Cup” wheels that come 19-inch up front and 20-inch in the rear. They are wrapped in the, holy-beejesus-please-don’t-rain Michelin Pilot Sport Cup II tires, which are virtually street slicks and look bald from the factory.
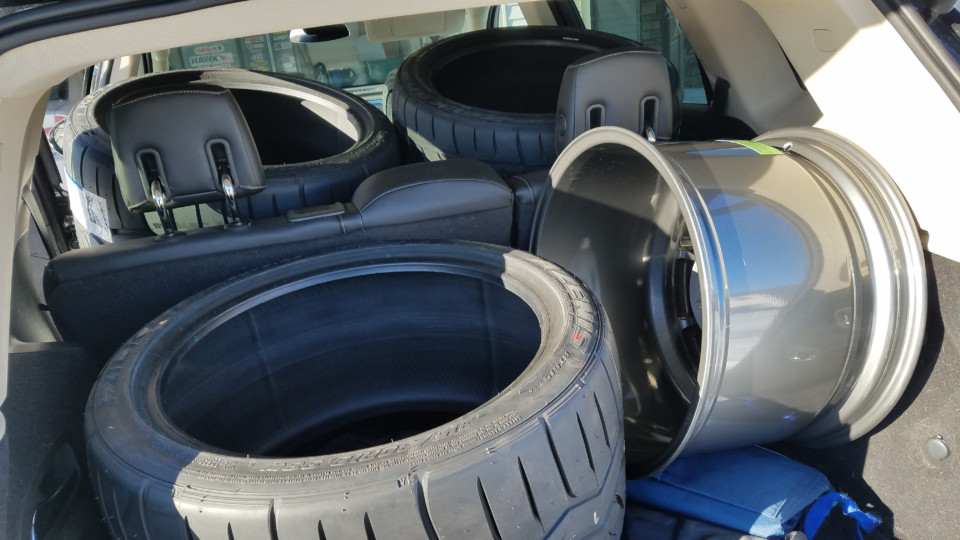
We hauled the Falken 615K+’s and new Forgeline wheels in the wife’s daily. She just barely fit to make it in one trip.
This setup is straight up amazing but is a problem for us since the AutoX series we want to race requires a 200 treadwear tire and the Cup II tires are a far cry from legal. The standard 200 treadwear tires only come in 18-inch sizes and while there are some oddballs out there that fit the ultra-wide setup we are looking for in the 19/20-inch combo, the choices for the 18s are much greater and cheaper.
The best grip we could find is the Falken 615K+, which is the new compound Falken is using to compete with the Rival-S’s. We opted for the biggest contact patch we could get and ordered a set of 315/30R18’s for a completely square setup. Looking back, our choice was affirmed after seeing similar Corvettes putting down better or equal times. Having confidence that the tire is going to stick is wonderful peace-of-mind when pushing the car hard.
The other issue we ran into was the brake setup. The carbon ceramic setup we have and lusted after is a major issue for wheel fitment as the rotor itself measures in at 15.5-inches and weighs a paltry 13-pounds (compared to a similar sized steel rotor at about 30lbs!). That’s when we approached Forgeline to see what they could do about our predicament.
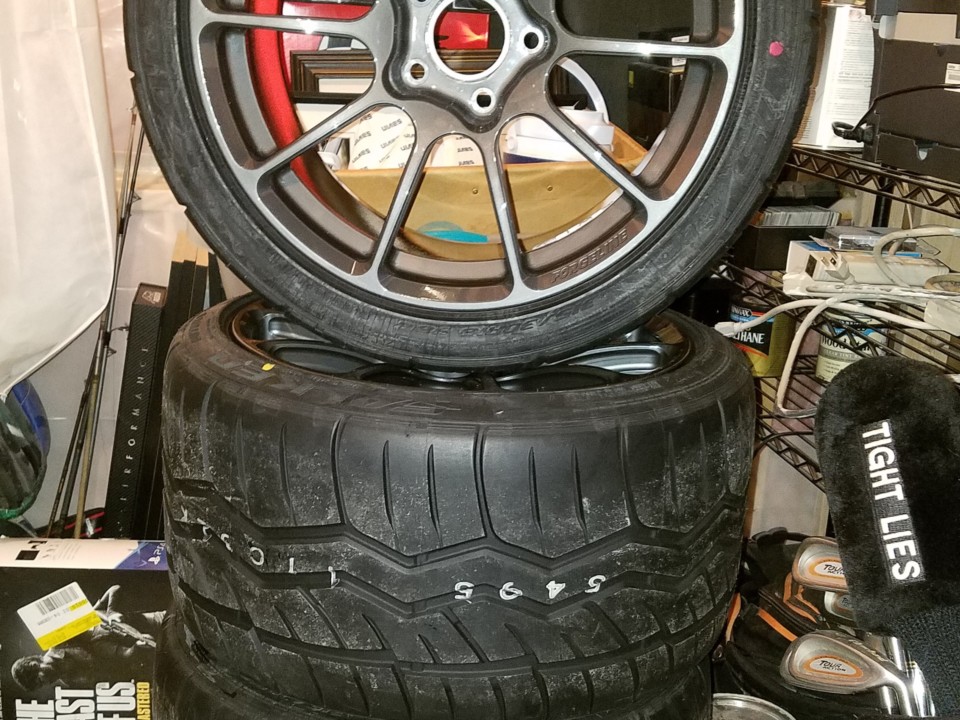
All mounted, balanced and ready to go! Notice the FORGELINE engraved into the wheel. I eventually color-filled those with a matching red color to give the wheels little more pop.
Forgeline told us that they have worked on countless Corvettes and can sympathize with our plight. They offered up the GTD1 5-lug as a unique, but strong wheel and could accommodate the large rotor size. Now, it should be said that we’ve gotten quite a bit of grief lately about doing a black wheel on a black car, so always doing what our friends peer-pressure us into, we opted for Forgeline’s Pearl Grey in lieu of standard black. They said that they would have to use a different wheel barrel but that fit shouldn’t be an issue. What they sent me was a beautiful set of wheels measuring in at 18×11 for the fronts and 18×12 in the back. I didn’t even have to ask what offset to use because Forgeline has done so many C6Z’s that it’s almost second nature.
Now, I couldn’t leave well enough alone and after a chat with Randy Johnson of D&Z Custom’s, he convinced me to get Forgeline to engrave an extra “FORGELINE” logo on the opposite side of where it normally resides. I color filled those with a matching red color to give the wheels a little more pop. As Randy told me, “its all in the details, man!”
Stage One Complete
You could easily stop here and have yourself a very competitive car, if you learn to tighten the nut behind the wheel. Yet, there’s a lot more to be done that can still count as “bolt-ons” if you want to take it another level. For now, these are our choices for the “must dos” if you plan on driving your Corvette as it was designed. Check in with us for Part Three in our quest for hot, nasty, dirty speed.


