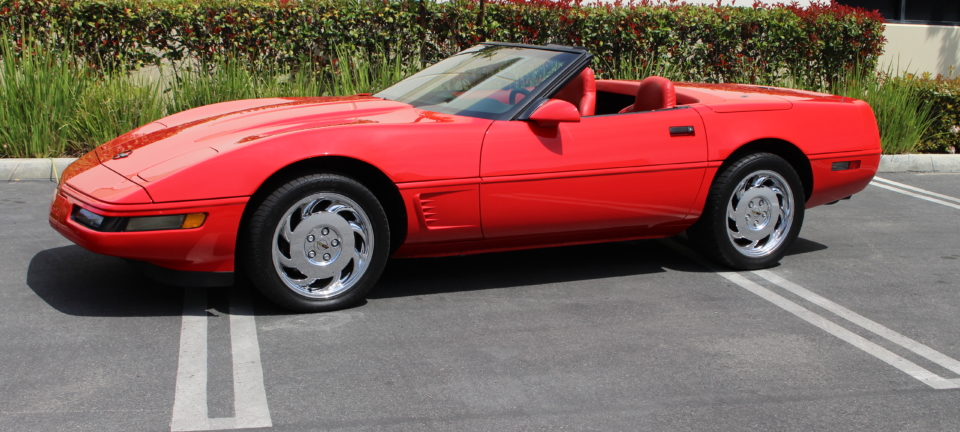
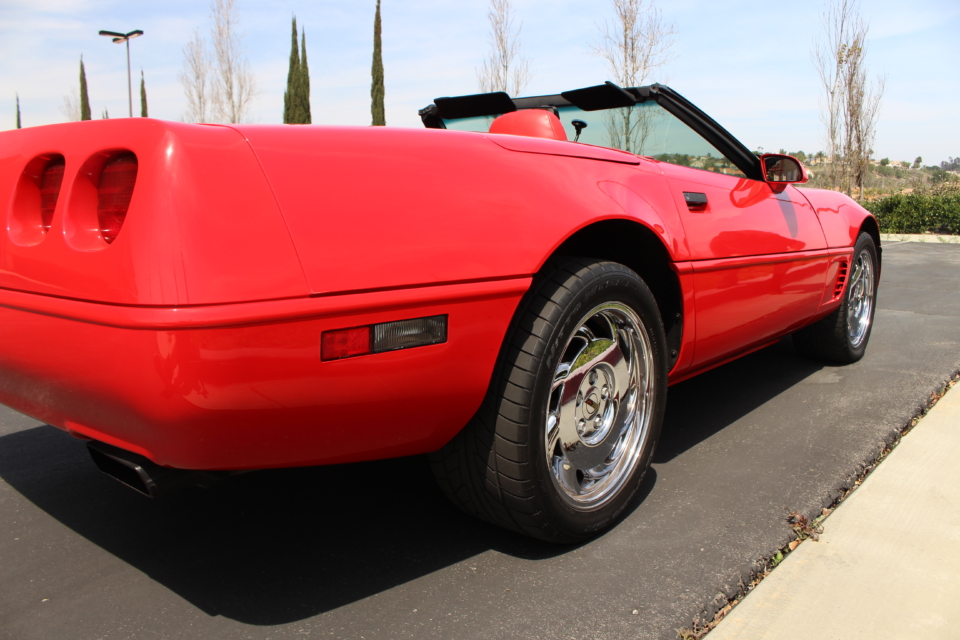
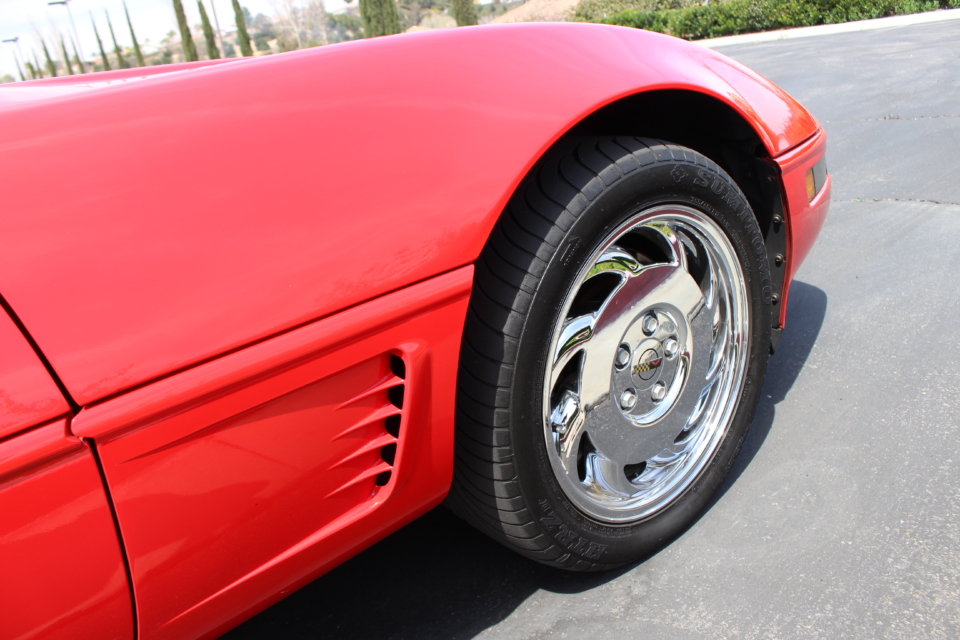
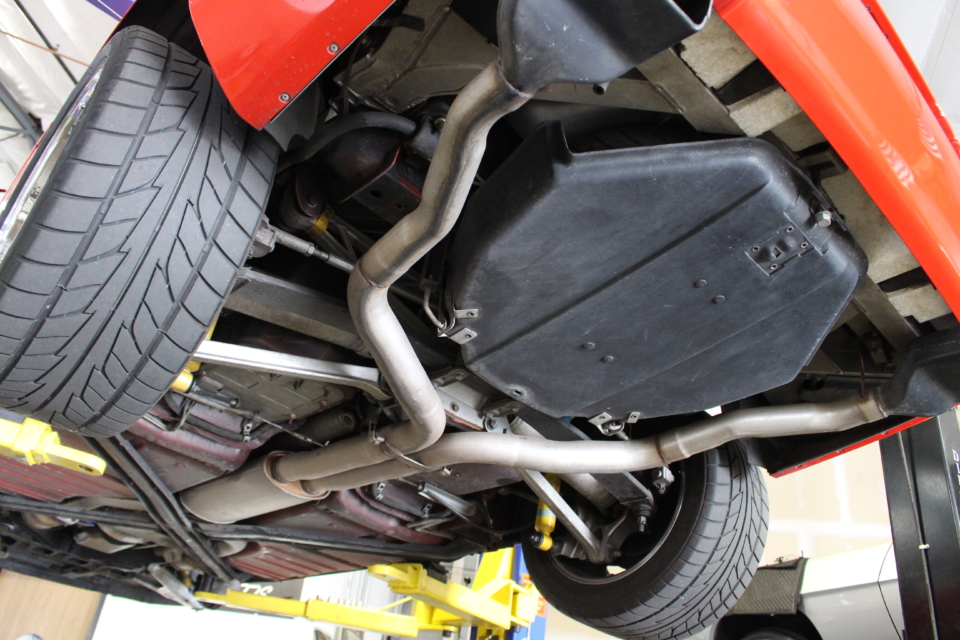
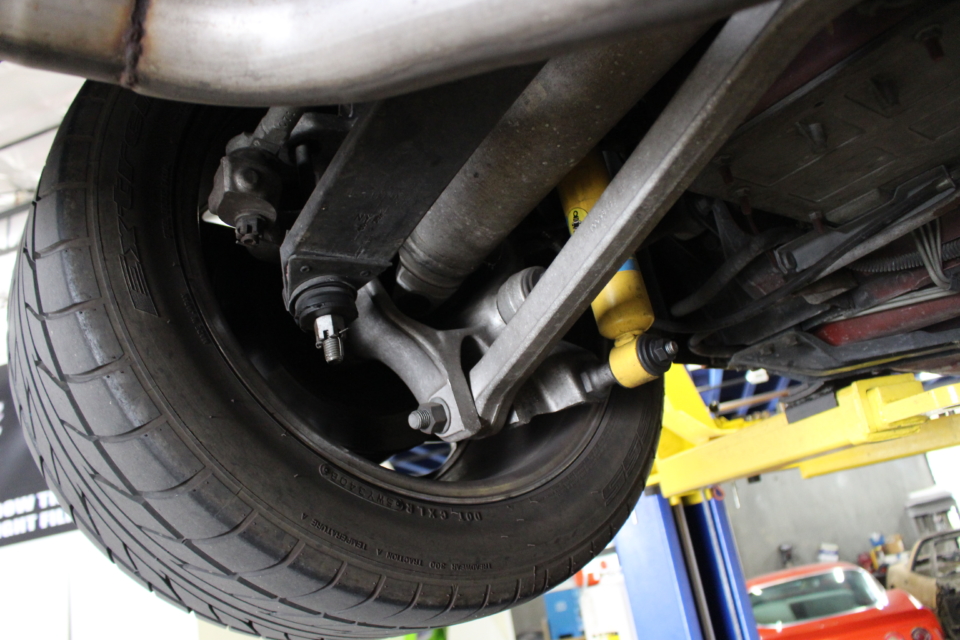
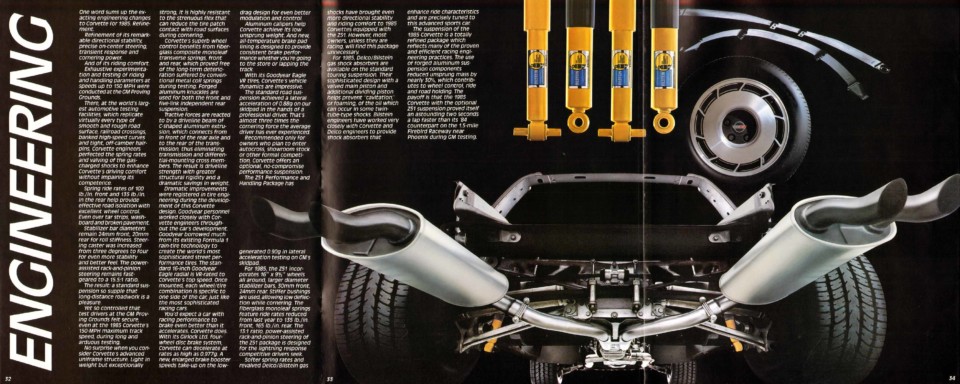
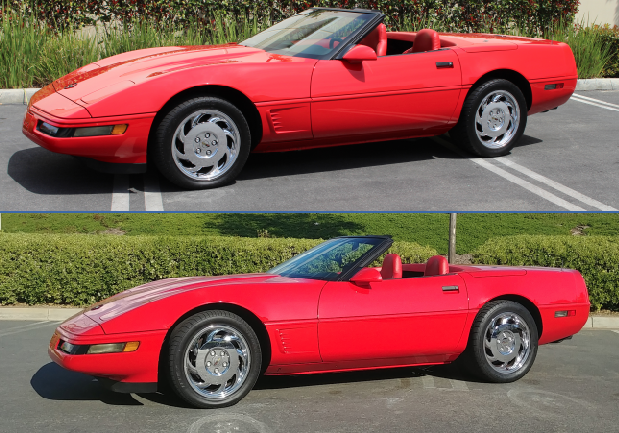
Welcome to the latest installment of our C4 Corvette project! For those of you not current on the car, dubbed “Red Haired Step Child,” here’s the crib notes to get you up to speed.
We started out with a very clean, low-mile 1995 Corvette convertible with the goal of lightly “breathing” on it to modernize its strengths and minimize its weaknesses.
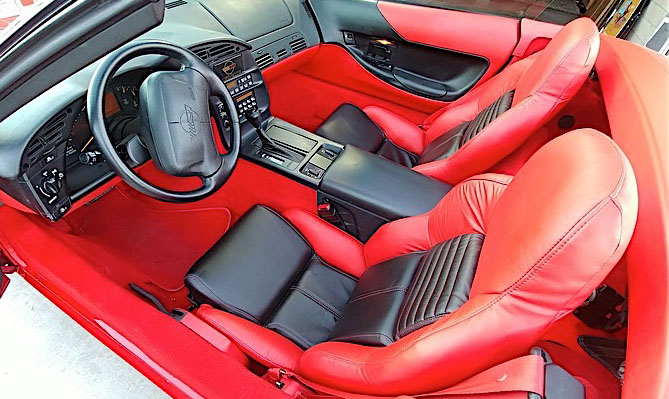
First up, we took the car to Meguiar’s in Irvine, California, to correct the paint at its corporate training facility. As you can see, it turned out great. Then, we called Mike Yager at Mid America Motorworks and picked out new leather seat covers and installed them.
With the fluffy, cosmetic stuff out of the way, we turned our attention to lowering the car from its tippy-toed, factory ride height. Late-era C4’s left the factory with a hiked-up stance reminiscent of “high-water” jeans, straight outta “Squaresville.”
GM is notorious for requiring all its cars to accept “traction devices,” aka tire chains, and that probably explains why C4’s always looked a bit top-heavy from the factory.
There were three options considered when we decided to lower the car. Leave it stock, lower it with a Mid America lowering kit, or go full-tilt boogie by ditching the leaf springs up front and adding coilovers.
Lowering the car was just a single element of our strategy. We have custom made 18-inch CCW SP500 wheels, Nitto NT 555 G2 tires, Baer Eradispeed rotors, and new, red powder-coated factory calipers waiting in the wings once the ride height is sorted out. But let’s not get ahead of ourselves.
Three C4 Lowering Strategies:
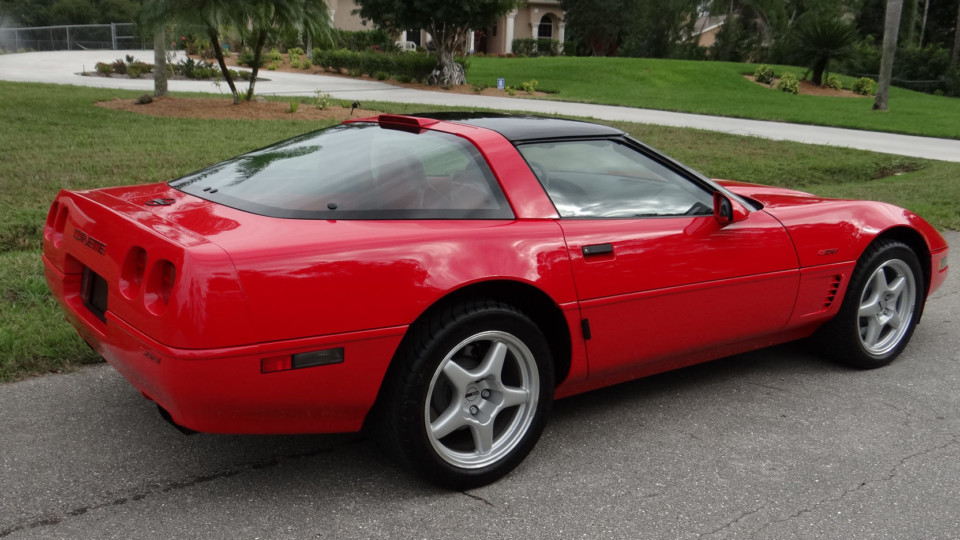
Even the mighty ZR1 came from the factory with its “skirt hiked up.” Alas, driveway cutouts are not sheet-molded-compound shredding events.
Option #1 – Box Stock
This has its advantages. The suspension was calibrated by the factory to ride at a certain altitude. Anytime you mess with Mother GM, there will be penalties, or as a wise man once said, “Stay stock, stay happy.” With the car lower to the ground, those once innocuous driveway cutouts, potholes, and heaved manhole covers can now suddenly spell disaster. The car is worth more unaltered as well. Lastly, a Corvette with amateur mods is one we’d avoid buying, as you don’t know if the work was done by a qualified mechanic or “jerry rigged” back together.
Option #2 – Pads & Bolts
With this strategy, the fairly complicated process consists of removing the front leaf spring and replacing the center “pads,” thereby lowering the front suspension. Be forewarned, all this fuss results in only one inch of lowered ride height.
In the rear, losing the stock bolts that locate the suspension and the leaf spring then replacing them with longer hardware, allows the car to sit lower. The rear mod can even be done with the car on the ground. Installing just the lowering bolts in the rear is the easiest, most gentle, and least-expensive way to lower the rear of your C4.
Option #3 – Coilover Shocks
We dig Mike Gill’s C4 ZR1 and did a full feature on the car in Corvette Online in 2017. We’re huge fans of Mike and consider him to be the definitive “stance” guru for C4s. Go here to see how he tackled getting the ride height and look that lit up the internet and Corvette forums a few years back.
This is a radical approach — with commensurate returns — which probably isn’t for the average-C4 guy, but lordy bagordy, does this car rock. Mike swears that it rides and tracks better than it did in stock form. Remember too, ride height is adjustable — but coins on the pavement are vulnerable to being scraped by this car at its most aggressive, in-the-weeds ride height.
Choosing Our Option
We decided to go with Option #2 and lower the car by slightly altering stock components. With that in mind, we chose Mid America Motorwork’s C4 lowering kit. Be sure to pay attention when ordering a kit, as ’88-96 models require a specific part number. We clicked away and the kit was at our doorstep within a week.
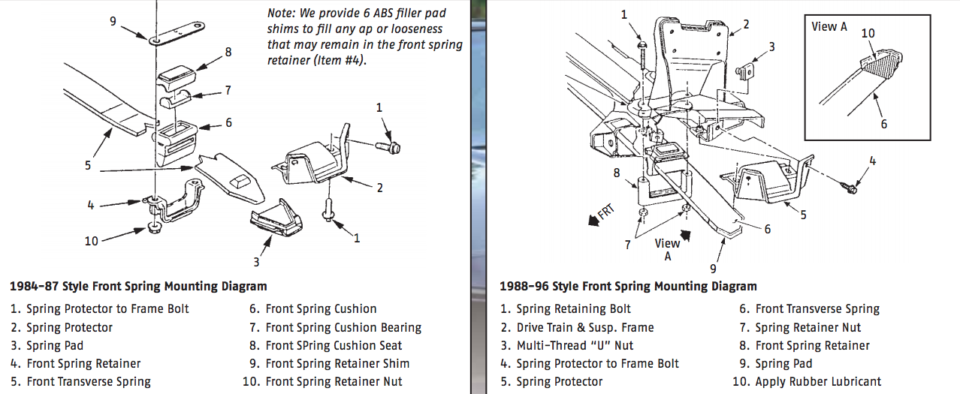
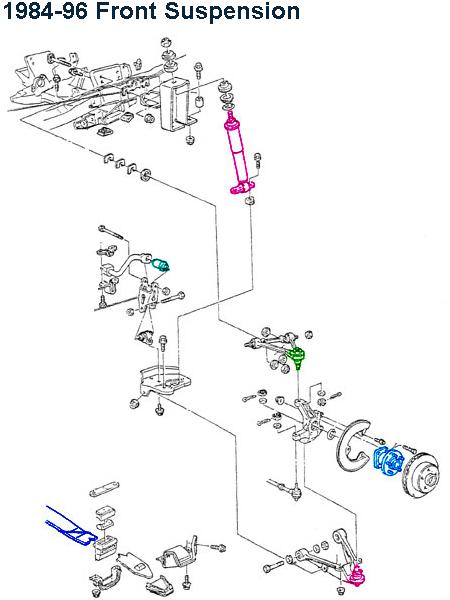
There are two lowering kits available from MAM. This is a great diagram to see the difference between early and later era C4 front suspensions.
Next, we called the very talented Rocky Quintus at So-Cal ‘Vettes and Hot Rods in Lake Elsinore, California, and booked an appointment. Quintus, a well known ‘Vette mechanic in So-Cal, asked us to drop the car off the night before our appointment so he could soak the lower control arm castle nuts with penetrating fluid for several hours.
Rocky told us, “The suspension components on older cars are most likely frozen or seized, so we like to apply a lubricant and let it sit overnight, it really eases disassembly later.” We had no hang ups during disassembly and highly recommend this precaution.
For you Inland Empire, California guys, Quintus is located in Riverside county off the 15, so no slogs to San Diego or Los Angeles for expert Corvette service.
Even though we relied on a highly skilled tech to do the work, we read Mid America’s instructions, as well as the factory Corvette Service Manual — and a Haynes book — for good measure. If you don’t have a shop manual for your Corvette, a simple online search will yield a plentiful supply of paper versions as well as searchable, electronic-database versions for sale. We REALLY recommend getting familiar with the overall sequence of the process, even if you’re farming out the project.
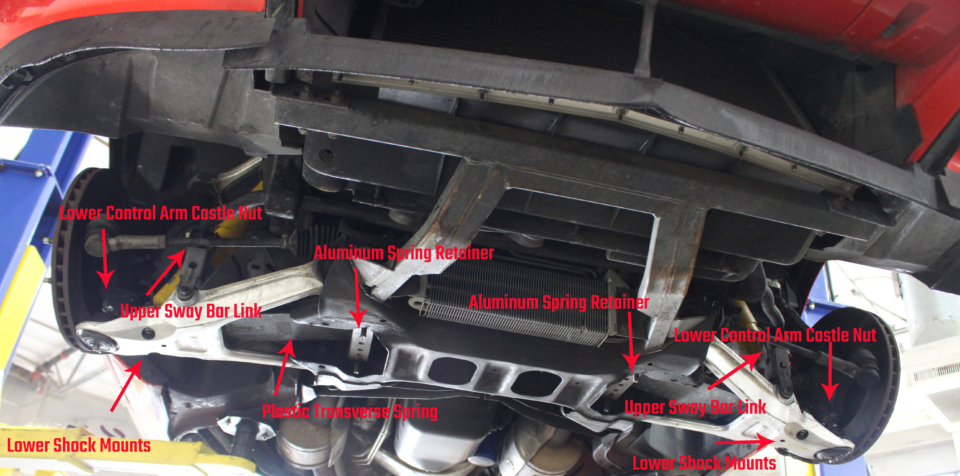
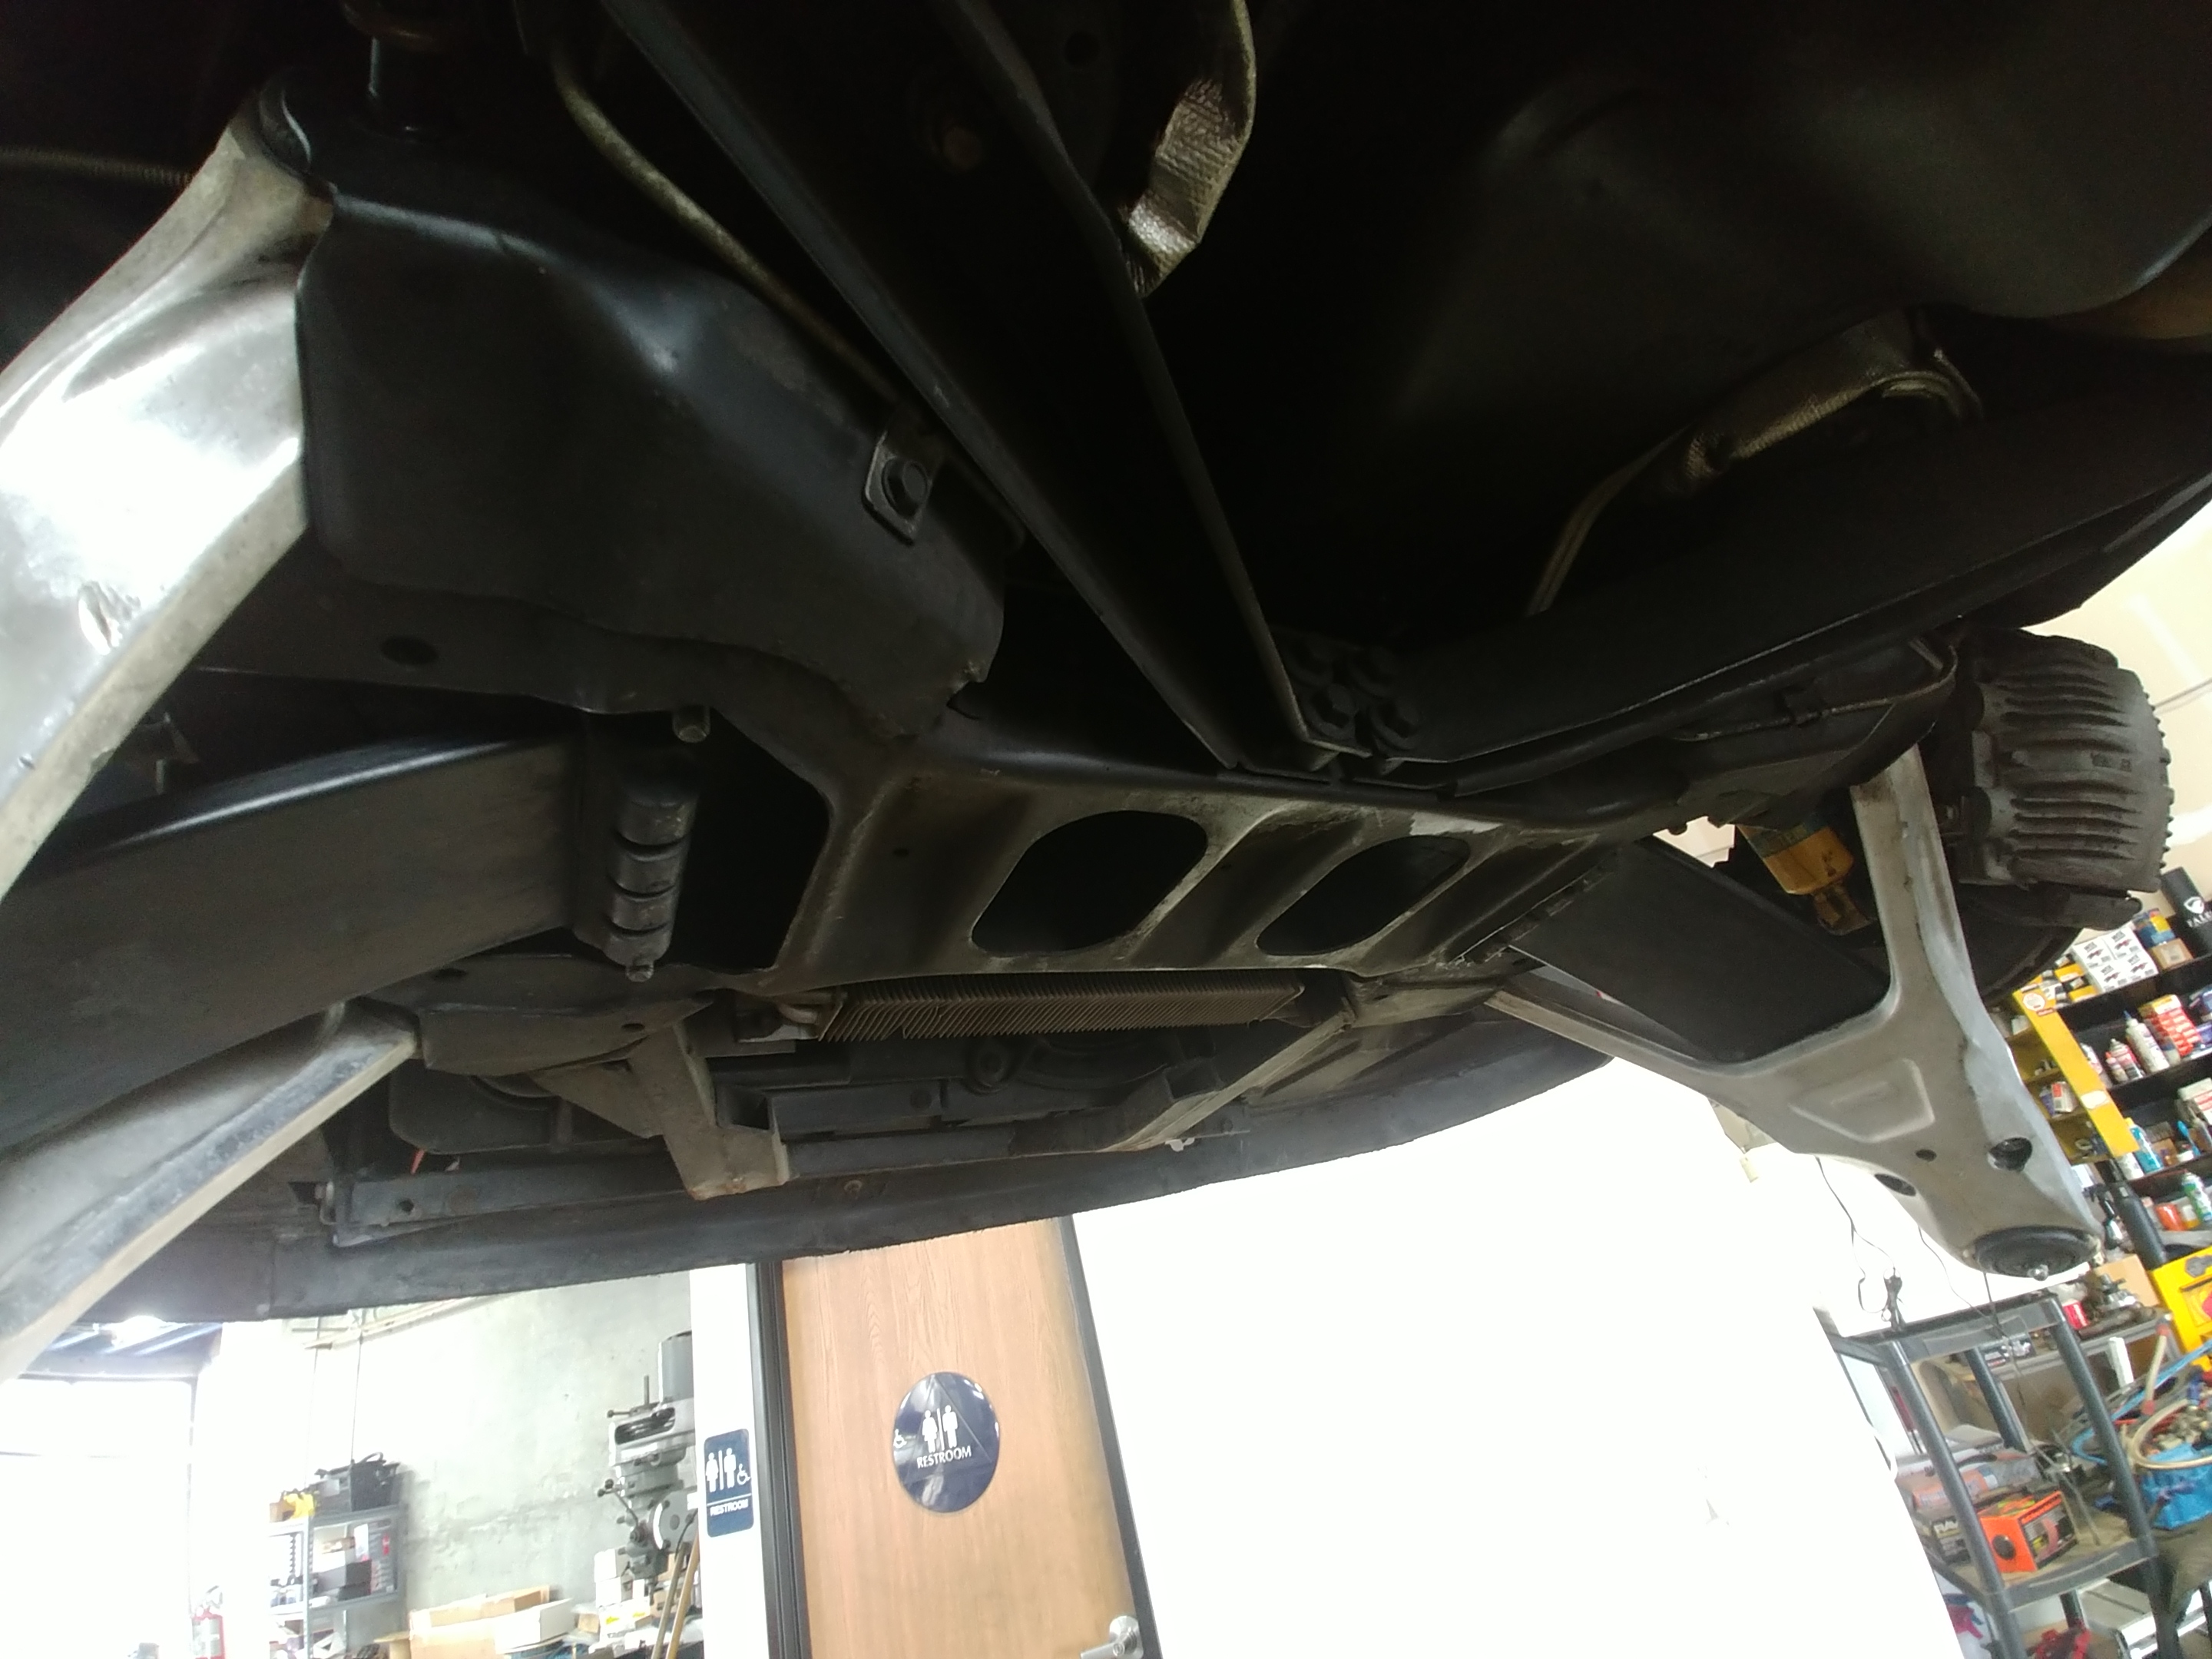
This is what a C4 Corvette front suspension system looks like. Familiarize yourself with this picture. Understanding what you’re dealing with is critical. We are are going to remove the front composite spring and perform surgery on it and associated components.
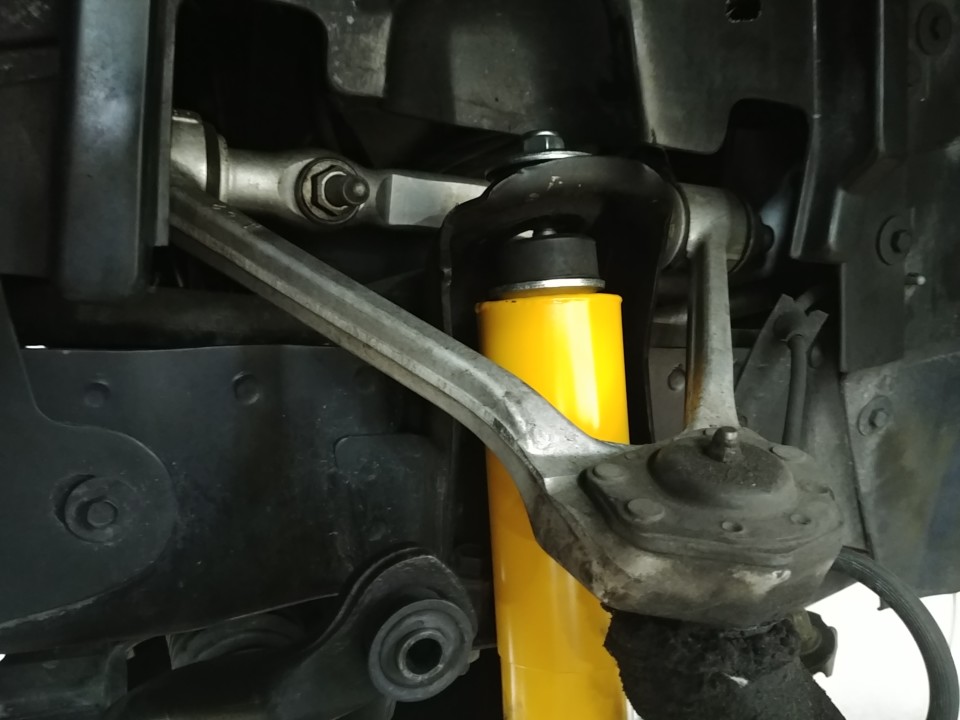
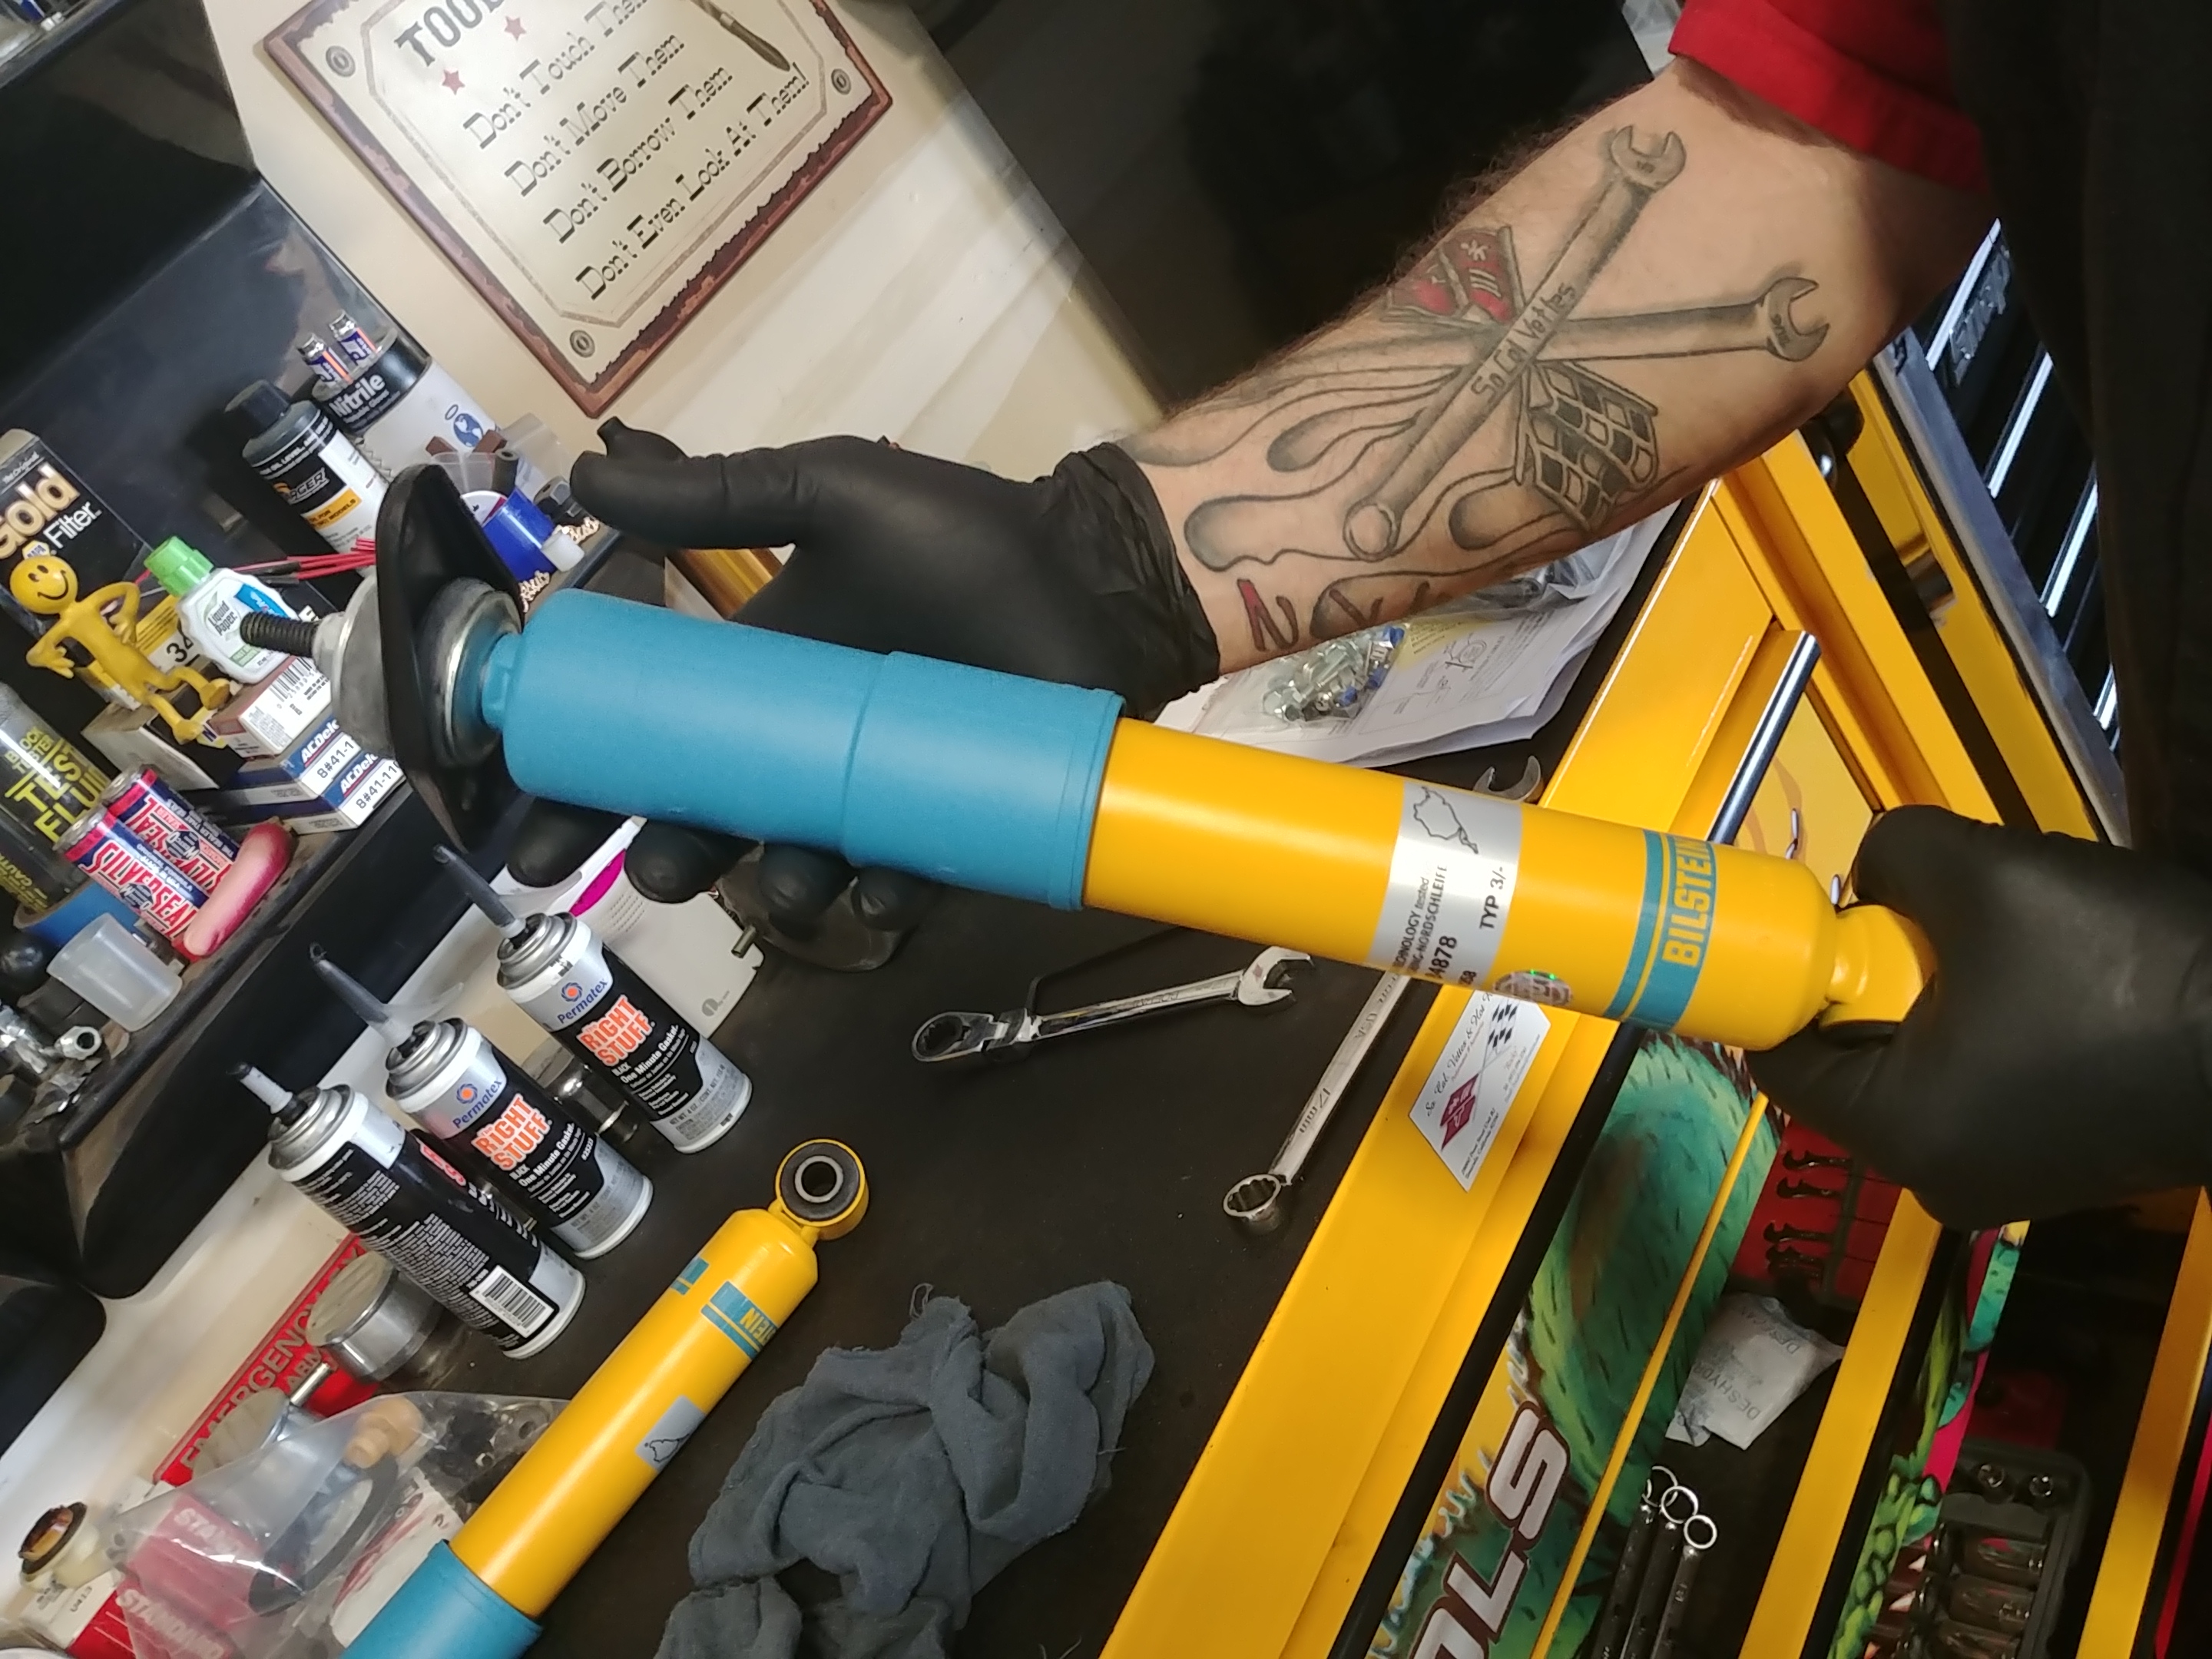
We wanted to replace the shocks when we had the suspension broken down, so we called guru Trevor Anderson over at Bilstein, to see what he could recommend for us. He came up with a great solution. He specified Bilstein’s B8 Performance shock, which has a shorter shaft tailored especially for lowered Corvettes.
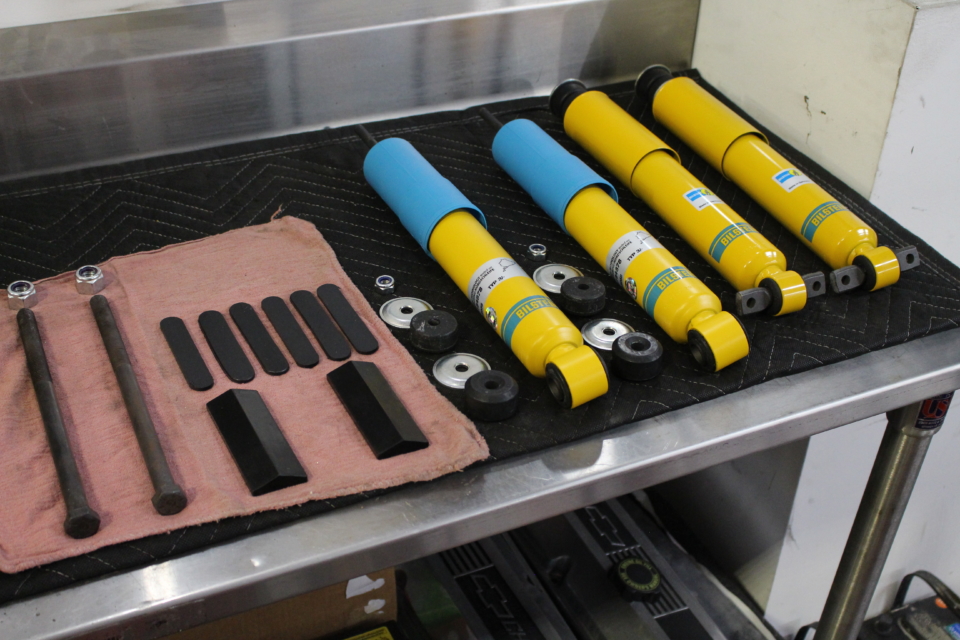
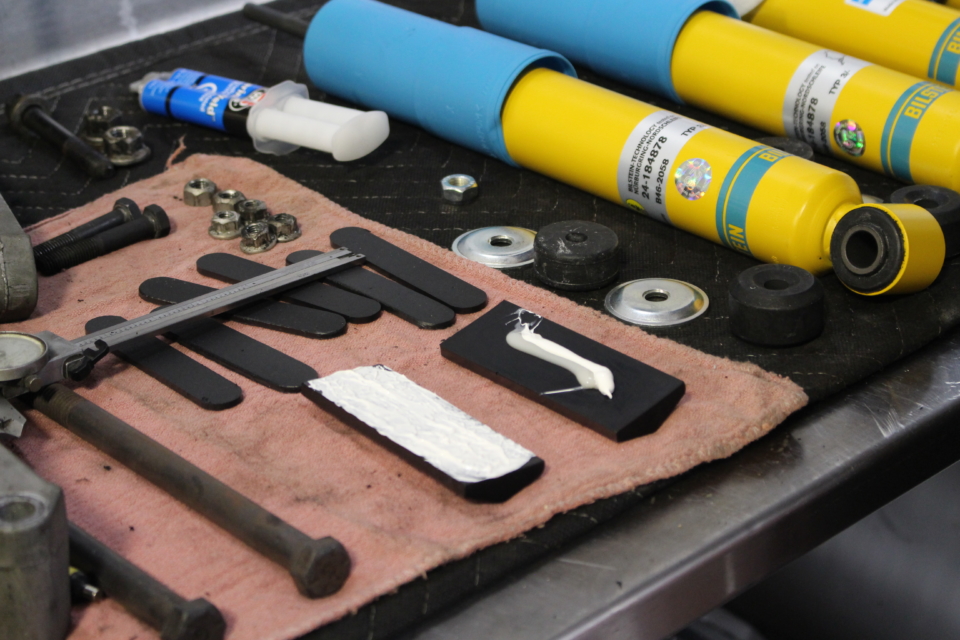
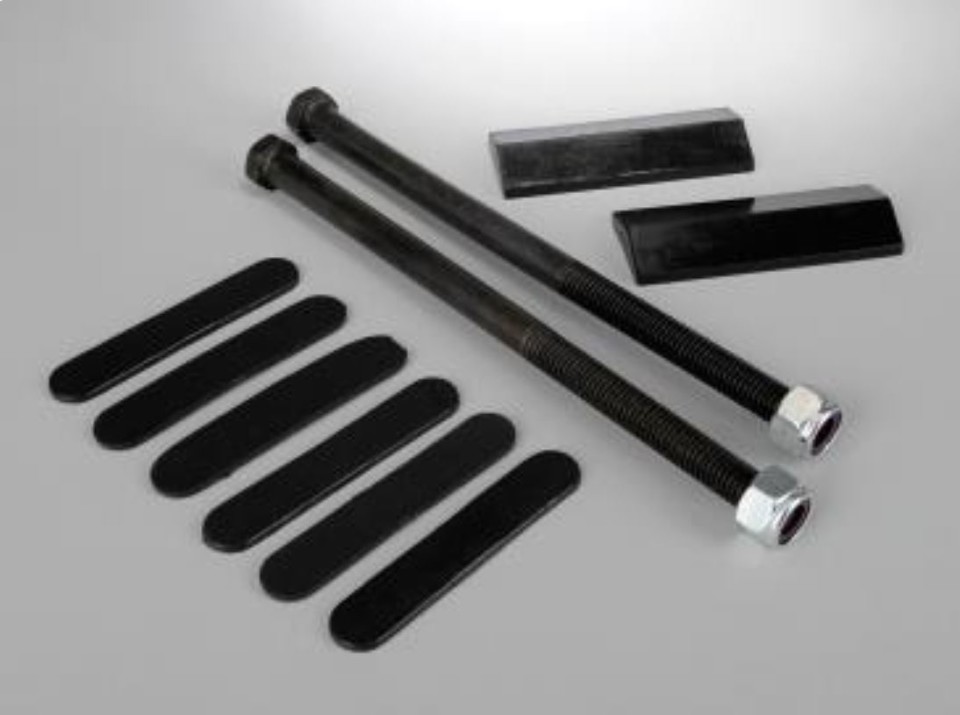
Mid America’s C4 Lowering Kit comes with longer rear bolts with Nyloc nuts, lower profile pads, and a set of shims. While we had the suspension apart, we swapped in Bilstein B8 shocks specially made for lowered C4s.
According to Trevor, “At Bilstein, we tune all our street performance struts and shocks to individual applications. The B8 shocks are a performance upgrade to OE dampers, and are designed to be paired with aftermarket lowering springs. These dampers offer application-specific valve settings with a monotube design to bring out the best handling performance of a vehicle.”
Trevor continues, “Each damper is rigorously tested for quality that meets or exceeds OE standards. B8 Performance Plus dampers are the ideal solution for improved handling and a sportier look with the added benefit of OEM Bilstein quality.”
An added bonus for you “all-original guys,” is the 1995 Corvette came from the factory with Bilstein shocks, so even though they are tailored to work with our altered suspension geometry, they retain a stock appearance.
We met Rocky the next day and got to work. He led the charge in his well-equipped, spic ‘n’ span shop that’s seen every generation of ‘Vette come through for repairs and mods. We trusted him implicitly.
Let’s Get Started
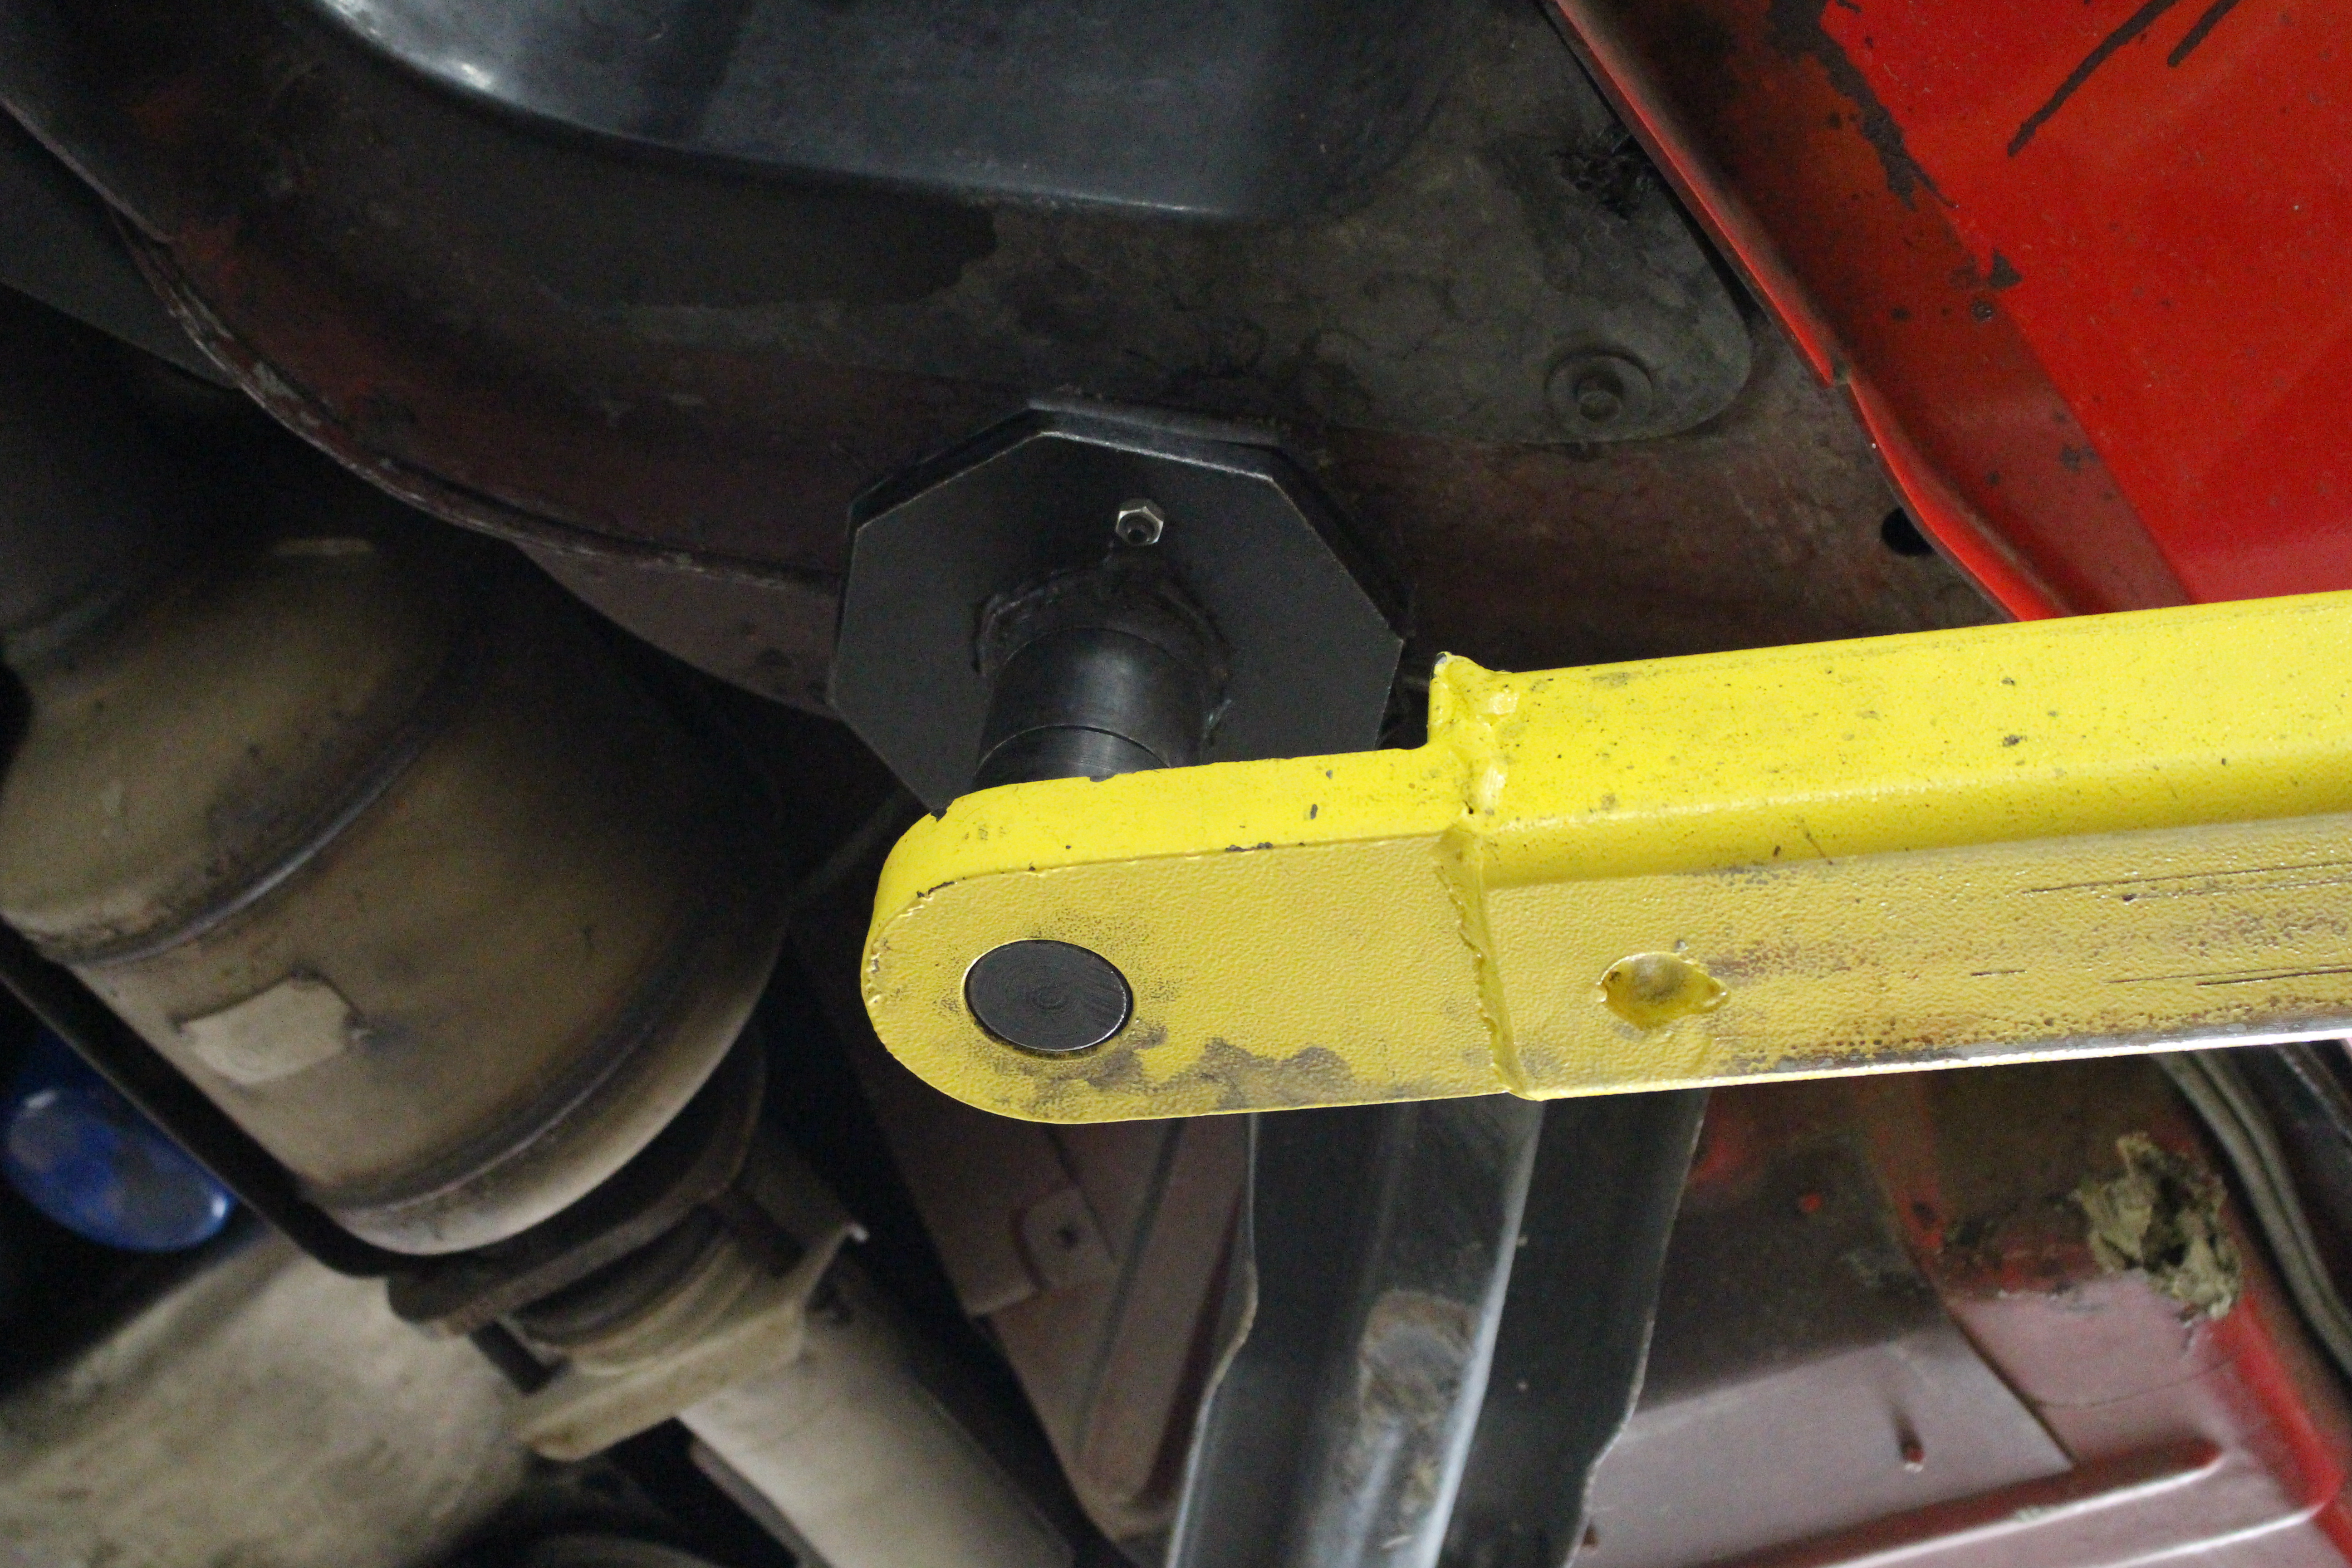
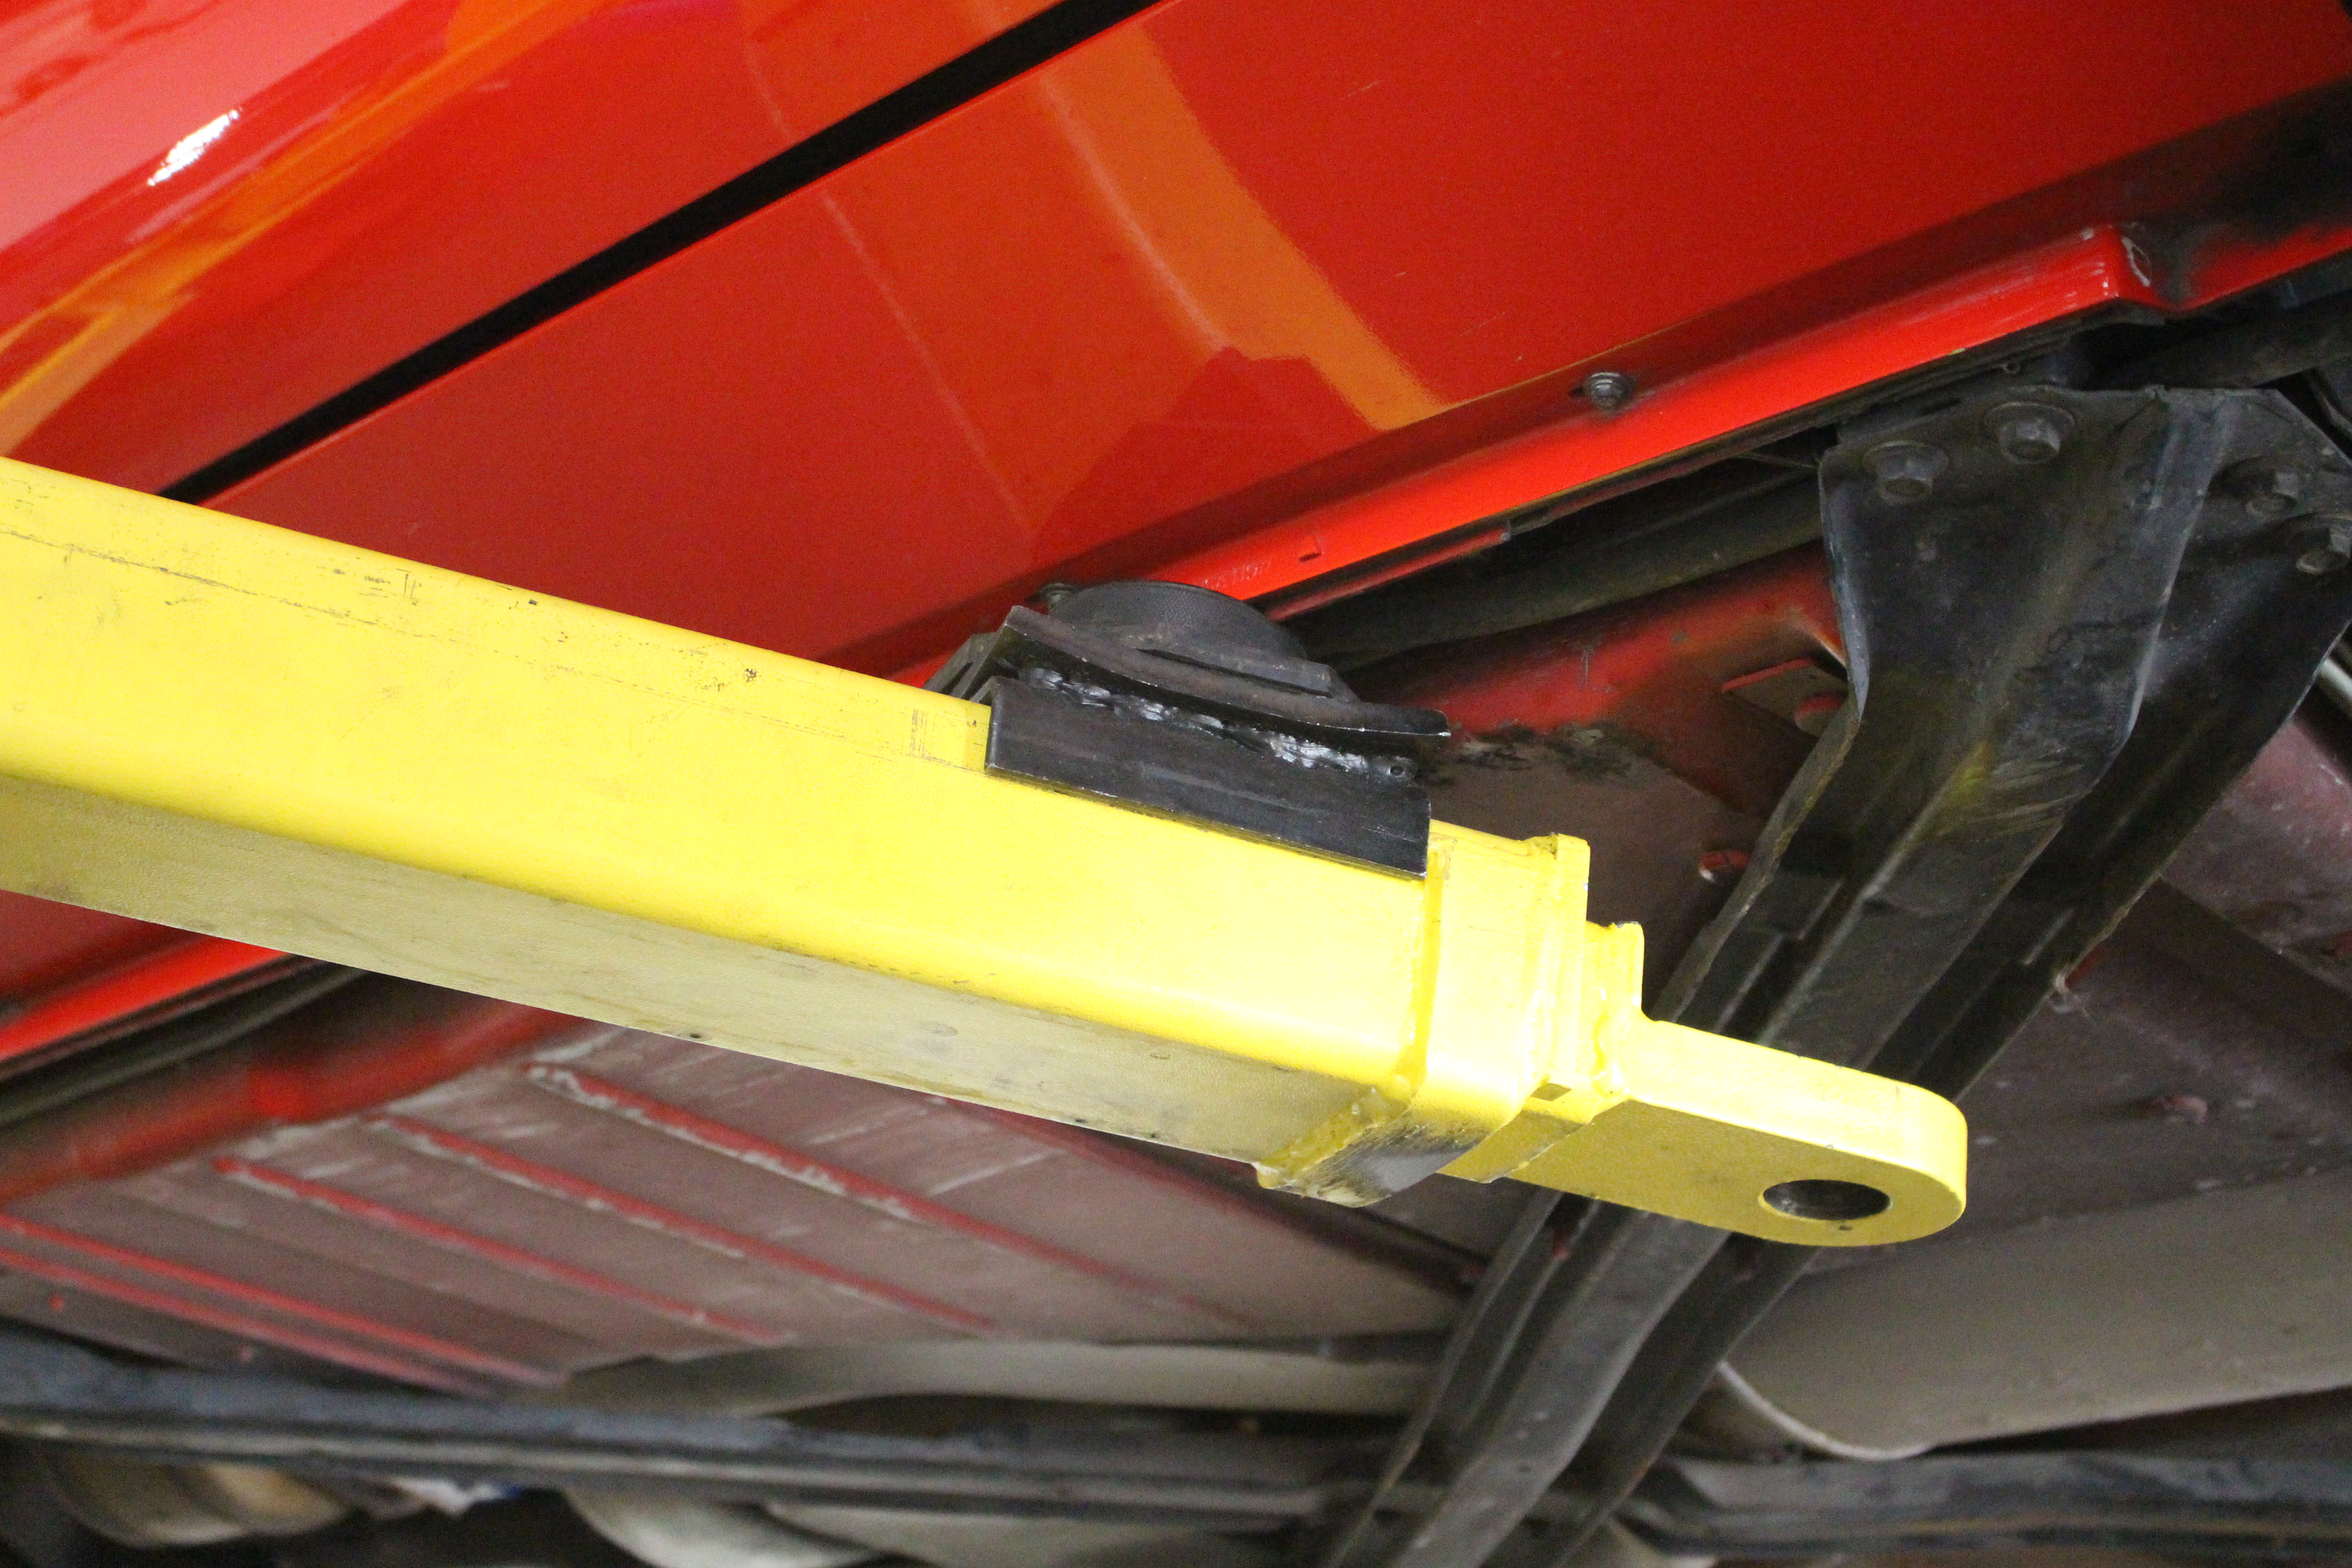
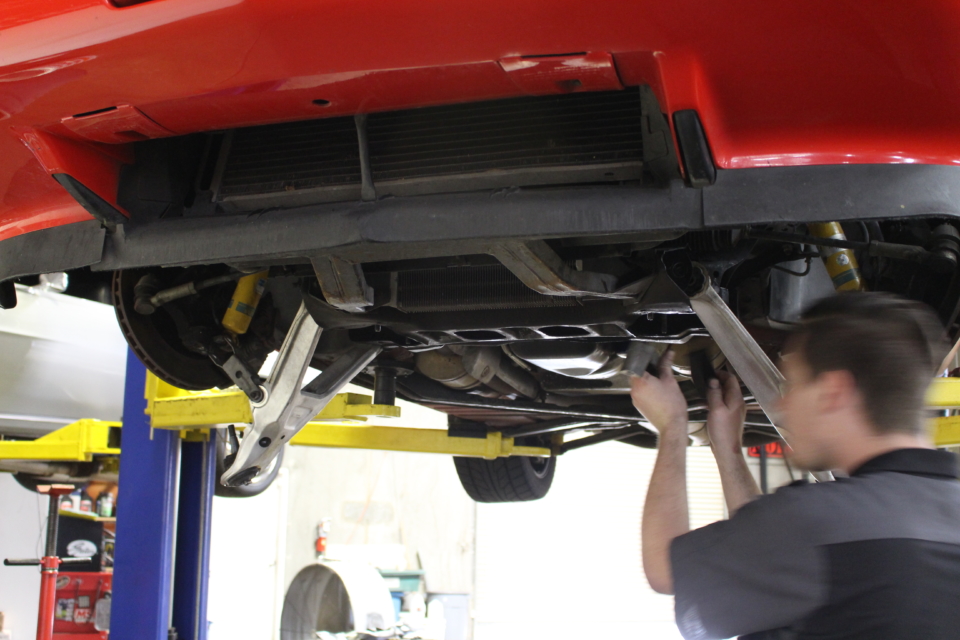
Here's where we placed the lift jacking points. Just ahead of our convertible X-brace up front and at the factory-specified pinch weld in the rear. Careful of the rocker panel!
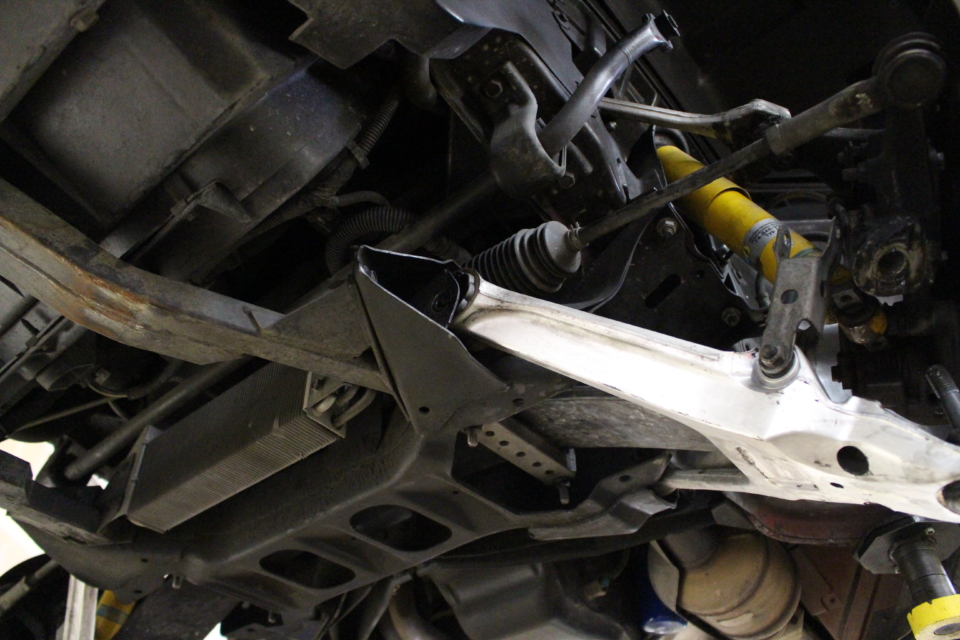
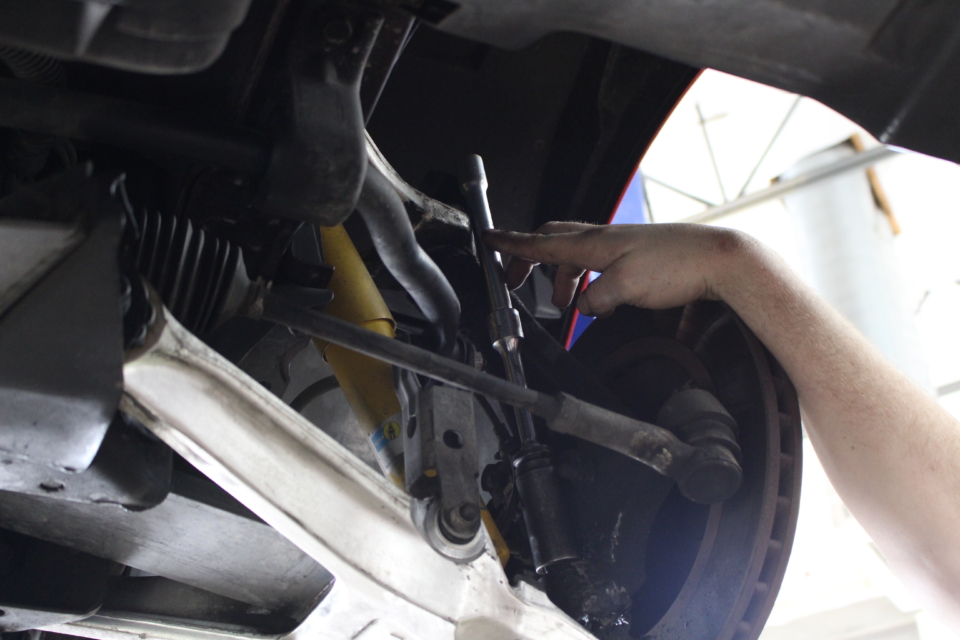
You can see the upper sway bar link, knuckle bolt, lower A-arm pivot bolts, and lower shock absorber mounts broken free. Repeat on the passenger’s side.
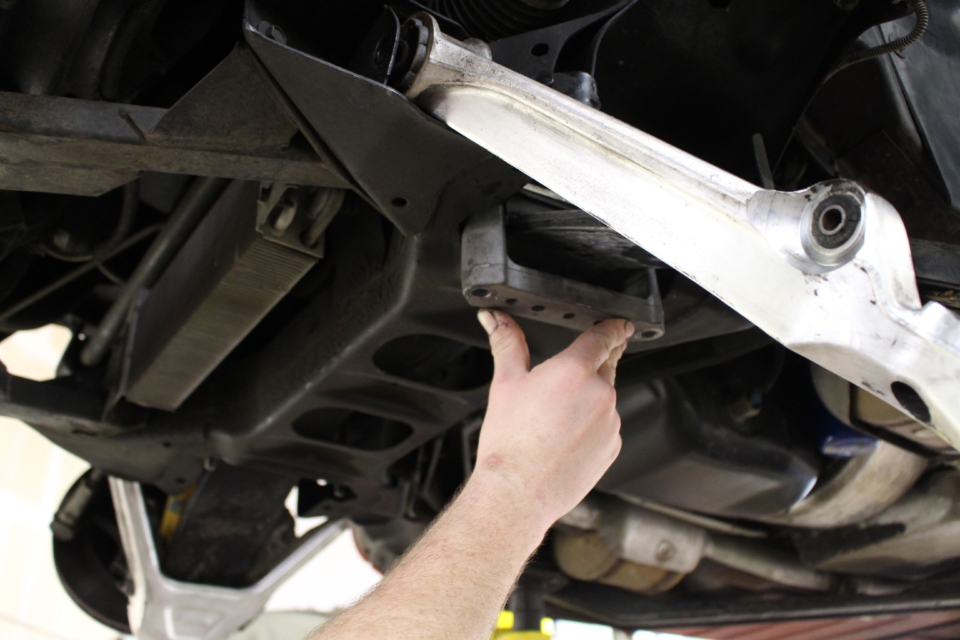
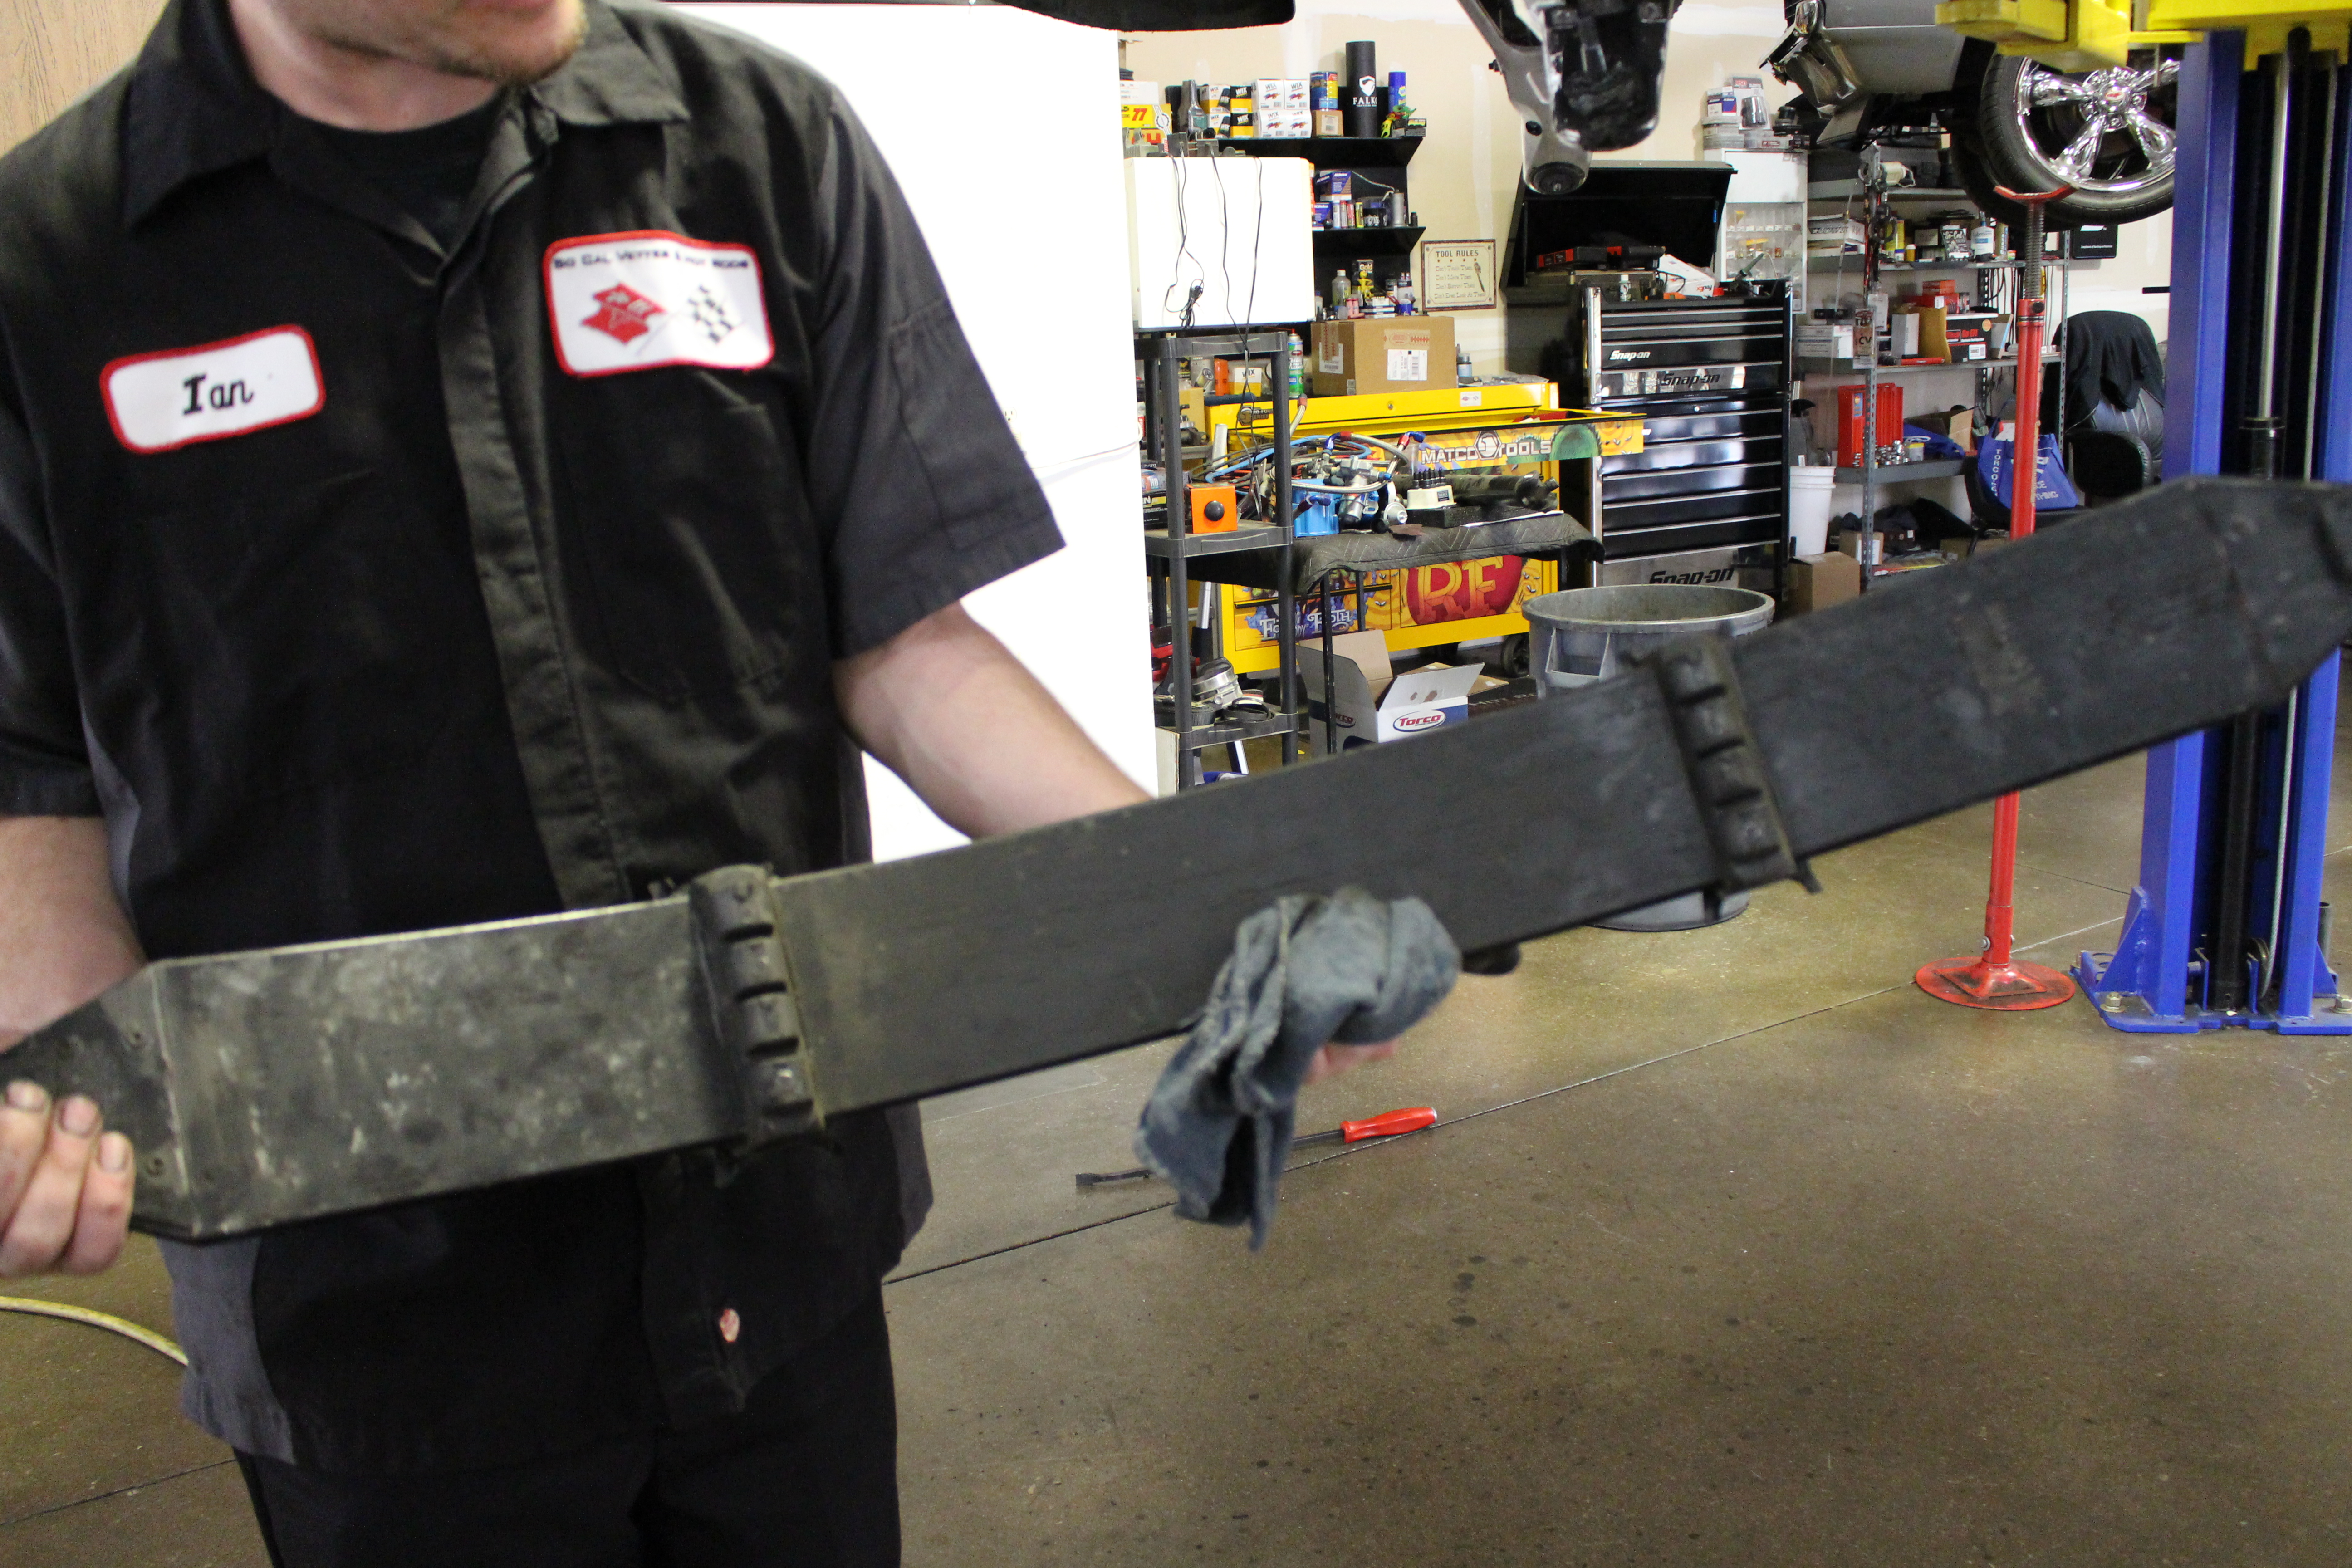
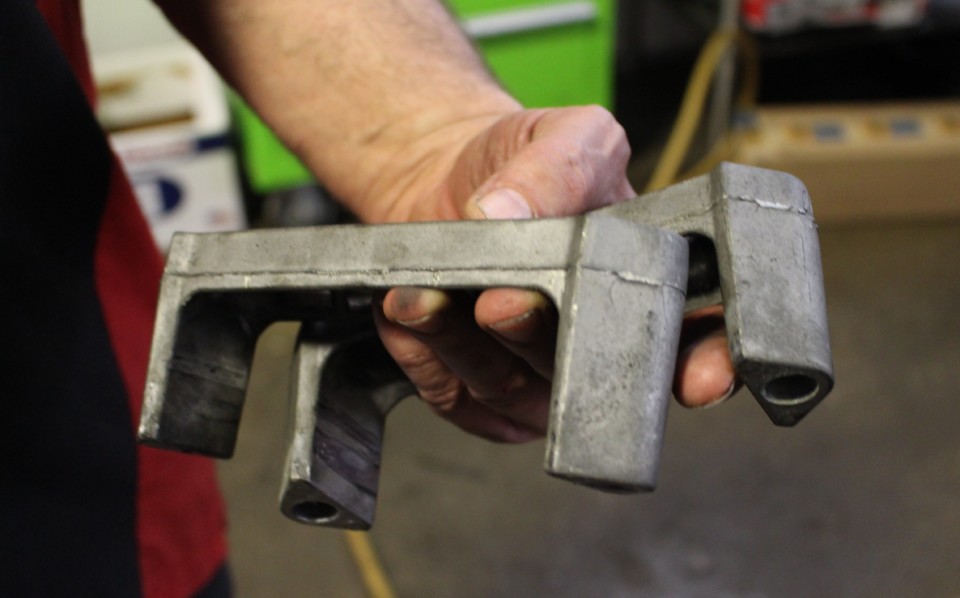
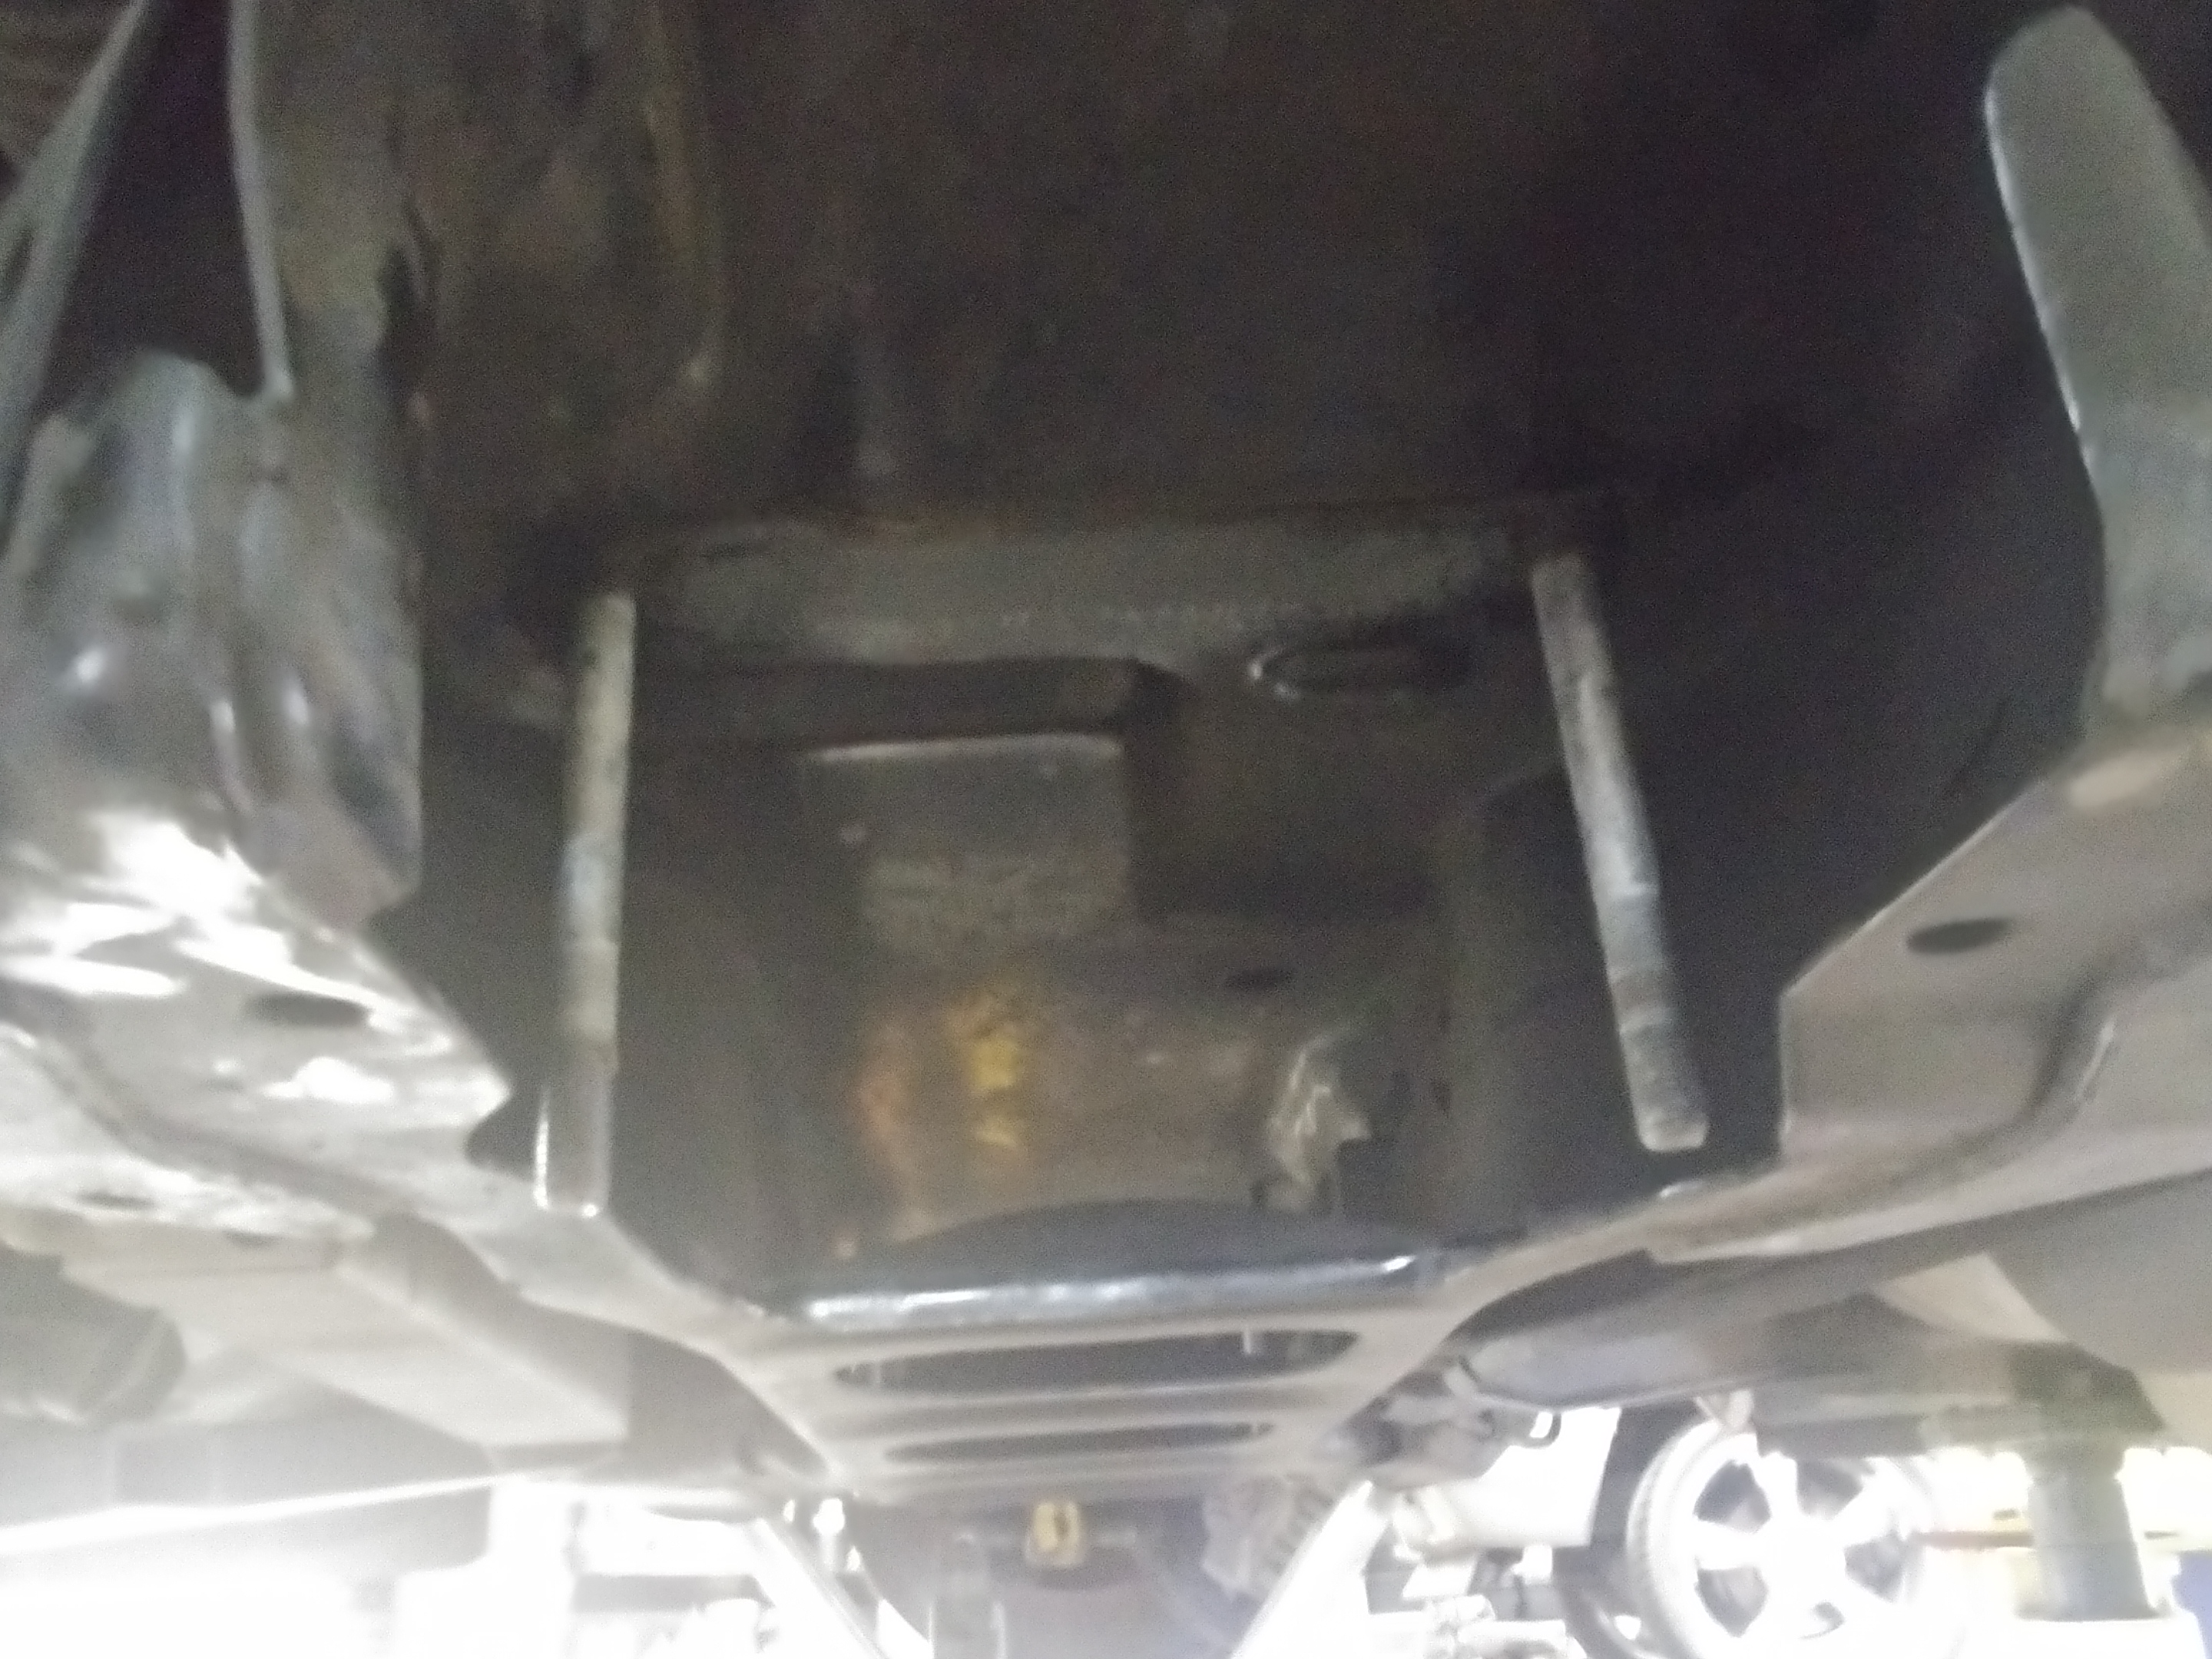
There are two U-shaped aluminum retainers with two bolts each that lash the spring to chassis. Notice that only the middle of the spring is connected to the frame. Unbolt the two center retainers and stow them out of the way.
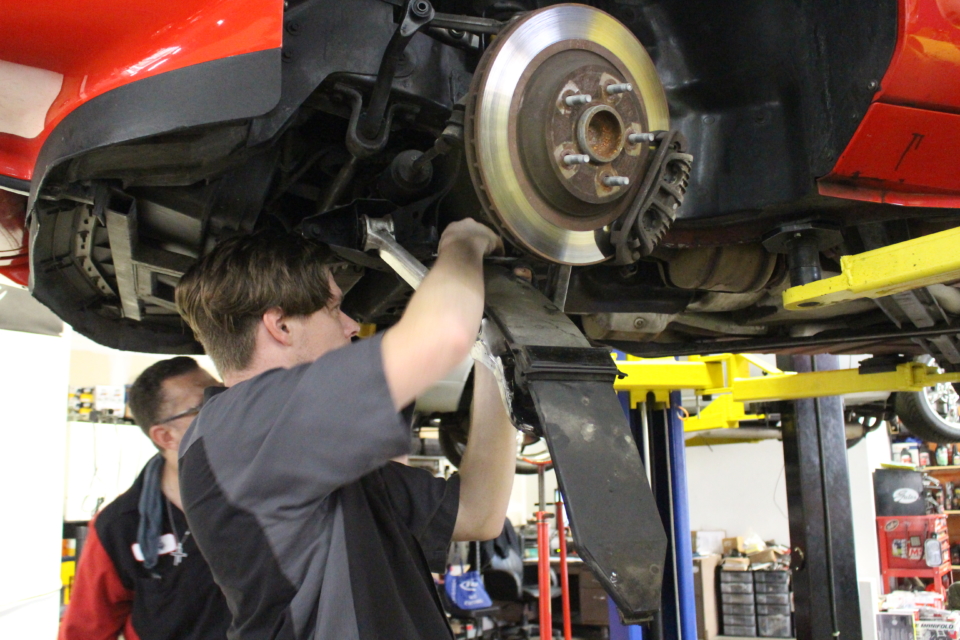
So Cal Vette & Hot Rod owner Rocky Quintus and assistant Ian were good fun to work with — and learn from. Here, they slide the spring out. Notice the factory pads with metal surround, they’re getting the heave-ho.
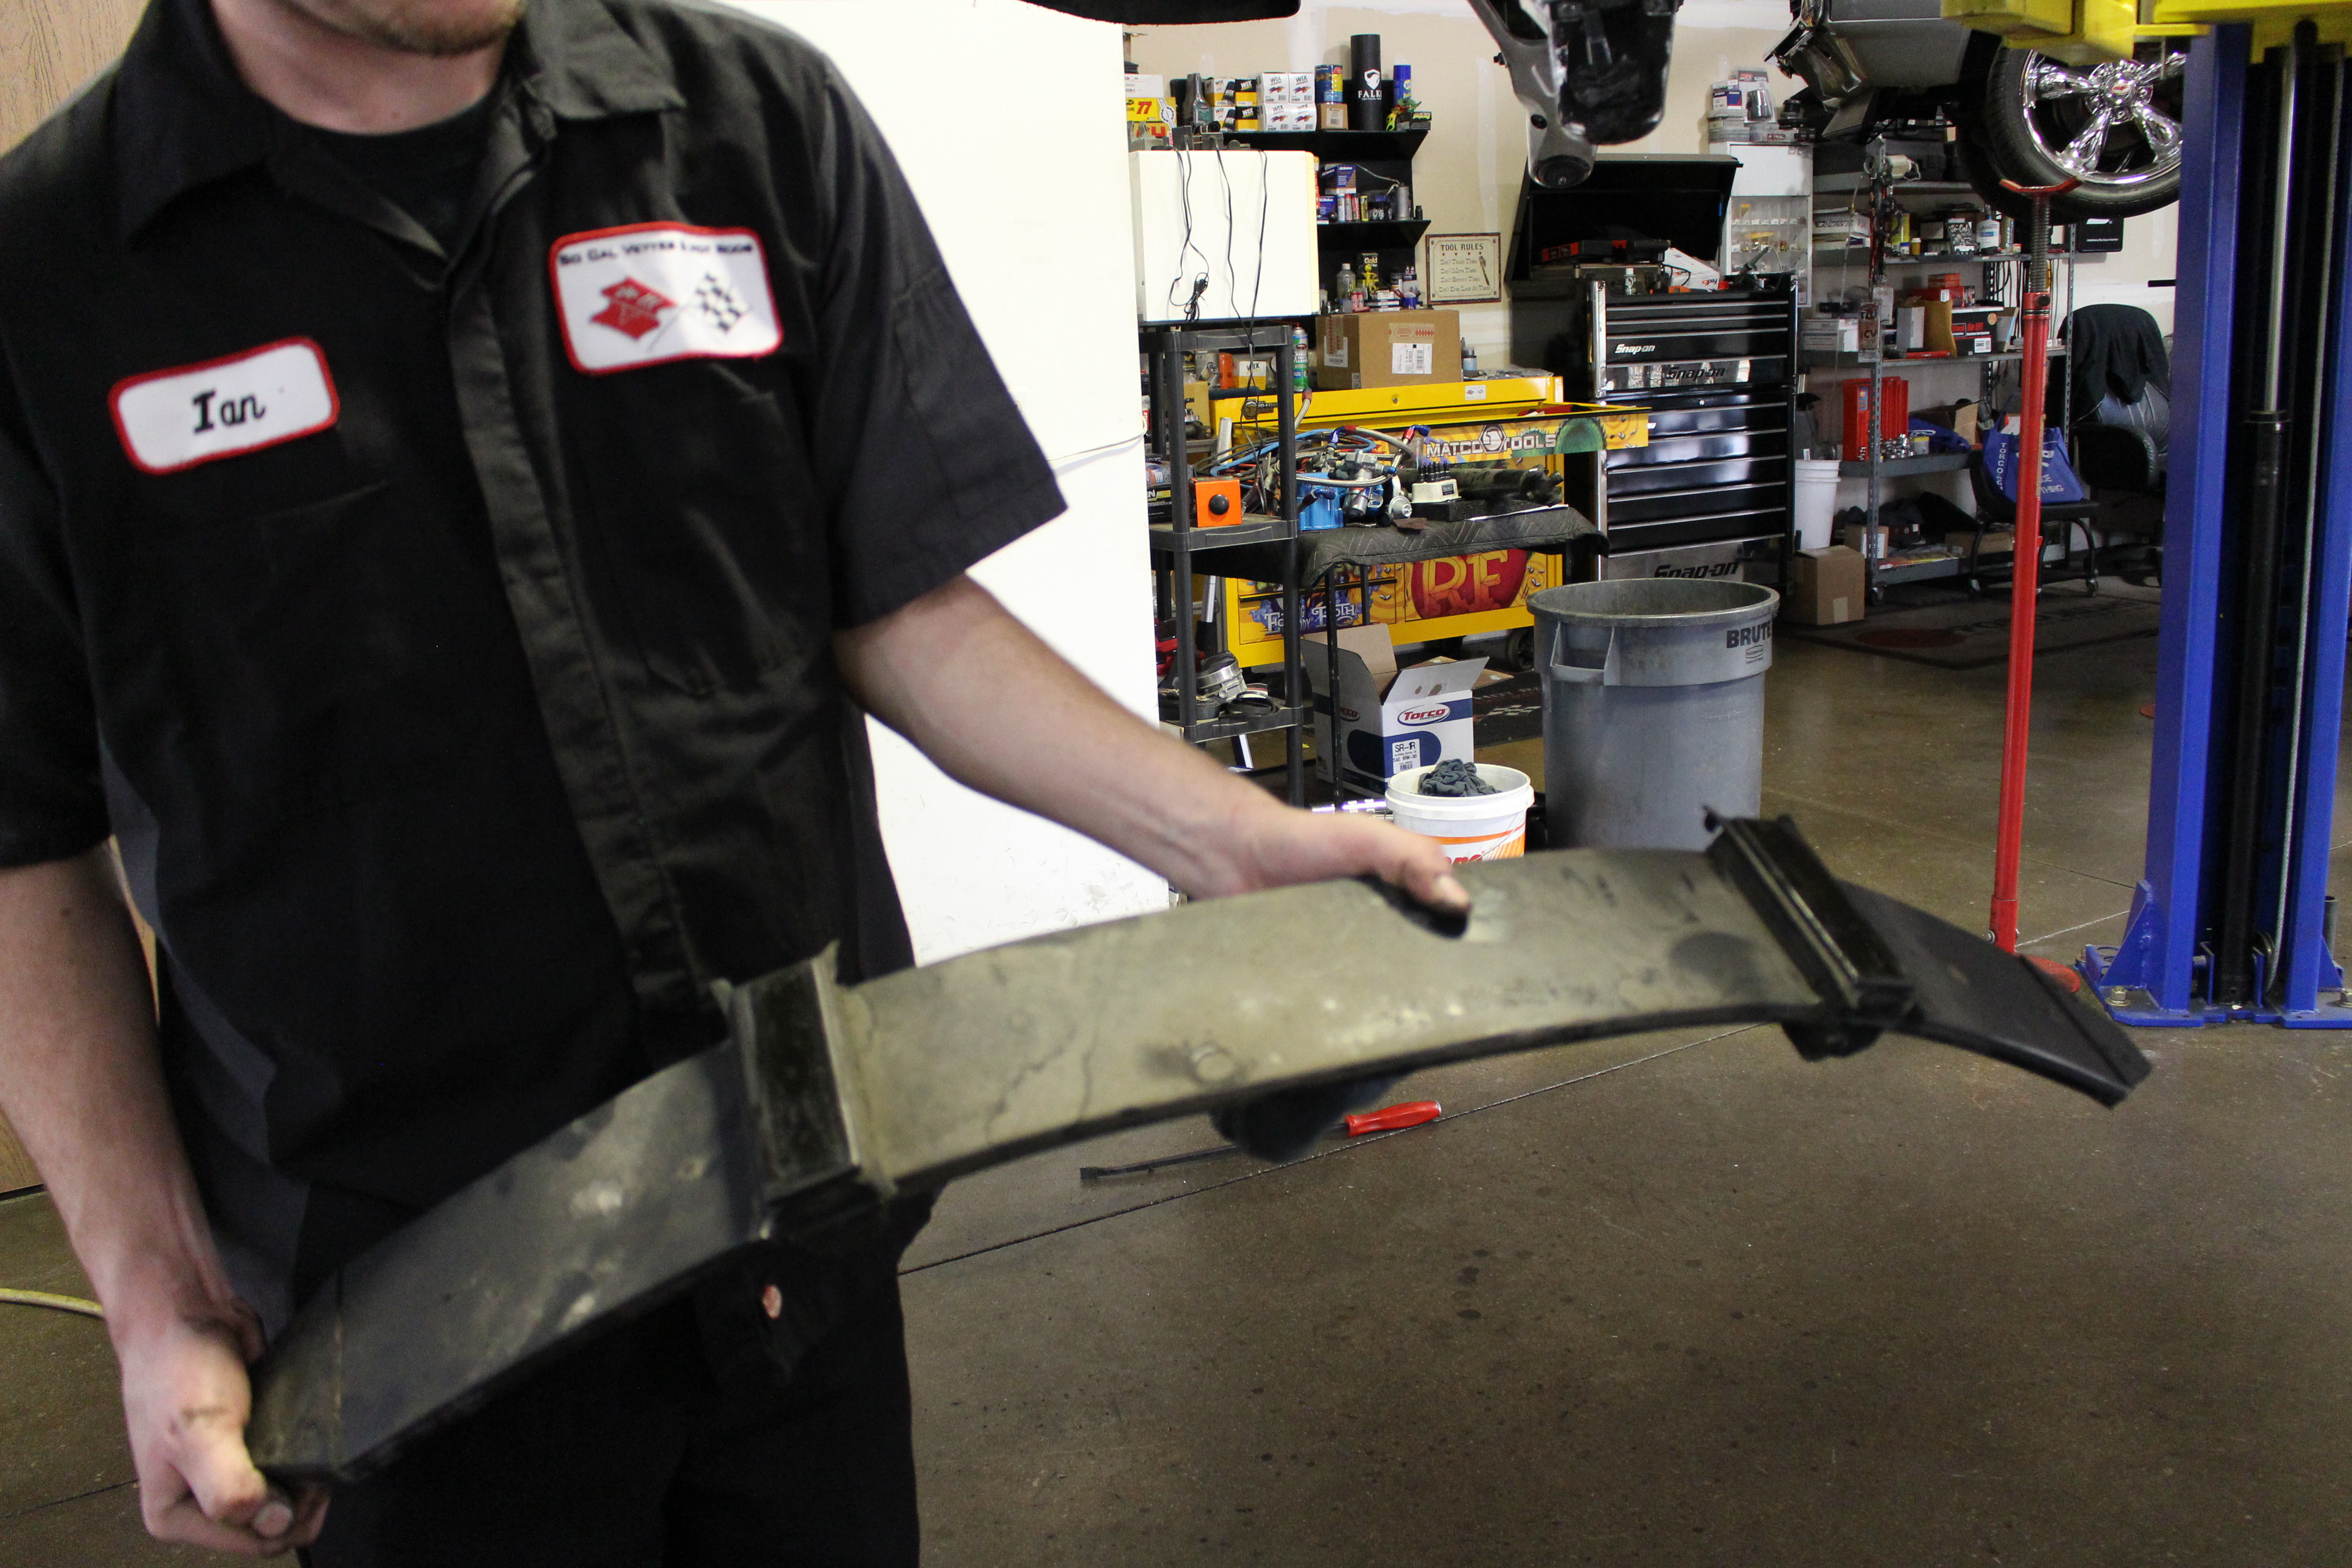
With the spring removed from car, check for any cracks, defects, or wear. Left: Note the factory pads (on top of the spring) are a certain height. The car is lowered by removing the factory rubber pads and replacing them with lower-profile ABS versions that allow the spring to sit closer to the frame, thereby lowering the car. Right: The ribbed rubber pads on the bottom side of the spring sit in the aluminum brackets that locate the spring to the frame.
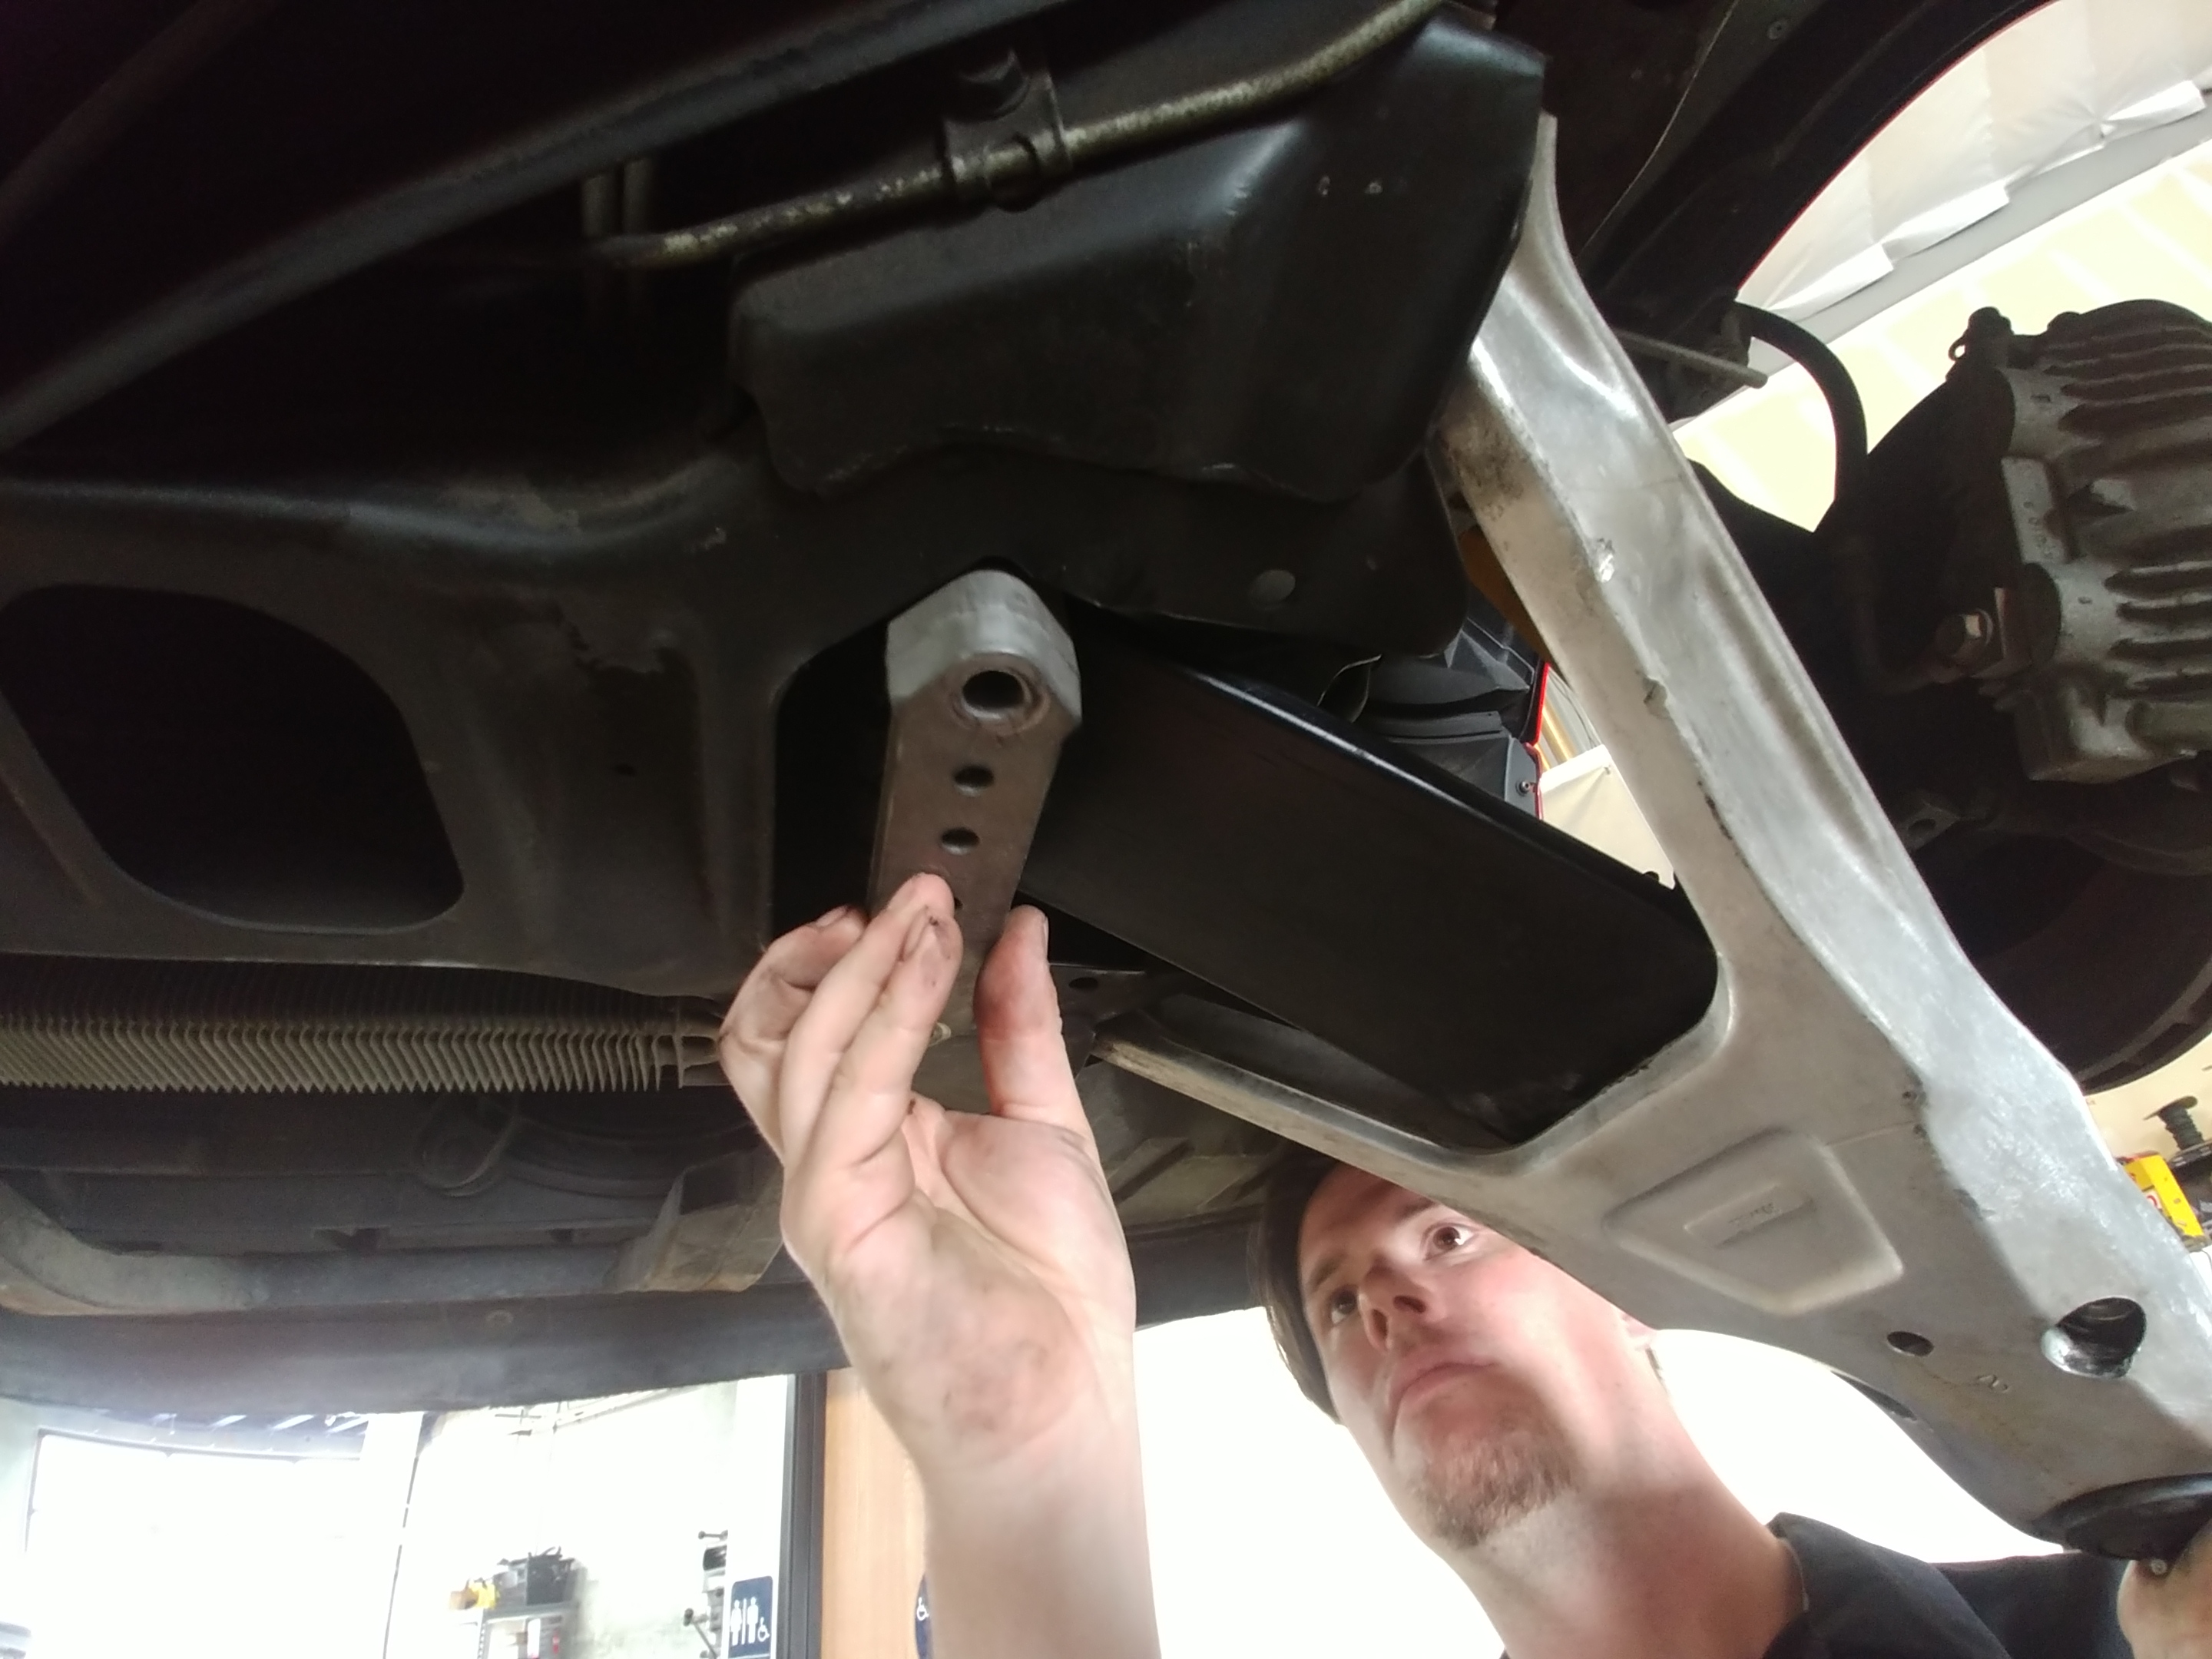
We then went to work removing the metal-encased factory pads (not the ribbed pads on the bottom) and prepped the spring to accept the new Mid America Motorworks units.
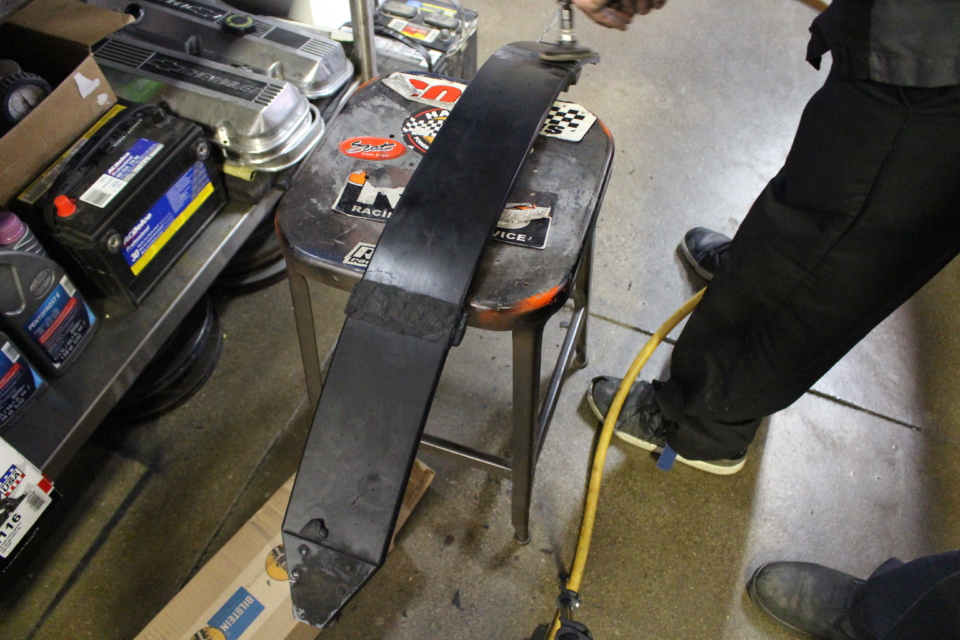
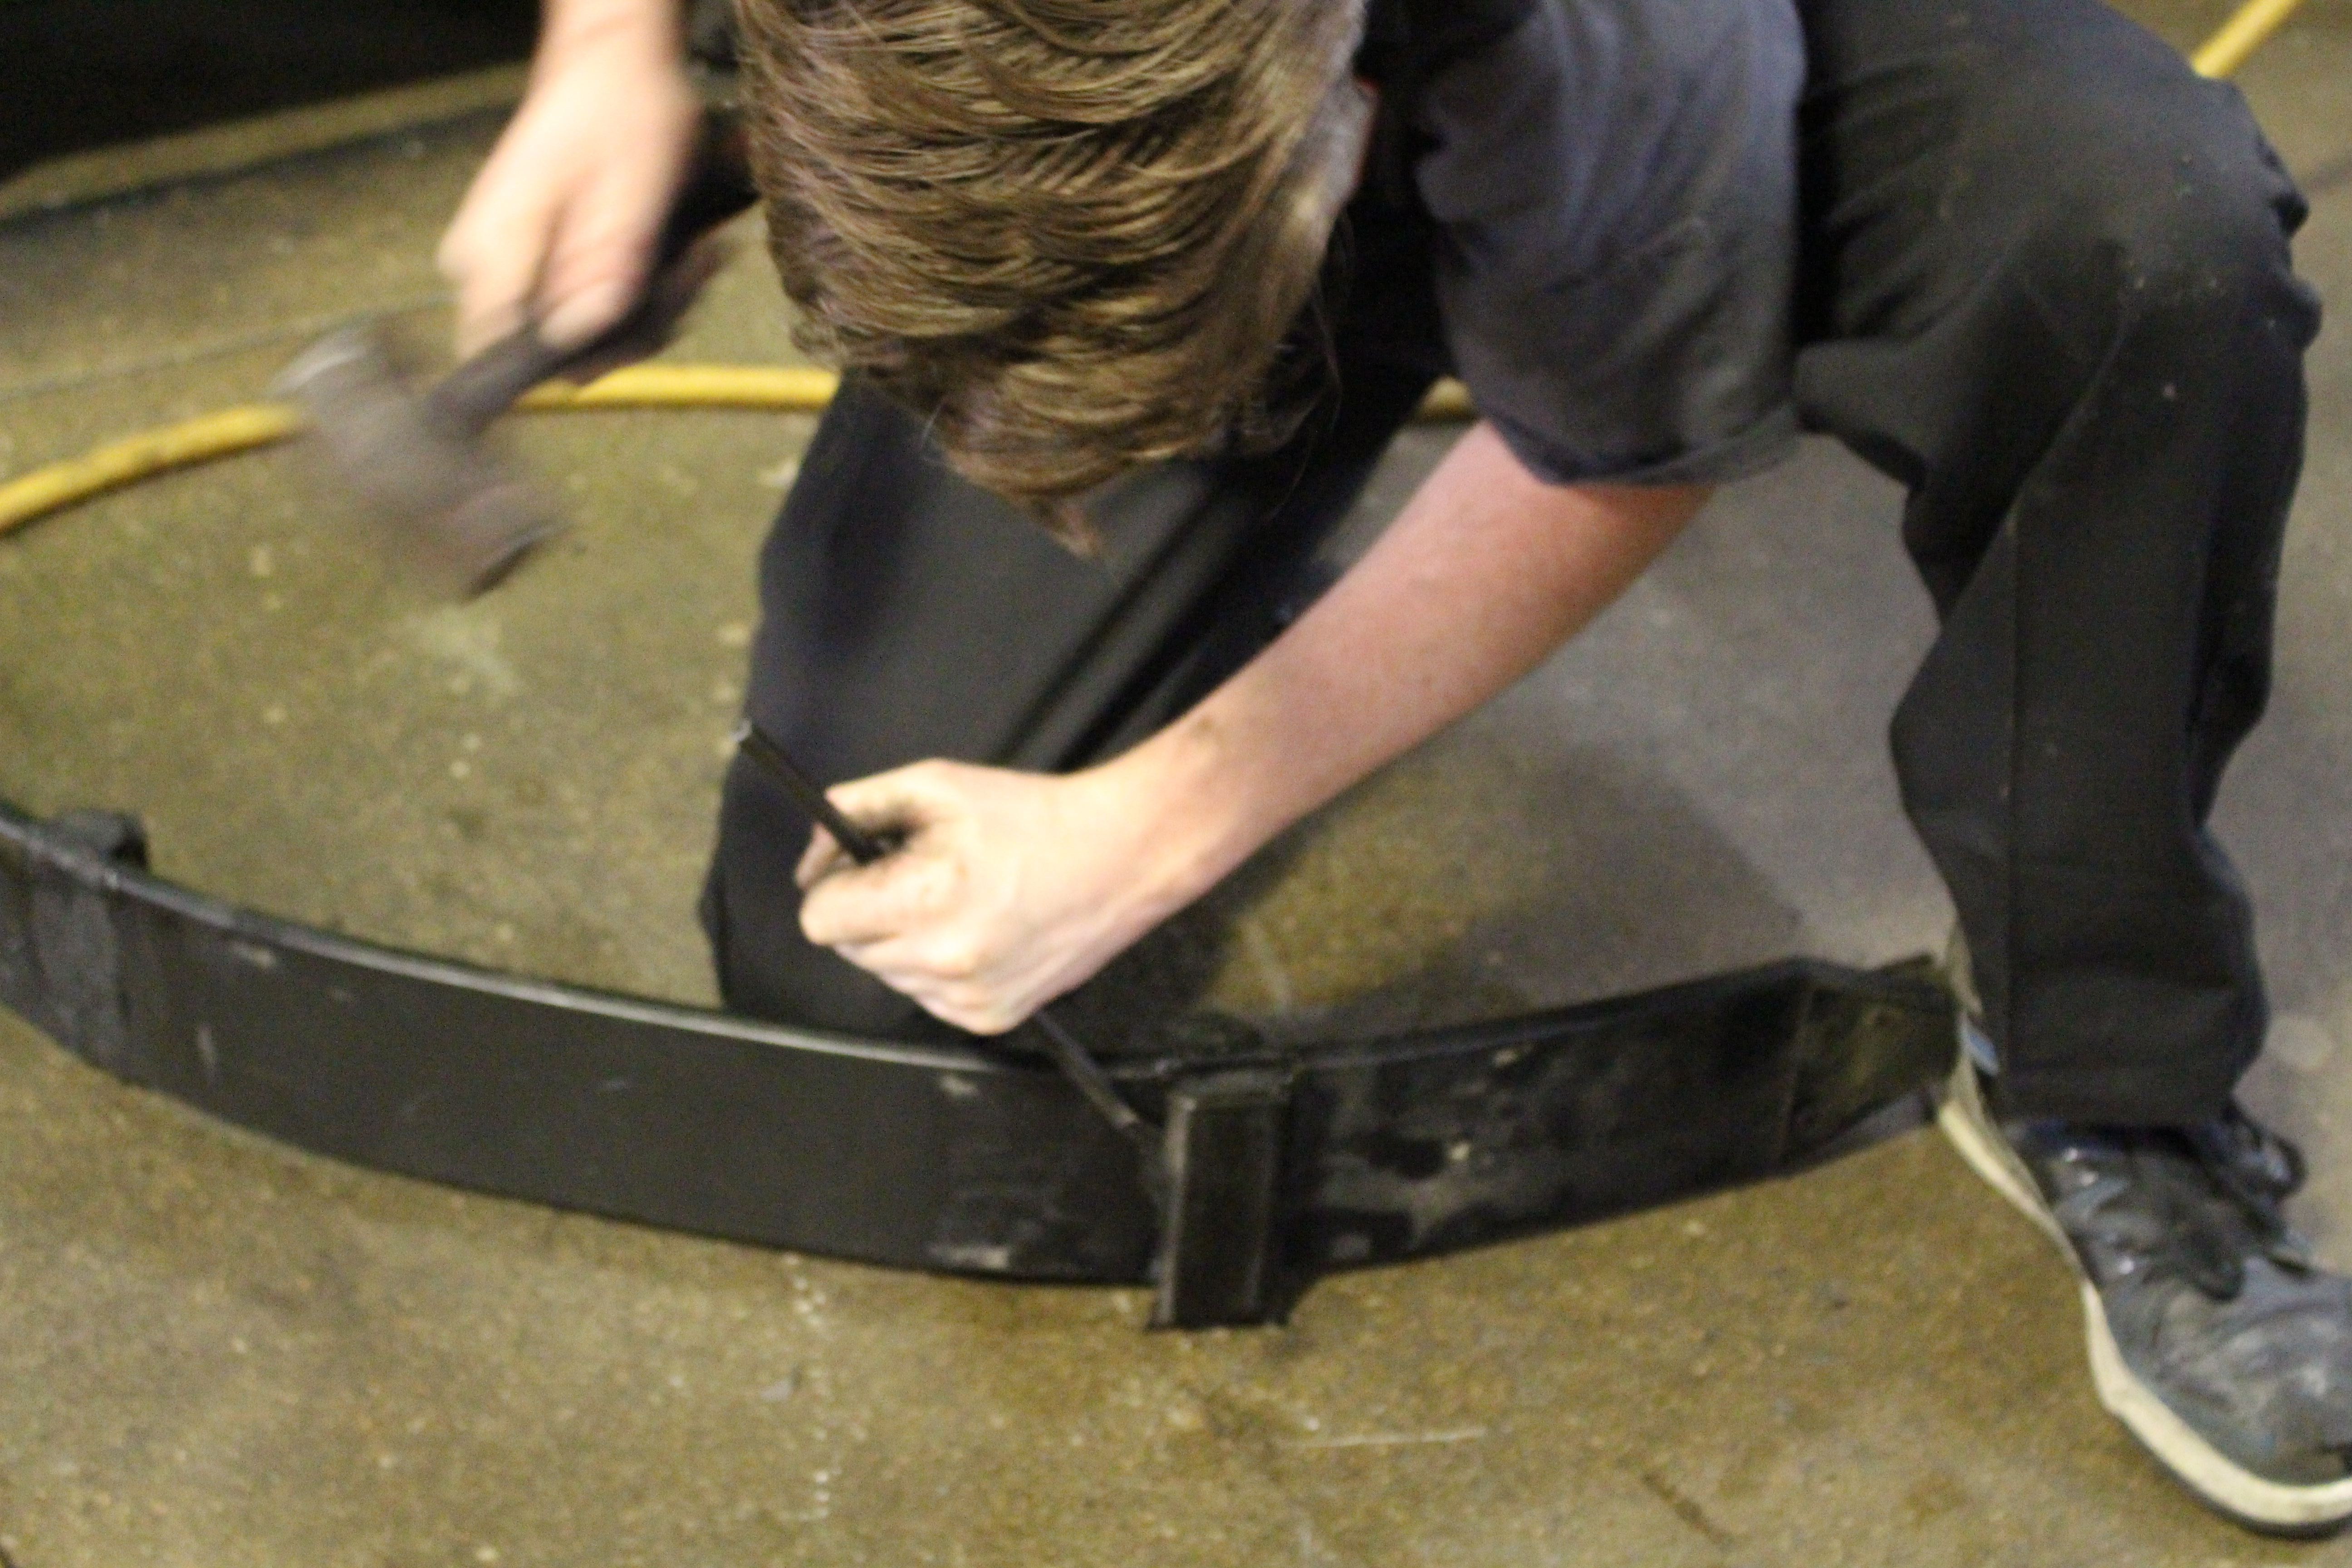
We used a chisel and hammer to knock the old pads off. They did not go willingly. After the old pads are off, be sure and check for cracks or delamination. If all checks out good, move to sanding off any debris left from the old pads.
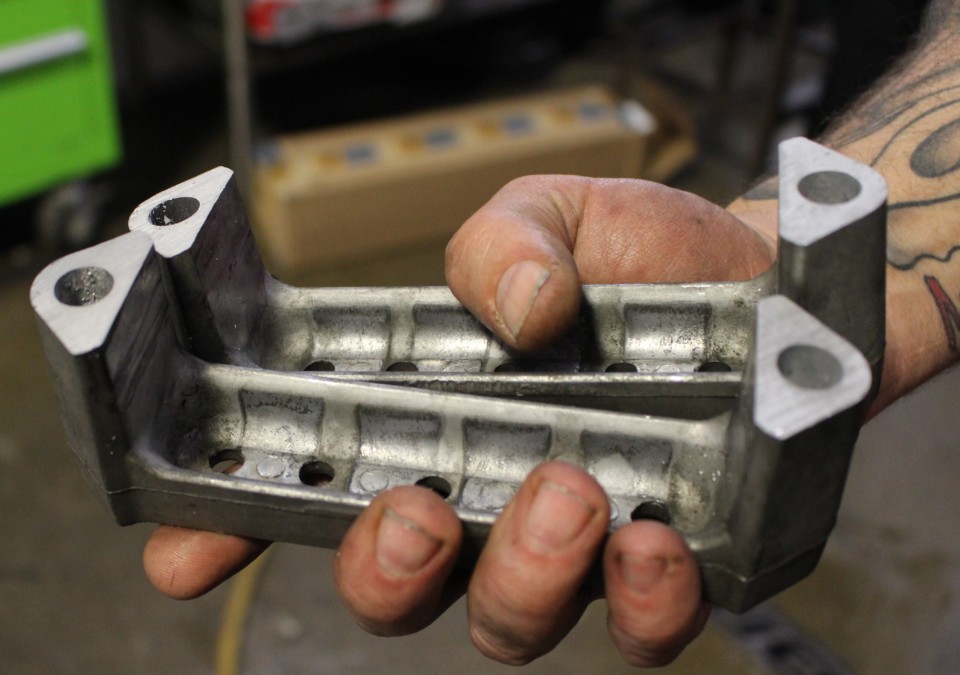
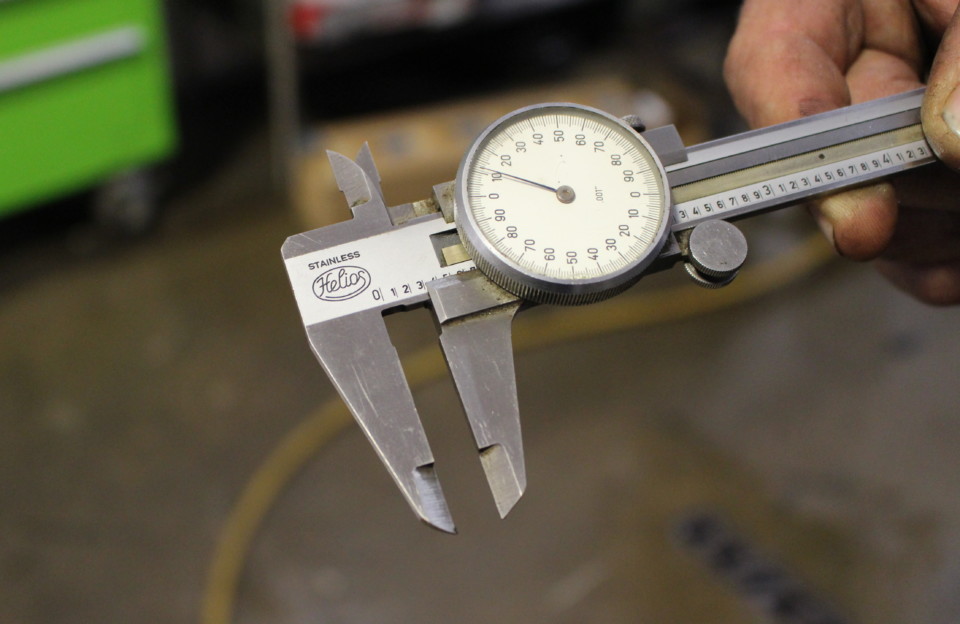
Top: These are the stock-height spring retainers. They are too “tall” for the new pads and won’t seat properly. Middle: We measured the difference between the old pads and the new pads and cut the retainers accordingly. Bottom: With retainers trimmed, they will now snug up nicely to the new pads.
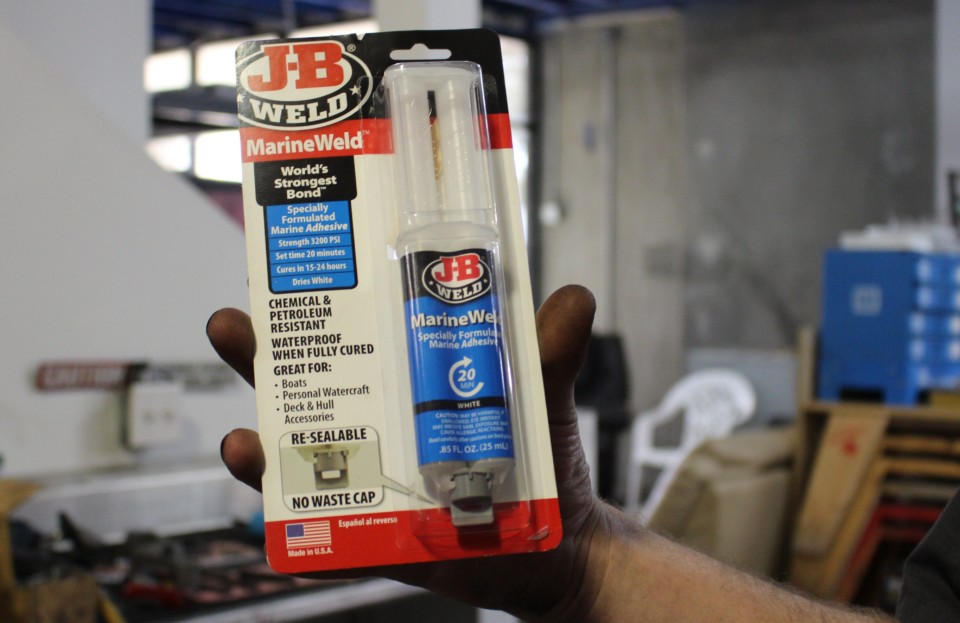
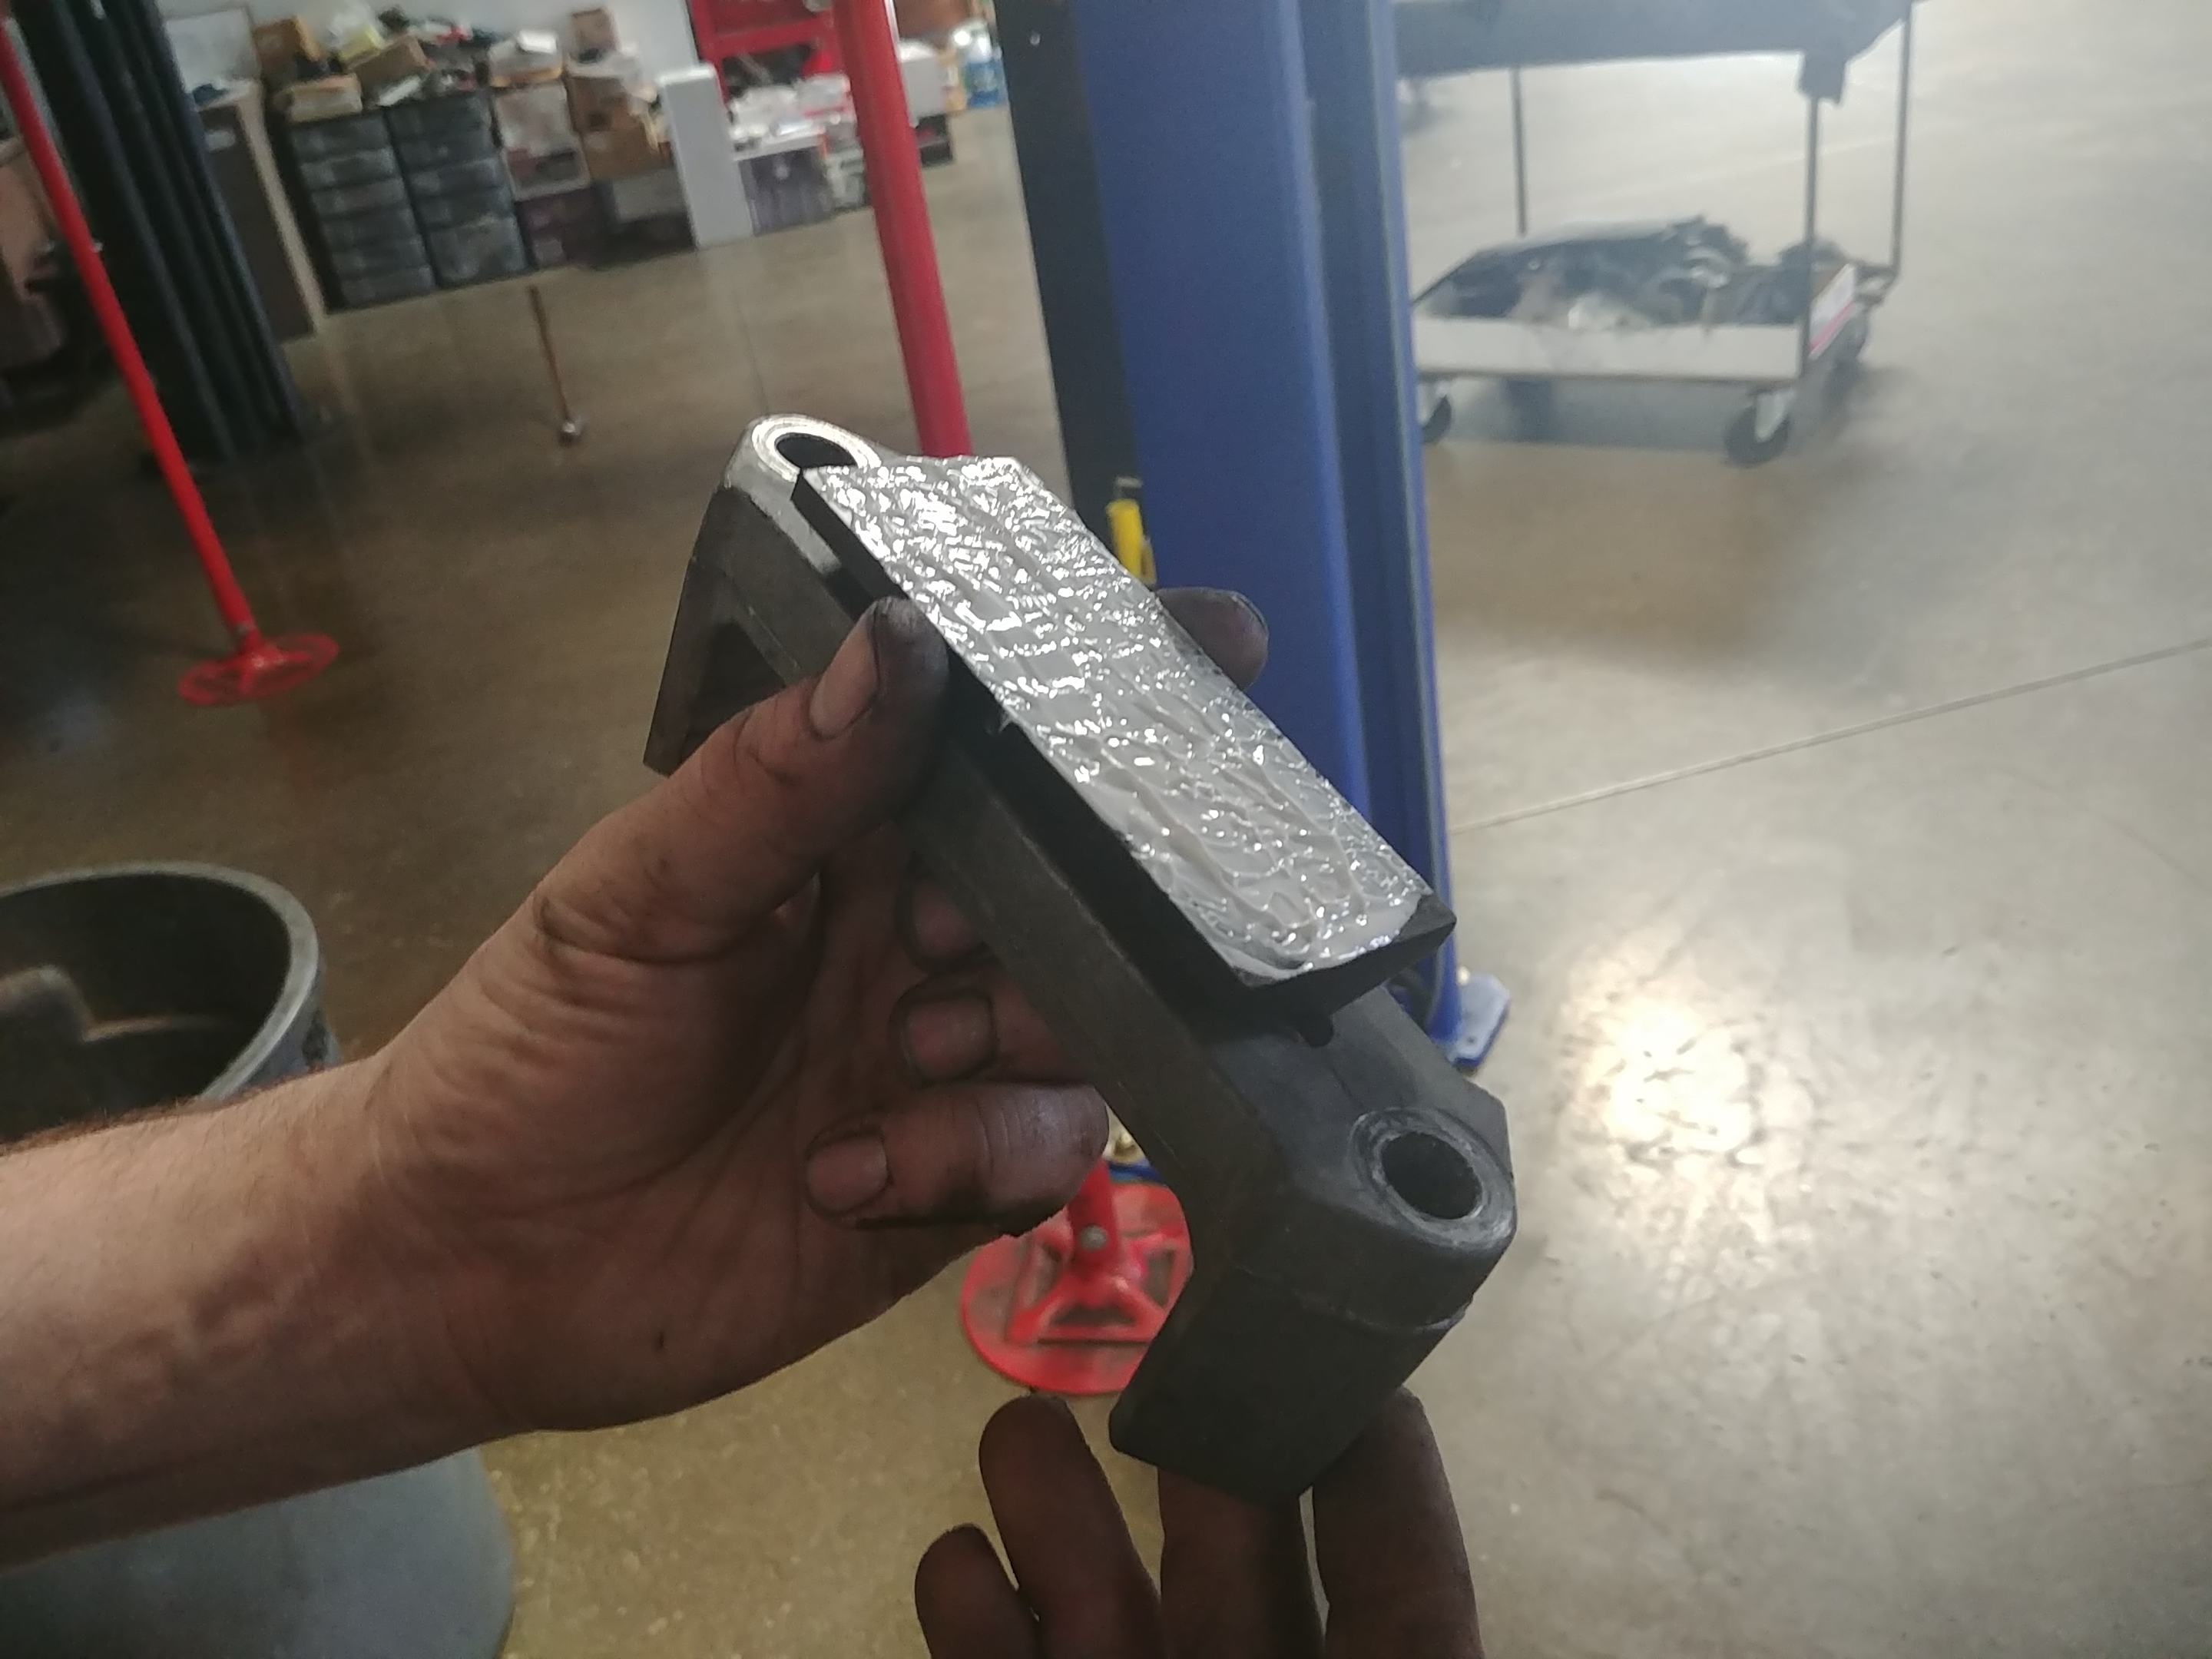
We used JB Weld MarineWeld and have had no pad slippage issues.
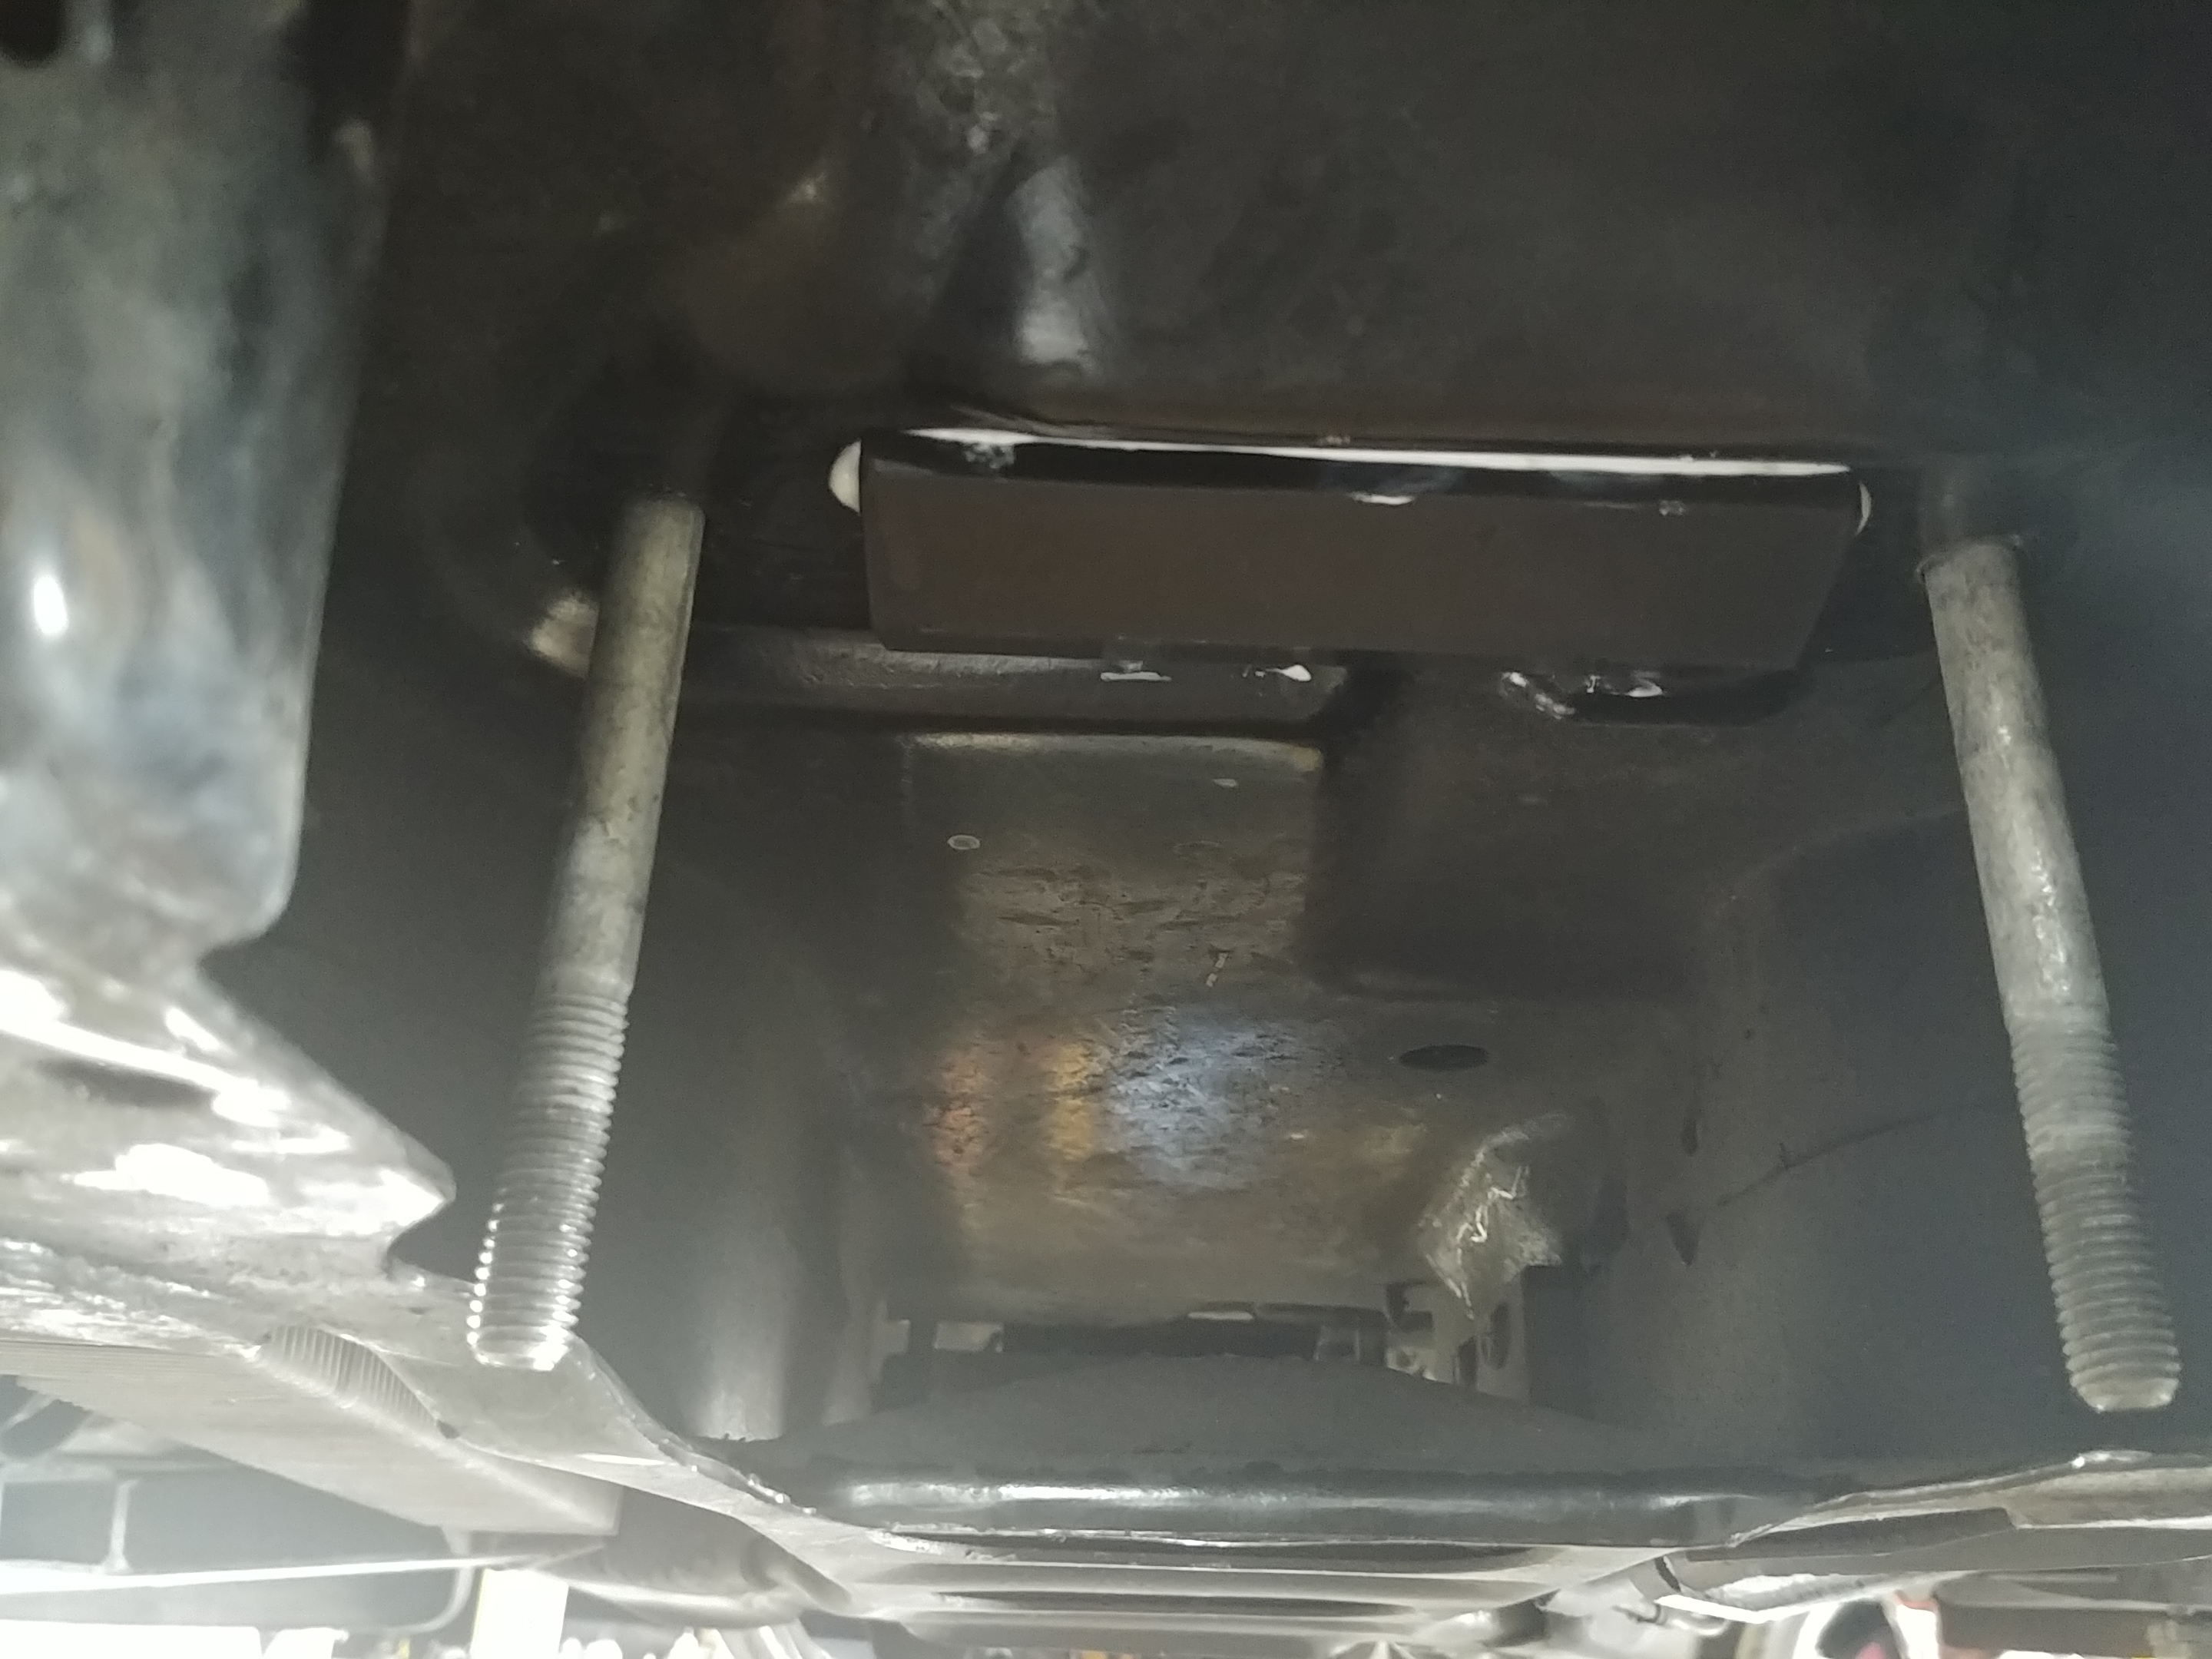
Here's where we deviated from the Mid America instructions. We attached the new, smaller pads to the frame and not the spring. This worked out well because simply re-attaching the retainers upside-down held the new pads in place so they could cure overnight.
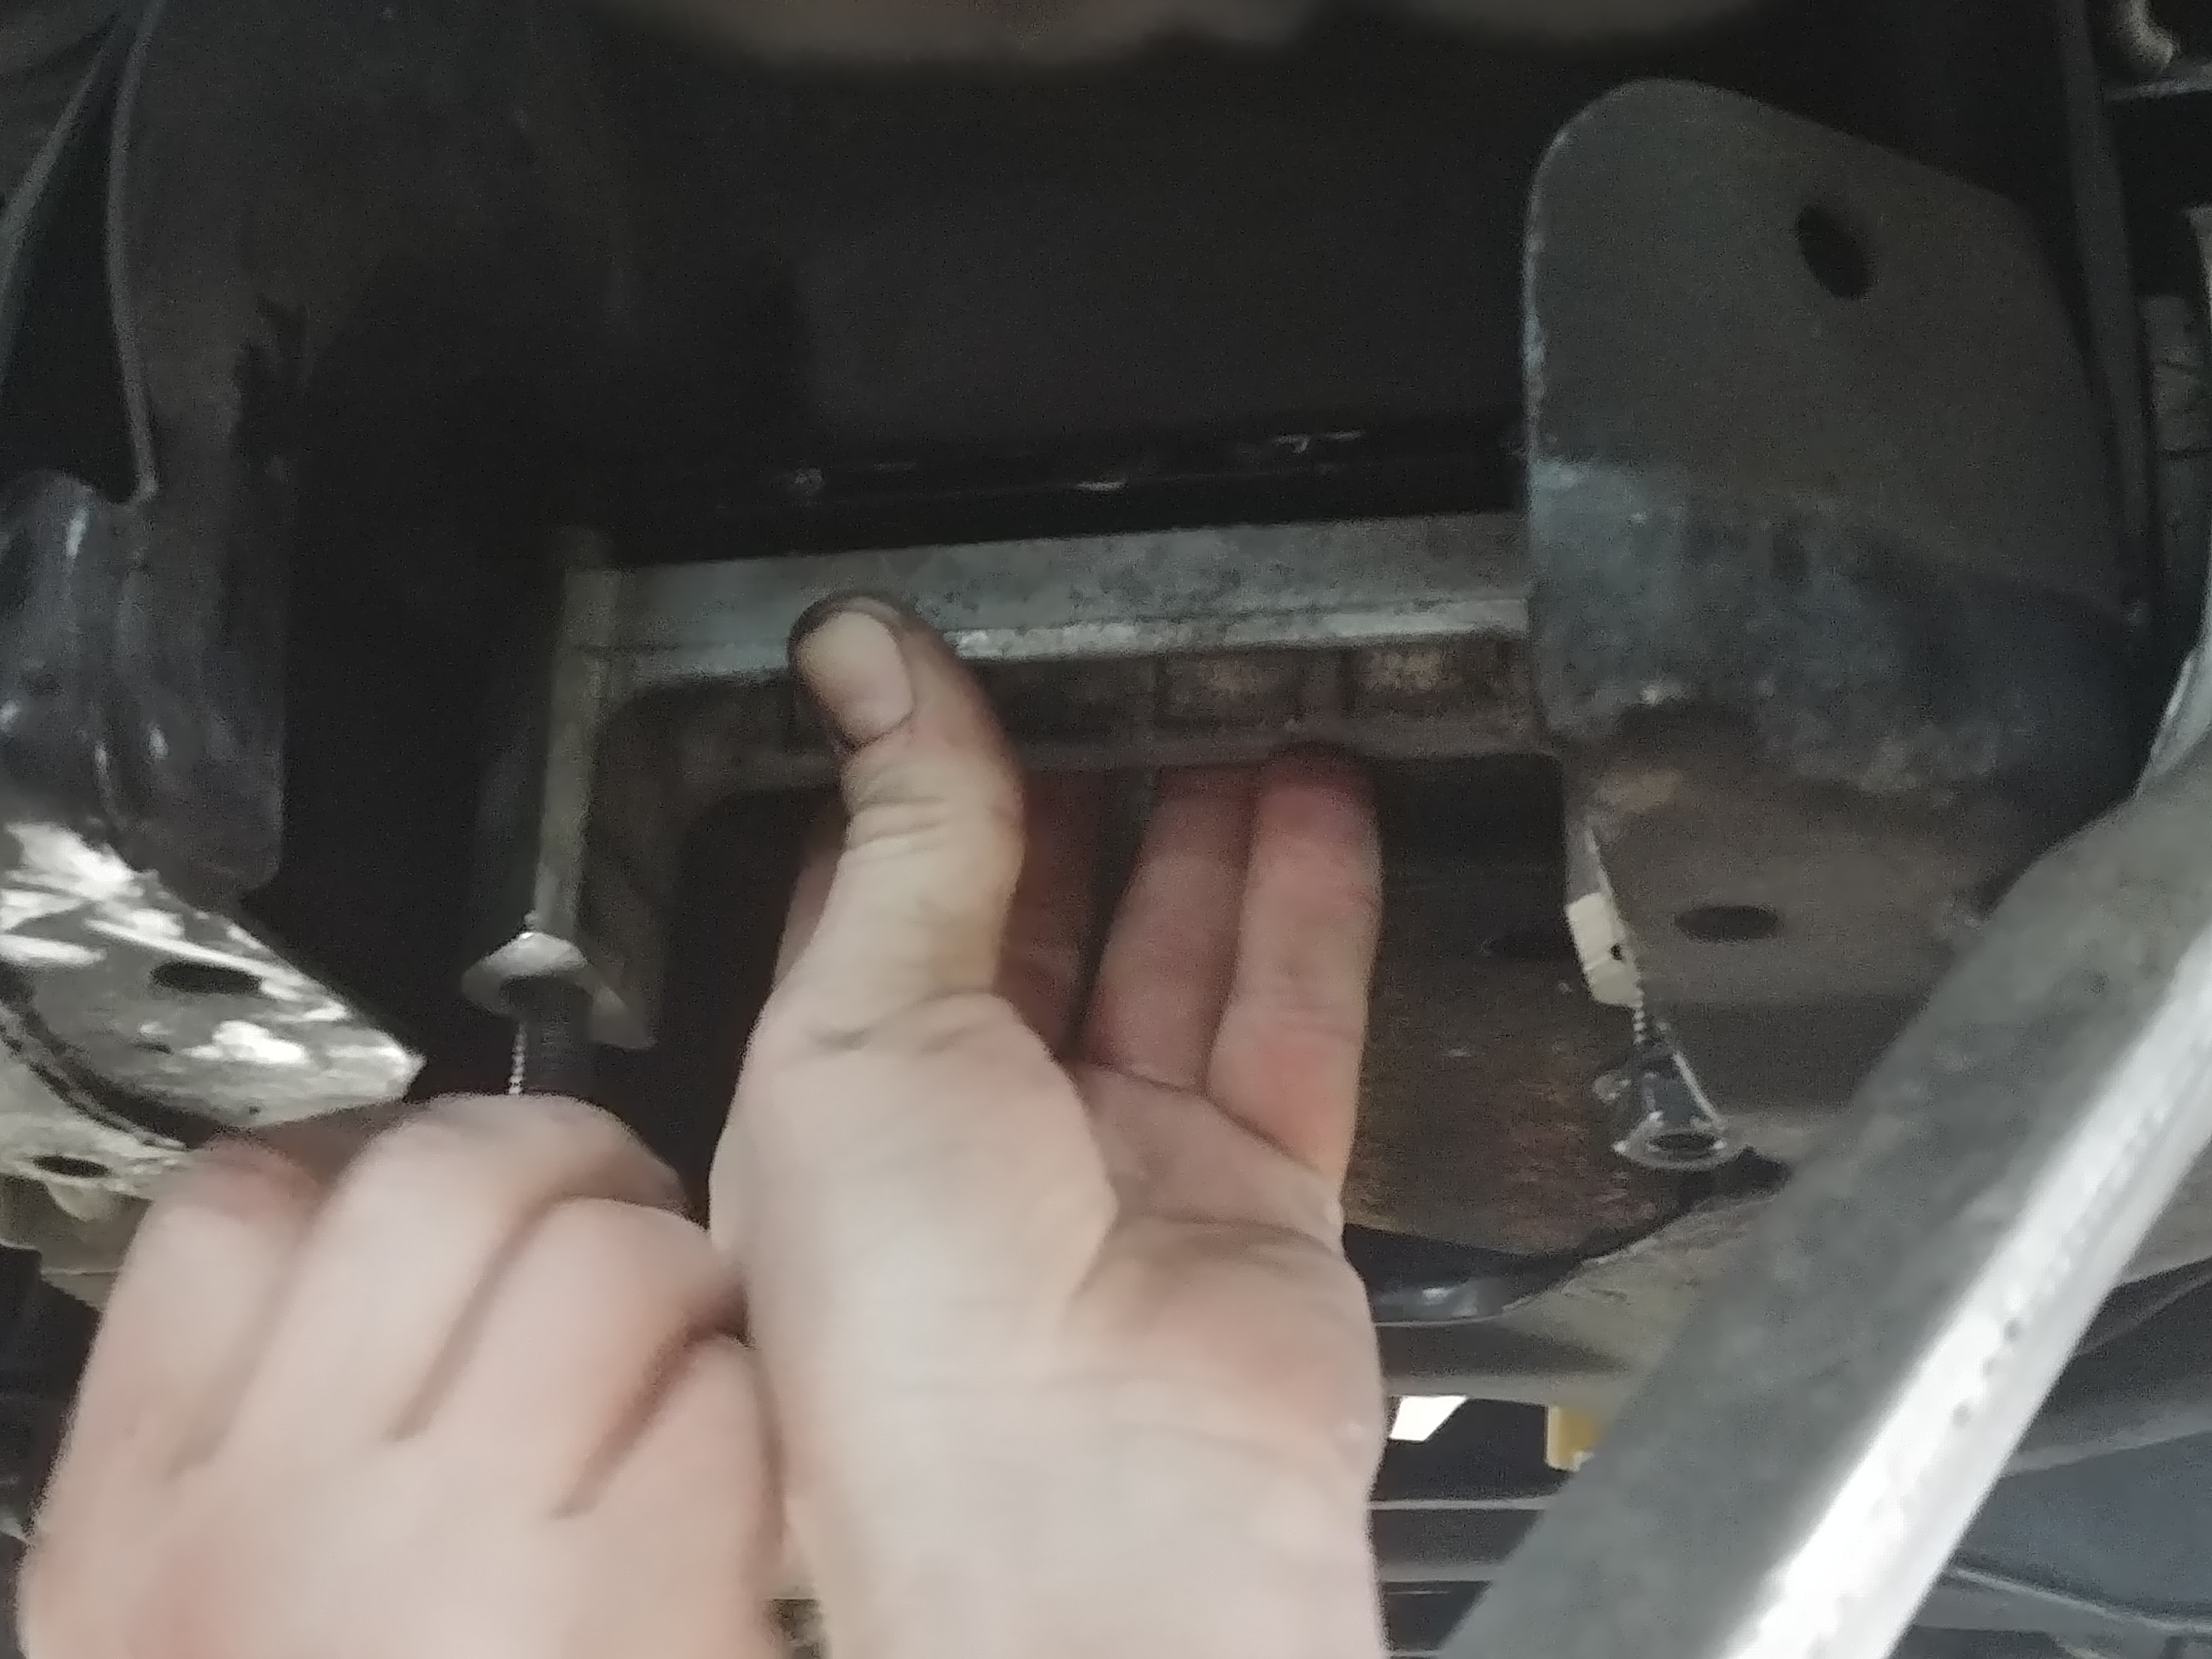
The next morning we hit it hard again. We checked the adhesion of the pads, and when all checked out good, we continued. We slid the spring in and centered it up via the ribbed rubber retainers. Then we reattached the modified aluminum retainers. A key note, the spring ends are held in place by the lower A-arms with no mechanical fasteners. We lubed the end before raising the control arm into position.
Line up the ribbed rubber stops and attach the retainers.
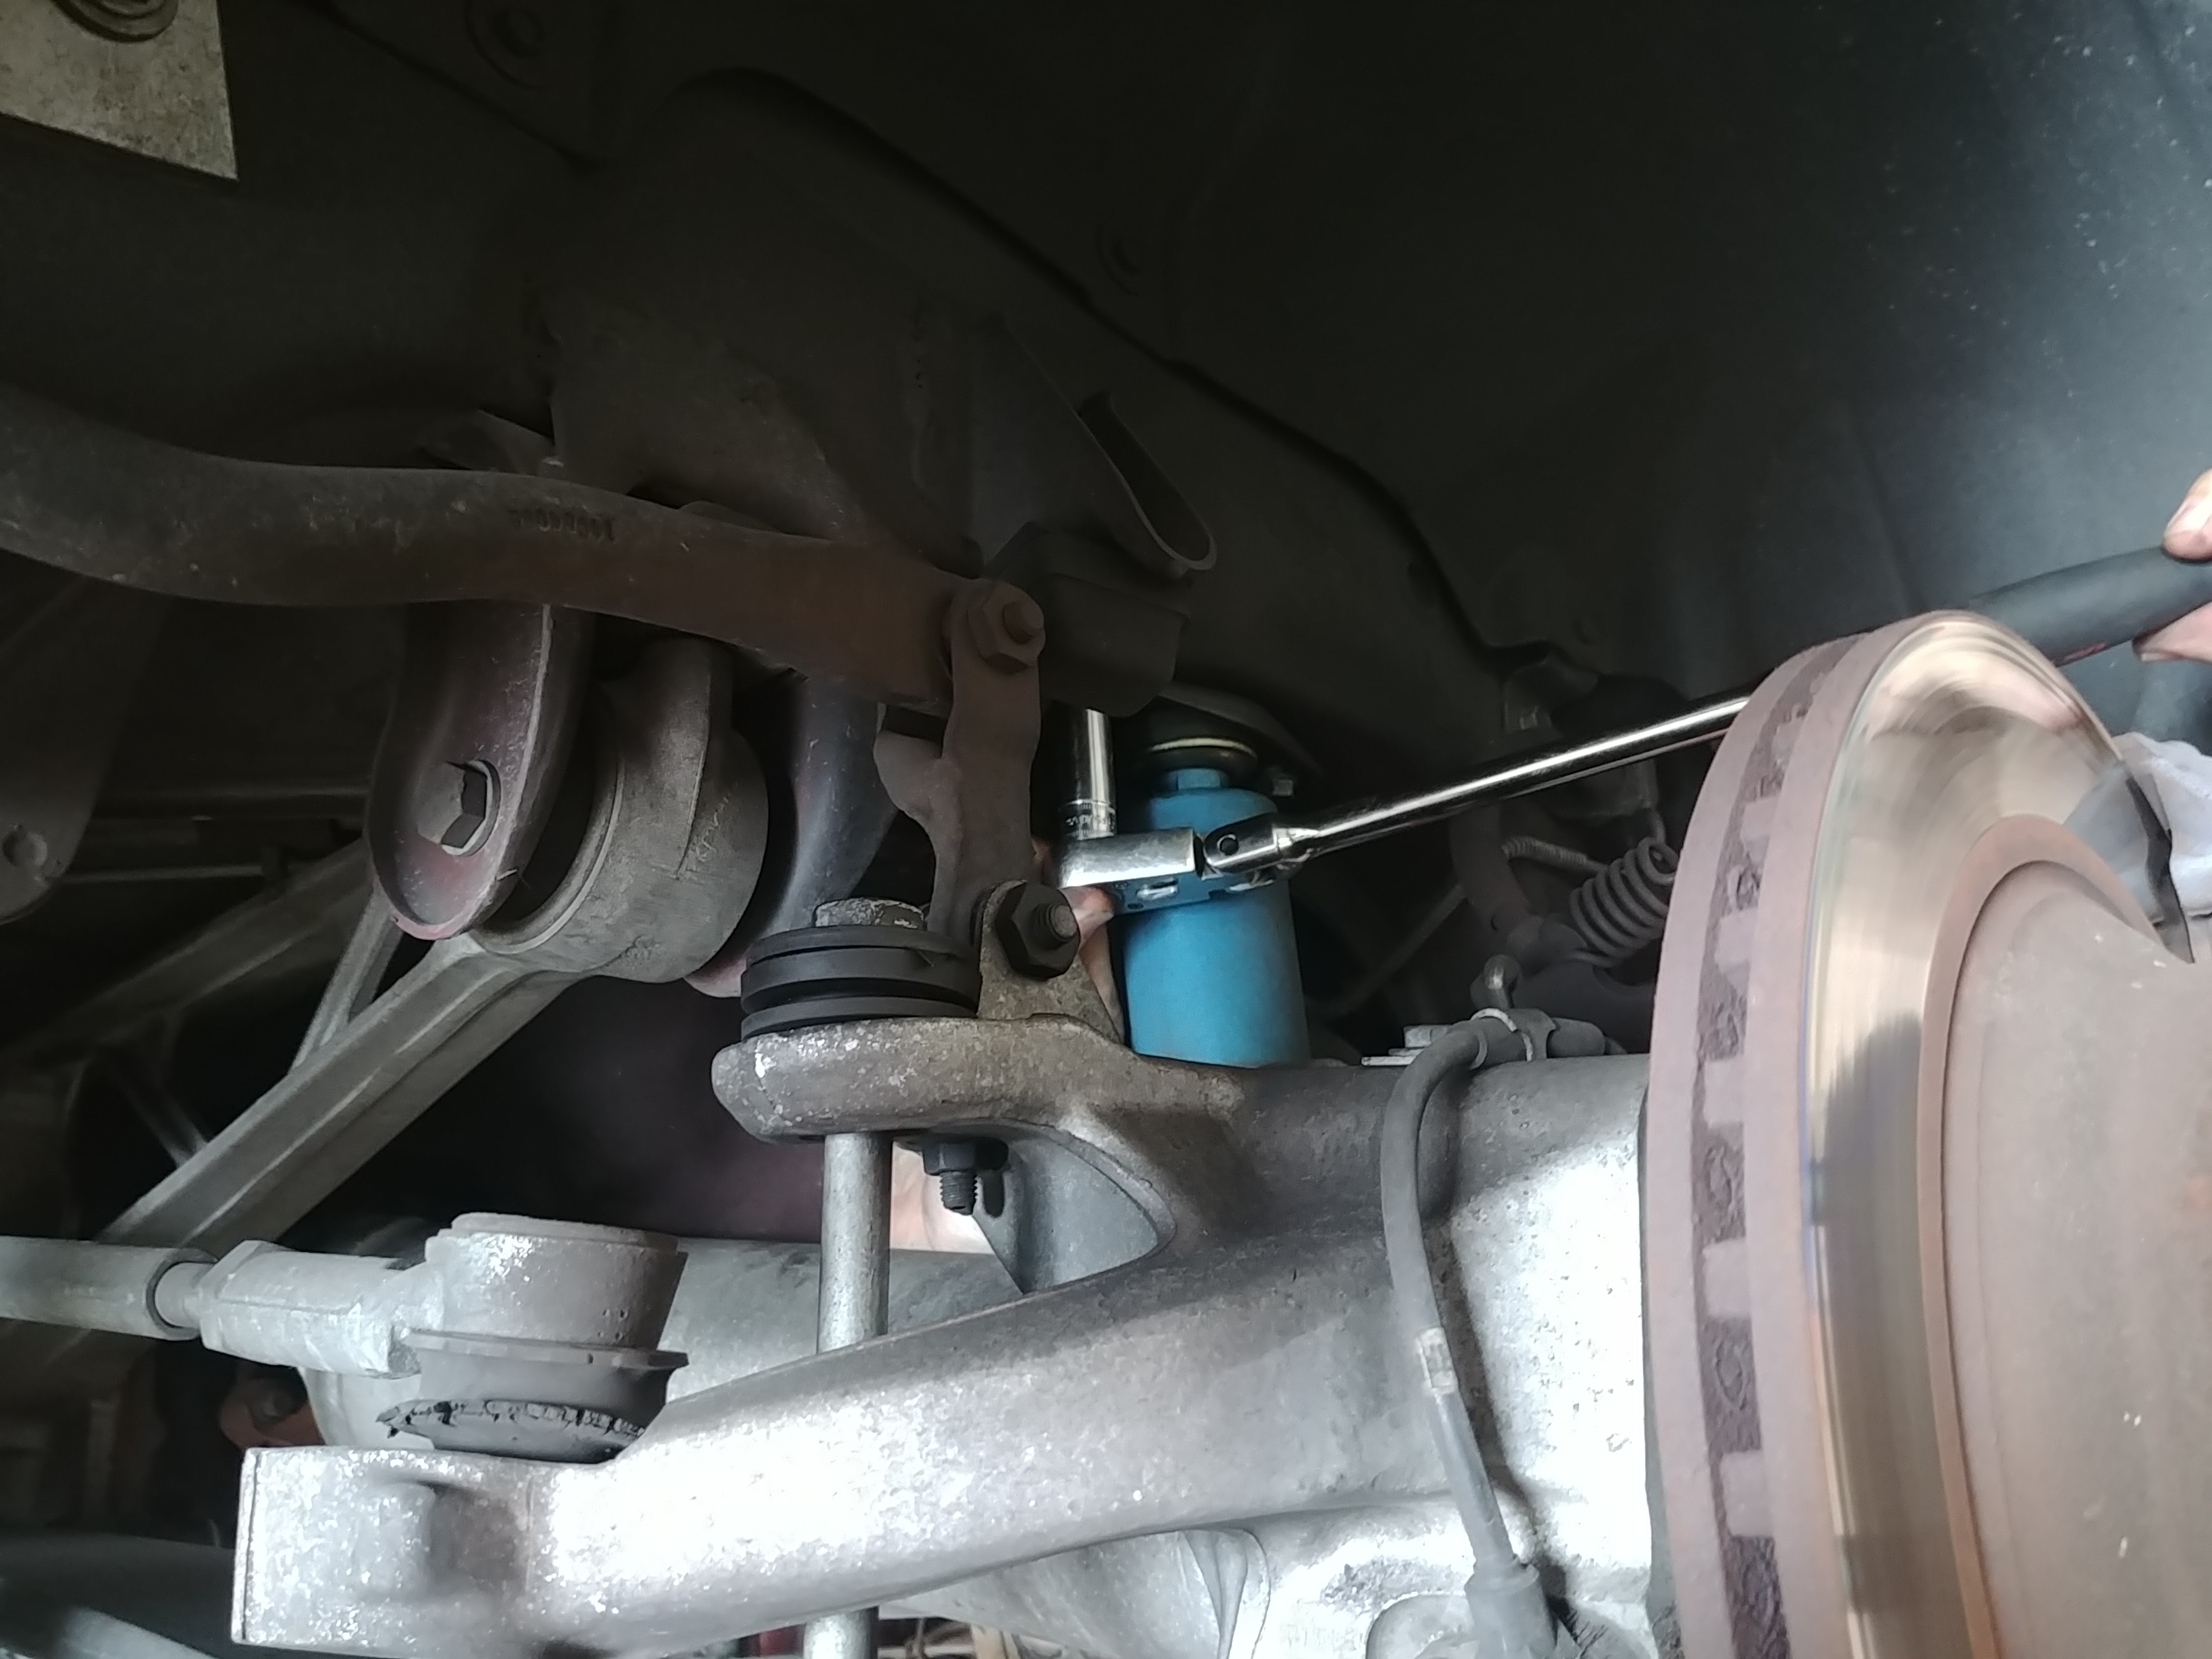
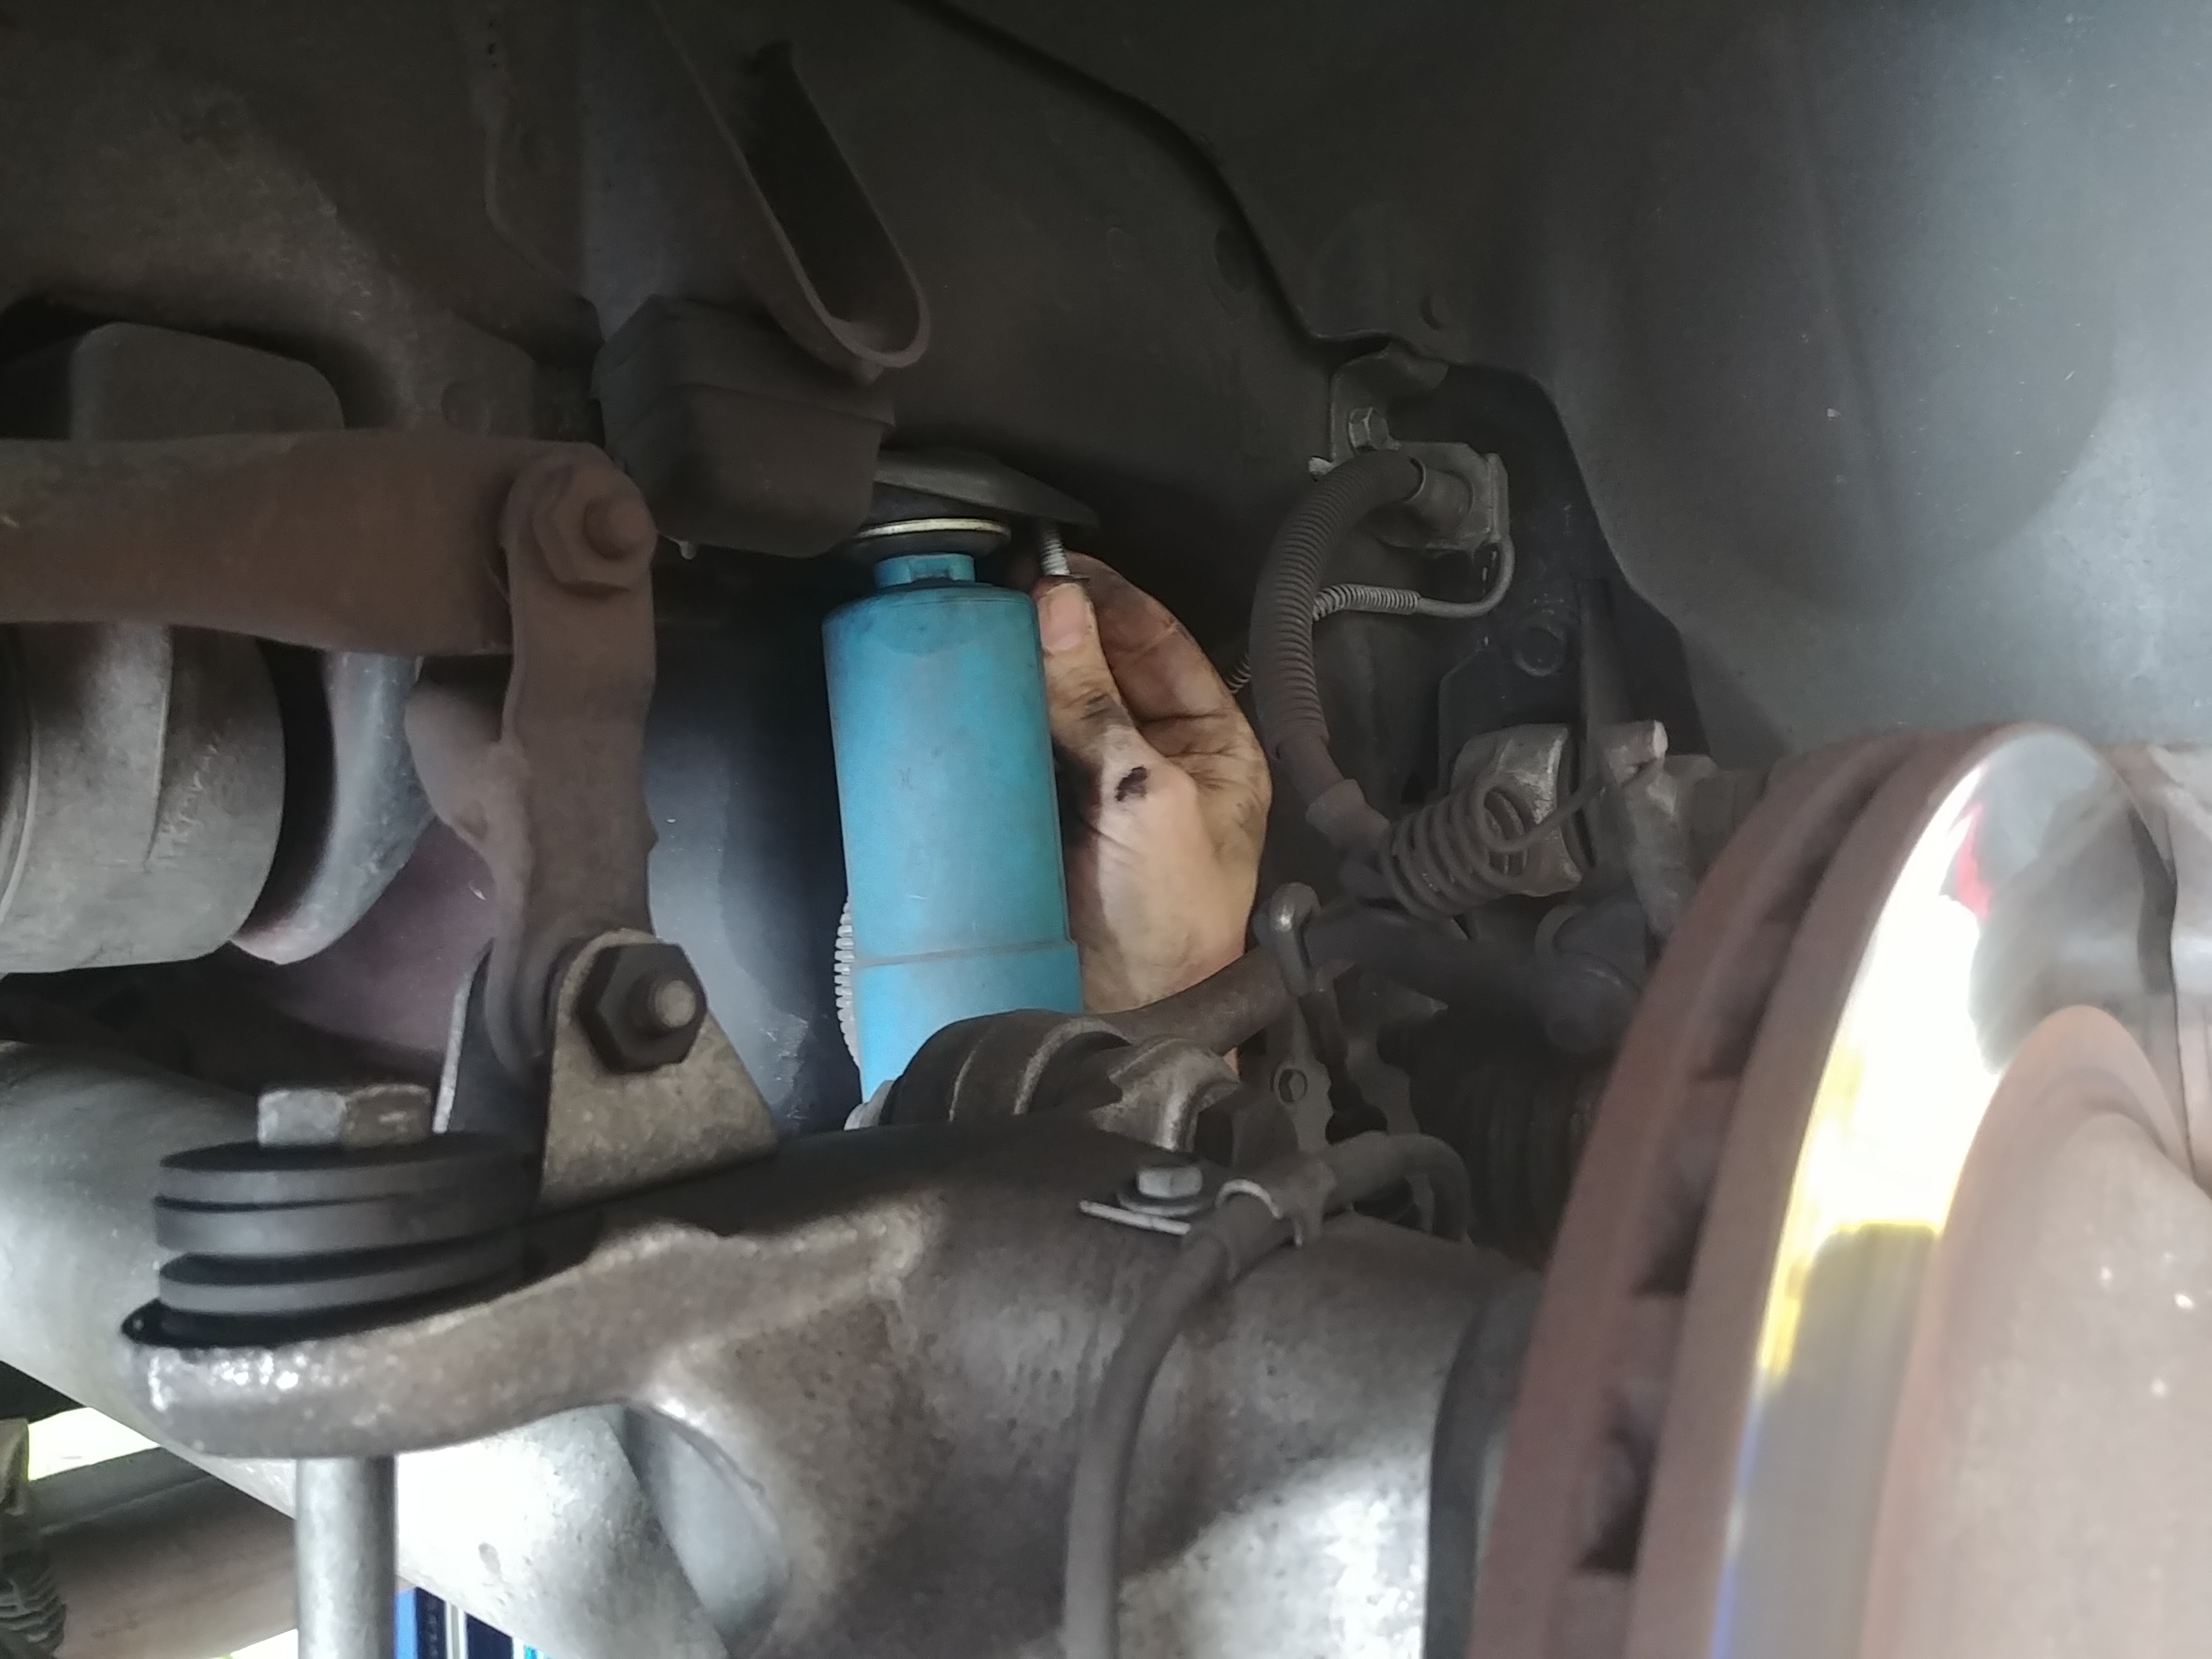
The next step before reassembling front-suspension components was to install the new shocks. Remember, we already removed the two bolts holding the bottom of the shock to the lower A-arm. So all we have to do is remove the bolt at the top of the shock and swap in the replacement.
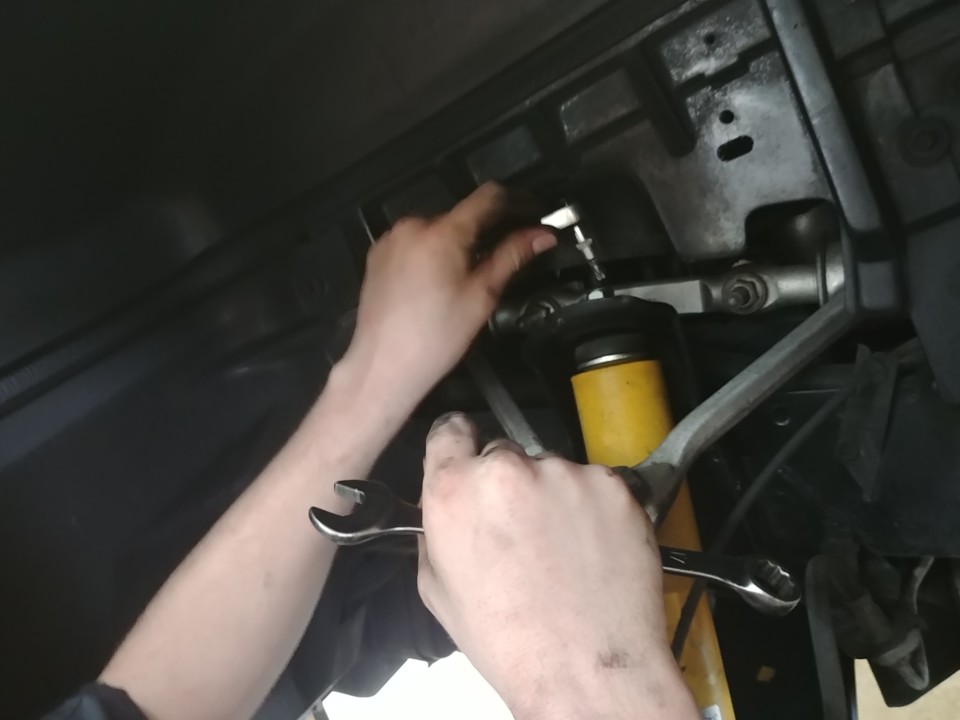
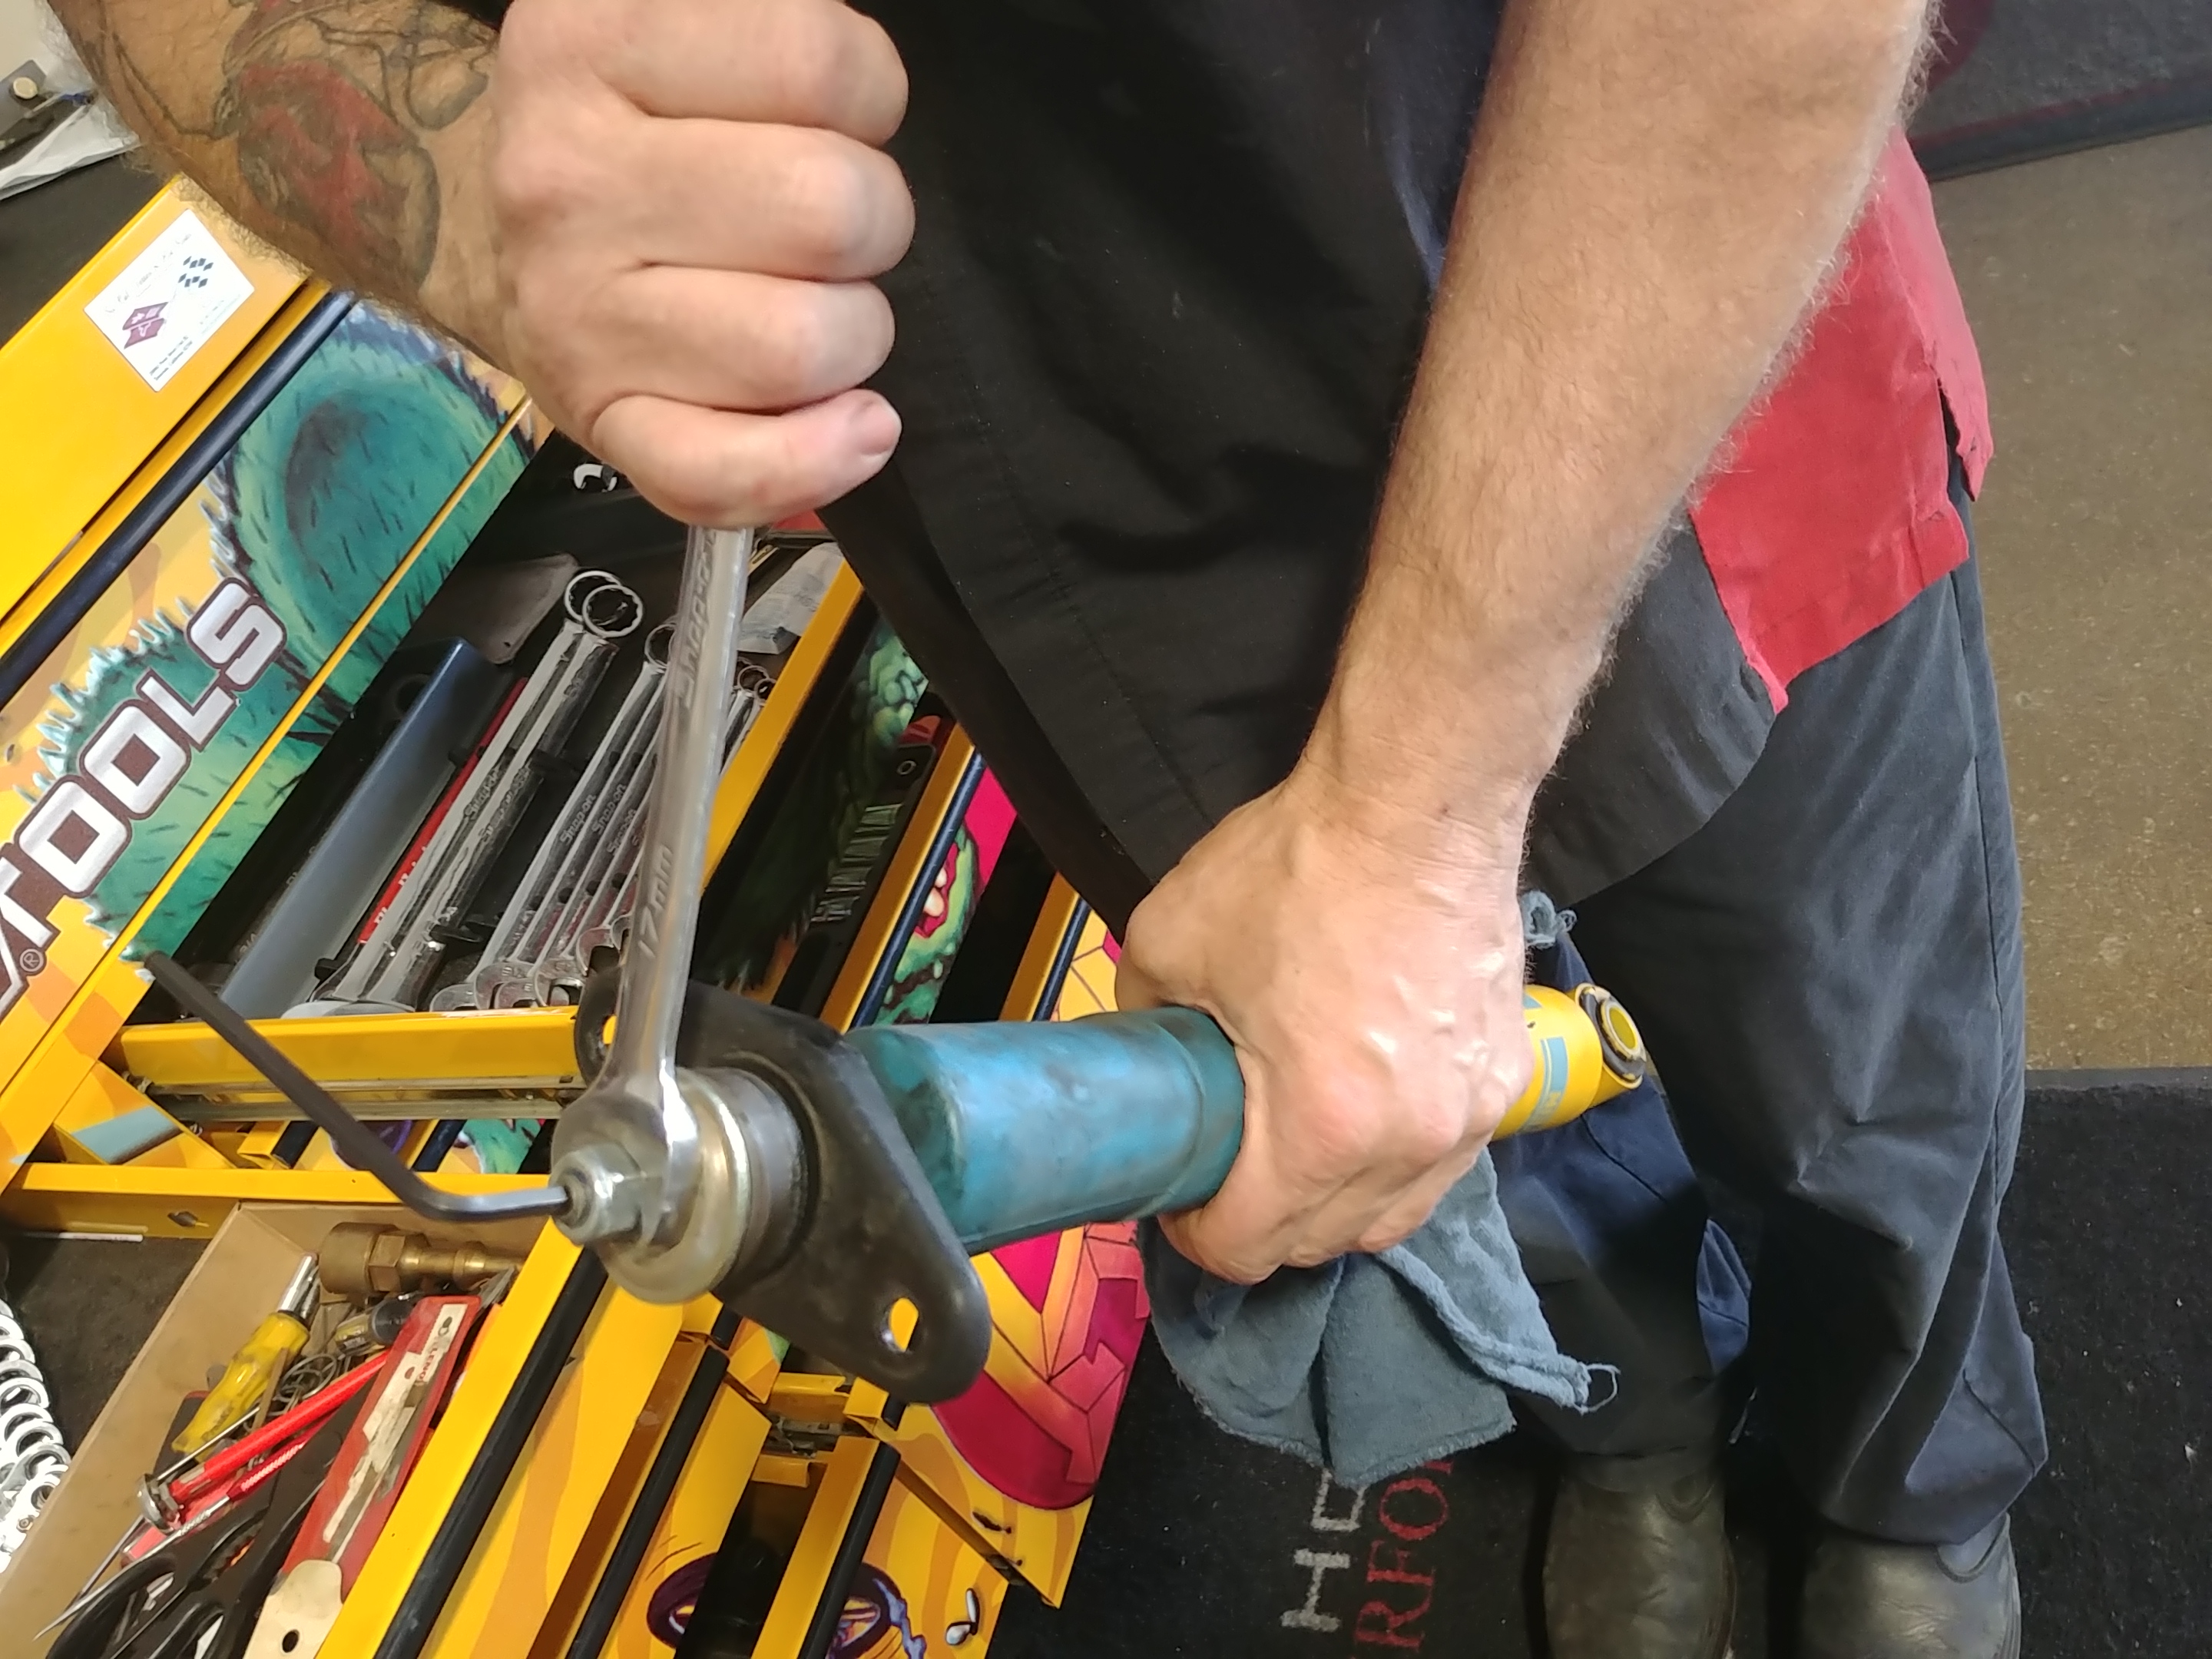
A single nut attaches the shock at the top. You’ll need to stabilize the shaft by inserting an Allen-head wrench at the top.
We raised the scissor jack to attach the lower ball joint and bottom shock mounts. After all attaching points are loosely fastened, go back and tighten all of them down to factory specs.
Next, we set our sights on the rear suspension. We approached this in two stages, first installing the lowering bolts and then replacing the rear shocks.
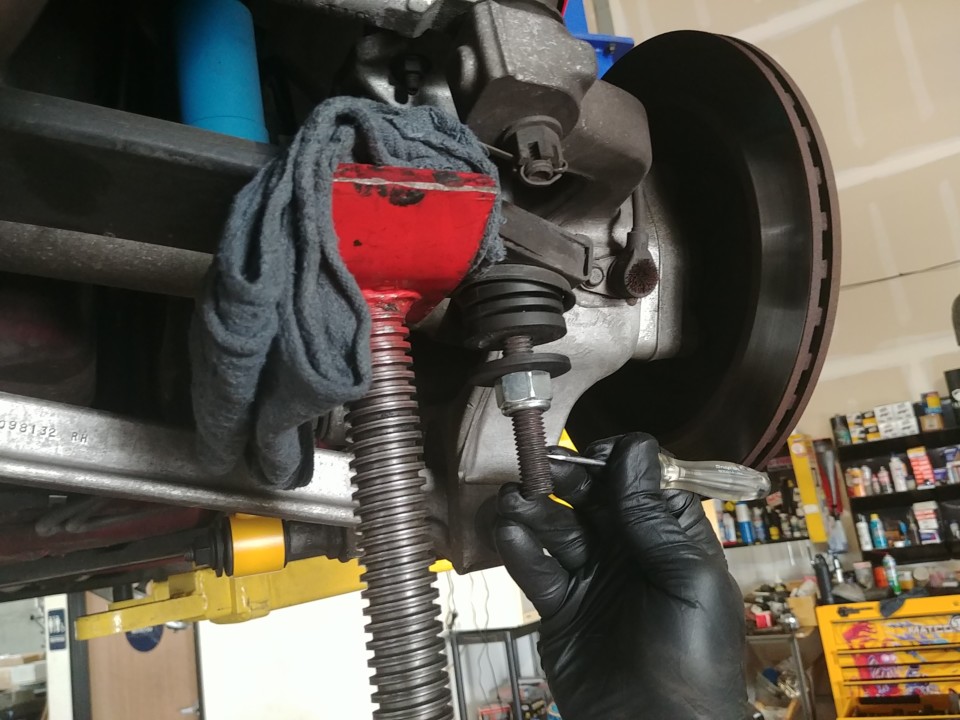
We placed the rag-wielding scissor jack at the farthest outboard point of our spring before the bolt and unloaded the spring. Rocky used a screwdriver to count threads to ensure even height at both sides. Final ride height is adjusted by how close you unthread the nut to the end of the bolt.
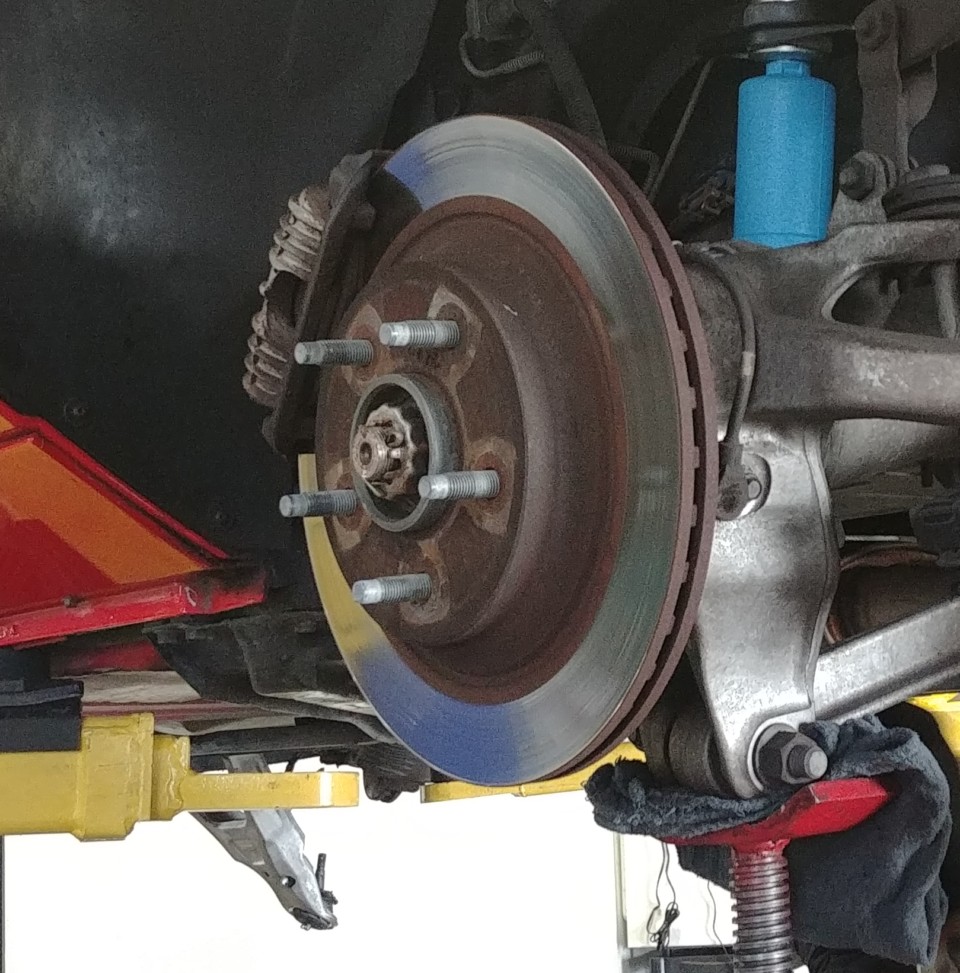
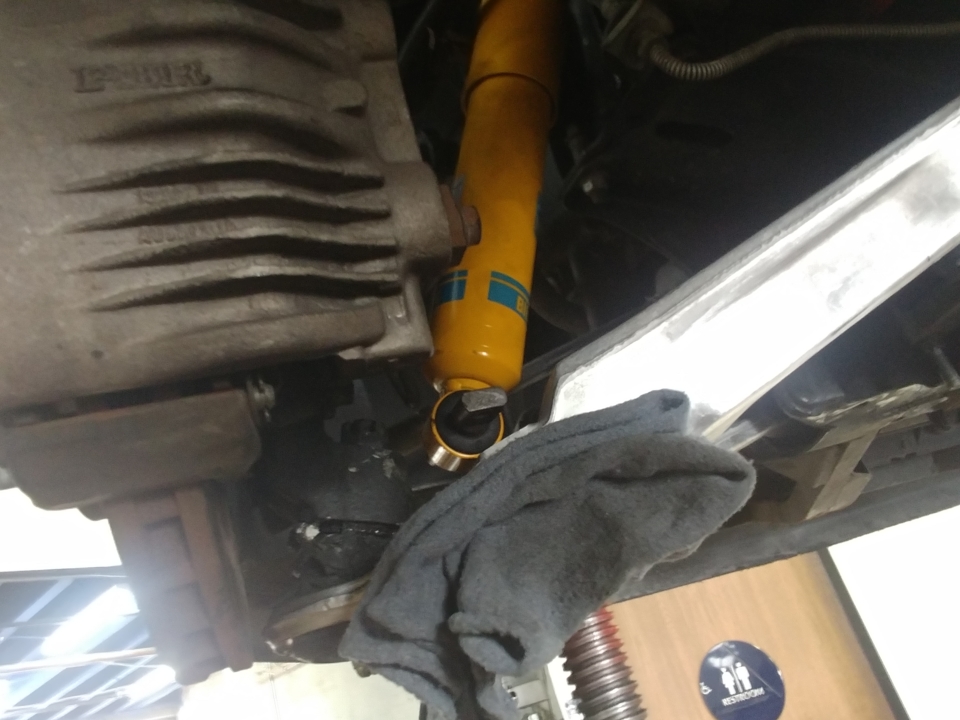
To swap in the new Bilstein shocks, re-position the jack to the bottom of the lower control arm, under the shock lower attachment point.
Break free the two bolts from the top of the shock as well as the shock's single, lower bolt.
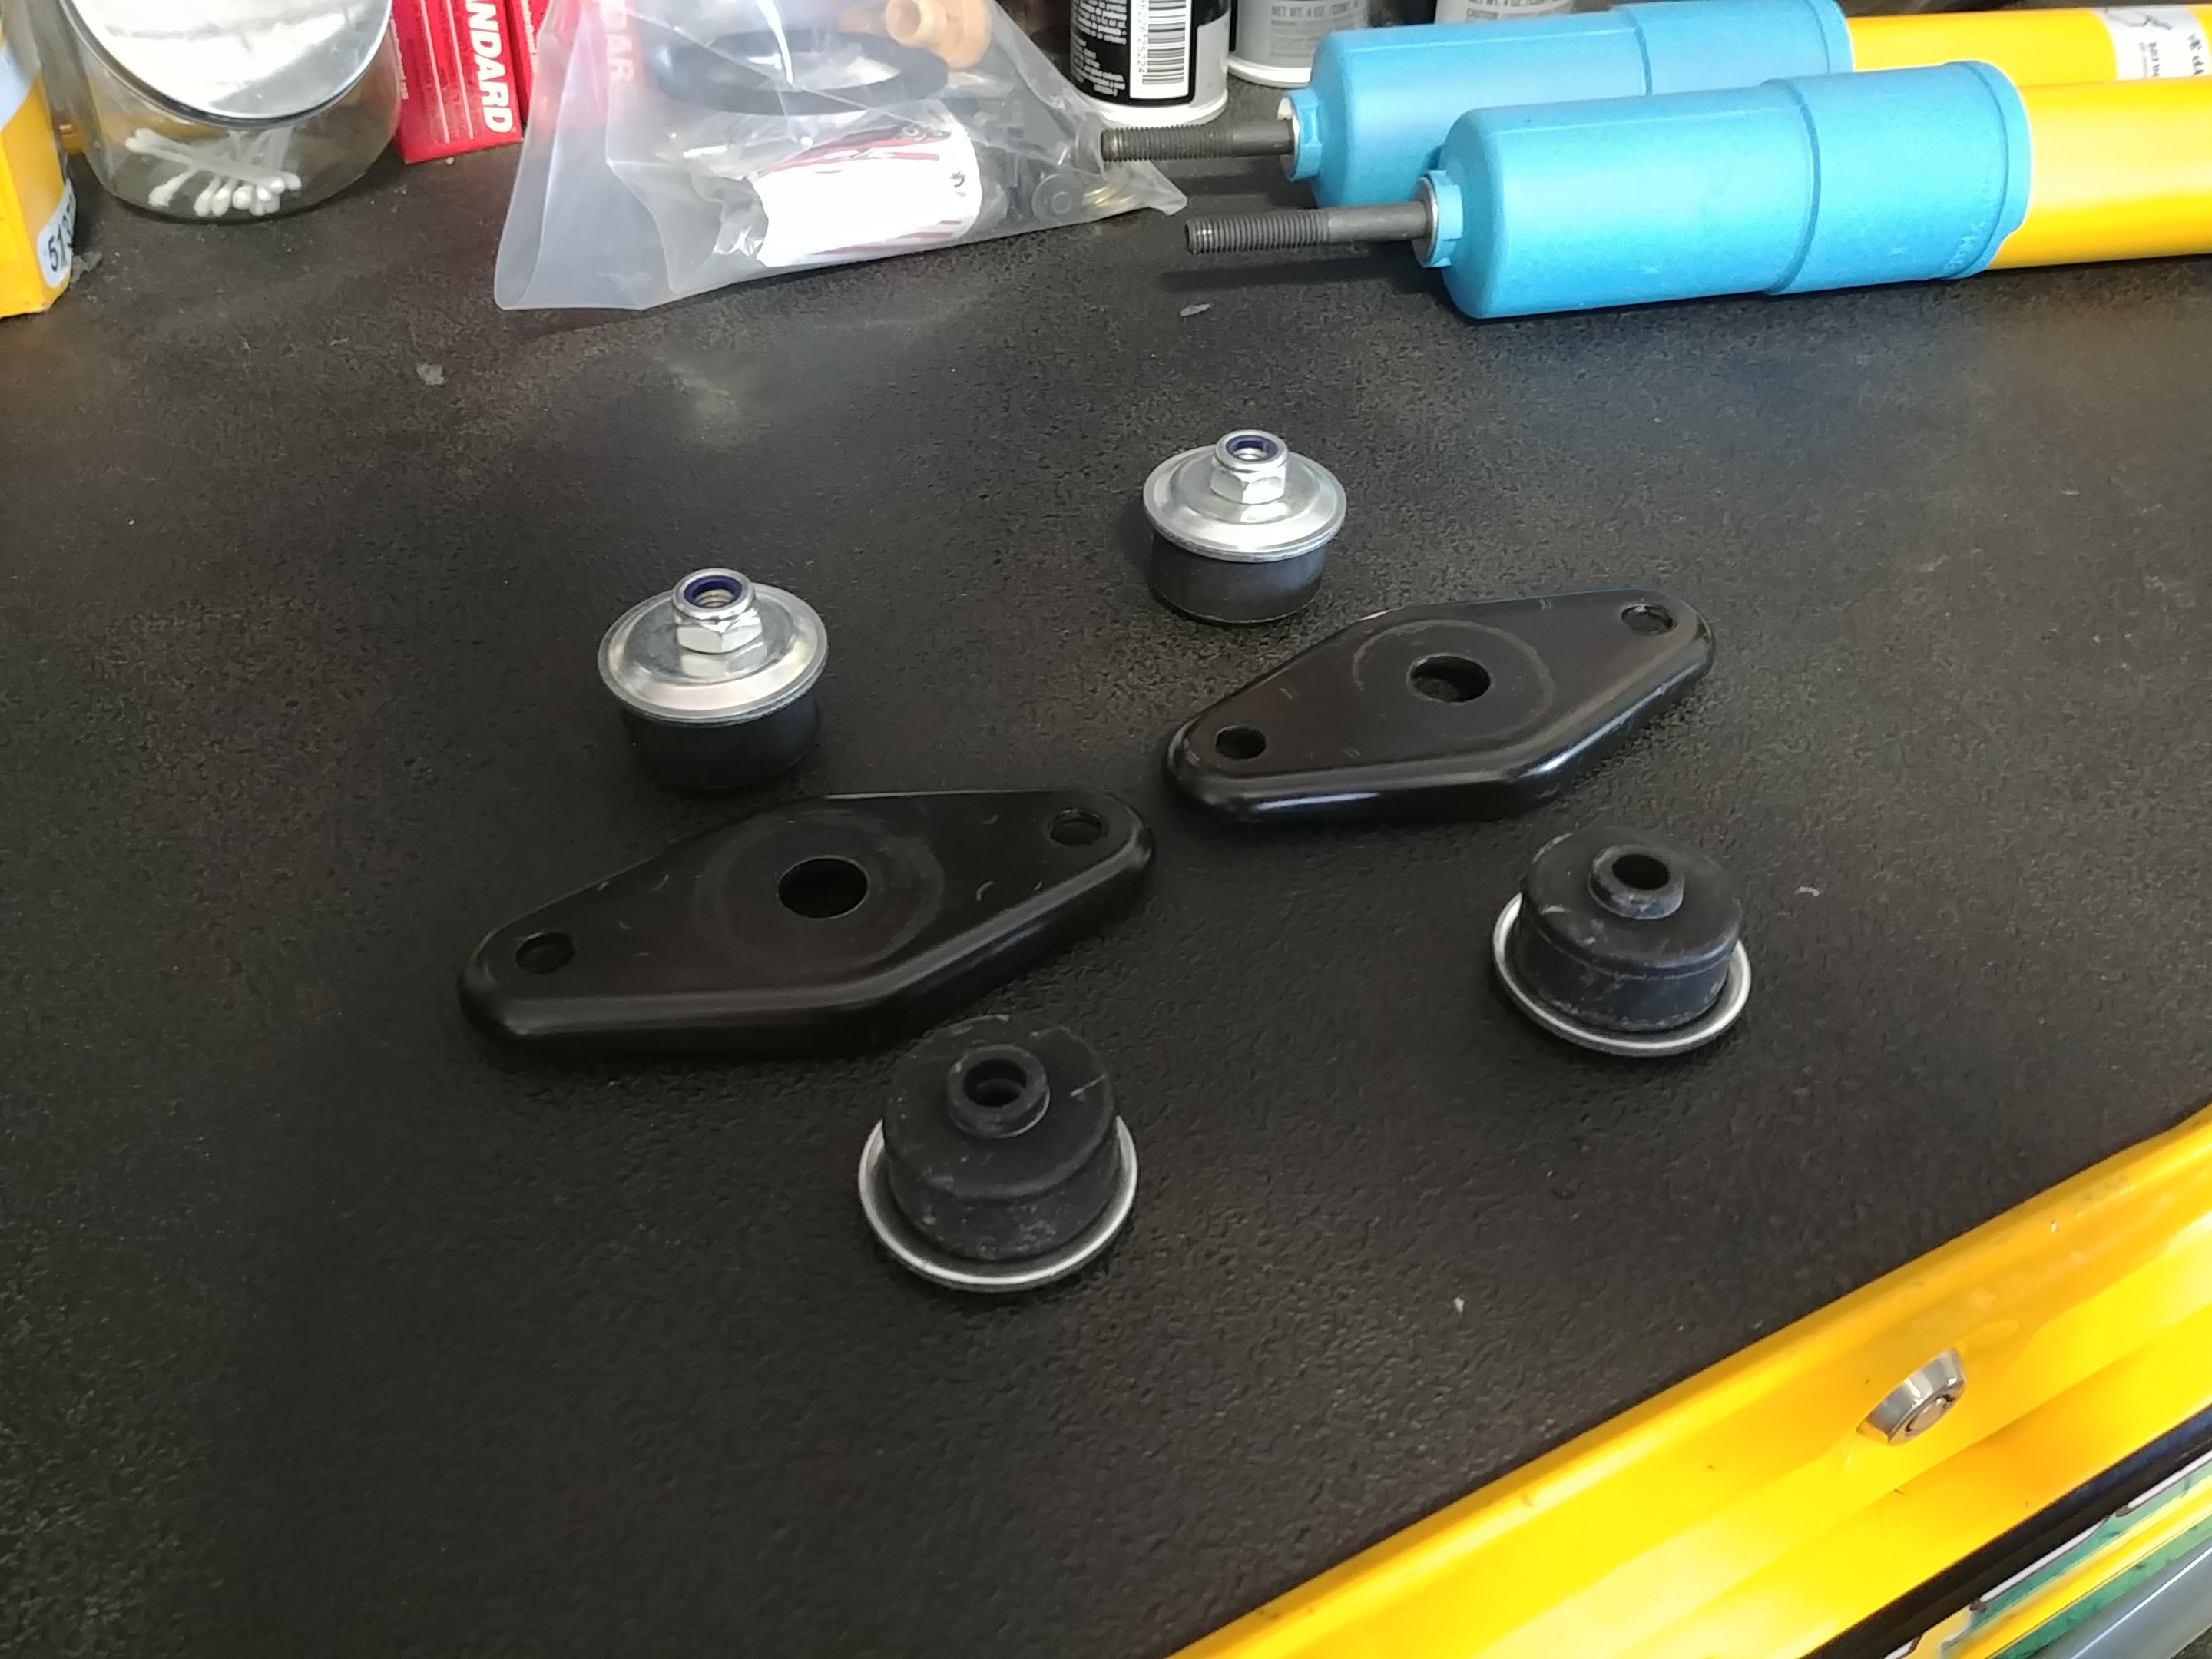
You'll need to transfer the almond-shaped retainer to the new shock. Slide the washer on first (concave side up), then the bushing (nipple side on top), then slide the old bracket on (concave side down, so exposed flat side is up), add the bushing and another washer. Right: The new shock built out with existing retainers and new hardware.
Reinstall the shock via reverse of the disassembly procedure and repeat on the other side. IMPORTANT: Be sure and go here for all the factory torque-specs and apply as necessary. We highly recommend re-checking all components a week or two after driving to ensure everything stays properly torqued. Also, it would be a idea to get an front end alignment for good measure.
Happy Ending
I was a little disappointed (at first) how little change we got out of this pretty extensive undertaking. But over the next few weeks, the car settled down more and looks really great. I’m really happy with how the car sits now.
At this stage of my life, I want a nice-riding Corvette for Sunday cruises, cars and coffees and errands on the weekends. I don’t want my fillings rattled or junky sounds. I am happy to report that these mods affected the ride very little. In fact, with the new shocks, the car rides better. It’s quiet, smooth, and handles firmer than before, but not harshly. Again, I couldn’t be happier.
The next and final step of our 1995 Corvette’s transformation are new 18-inch wheels, tires, rotors, and calipers. Stay tuned as the last installment is on the way!


