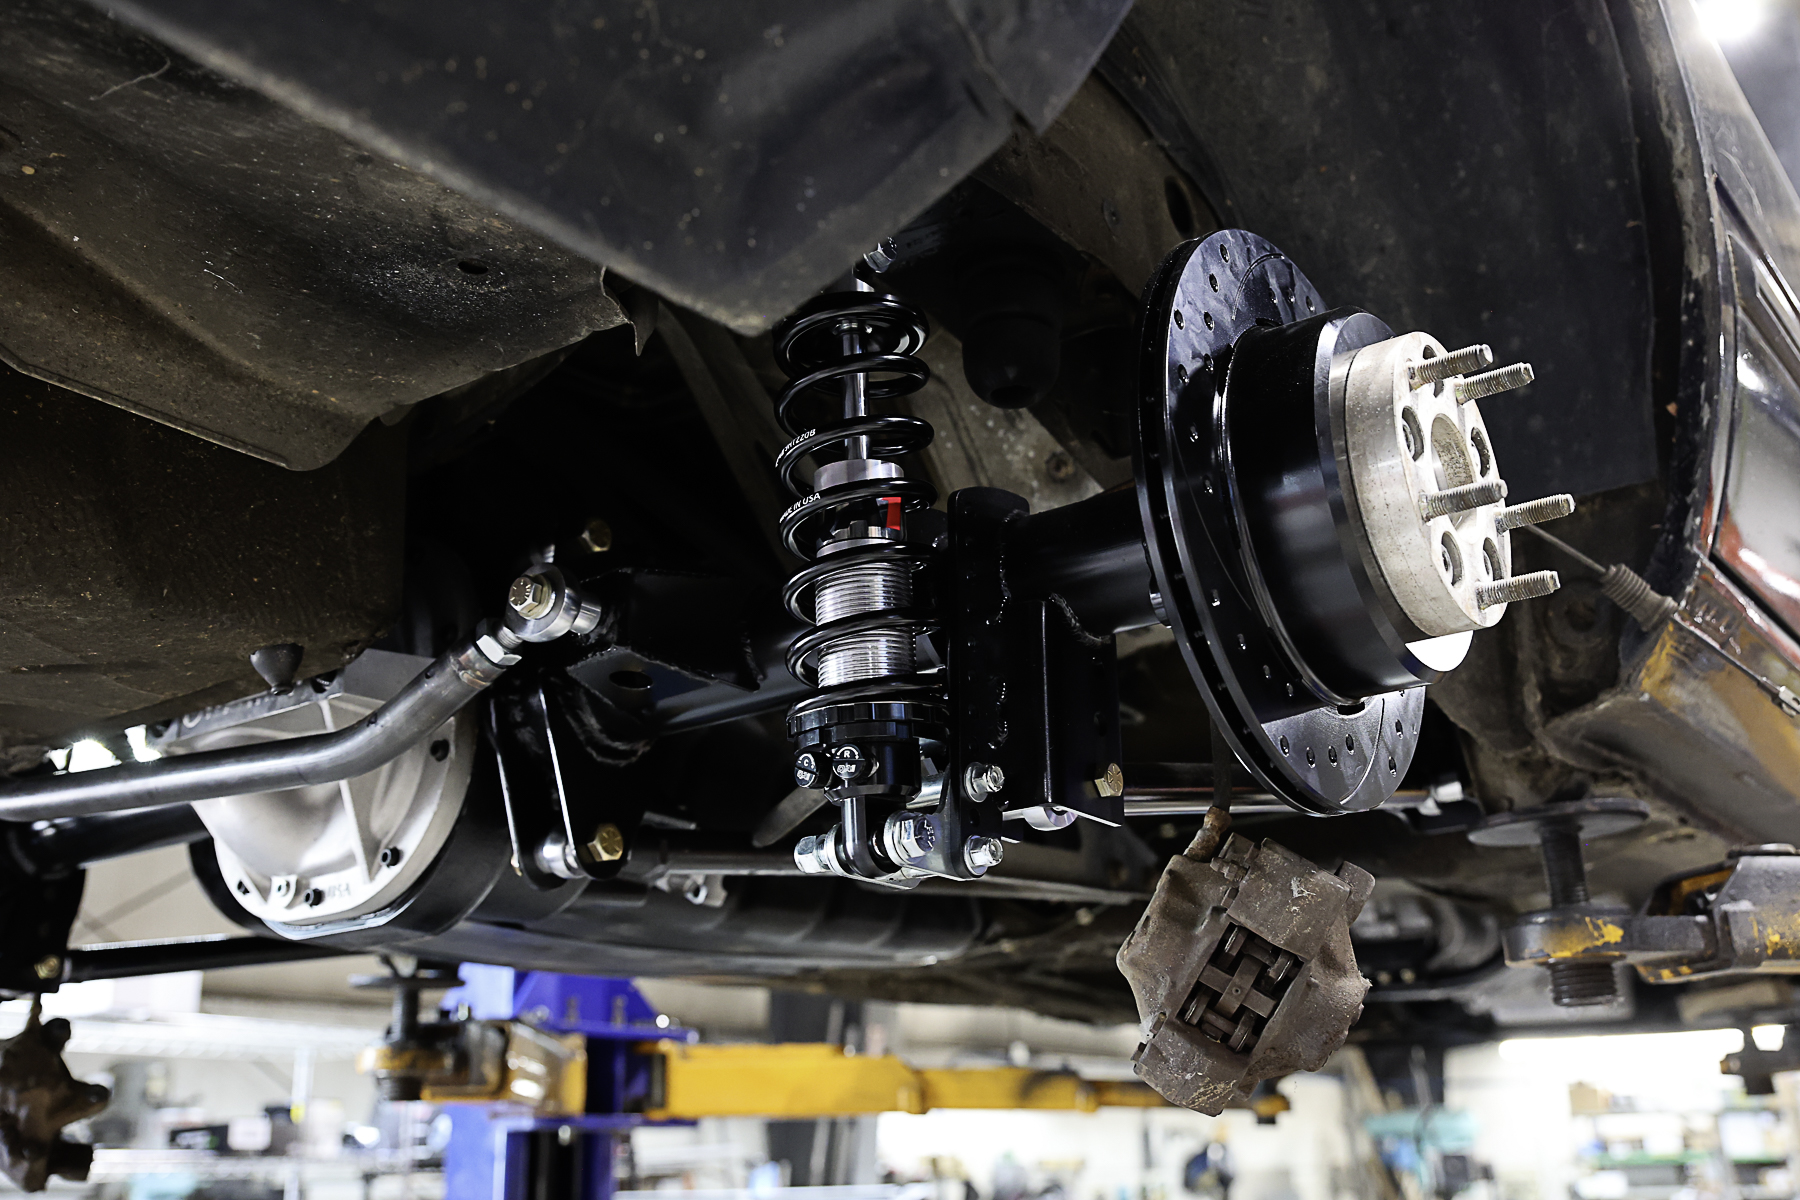
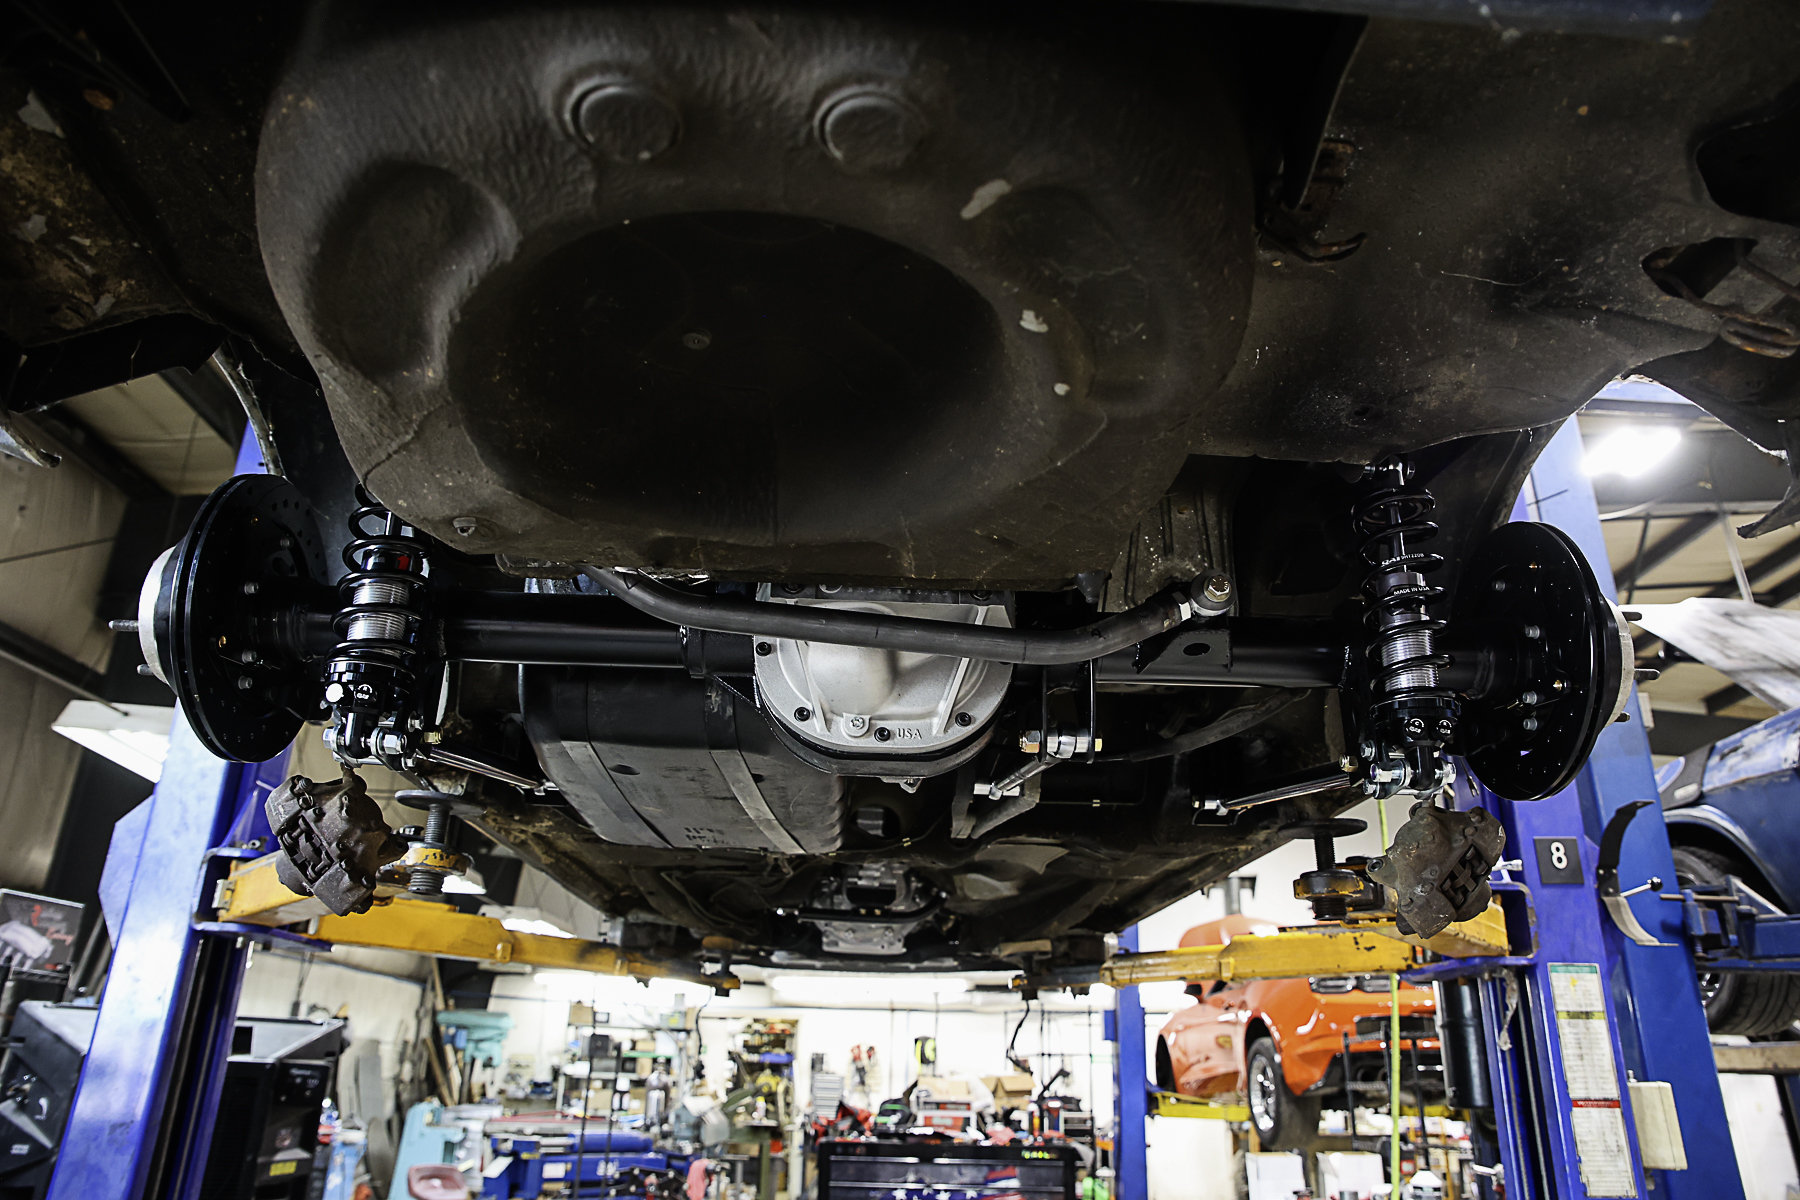
It’s super easy to make horsepower these days, the problem is the OEM rearend you’re throwing the power at might not be strong enough. There are plenty of aftermarket rearends out there, but they might not be a direct fit for your application. Have no fear, we’re going to cover how to swap a different rearend under your ride.
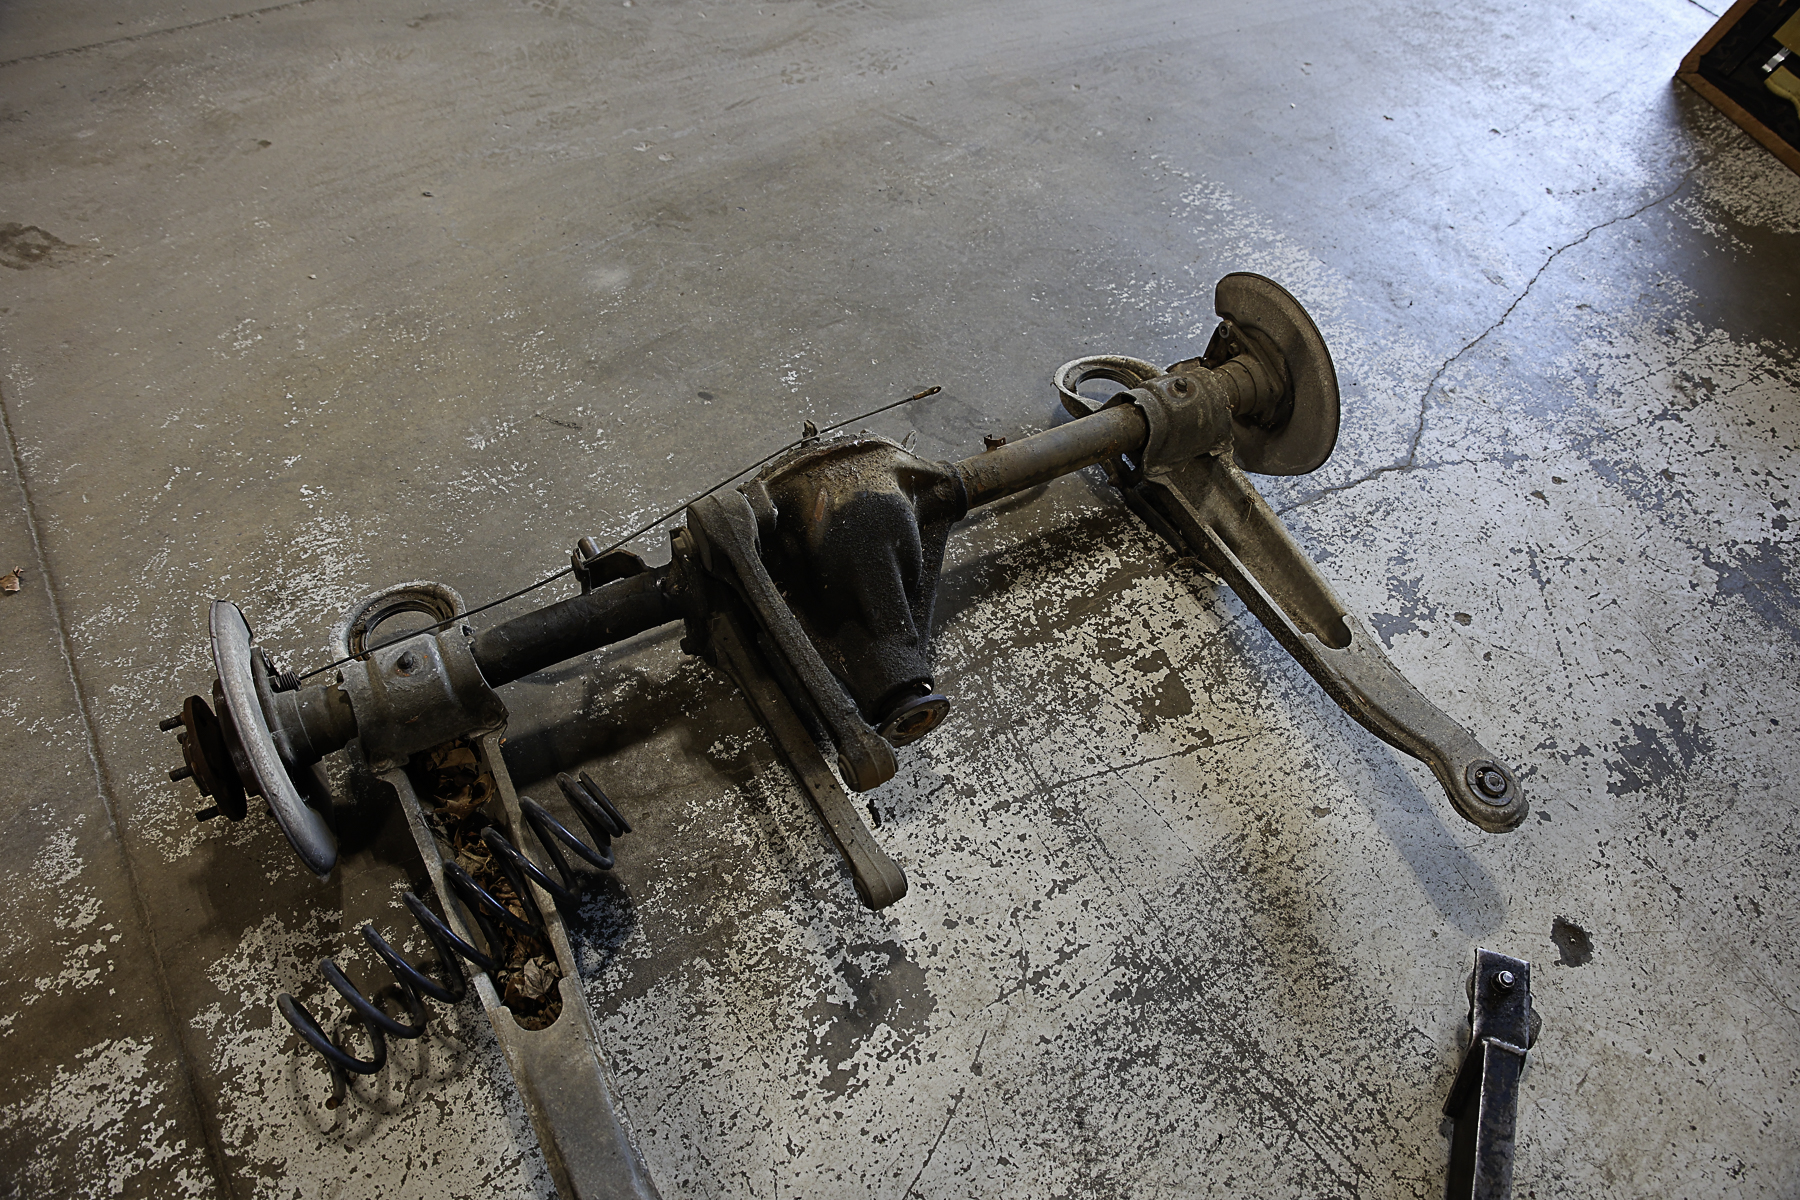
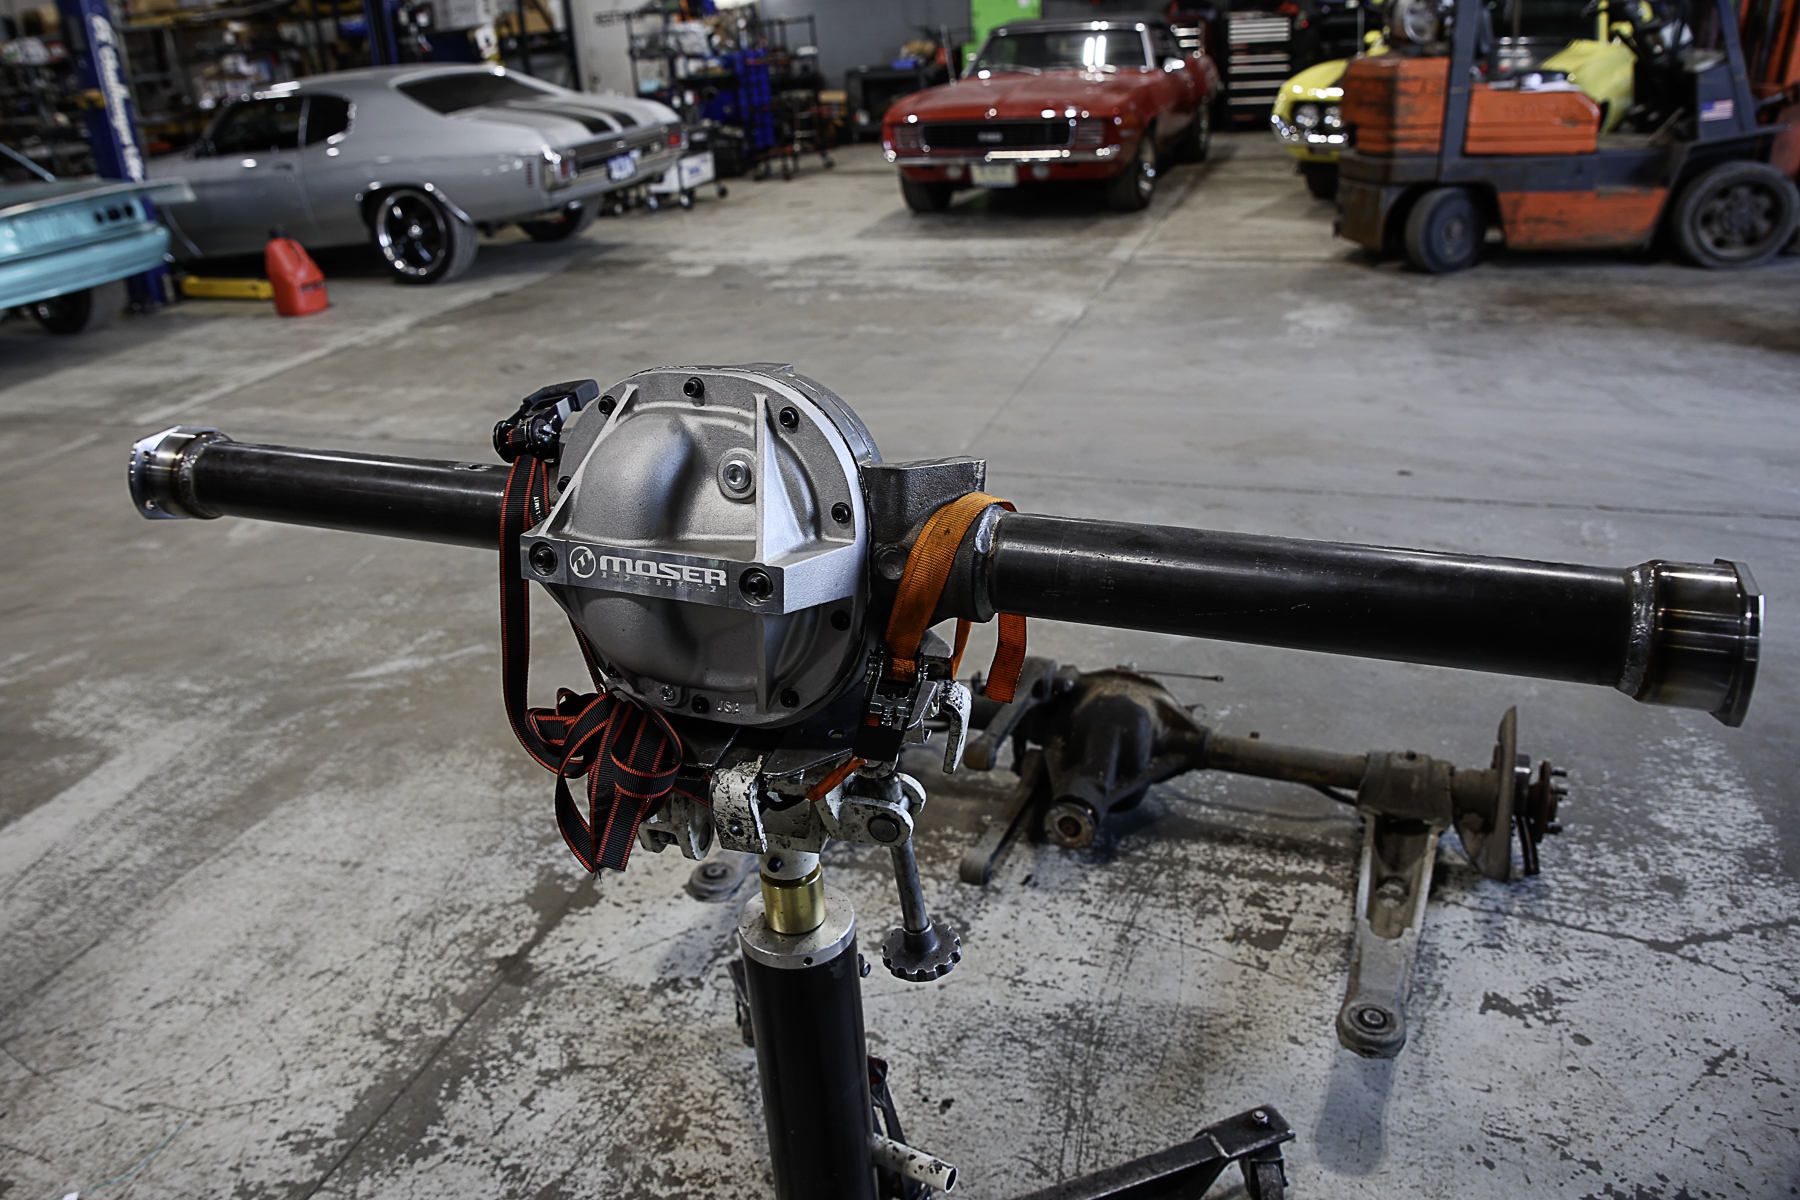
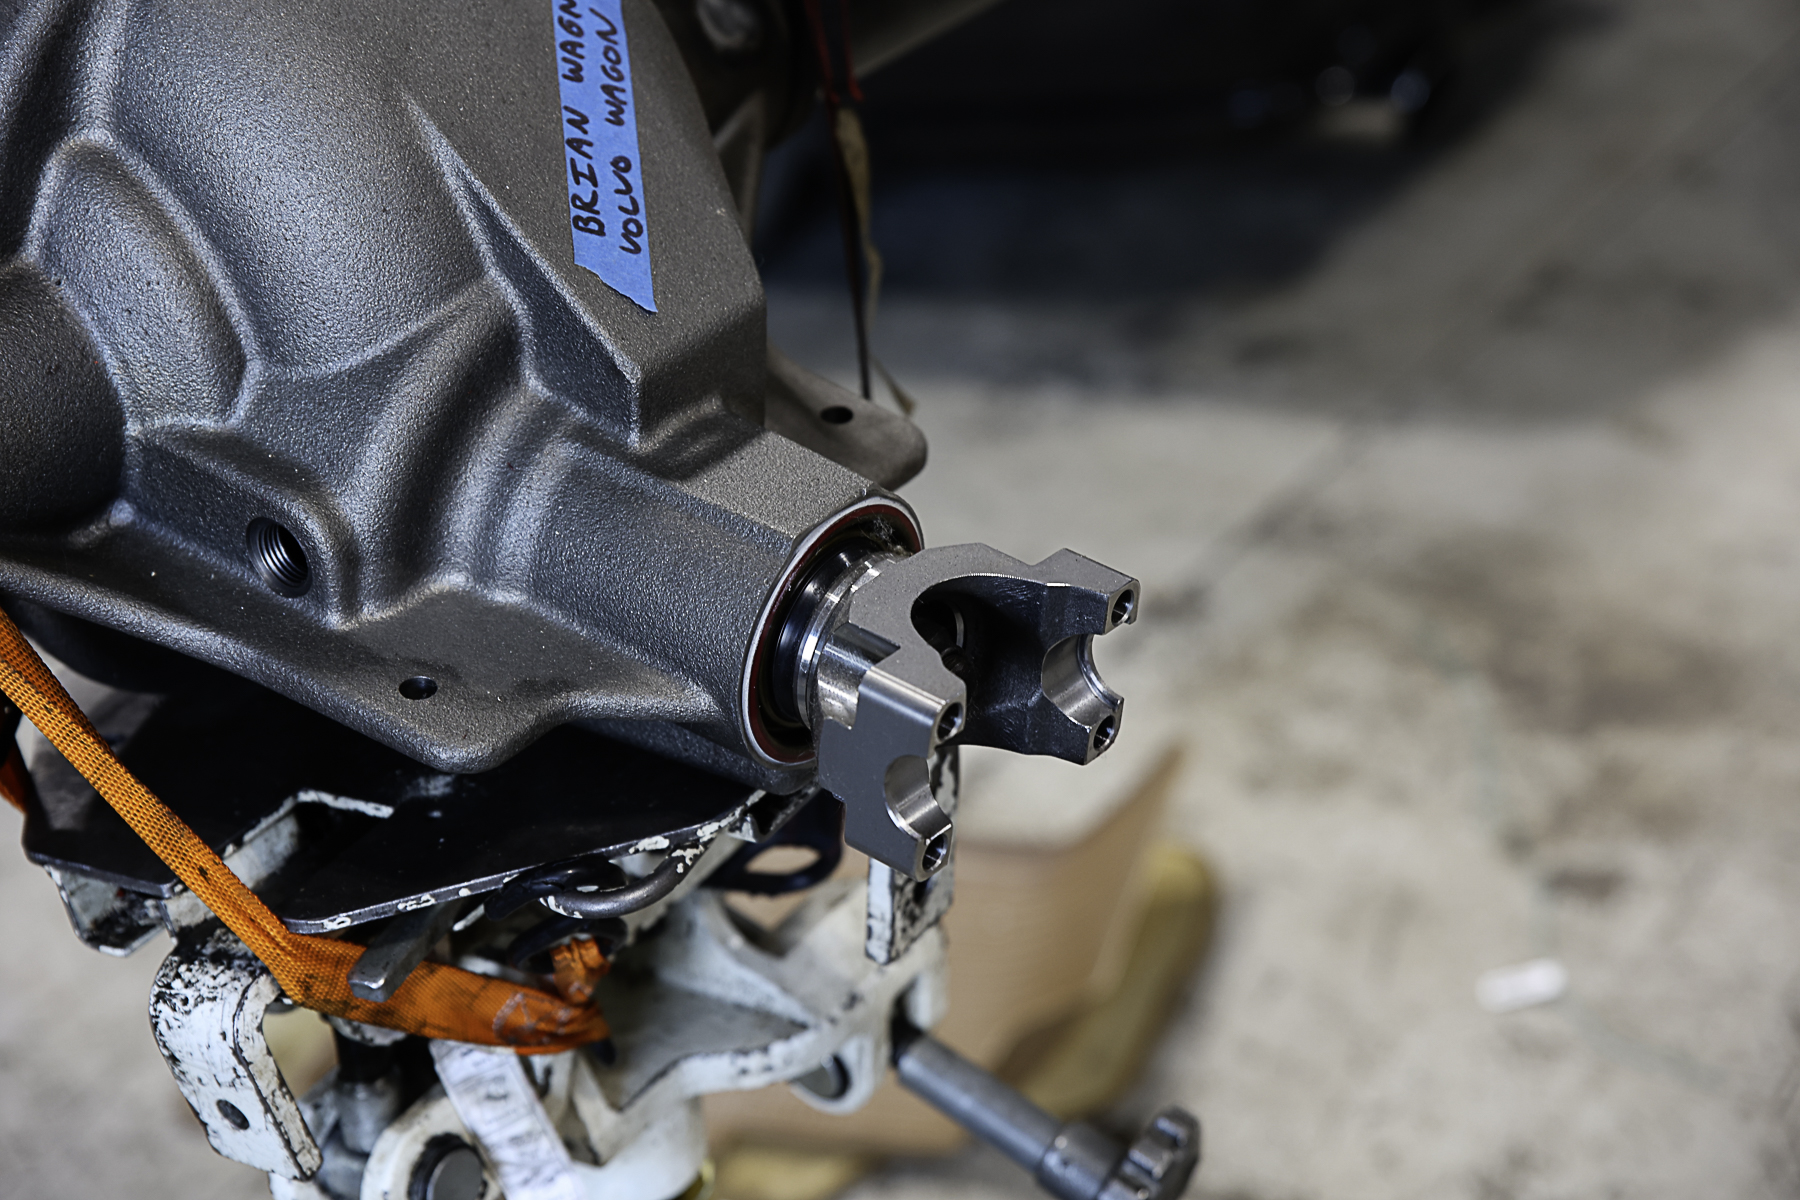
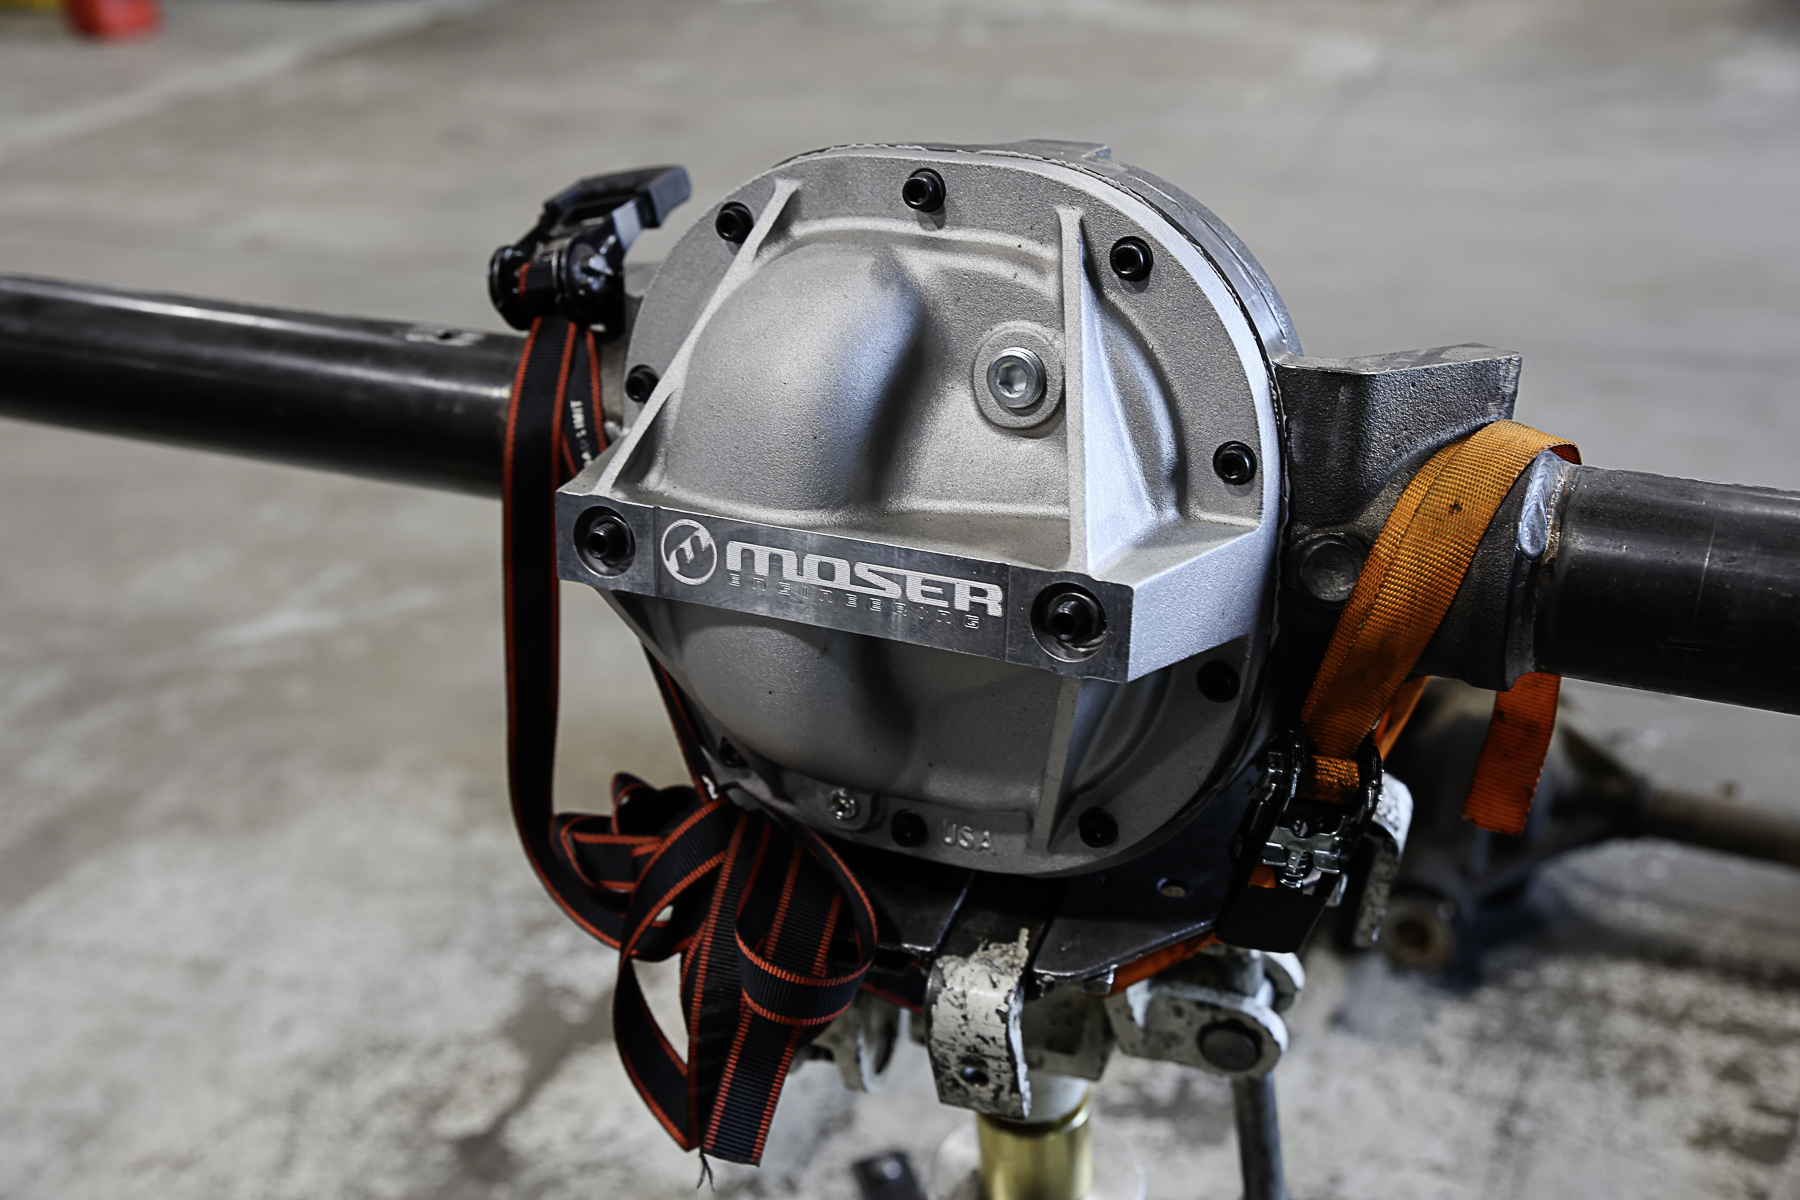
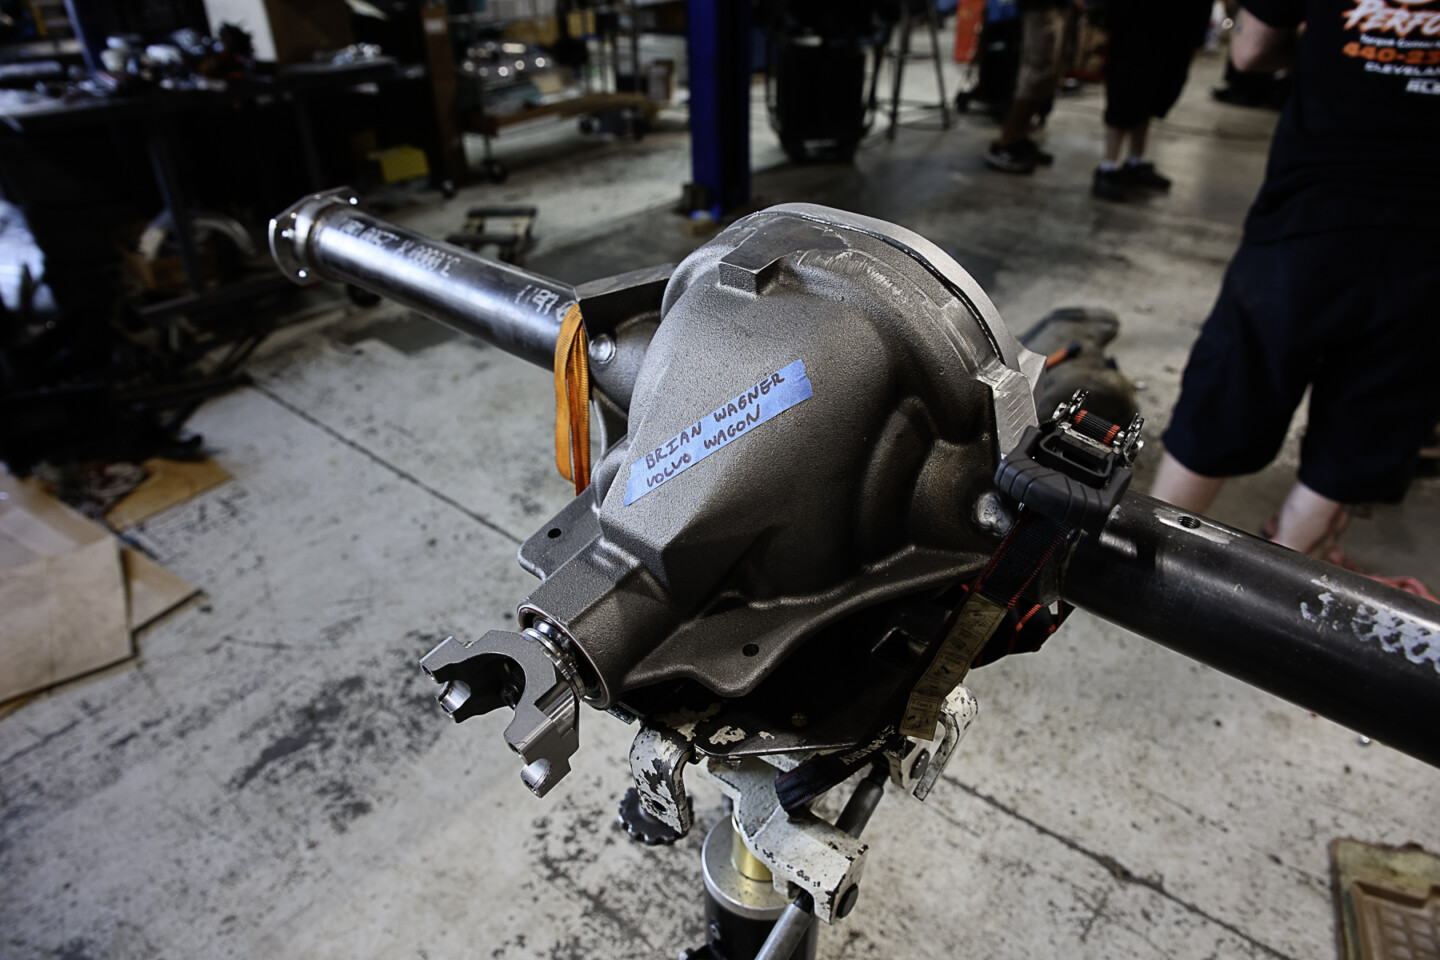
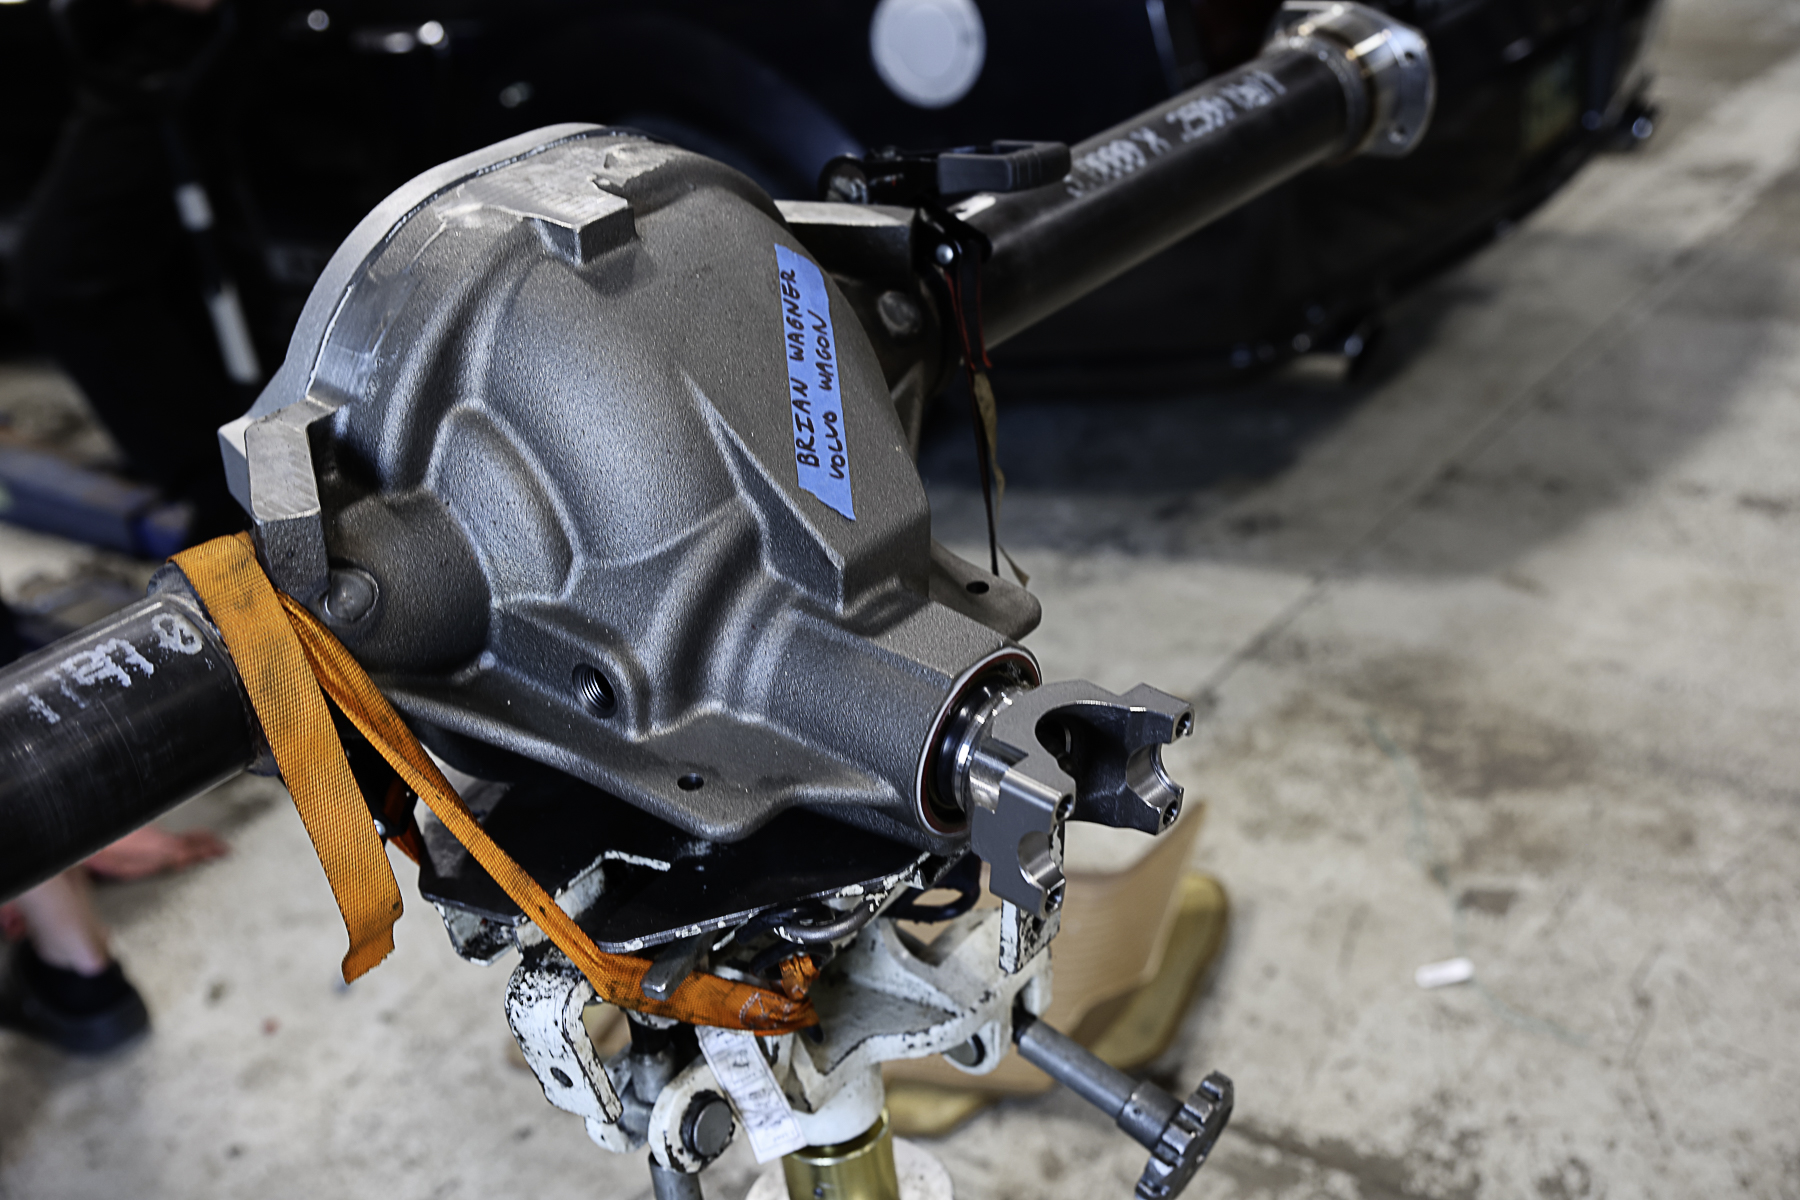
Since Project Swedish Meatball’s OEM rearend has dainty axles and a small gearset, we knew it wouldn’t live a long life being fed over 600 horsepower. Many people have swapped Ford 8.8 rearends under these Volvo 940s, but we wanted something bulletproof. So, we reached out to our friends at Moser Engineering and got a blank M88 housing for the Meatball. This is an aftermarket version of Ford’s 8.8 rearend housing, so it’s very strong. The blank housing gave the team at Big 3 Racing a clean sheet of paper to work with. This allowed the team to add brackets as needed to make the M88 fit under the Volvo like it was designed to be there.
On the left, the petite OEM Volvo rearend, on the right, the beefy M88 from Moser Engineering...
Getting The Swap Show Started
Just like other custom projects, you need to start a rearend swap by taking some critical measurements. You need to take your time and be very precise, as being a little off will cause some big problems. It doesn’t matter if you’re using a blank housing, or cutting the brackets off a housing you already have to use with your project, accuracy is paramount during this step.
Shane St. Myers from Moser Engineering explains what you’ll need to measure when you’re ordering a new rearend.
“You’ll need to have the wheel-to-wheel dimensions of what you’re working with. By setting the wheels you’ll be using under the car, you can measure between them to get that number. That will let us calculate how much room there will be for brakes. We’re also going to need to figure out the pinion offset. You find that by dropping a plumb bob in the center of the tunnel and measure the distance from the frame rails to the plumb bob.”
If you still have the OEM rearend from the vehicle you’re working on to swap, there are additional measurements you’ll want to have on hand. The measurement from housing flange to housing flange on the rearend is an important measurement to collect. You’ll also want to measure axle flange to axle flange as well. Moser has all of these measurements visually laid out on an order form you can reference right here.
“We’re going to ask the customer a lot of questions during this process. We want to not only be sure they’ve got the right measurements, but they’re also getting the right parts for their application. We’re not going to tell someone how to do one of these swaps. Our job is to work with you on the phone or via e-mail to make sure you’re moving in the right direction the best we can,” St. Myers says.
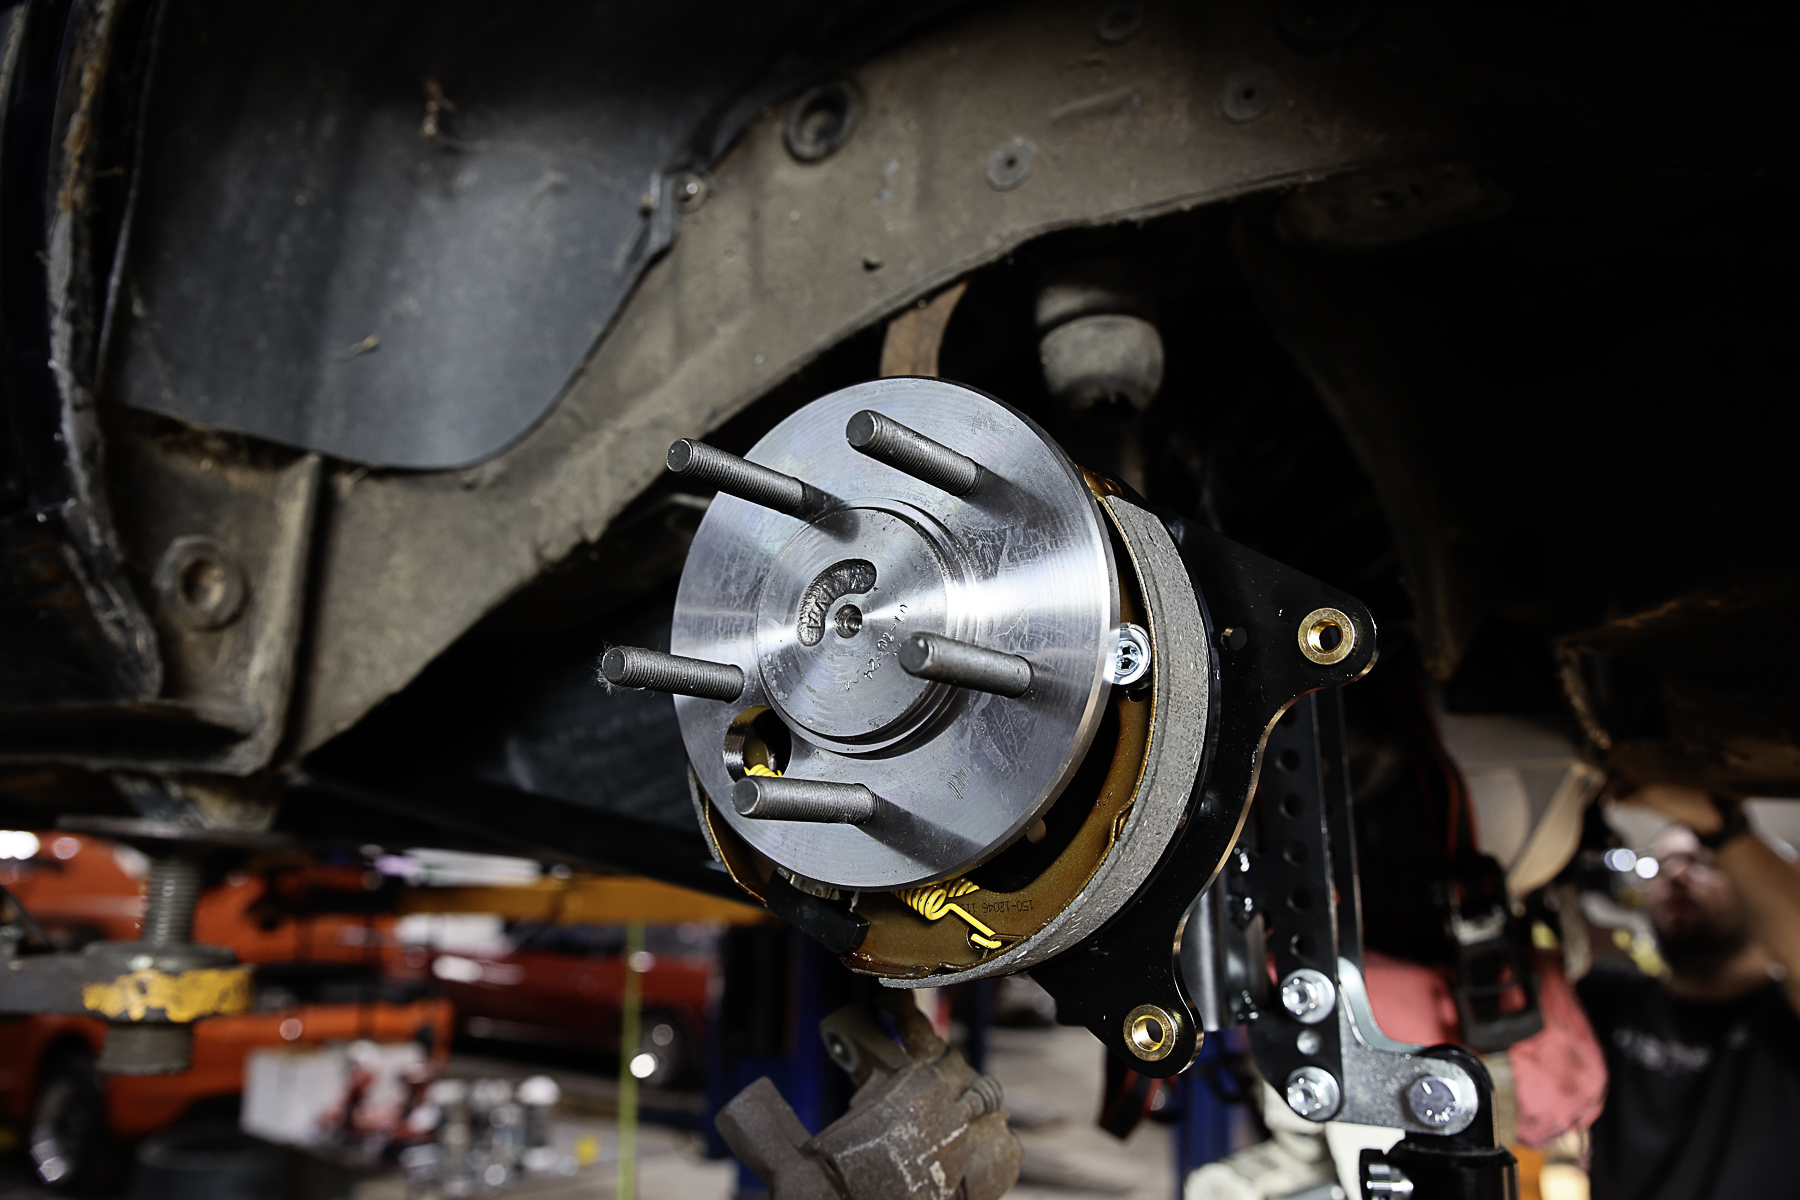
The M88 came with a set of Moser's 33 spline axles. Inside the rearend is a set of 4.10 gears and Wavetrac differential. Moser added a set of Wilwood brakes to finish out the package.
The Moser M88 Specs
After you have all the measurements for the rearend, it’s time to start figuring out what will go inside it. The best thing to do is contact the company you’re working with on the housing, in our case we called St. Myers at Moser. They’ll need to know if you’re running a power adder, and if so, what type. You’ll also have to fill the company in on a realistic horsepower number you’re shooting for so they can calculate what size axles and wheel studs you’ll need. There will also have to be a discussion about what gear ratio you’d like to use, and what type of driveshaft will connect the transmission to the rearend.
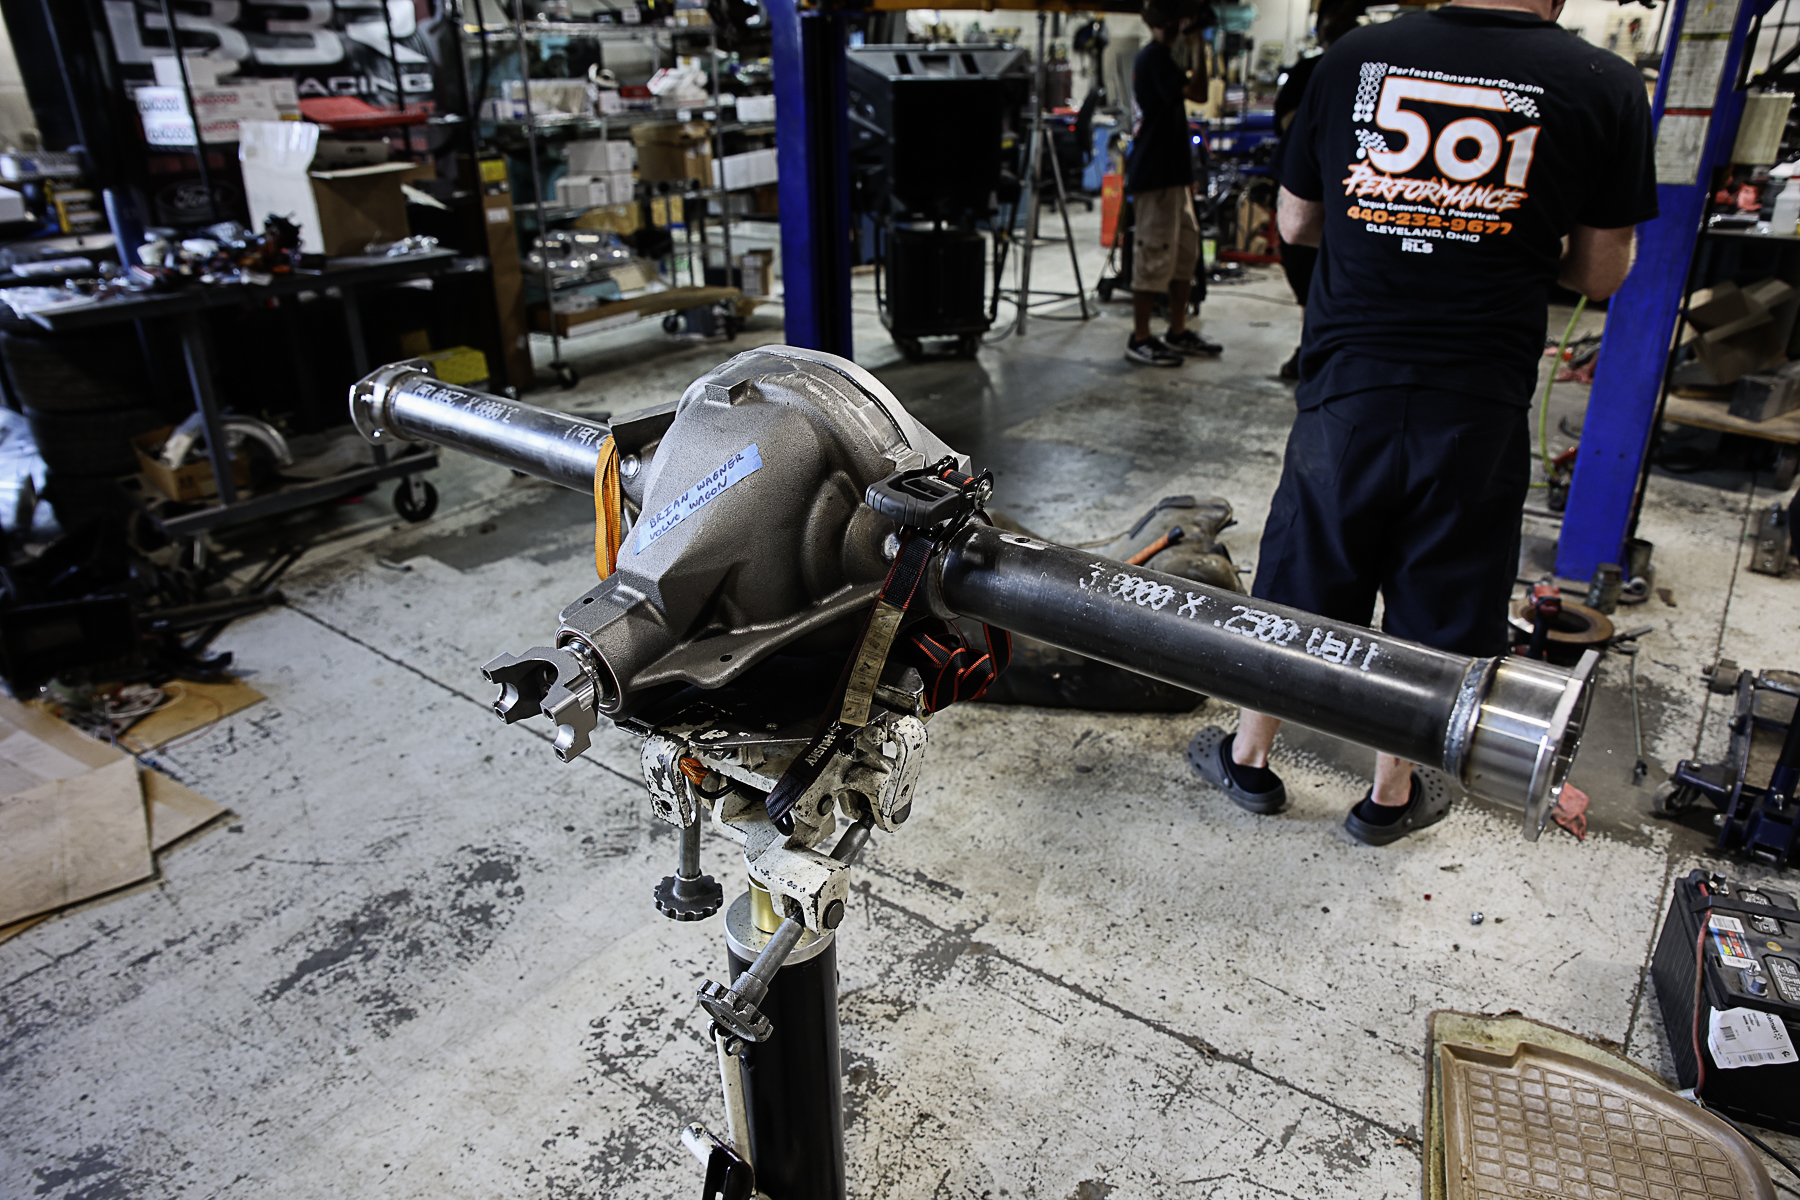
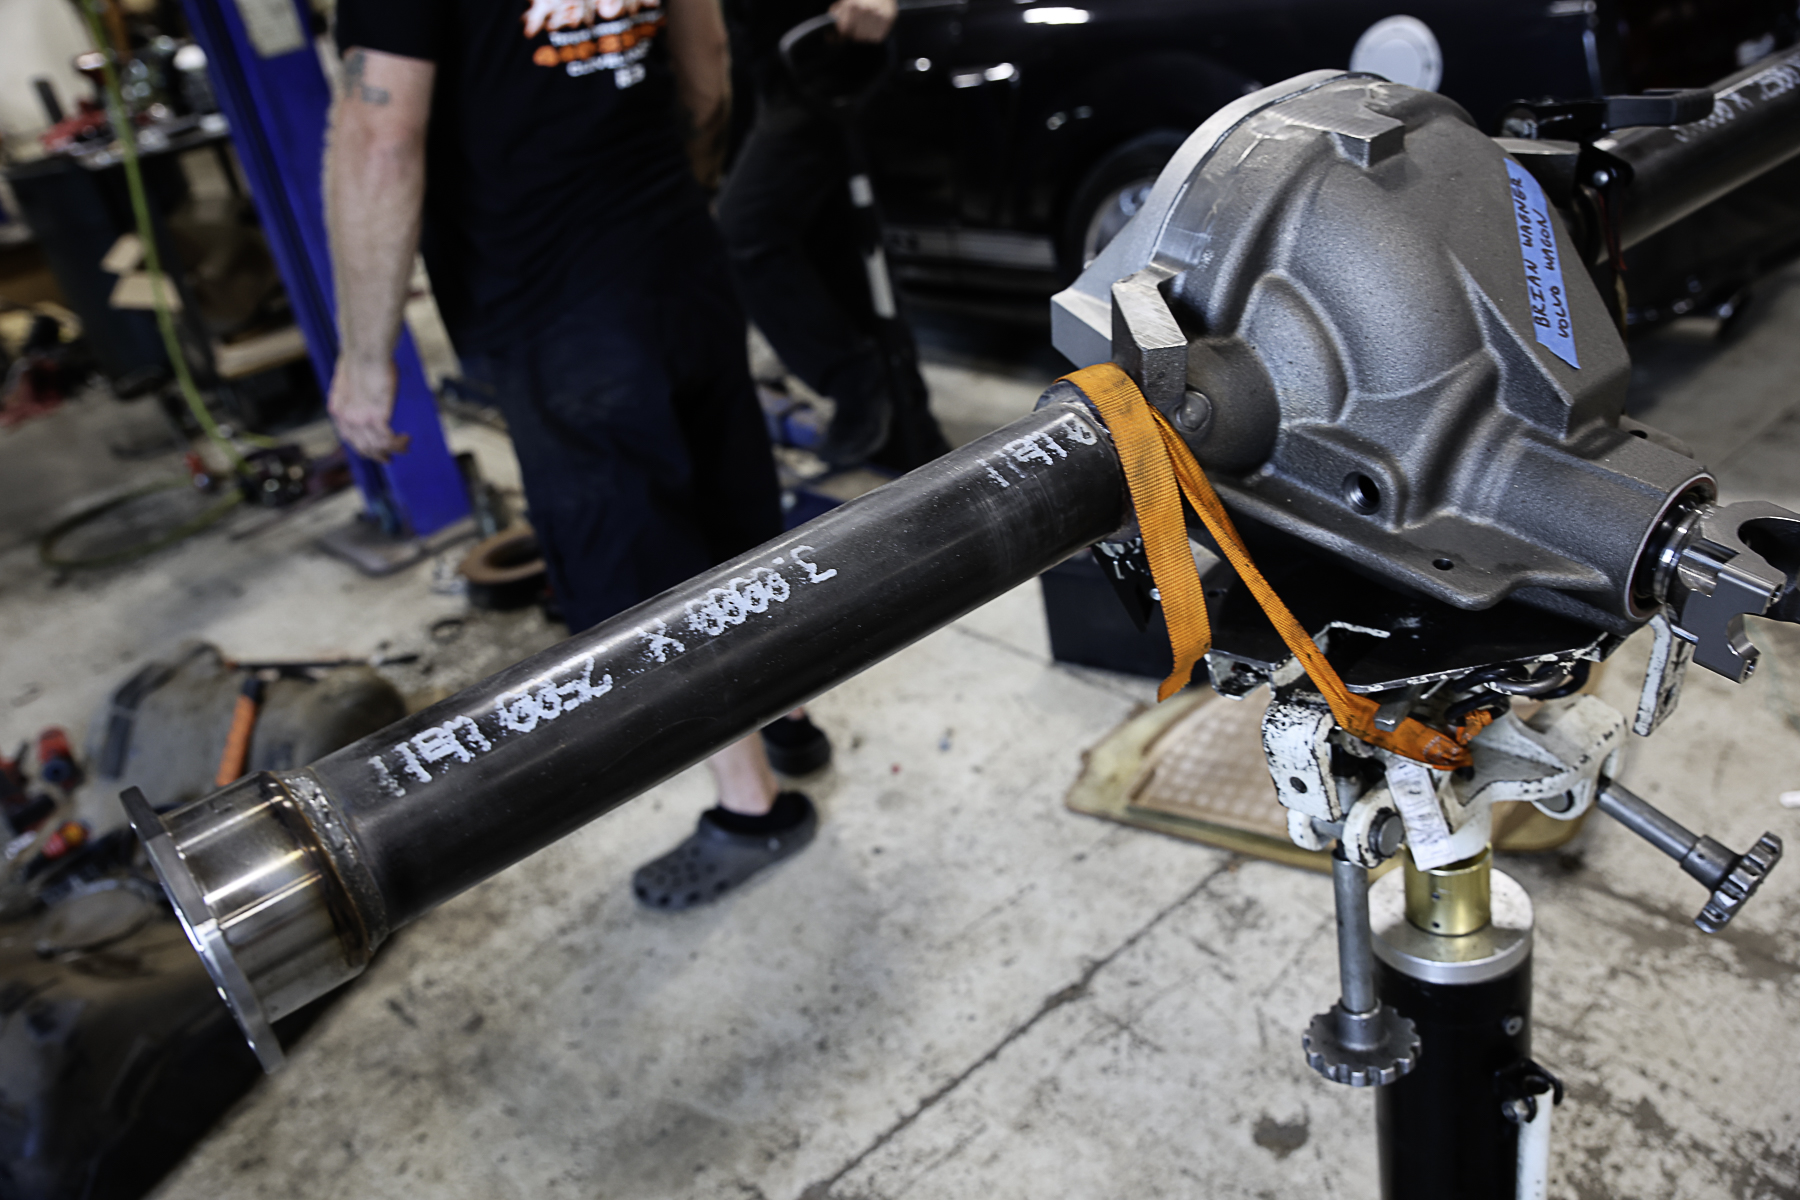
So why did we opt to use the Moser M88? The first big advantage was getting a blank housing from Moser. This saved us the time of having to cut off all the OEM brackets that come on Ford 8.8 rearend, and we wouldn’t have to clean off decades of rust. The M88 is also made from premium nodular steel, plus it has additional webbing and material strategically added that makes it stronger than an OEM housing. Moser’s M88 has larger 3-inch x1/4-inch wall seamless DOM steel tubes that replace the smaller OEM axle tubes.
Since the Swedish Meatball is going to see more street time than track time, it made sense to use the Wavetrac for a differential. These units don’t make any ratcheting or clicking noises, so they’re fairly silent and are street-friendly. The Wavetrac is a robust unit that can handle up to 1,000 horsepower, so it will work with our application. A big bonus is the lifetime warranty Wavetrac offers on its limited slip units.
We wanted to put the biggest axles we could in the M88 before we had to move to a spool. The Wavetrac can handle up to 33 spline bolt-in style axles and that sealed the deal for us. Moser’s axles are made in the USA and are induction heat-treated to maximize the torsional strength. Due to our wheel limitations, we had to use ⅝-inch wheel studs in a 5×120 pattern.
The Swedish Meatball’s turbocharged 5.3 LS engine is going to be backed by a six-speed TREMEC Magnum F transmission. To keep the car feeling fresh on the street, Moser installed a set of 4.10 Street gears in the M88 for us. This gear ratio is going to help the car accelerate quicker and take advantage of the grunt produced by the turbocharged combo.
Having Moser install the gears in our M88 was great. If you’ve never set up rearend gears this is a great option for several reasons. First, it’s going to save you a lot of time because setting up gears isn’t a quick task. Second, setting up gears can be a challenge, and an 8.8-style rearend has its own quirks. Third, you need special tools to properly set up a rearend, so having Moser do this will actually save you some money since you don’t have to buy those tools.
For brakes, we used the Wilwood Dynalite rear brake package. This kit uses Willwood’s Dynalite four-piston calipers, a 12.19-inch one-piece vented rotor, and high-friction brake pads. The kit made sense for our application because it provides balanced braking for high-performance applications. That means we’ll be able to bring the Volvo to a stop after a pass at the drag strip, maintain brake control on the autocross course, and have brakes that don’t feel super aggressive on the street.
What Went Into Our M88 Swap
Now that we’ve set the table as to why we selected the M88, it’s time to look at how Big 3 Racing approached the swap. Chuck Stefanski and the team at Big 3 Racing took a lot of measurements, and did some serious planning before the OEM rearend was removed from the Volvo. The goal was to minimize any issues in advance to help make the rearend swap go as smoothly as possible.
The M88's pumpkin and axle tubes are noticeably larger than an OEM Ford 8.8 unit.
You’ll also need to consider the type of suspension you plan on using. There are options like mimicking the OEM suspension, moving to a ladder bar style suspension, or building a custom four-link setup. This decision will help you figure out what brackets you’ll need for the project.
“Looking at how everything was laid out under the car, we decided to use some of the elements from the OEM suspension to make the swap easier. A torque arm style suspension with lower control arms and coilover shocks made the most sense. Going this route would make it easier to get the best fit possible for the M88,” Stefanski says.
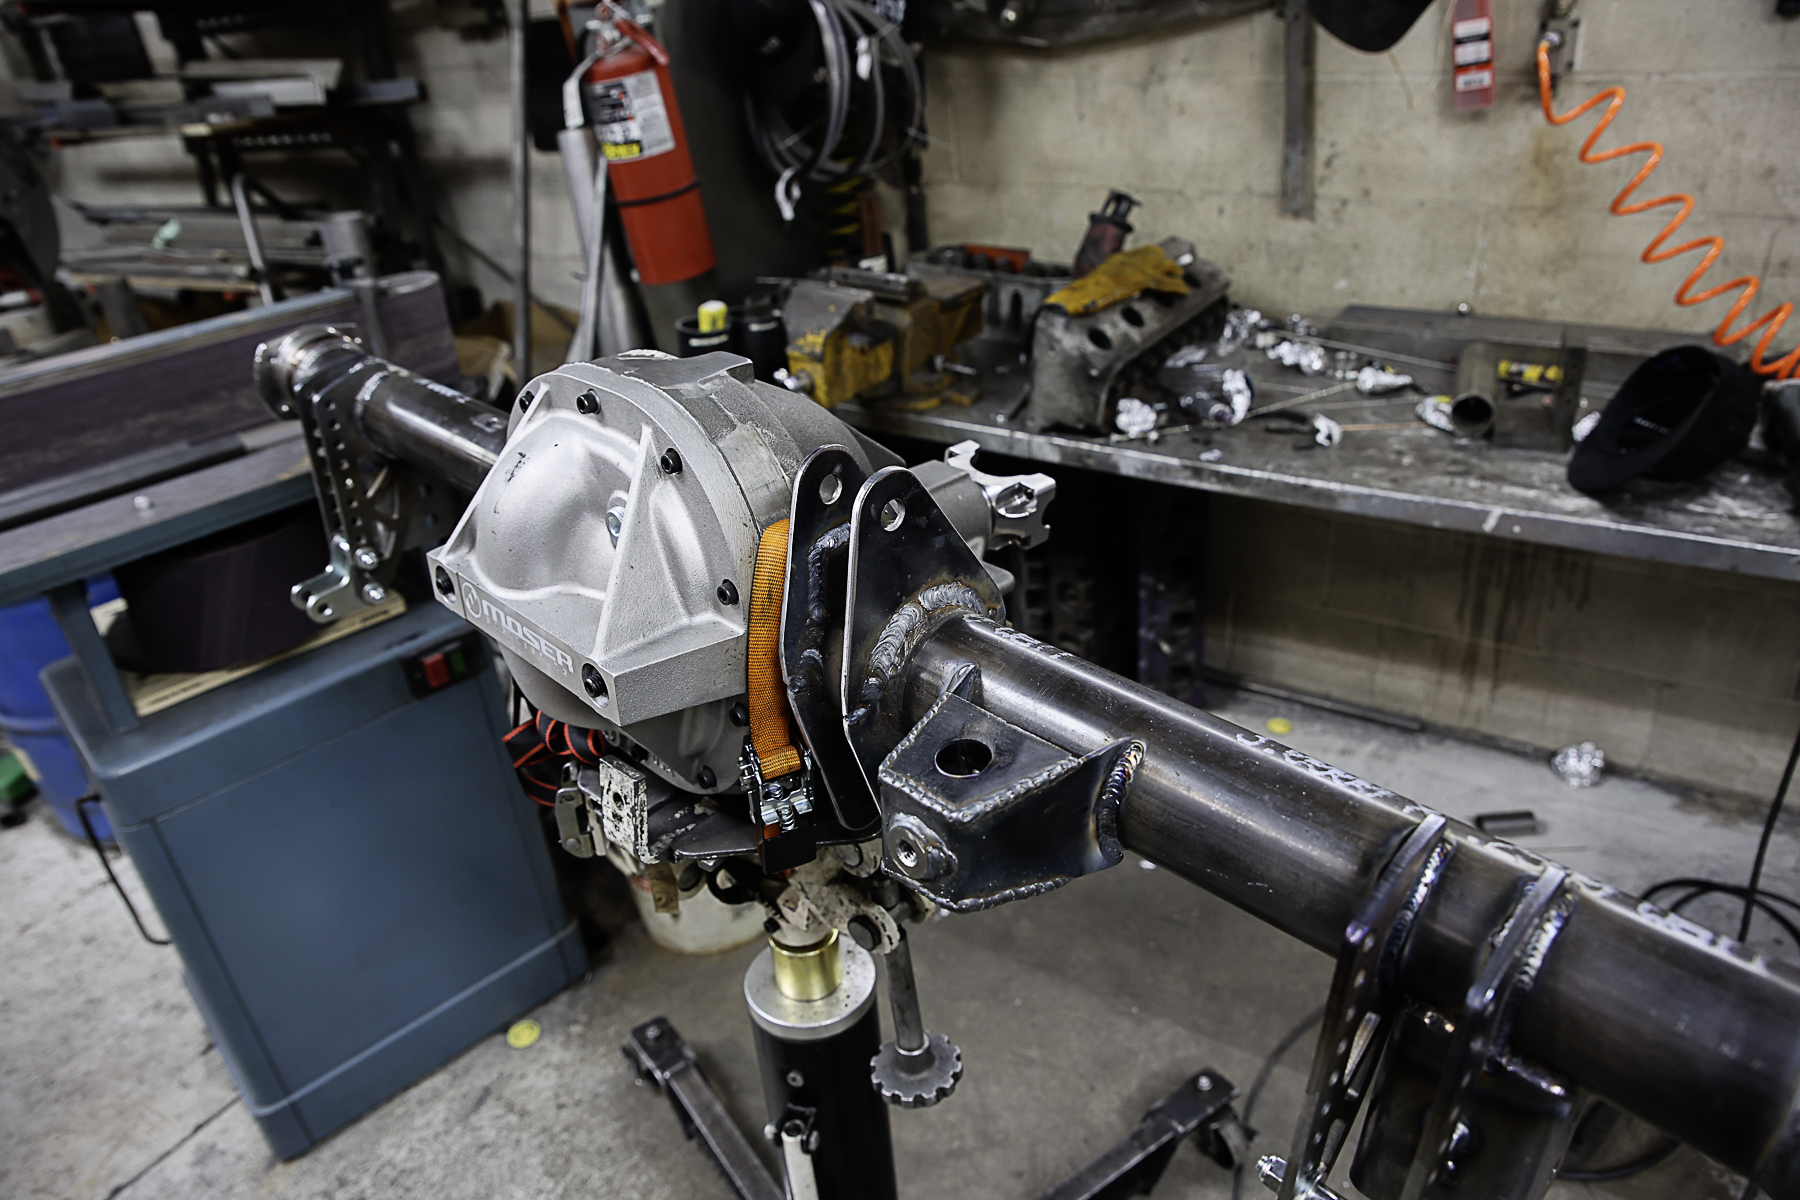
We opted to use premade brackets from QA1 and Giffin’s Performance for our rearend swap. This saved us a lot of time and provided us with brackets that were all the same.
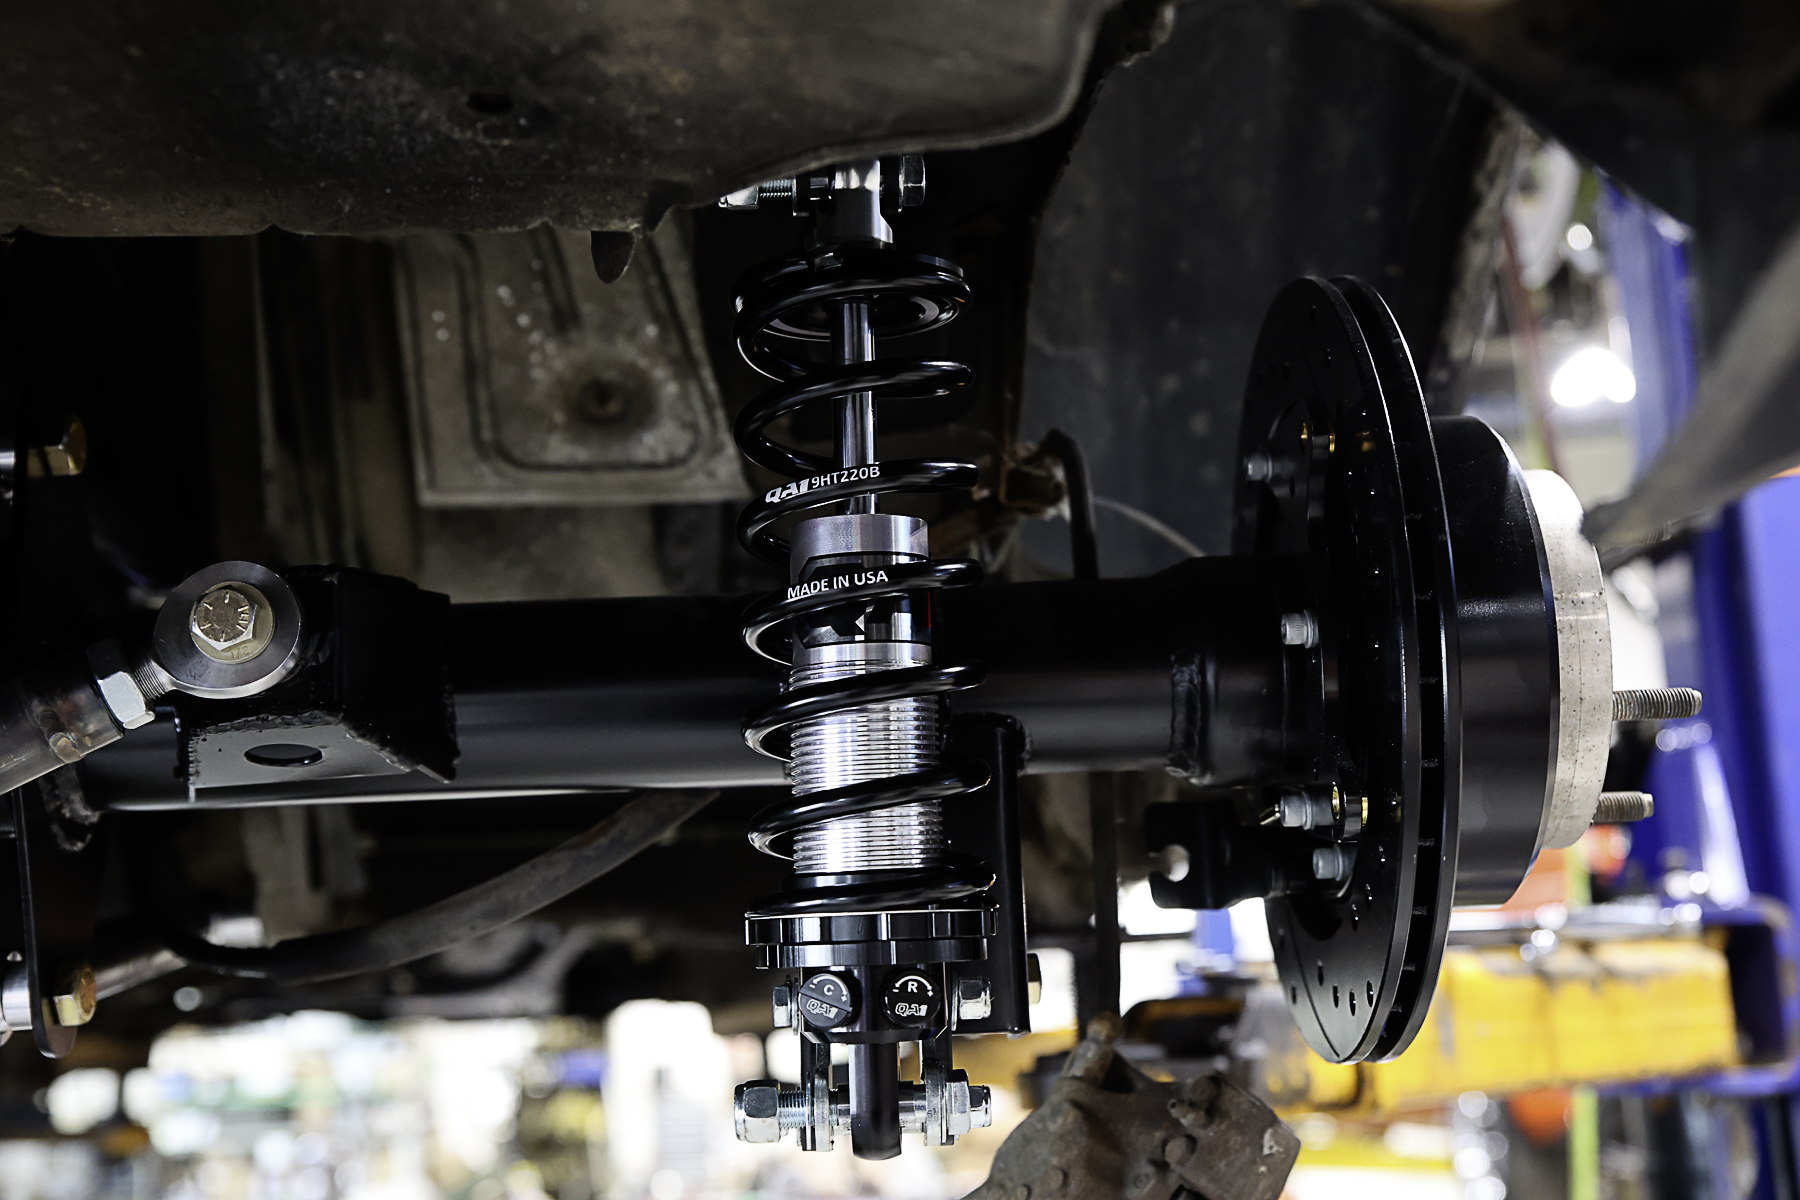
With a plan in place, it was time to start ordering some more parts. Measurements were taken for a set of QA1 coilover shocks to use with the M88 rearend. We will cover the shock measurement process, and what parts were used to build the rear suspension in a future article.
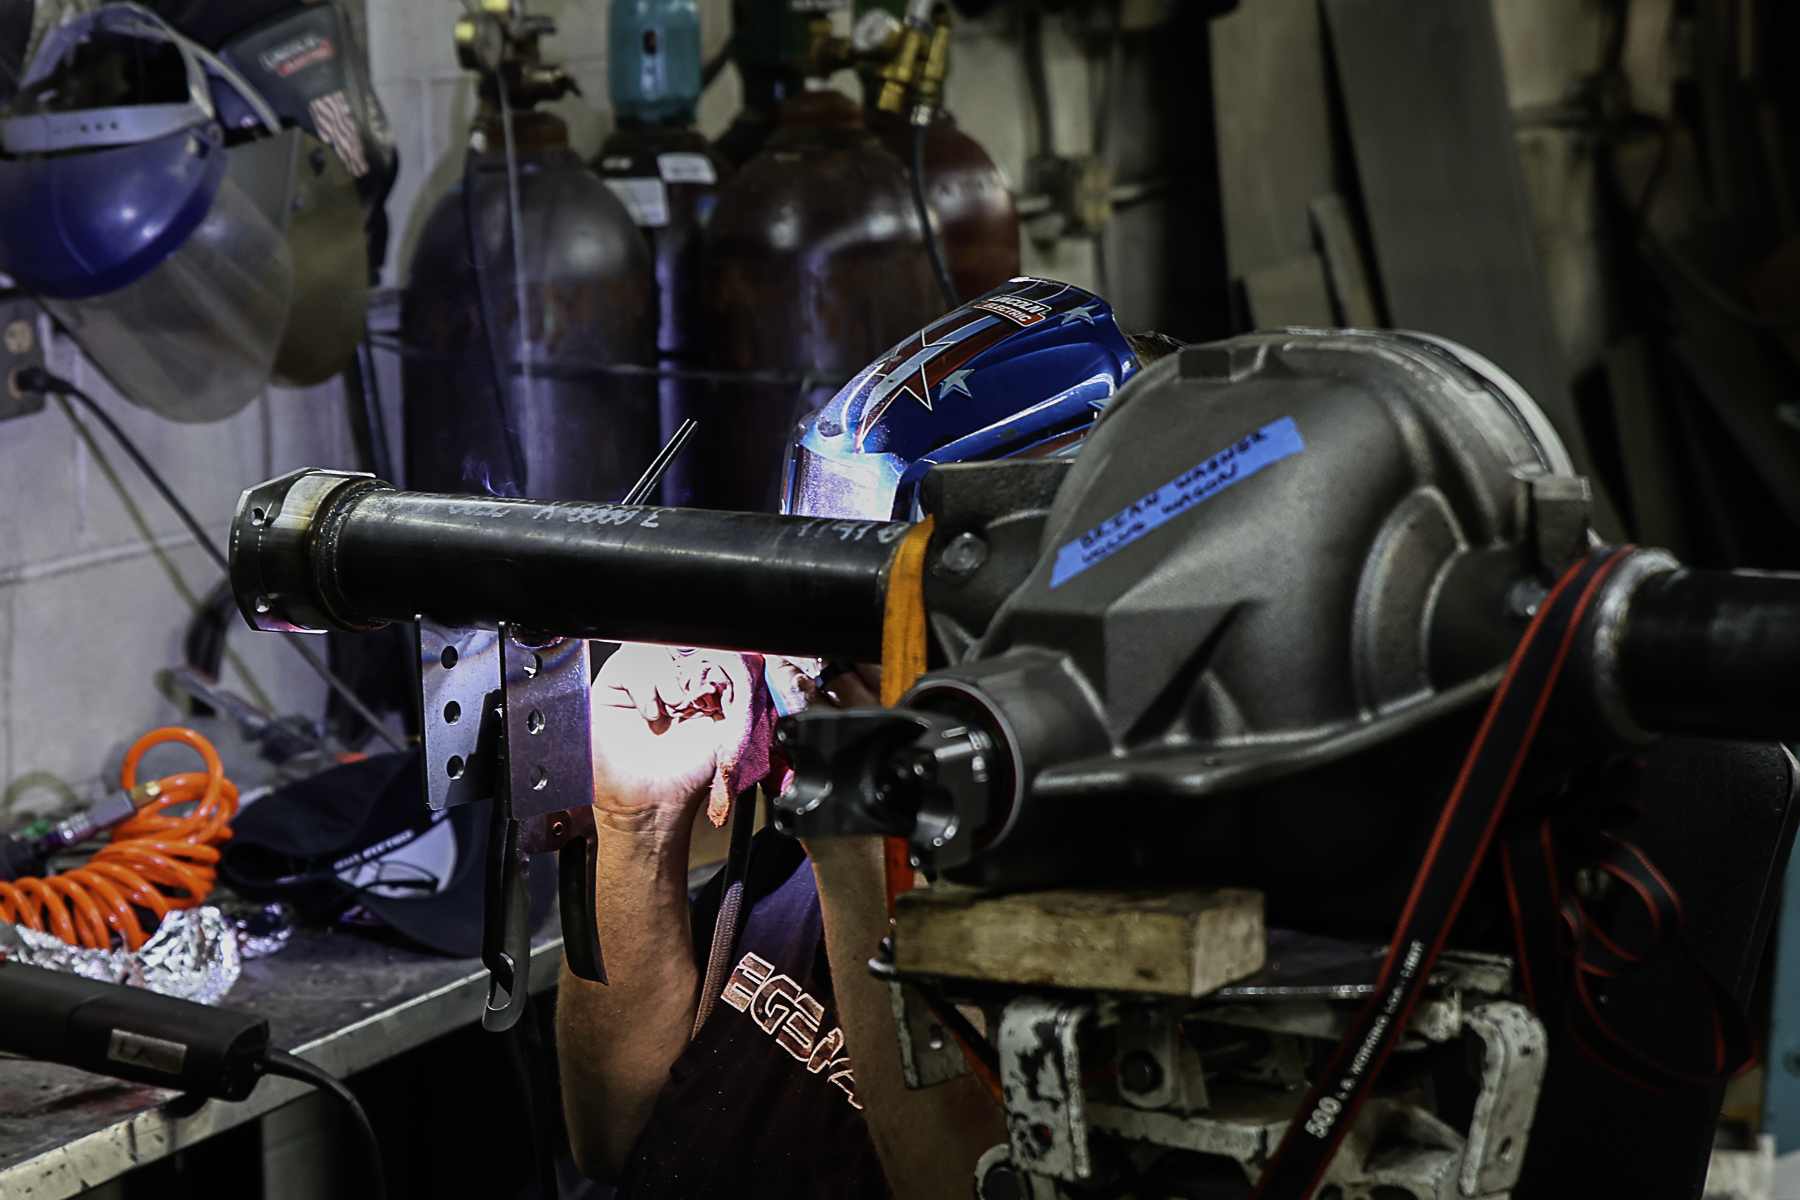
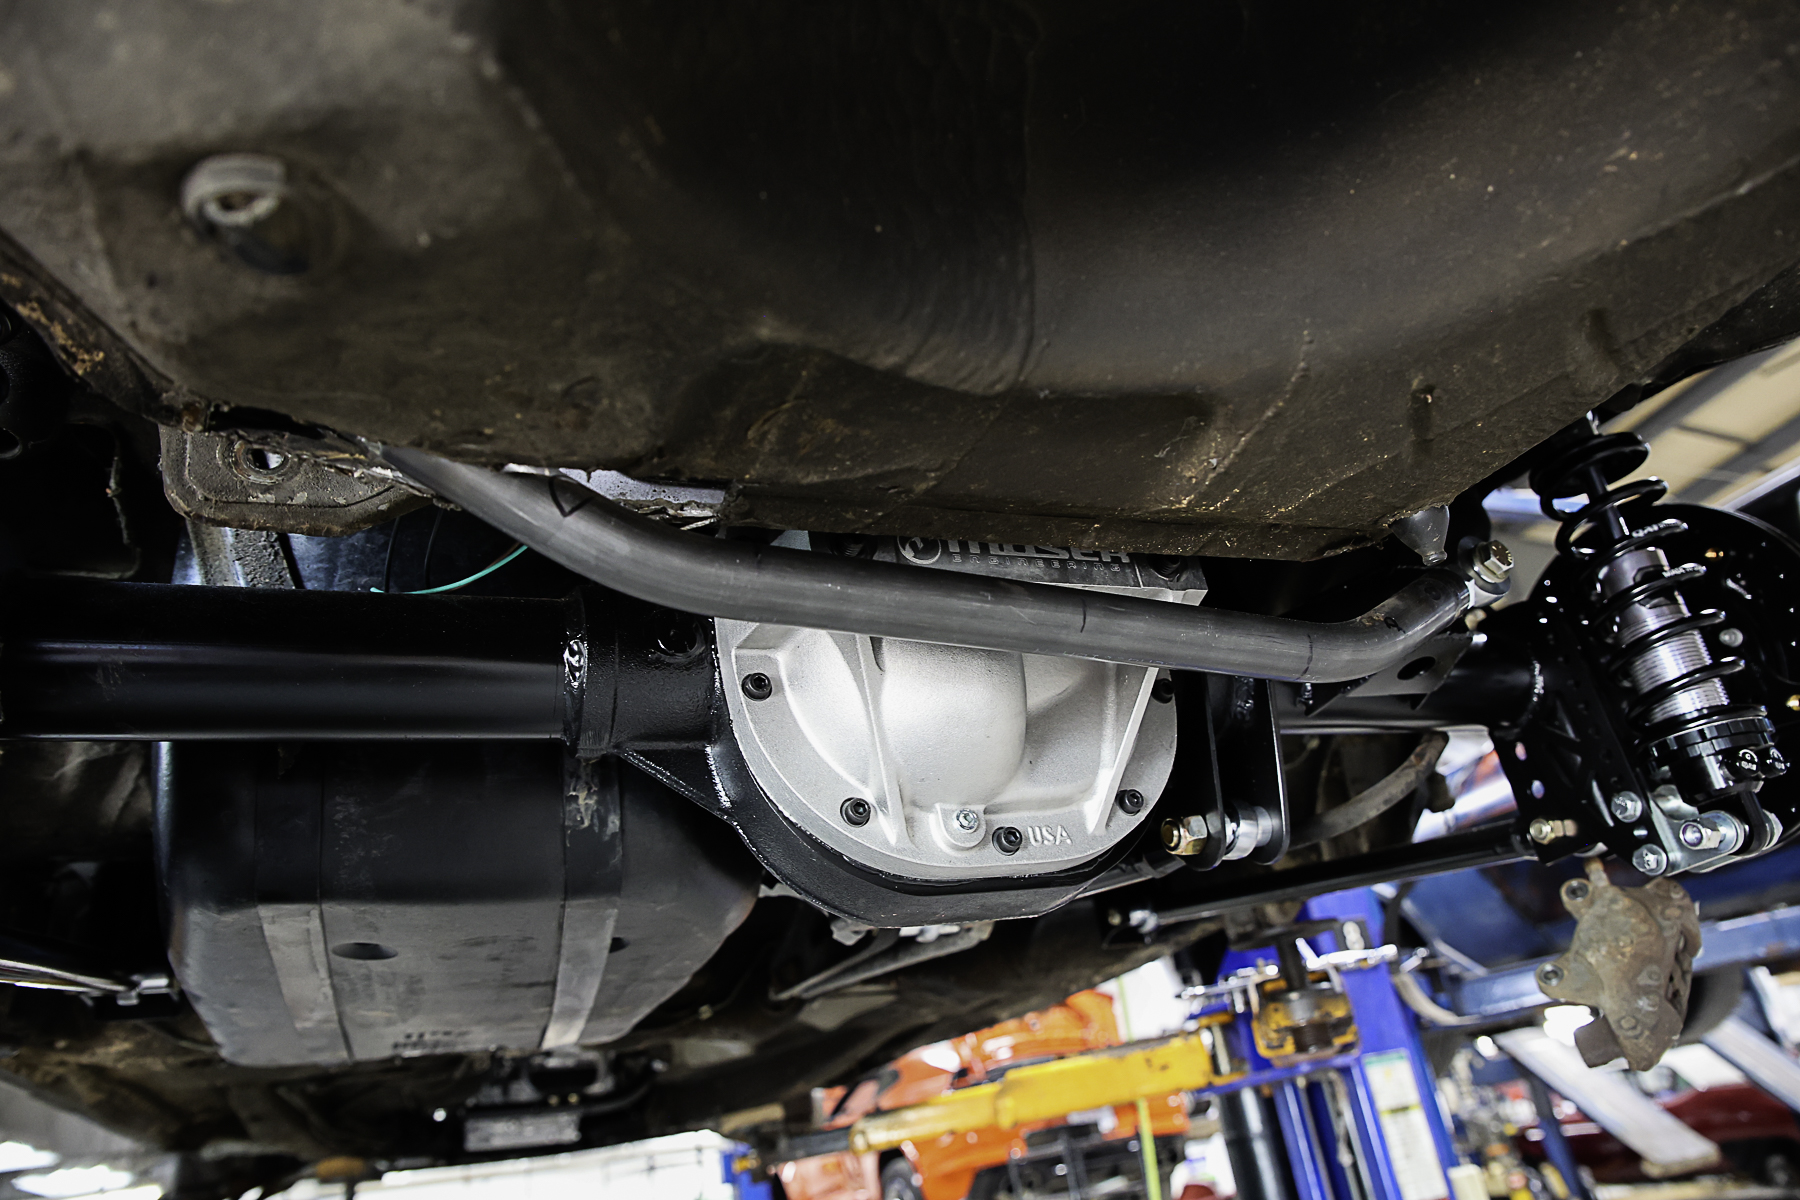
The rearend and suspension would be attached to the Volvo with various tabs and brackets from QA1. Stefanski plotted out where the brackets needed to go based on where the lower control arms would need to land, where the shocks would need to be mounted, and how the custom panhard rod would need to be attached. Once everything was accounted for, the brackets and tabs were welded into place and the rearend was ready to be bolted into its new home. This will all be covered in greater detail in our shock and suspension article.
All of the planning paid off. The Moser M88 fits under the Swedish Meatball with only a few modifications to the car itself.
“We had to modify a few things and change our original plan to make sure different brackets and parts didn’t occupy the same space at the same time. Once we knew where everything was going to fit, we could modify the brackets as needed to get the geometry correct. You have to be ready to adjust your plan on the fly because things always seem to change when you’re working on a swap like this. Usually, there is no blueprint, you need to prepare enough at the beginning so that small issues won’t cause big problems as the swap progresses,” Stefanski states.
All of the hard work and preparation by the team at Big 3 Racing paid off. The measurements they sent to Moser were spot on, and that made the entire swap process easier. Now we have a much stronger rearend under Project Swedish Meatball that will take all the abuse we plan to throw out it. You’ll want to check out the next article in this series where we show you what went into measuring for the QA1 shocks, and how Big 3 Racing built the suspension.
All of the Project Swedish Meatball build content can be found here.


