Gauges are an important, yet often over looked, part of any hot rod build. In addition to providing critical information about your car’s vitals, and just how angry Johnny Law will be if he catches you, they are a component you look at every single time you drive your car. This means it is not only important that your gauges of choice work well, but they have to look good too.
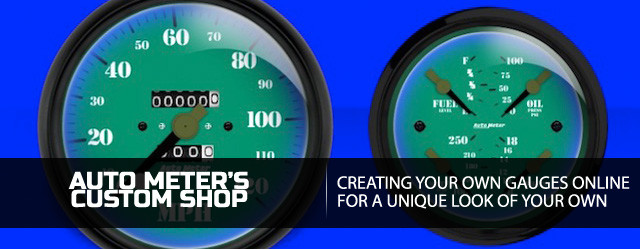
With aftermarket gauge options being virtually limitless, finding the right set is akin to picking a needle out of a haystack. Thankfully, Auto Meter has an online application called the Auto Meter Custom Shop, that allows you to customize their dependable gauges to suit your exact application. Today, we’ll walk you through the entire process while we create some gauges of our own.
Getting Started
When you first land on ampcustomshop.com you are greeted with several options. Across the top of the page is the option to start customizing, view gauges made by others, buy Auto Meter merchandise, accesses the main Auto Meter website, learn more about the Custom Shop, or visit the help link for further assistance.
Since we would like to create our own gauges, we followed the Start Customizing and Create Your Own links to get started.
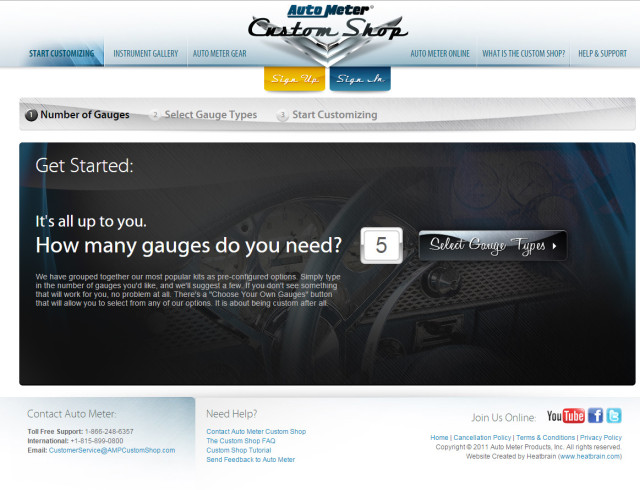
In the option screen, we selected the default five gauge application. On the following page we were presented with options to not only chose the size of our gauges but which gauges we may, or may not, want to be combined into a single gauge.
The typical 5-gauge set-up includes a speedometer, oil pressure, water temperature, voltmeter, and fuel gauges.
Hovering over the i (information) icon beside each gauge lets you know relevant details about the gauge, including its primary and auxiliary functions, what’s included with the gauge, and any sending units it may require to function.
More information is available by hovering over the 'i' icon
Toggles at the bottom of the screen allow you to select either electric or mechanical configurations for both your speedometer and oil pressure gauges. There is also an option that allows the selection of either miles per hour or kilometers per hour for your speed measurement.
Electric or manual and kilometers or miles per hour is totally up to you!
The last configurable option on this page is the size of your gauges. Speedometers range from 5 inches to 3 and 1/8 inches, while the other gauges go down as small as 2 1/6 inches.
Add Fuel To The Mix
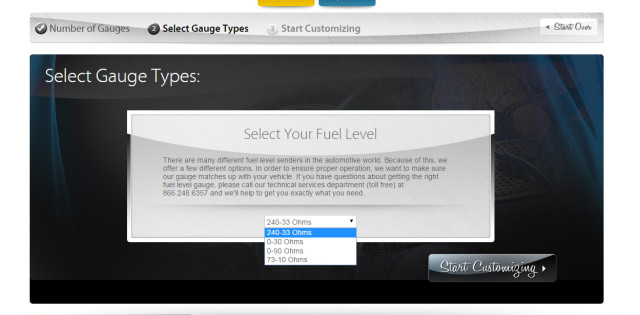
Once you’ve chosen the kit that will best suit the application, click on the Customize This Kit link to access the next page. This page will assist you in choosing a fuel gauge that will suit your electrical system.
A pretty gauge that doesn’t work is no good. It’s nice of Auto Meter to include, and explain, this step. Once the correct impedance of your fuel gauge is selected, the Custom Shop opens up and you can really tailor your gauge set to your vehicle.
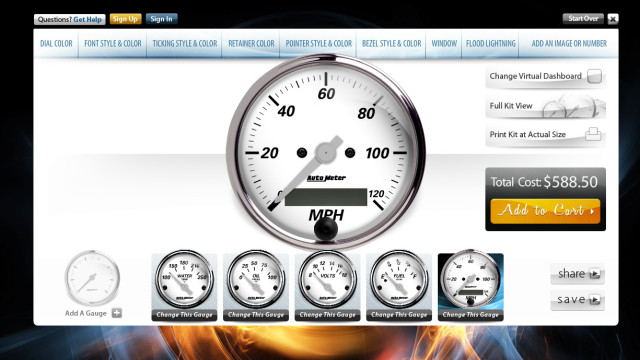
Across the top of the page in the Custom Shop Auto Meter has broken down the different parts that make up a gauge into different navigational tabs. From trim ring to dial color everything is configurable at the click of a button.
We’ll be designing a set of gauges today for the fictional Rod Authority dream rod. The first thing we’ll do is add a splash of color by changing the gauge face to a Rod Authority-inspired crimson.
The Right Hue For You
A pre-set list of colors is available but if you have a specific color in mind you can select the Your Paint option. When this option is selected, Auto Meter sends the faces to you to paint, which you then send back so that they can complete the final assembly.
A color wheel is provided, for the sake of mock up, that allows you to choose a hue that best represents your paint color.
You can choose a color using the pinwheel, or have the gauge faces sent to you for paint by selecting customize your dial color
The next step is to choose a font style and color. Being fans of a traditional look, we went with the old tyme option in black. Should you be a bit more daring, there’s a range of fonts available, from contemporary to gothic.
Gothic, contemporary, and old tyme are just a few of the font styles available
Tick…Tick…Tick…
The next option is the ticking (dashes adjacent to the numbers). Again, these are configurable marks from antique to stack using the scroll-able list on the left side of the screen.
Examples of the stack ST230, dot, and diamond ticking styles.
After some deliberation we went with the stacked option that we think looks pretty sharp.
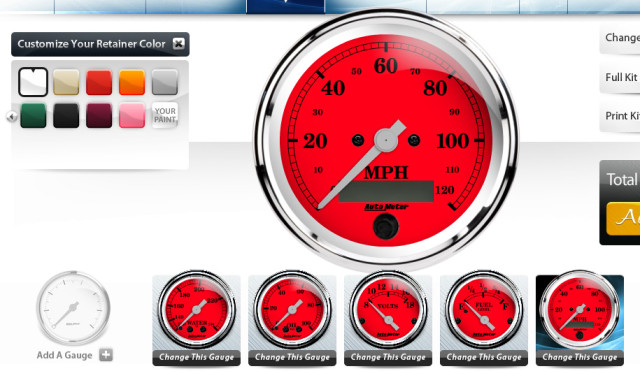
Following the ticking, the next step is to select a retainer color. The retainer is the inner ring that sits on the gauge face. Like the face color you have the option of choosing your own, or one of the preset options. For this example we played it a little conservative and went with white.
After choosing the retainer color that bests suits your application, configure the pointer (or needle). As far as physical appearance and shape, options are limited to either standard or old time.
Your choices for the color of both the pointer and hub/tail portion are limitless. To differentiate the two for this example we chose a dark grey pointer and black hub/tail.
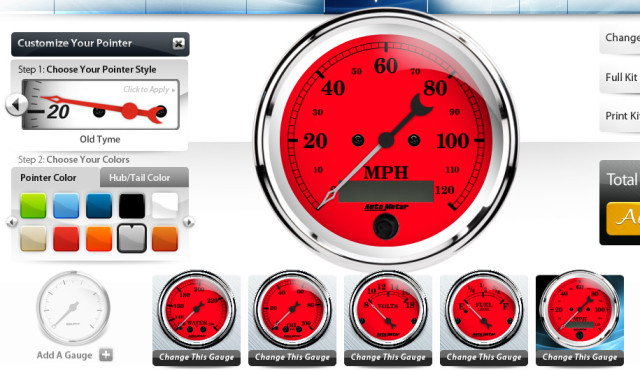
We’ve now added a white retainer and an old tyme pointer with gunmetal pointer, and black hub and tail.
The Devil Is In The Bezels
Getting closer to the final product, the next level of customization available is the bezel. There are three possible styles; Street Rod, Monster, and the Super Bezel. We went with the black chrome anodized Street Rod bezel.
Super Bezel, Monster Bezel, and Street Rod Bezel are available options.
Once you’ve selected a bezel, the left portion of the screen changes to allow a choice of your glass. The options here are domed or flat. The shape of your dash can help you select which glass is right for your application.
The next to last option available is lighting.
Domed window and flat window are glass options. There are incandescent and a variety of LED lighting options available.
Incandescent is the standard option, but LED options in white, blue, green, red, and amber are available. Let your personal taste be your guide.
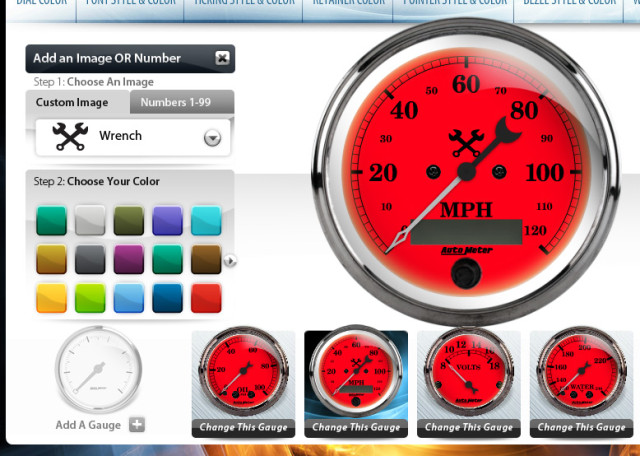
Last, but certainly not least, is the option to add an image to your gauge faces. We opted for the crossed wrenches as it best matches our brand, but images such as the NASCAR logo, a snake, eagle, pistons, and many more are available.
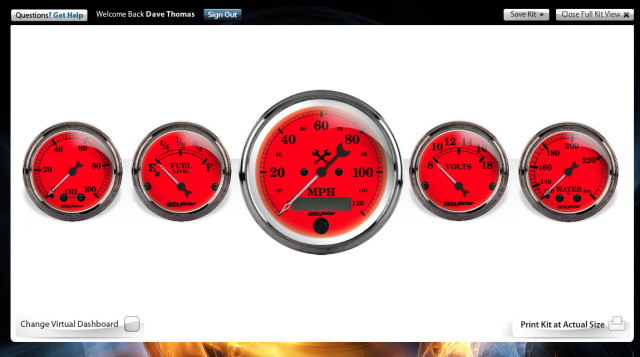
When you’re done, the Full Kit View button allows viewing of your entire kit on the screen. Clicking on any of the gauges gives you an opportunity to go back and tweak if necessary.
Once you are happy with your kit, you can print a full size version for mock ups. Finally, you can register with an email address and password to save the kit you’ve designed. This allows you to access it from anywhere at any time.
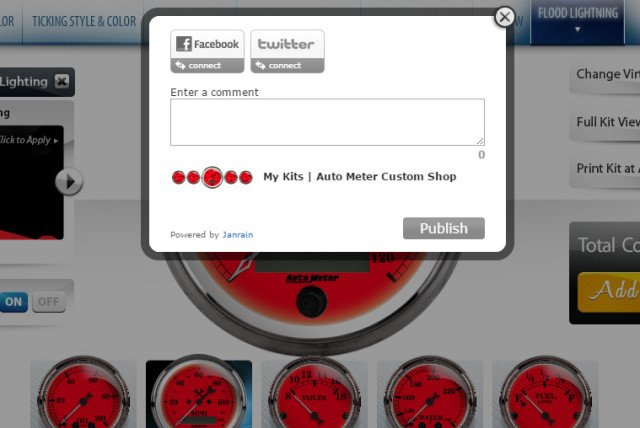
You also have the option to share your custom kit via email, Facebook, or Twitter to let the world know what is coming down the road.
Next, you will need to add the kit to your cart. Auto Meter will manufacture your gauge kit to order and ship. The final cost depends on how many customizations you’ve made along the way. In our case the total was $834.00 USD before shipping and taxes. A small price to pay for a one off set of gauges.
Creating gauges with the Auto Meter Custom Shop is an easy way to make a gauge cluster your own. We think we’ll see a few gauges made using this system on project cars to come in the future.


