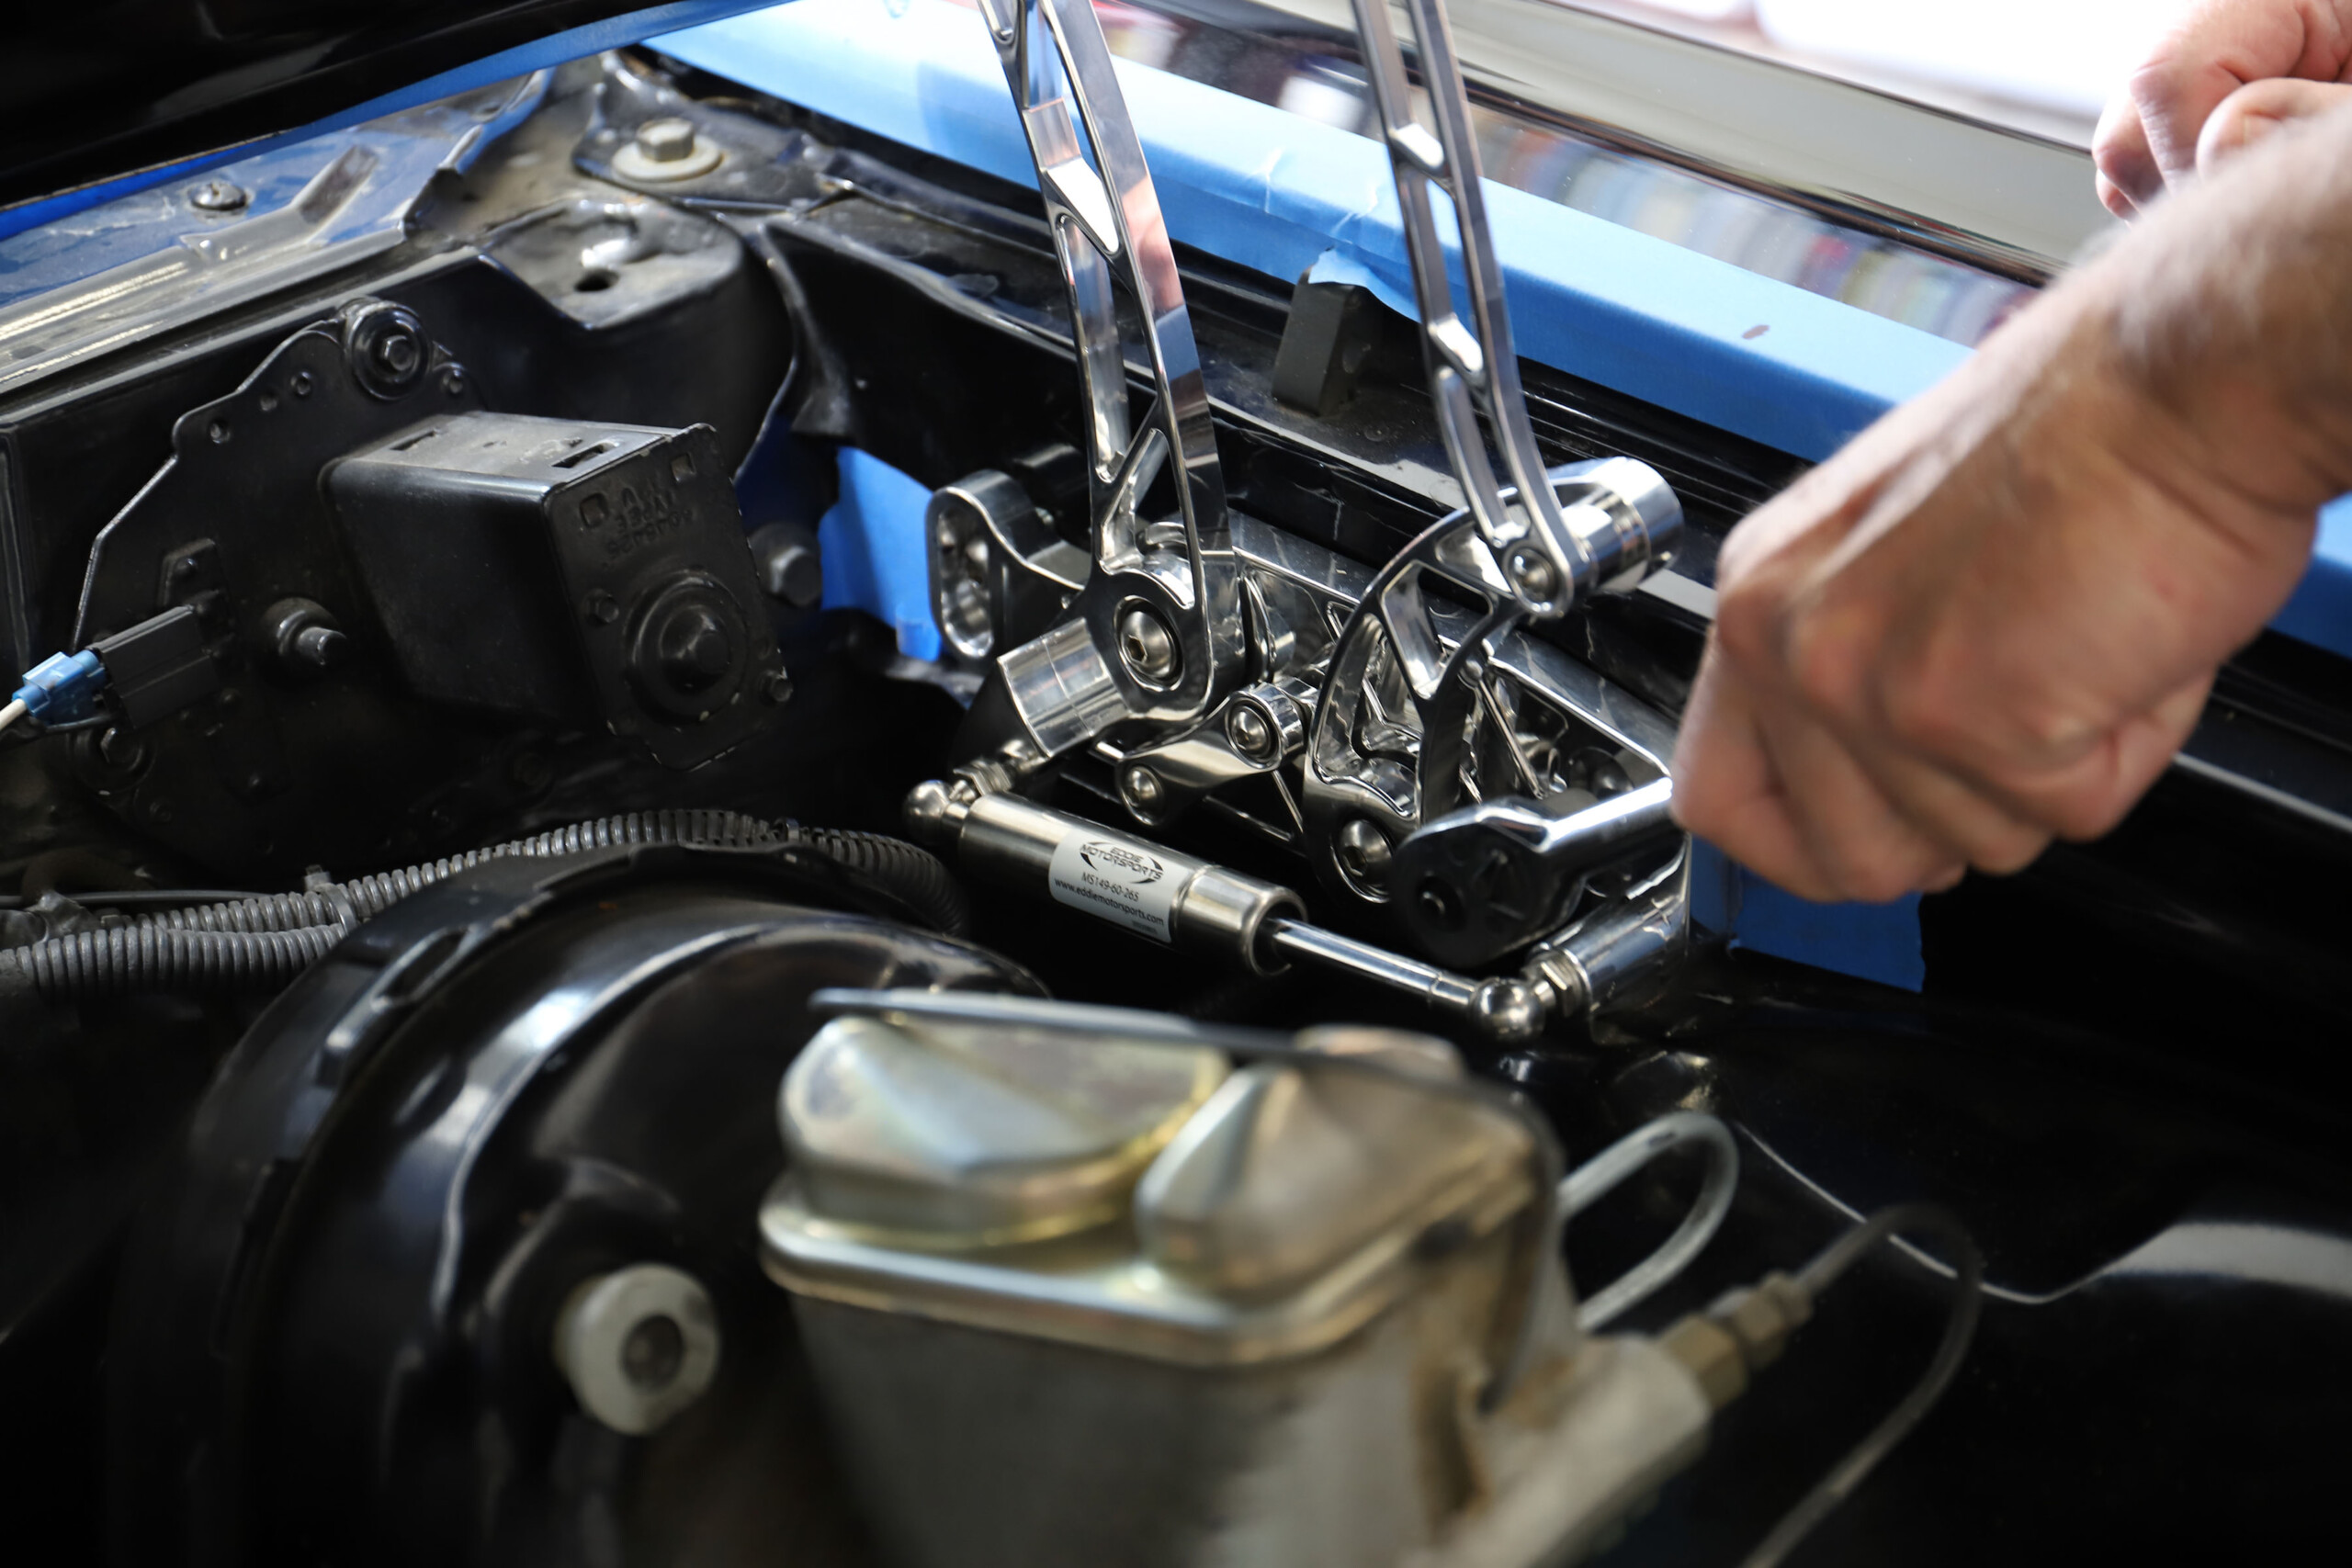
Over the years, we grow accustomed to our vehicles and their less-than-perfect character flaws. One item that is overlooked on many of our daily drivers, as well as show vehicles, are those aging hood hinges. Many times, we just accept the creaking, sticky, or loose hinges as par for the course with our decades-old vehicles.
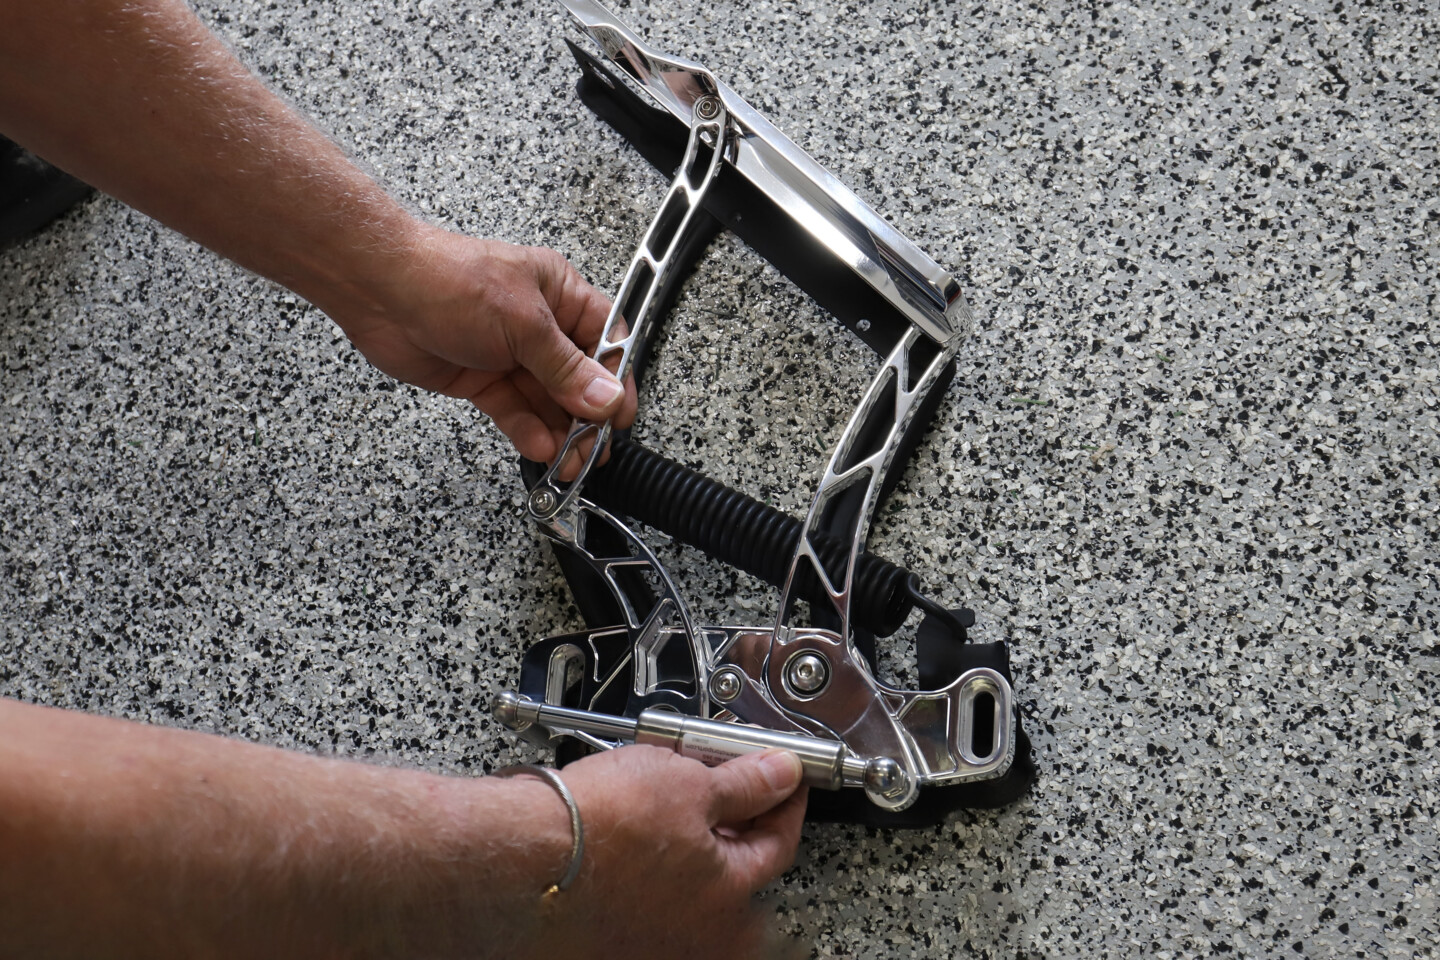
The Eddie Motorsports hood hinges are made from billet aluminum. They are a direct bolt-in, and feature gas struts and sealed bearings for much smoother operation than the factory, stamped steel hinges.
How many times have you been to a show and seen an owner giving the rear corners of the hood a gentle push to level the back of the hood to the fenders and cowl? Thankfully, this does not need to be the accepted norm, because Eddie Motorsports has an extensive catalog of high-quality hood hinges that are far superior in quality, appearance, and operation than those factory hinges ever hoped to be.
Get Rid Of Those Sloppy, Creaking Springs
If we’re honest, we’re forced to admit that when our beloved cars were rolling down the assembly line, they were just cars. They were designed to fill the present need or want and were not intended to be durable enough to last 40 or 50 years. Nor were the hood hinges they left the factory with either. Yet, even when so many other components have been swapped out due to upgrades or wear, many still try to make do with worn hinges.
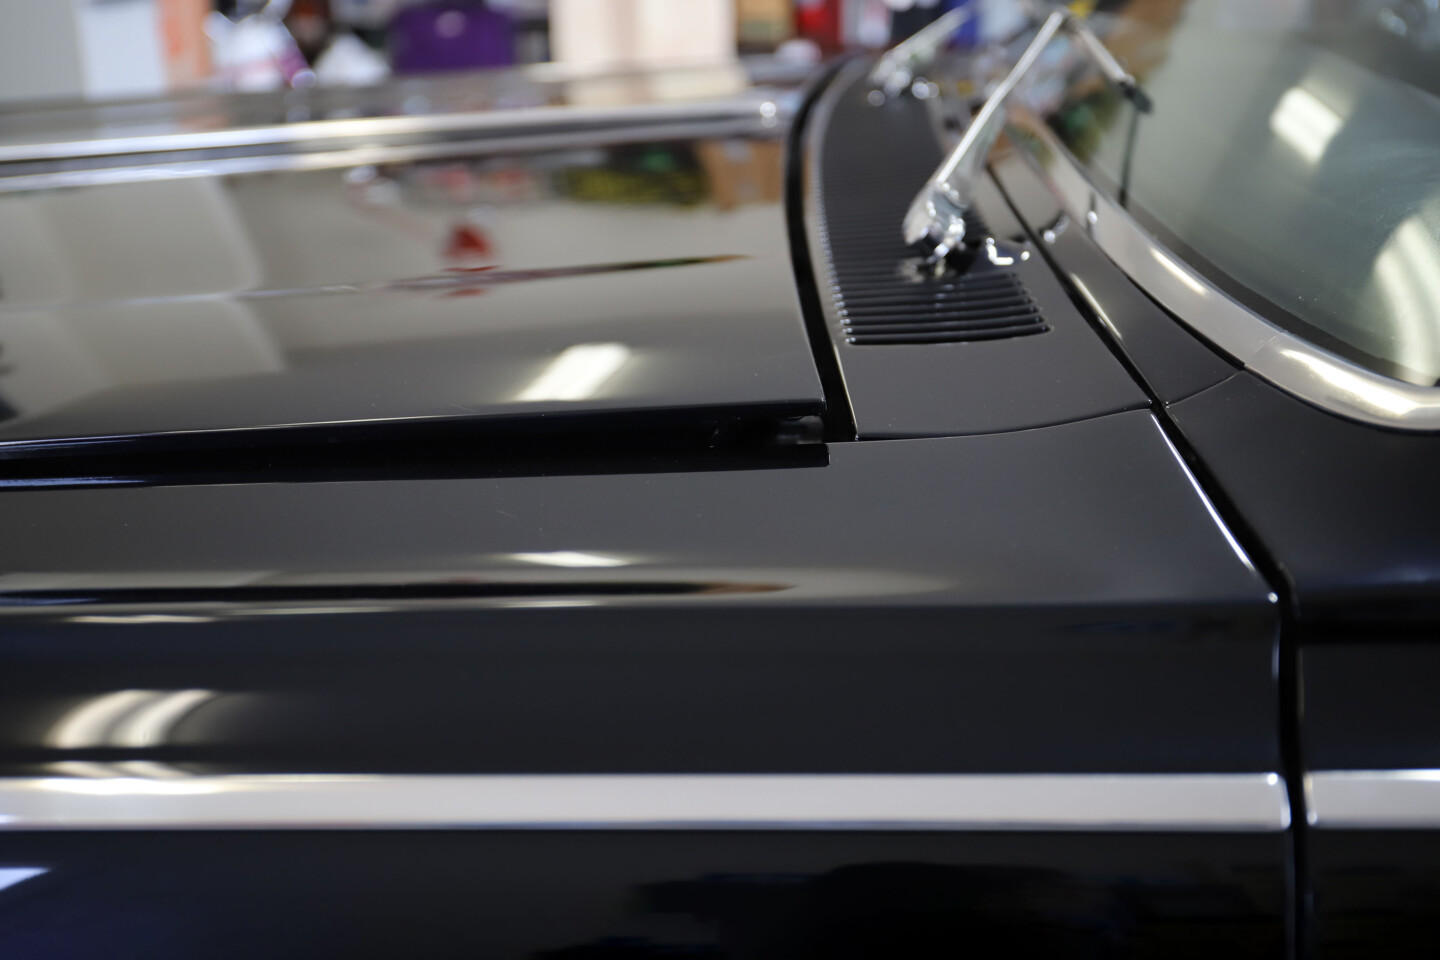
Besides being over 40 years old, the problem with the original hinges is they wear over time and don’t retain the proper alignment with the fender and cowl.
The reality is that while we may not use our hood hinges every day, even on a daily driver, replacing those sloppy, creaking hood hinges can actually make working on your ride more enjoyable. And, in the case of a set of Eddie Motorsports hood hinges, it’ll make your ride’s under-hood area much more presentable at any car event.
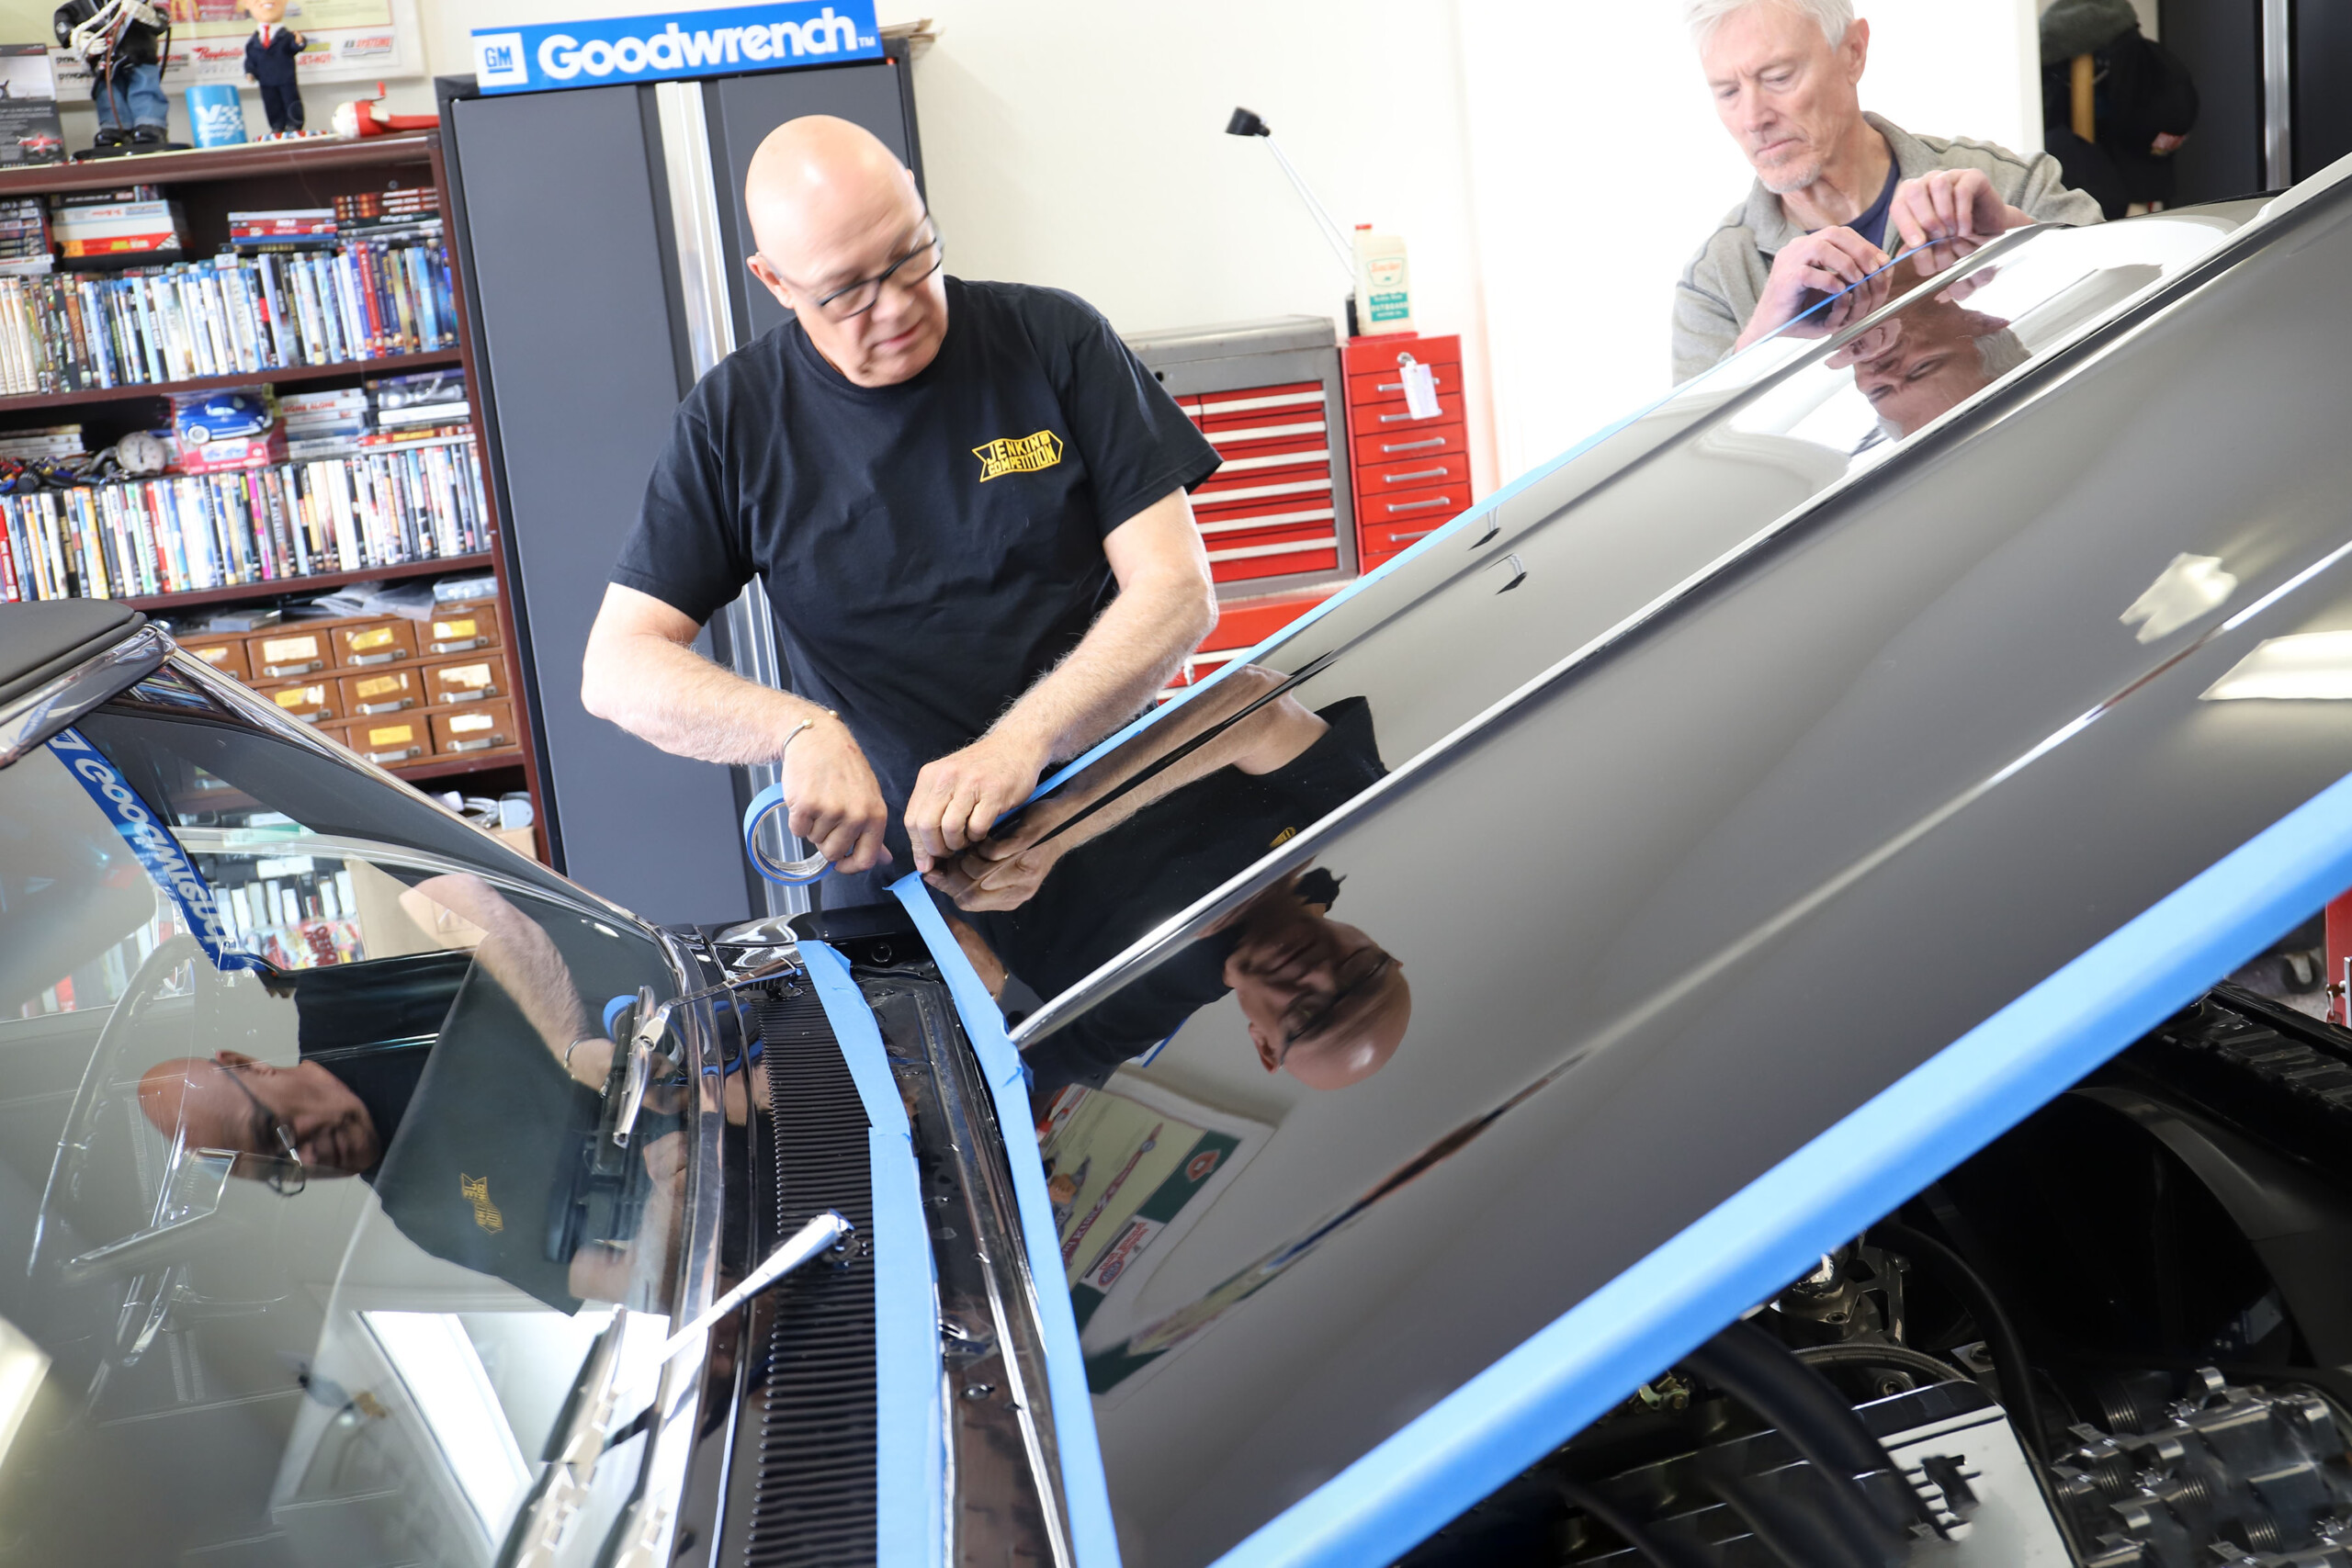
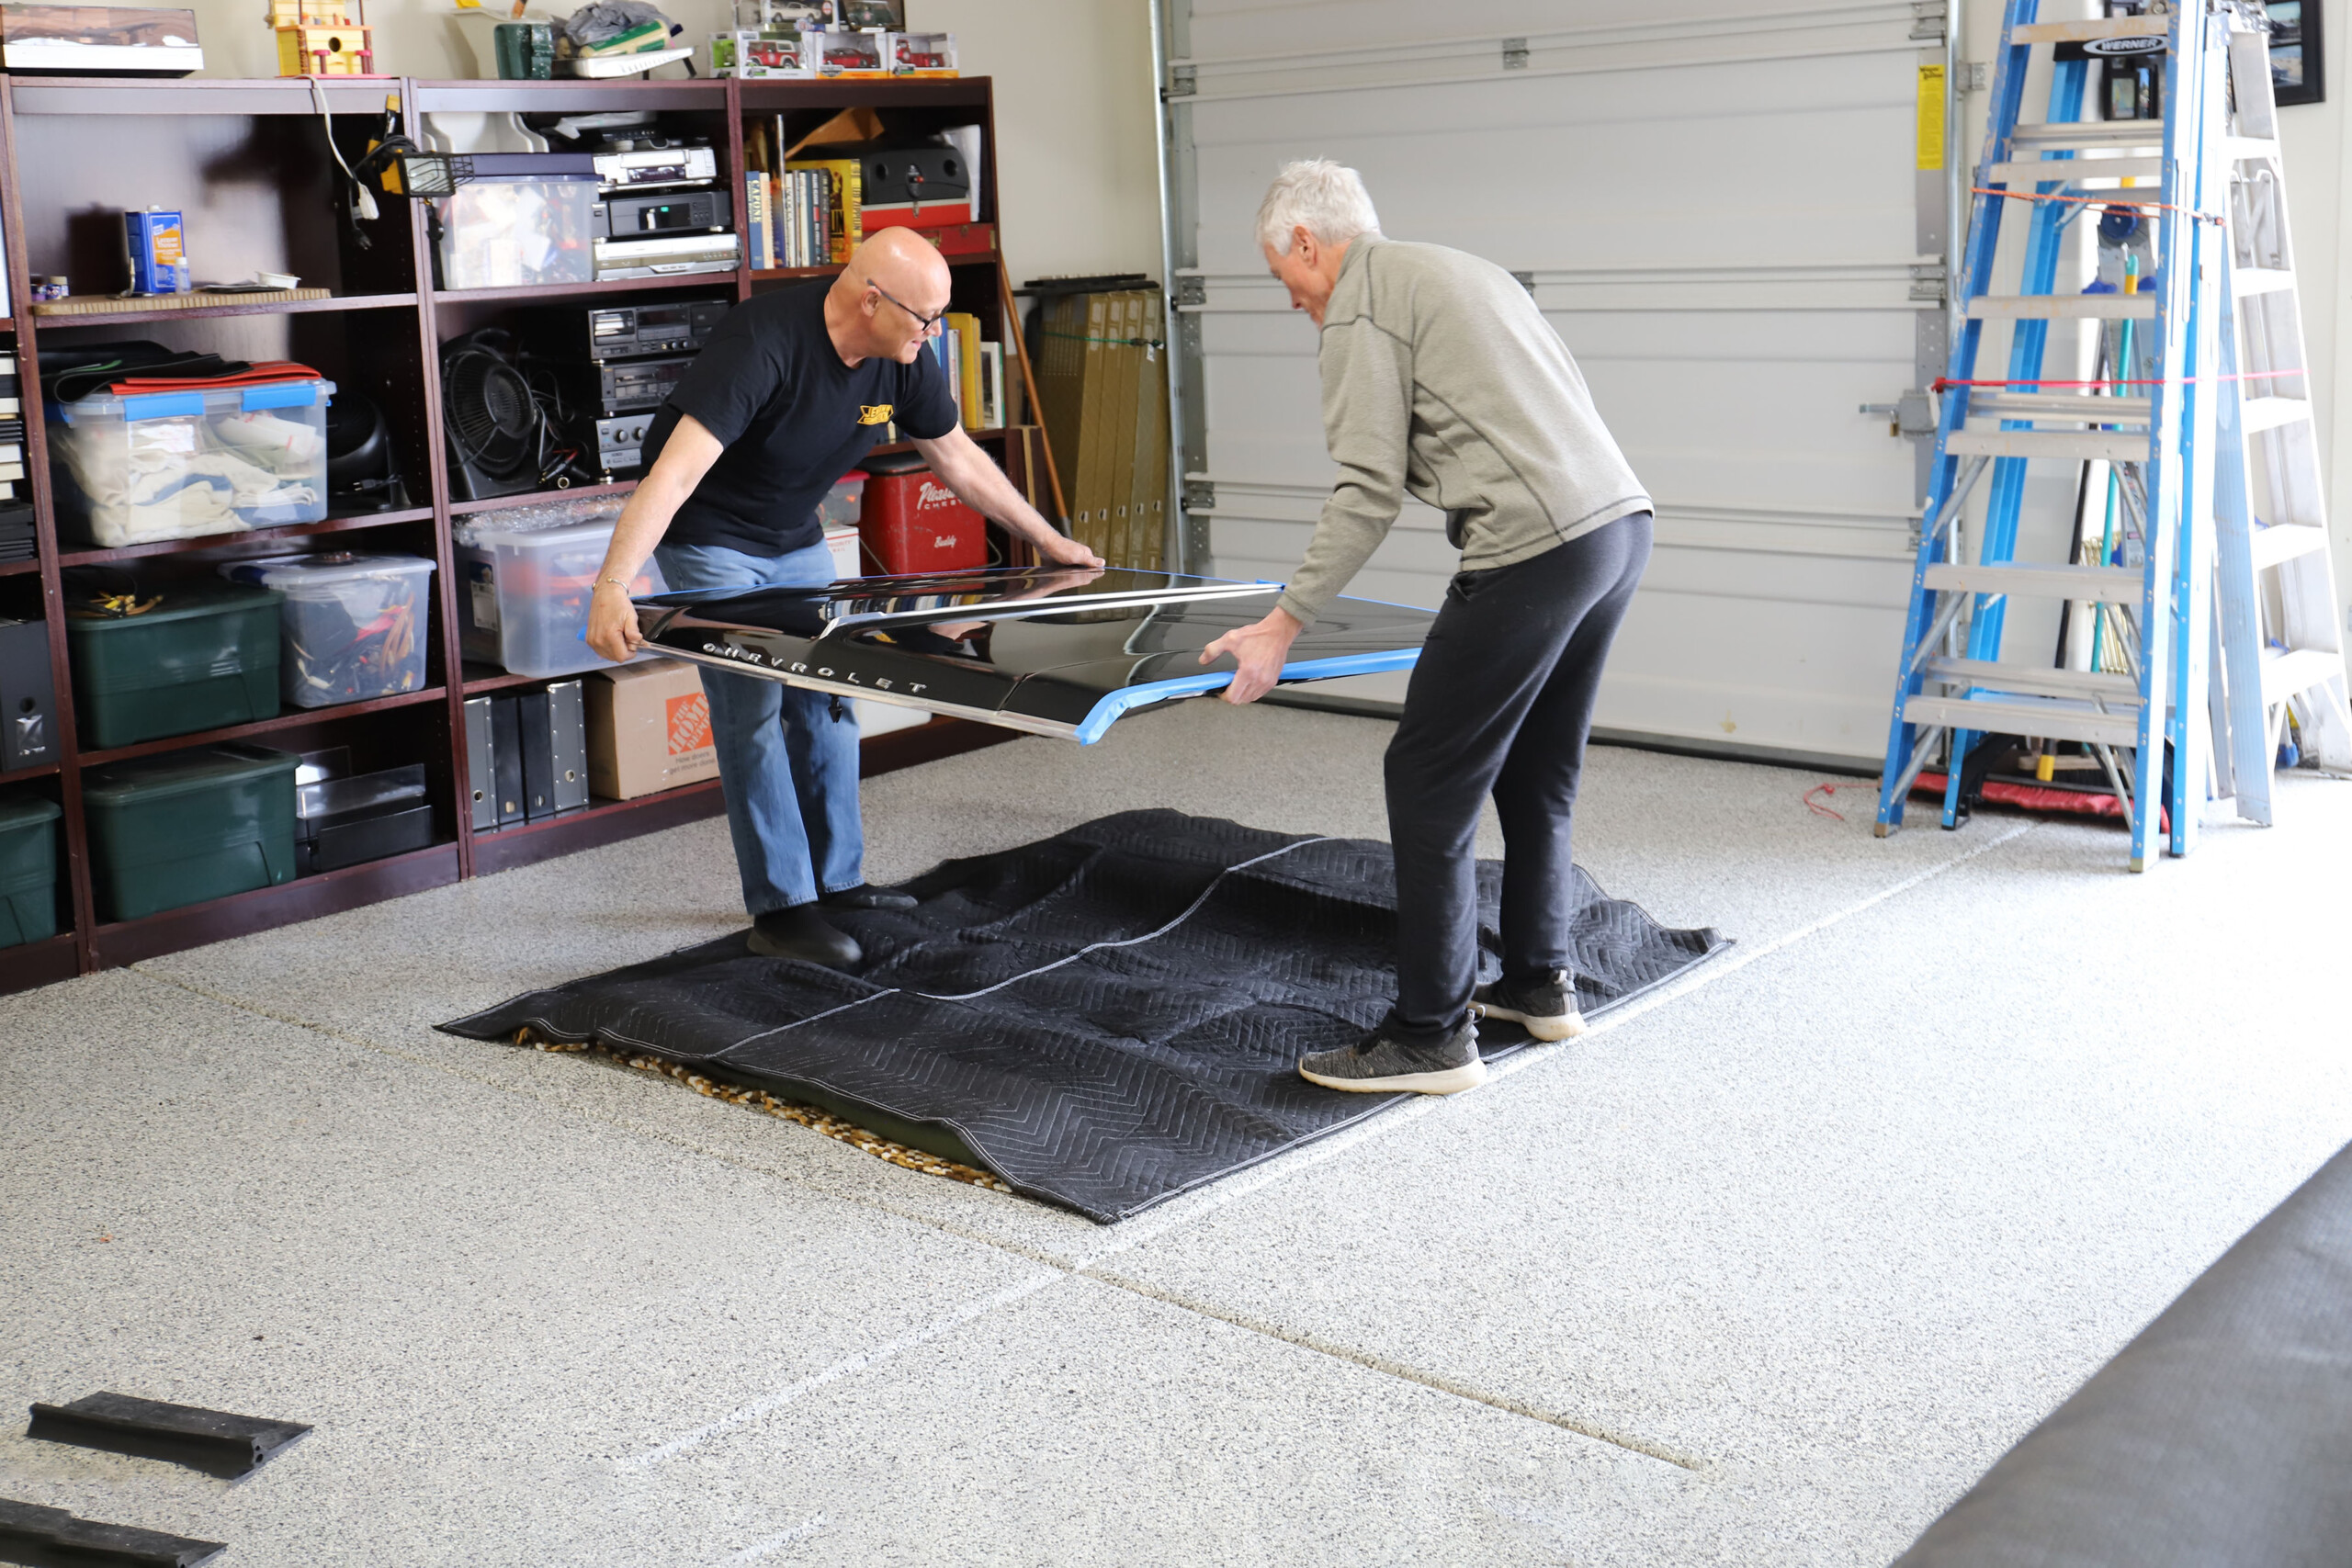
We used masking tape to mark where the old bolts mated to the hood and then ran two layers of masking tape around the perimeter of the hood, fenders, and cowl. It is recommended to have at least two people when removing the hood since they are quite bulky.
All Eddie Motorsport hood hinges are manufactured from billet 6061-T6 aluminum and are machined at Eddie Motorsports’ facilities in Rancho Cucamonga, California. All the articulating components are suspended by high-quality, sealed ball bearings, allowing incredibly smooth and bind-free operation. Instead of using springs, Eddie Motorsports hinges use nitrogen-filled struts manufactured from stainless steel to support the hood in the open position.
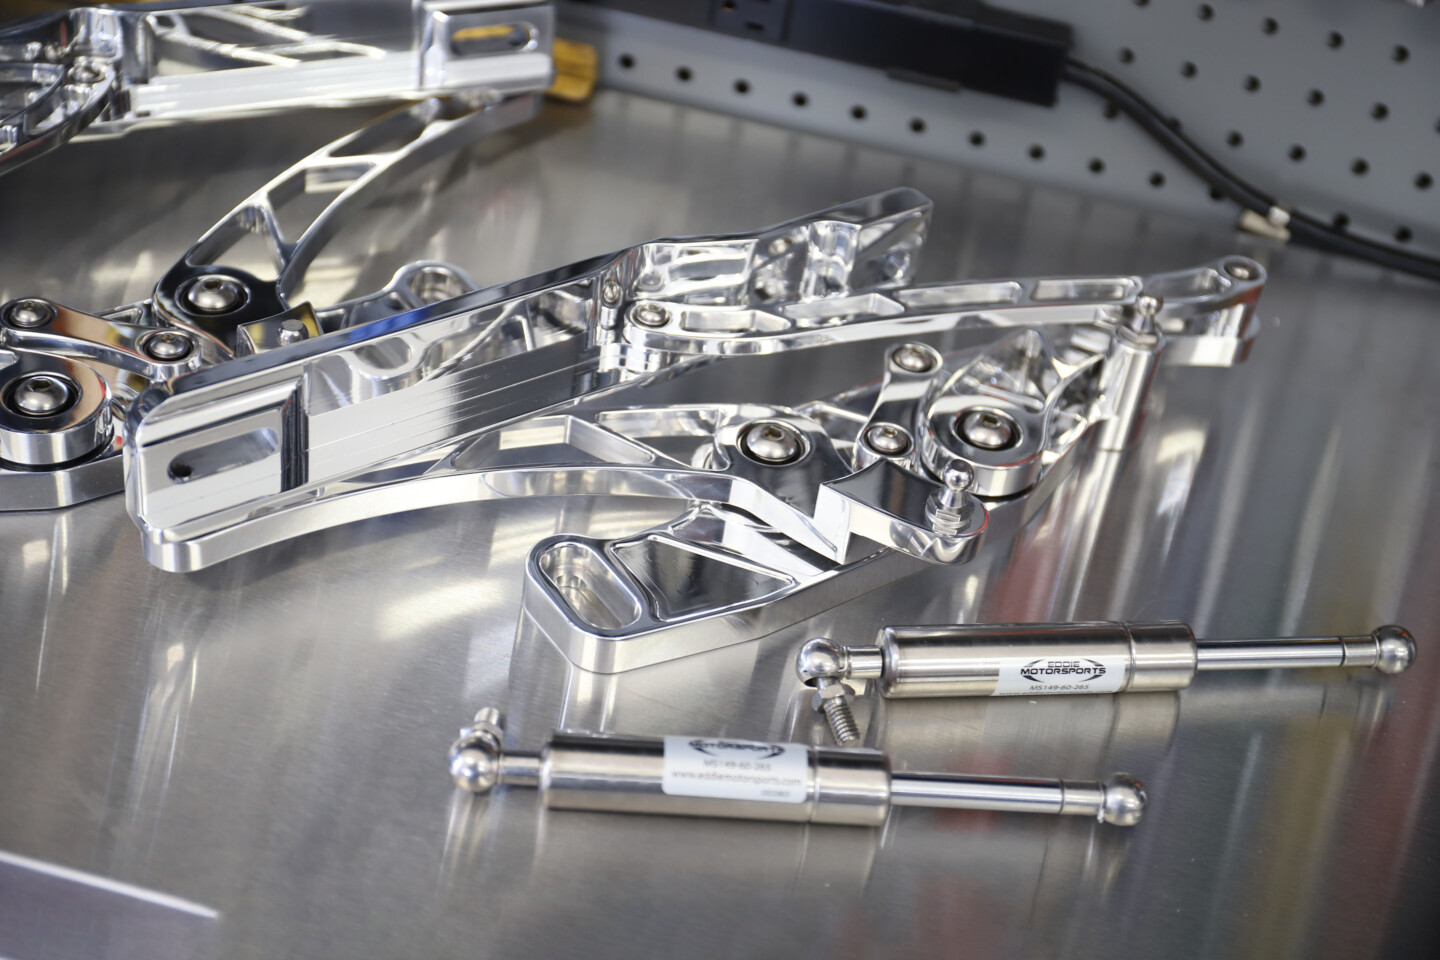
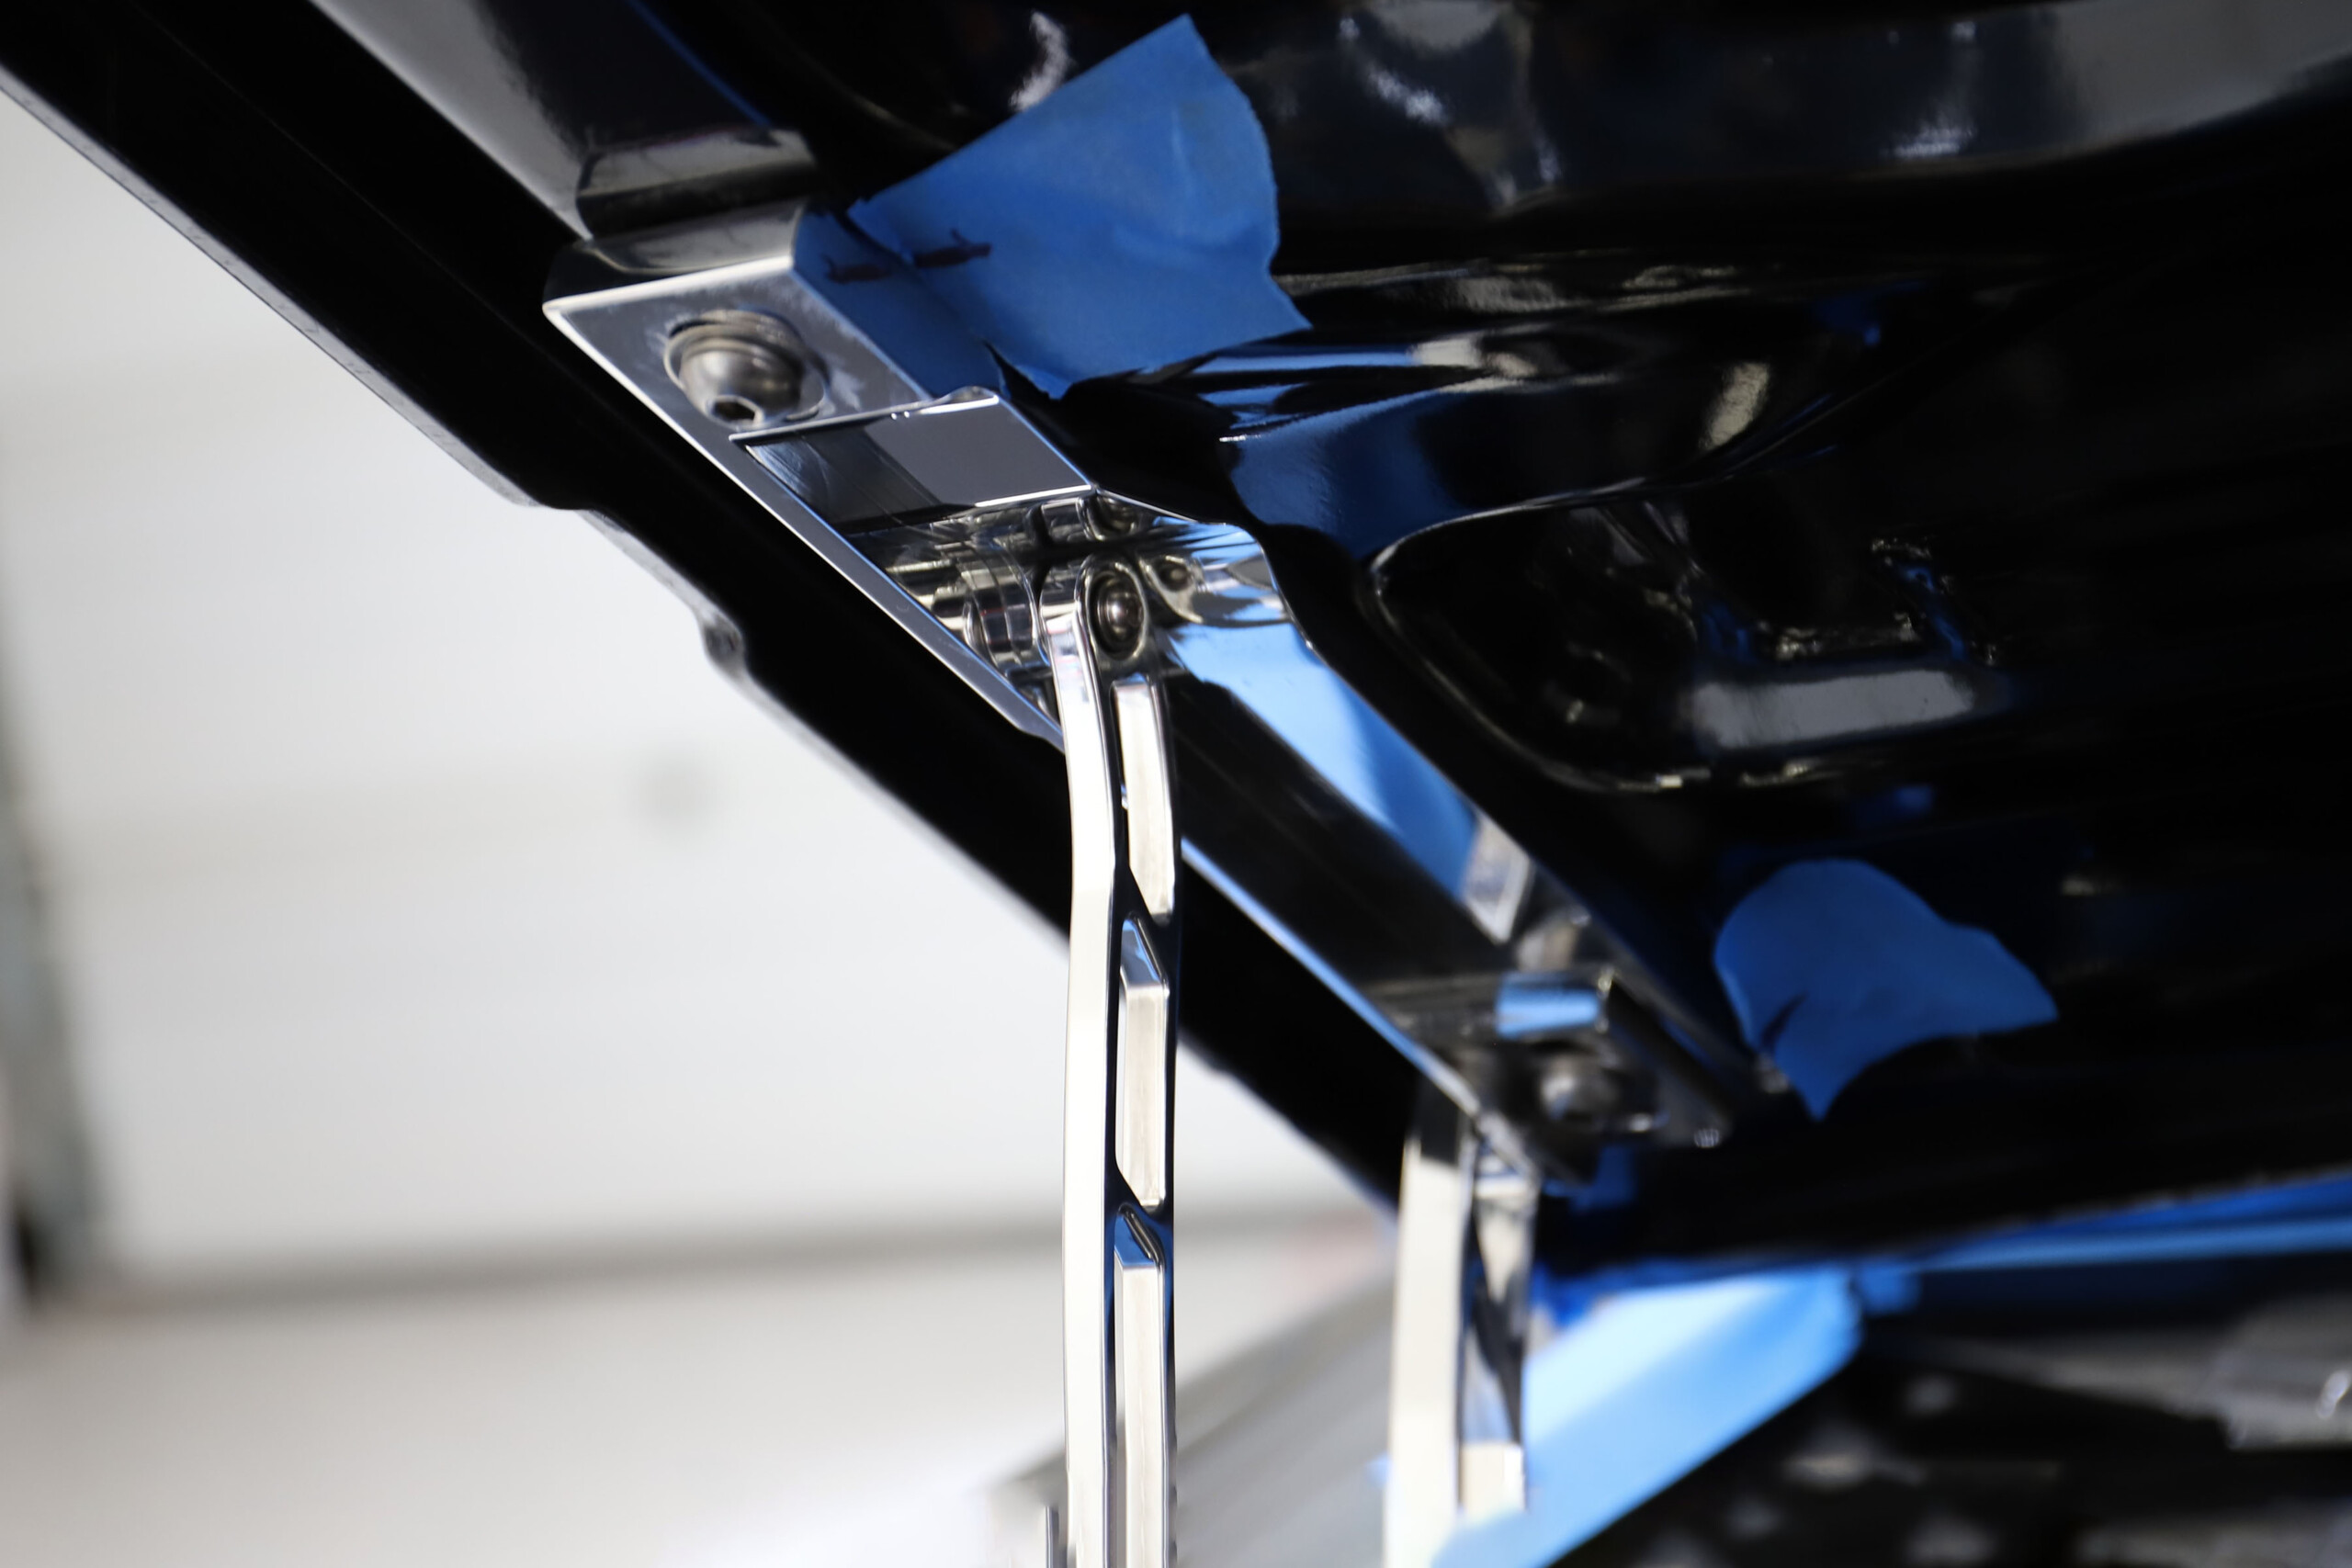
The hood hinges are works of art. The polished Kinetic hinges look much better than the factory-stamped steel hinges and the gas struts are much smoother and quieter than the O.E. springs.
The hinges are manufactured as a bolt-in upgrade and are available in several finishes, including raw machined, brightly polished, or a variety of colors using durable coatings such as anodizing and Fusioncoat. Eddie also offers hinges in plain billet, Lightning, and Kinetic designs. We opted for the heavily windowed Kinetic hinges for our 1964 Malibu Super Sport.
Installing The Billet Hood Hinges
A little bit of prevention is worth more than a ton of buffing compound when you’re dealing with painted surfaces. We began by taping off the perimeter of our hood and the nearby areas on our fenders and cowl with masking tape. Then, we could remove the hood and place it safely out of the way. We wouldn’t even think of trying this without at least two people.
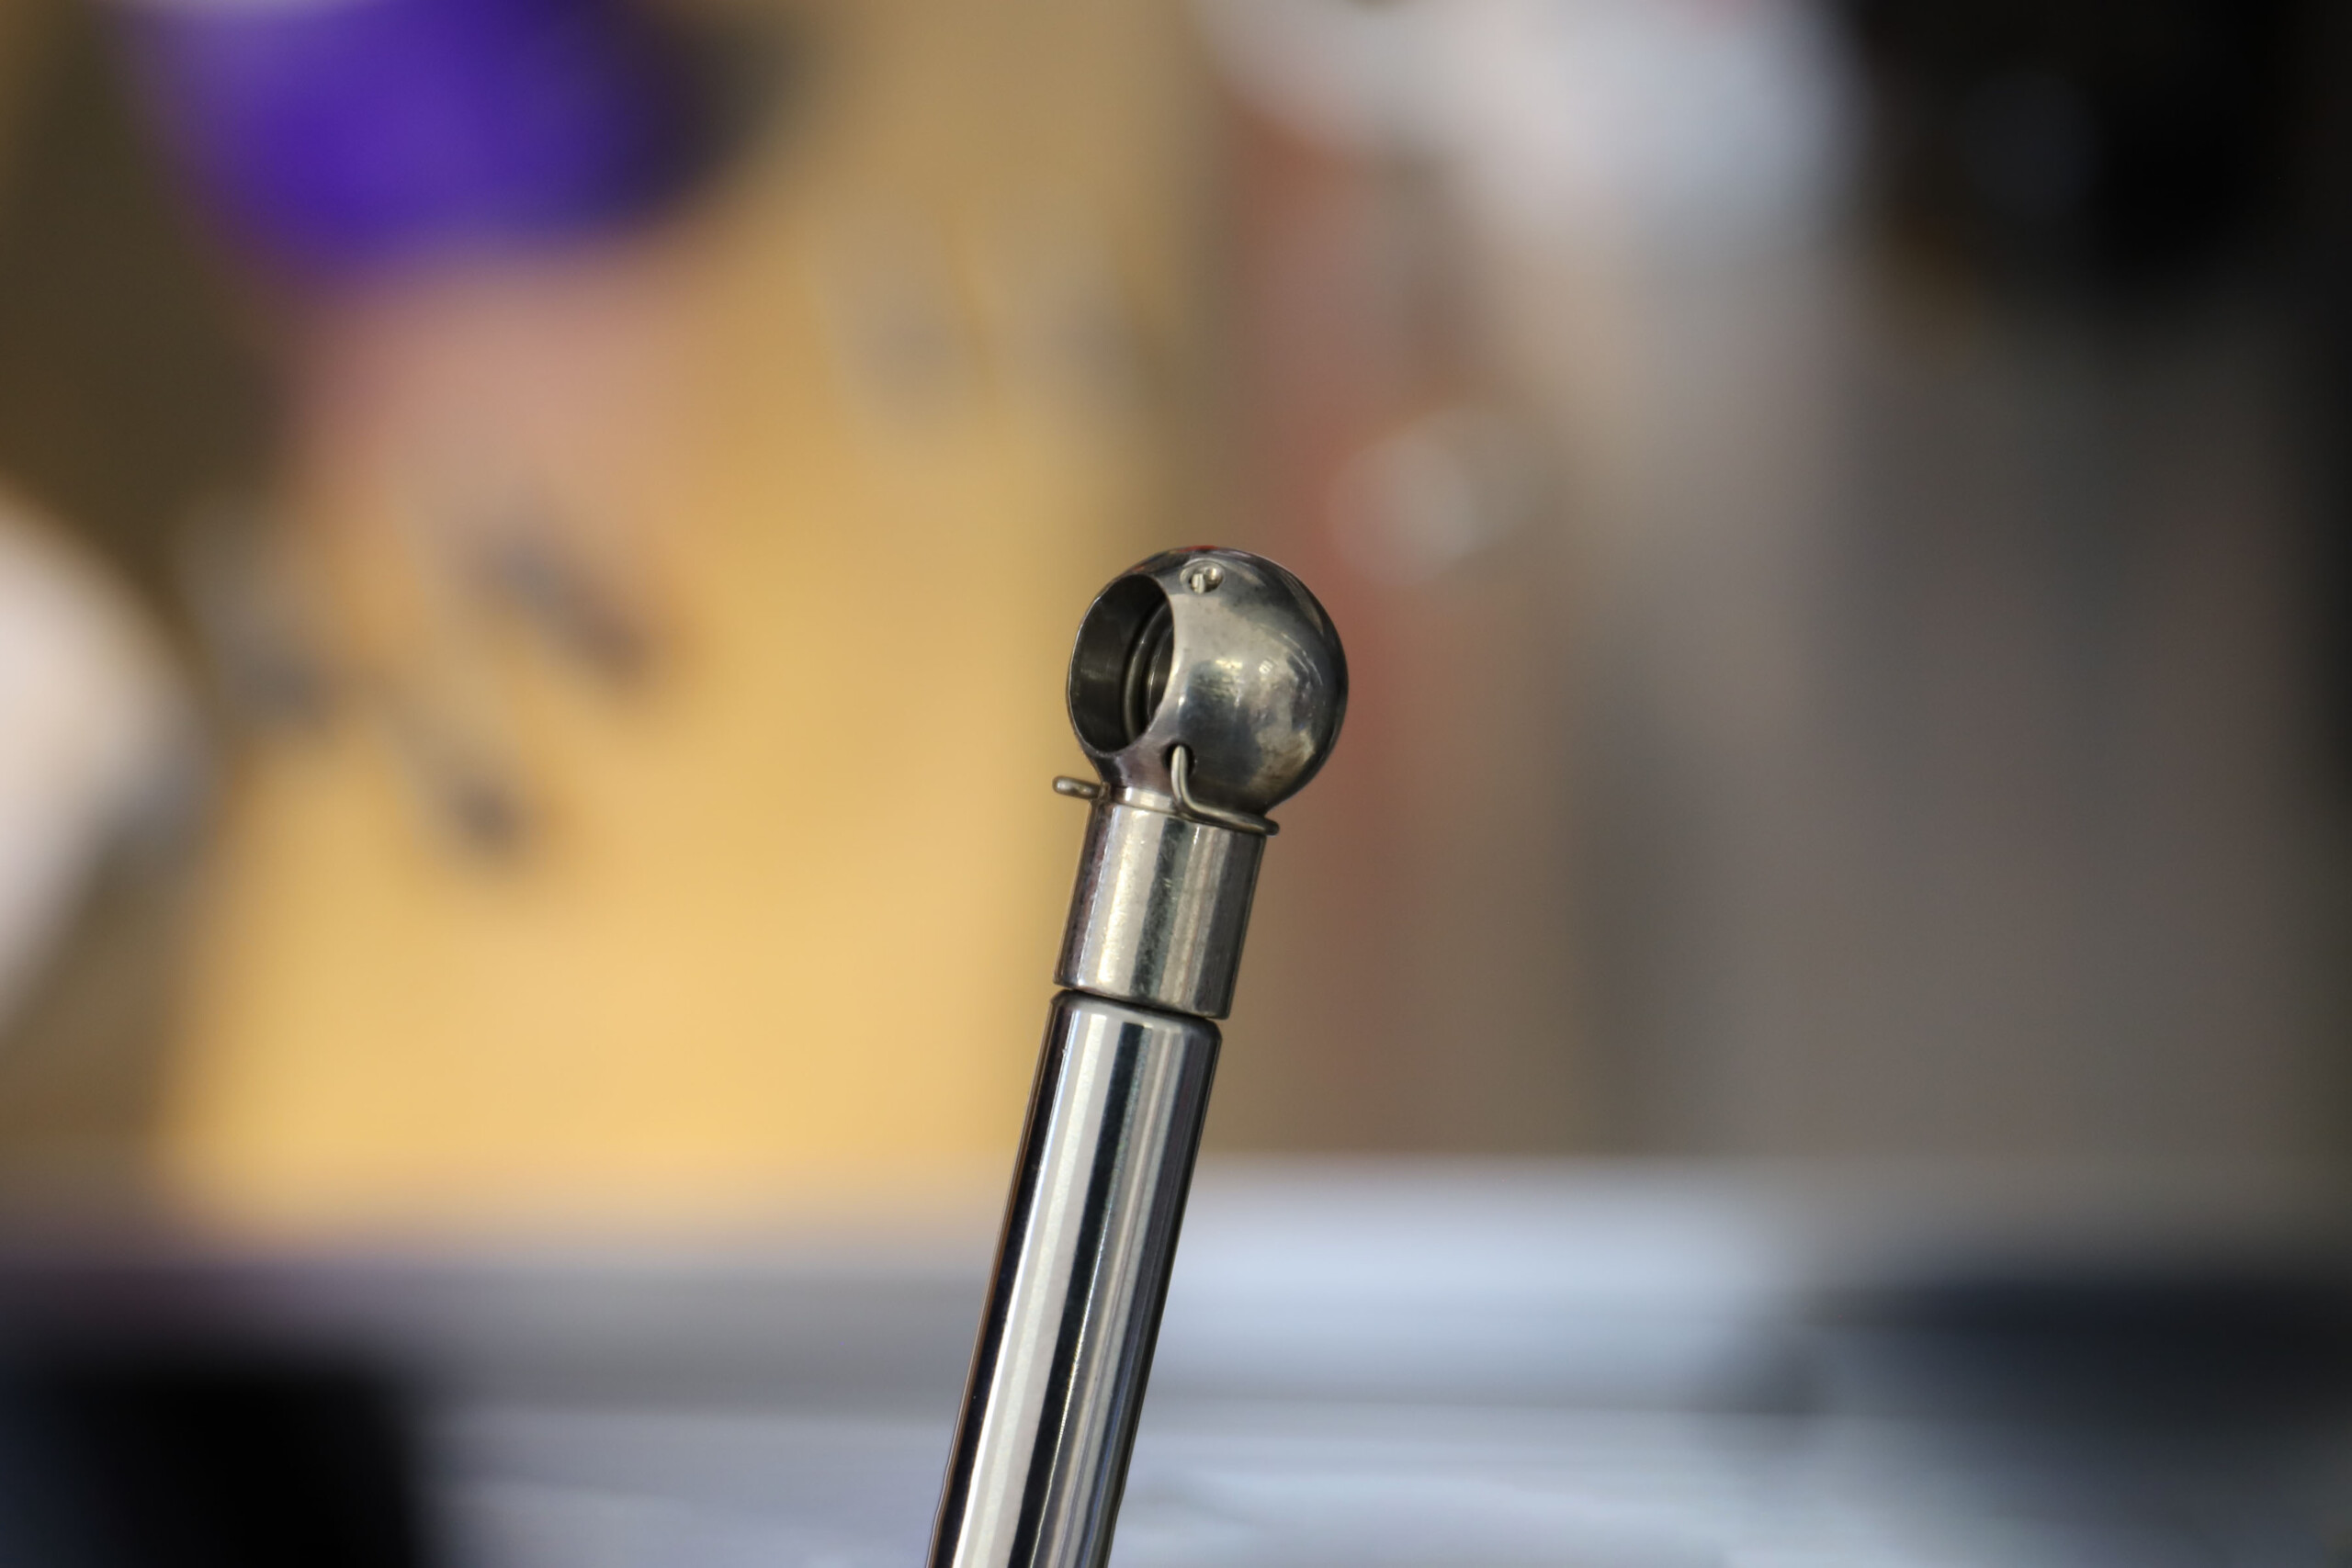
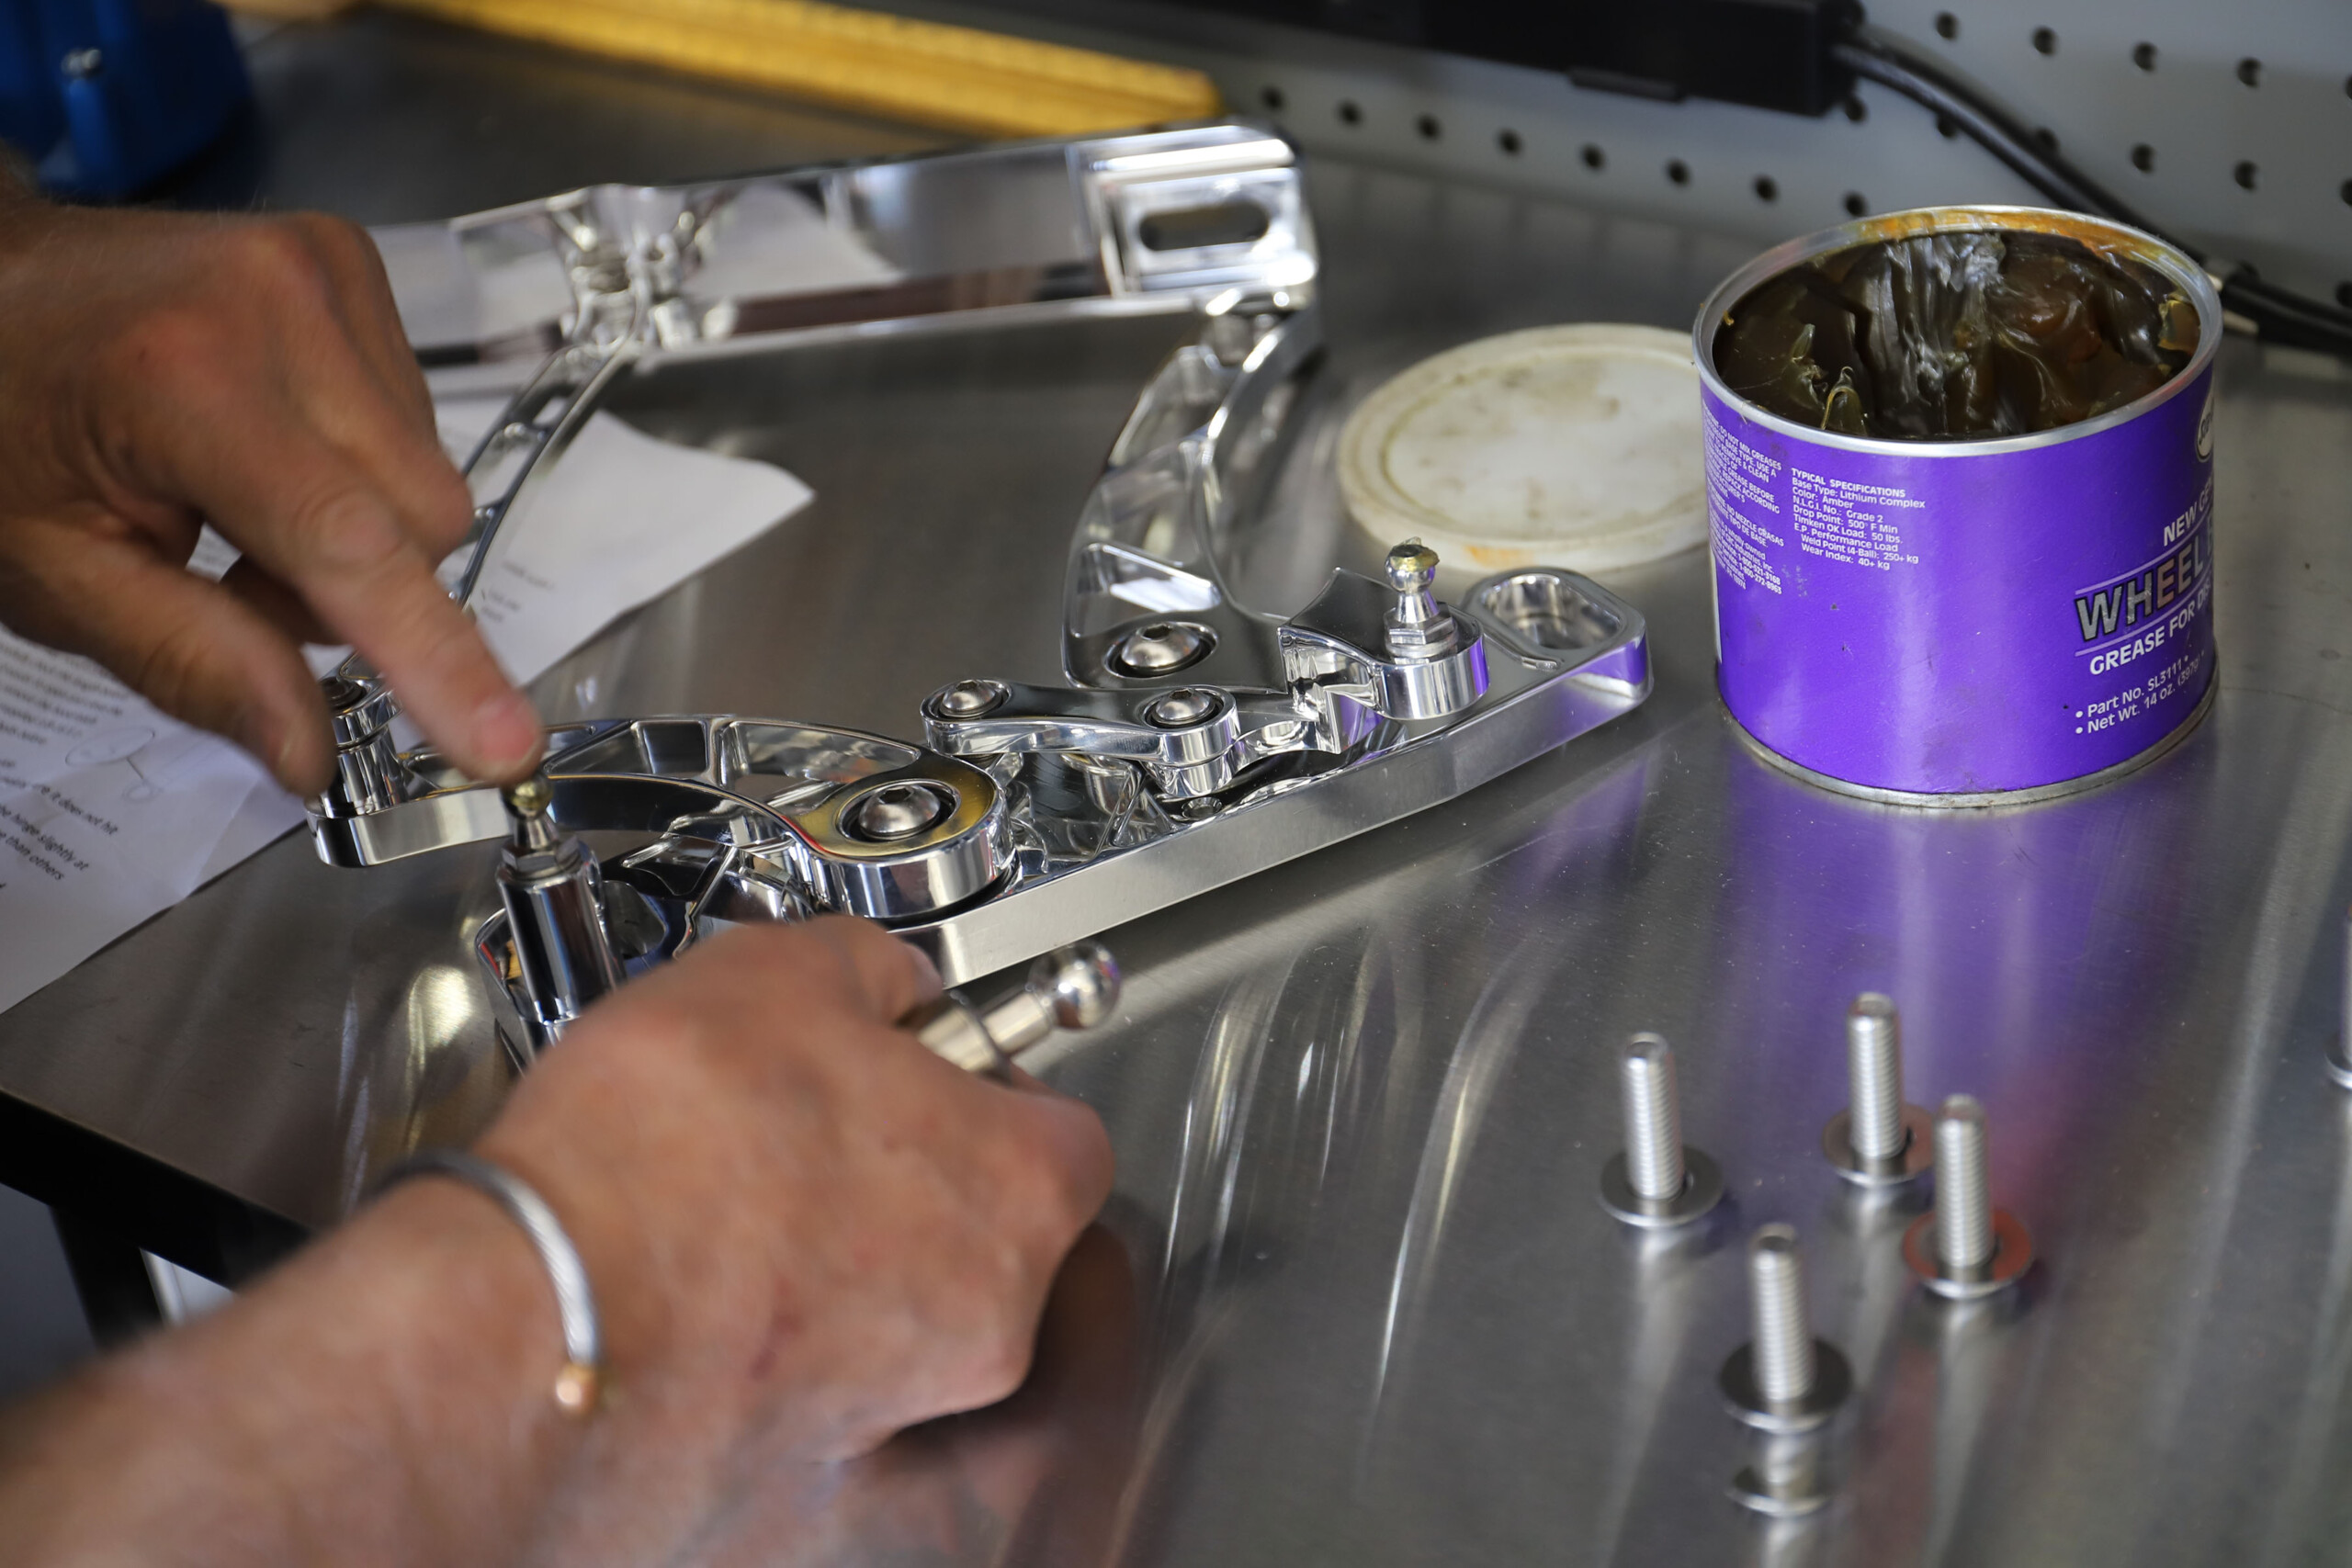
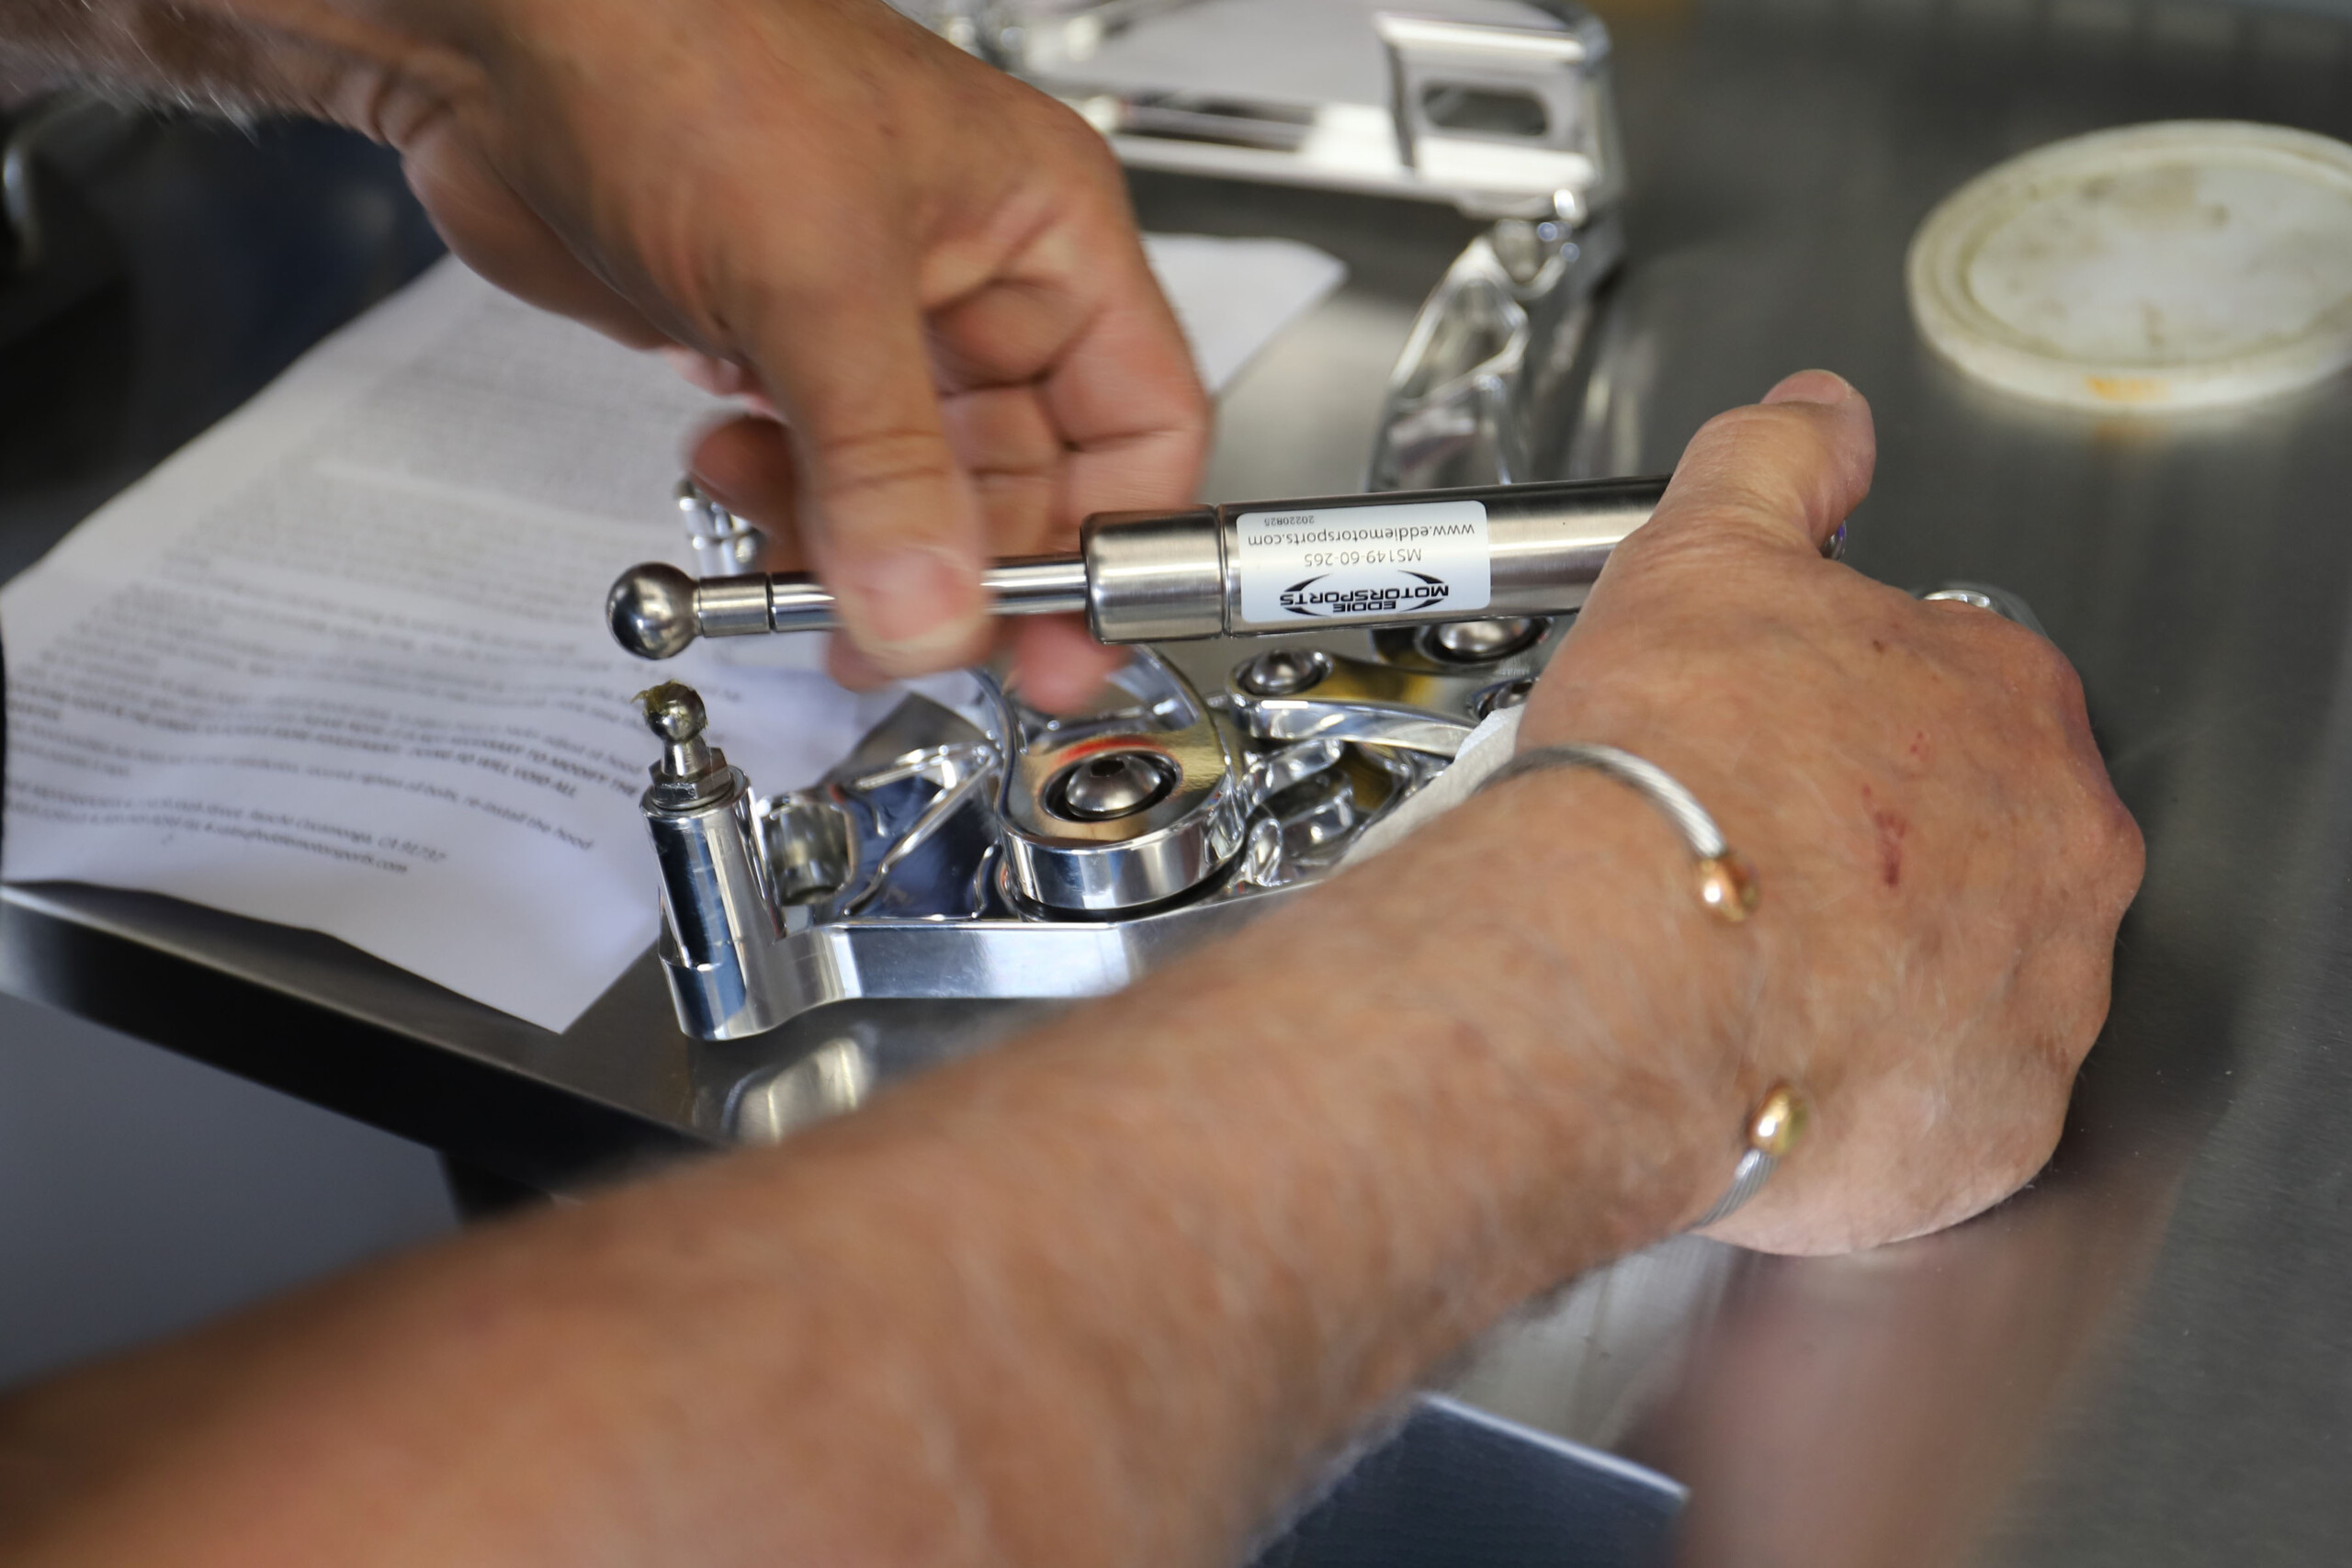
The end of the strut has a clip to hold it in place once installed. Before installing, we added a little bit of grease to the ball side of the joint. Then, the strut is installed and the small wire clips re-installed.
From there, there were only two bolts holding the old hinges in place. We used more masking tape to mark the placement of the old hinges before loosening the bolts that were securing them. With the hinges out of the way, we were almost ready to install the new billet hinges.
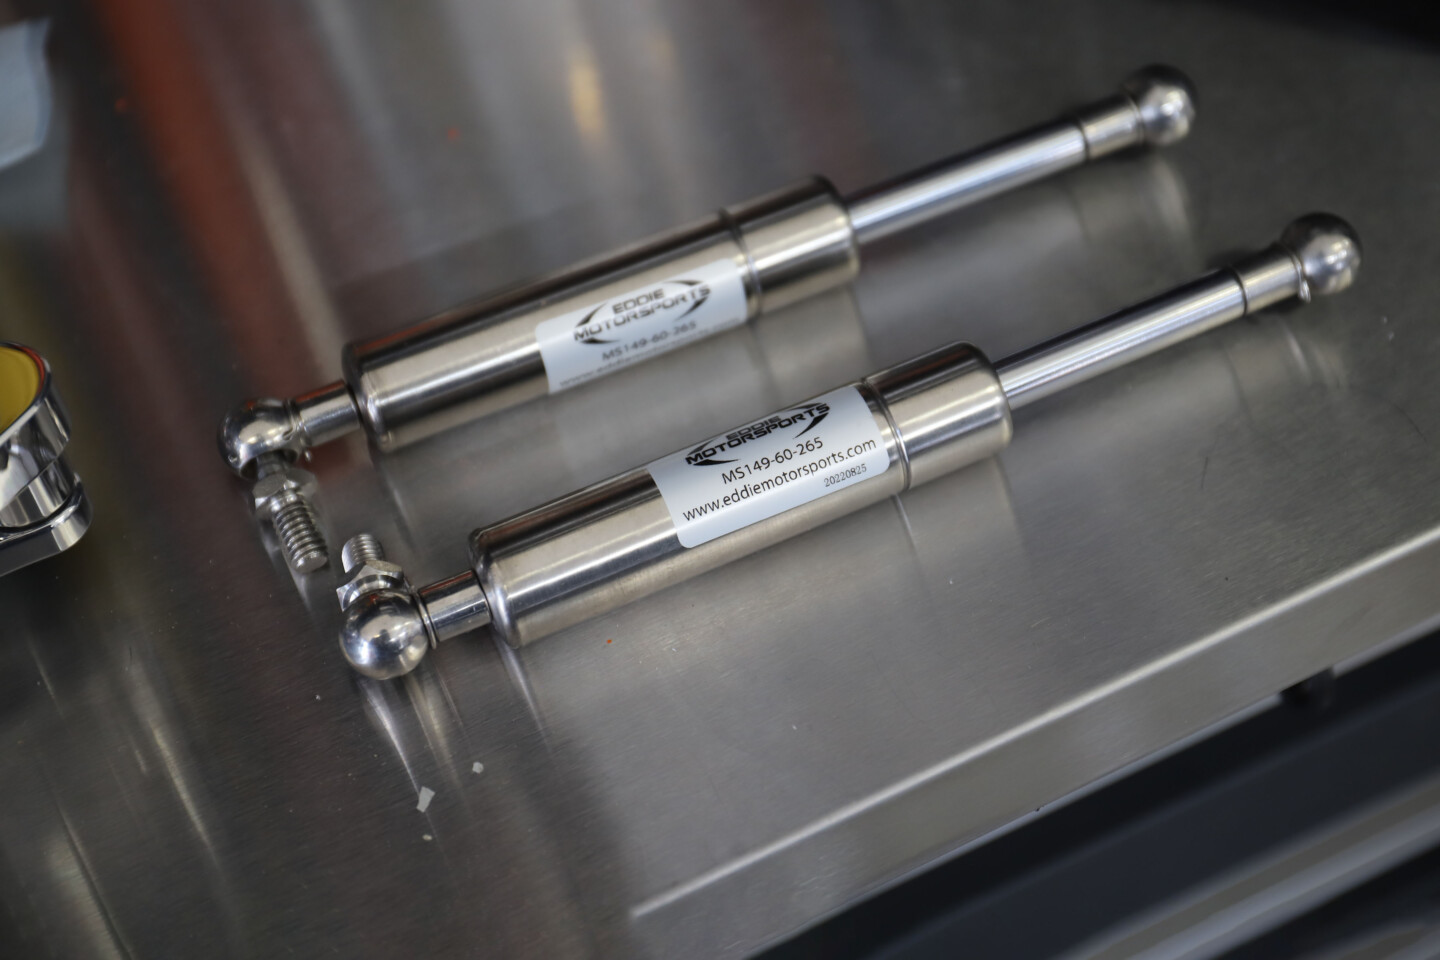
There are different weight ratings of gas struts available. Let the folks at Eddie Motorsports know if you are using an aftermarket hood or if it has been modified. They can tailor the right strut for your application.
The Eddie Motorsport hinges come with gas struts for their intended application. If your hood is lighter or heavier for any reason, Eddie can supply appropriately valved struts to better suit your application. The support weight of the strut is marked on the end of the strut for reference. The Chevelle has a factory hood, so our struts were a perfect match.
The gas struts have an ingenious retaining clip to hold them in place which needs to be removed before installation. The instructions also say to put a dab of grease on the mounting ball for the gas strut before installing them onto the hinges. Once installed, the retaining clip keeps the struts solidly in place.
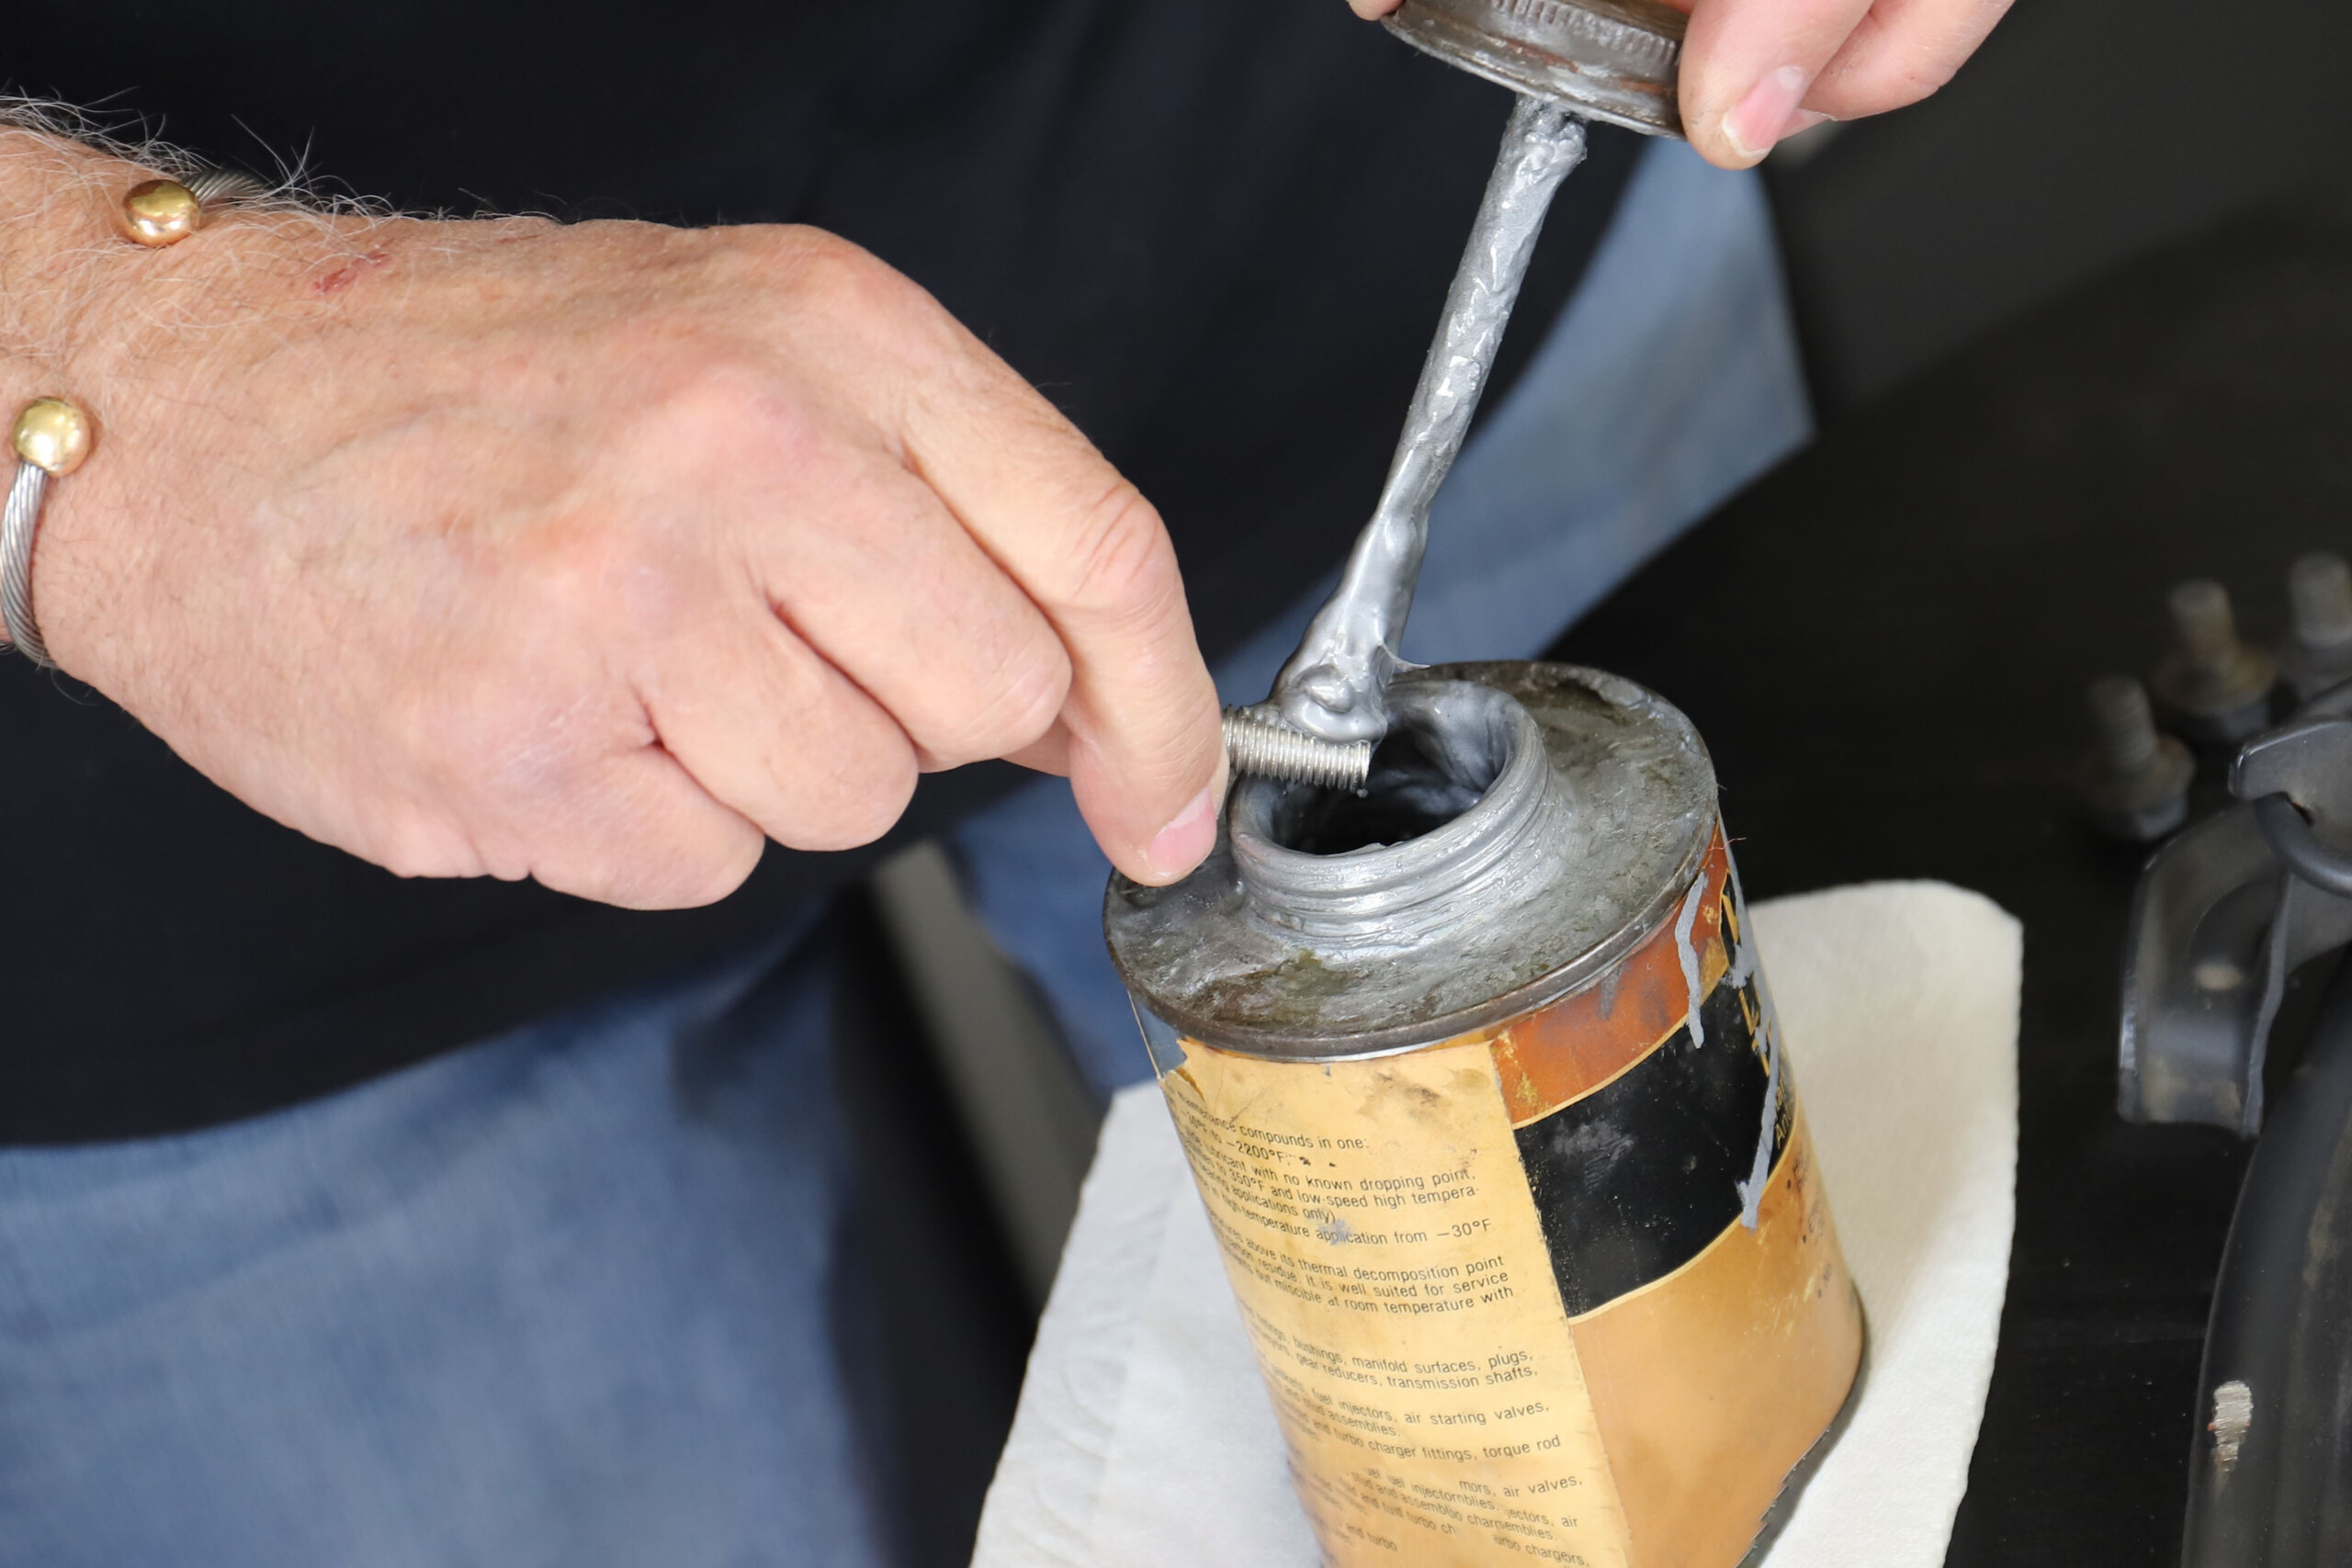
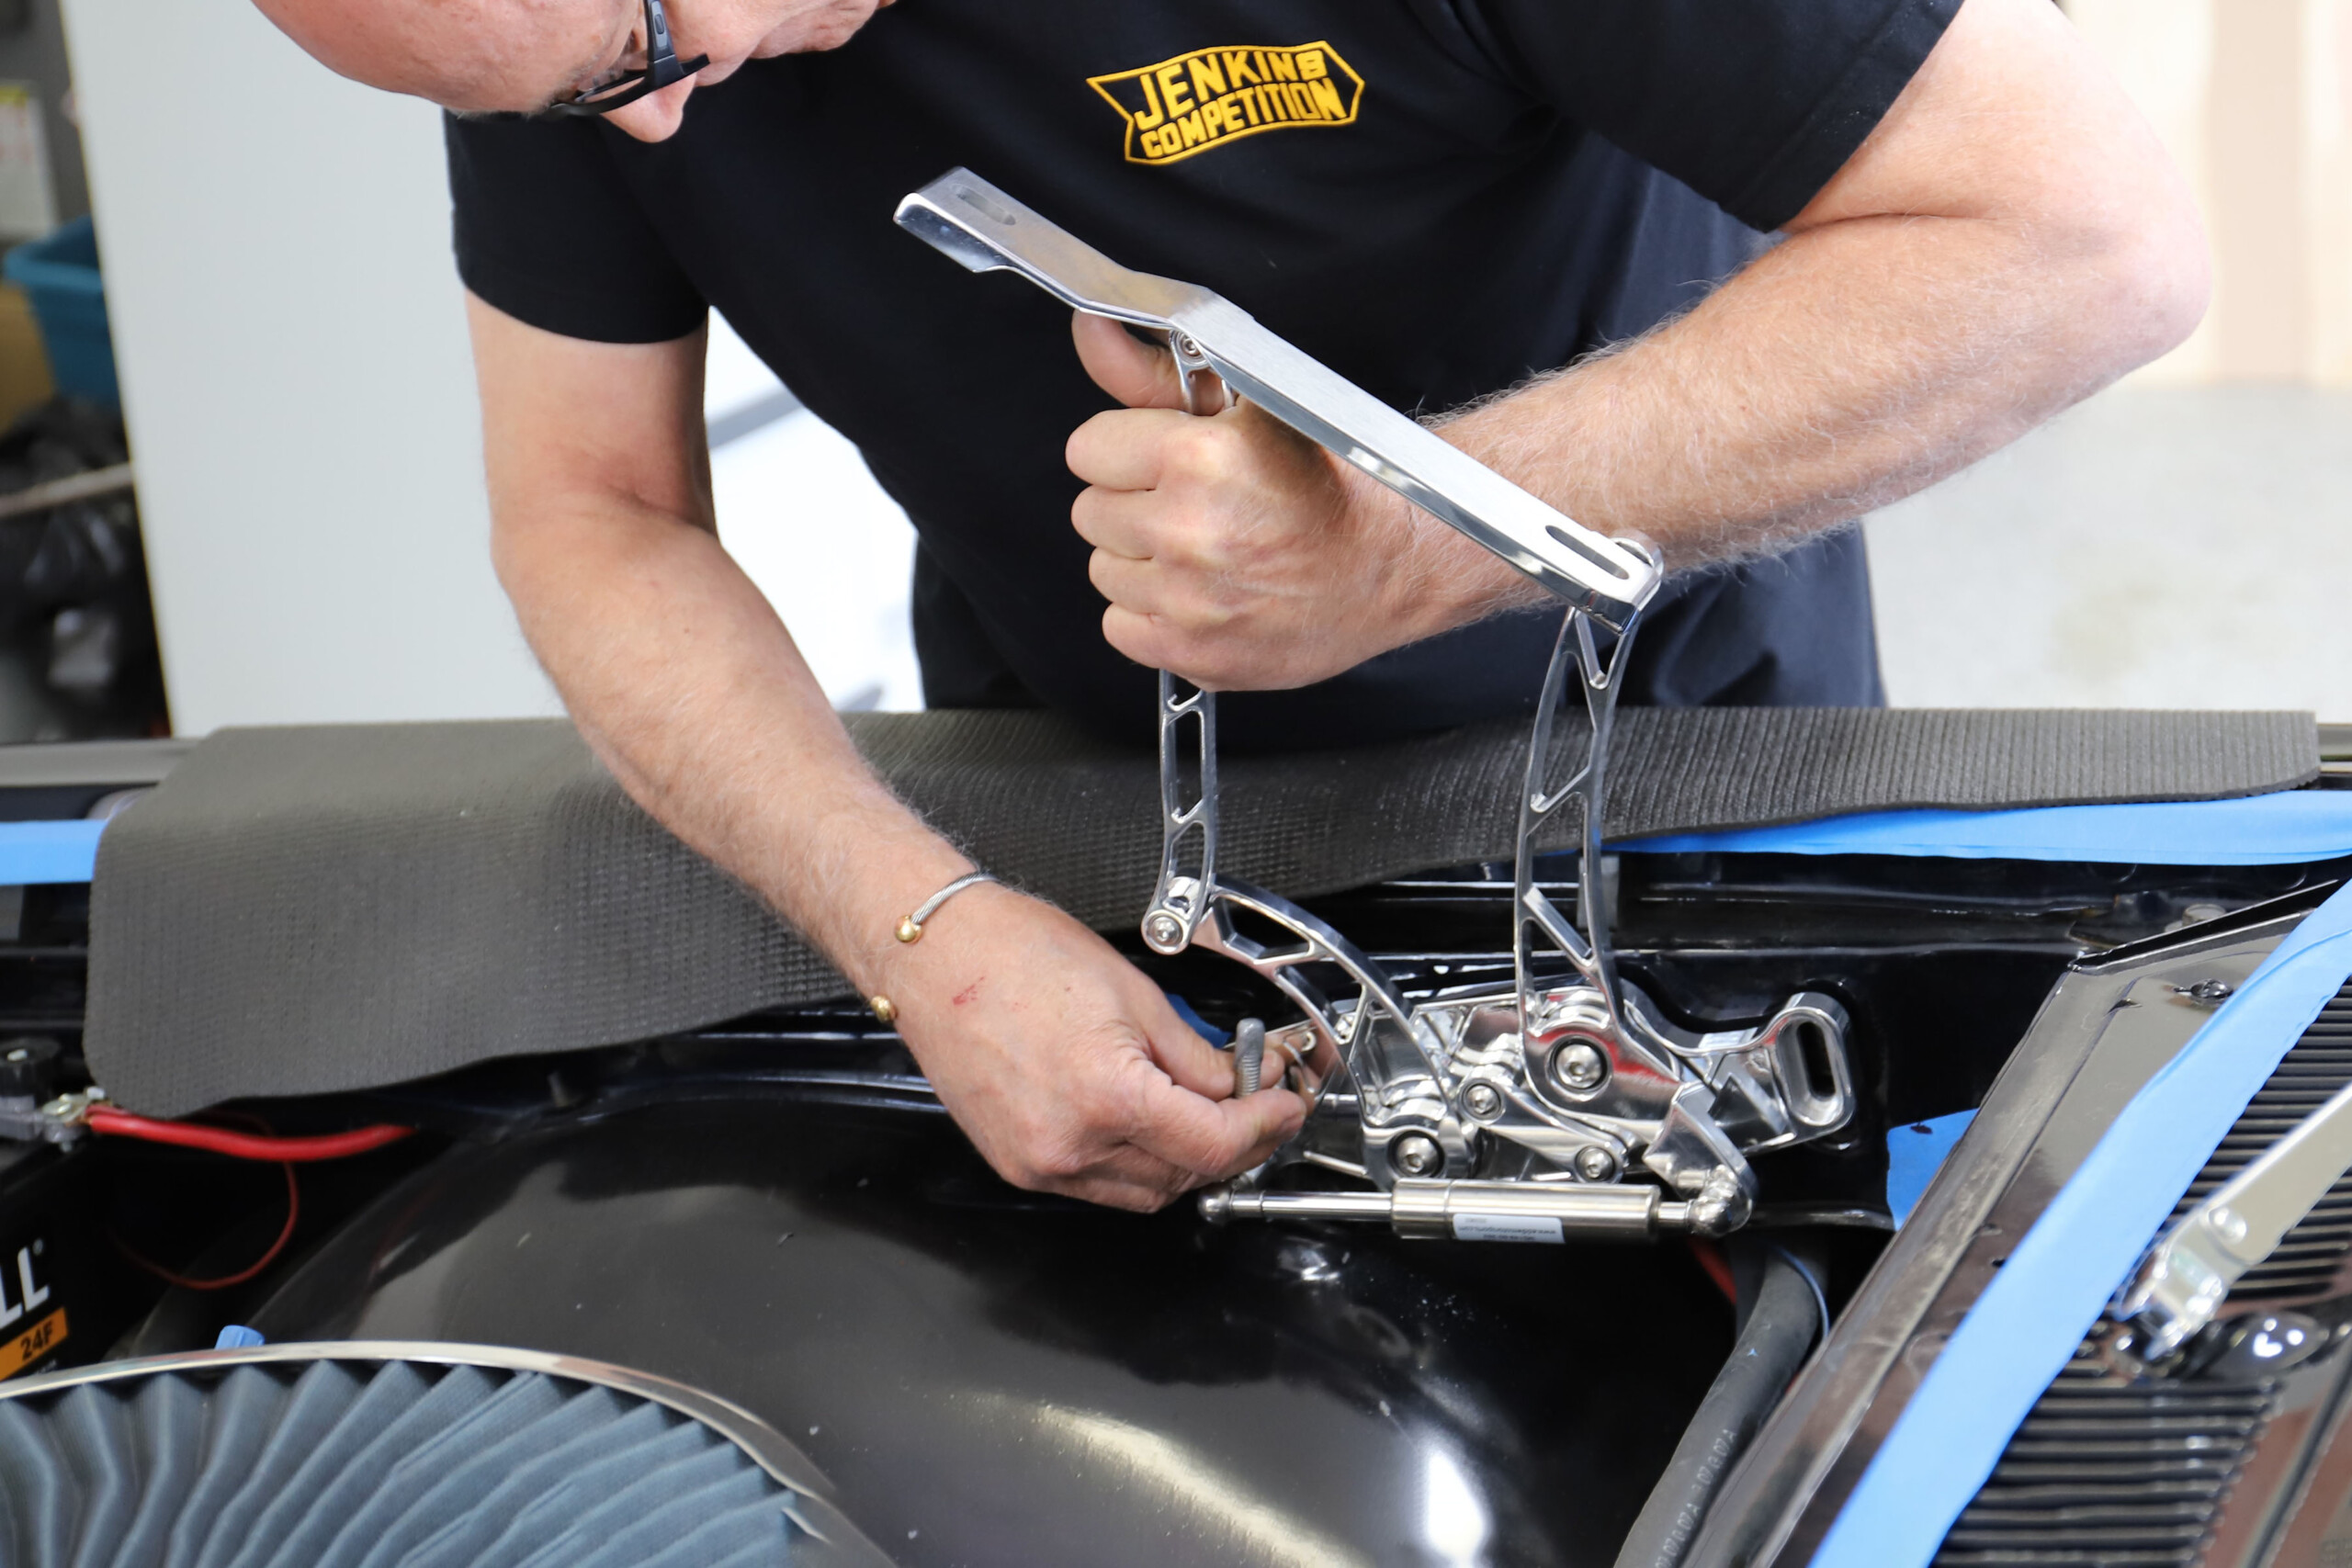
There are only four retaining bolts for each of our Chevelle’s hood hinges, two in the hood and two holding the hinge to the inner fender. While a relatively simple list of fasteners, there are a few steps that help ensure success. The supplied bolts are stainless, and it is imperative to use anti-seize on the threads to prevent galling.
The new bolts are stainless steel and look great. The dissimilar metals mean you need to apply some anti-seize before installing them to prevent the galling of the threads.
Likewise, the previous adjustments on the old hinges are just an approximation. Extreme care should be taken when closing the hood for the first trial fit. Eddie Motorsports even suggests removing the hood latch so there is one less thing to deal with while getting the fit perfect.
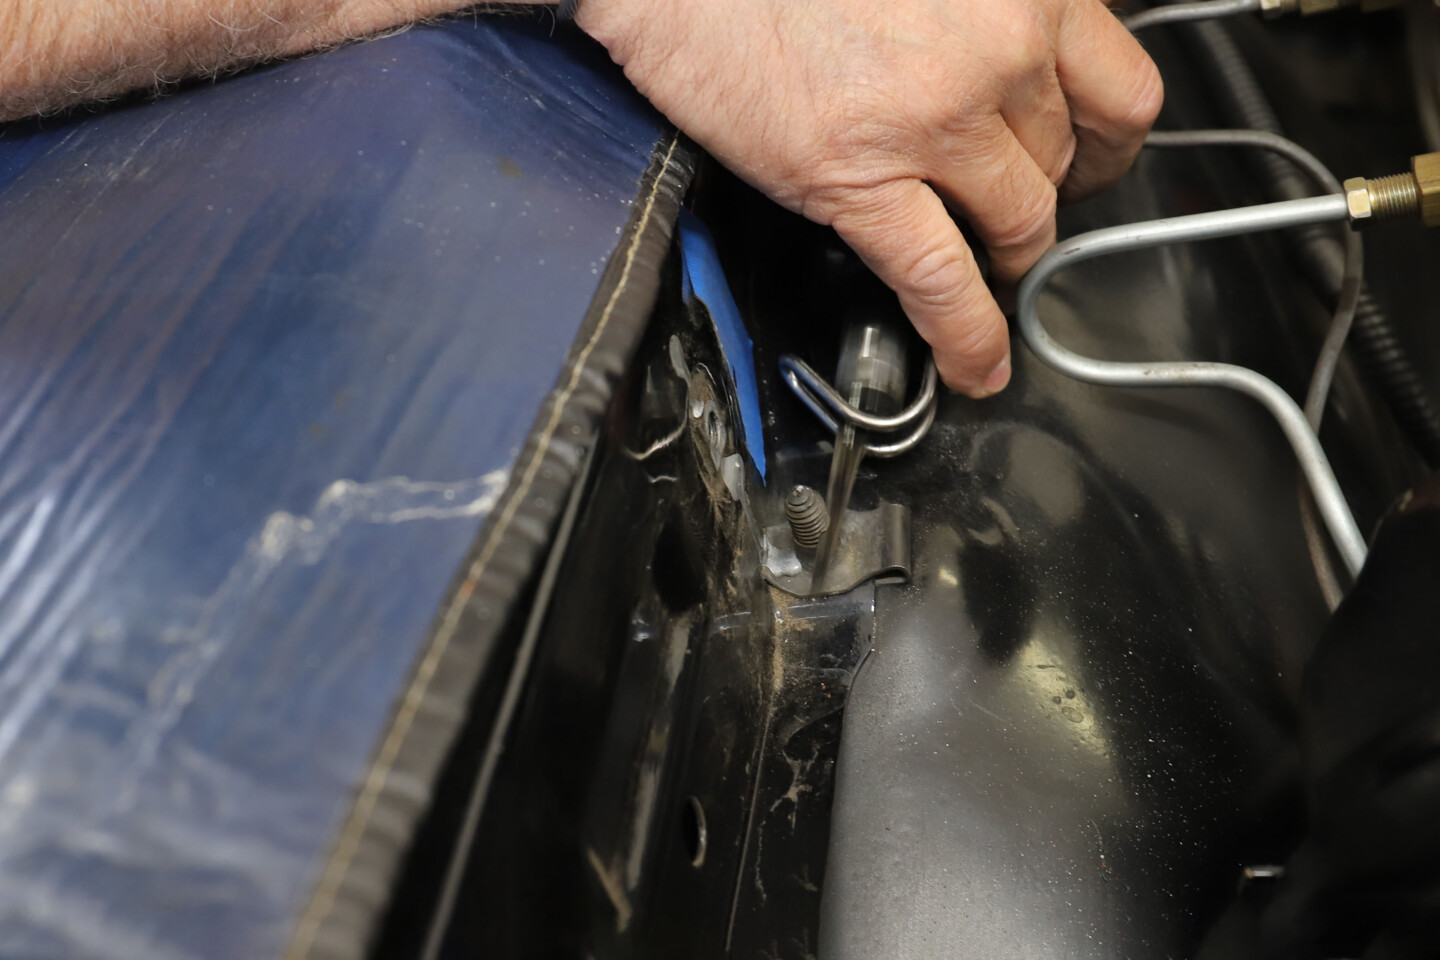
We had one inner fender bolt that was too long and interfered with our hood hinge on the driver’s side. We shortened the bolt so everything would fit.
The hood hinges mount to the fenders, not the body. That’s important because variances between the frame, body, and fenders can be quite extensive and still be considered satisfactory. The fenders may have been adjusted to compensate for off-center core supports or previous unseen damage.
The hood went back on with the bolts aligned according to the marks on the masking tape. With just a little bit of adjusting, the hood fits perfectly!
When installing our hinges, we installed fender shims to get our fender and cowl gaps just perfect. Once that was done, our hood lined up better than it ever had before. Our under-hood area now has some additional bling, and operating our hood is now an easy, one-handed operation without any creaking or drama!
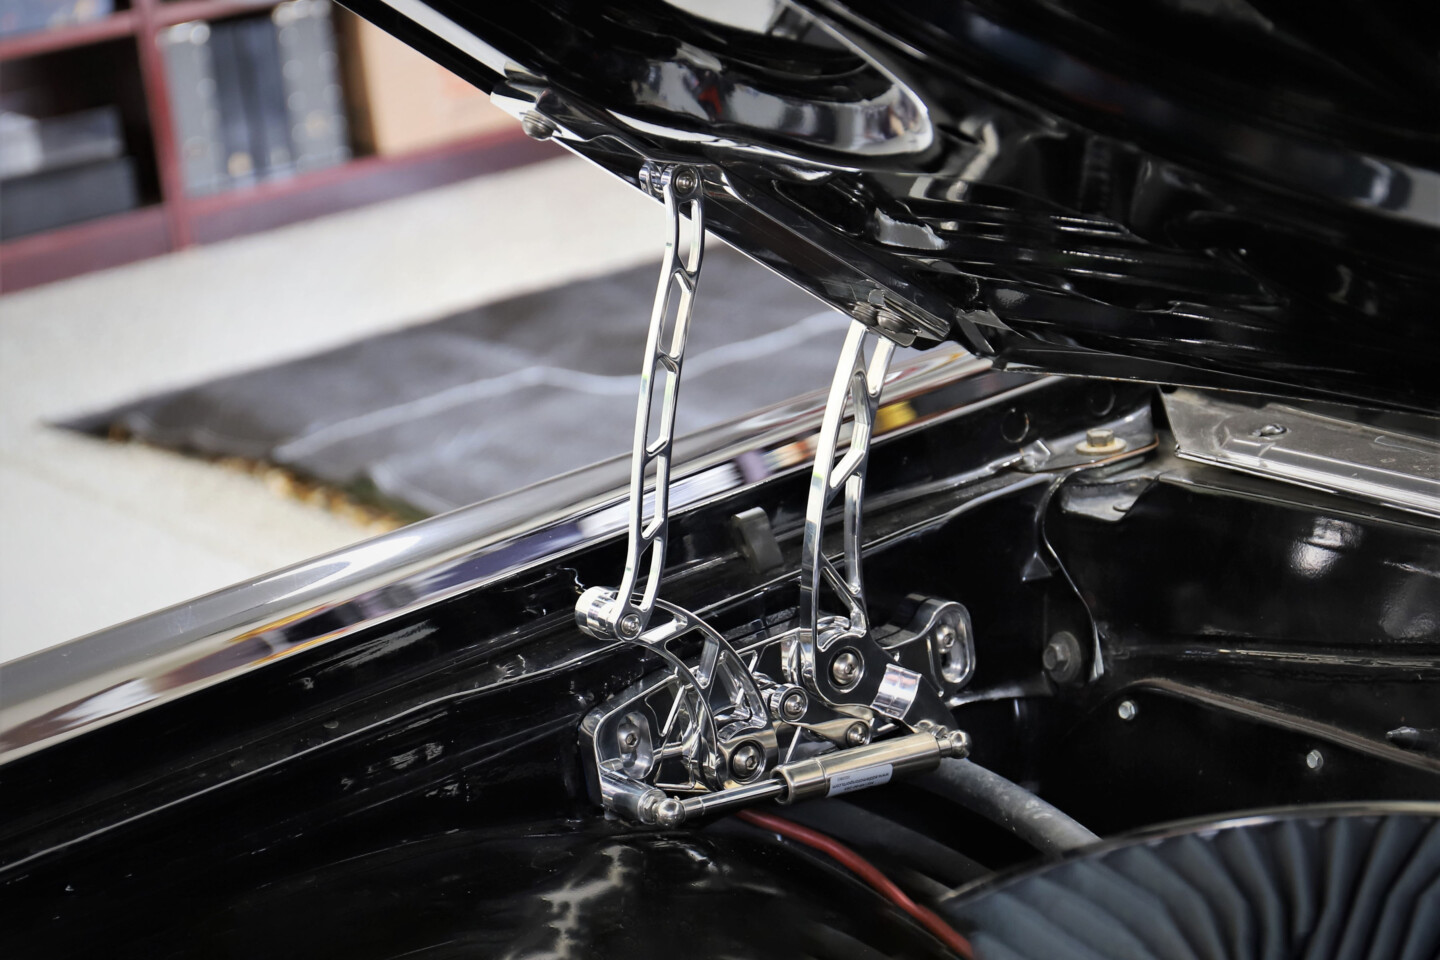
The Eddie Motorsports Kinetic hinges look great on our Chevelle. Sure, they might not have a GM part number, but they also don’t have 40-plus years of use and they work so much smoother and quieter than the factory ones!


