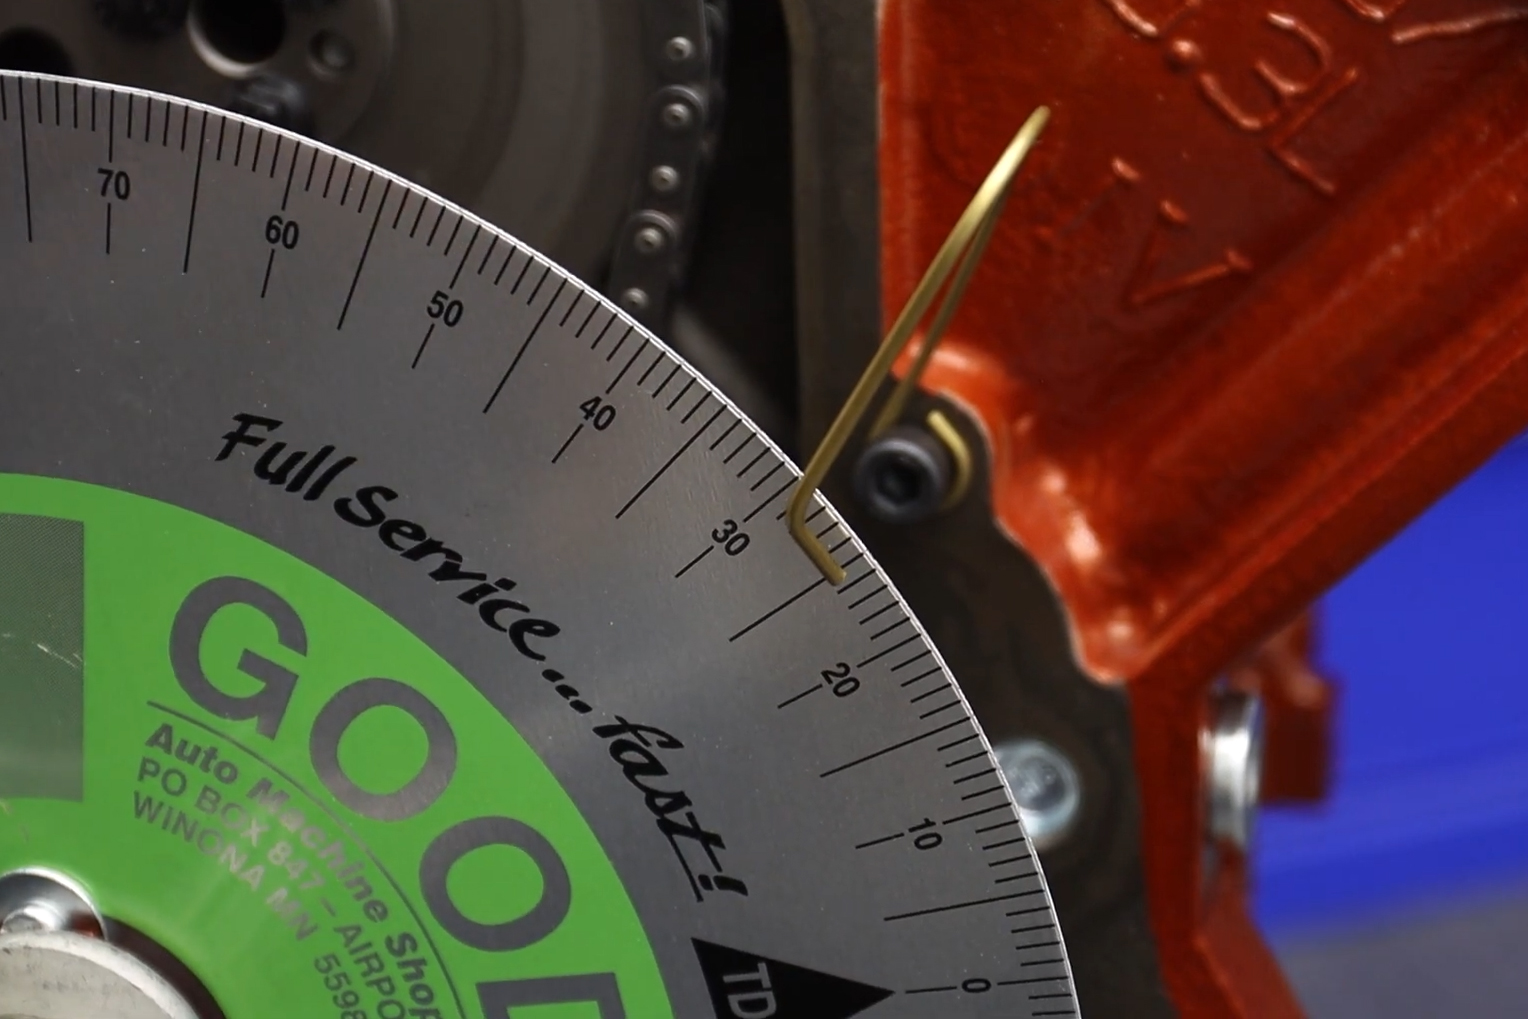
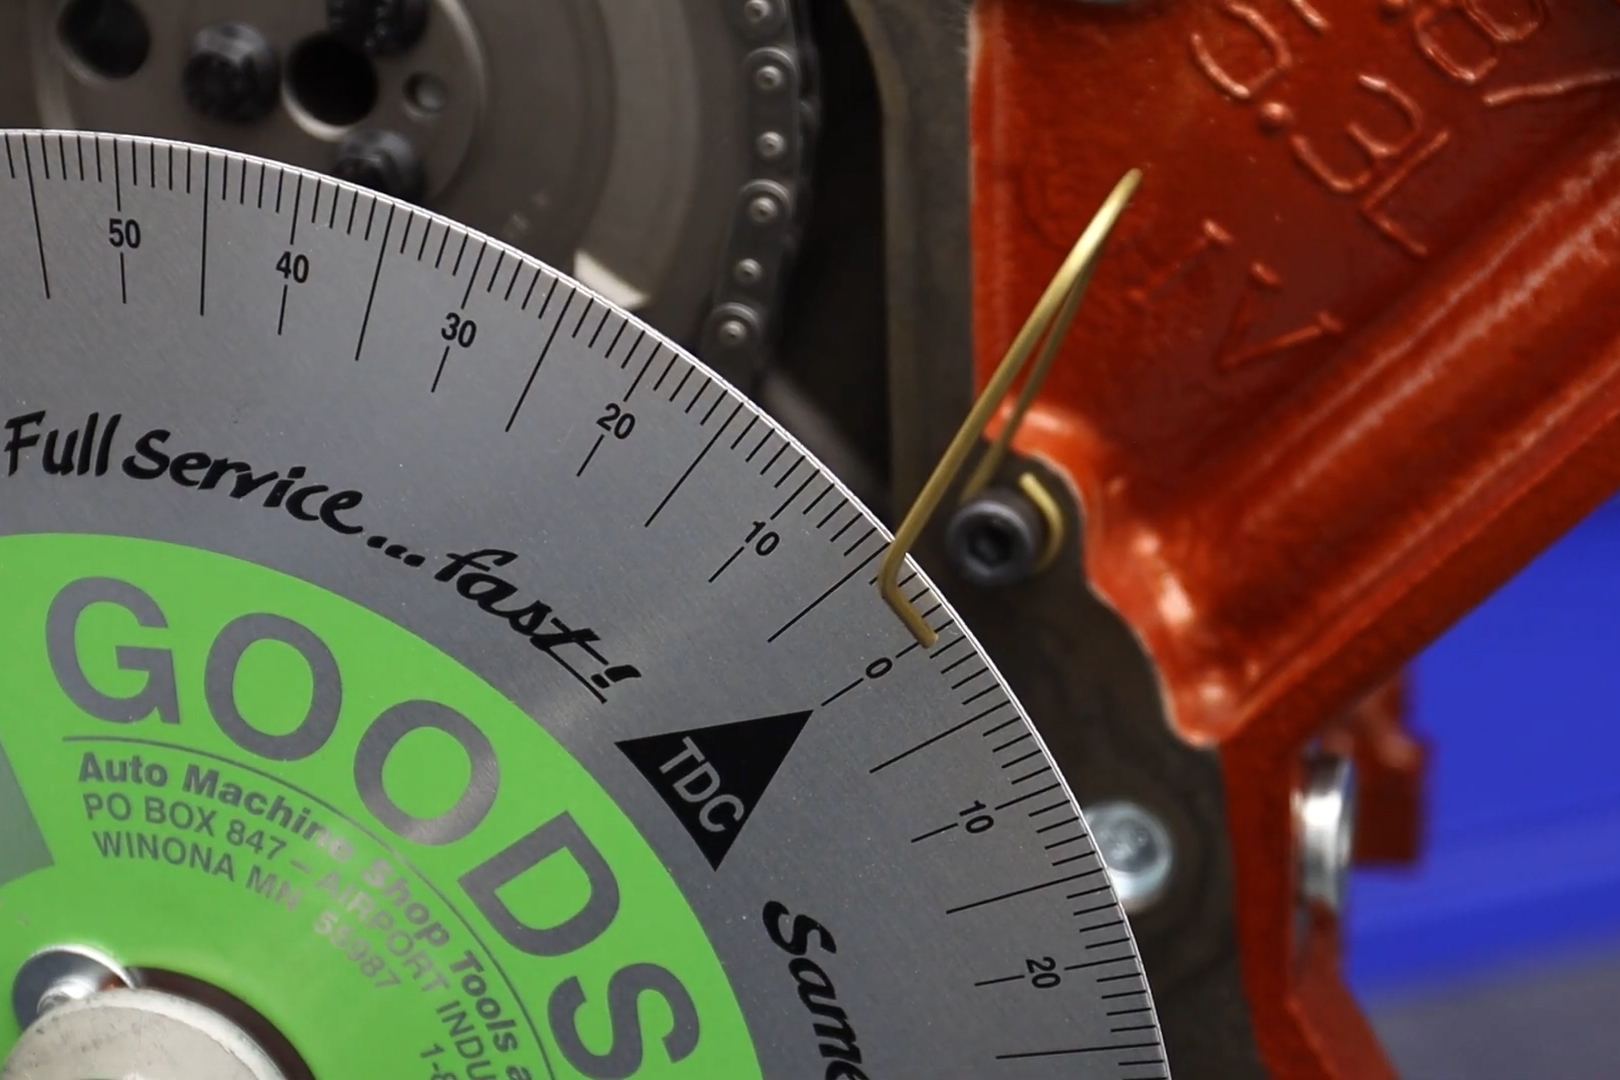
If you are looking to get the most power potential possible from your camshaft, whether it’s a simple cam swap or a complete engine rebuild, properly degreeing a camshaft is a crucial step. By ensuring a proper relationship with the crankshaft, you ensure that all your valve timing events are happening exactly when they are supposed to, and your camshaft is operating at its fullest potential.
When installing a camshaft, you need to ensure that its relationship to the crankshaft is degree-perfect. While some people will just line up the dots on the cam and crank gears and call it good, in most cases, good enough, isn’t. Manufacturing involves acceptable tolerances, and with the number of intricate parts in the valvetrain, it doesn’t take much of a tolerance stack to really throw things off. So, we verify everything is as it should be through camshaft degreeing.
The Right Tools For Degreeing a Camshaft
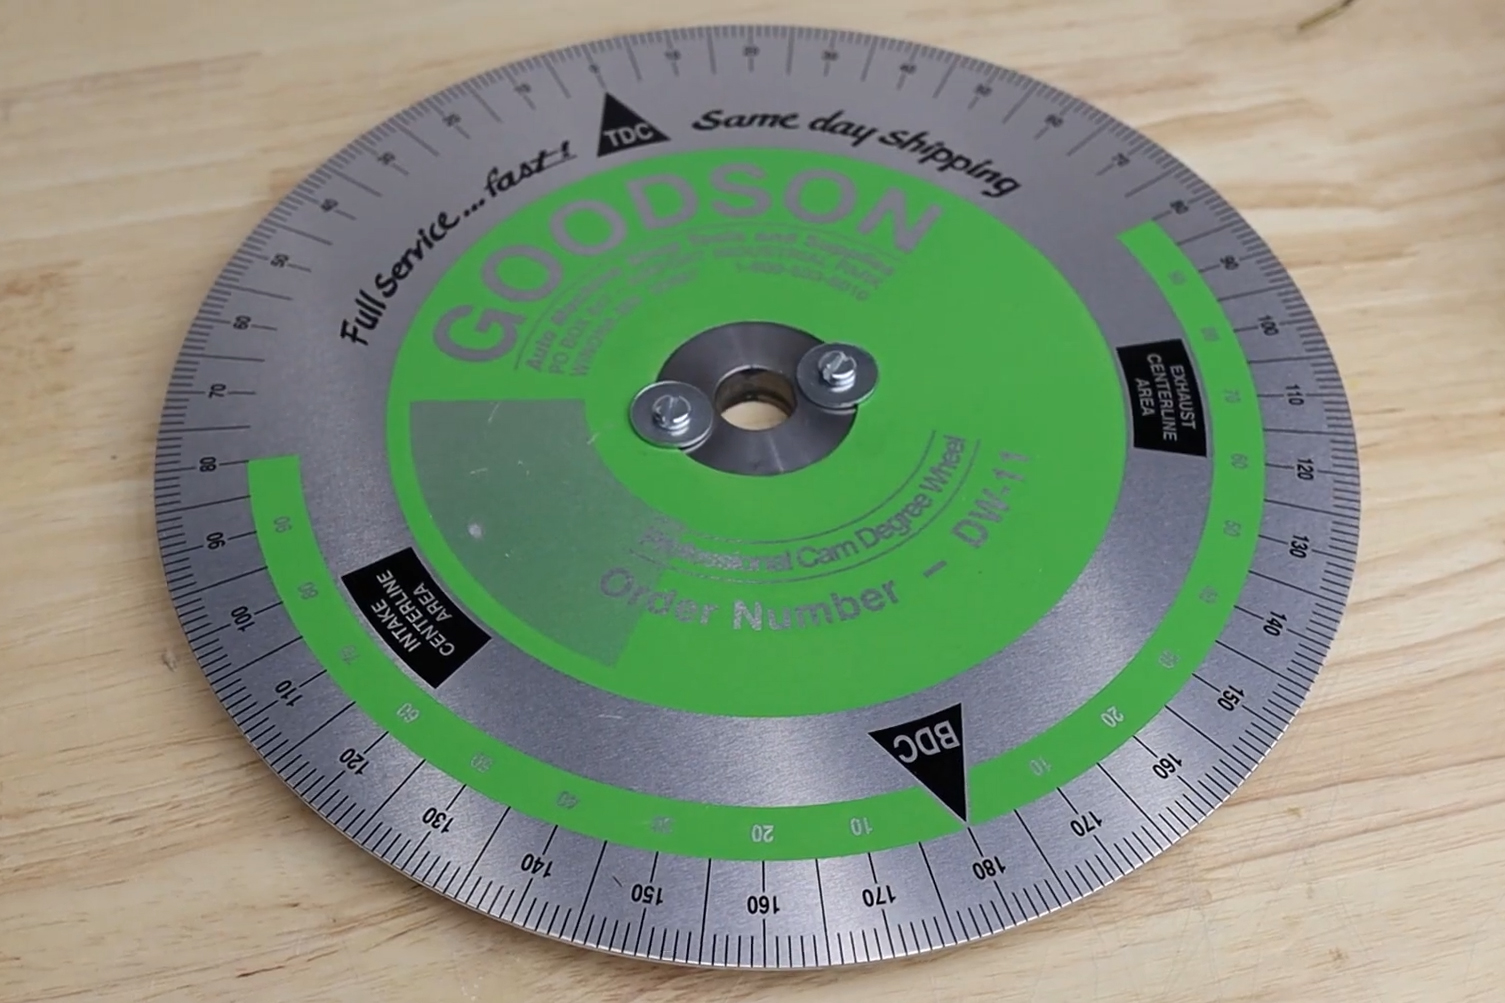
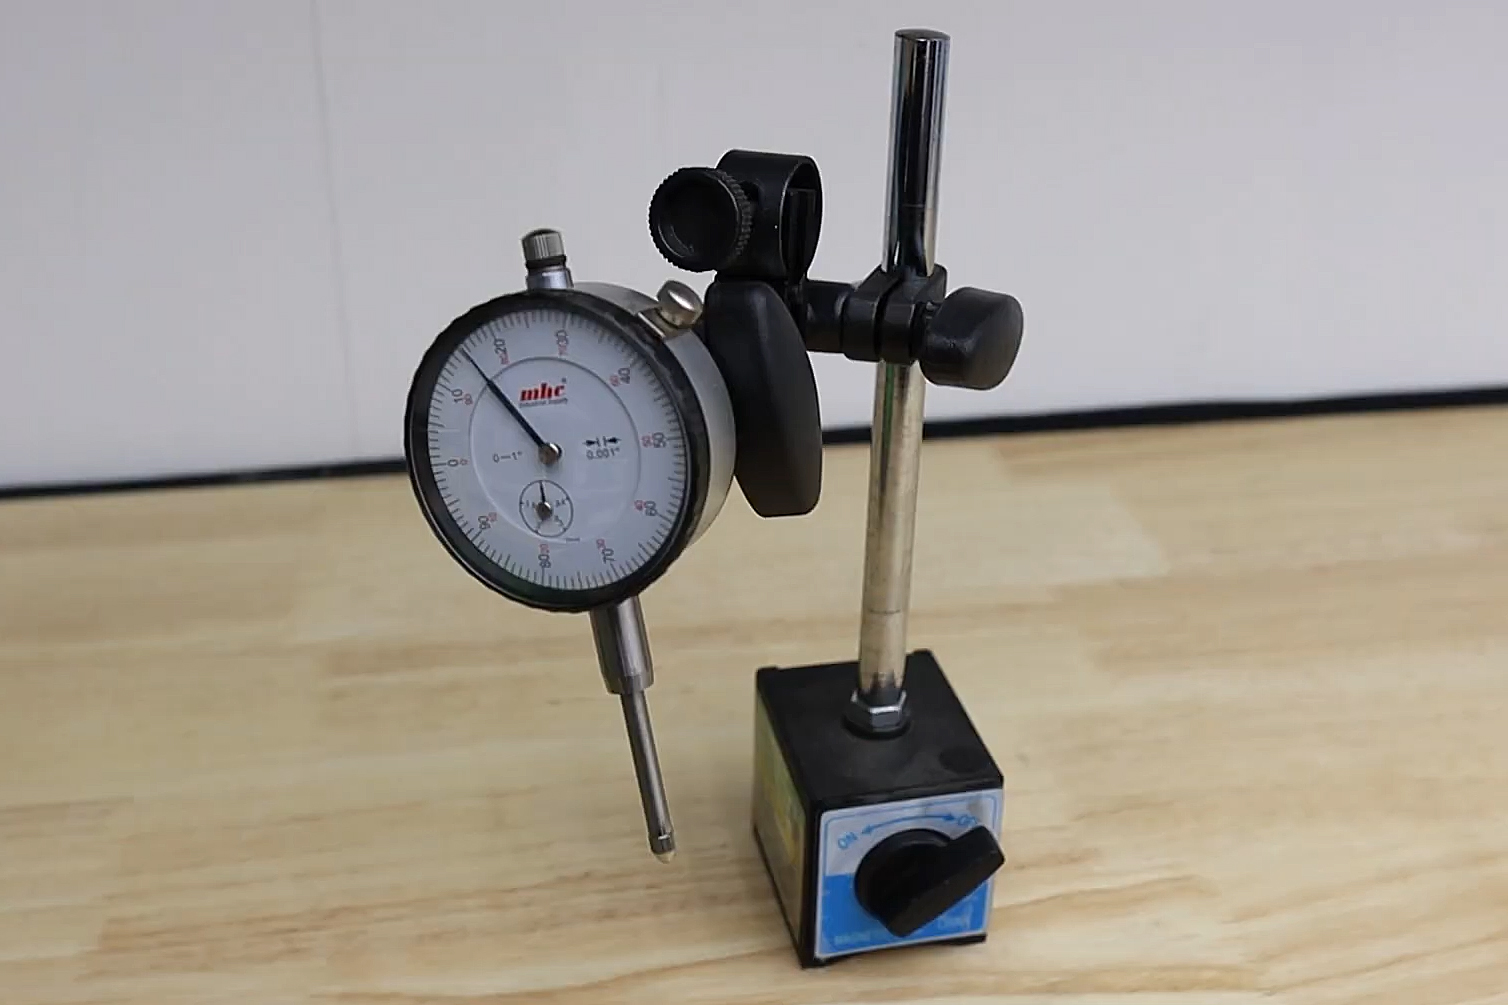
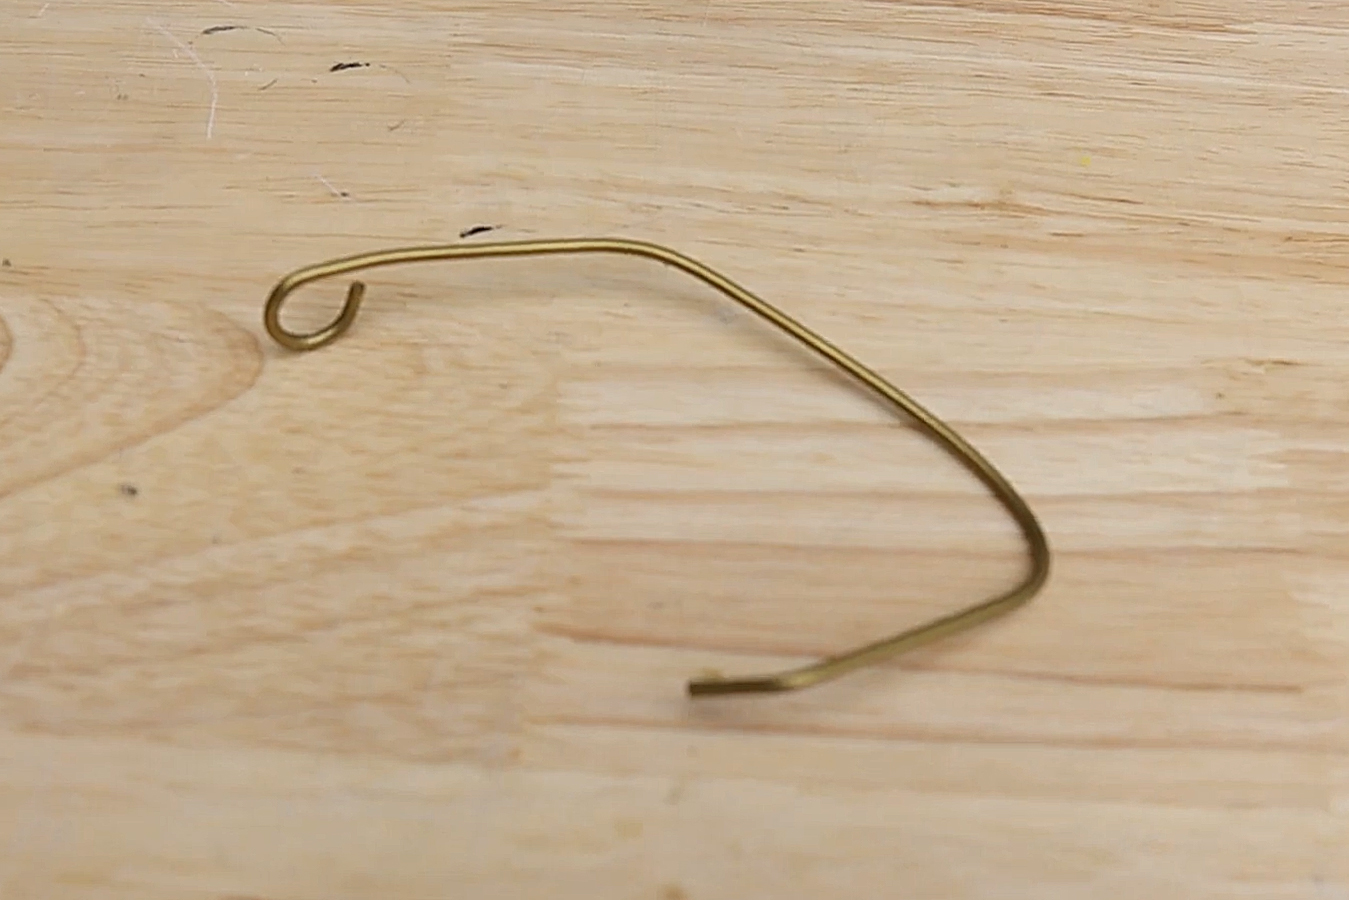
To degree your cam, at a bare minimum, you’ll need a few simple tools: A basic degree wheel, a dial indicator with a magnetic base, and some sort of pointer. Now, the pointer can be as simple as a piece of coathanger wire bent to shape. You can get super fancy (and expensive) with all of the tools needed to degree a cam, but you can get accurate readings with the simplest versions of them with a little care.
For this exercise, we are using a Goodson degree wheel kit (P/N: DW-KIT-2). The kit comes with an 11-inch-diameter degree wheel, along with a centering hub and sleeve kit allowing it to be mounted directly to a crankshaft with the balancer bolt. We are also using a simple, inexpensive 1-inch dial indicator and magnetic base available from any hardware store. Finally, we are using a piece of wire with a loop on the end designed to be bent into place for our pointer.
These are the basic tools needed to degree a cam: a degree wheel (left), a dial indicator and magnetic base (center), and a timing pointer of some sort (right). There are fancier and more expensive options of each, but these will get the job done with a little care.
Truing Up The Degree Wheel
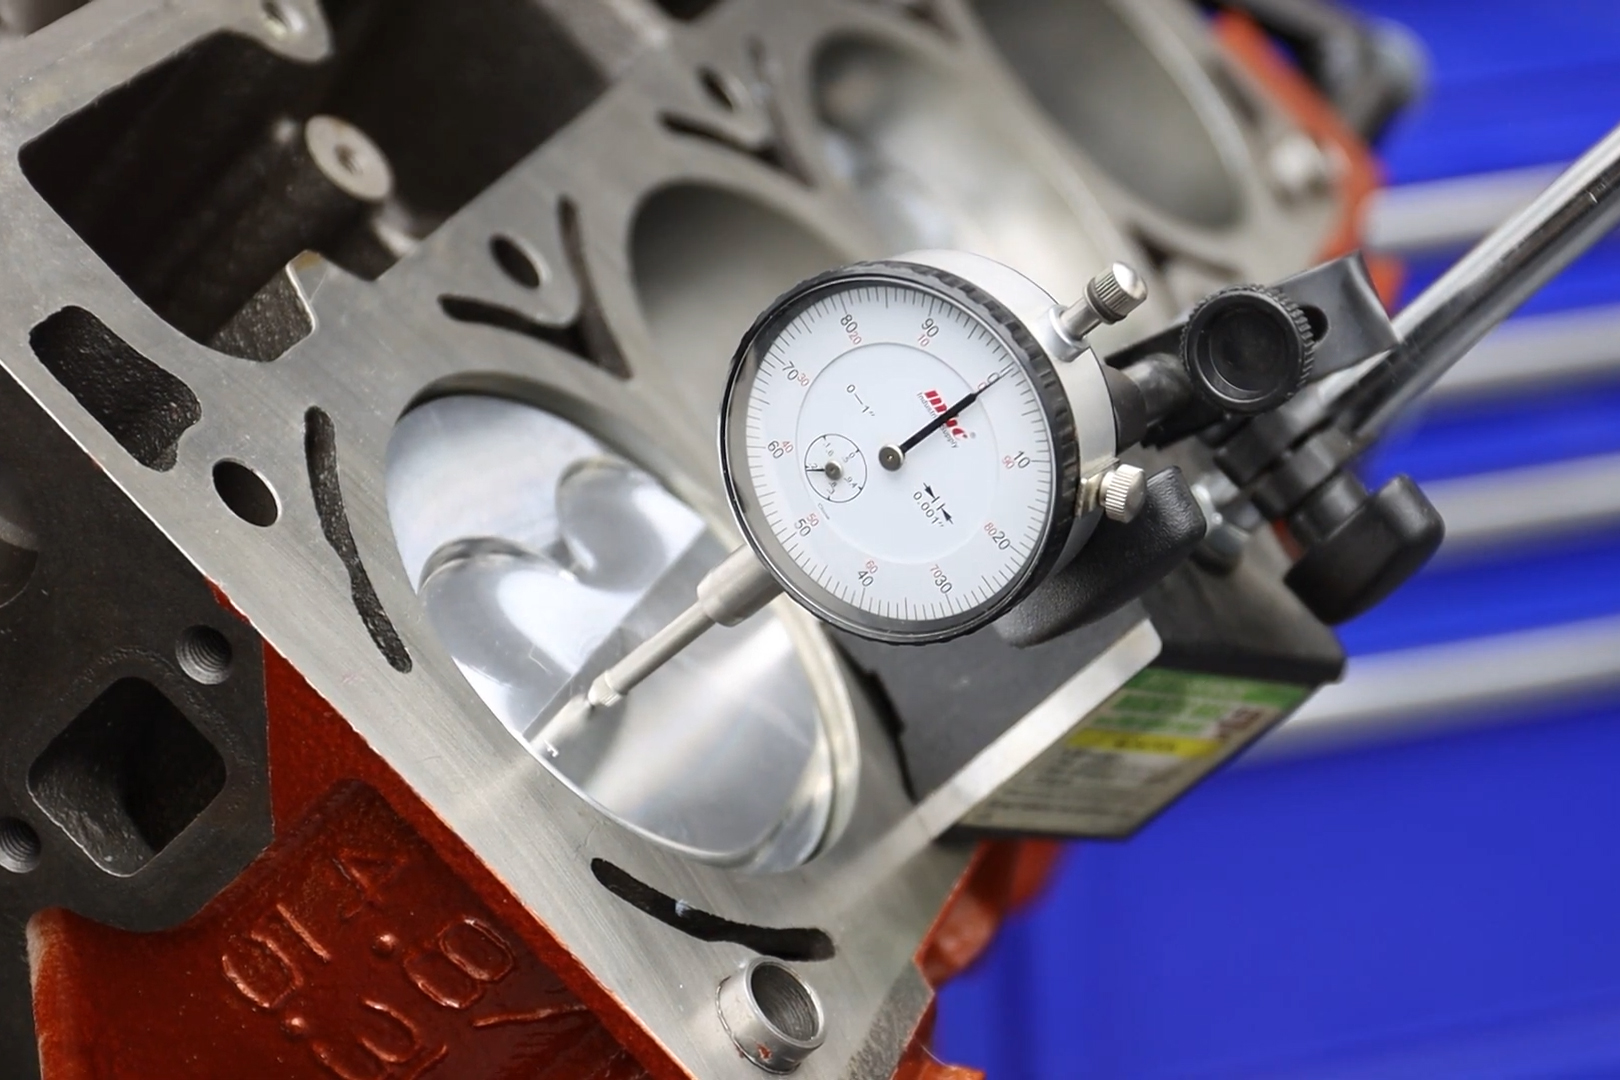
The first step in degreeing a camshaft is to true up the degree wheel. With the timing set adjusted to zero degrees of advance or retard and the degree wheel bolted to the crankshaft, you need to set piston number one to Top Dead Center. We use a dial indicator to find that, which allows for a few degrees of dwell as the crank rotates, which is why this process exists.
Next, you’ll adjust your pointer to indicate TDC on the degree wheel. This is only a rough TDC, because of that dwell. To combat that, you then rotate the crank until your piston has dropped .200 inch in the hole, as indicated by your dial indicator. Record the reading on the degree wheel at that point.
Stopping the piston at .200 inch before and after top dead center (left) gives the same reading (center) indicating our degree wheel is calibrated to true top dead center (right).
Then you’ll spin the engine through its rotation and stop the piston .200 inch from TDC and record the reading. If the reading at that point matches the previous reading, the degree wheel is trued up and you’re ready for the next step. If it doesn’t match, add the two numbers together and divide by 2. Adjust your timing pointer to read that number, and check at both .200 inch before and after TDC again. The readings on the degree wheel should match at this point, and your degree wheel is trued.
Degreeing The Cam
With the degree wheel now trued up, it’s time to degree the cam. To do this, you’ll use the same process as you did to true up the degree wheel, but measuring the camshaft lobe’s lift. To do this, you’ll need to fit an extended tip to your dial indicator to be able to reach the cam lobe and relocate the indicator to the lifter bore of cylinder number one’s intake lobe.
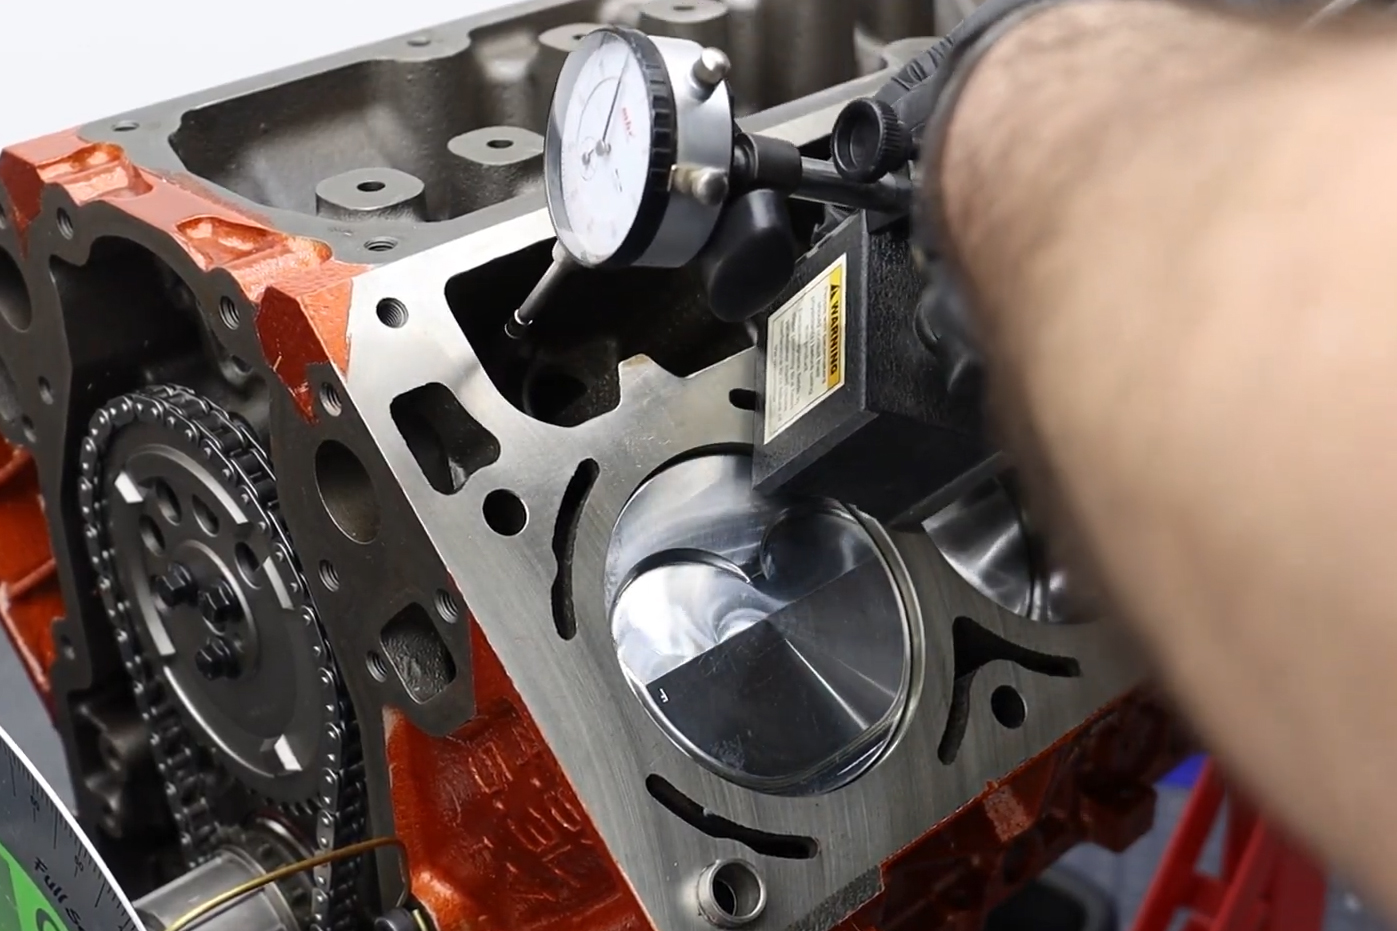
To degree the cam, we move the dial indicator from the piston to the intake cam lobe through the lifter bore. You’ll need some sort of extended tip for this, especially in an LS application. You will be using the lift of the cam lobe as a reference point when degreeing.
Step one is to zero the dial indicator at peak lift. Then, you’ll repeat the same process as before, but at .050 inch on the indicator. Record the numbers on the degree wheel at both .050 inch before and after peak lift. These numbers will be pretty far apart, much further apart than you saw with the piston.
Take those two readings from the degree wheel, add them together and then divide the sum by 2. That will give you your installed intake centerline (ICL). Every cam card will specify this measurement, and is how the cam was intended to be installed when it left the manufacturer. If you wish to advance or retard the camshaft from that specification, you would add (retard cam timing) or subtract (to advance cam timing) the desired adjustment amount to the cam card’s ICL and that will be your new target ICL.
Whether you’re looking to adjust your cam’s timing, or just want to ensure that the cam is installed exactly how the cam card recommends, degreeing a camshaft is an important part of any cam swap. It doesn’t require any high-dollar tools — although you certainly can go that route if you want to — and it is a lot simpler process than most people think. So really, there’s no excuse to blindly trust dot-to-dot timing anymore.
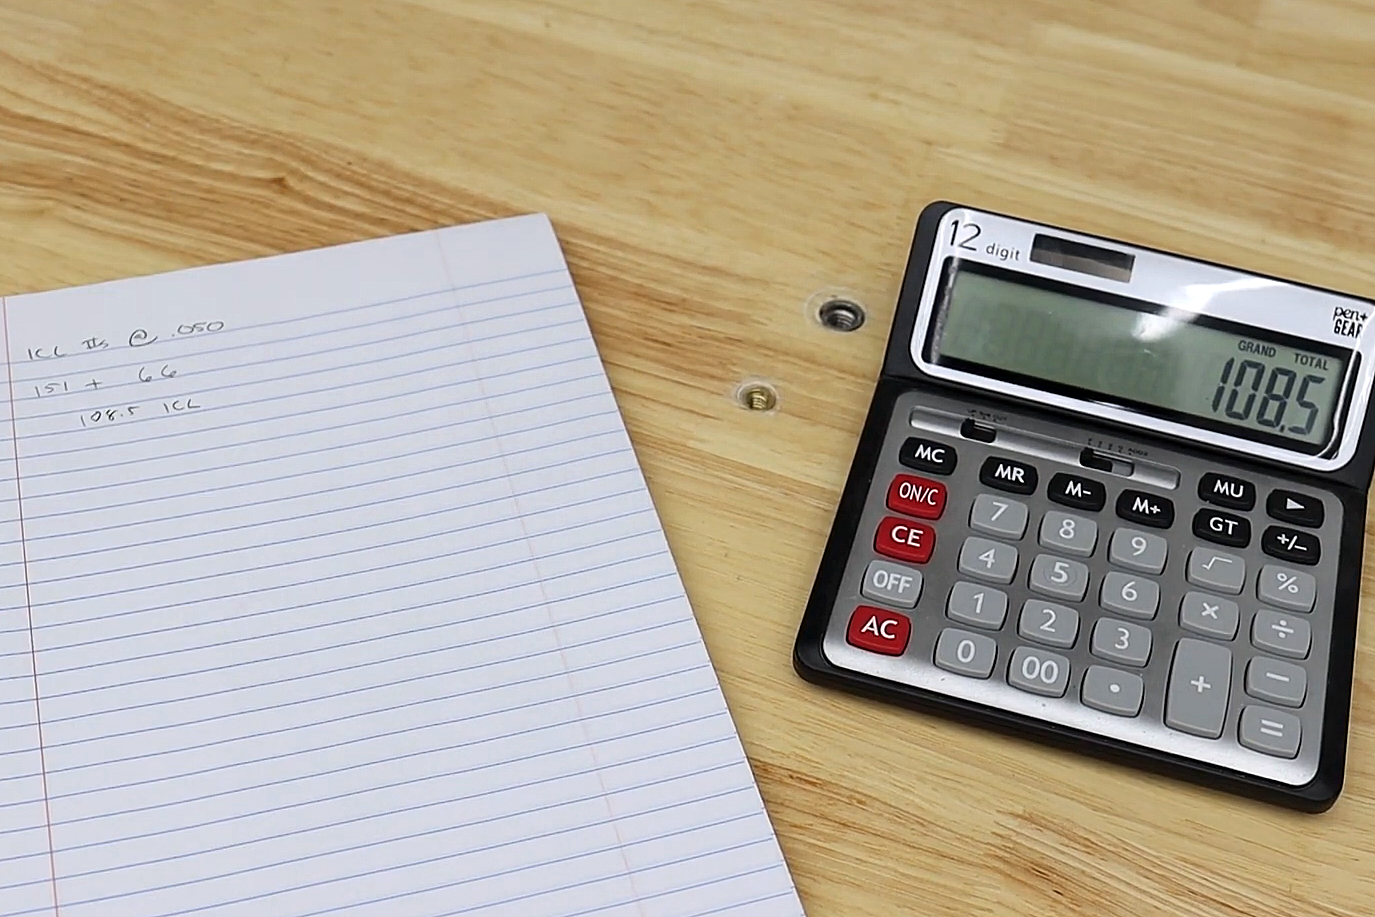
Once you have your readings at .050 inch before and after peak lift (151 degrees and 66 degrees, in this case), you will add them together, and then divide that number by two. Here, we get 108.5 degrees as our installed intake centerline. We can compare that to the cam card, and make any adjustments to the cam timing from here.


