 It hits you where you live. All those miles of seat time, all those times you climb in and out of your Corvette’s cockpit, they’re bound to take a toll on the carpet and upholstery. Nothing lasts forever, and you’d like to keep the cockpit looking showroom new. After all, a spiffed up interior can really make your day, and show pride of ownership. So what can you do to keep it fresh, or even customize your cockpit?
Mid America Motorworks understands both your ply and plight and offers a wide range of interior products, from molded carpet to padded center consoles to new foam and covers for seats. You can go all original, or custom-order a newer style of product for an older car—and even vice versa, (using an older type of upholstery on a newer model). Speaking of model years, which eras of Corvettes are particularly popular for a cockpit rehab?
The C3 and C4 models are especially in demand, notes Mid America’s upholstery department, for obvious reasons, since they are beginning to show their age. Hence, our photos illustrate taking a C4 from ratty to natty, but we’ll also touch on the materials used on earlier eras. First, we will start with various aspects of carpeting, then move onto seat upholstery and center consoles.


If you plan to handle the job yourself, you will need a vacuum (to clean the floor pan), spray glue (two to three cans recommended) or a quart of brush-on glue. (poly-backed sets will require more glue than the mass backed sets, screwdrivers (flat and Phillips), wrenches (to remove seats), Torx Bit (for removing seat belts, etc.), putty knife (for scraping the floor pan), heavy-duty scissors (for trimming carpet, as needed), and a sharp knife (with a three- or four-inch blade), and/or wire brush to aid in removing carpet and padding). Note: A knife is not recommended for trimming carpet.
A heat gun is also useful for heating and shaping the carpet. Use caution to only heat the backing of the carpet until pliable, then shape and hold in place until carpet cools. An interior screw kit, PN 603-132 (Coupe) or 603-134 (Convertible), may be necessary to replace missing or stripped screws.
Before beginning, here are a few application tips from Mid America’s instruction manual: Photograph each section of the carpeting before removal so you have a handy visual reference to follow during reinstallation. Pay particular attention to how the riser carpet tucks and folds to create a finished look. For convertibles, note how the seat belt cones and the upper door trim pieces attach. As you remove the carpet pieces, note which sections lay over the top of other pieces.
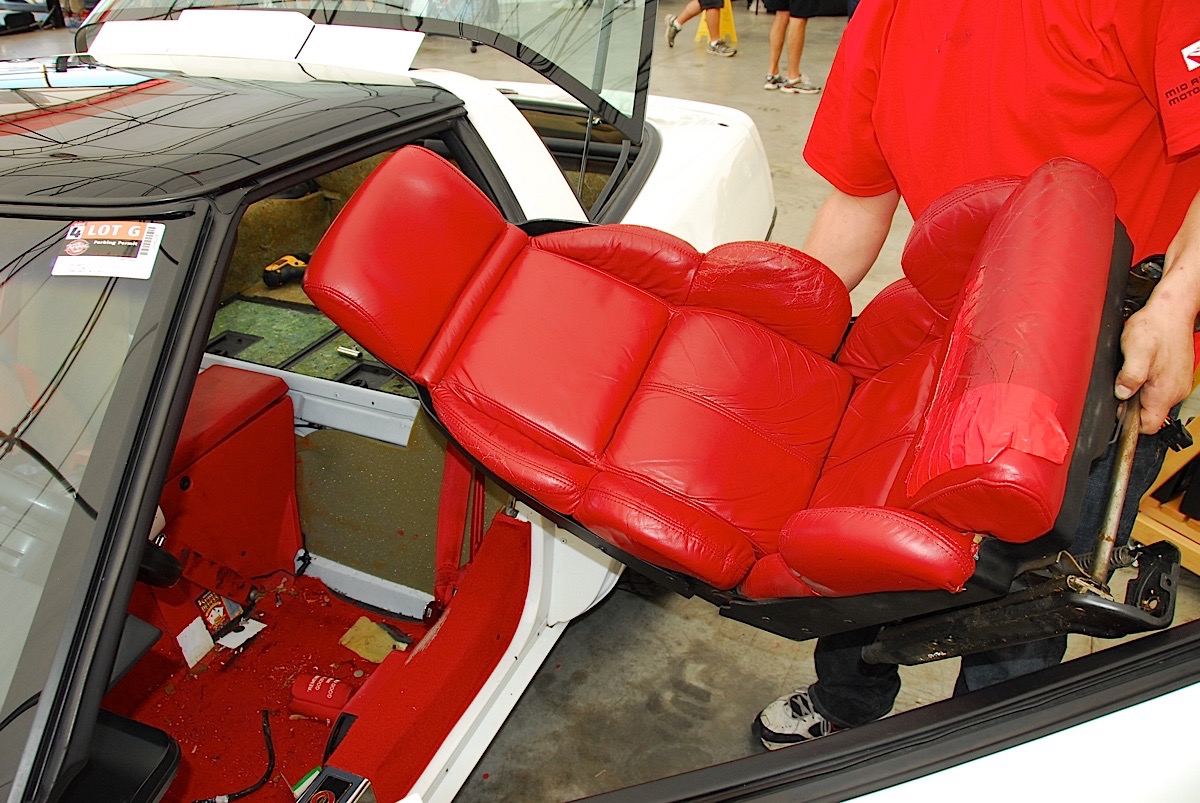
If you don’t need to replace the carpet, the seat covers can usually be installed without removing the seats from the cockpit. However, this cockpit needed a full-dress treatment, so we unbolted the seats from their tracks and pulled them out. To remove seats, move the seat all the way forward to access the rear seat bolts, then slide the seat all the way back to remove the front bolts. Disconnect battery first before unplugging power seats.
Also, remove the seat belts and all plastic trim pieces that cover the edges of the carpet (use caution to avoid cracking plastic pieces when removing them). We’ll go over the different options on seat material after taking care of the carpet.


Looks kind of funky underneath that seat, doesn’t it? Besides the debris, the carpet was beginning to show lots of wear from age, grime and heel scrapes. Lifting up the Tru Vette carpet (used on 1993 to 2004 models) shows the black poly backing called Keldax (by the way, black is the most popular color of carpet, but red is a close second). Scrape and vacuum underneath to remove all remnants.
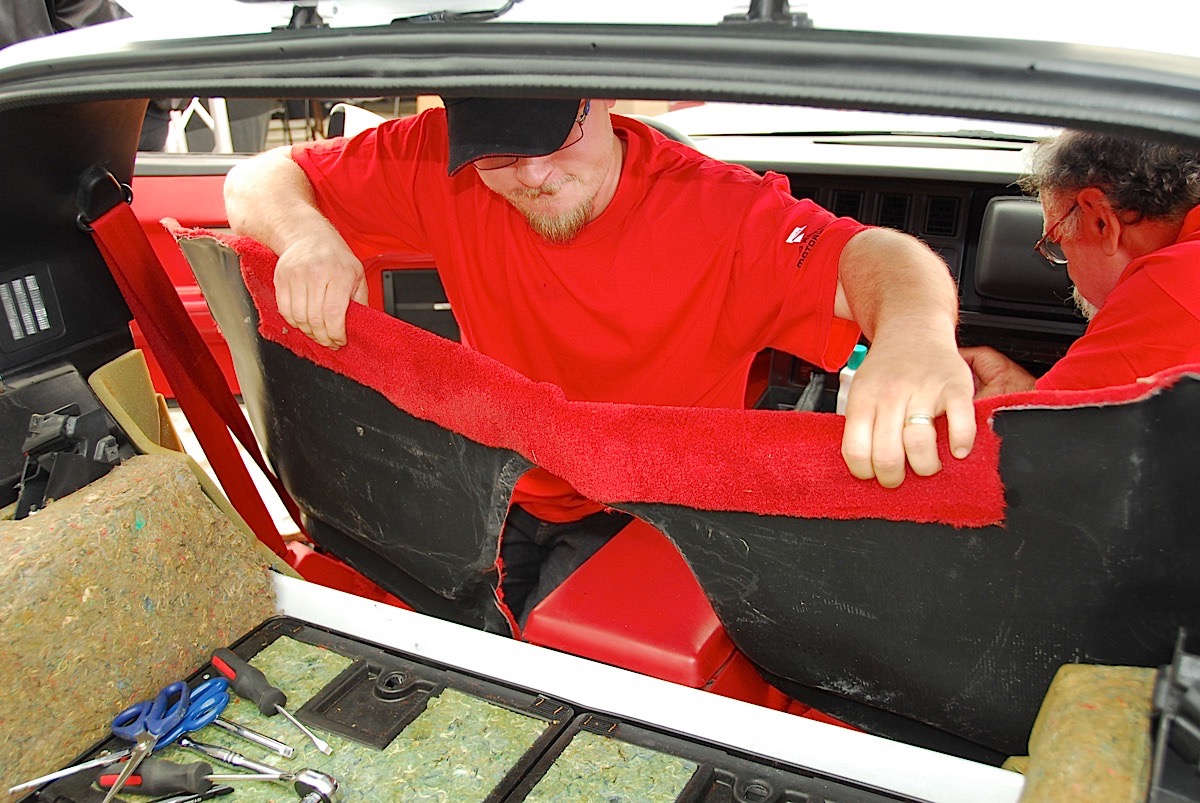
When removing carpet pieces, don’t throw them away, as you might want to use some of them to lay over the new carpet pieces as a template to pre-trim prior to installatino. Also, as you remove the wheelwell pieces, mark them on the back as “driver” or “passenger” side to prevent confusion with the new pieces.


Precision Fit
Each Corvette carpet set from Mid America Motorworks is precision molded and trimmed for a precise fit. The C4 Corvette cut-pile carpets are shipped directly from Mid America Motorworks to Corvette owners and restorers, eliminating a middleman. This company purchases raw carpeting direct from the mills, where it has been custom-dyed to C4 Corvette original colors. Then Mid America cuts, trims, and machines the carpet at its own carpet manufacturing plant. All stitching, trim, heel pad placement, and other details match OEM Corvette carpeting specifications.
The Mass Back Corvette Carpet includes the bonded, original Keldax layer of insulation backing. For additional comfort in the cockpit of your Corvette, you can order a Foil Backed Sound Deadener Kit, which can be used on carpets with or without Mass Back. This material can fill in the areas not covered by the factory-style kit. Simply cut to fit and glue in place for improved comfort. While the rolls of plush, cut-pile replacement carpeting that Mid America uses meet GM factory specs, the Keldax backing is not available on earlier models.
For C2 and C3 model years, the 80/20 loop carpeting is foil-backed and has a 3/8-inch layer of jute for sound-deadening (foam backing was used on 1963 and 1964 models.) The carpet is cut by following the patterns for a given model year, and then molded in a 400-degree oven so the poly material conforms into the correct shape for the footwell, tunnel and other cockpit contours. Heel and toe pads are included. For customer DIY orders, the carpet is shipped in boxes with tall sides so it doesn’t get mashed down.


While Mid America trims the carpet to fit closely to the original size, it provides a bit of extra material, allowing for slight variations in OEM and for thorough coverage.
So some minor trimming with a sharp utility knife and/or heavy-duty scissors is needed for a tight fitment and to cut holes for feeding through wiring as well.
Be sure to first dry-fit the carpet into all areas, to make sure it’s the correct product, and lines up with tight areas around the back of the cockpit and console. Start with wheelwells in the rear section first, when installing the new carpet. Lay the new wheelwell piece face down, and place the original piece on top, making sure all the molding impressions are aligned. Some tweaking and nudging will probably be needed in certain spots. Trim to match the original; repeat for other side. Set the trimmed piece in the car and make final adjustments for proper fit.
Once the carpet has been dry-fitted, holding the bottom of the wheelwell in place, pull back the top half, spray glue the back top half of the wheelwell and that portion of the wheelwell housing. Wait the required time as stated on the can, then press together. Holding the top half, pull up the bottom half and glue in place. Repeat for the other side.
You can use either a spray adhesive or brush-on glue from a can. While spray-on is quicker and easier, brushing on adhesive creates less fumes. You don’t need to glue down every square inch of the carpet, but the vertical surfaces generally require a more generous application to ensure a secure bond.
Fit the riser piece next, noting how the bottom flaps of the original riser were positioned over the front floor pieces. Lay the new piece down and place the original over it. Align the bottom, mark and trim the new piece to match the original. Make sure to leave extra carpet on the top flap of the new riser carpet, so when it is folded over the riser wall there is plenty of carpet by the storage/speaker wells, and the binding edge of the deck mat will cover the raw edge of the riser.
Refer to your pictures when finishing this piece. Do not glue the main part of the riser until you have the floor pieces in place, as the riser lays over the top of the back edge of the floor pieces.


Note the wiring for the electric seat controls. A wood awl or ice pick can also be used for making precise holes for wiring. Note that on older Corvettes, the seat tracks and possibly the frames will need to be sandblasted and painted, or even welded in some cases.
Now the reupholstered seats can be reinstalled. Mid America offers both leather and vinyl covers, with two-tone colors, emblems, and accent stitching available as options. While vinyl is often used to restore the interiors on earlier cars to factory original, leather is the most popular upholstery choice as it looks, feels, and wears better, and has been proven to increase resale value.


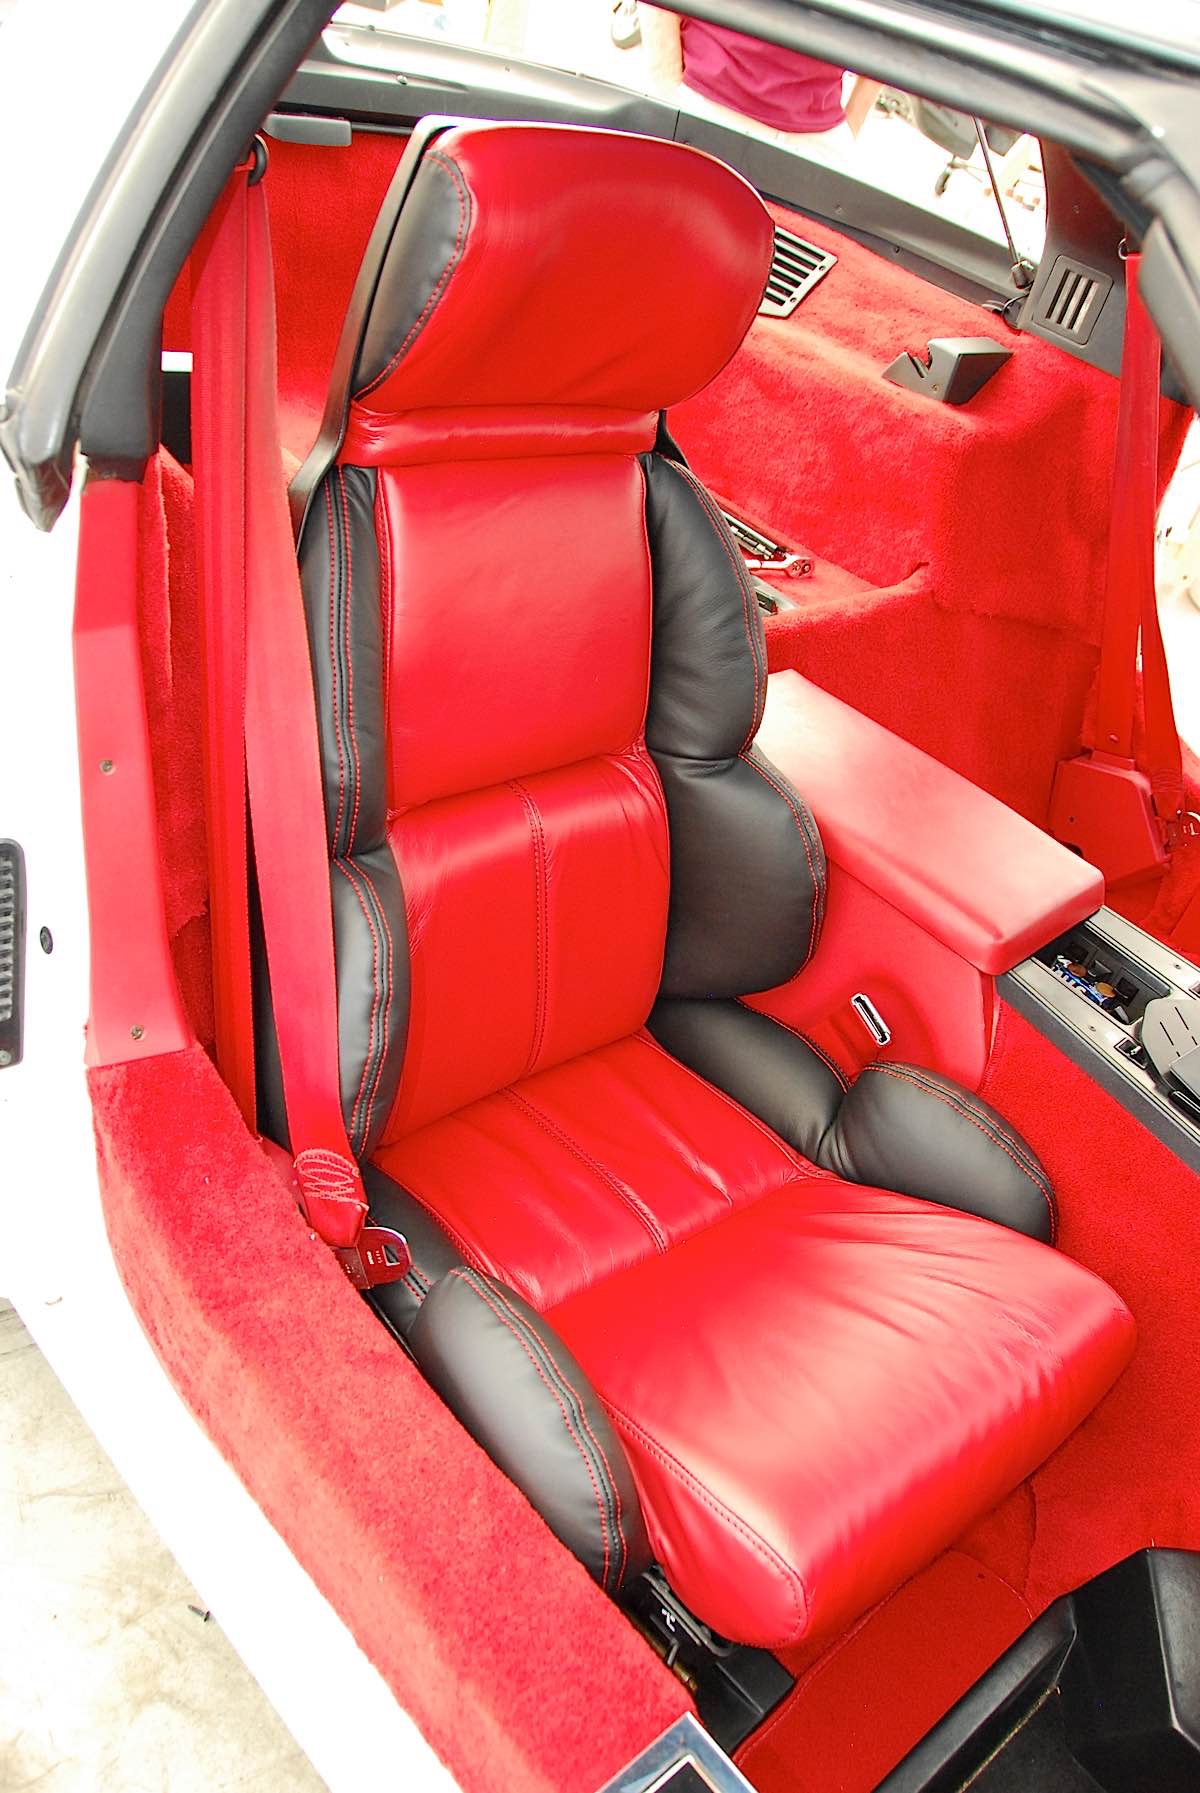 The seat can be installed as a single unit or in two sections, the back first, and bottom second. Note that the foam on older cockpits (especially on the bottom portion) is never in good shape and must be replaced with fresh foam. This is because original seat padding breaks down over time and gets mashed to about half its original height, so new covers won’t fit properly over old foam.
When reinstalling seats, be sure to replace the seatbelt housings, plastic trim pieces, etc. Set the seats in the car, and reconnect power supply to the seats. Reconnect battery terminals and test the electrical functions of the each seat, then bolt down.
Help With Installs
Mid America offers some covers with the foam already mounted, specifically the 1979 to 1996 model years. A seat restoration service is available for those who don’t want to mess with the hog rings and ring pliers needed to install upholstery. Just send in the seats, and they will be shipped back with the custom or original upholstery fitted just like new.
Of course, not all interior rehabs and customizing have to be as lengthy or involved a process as the carpeting and seats. Sometimes, even a small item can make a dramatic difference in the look and style of your Corvette. Mid America’s Console Cushions are a very popular dress-up item, and they can freshen an area of the interior that gets a lot of wear. An in-house seamstress at Mid America sews them up individually to ensure meticulous quality control and fitment on your Corvette.
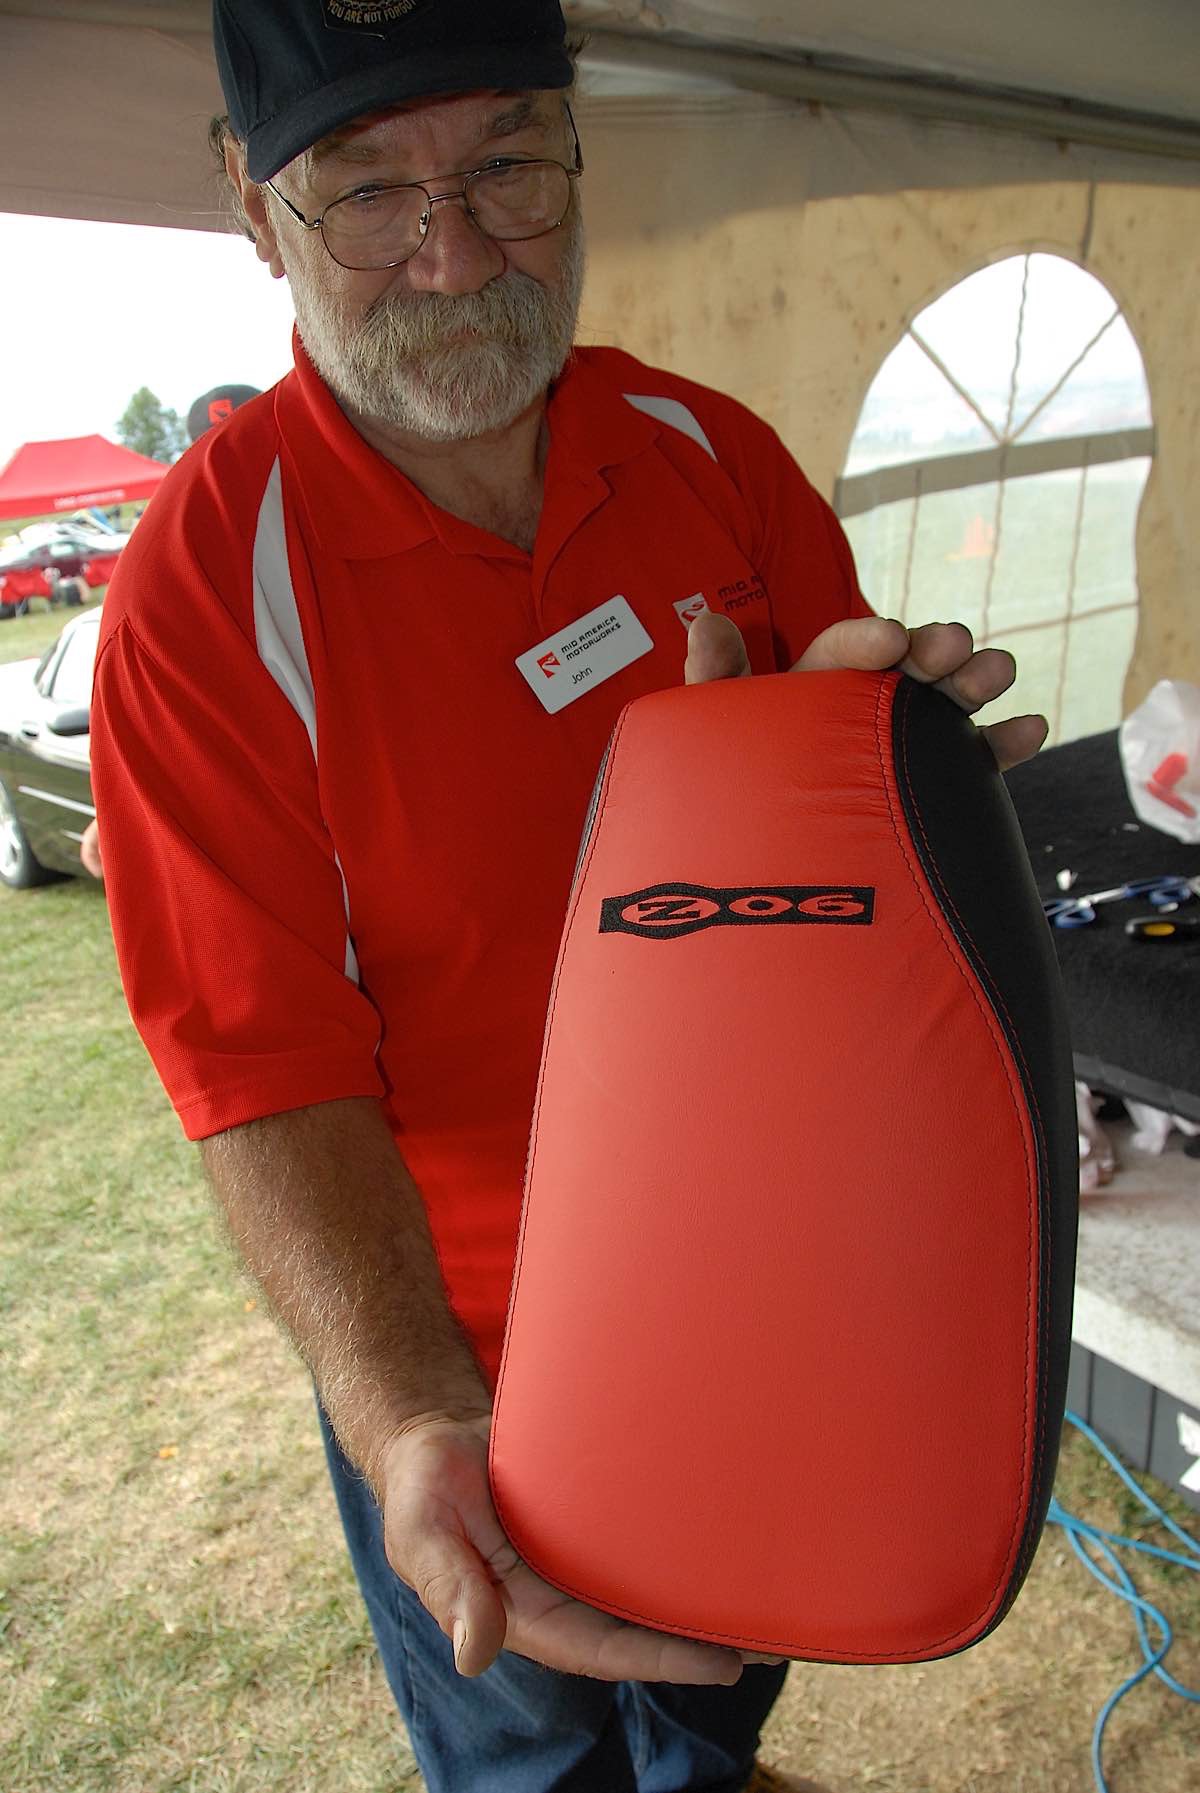
The company also has an installation center that handles a variety of personalization products, in case you’d rather let a pro handle your console upholstery for a small labor charge. But we thought you’d like to see just how easy it is to install one (on a Z06 C6, in this case).
First unbolt the stock cover for the center console (left). On the right is the Mid America Console Cushion, ready for installation.


Next, remove the inner liner from the underside of the cover. A strip of double-sided adhesive tape, included with the Console Cushion, needs to be cut to fit around the inside face. Apply the tape to the entire perimeter. A few small gaps are okay.
Slip the cover over the console, but don’t remove the backing on the tape yet. Be sure to leave the mounting holes exposed.


The cover has a snug fit, so you’ll need to use a bit of thumb pressure to install it on properly.
Once the cover is centered in place, remove the adhesive backing.
Press the cover onto the adhesive strips, again making sure the mounting fasteners are accessible. Reattach the inner liner.


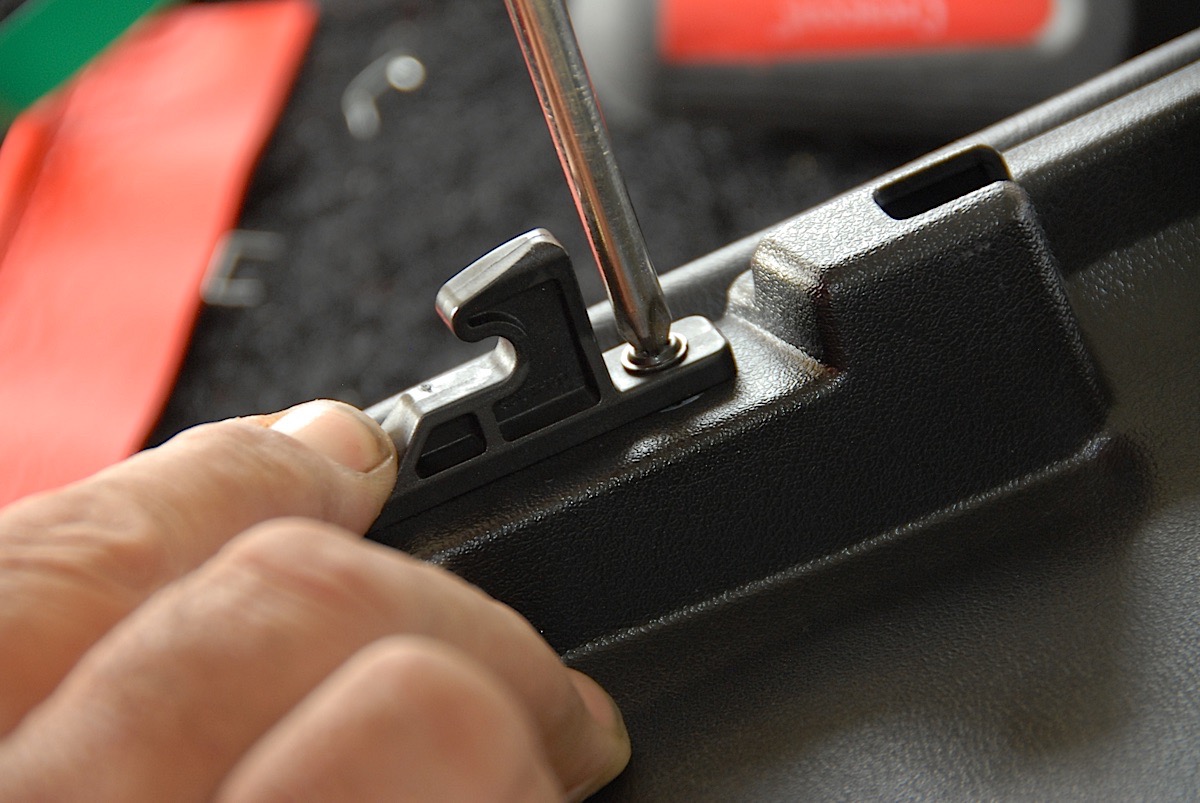
Screw the catch back onto the inner liner.
Here’s how the Console Cushion should look prior to final installation. John from Mid America obviously takes pride in his workmanship!
Fit the lid back on its hinges, insert the fastening screws on the lid hinge, and push the tuck-and-roll trim piece into the groove in front of the console.


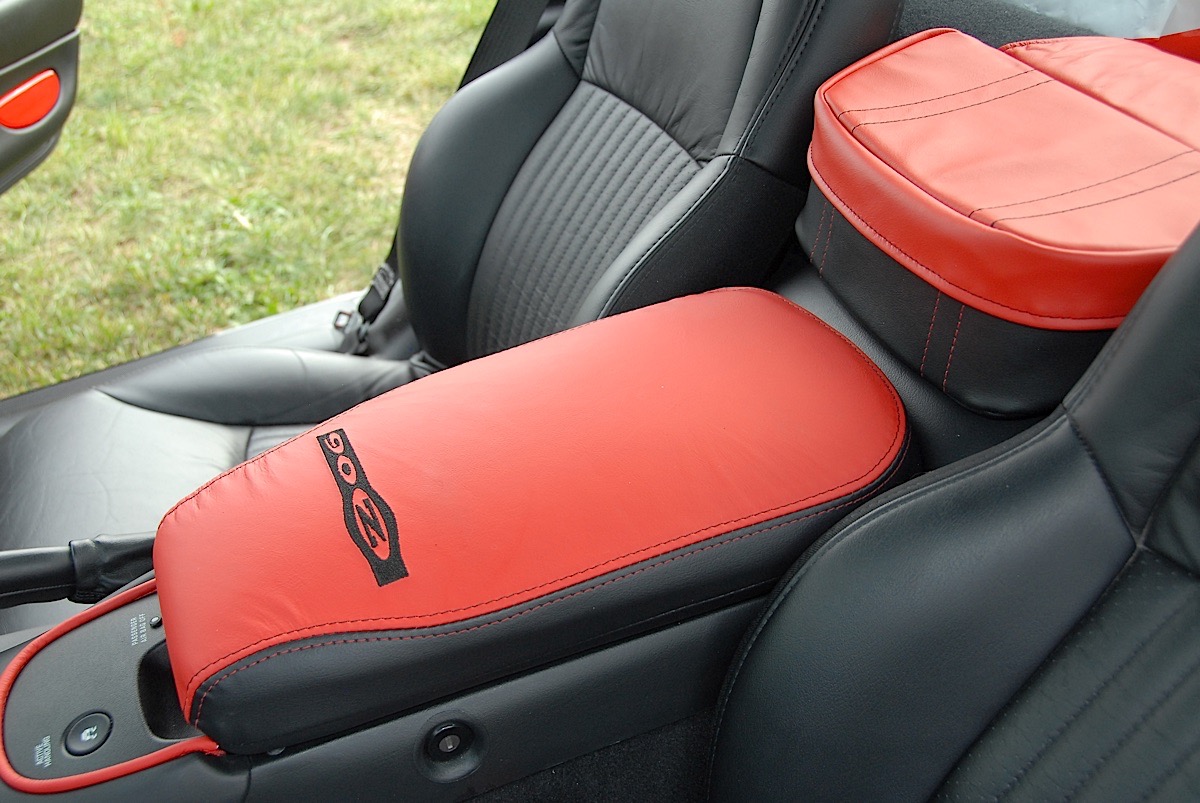
All done! Wasn’t that easy? Mid America offers other color schemes and patterns as well, plus matching route bags and travel pouches, too (`right).