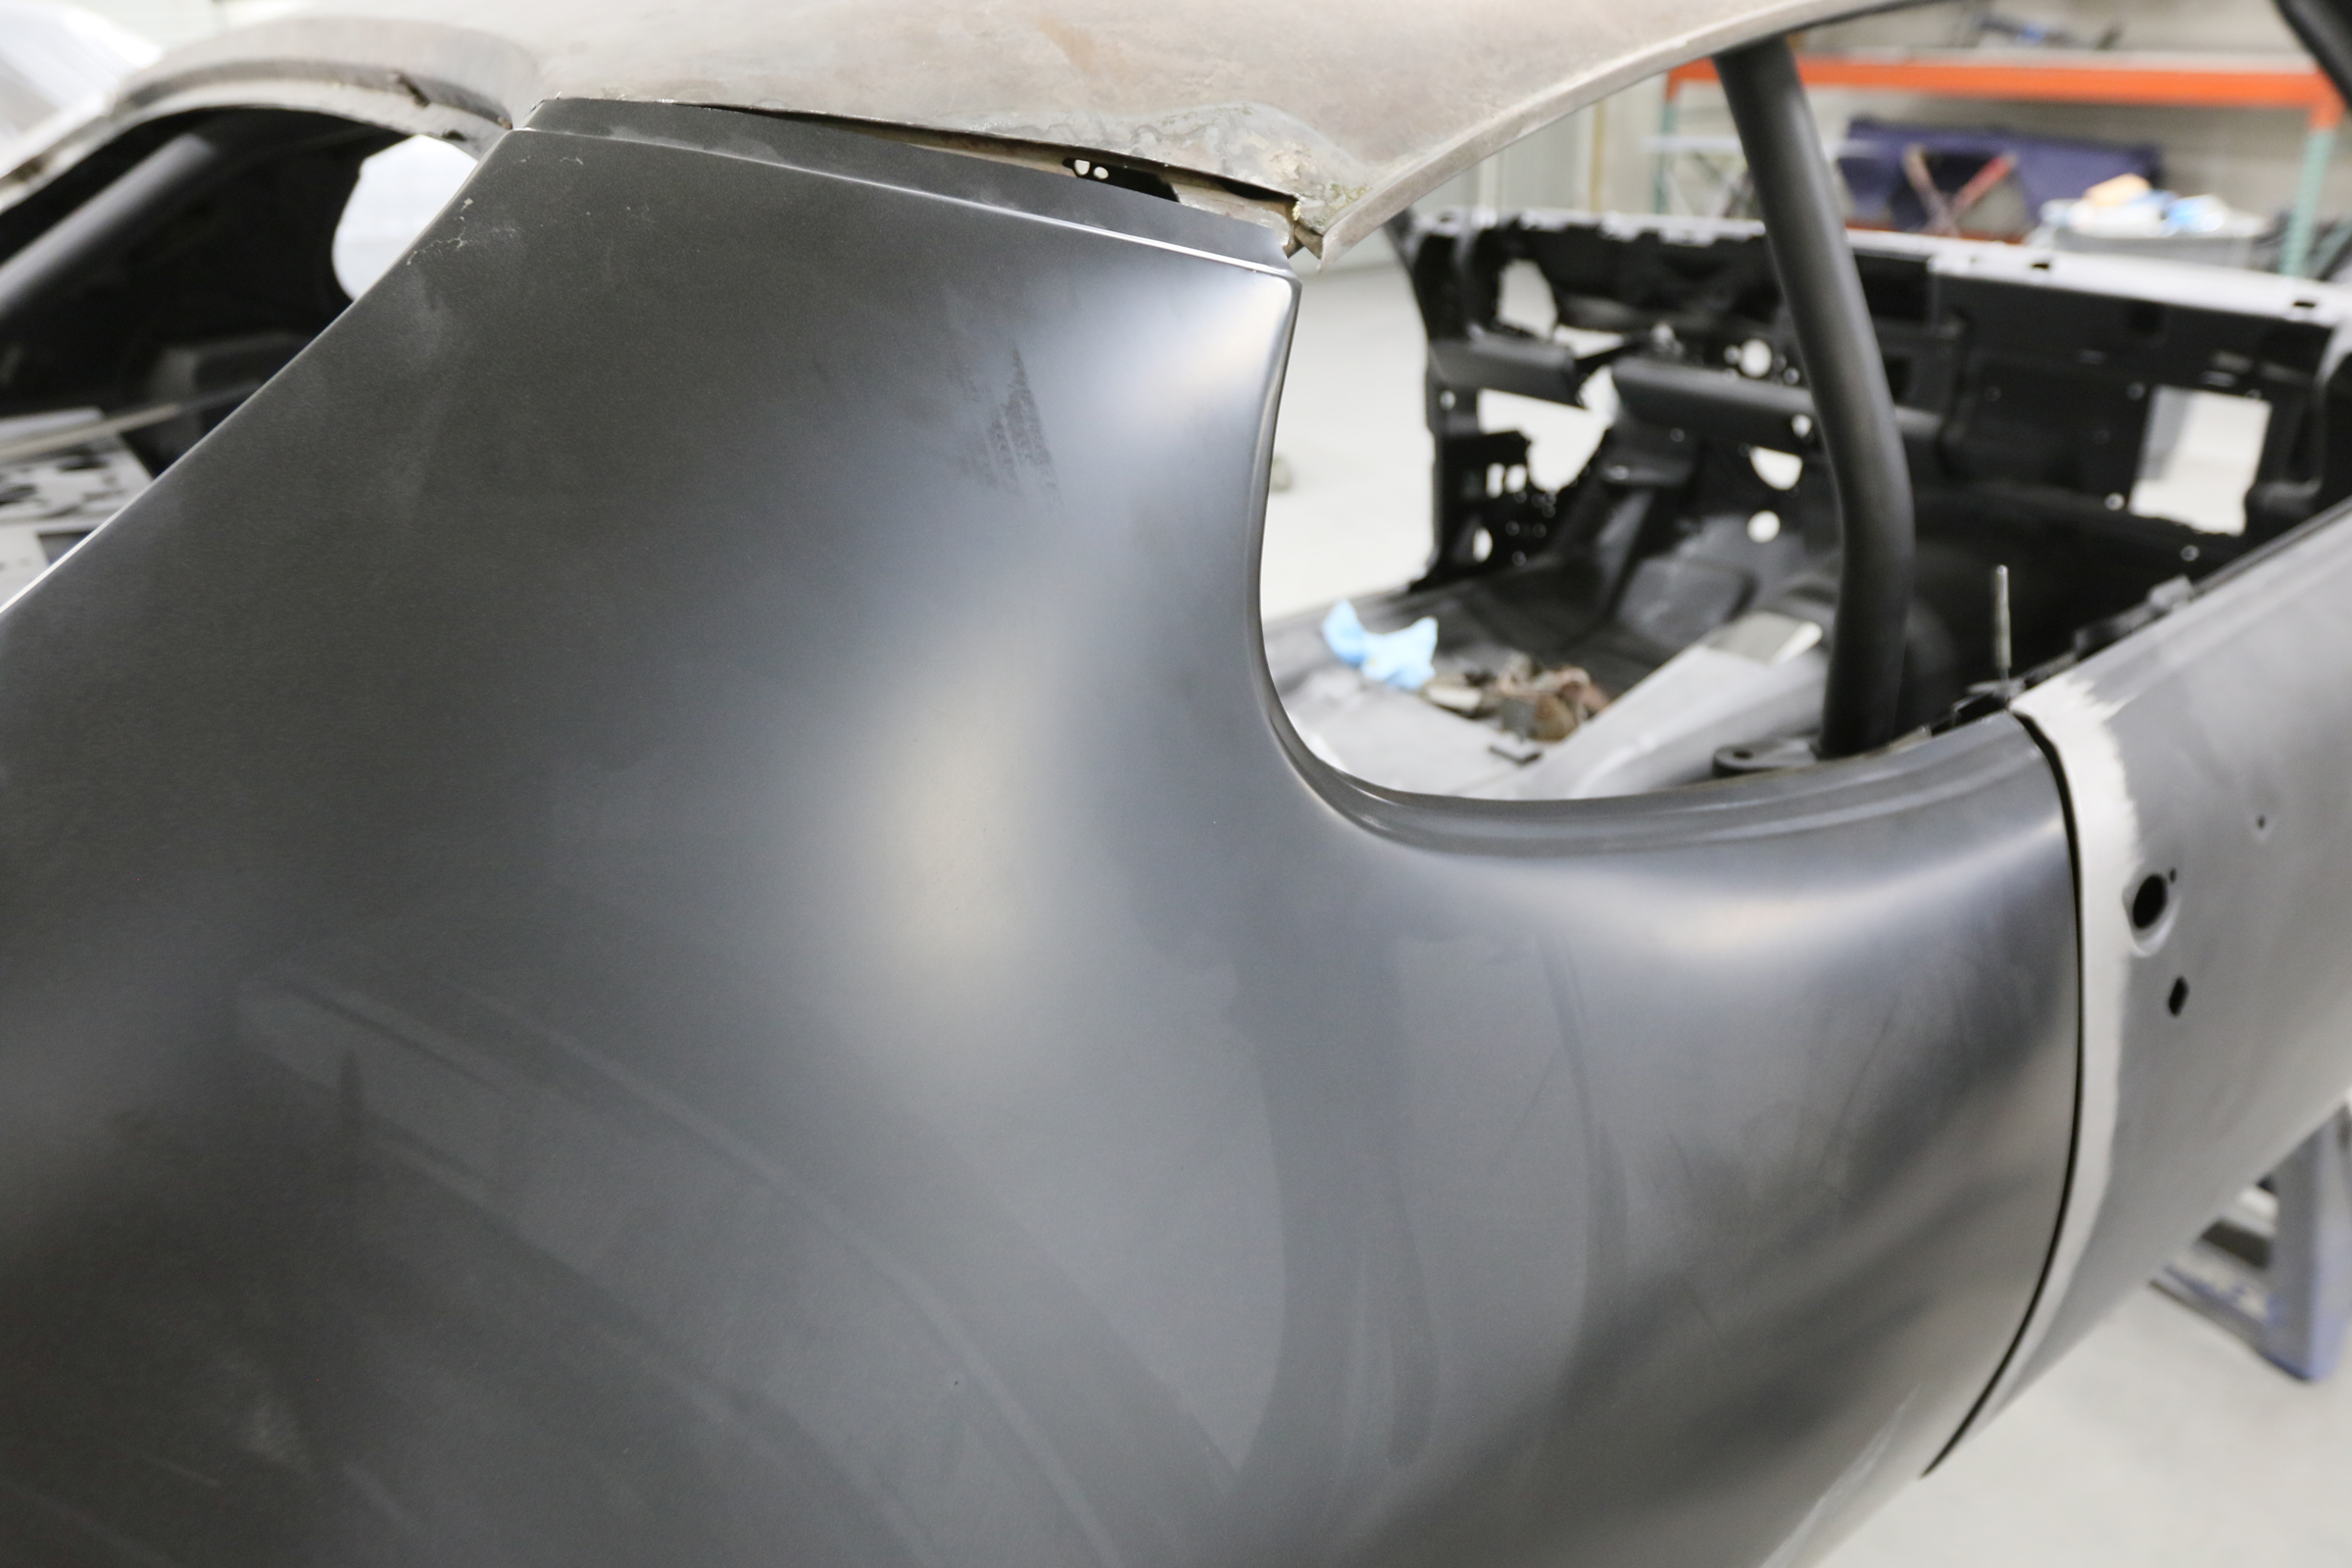
As we discussed previously, Project Payback is taking steps backward to achieve a greater end-product. Between its extended build time and relocating to the East Coast, we decided to build this car in one shot, which meant going from “driver quality” paint and body, to being good enough for the “big show.” That’s right, SEMA. Unfortunately for me, that means I spent twice and cried twice on this one, but that will be a distant memory the first time I put eyes on this car when it comes out of the paint booth. One area I did save, though, was being able to get all the metal from Original Parts Group Inc (OPGI) rather than having to spend more money on fabrication time.
If you are trying to build a one-of-a-Kindig-it vehicle, and have unlimited funds or the ability to do the work yourself, then maybe saving time and money doesn’t matter to you. But for us “poors,” that want nothing more than to turn tires in anger sooner rather than later, having well-made replacement body parts is essential to keeping your build on track. Follow along as we go through the process of replacing an A-body quarter panel on my 1968 Pontiac GTO.
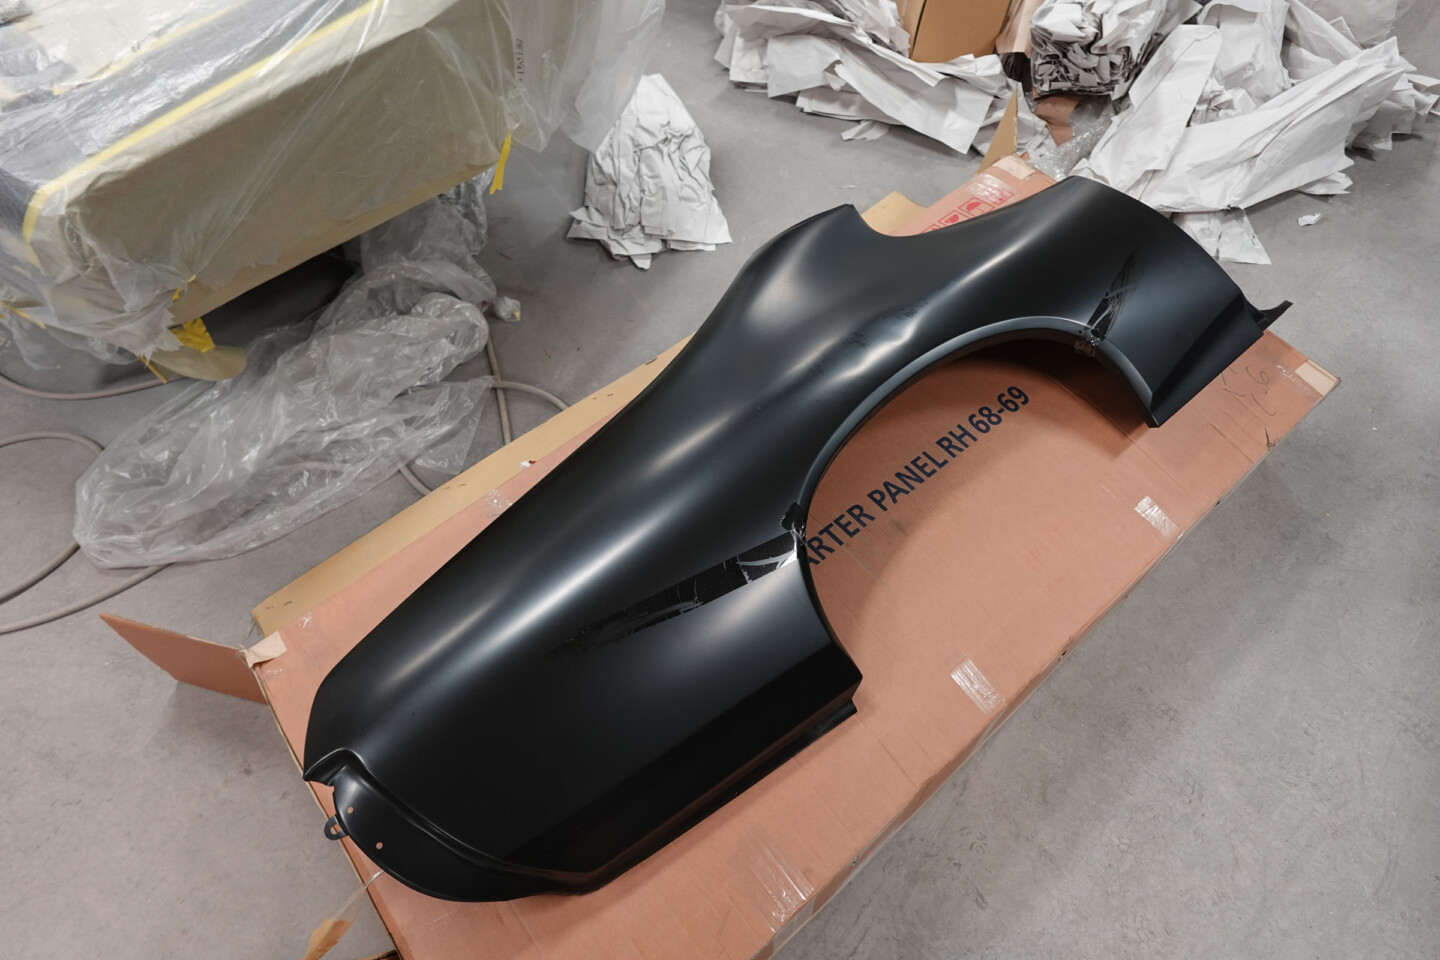
OPGI makes quarter panel replacements for most GM A-bodies, including P/N: G240054 for ’68-’69 GTO, LeMans and Tempest. They are identical reproductions, made to GM specs, so they are suitable for stock restorations as well as our mini-tubbed monster in the making. The panels are stamped from premium-grade steel, E-coated, and packed well.
What is the “Right Way?”
There seems to be a surprising amount of controversy on replacing an A-body quarter panel the right way. Since we are entrusting the experts at Innovation Performance Technologies (IPT), who have built flawless Pro Touring cars for the likes of Alice Cooper and other high-dollar customers, we had to rely on them to define it for us. According to IPT, replacing the quarter panel the right way means not just removing the “skin,” but drilling out the factory spot welds where the quarter panel attaches to the inner structure of the body shell. This is a painstaking process that starts with removing the skin to access these spot welds. And that’s only after a proper acid bath!
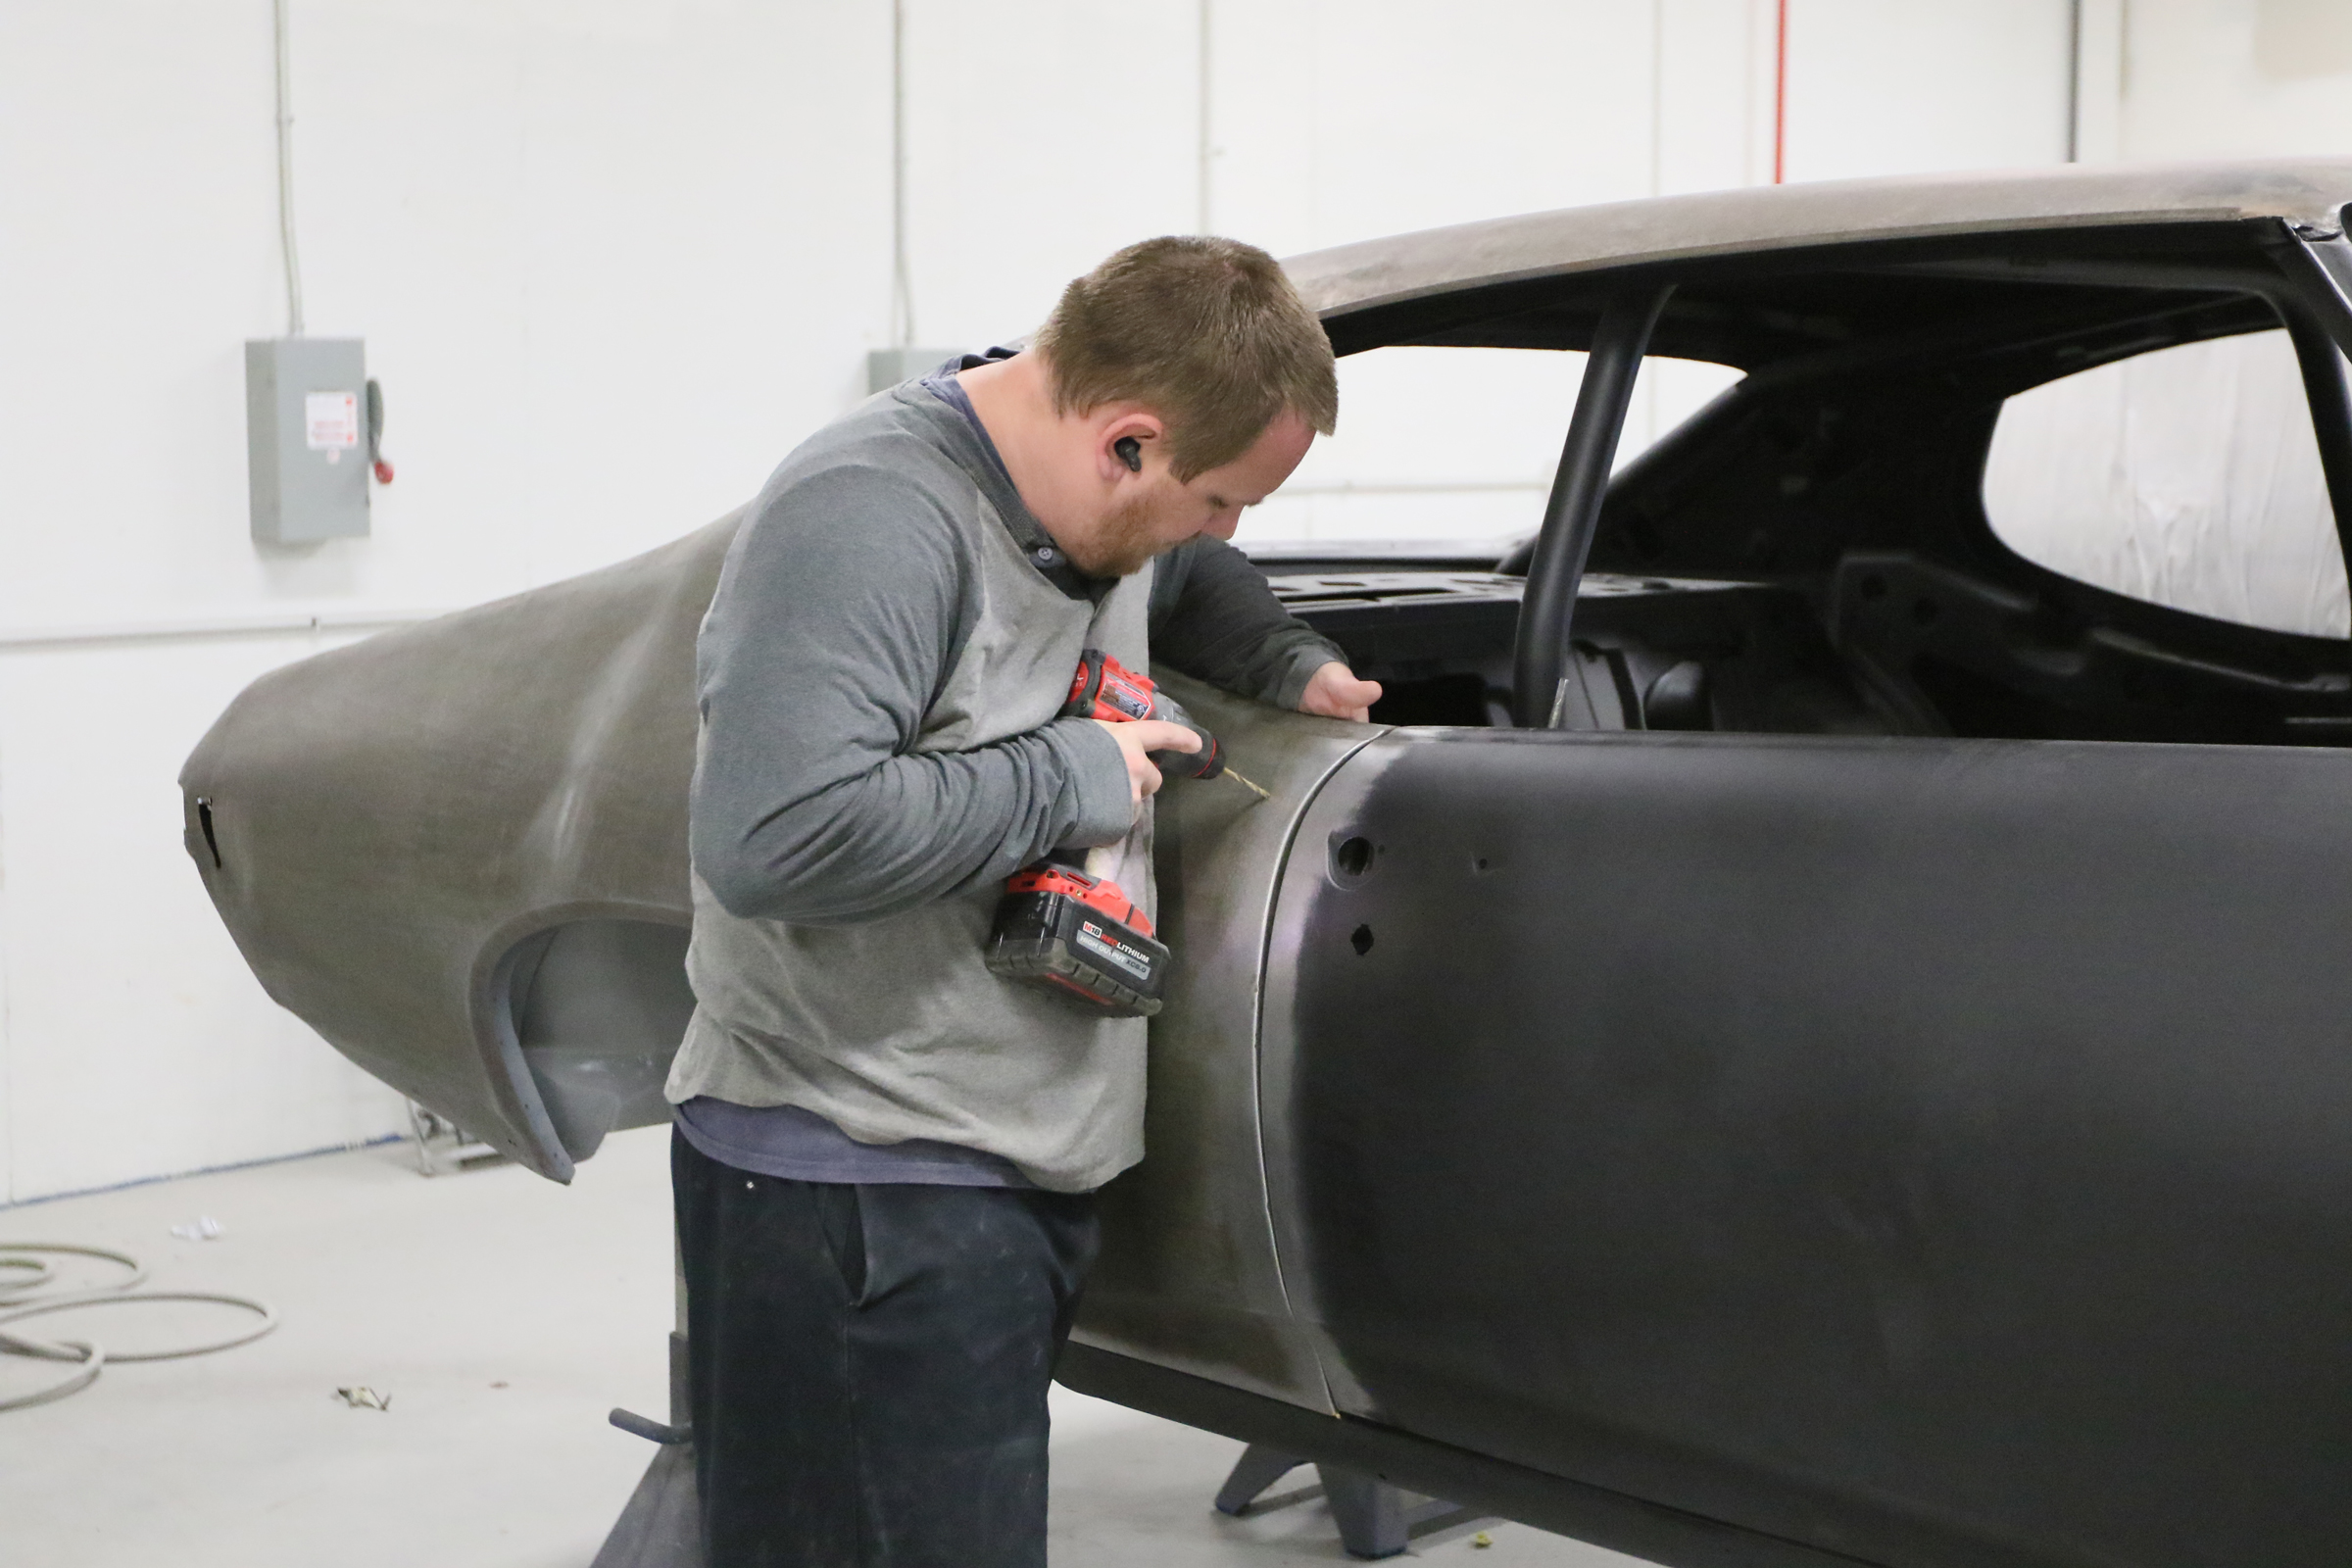
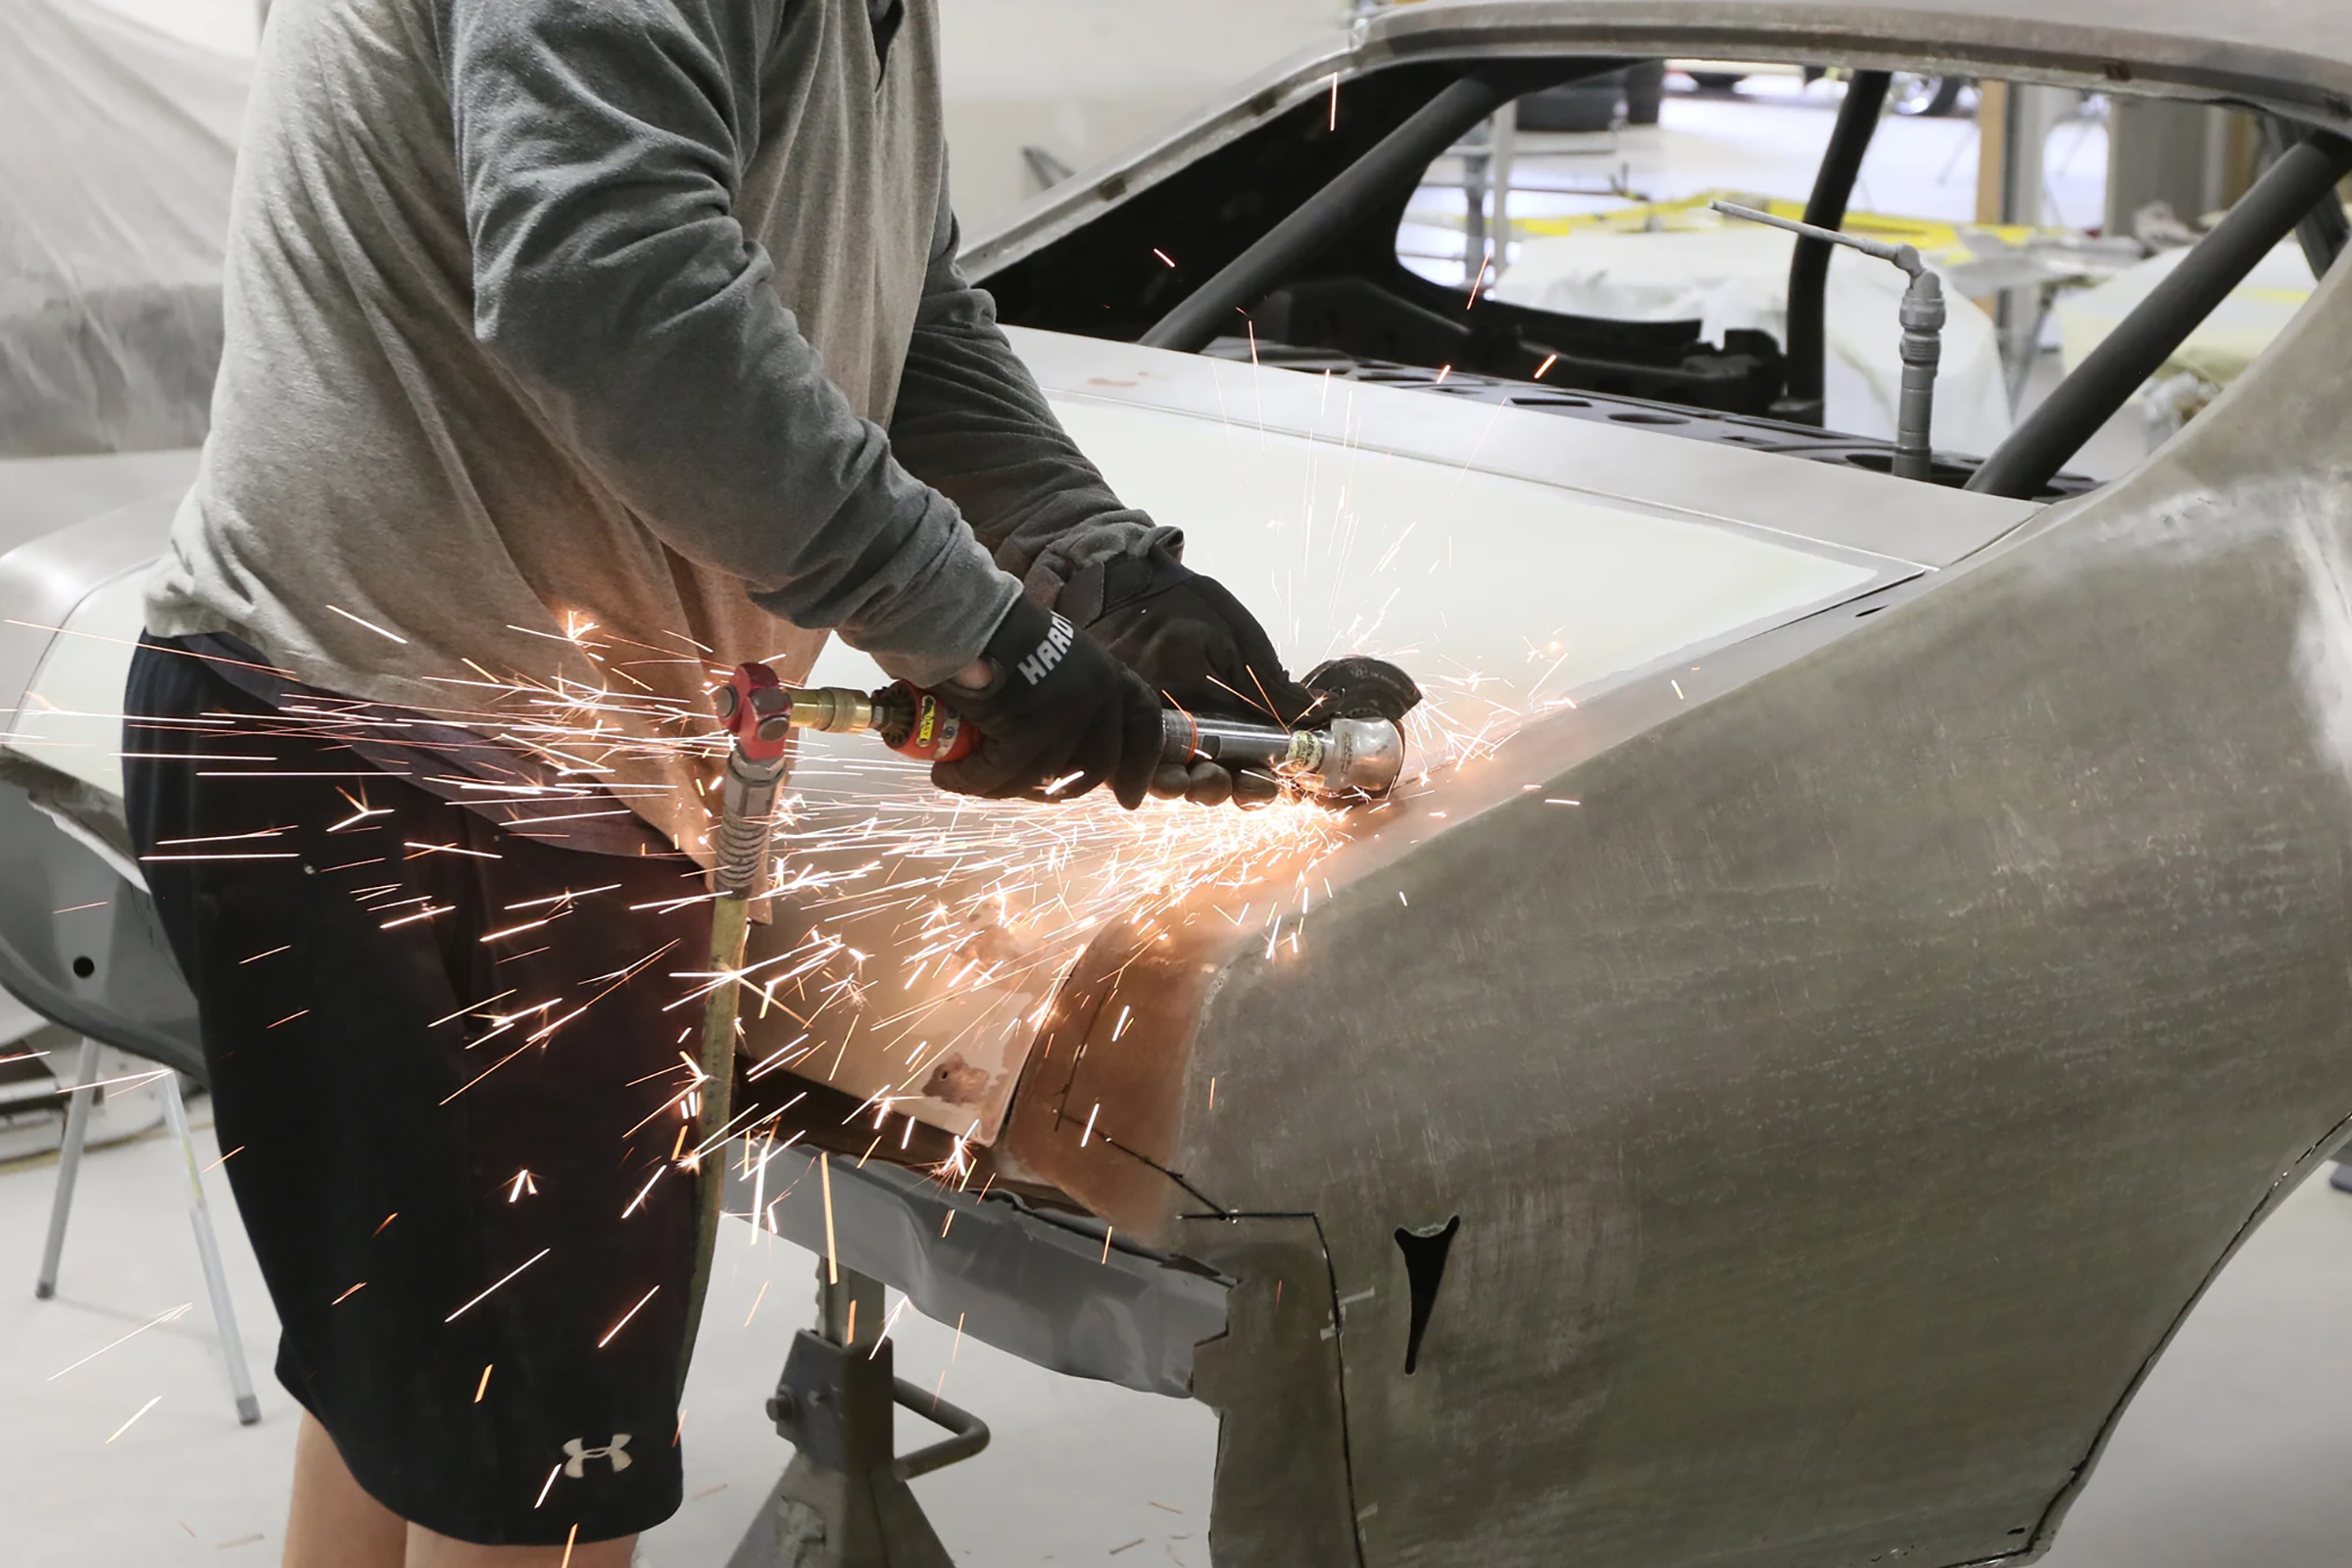
Since the GTO has been acid-dipped, you can see all its flaws including where the new and old metal meet in the quarter panel. Matt drilled a starter hole for the cutting, and then made his way along the perimeter of the panel.
The next step is replacing the metal with a single piece that joins to the inner structure, door jams, and roof skin. For this, we turned to OPGI, who offers a variety of repair options including the complete quarter panel for the GTO, LeMans and Tempest. While OPGI does also offer patch panels like we used previously, Shop Foreman Crimson Sanders explained it might not be what you want in a build like this.
“There’s just no way to not see that line or crease in the quarter panel where the old and new metal were welded together. No amount of filler or body work will get rid of that. And after you spend all that money painting the car, it could be one of these things that you kick yourself for not doing right. We could already see it coming through the primer that was on there.”
Cutting A New Path
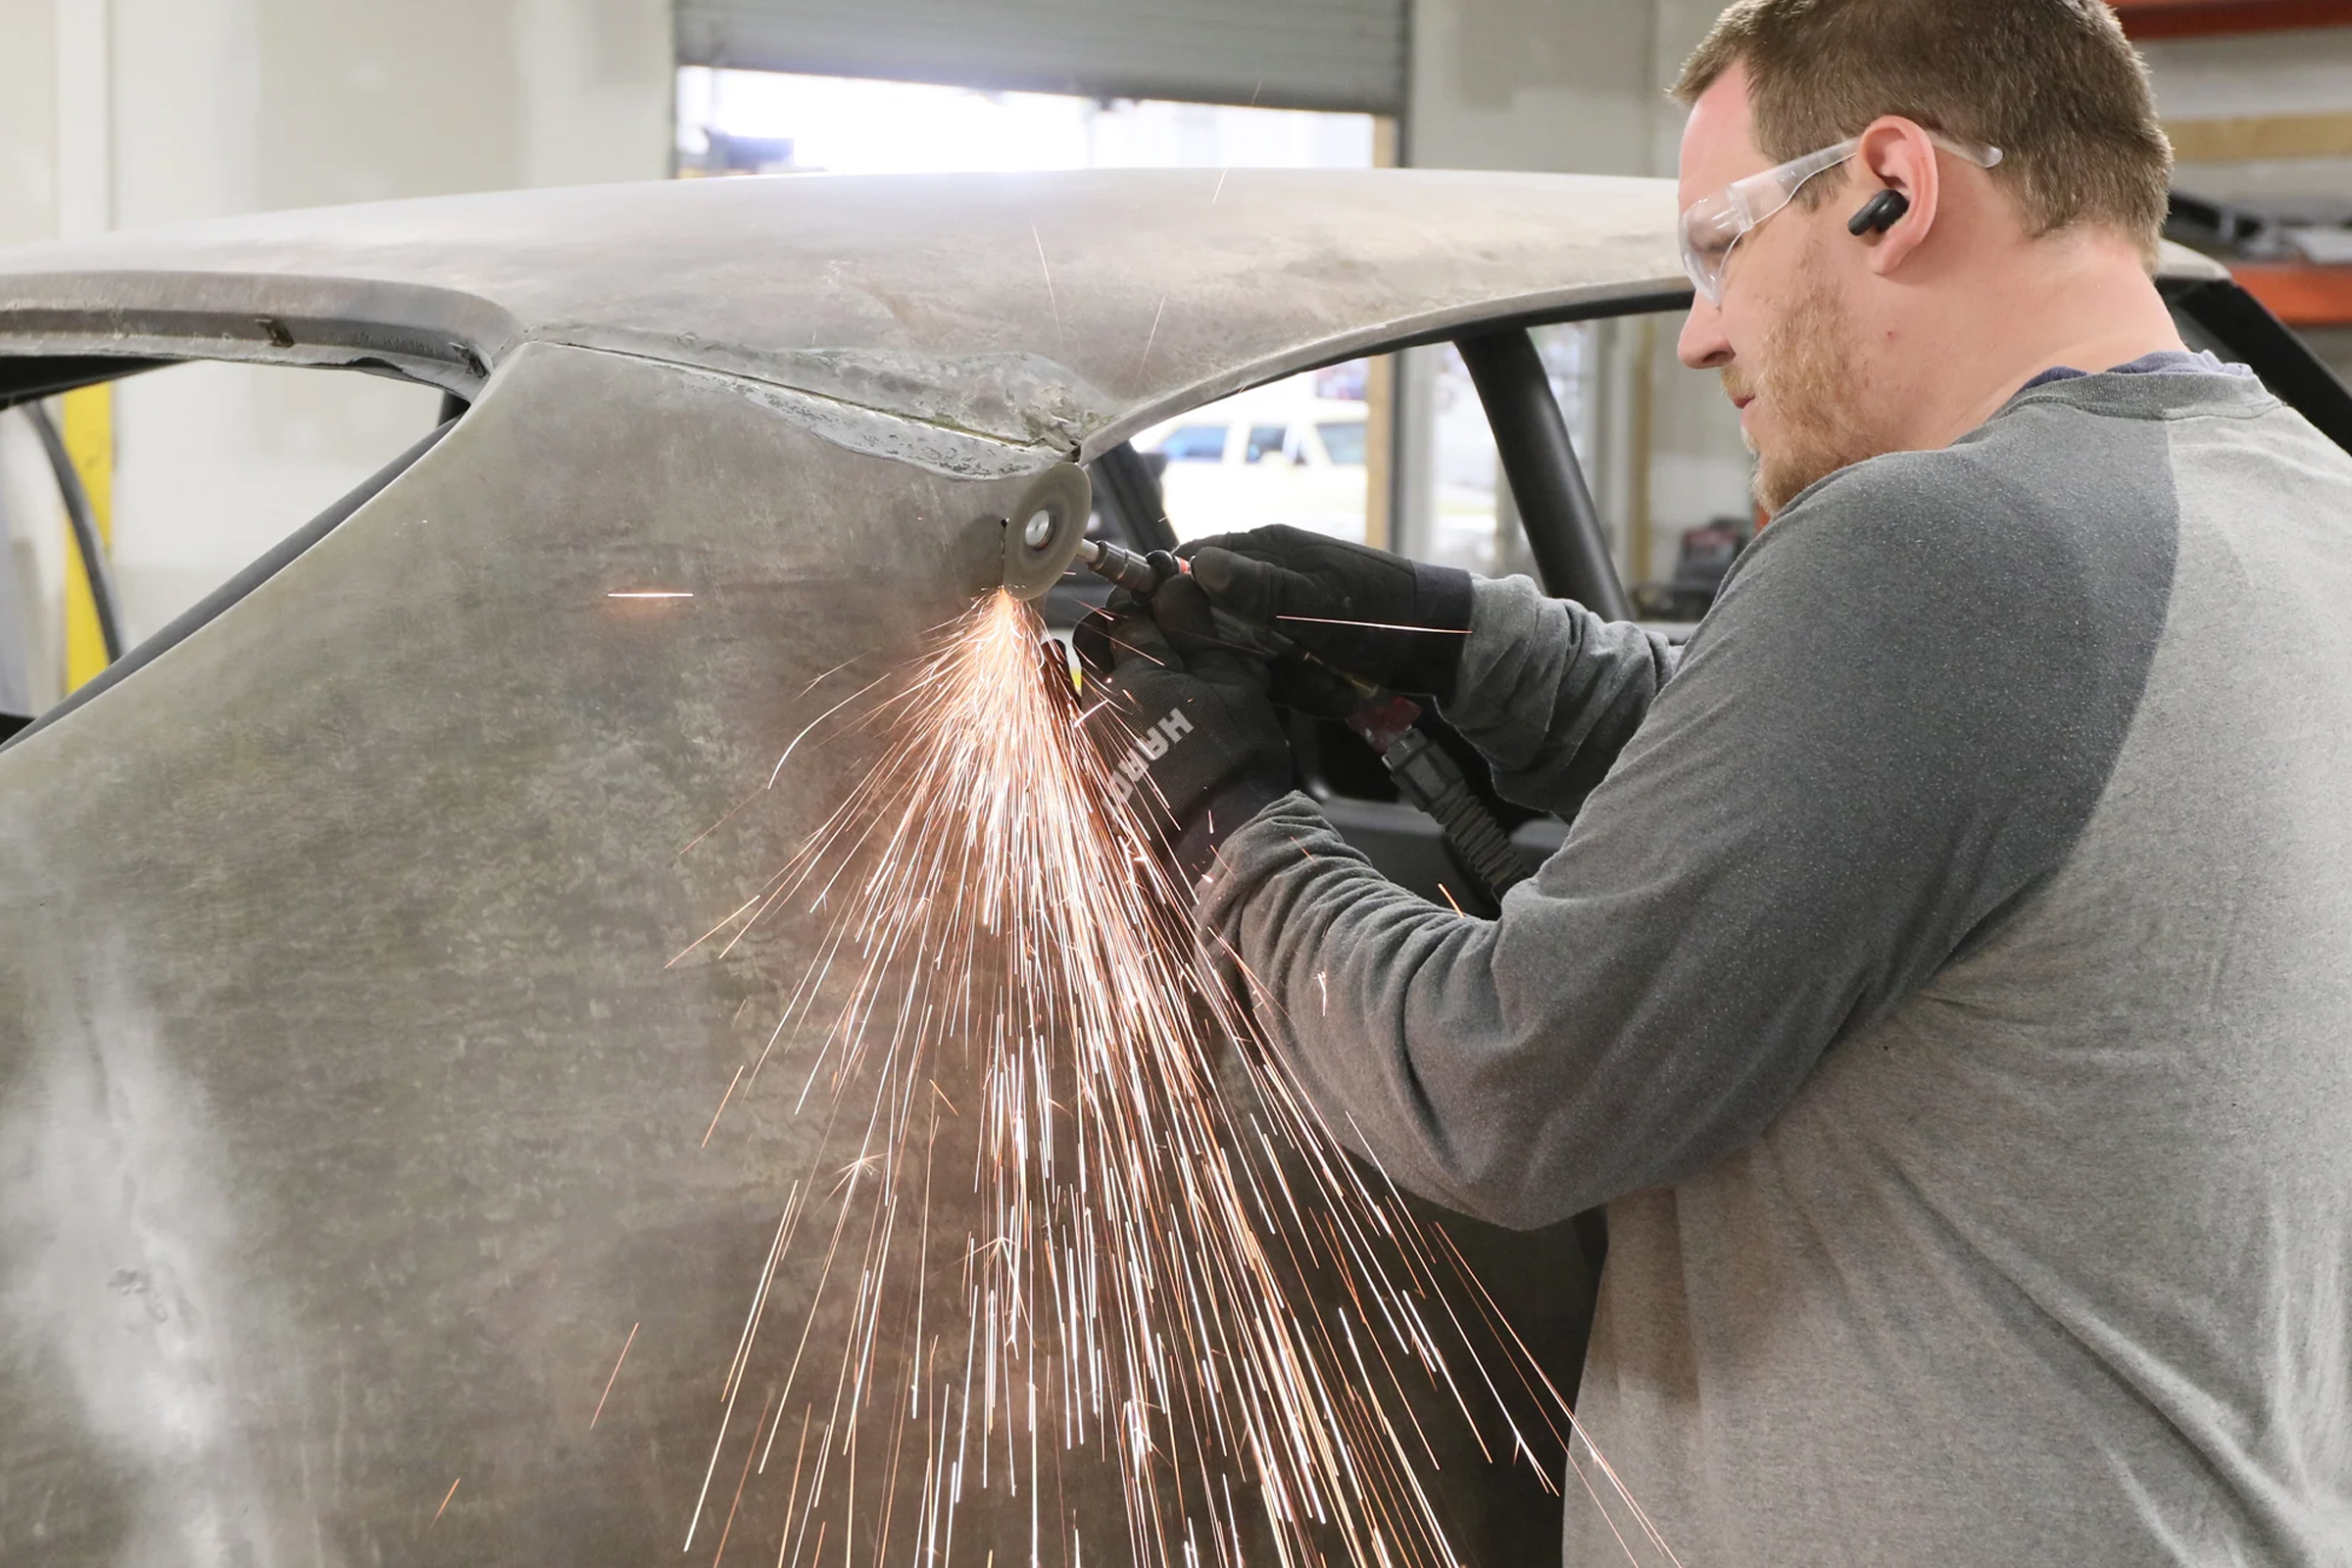
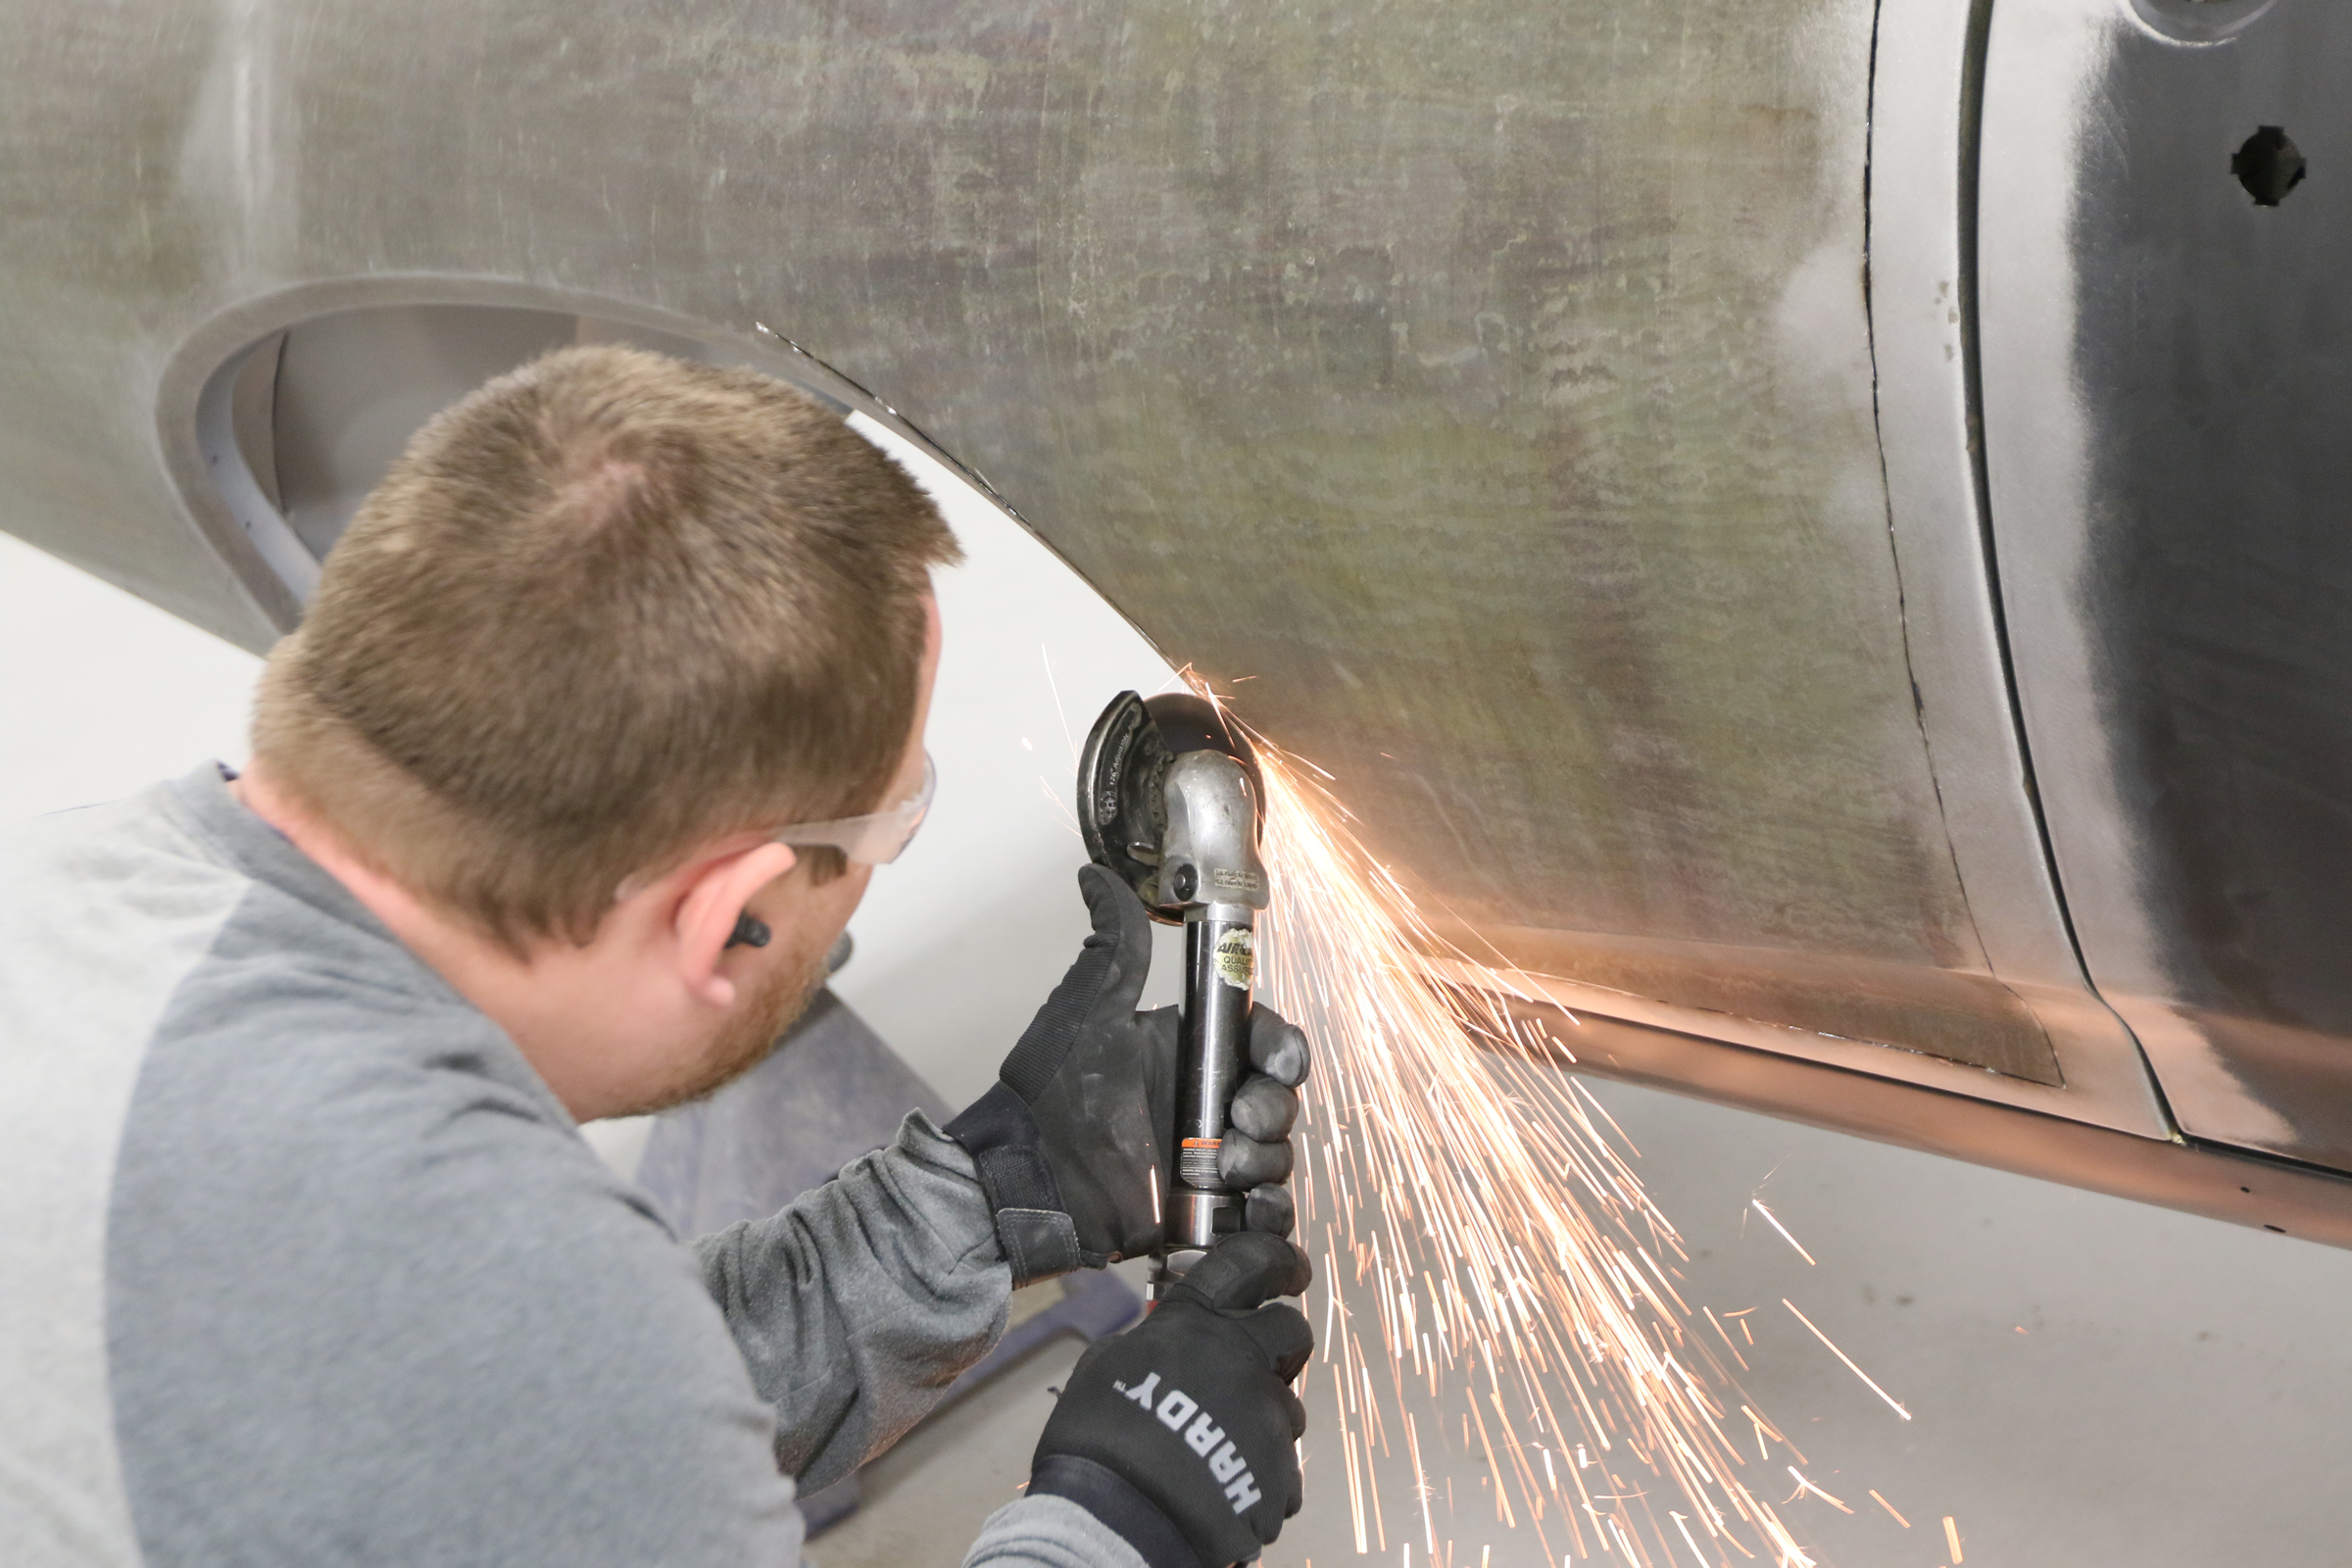
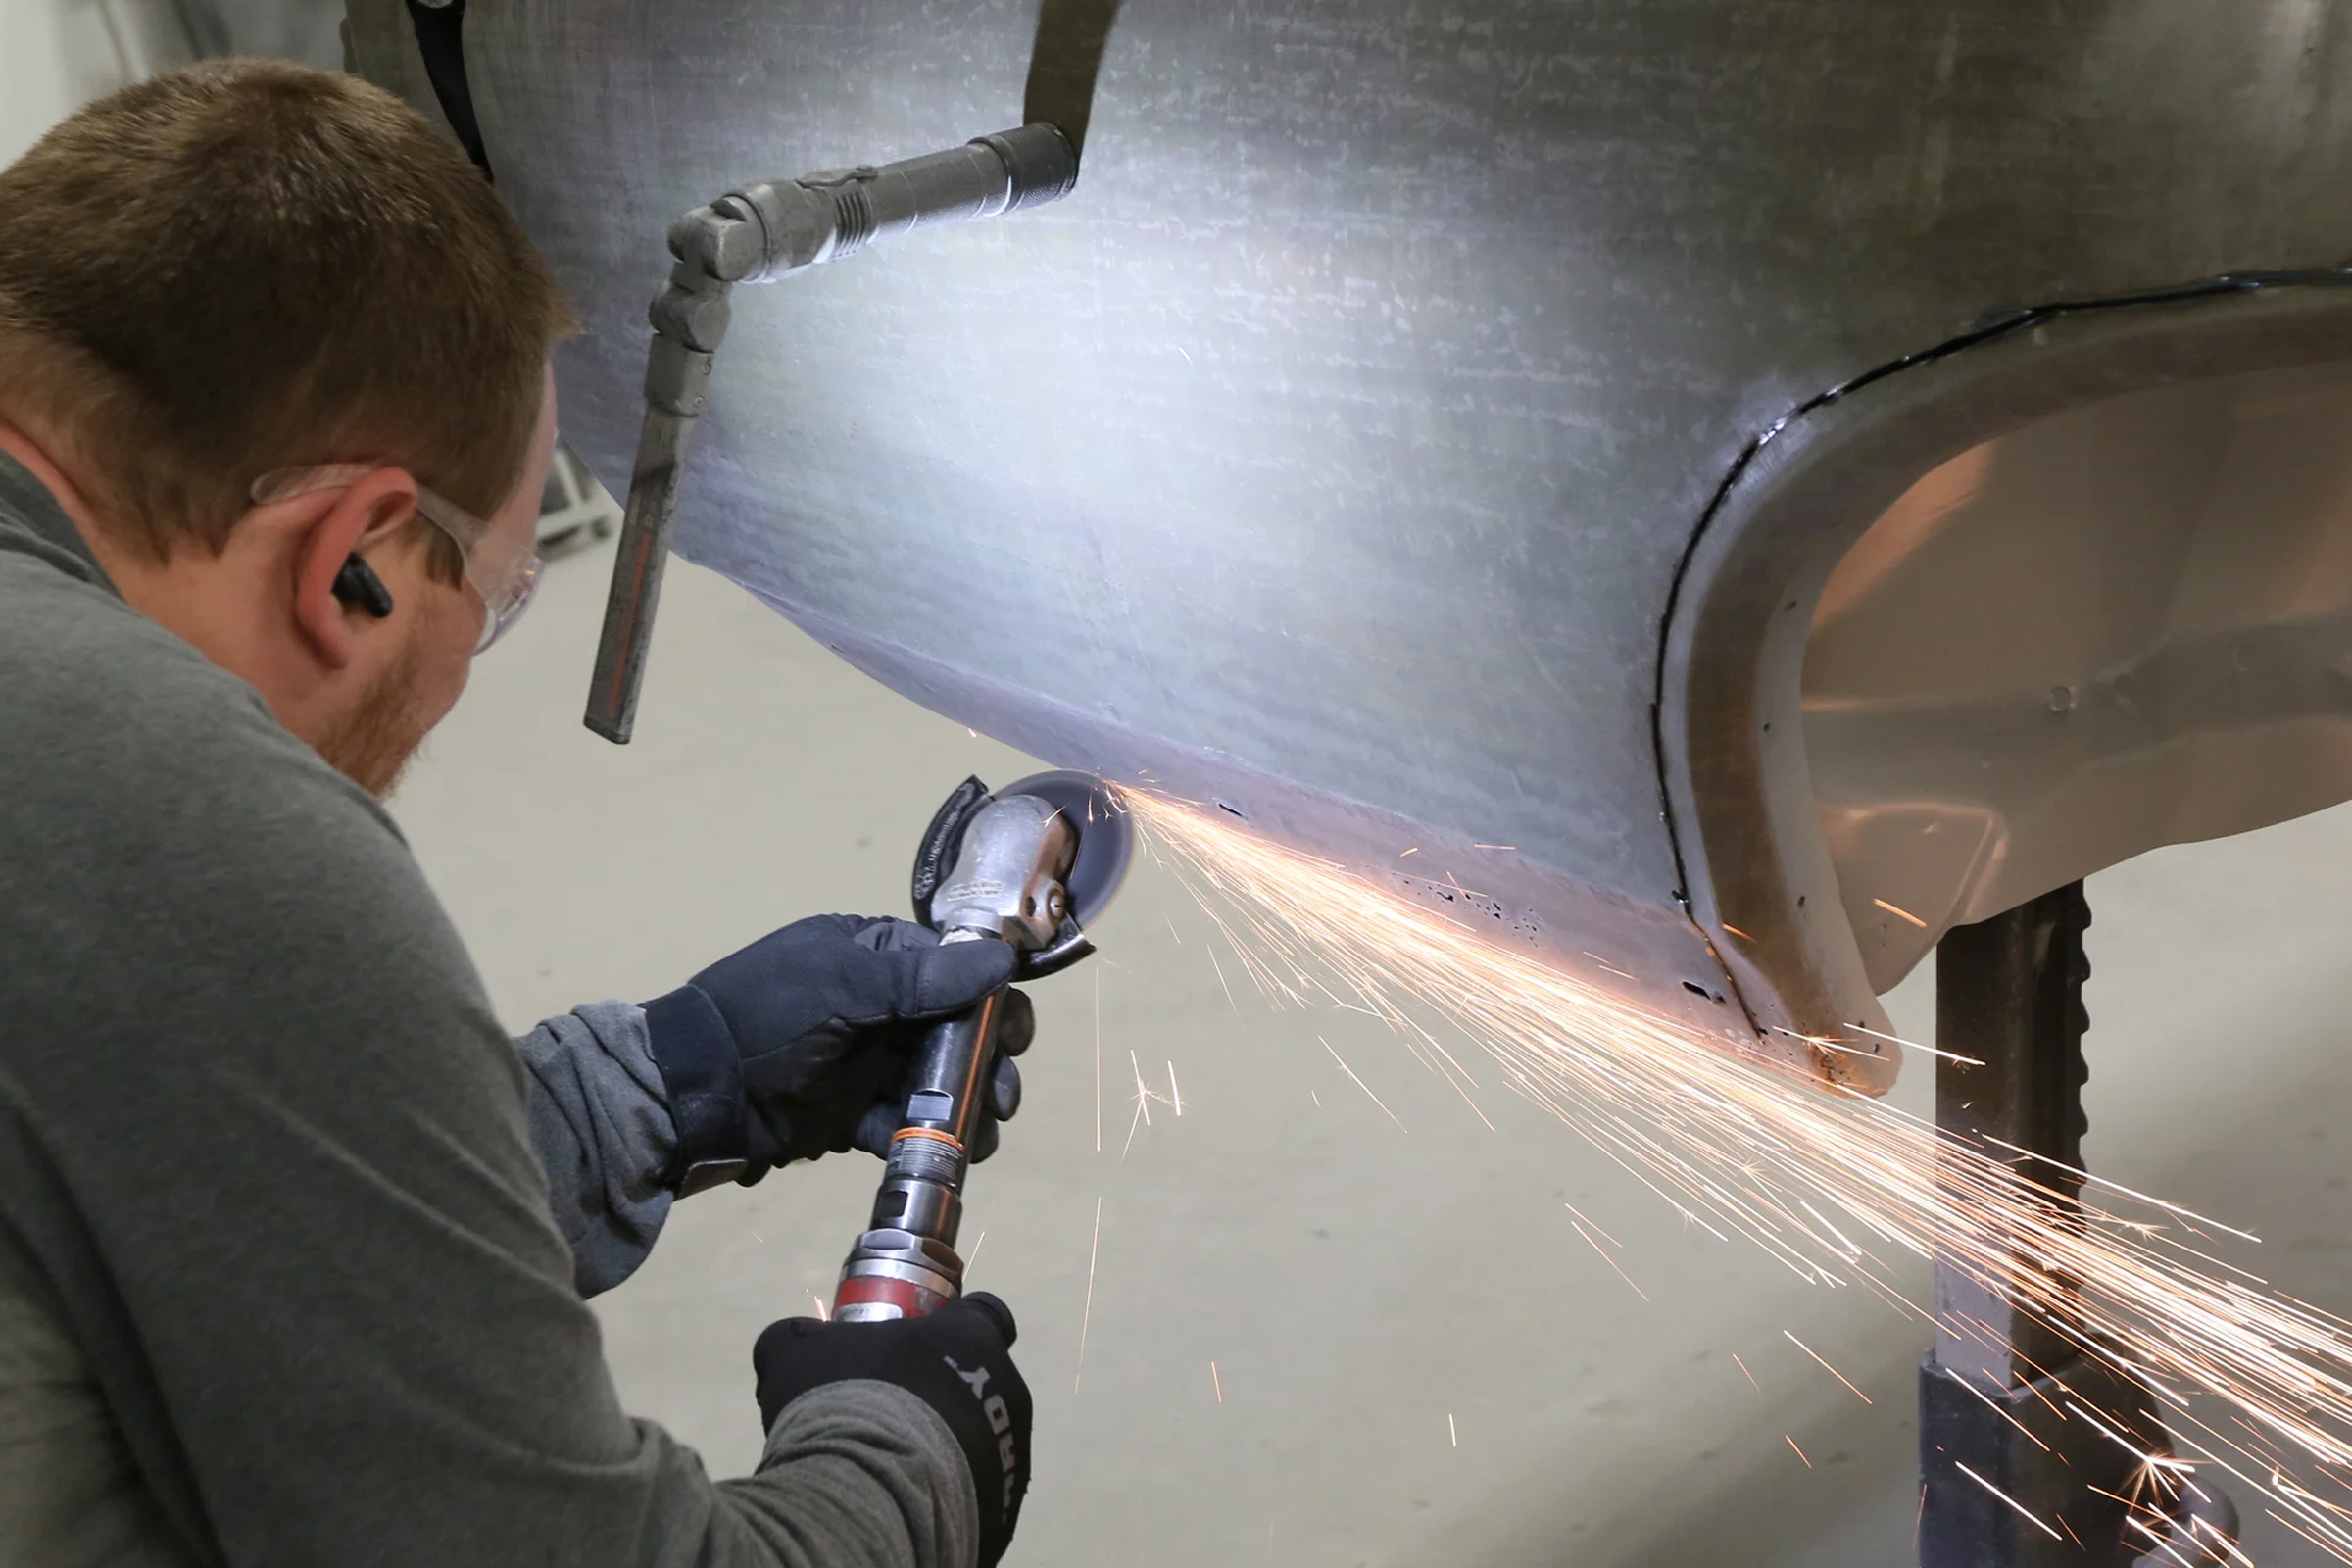
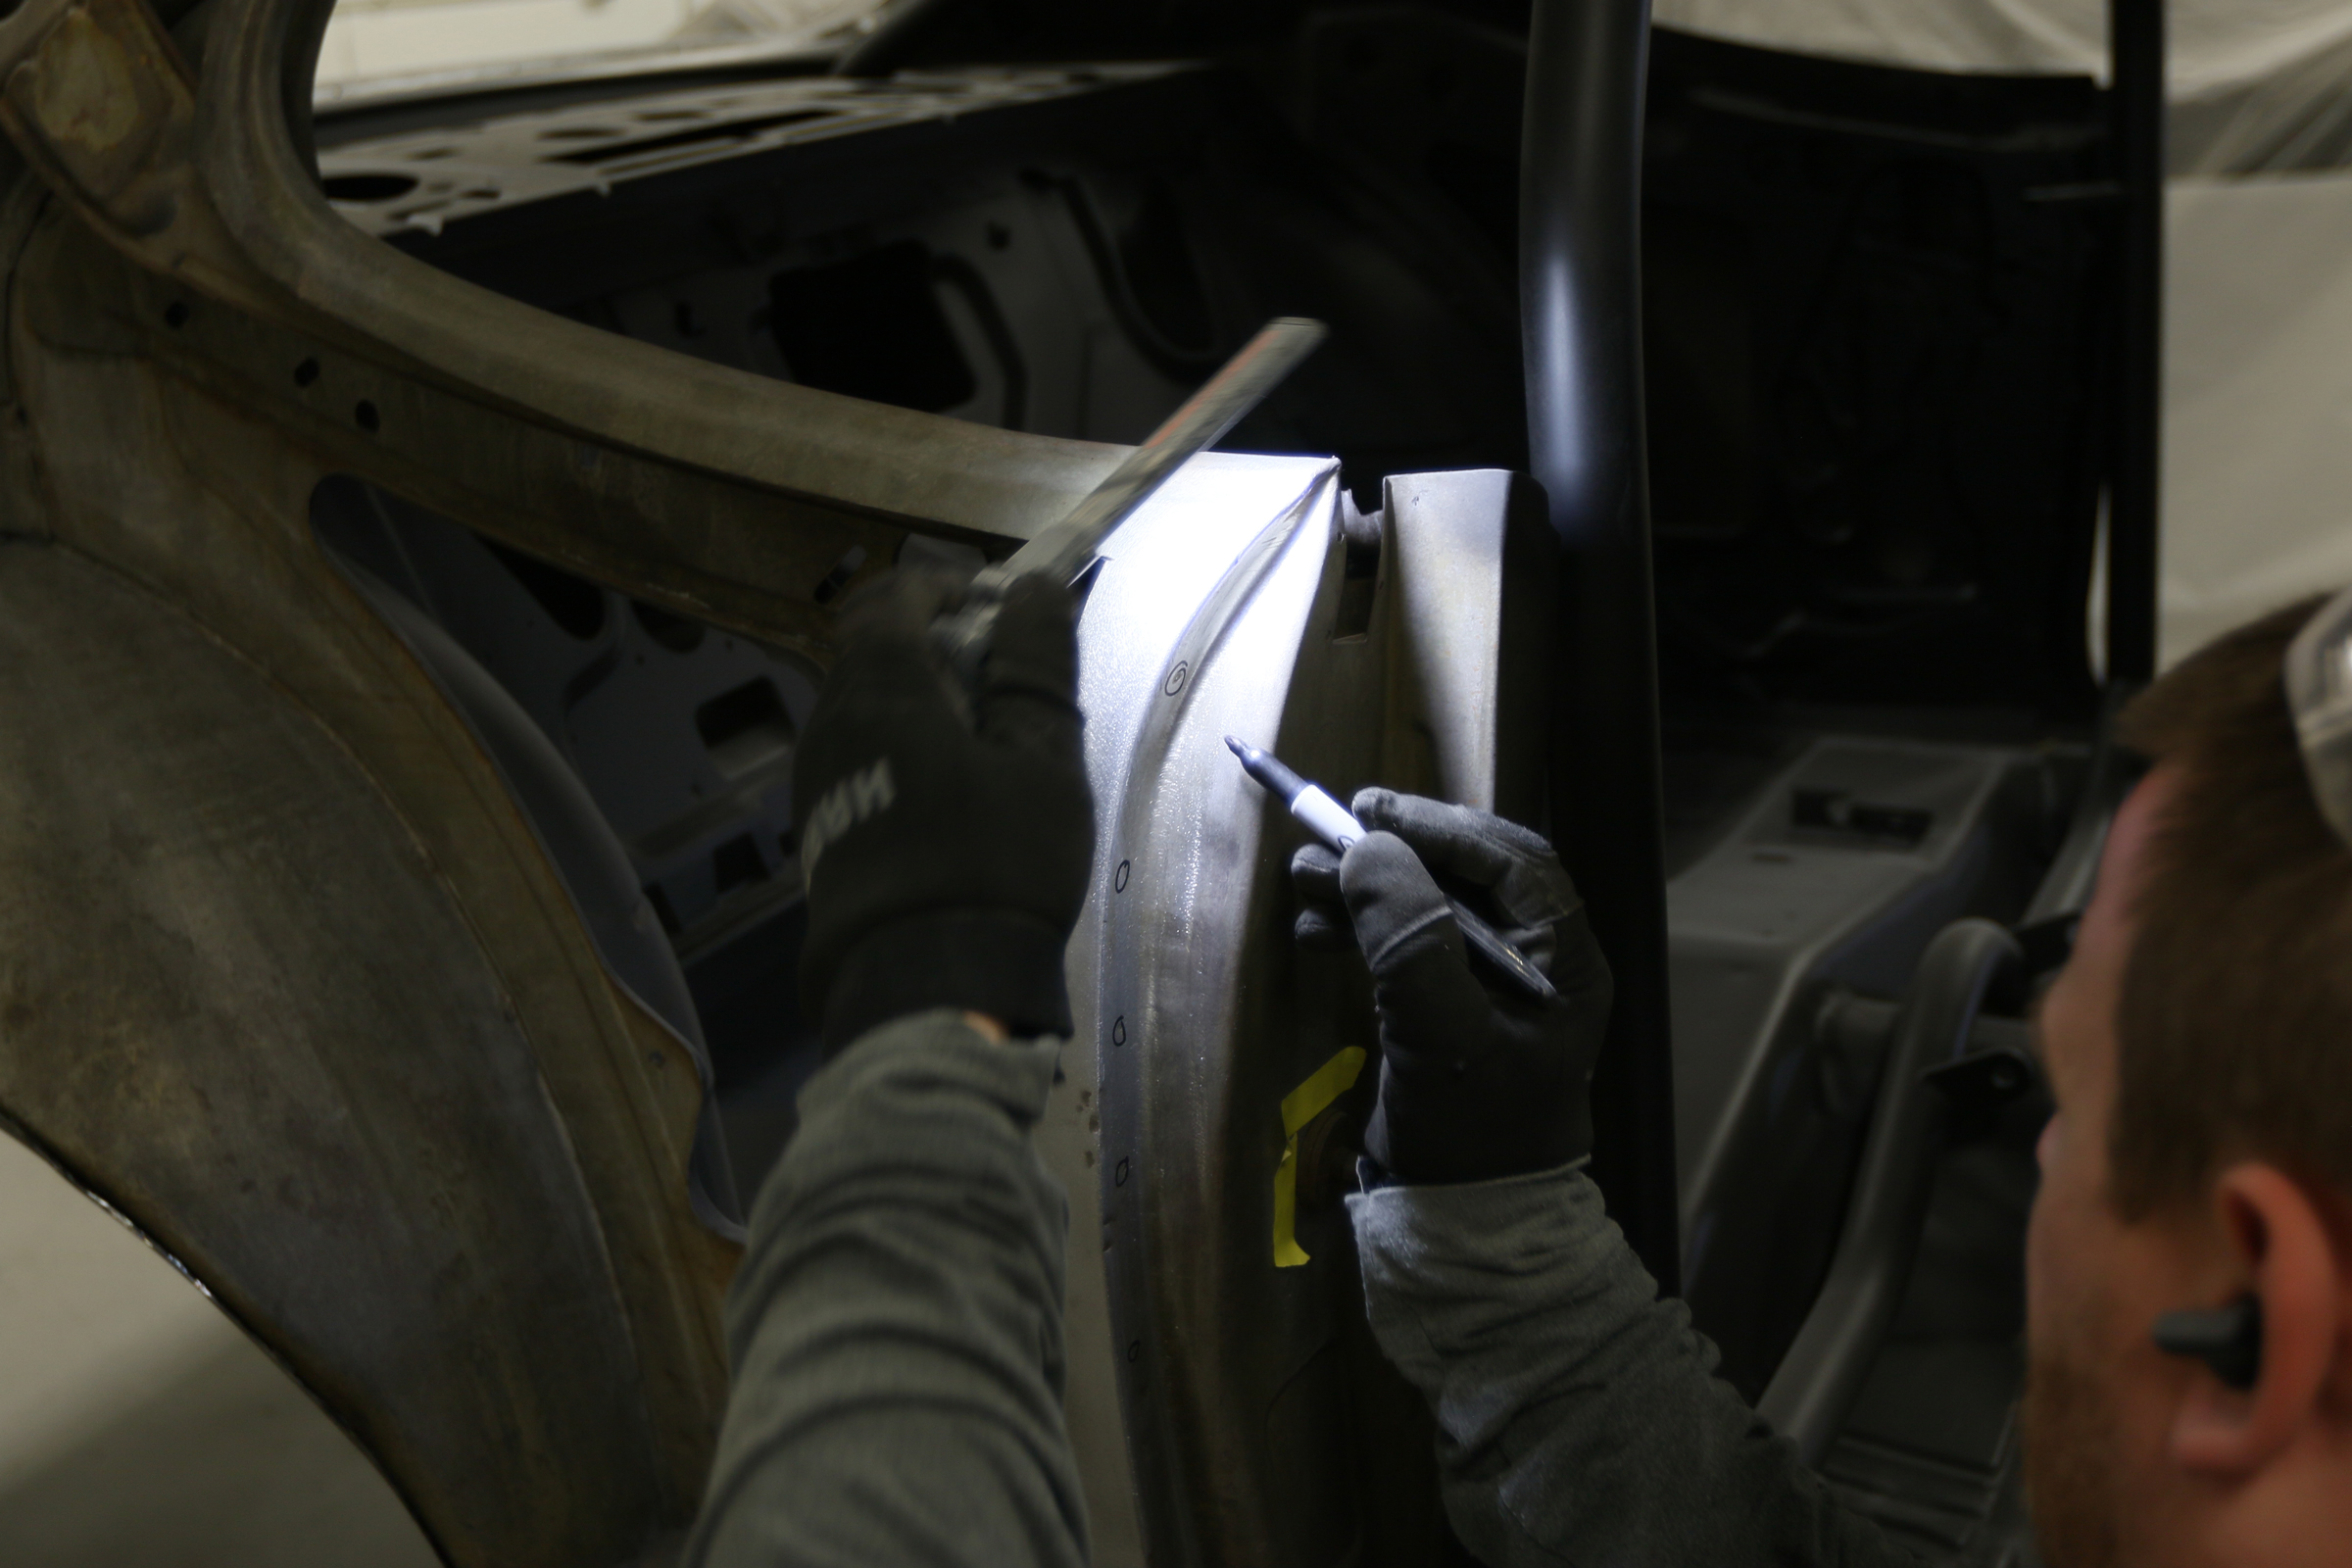
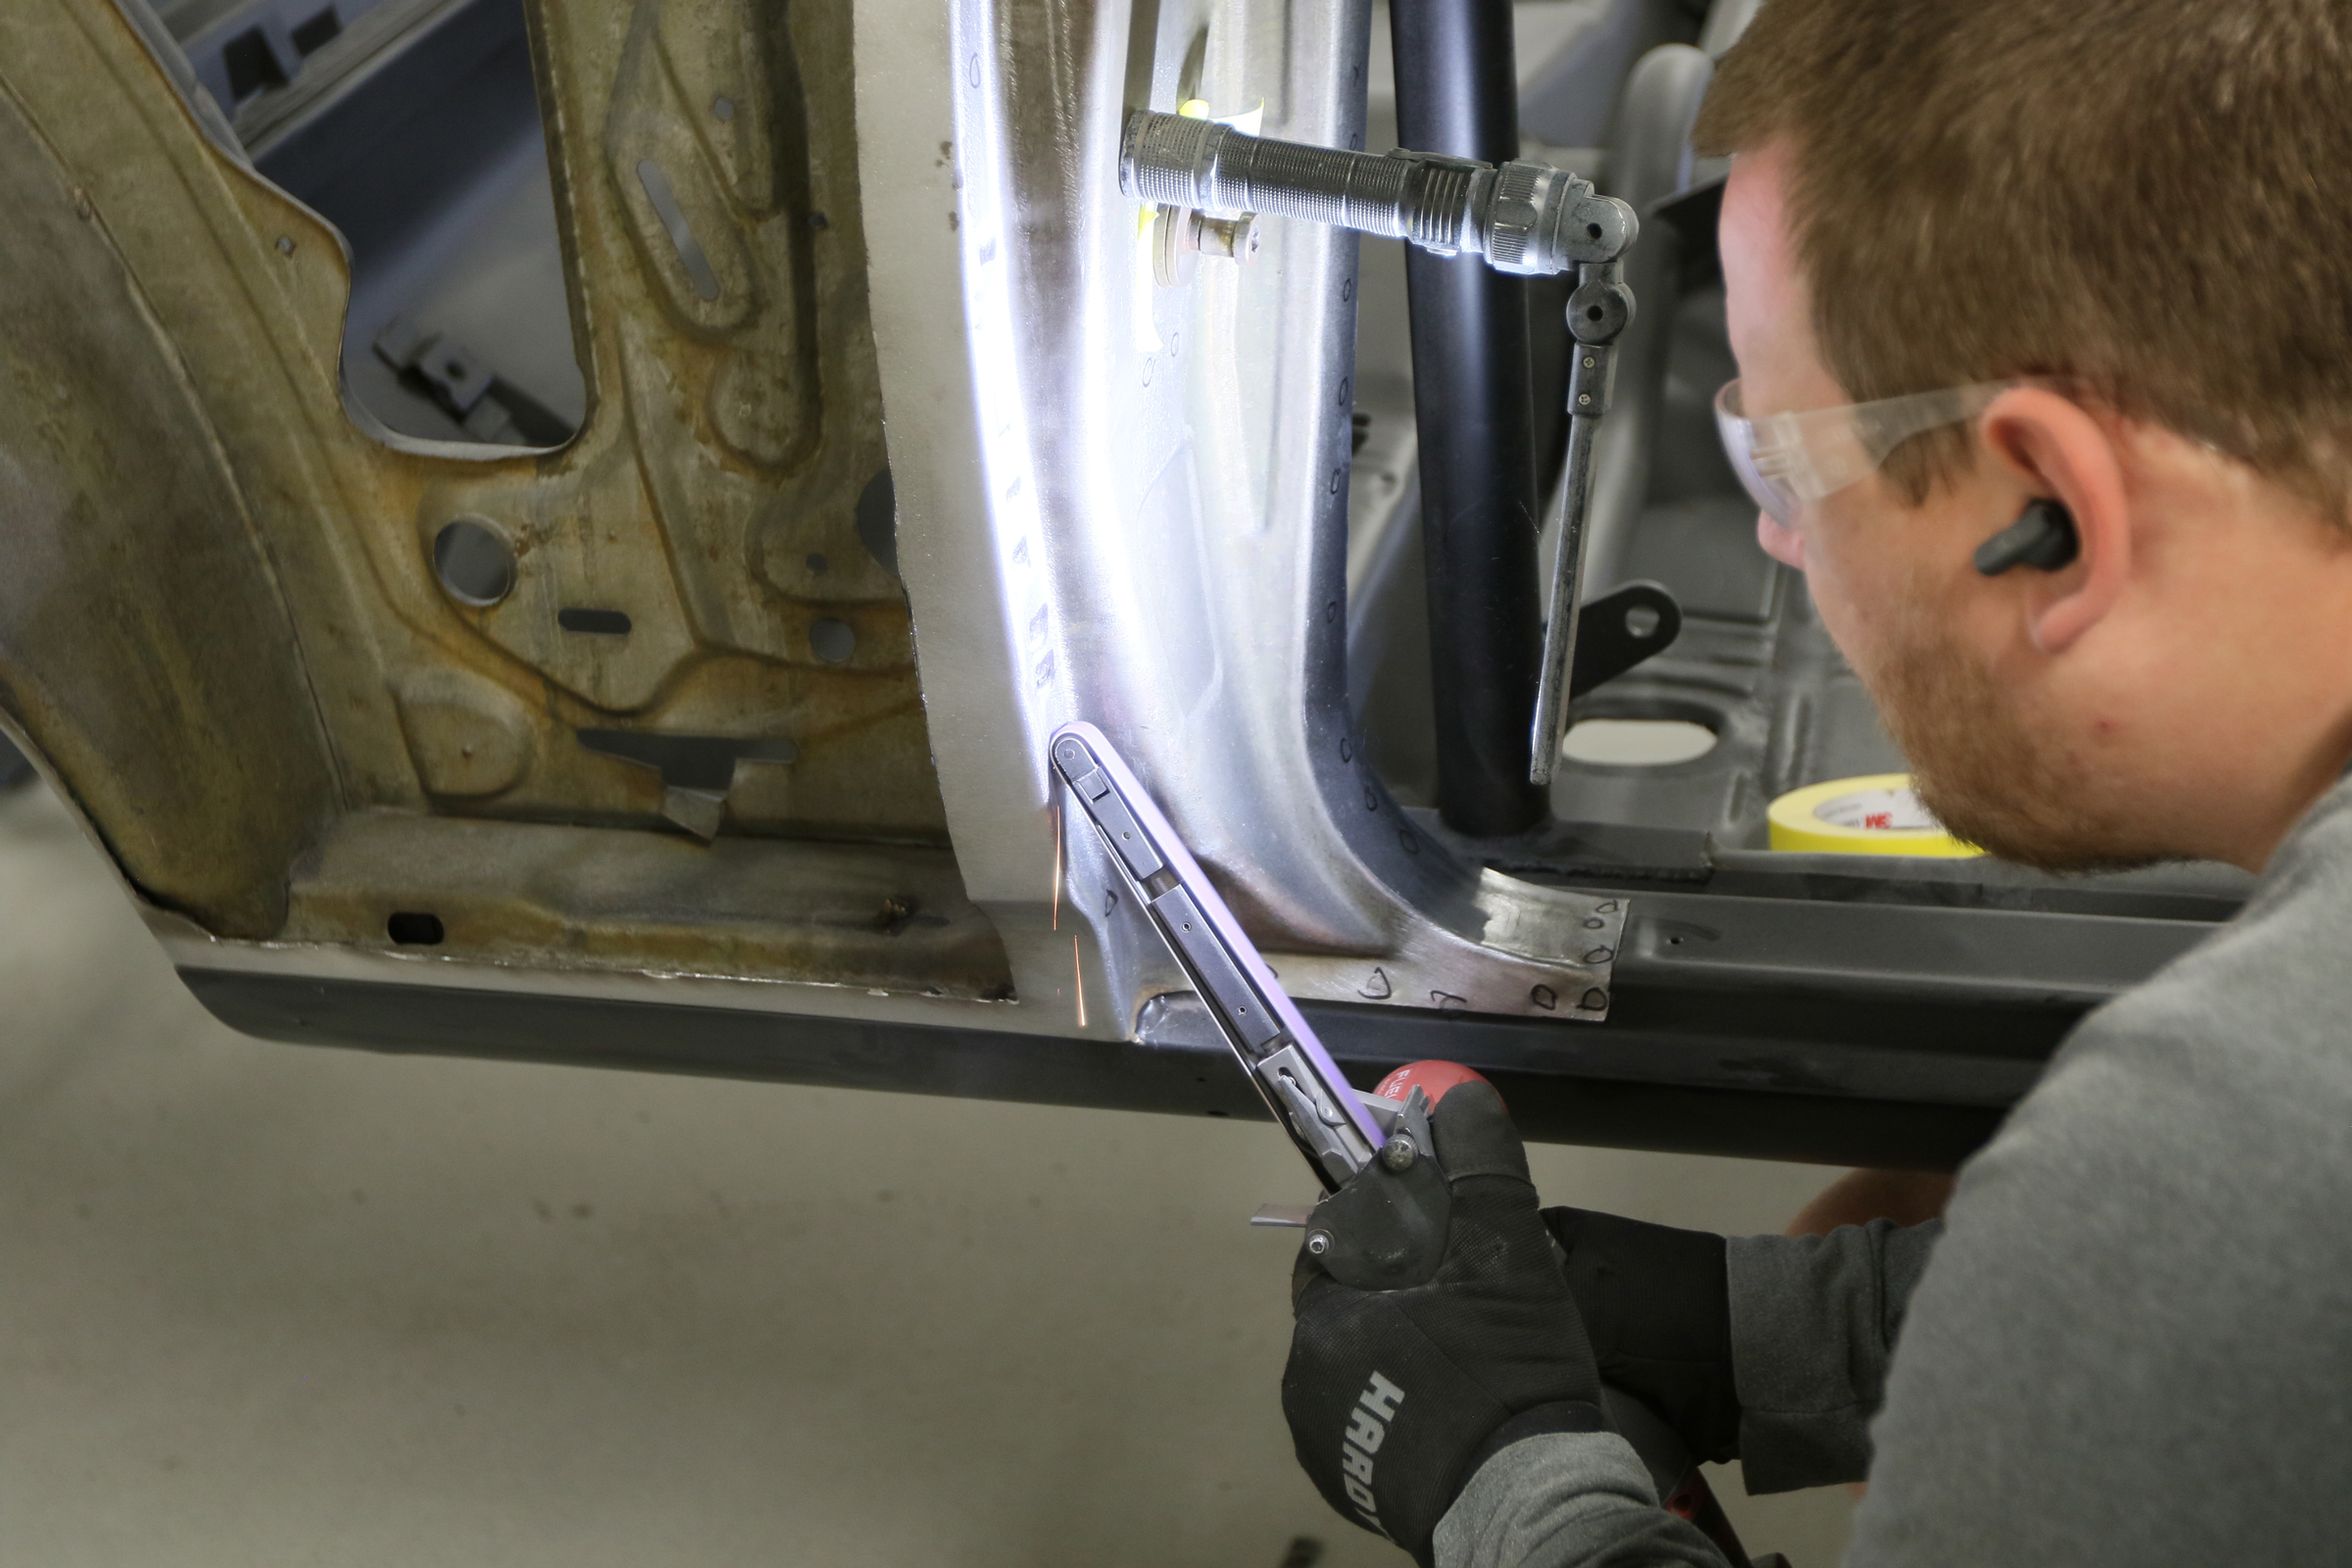
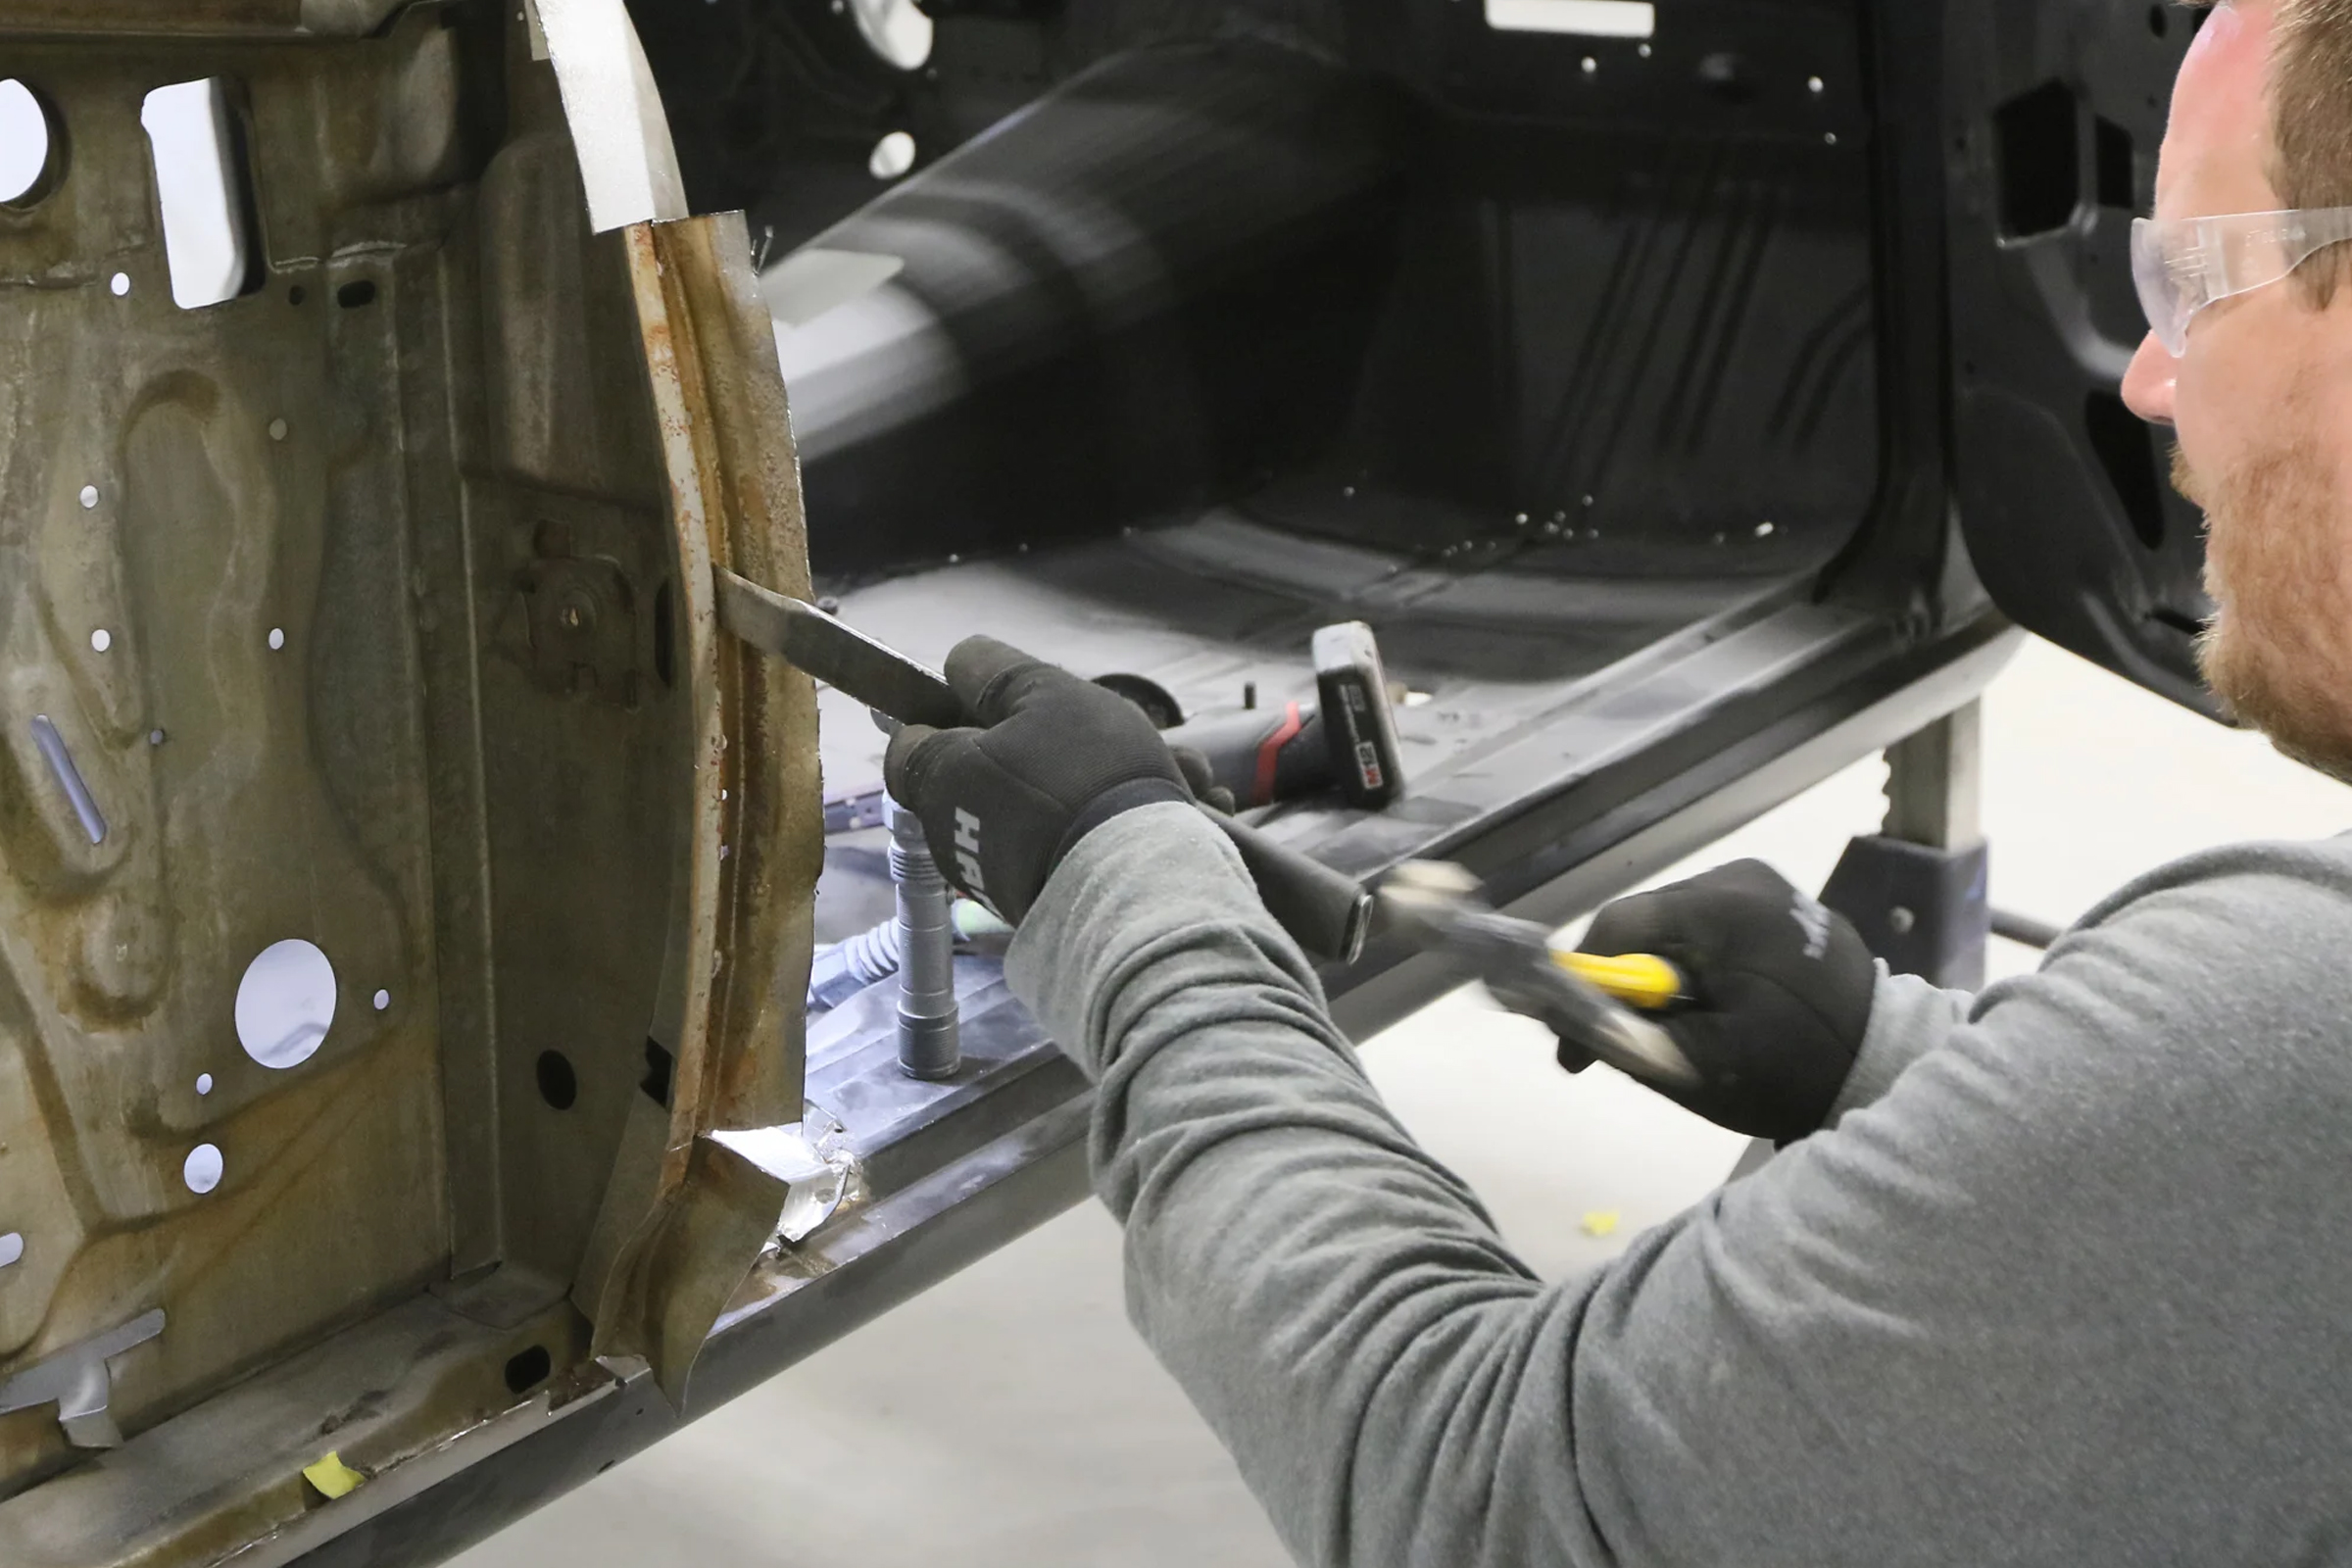
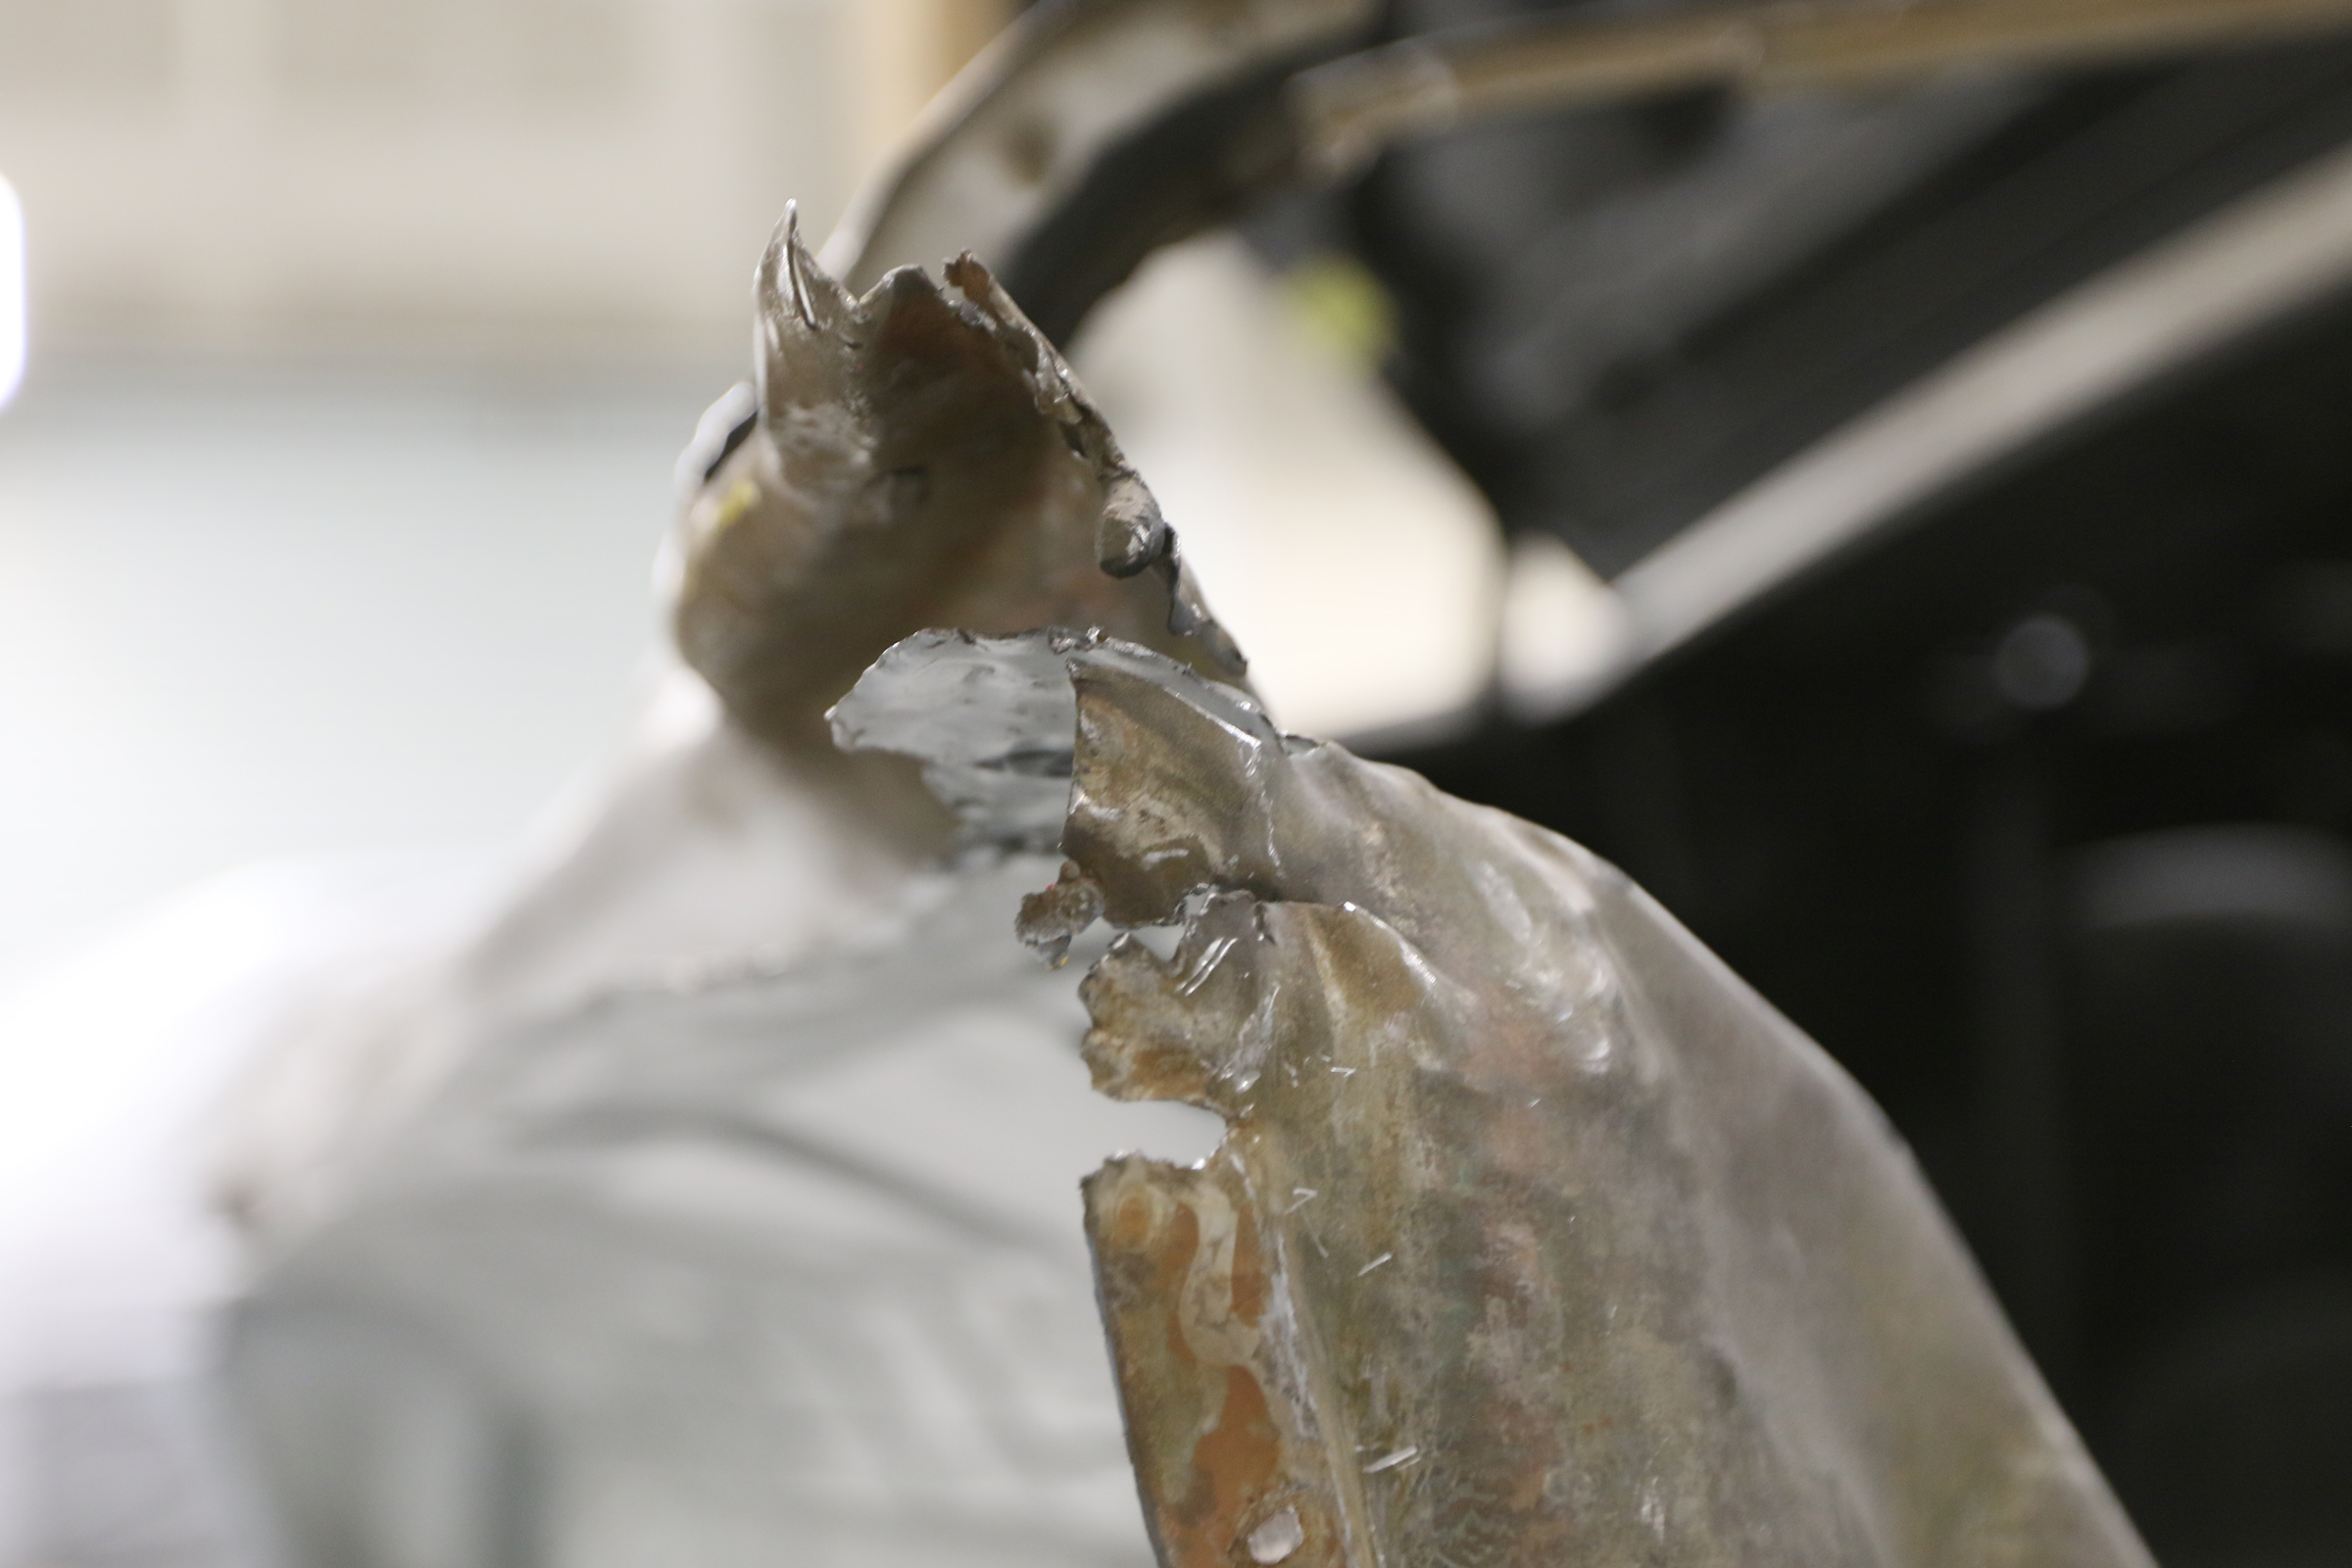
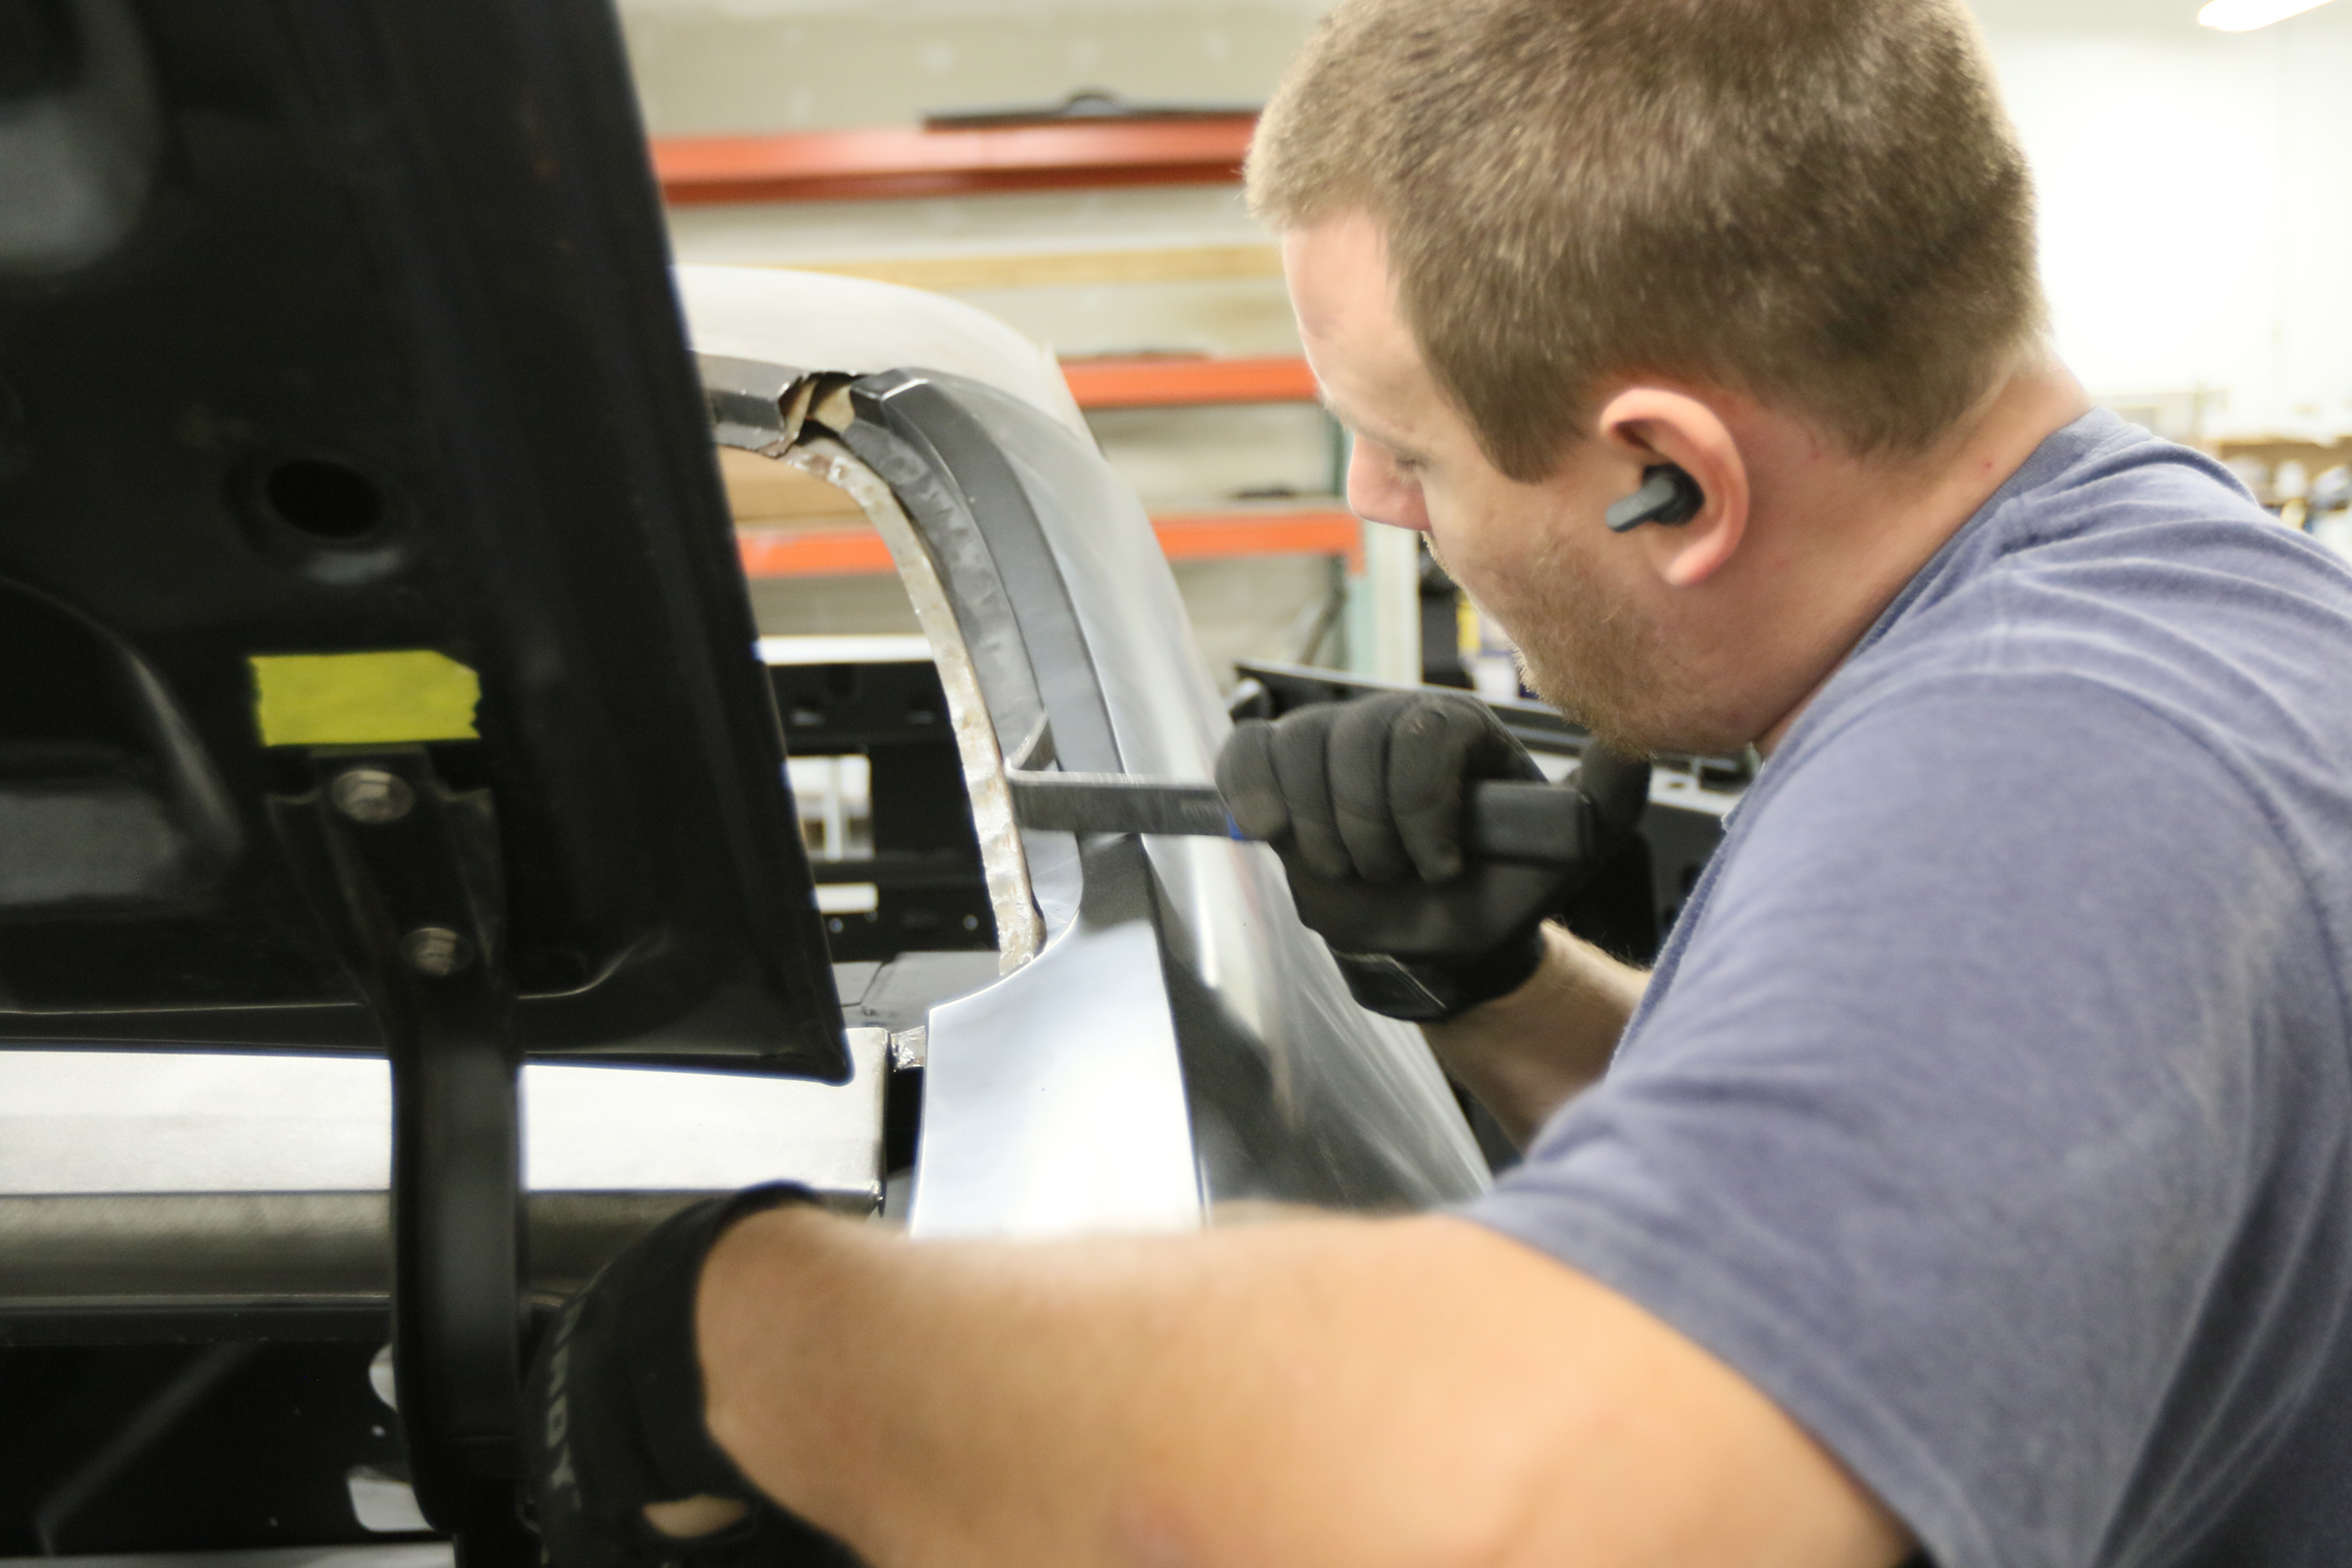
With our new plan crafted, it was time to get to work. IPT’s body man, Matt Key, started got to work by drilling some starting holes through the quarter panel. He then made a cut line about an inch from the edge. He worked his way from the A-pillar, down the door line, along the wheel well, along the bottom, and then up the trunk line to where the quarter meets the roof skin. At this point, all that was left was about an inch or two of metal from where it joined to the inner structure. Using a small shop light and a Sharpie, Matt marked the spot welds before grinding them out. Additional cutting and a pry bar was also required to finish the job and get all the way down to just the inner structure.
Meet the point of no return!
Matt used an LED light to find the spot welds, then ground them out, and pried or cut them the rest of the way to remove the remaining metal where it joined to the inner structure.
You Didn’t Think It Would Be That Easy, Did You?
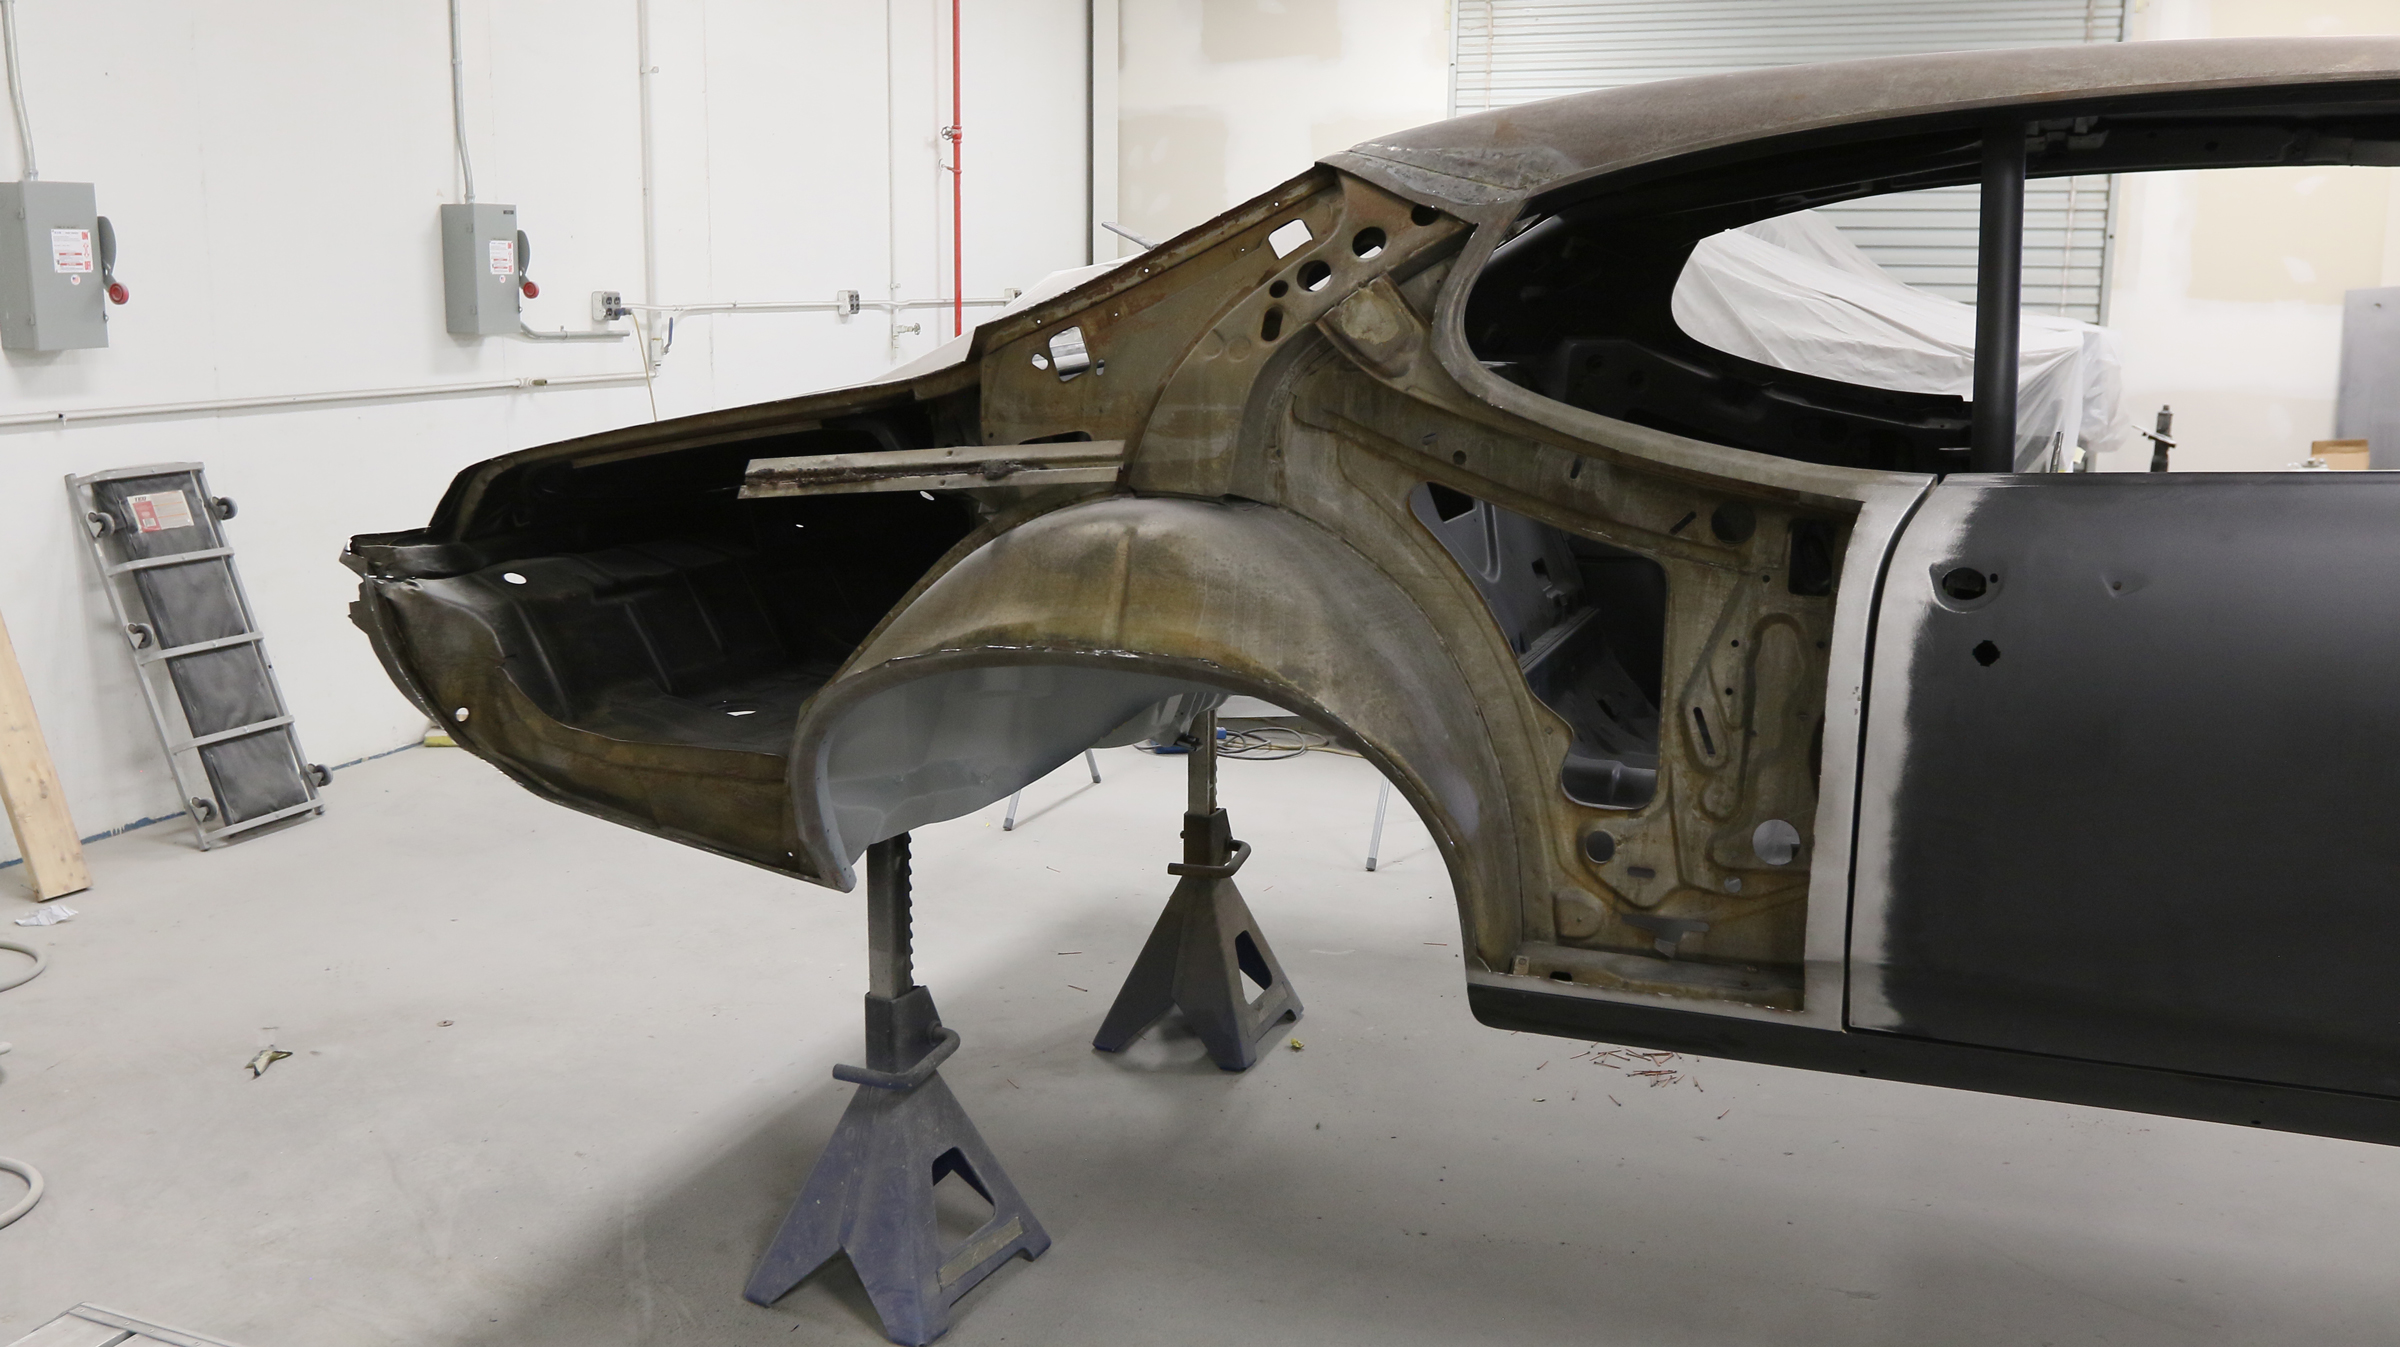
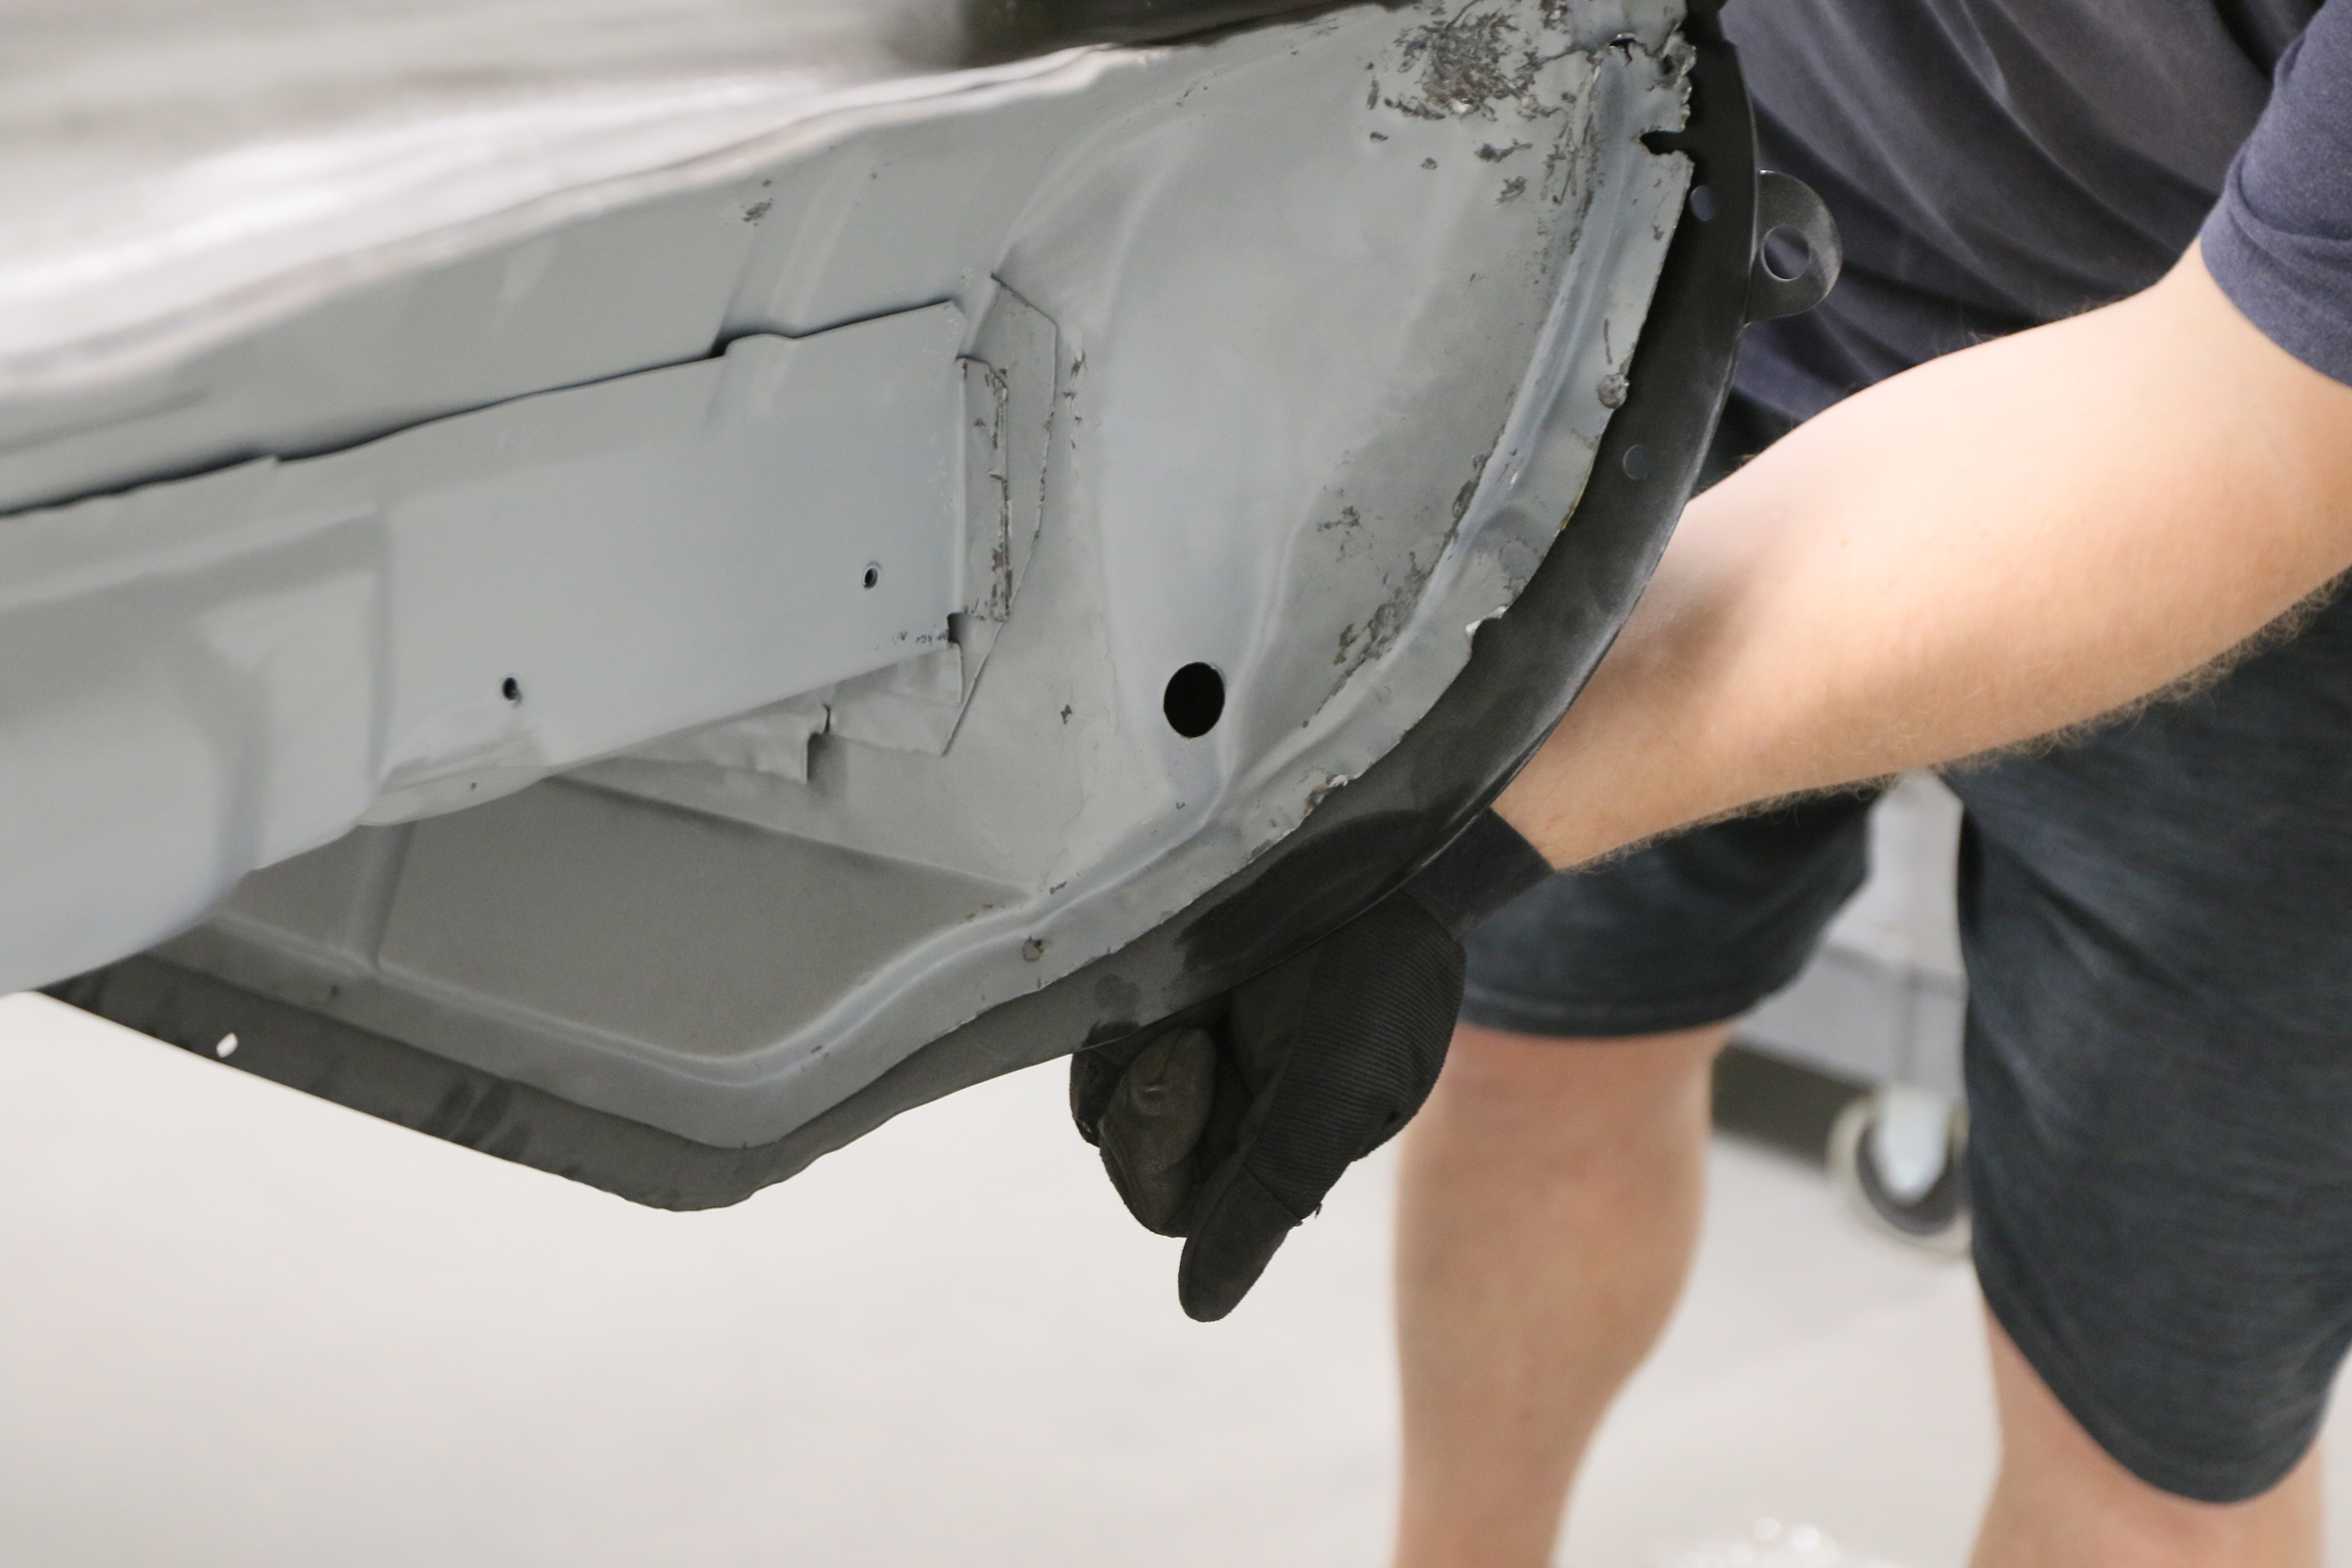
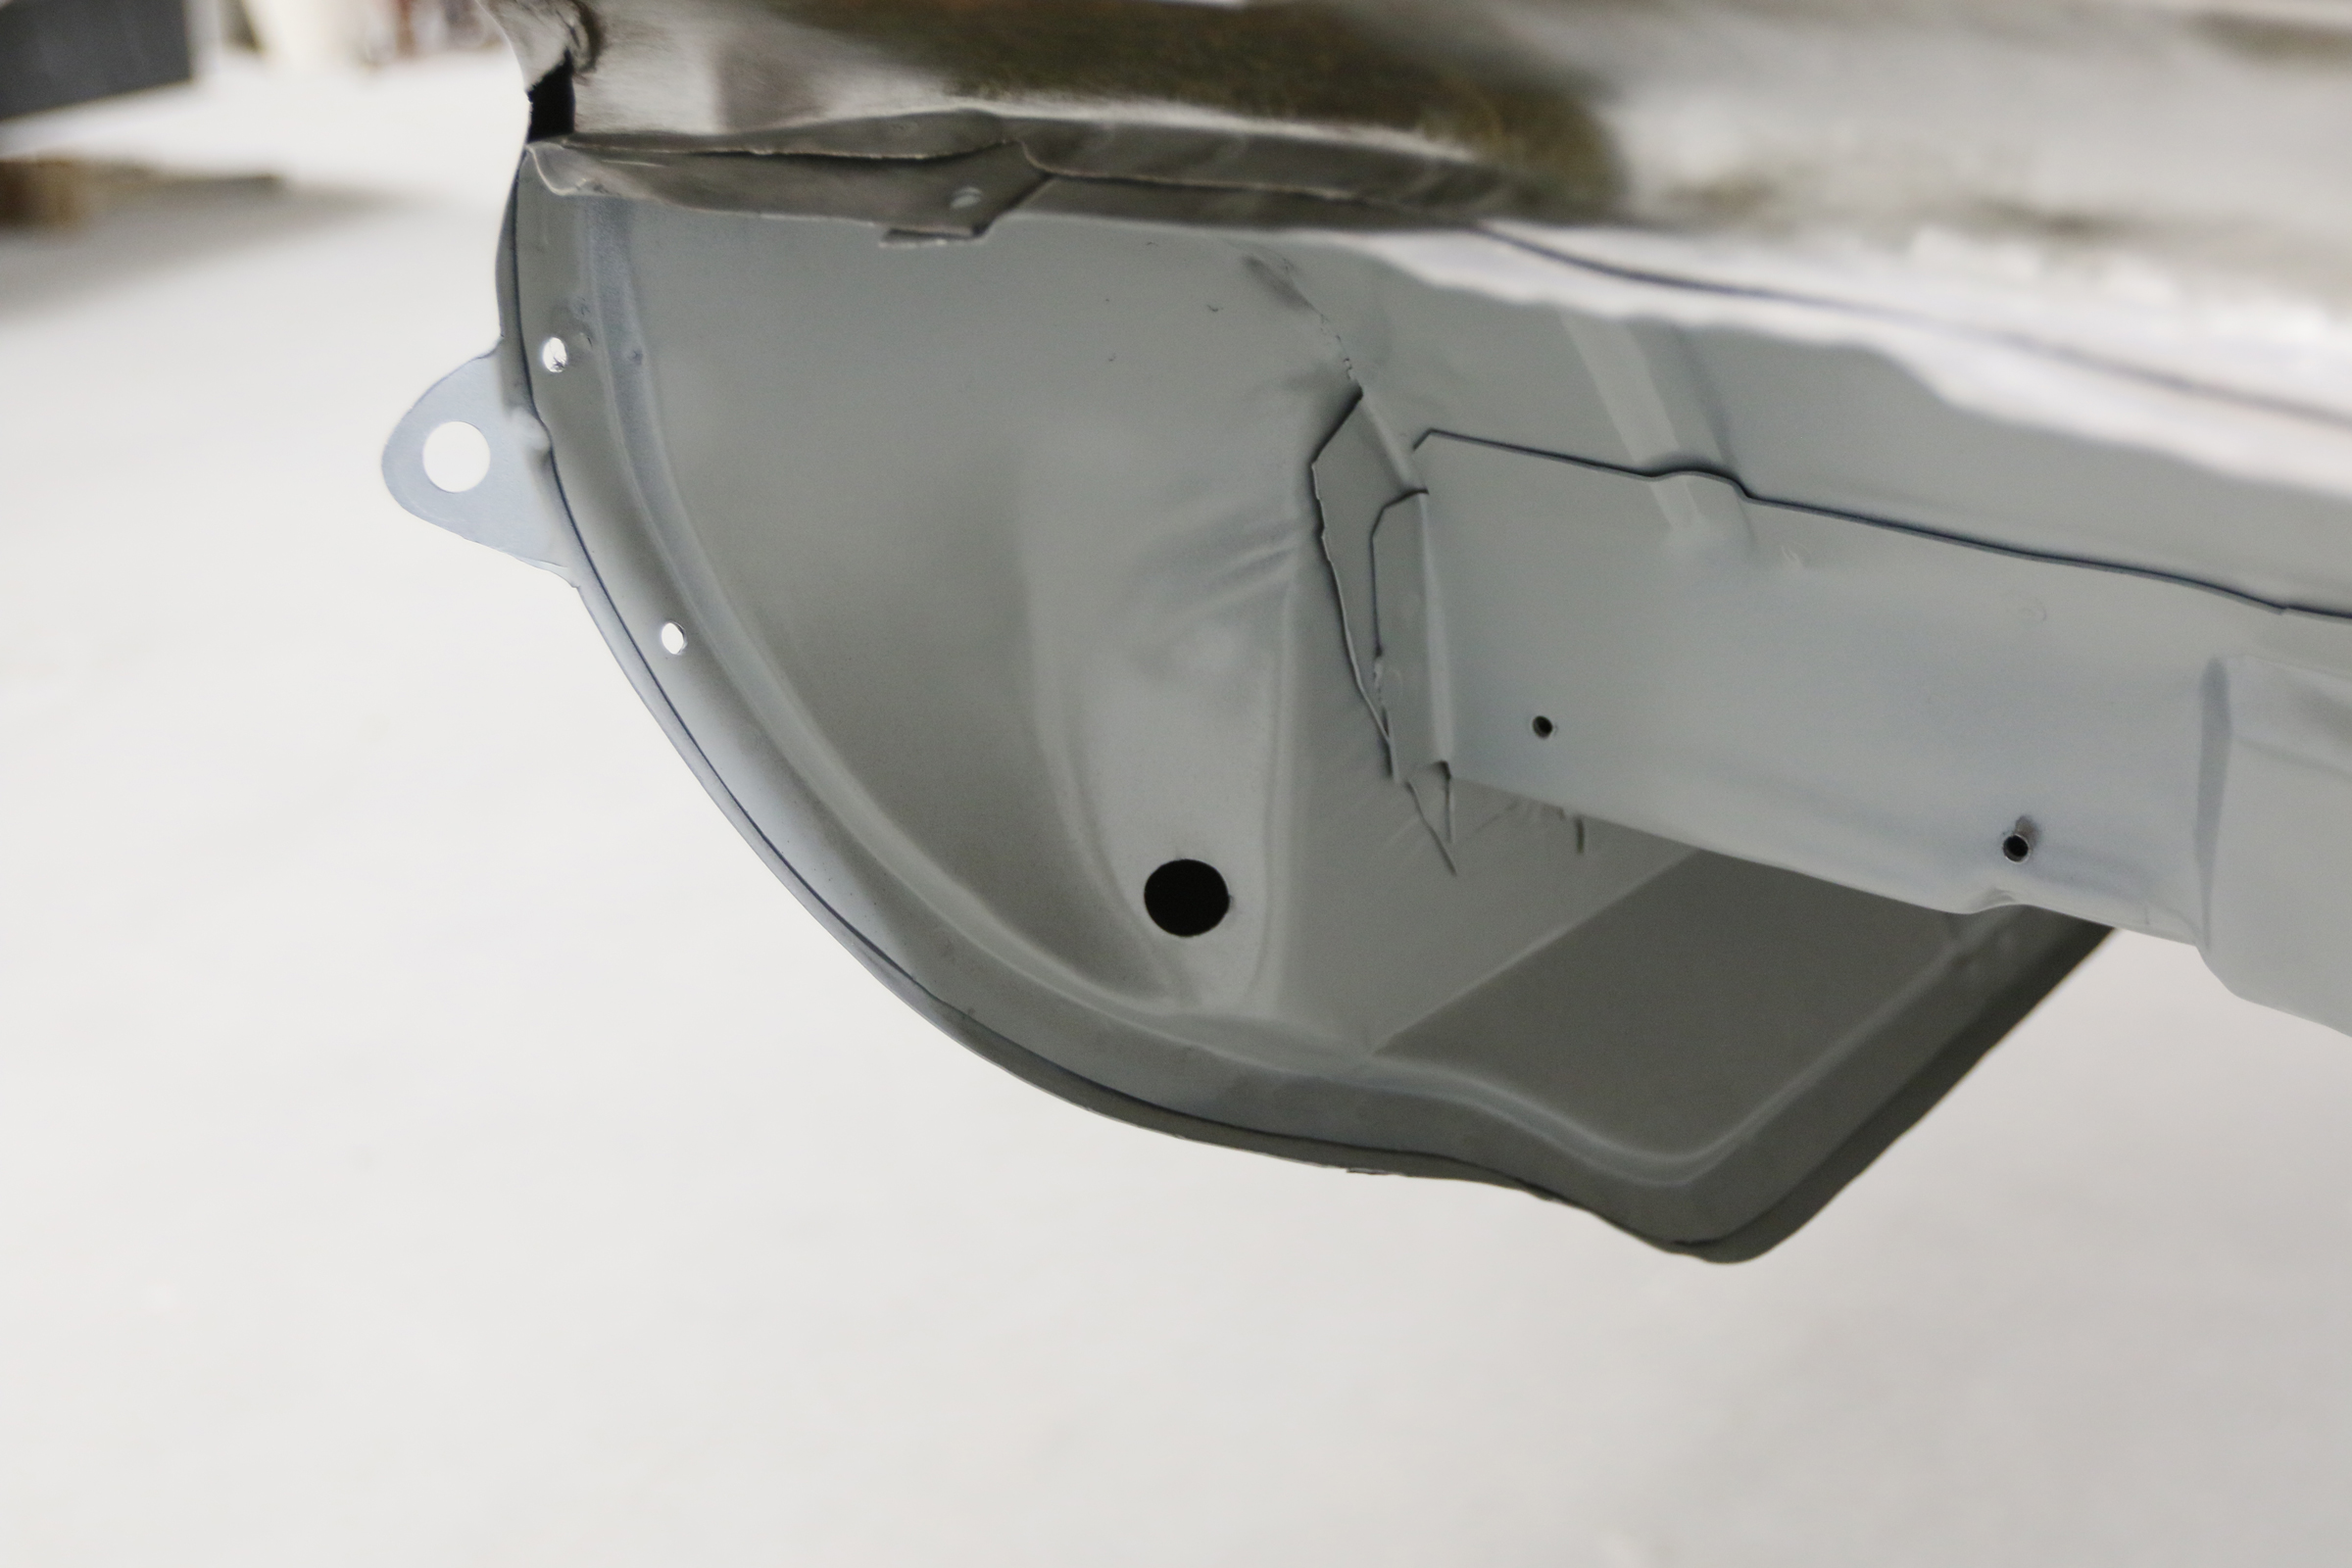
Giving a muscle car a second, third, fourth, or even fifth life certainly comes with its challenges. Project Payback was hit in the passenger side rear in one of its previous lives. And the previous attempt at replacing an A-body quarter panel did little to fix the inner structure. When we replaced the quarter panel, there was unfortunately nowhere for the fresh metal to properly attach, because the inner structure had been crumpled. That means we can not properly align the quarter panel and get it into its final resting spot.
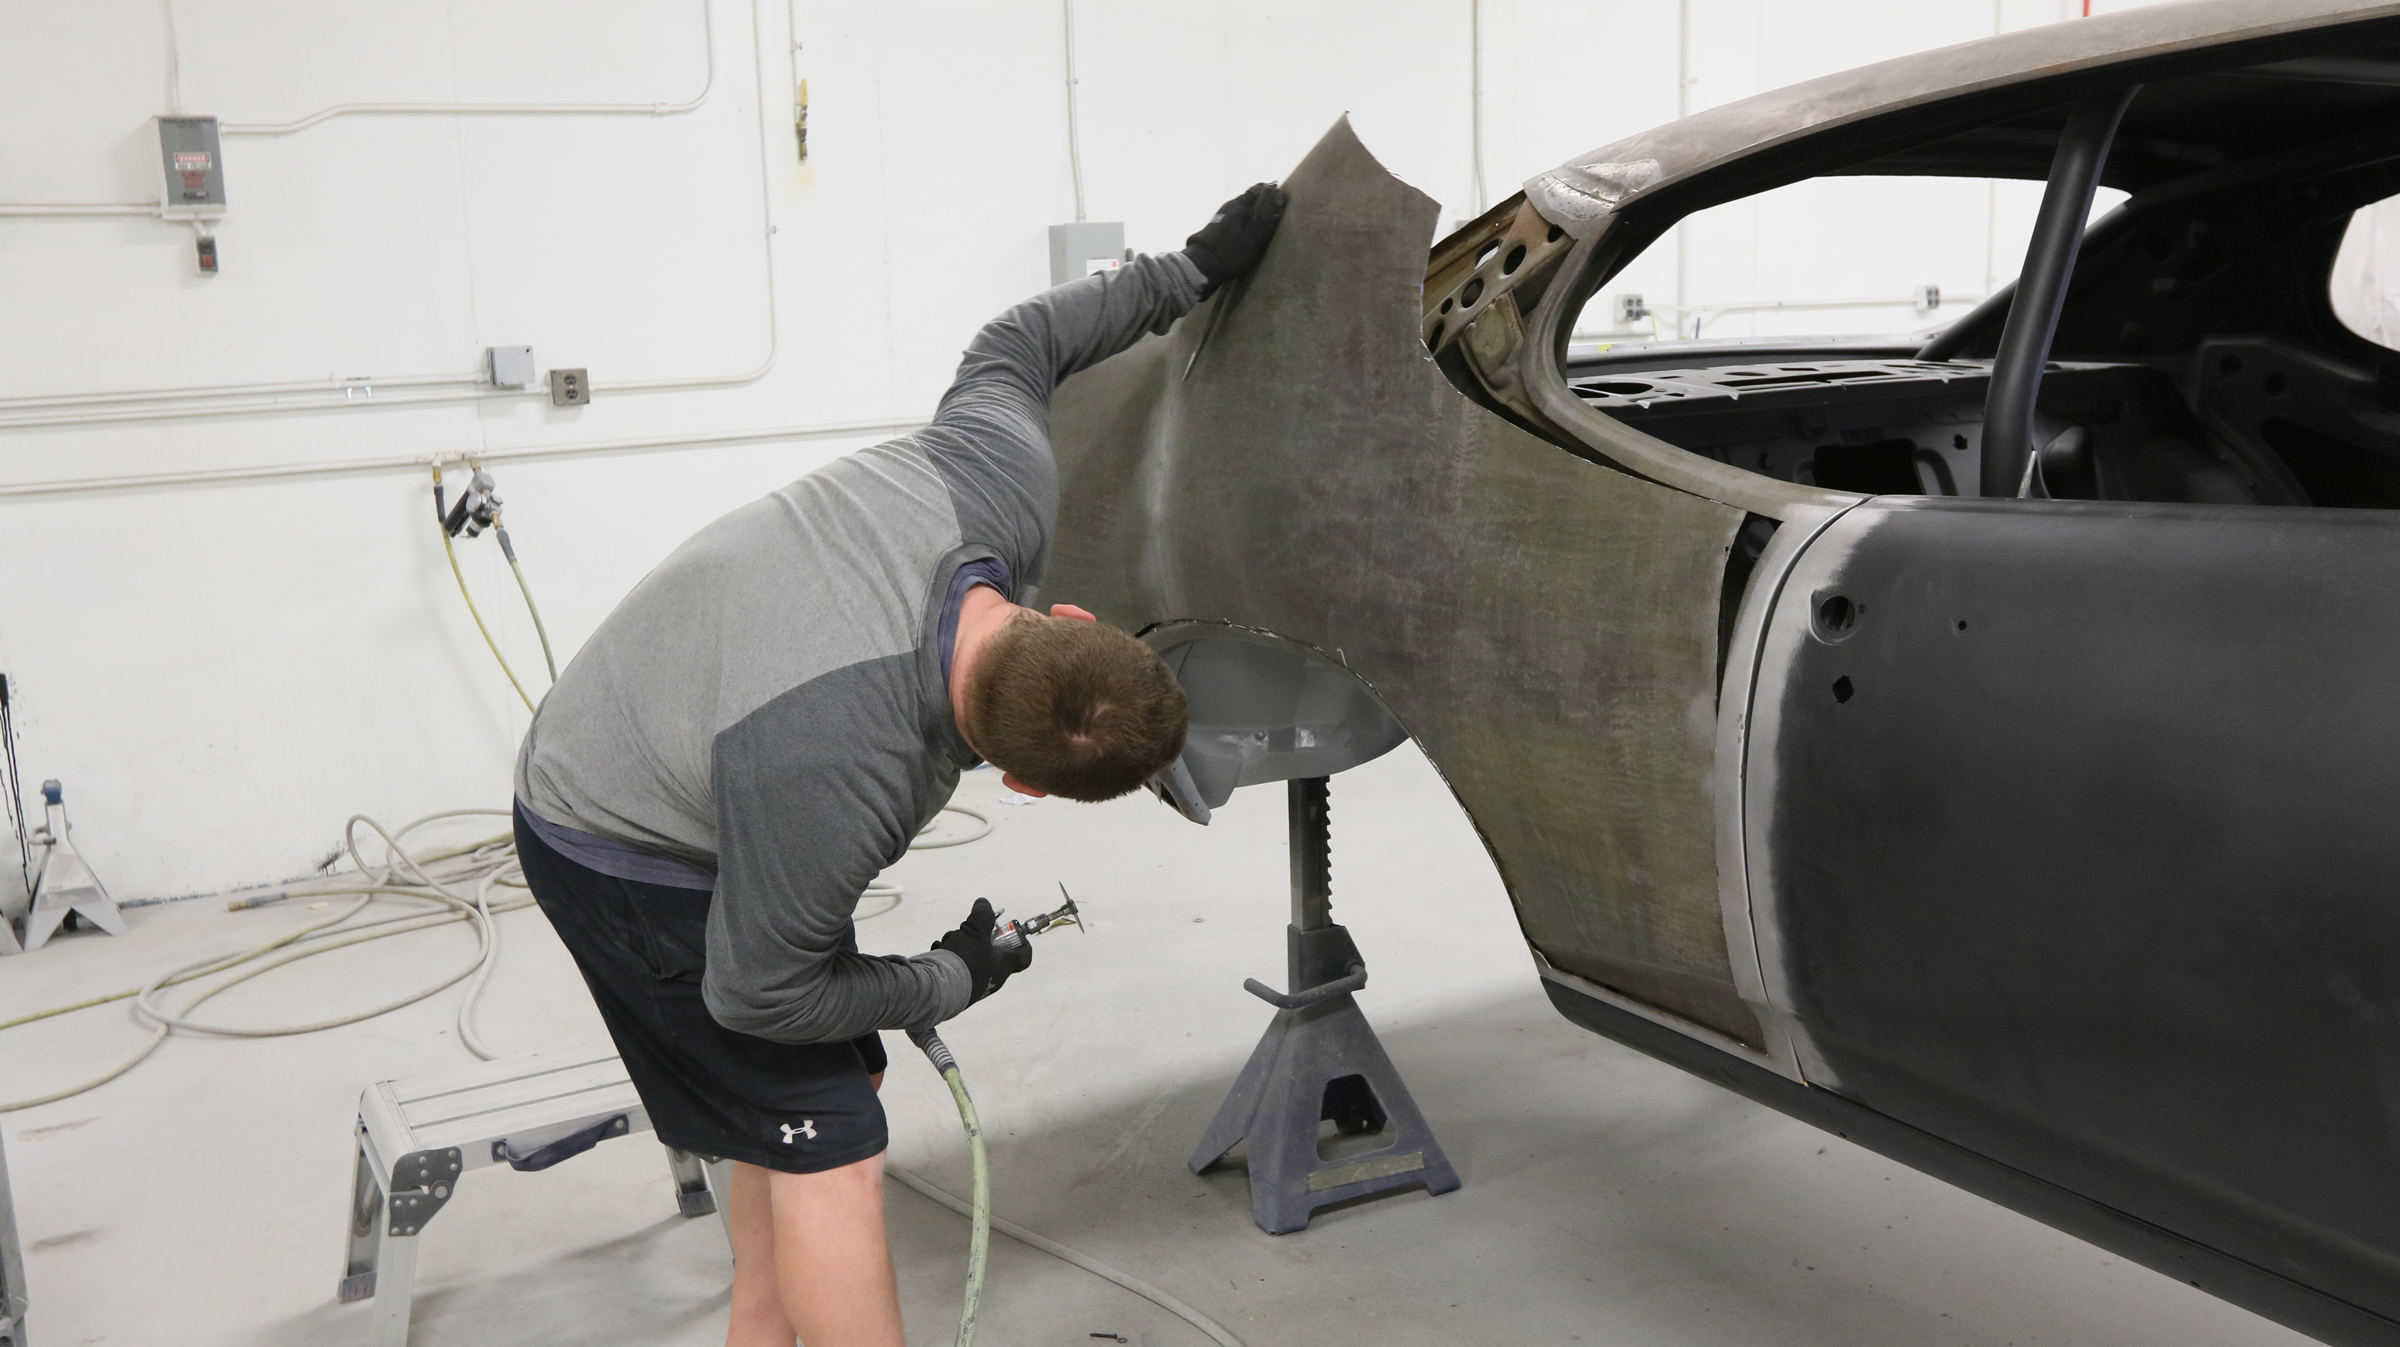
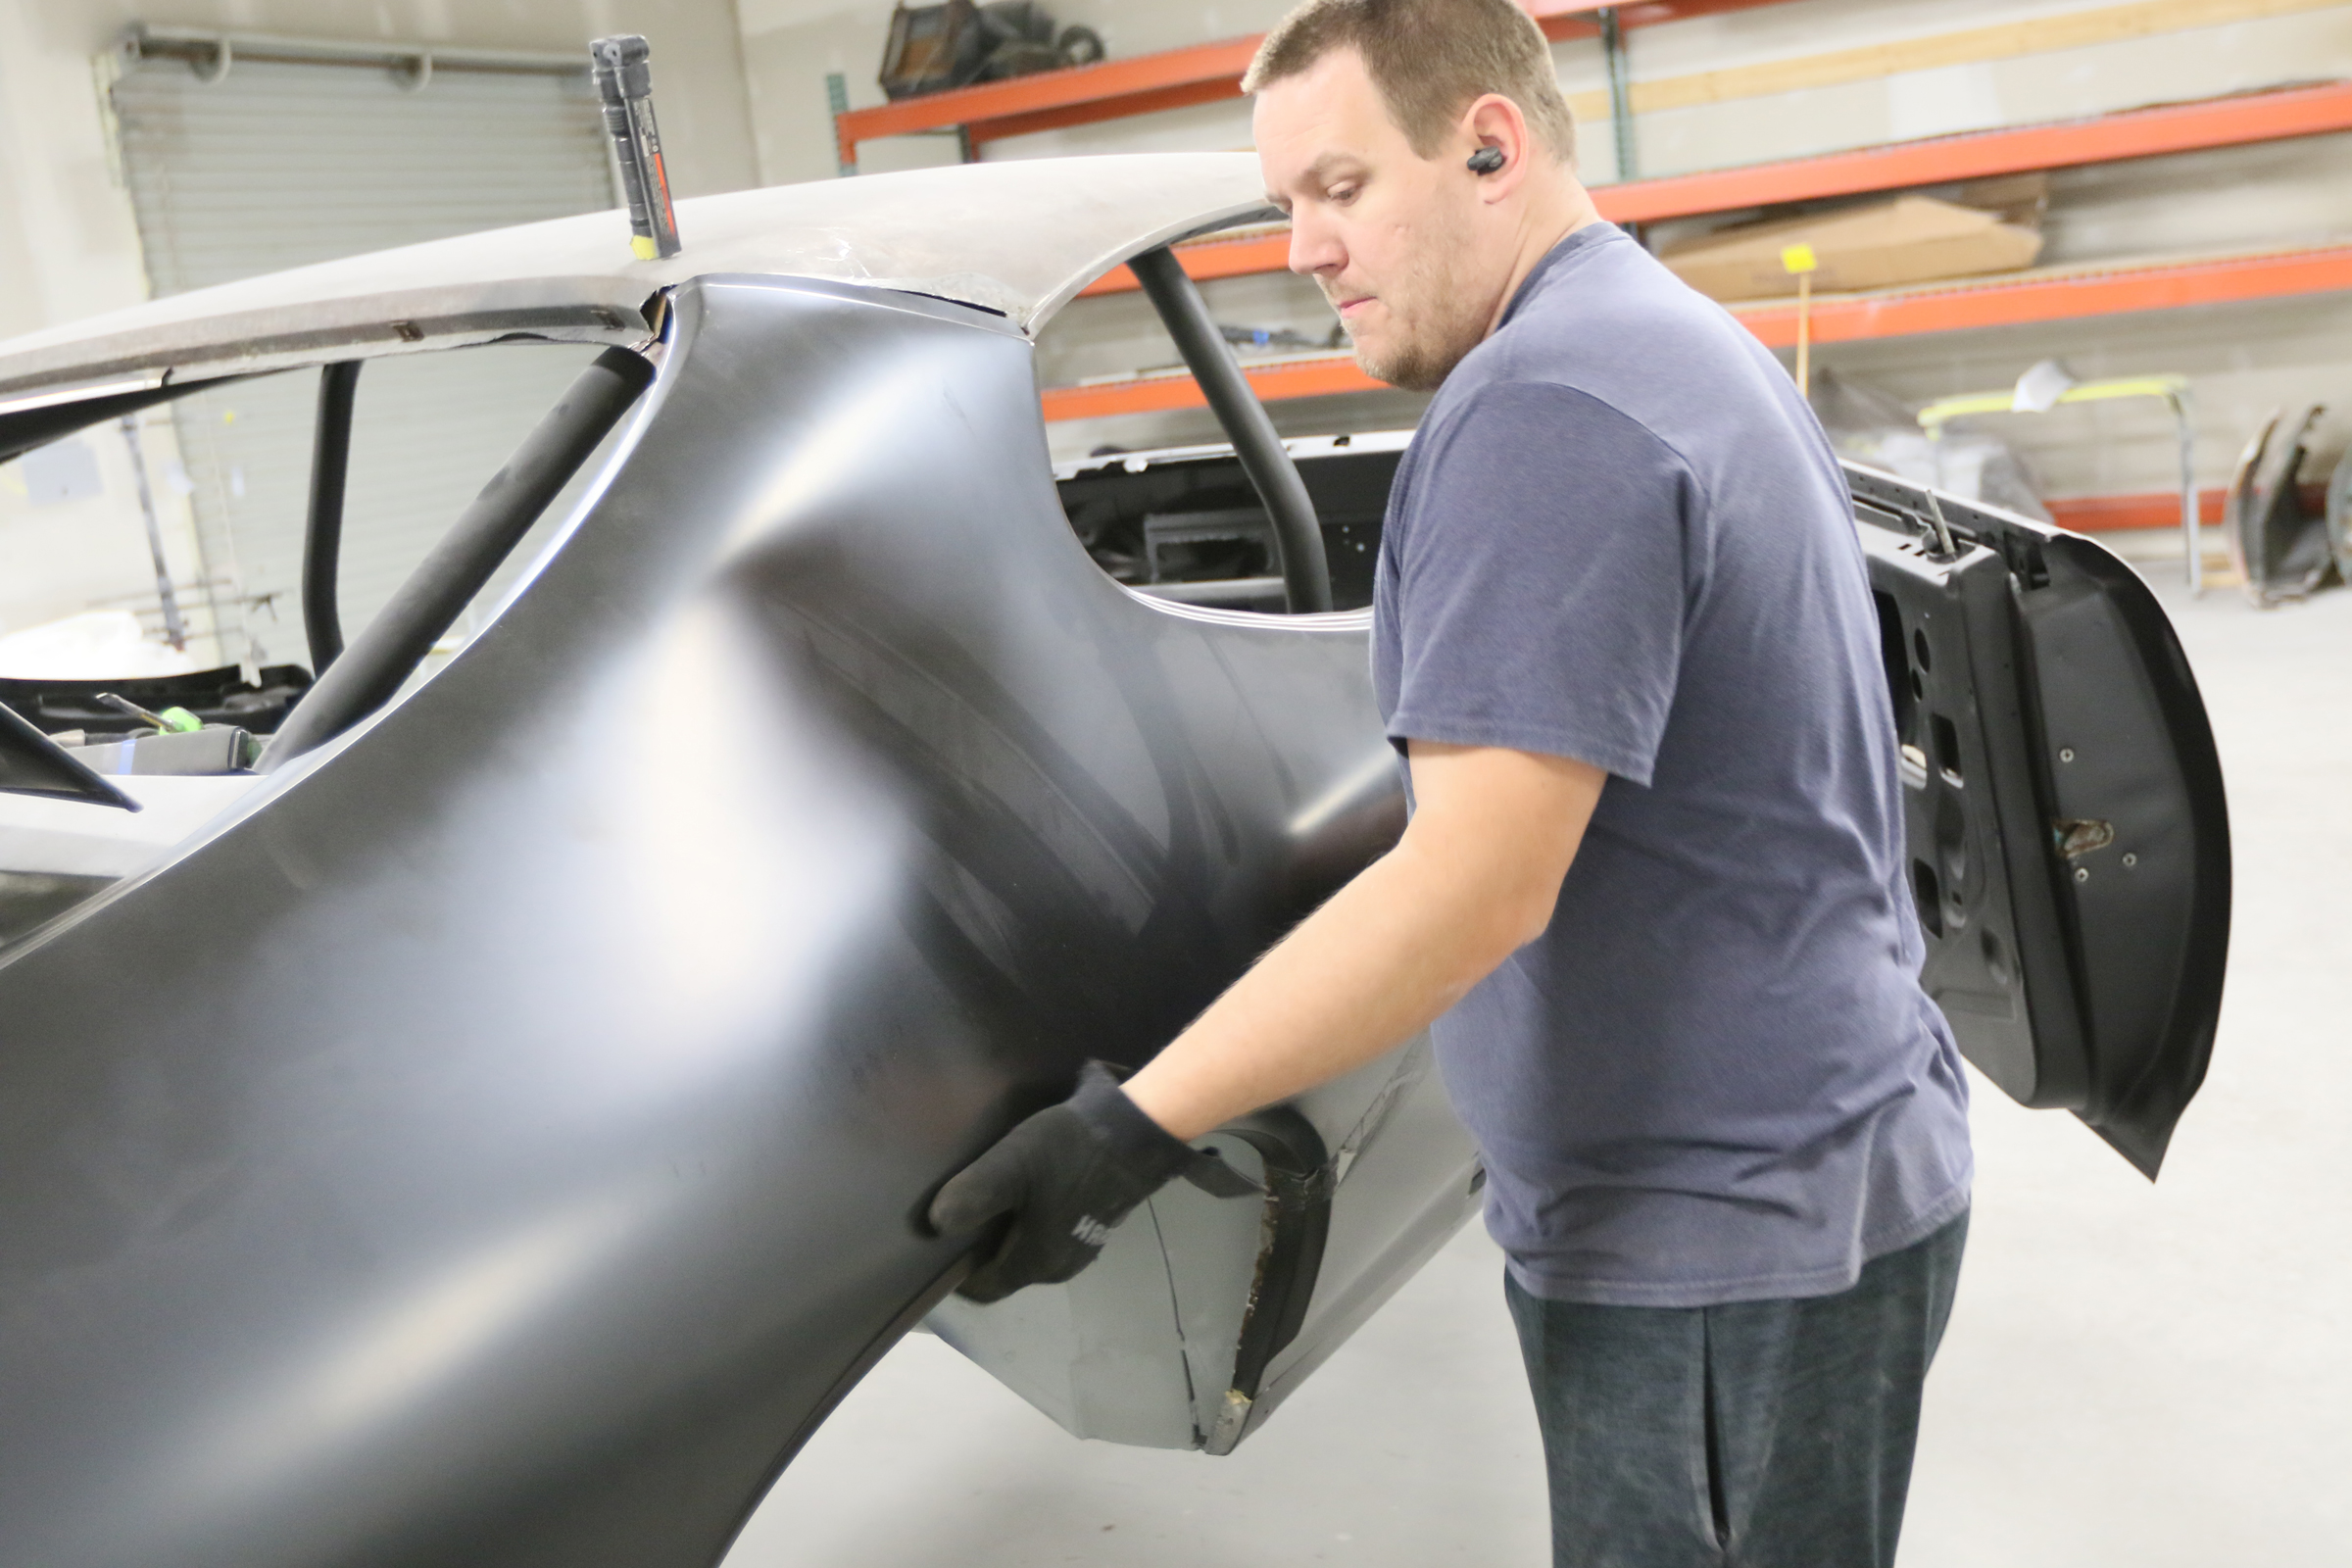
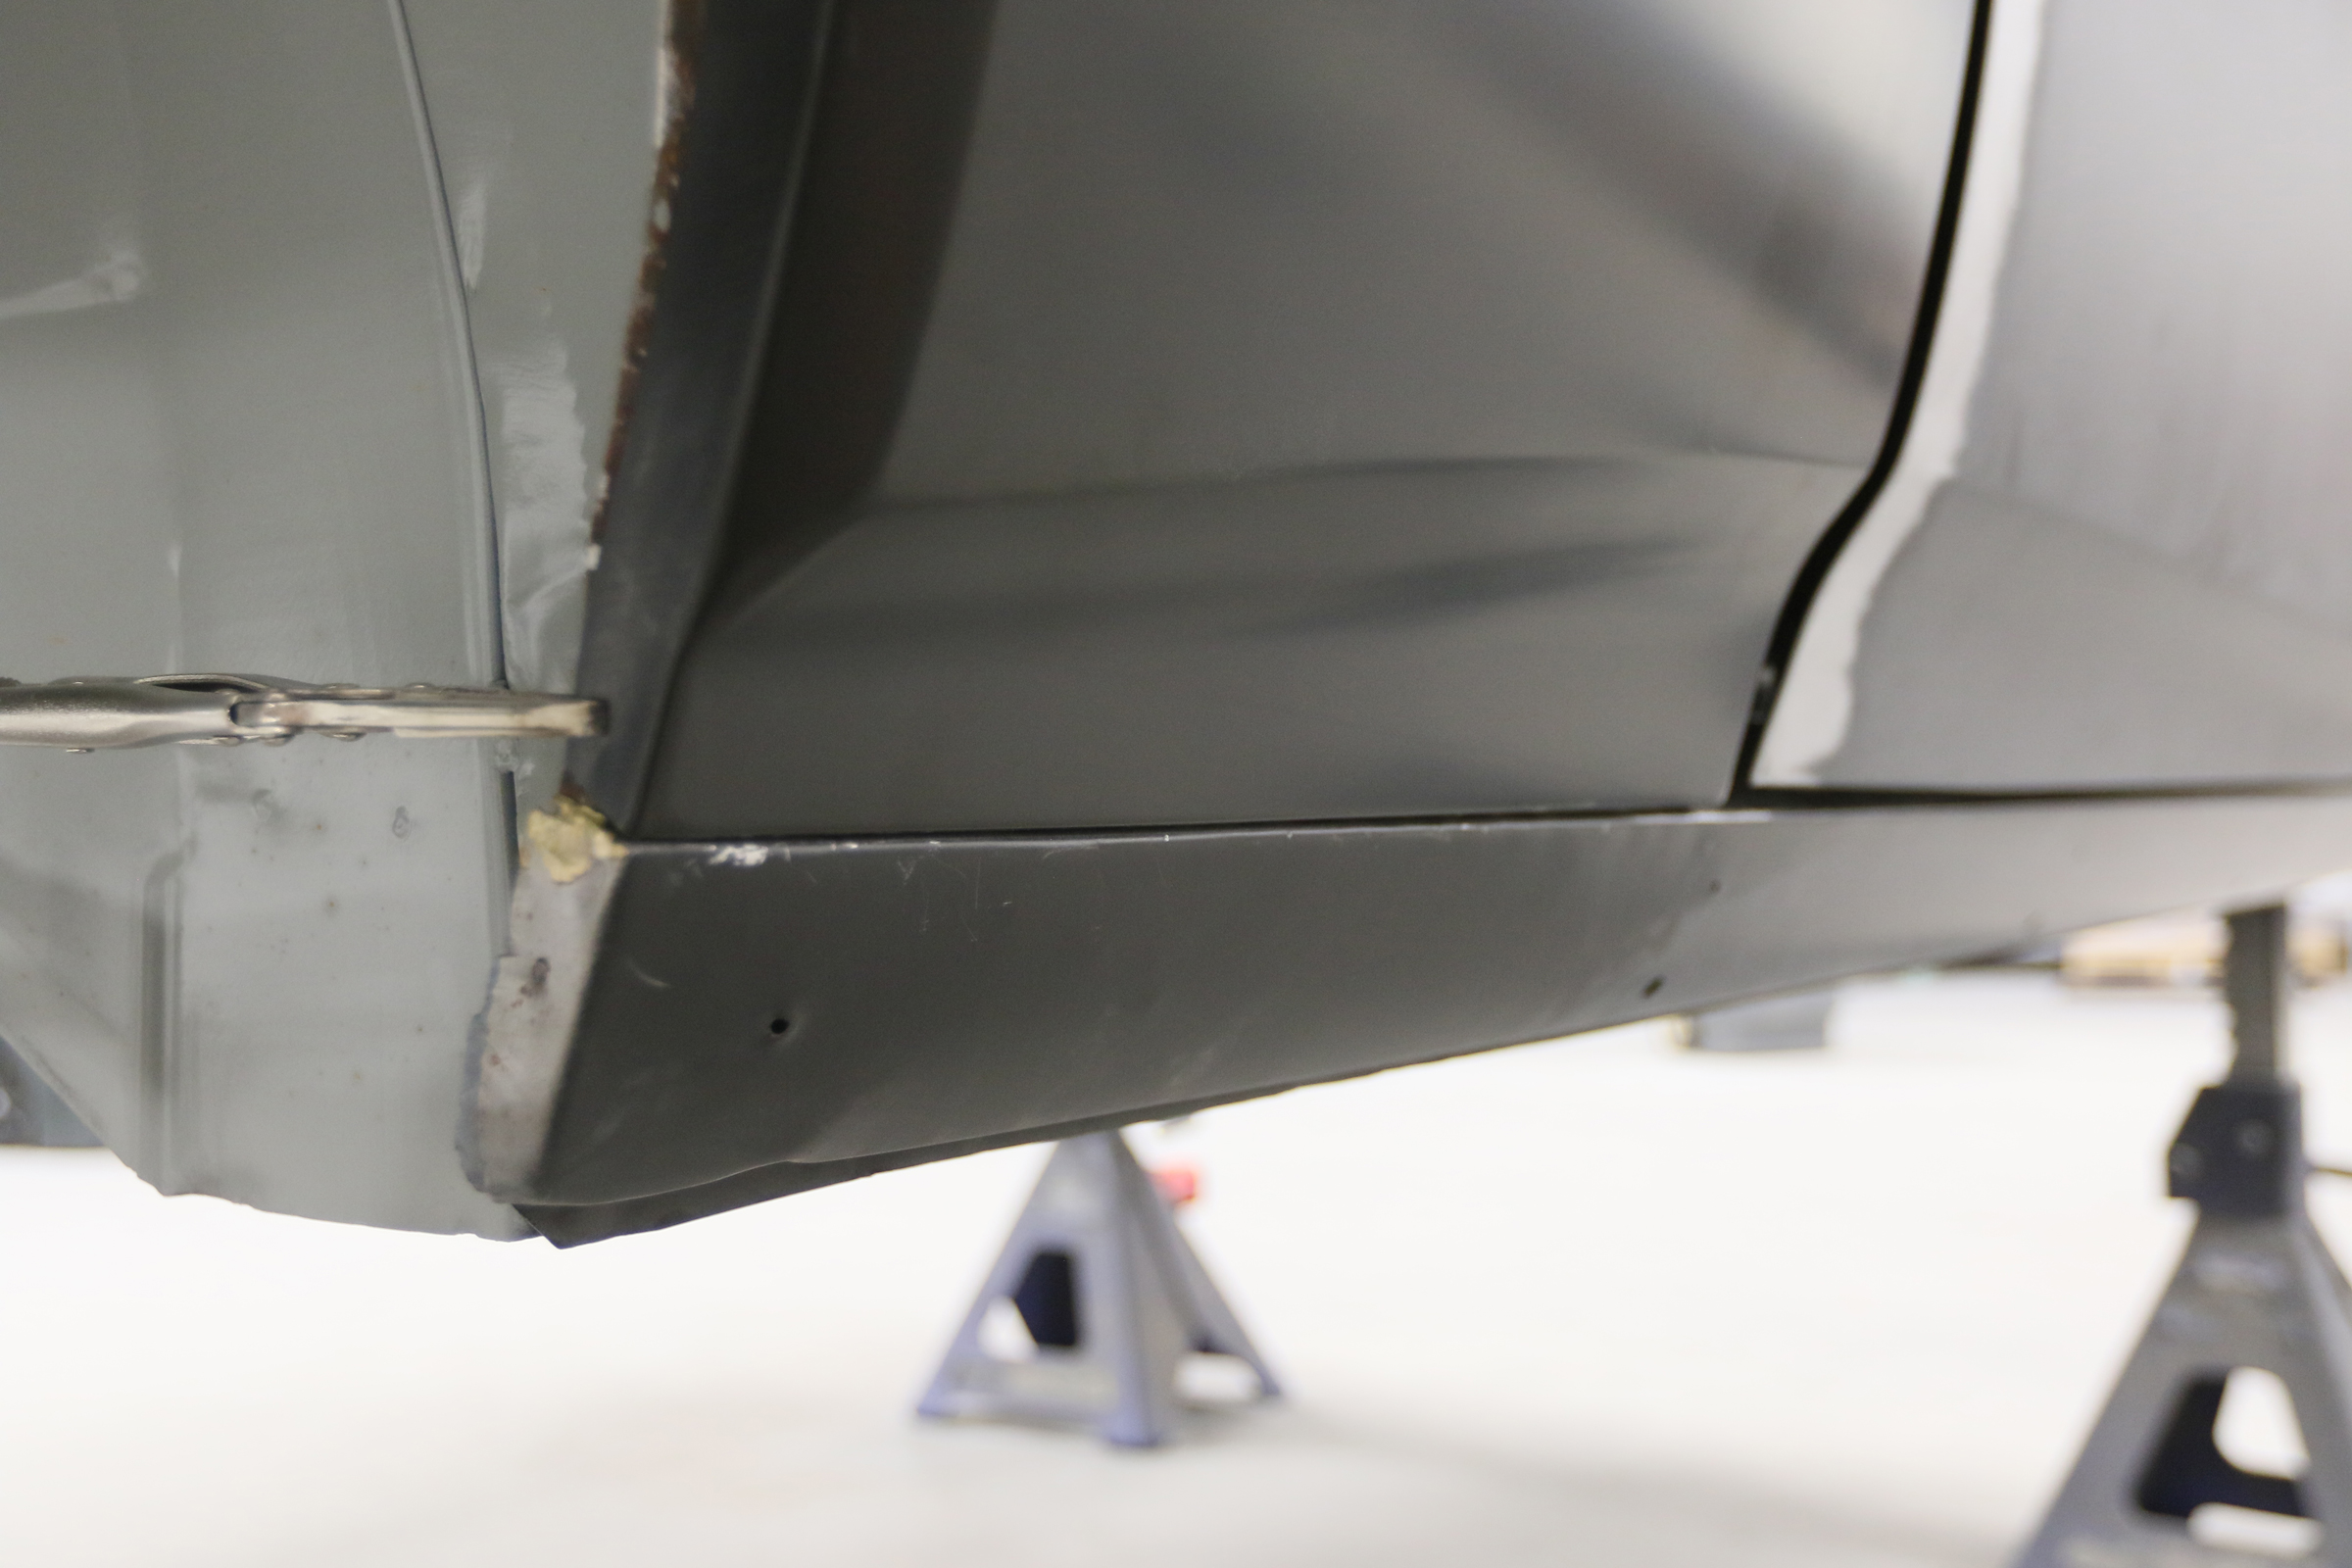
When Matt put the fresh OPGI quarter panel in place (top left) we ran into a problem. You can see (top right) how the edge does not sit flush with the inner structure where the car had been hit in another life. (Bottom left is the pristine driver side for comparison.) The inner structure was crumpled, but thankfully OPGI has a replacement for that, too, which need to put on order to get this quarter panel wrapped up.
Even with quite a bit of manipulation, Matt could not get the quarter panel in a happy spot with all the gaps even and panels flush. One of my goals for the body work, too, is to get the rear bumper as flush as possible. From the factory there is a massive gap. And without intact metal to manipulate, there’s no way that is going to be possible. Although we had hoped to have the metal work wrapped up, we’re going to have to give OPGI a call again for another order.
While we wait for more fresh metal, we’ll tackle the door and the cowl. Catch you next time!


