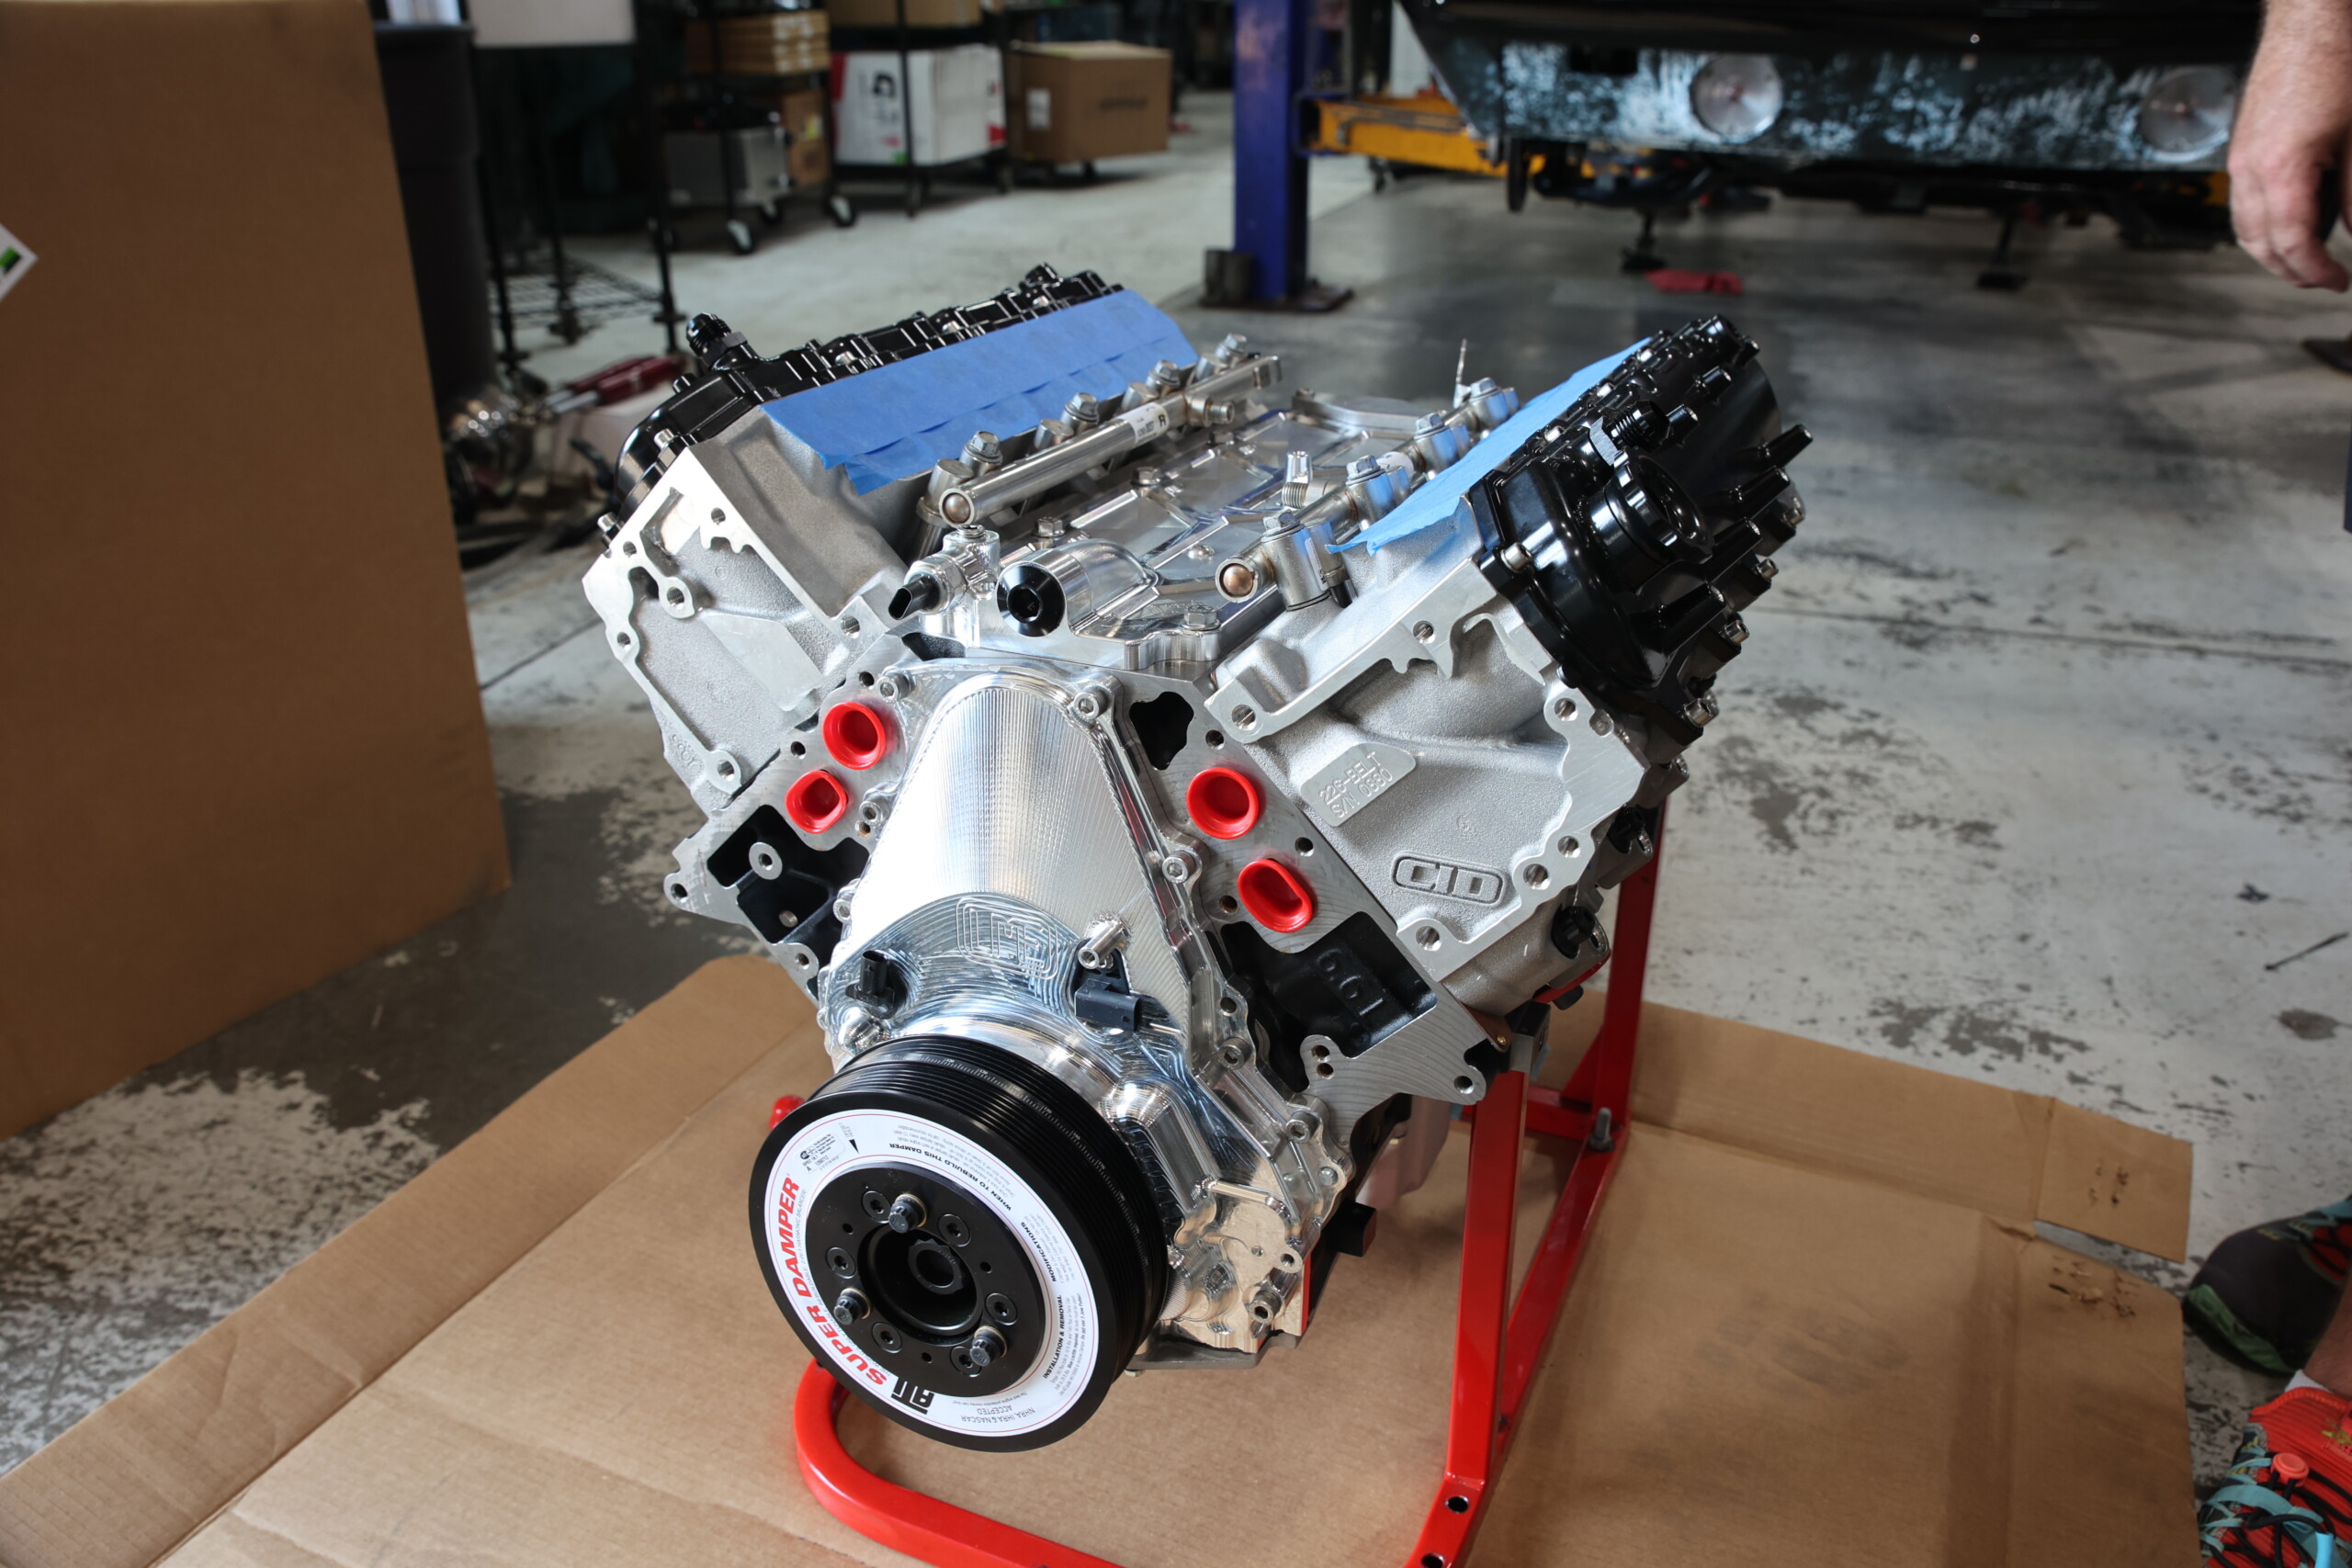
When we began brainstorming Project 899, we knew we wanted to run a combination with forced induction. We want the car to have good street manners and be able to unleash a beast when on the drag strip. So after discussing the build and our goals with the team at Late Model Engines, it was an easy decision to go with a complete Gen-V L8T engine package featuring a Whipple Gen-5 3.0-liter supercharger.
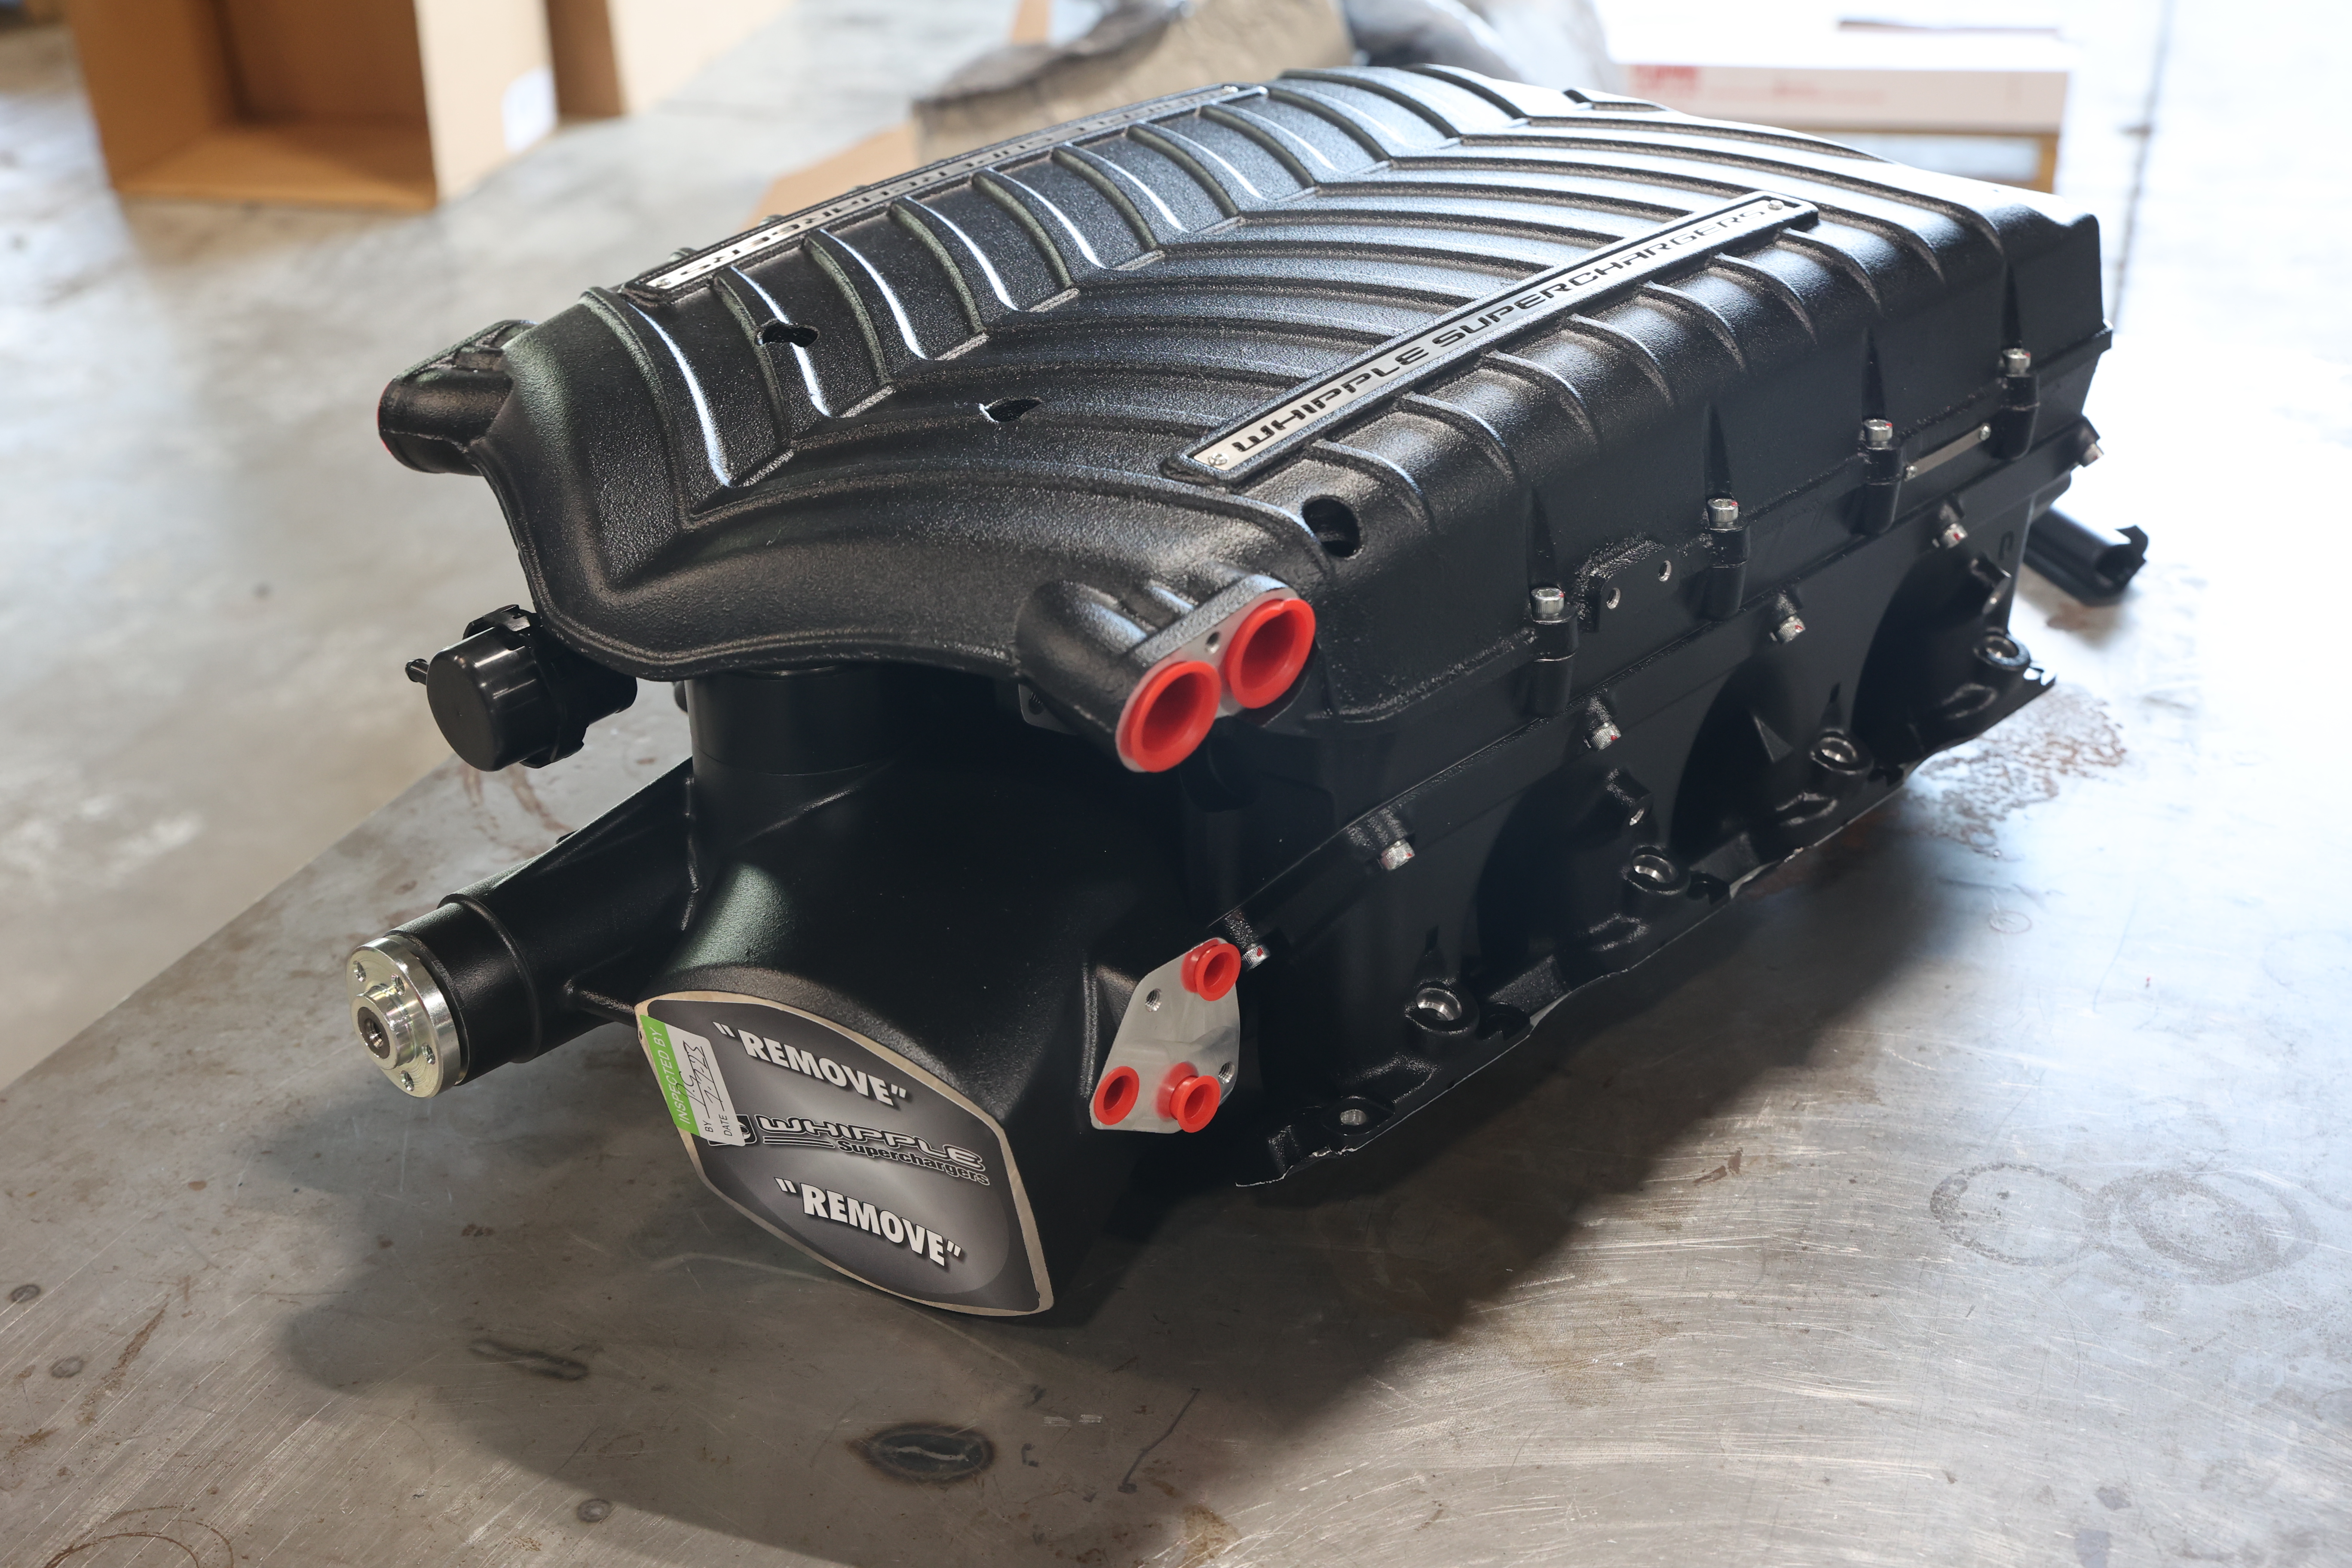
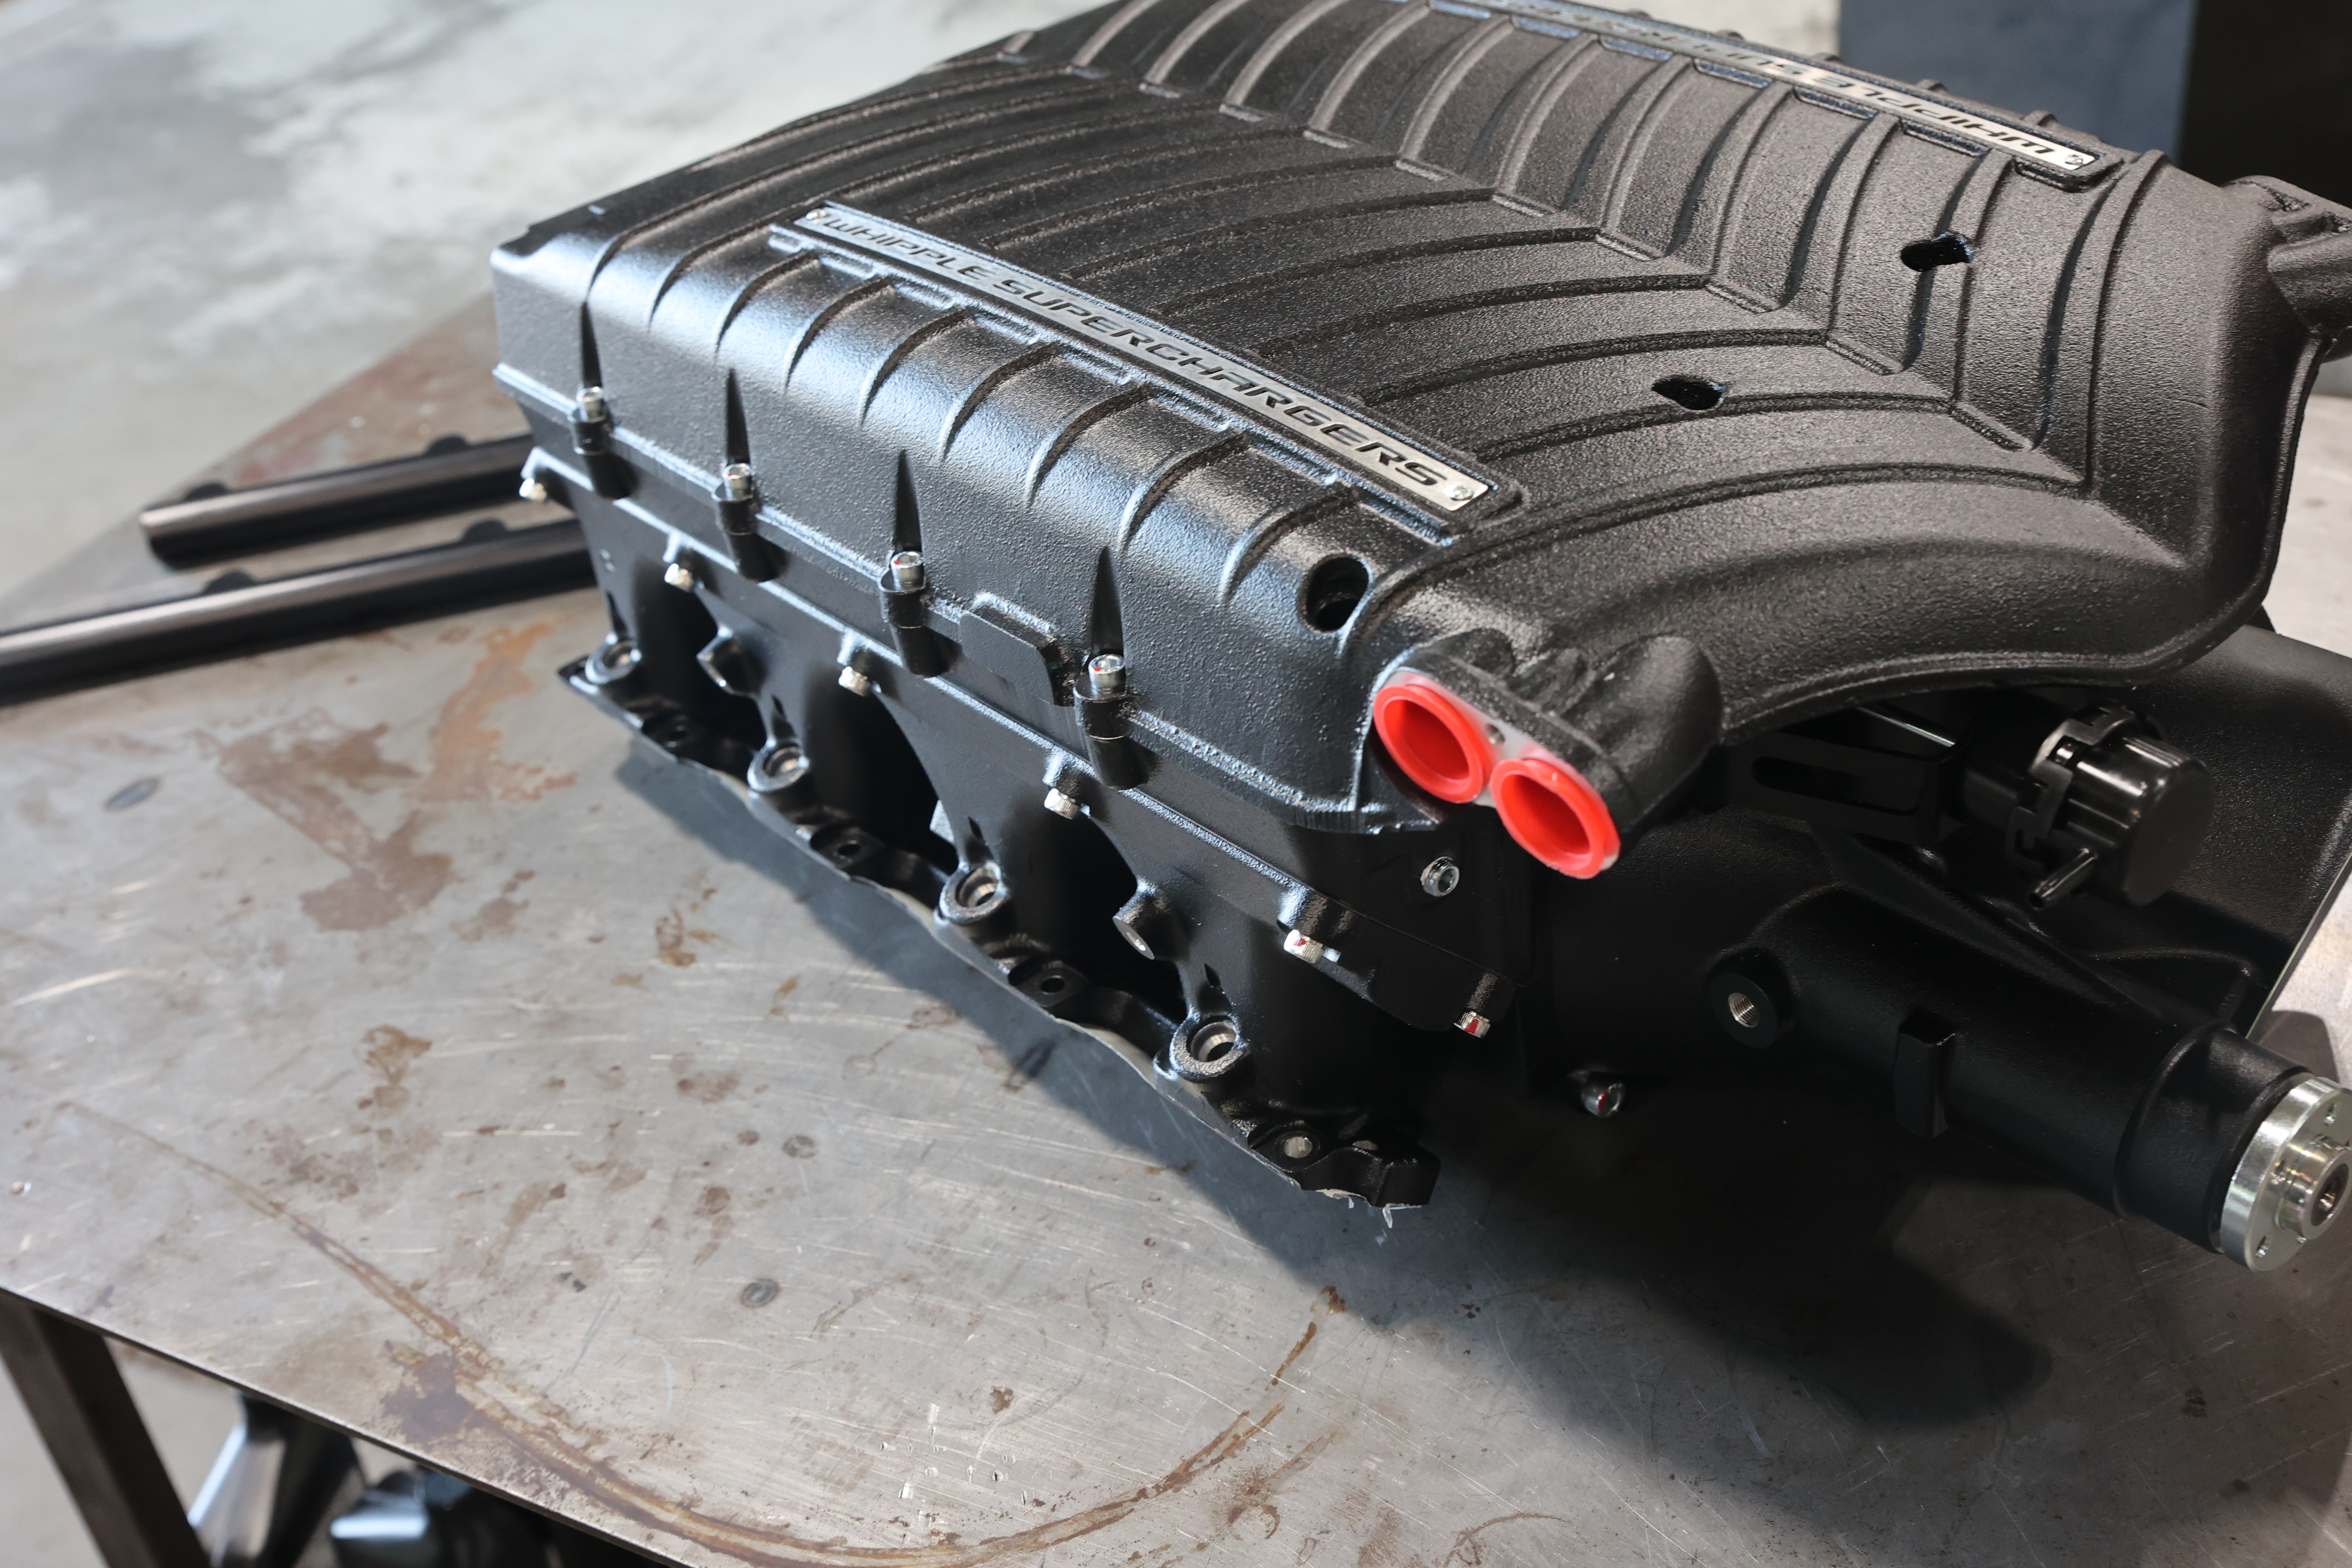
The Gen-5 3.0-liter supercharger from Whipple is the size of a small engine. It’s perfect for adding the boost we’ll need to reach our goal of 899 wheel-horsepower.
Coincidentally, when we asked the guys at Whipple about our particular application, they informed us that a new Gen-5 supercharger was on the verge of being released specifically for the Gen-V L8T. The timing couldn’t have been better. However, we had one small hurdle. The L8T comes from GM in 2500 trucks that have much more clearance between the top of the engine and the bottom of the hood than our ’69 Camaro. Additionally, the L8T factory fuel injection system uses direct injection, something our LME-built L8T does not have.
Our supercharger is drilled for port injection. We decided to go with port injection to make setup and tuning easy given our very short deadline.
Expressing these concerns to Nick Purciello at Whipple, he suggested we go with their inverted design that places the intercooler above the rotor package instead of below. This design allows for a slightly shorter package overall, which is exactly what we needed to keep things under the new cowl induction hood from Auto Metal Direct. To solve the second dilemma, since our engine is running a port injection EFI system, Nick had our 3.0-liter supercharger drilled to accept port injectors and had a pair of fuel rails sent to bolt directly to the supercharger housing.
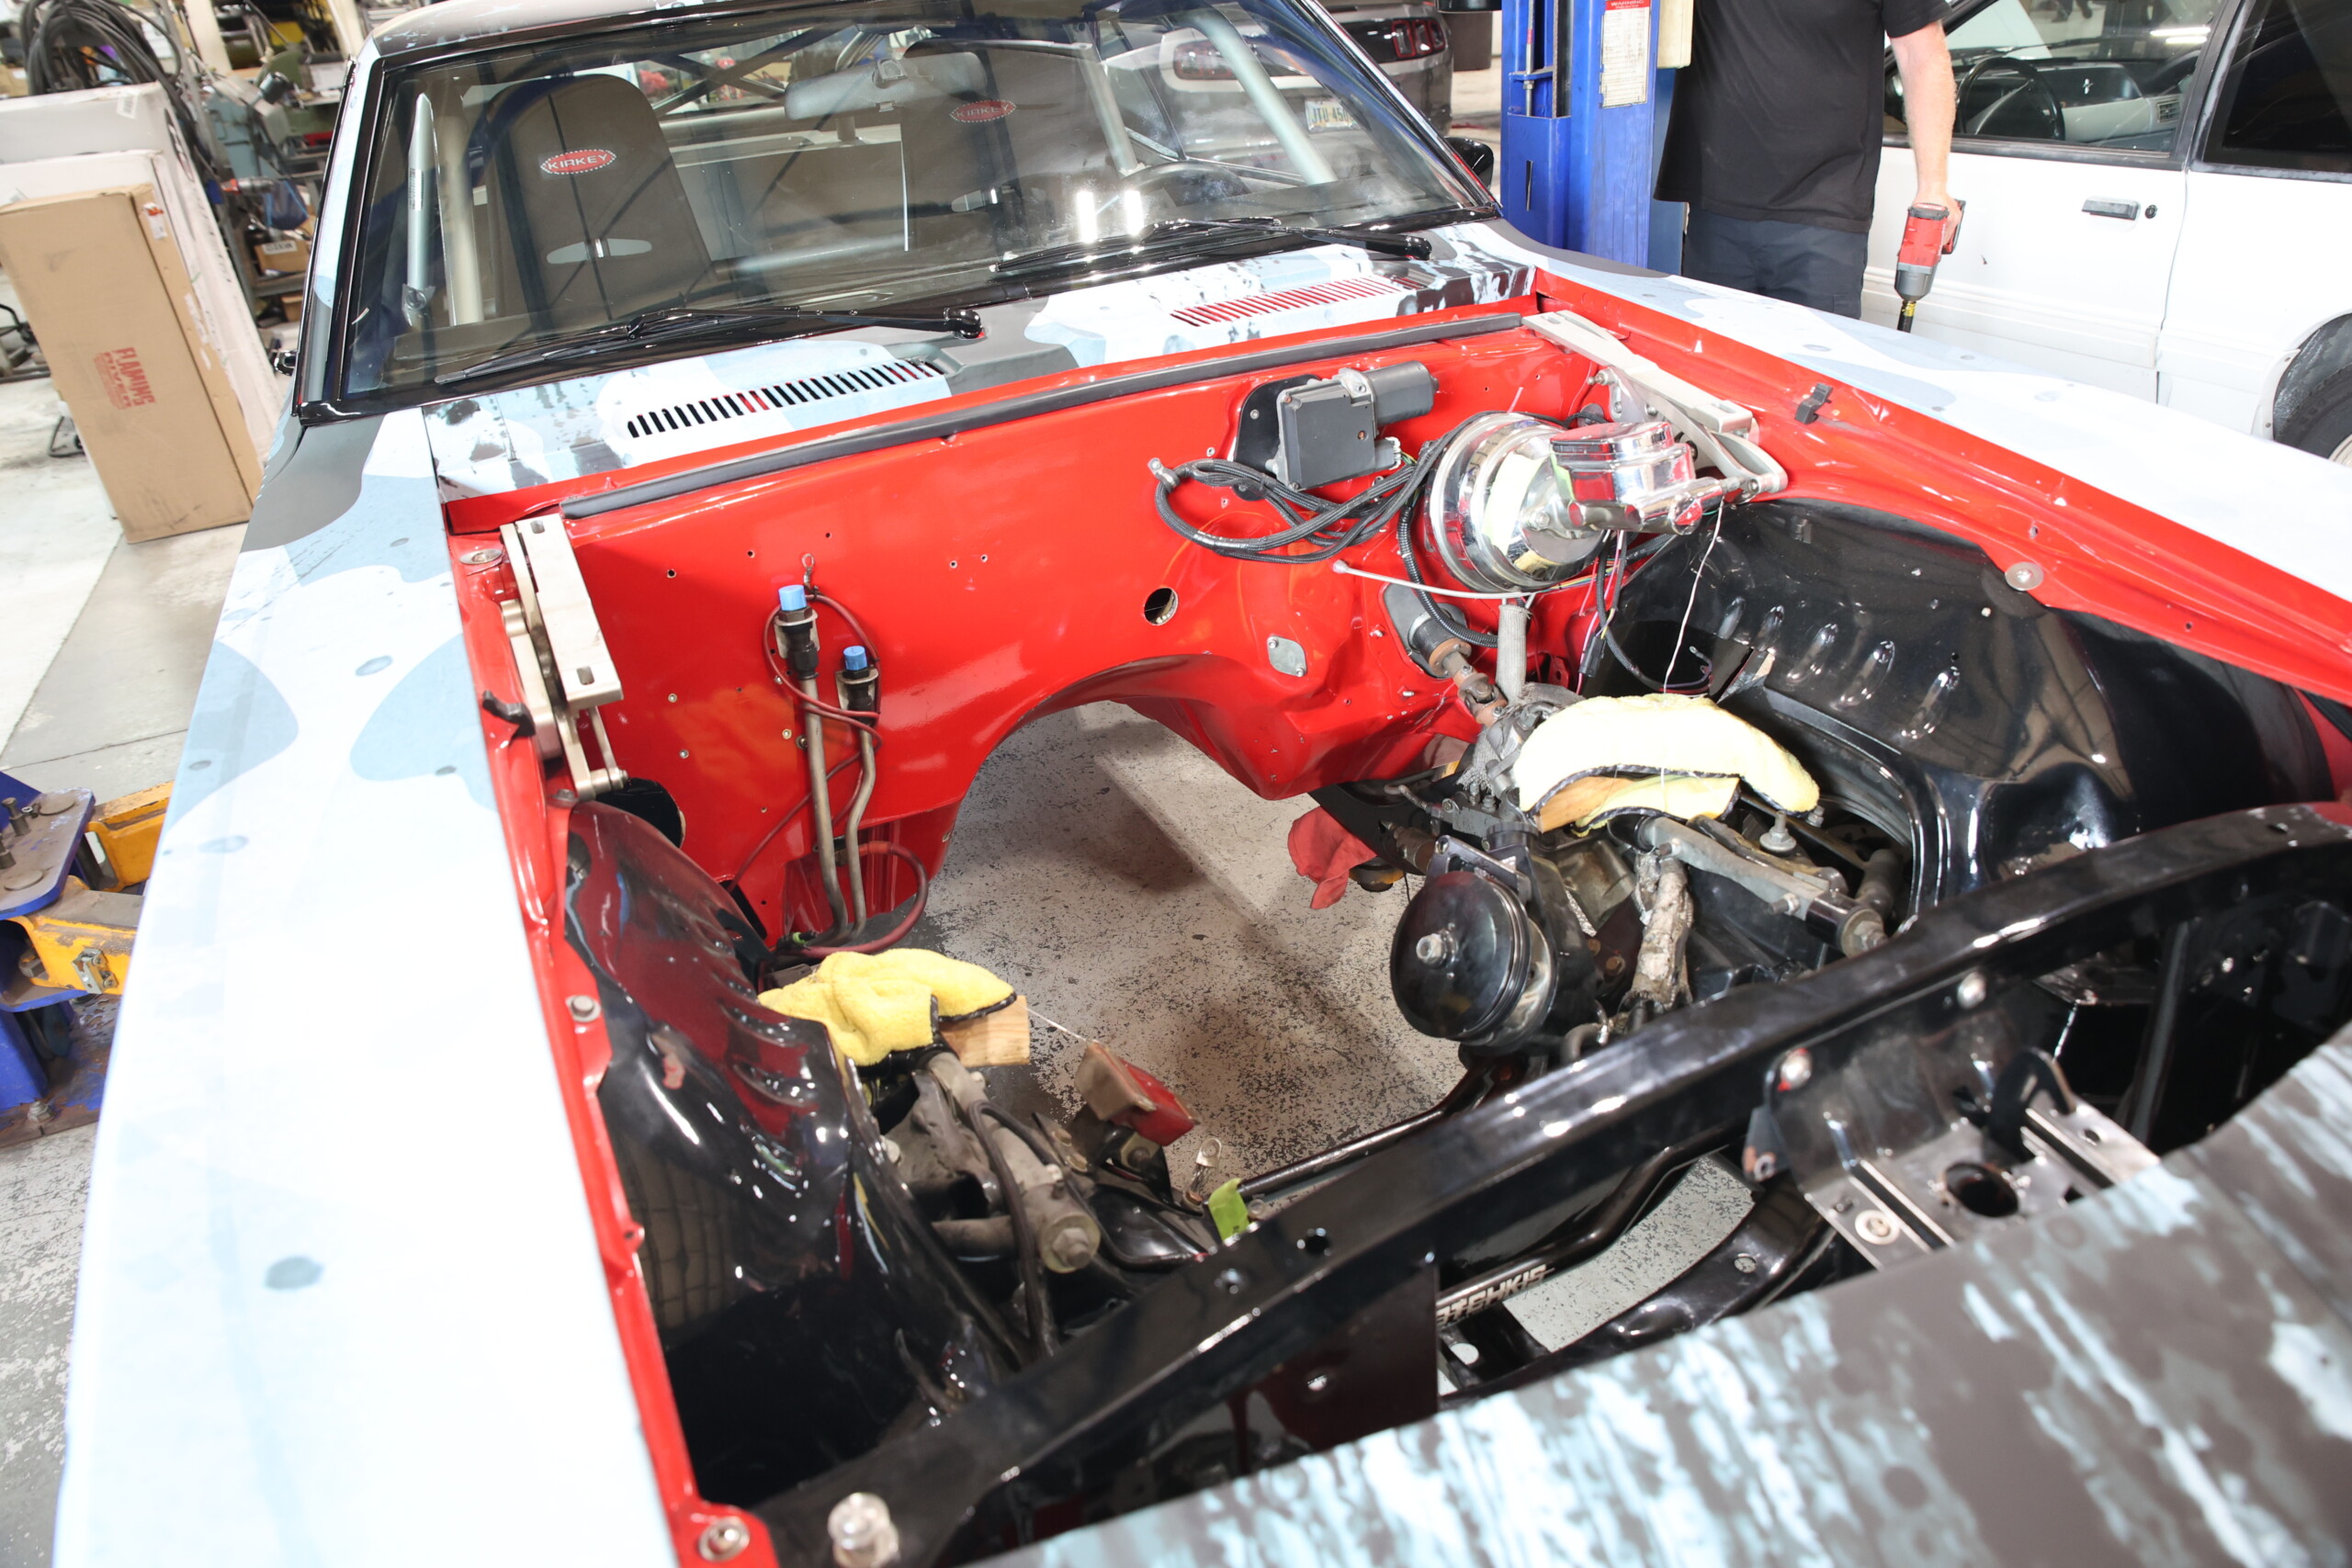
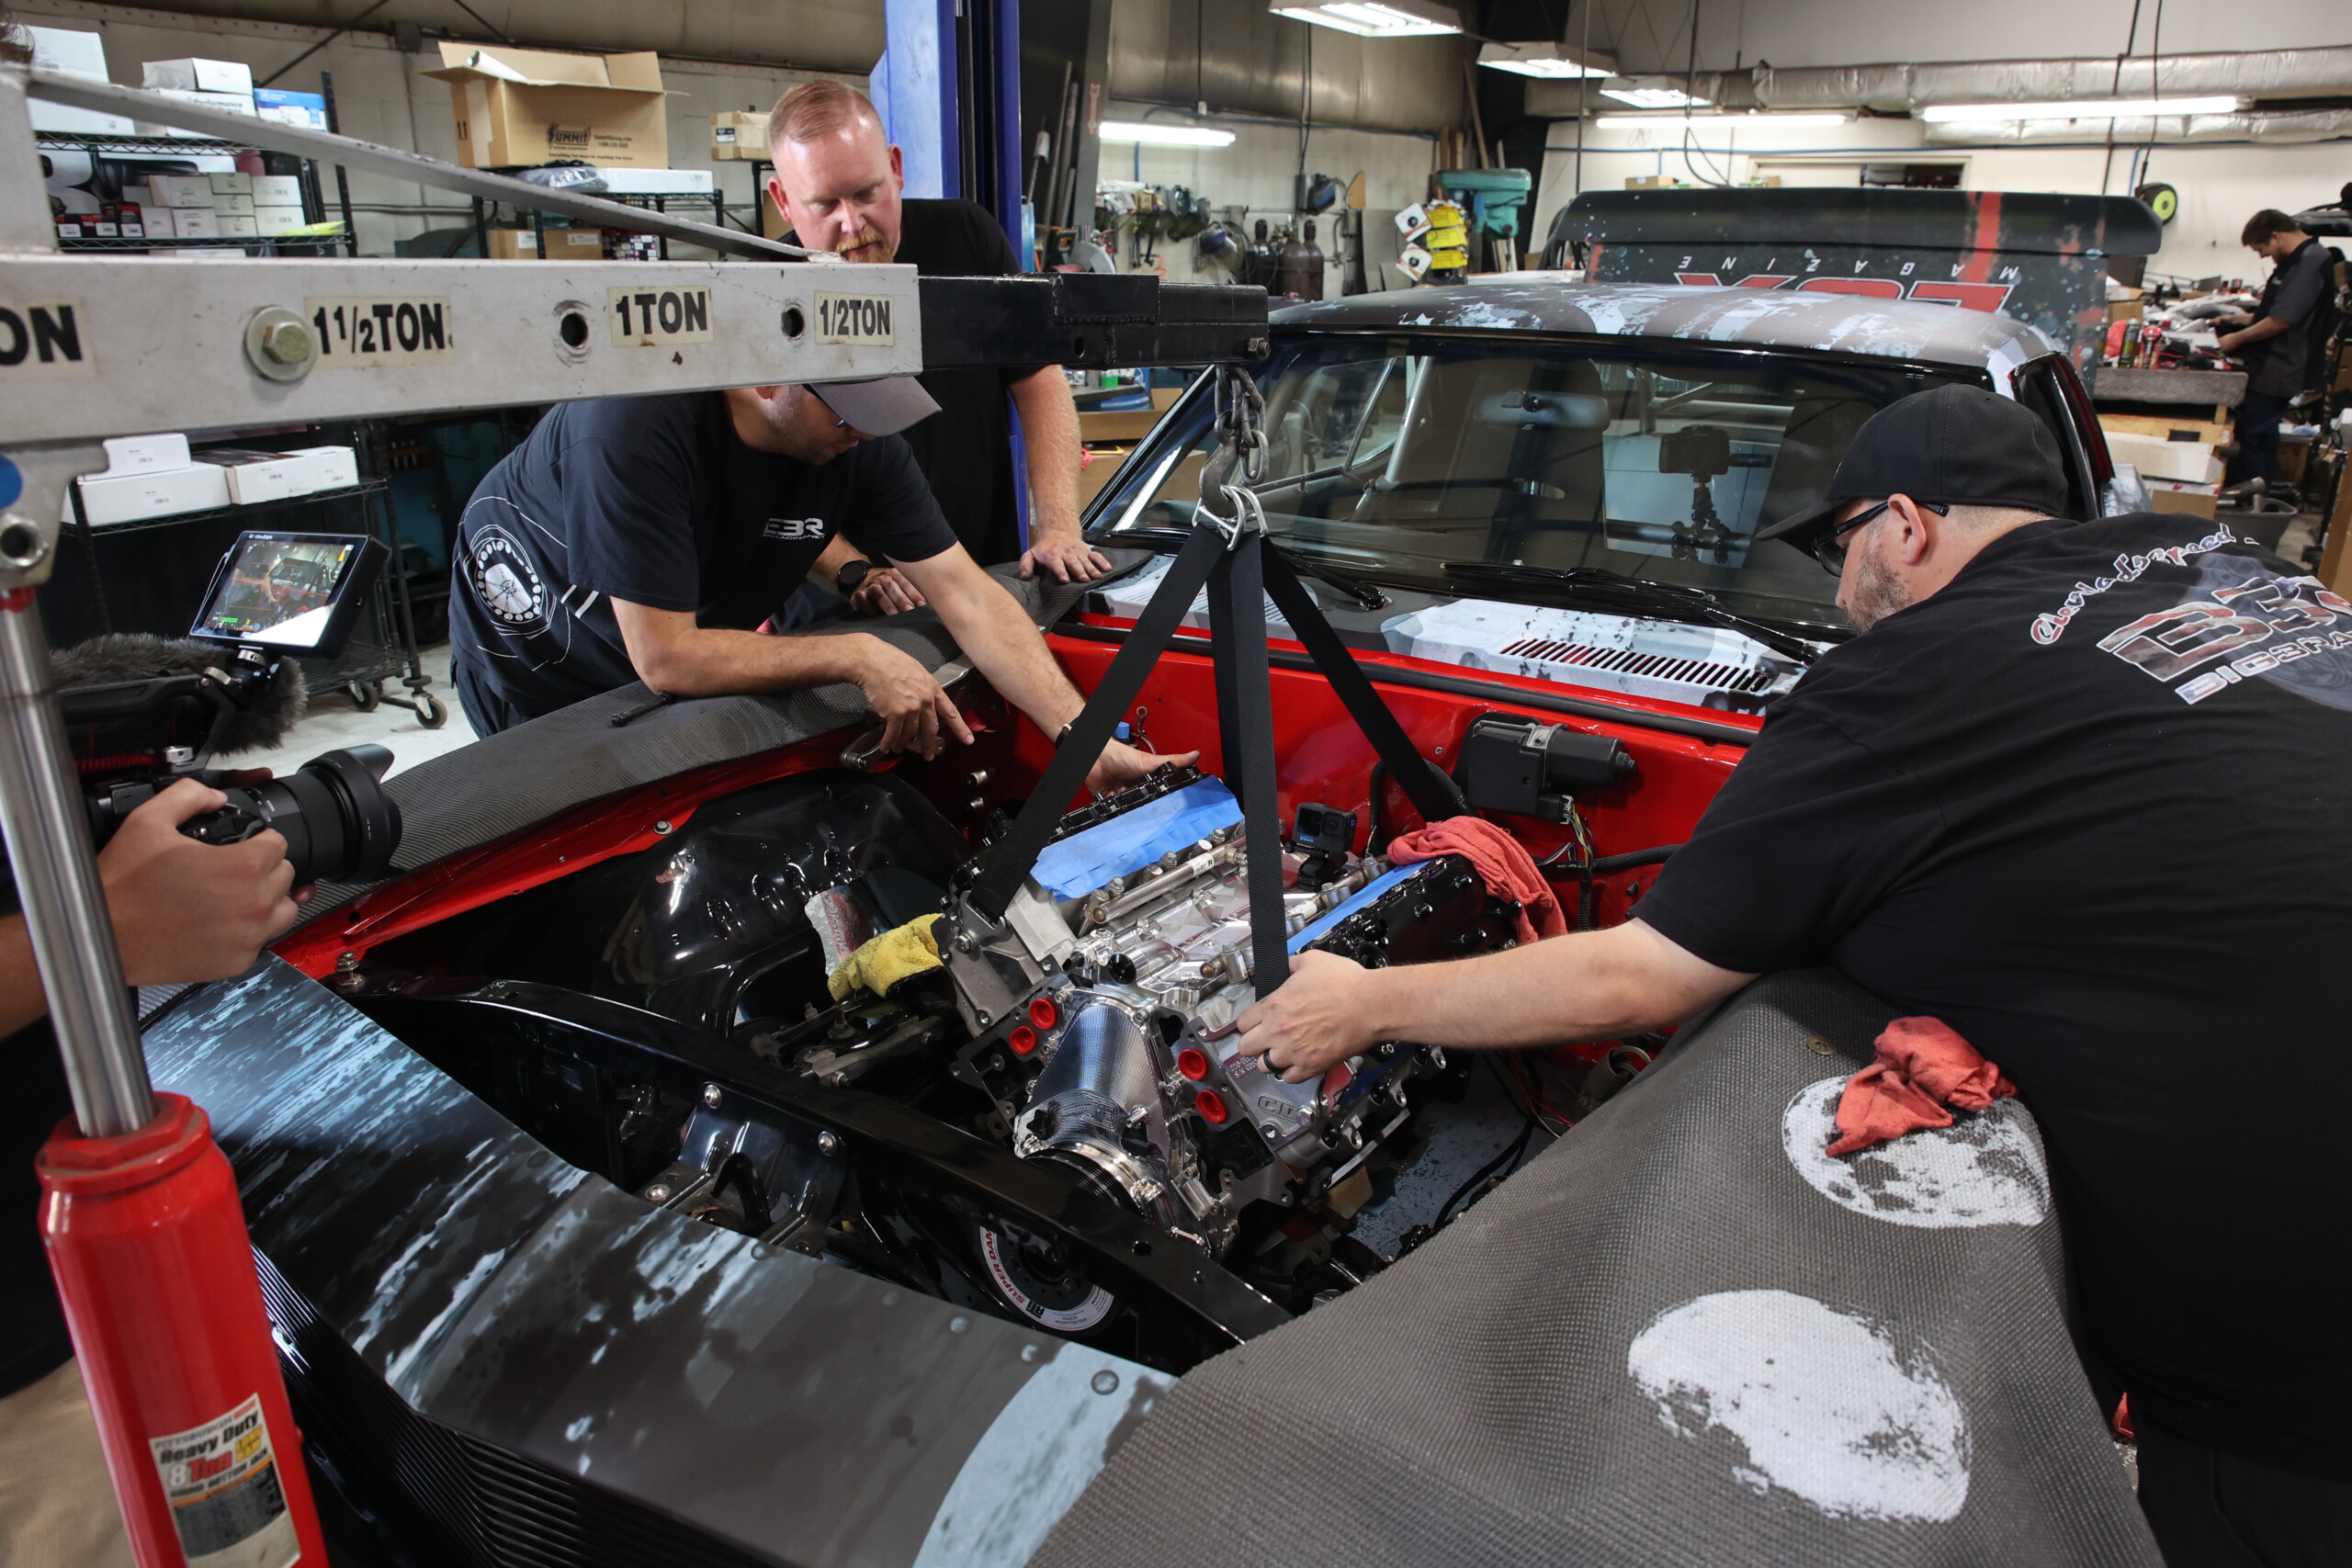
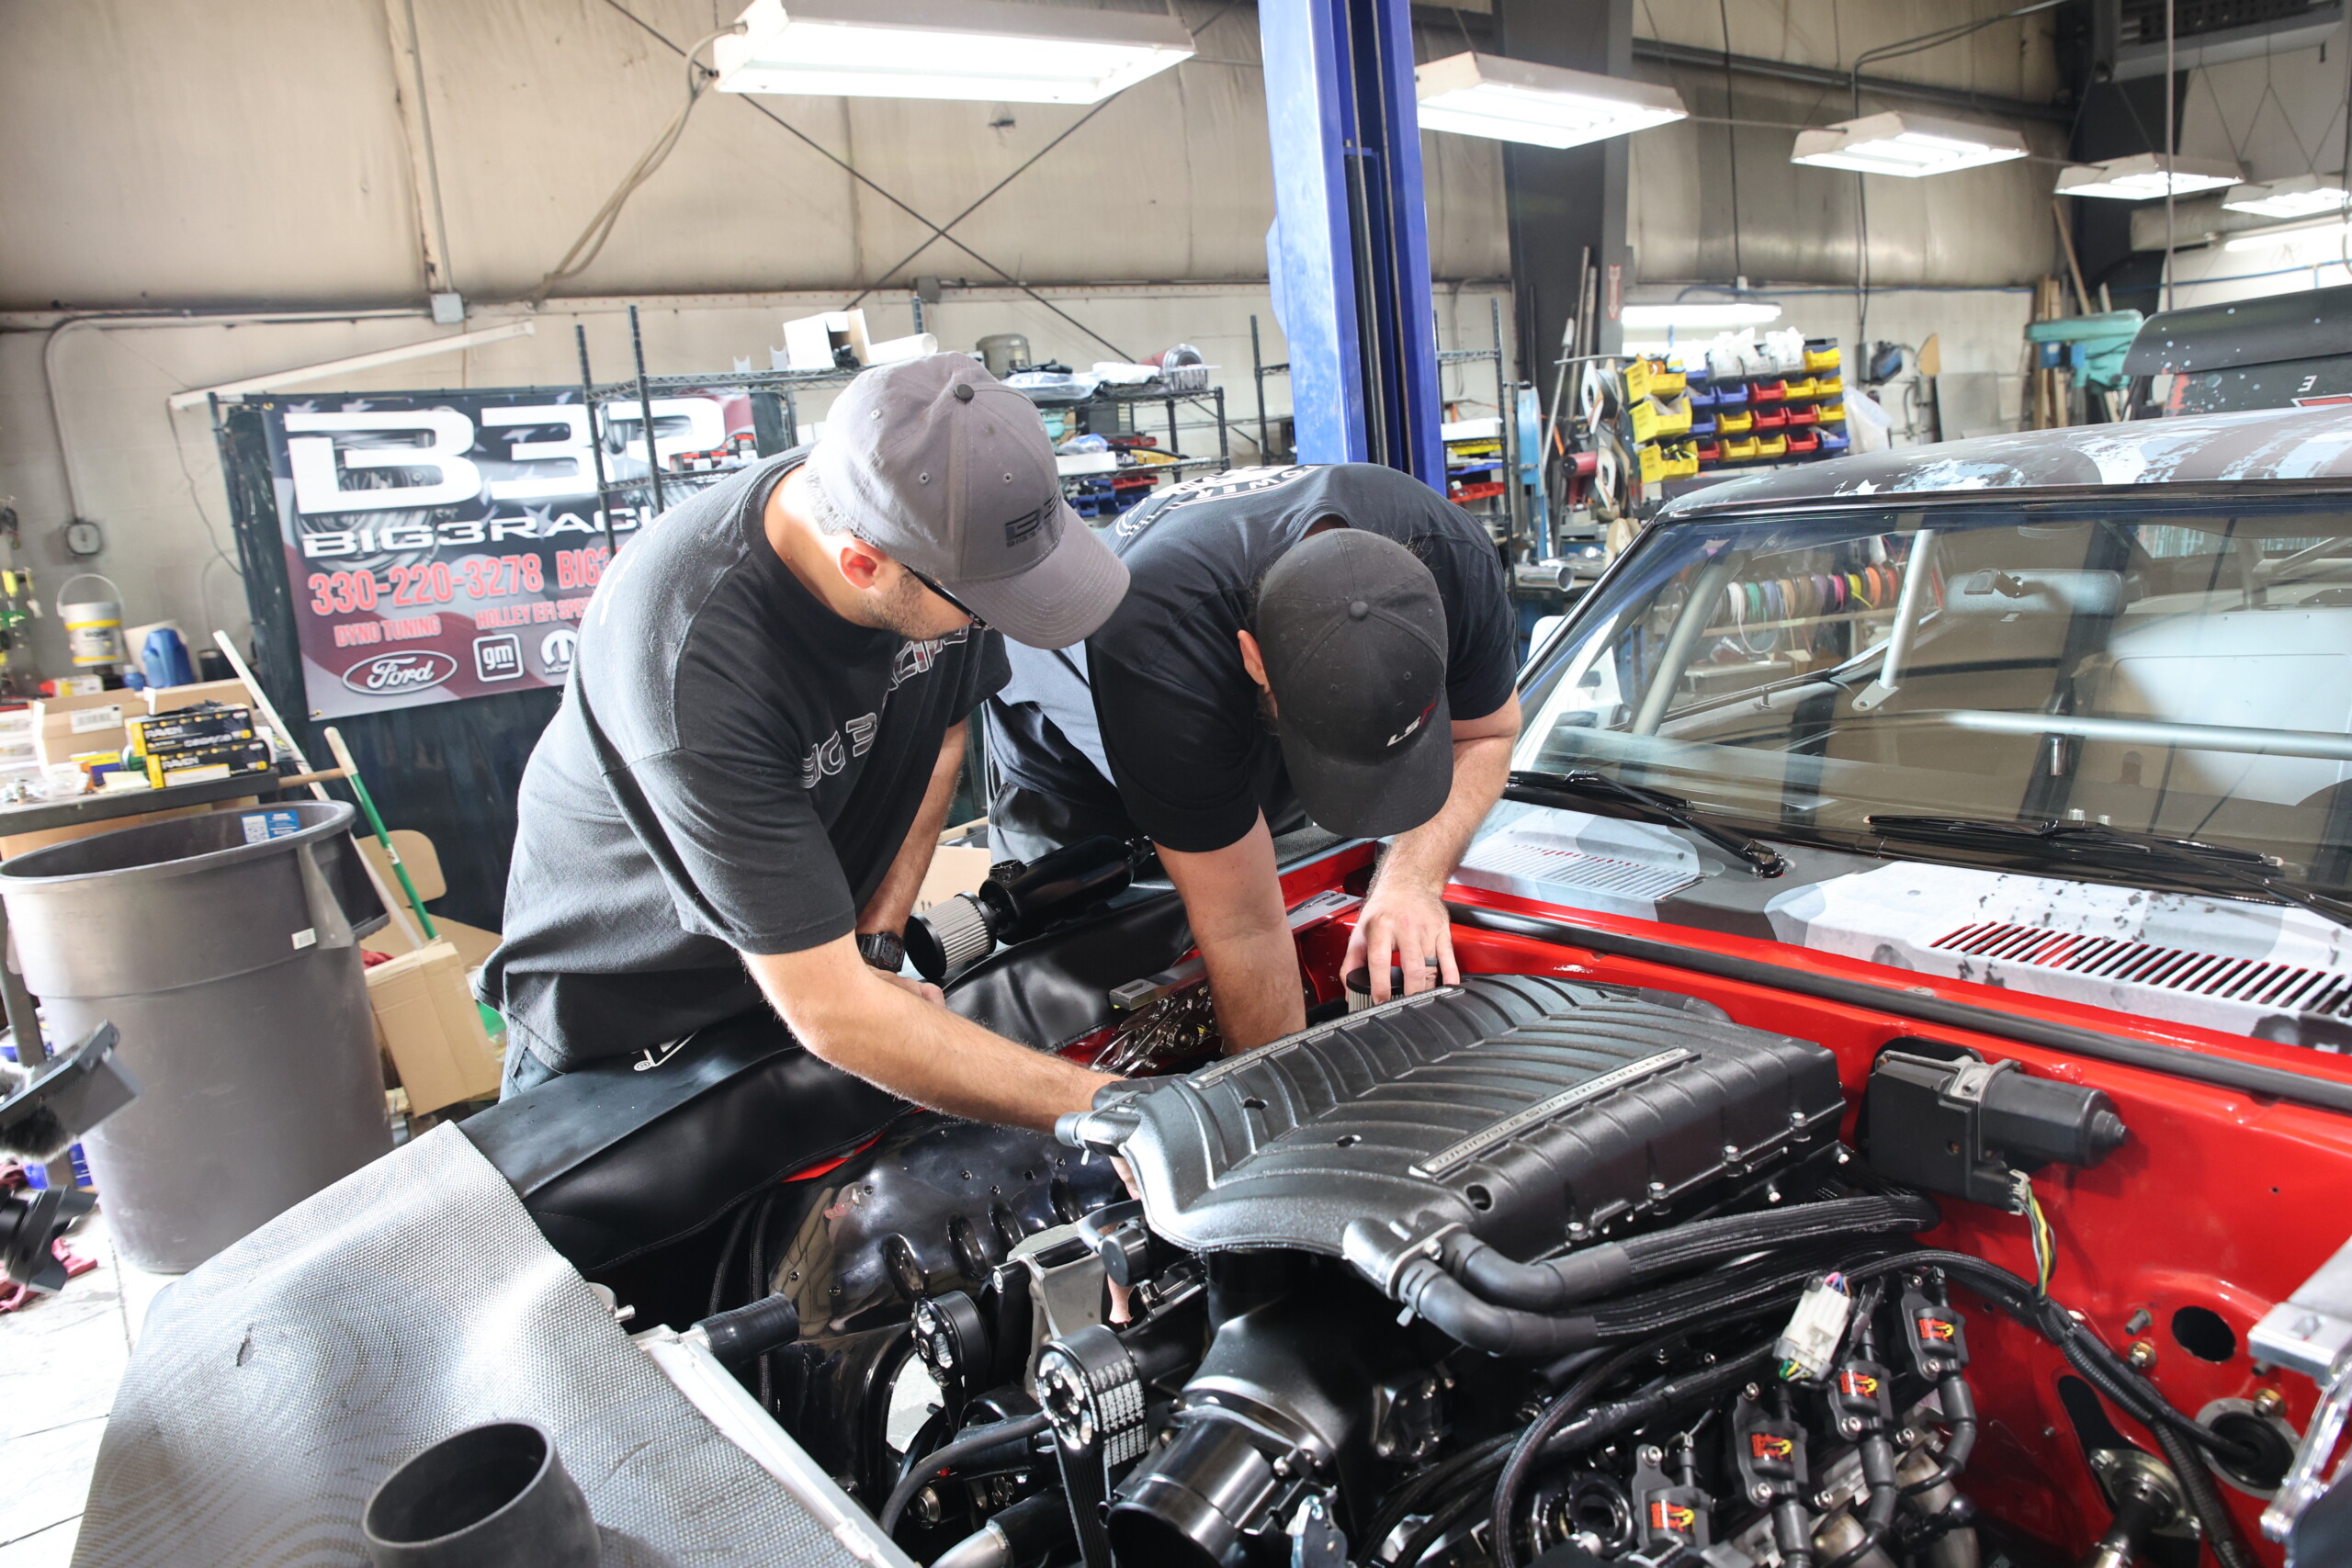
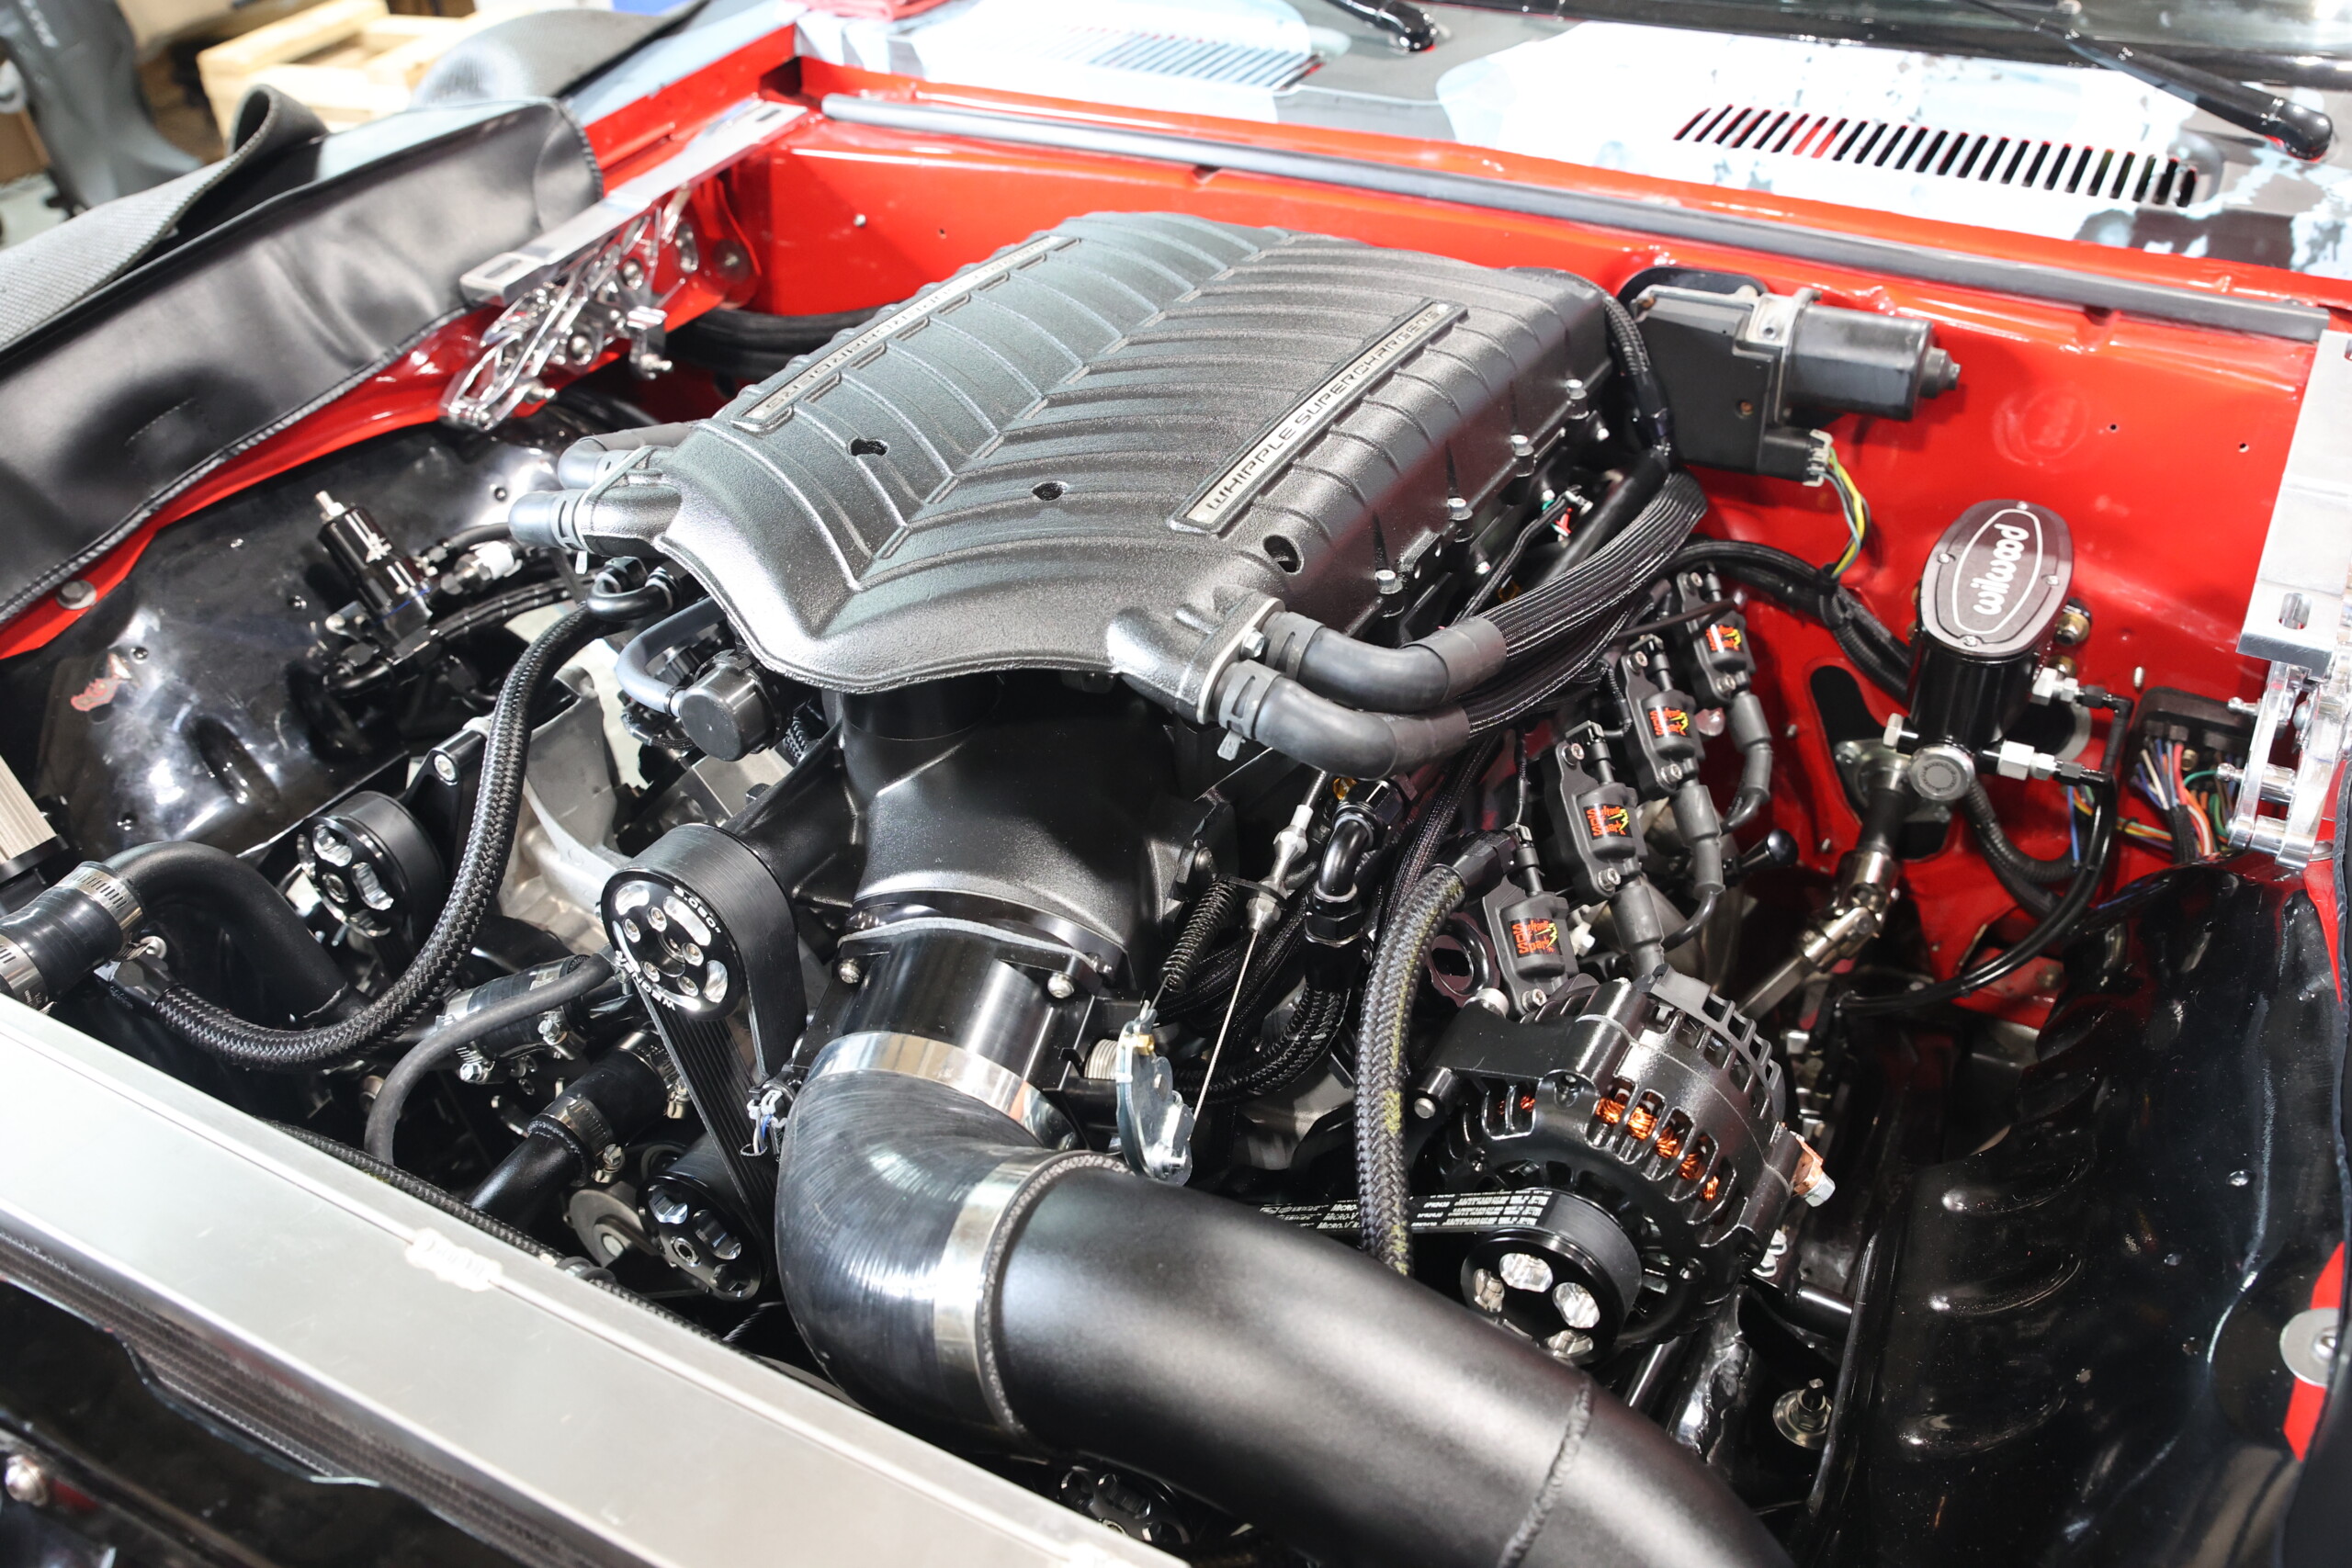
The first thing on the list was getting our LME-built L8T installed in the Camaro. With it at home in the engine bay, we quickly moved on to installing the Whipple supercharger.
First things first, before unboxing our new Whipple supercharger we decided it would be best to install the L8T in the car. Bob, Chuck, and Rick made quick work of bolting the L8T into the frame rails using LT motor mount adapters from ICT Billet and Energy Suspension motor mounts. Once the engine was in, we opened up the box from Whipple and began checking inventory.
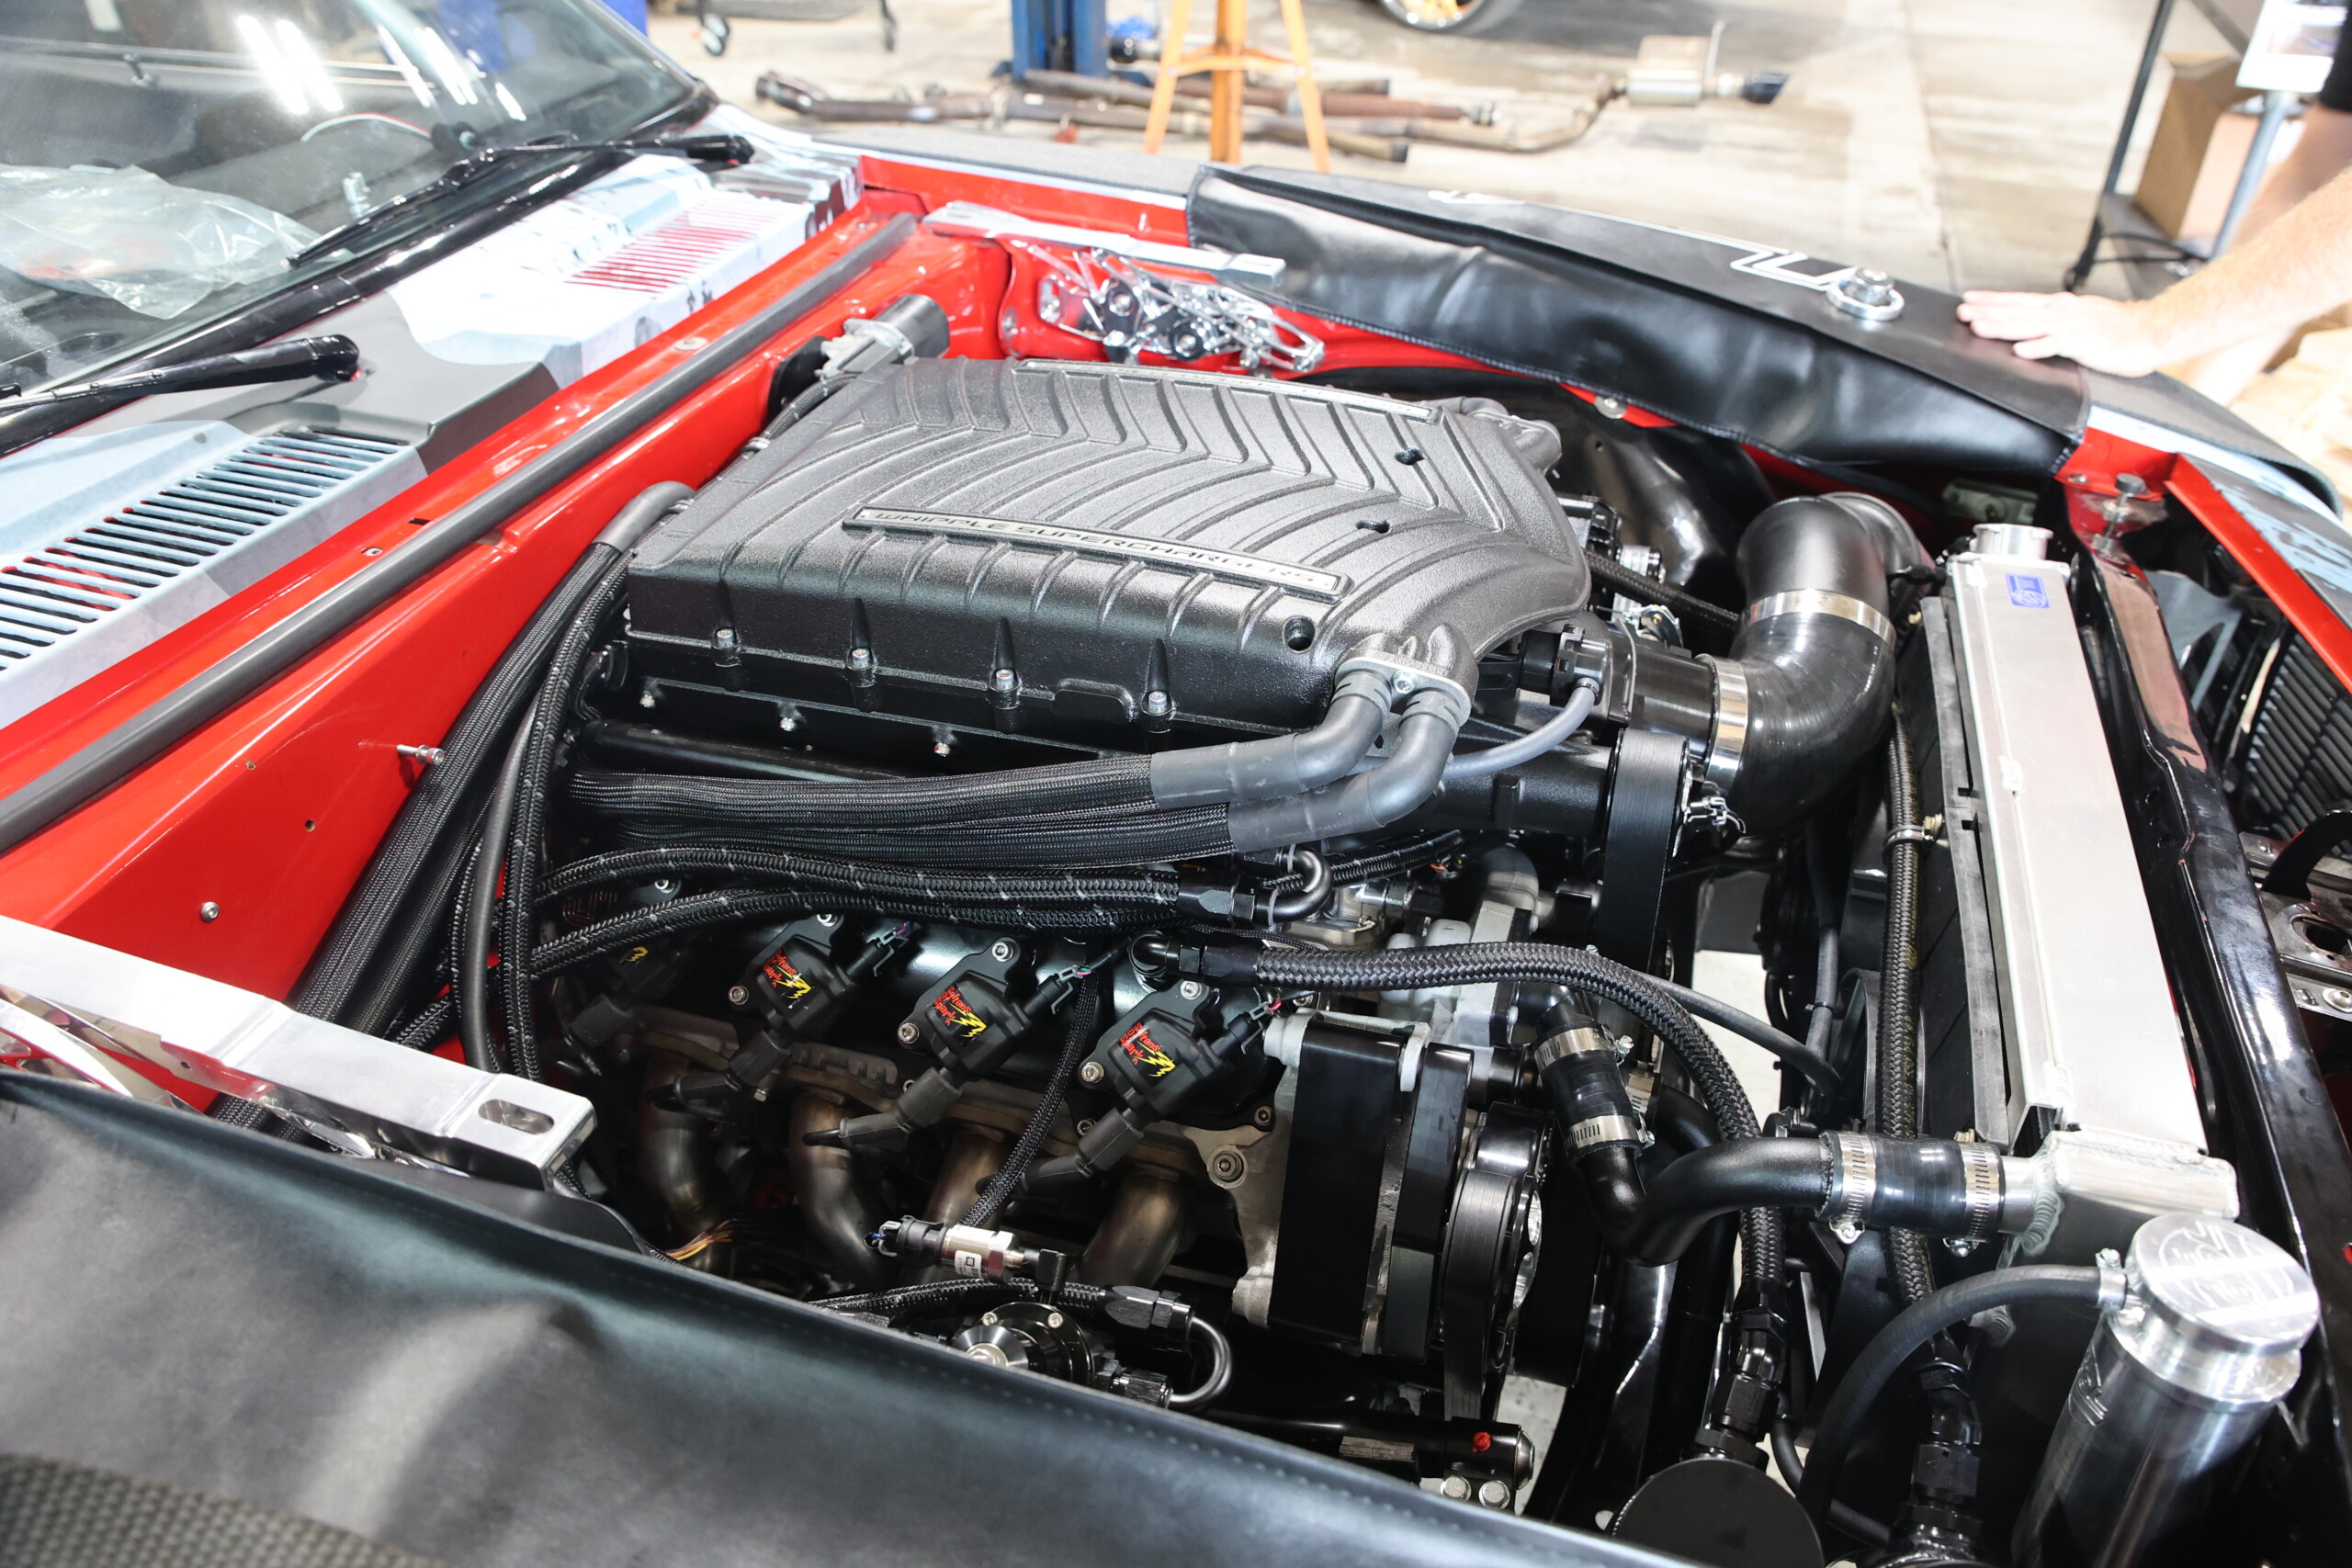
The latest Gen-5 supercharger from Whipple is an impressive unit. Right away you can see just how big a 3.0-liter supercharger is. This thing is massive, and the intercooler sitting atop the rotors makes the whole unit appear even bigger. The kit includes everything needed to complete an installation. All of the necessary hoses for the air-to-water intercooler system are included, as are all mounting hardware and a small bottle of oil. One thing to note is the supercharger will use the rubber O-rings found in the factory intake manifold to make the seal with the cylinder heads. So either get new O-rings from a parts supplier or be sure to hold onto the factory intake and remove the O-rings from it.
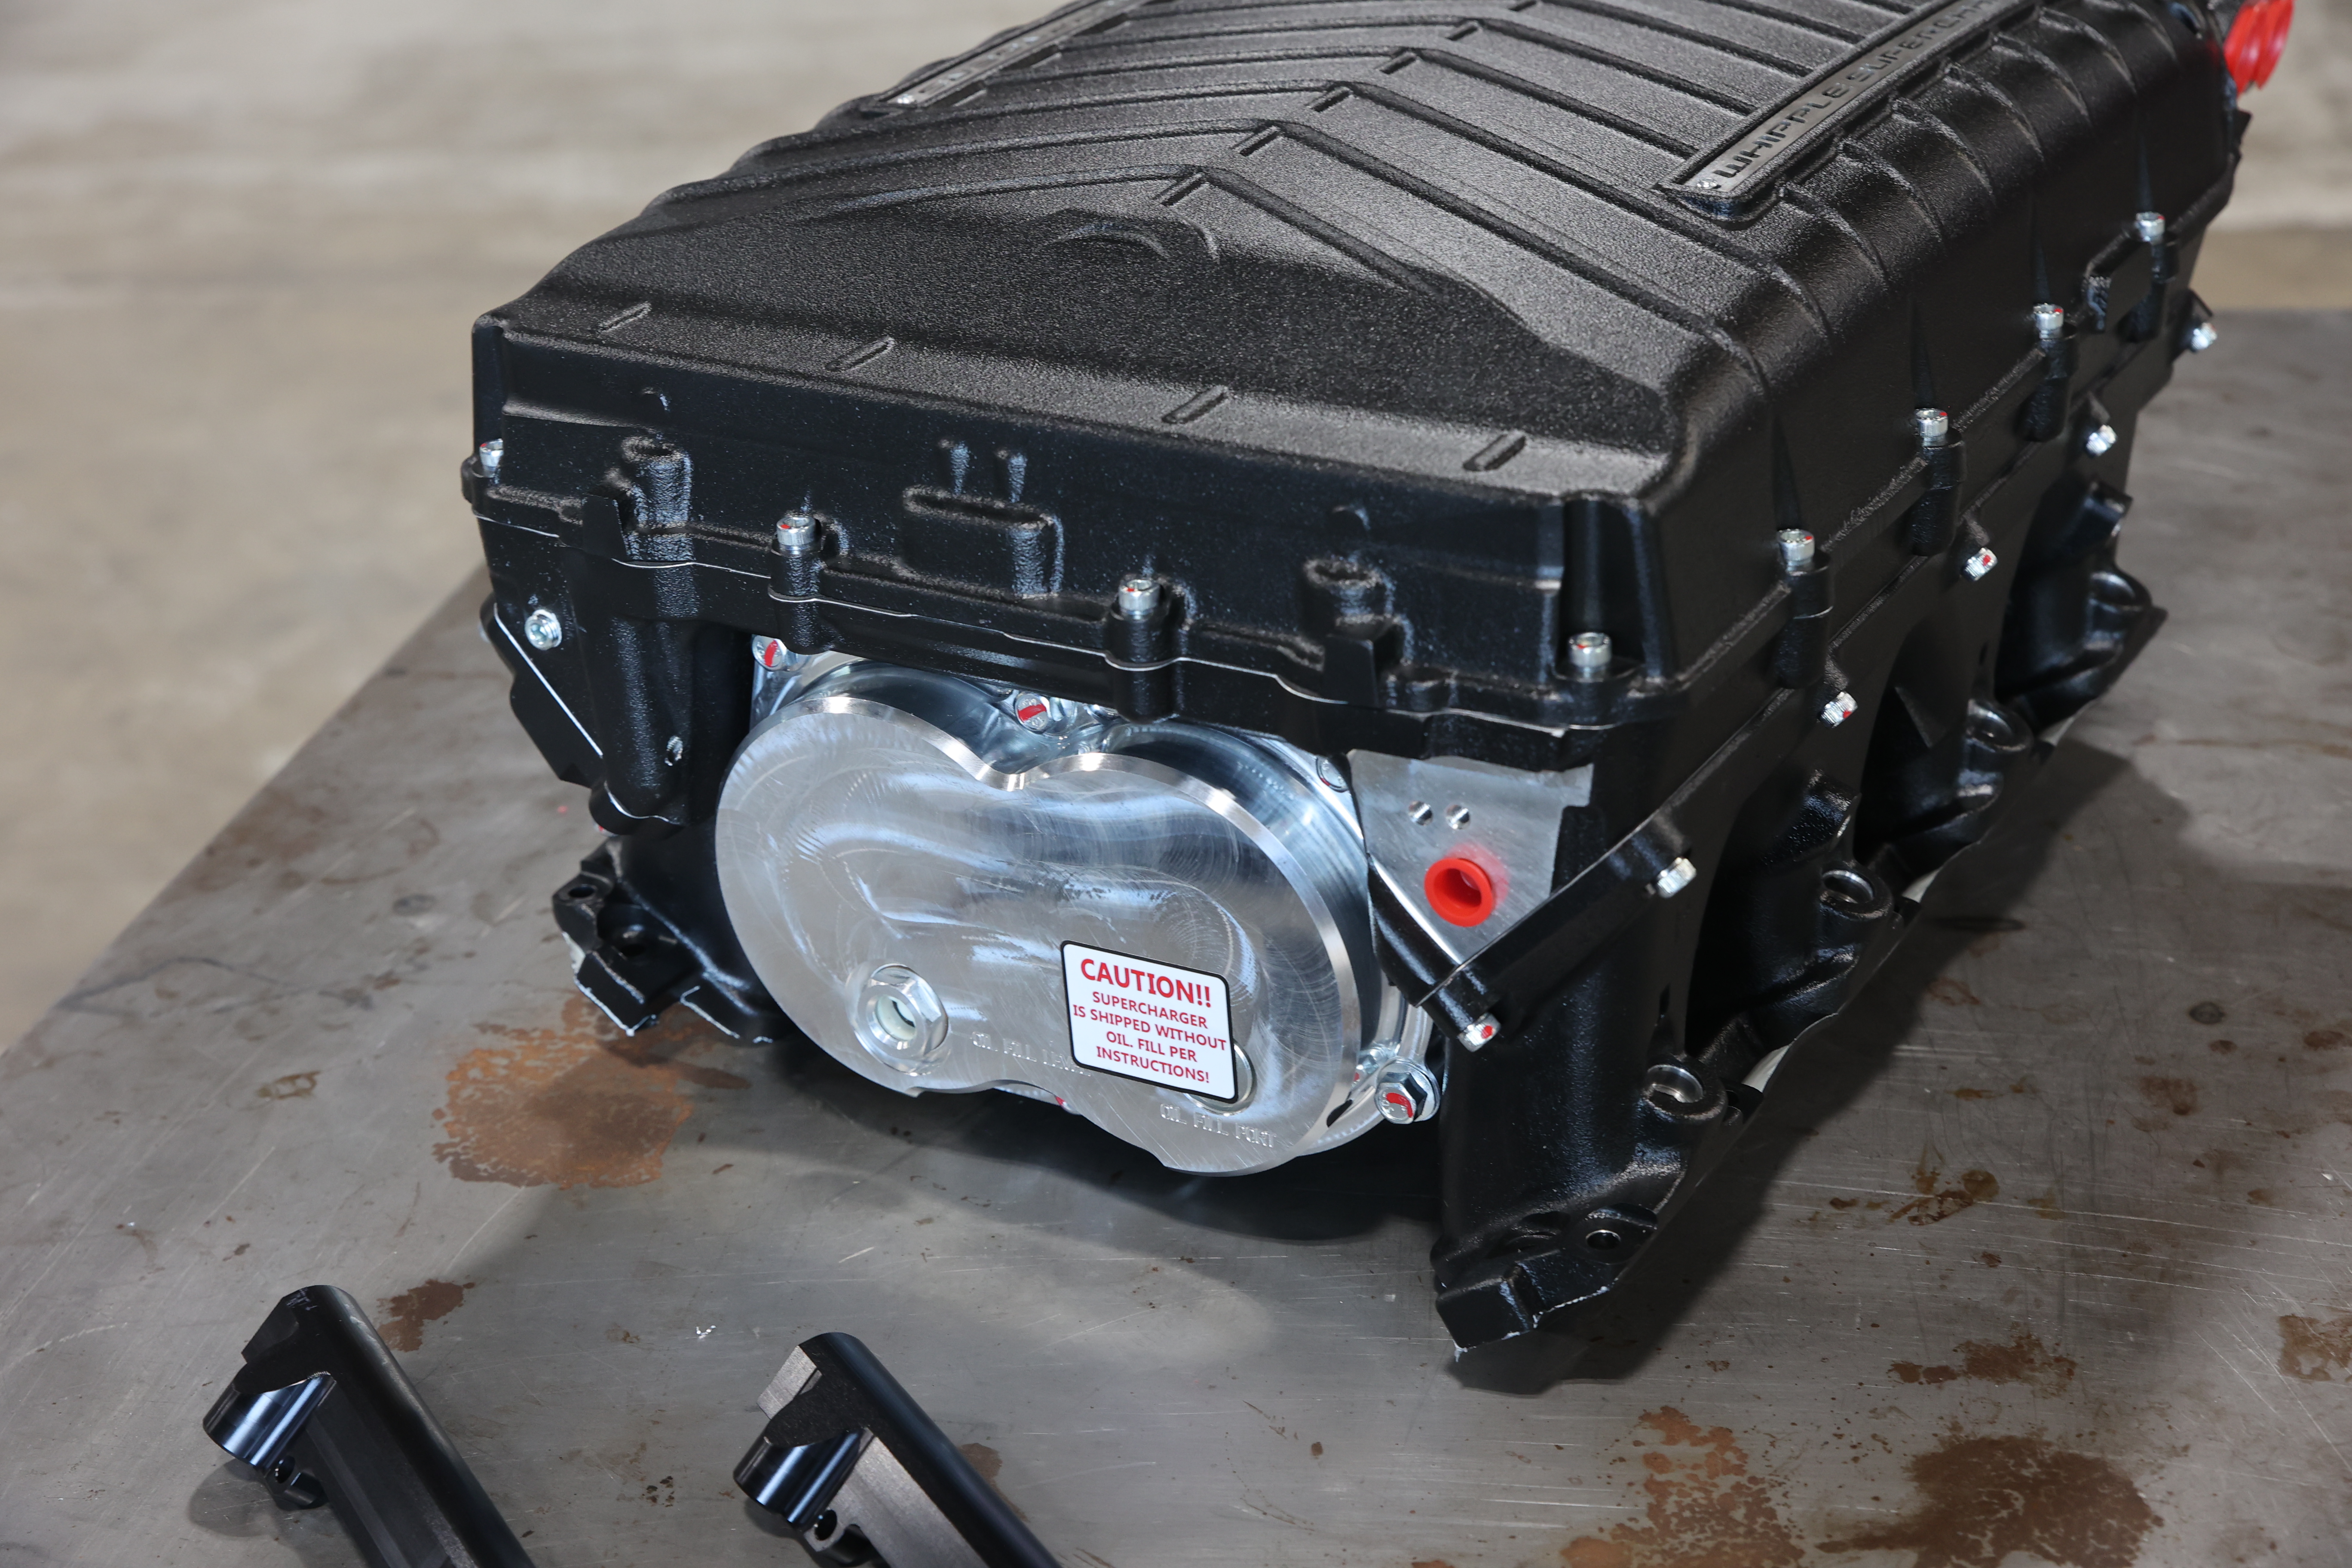
Do not forget to fill the rotor gearset with the supplied oil. If you don’t, your blower will not be happy.
Once we checked and made sure all of the included parts were present, we started prepping the supercharger for installation. After placing the factory rubber O-rings in the supercharger lower housing, along with a TMAP sensor that measures both pressure and temperature, we were ready to set it on the CID cylinder heads and get it bolted down. Our particular supercharger has two sets of mounting hole locations so it can be installed on various Gen-V cylinder heads. We made an initial pass, torquing the bolts to 89 lb-in followed by a final pass to torque them to 130 lb-in.
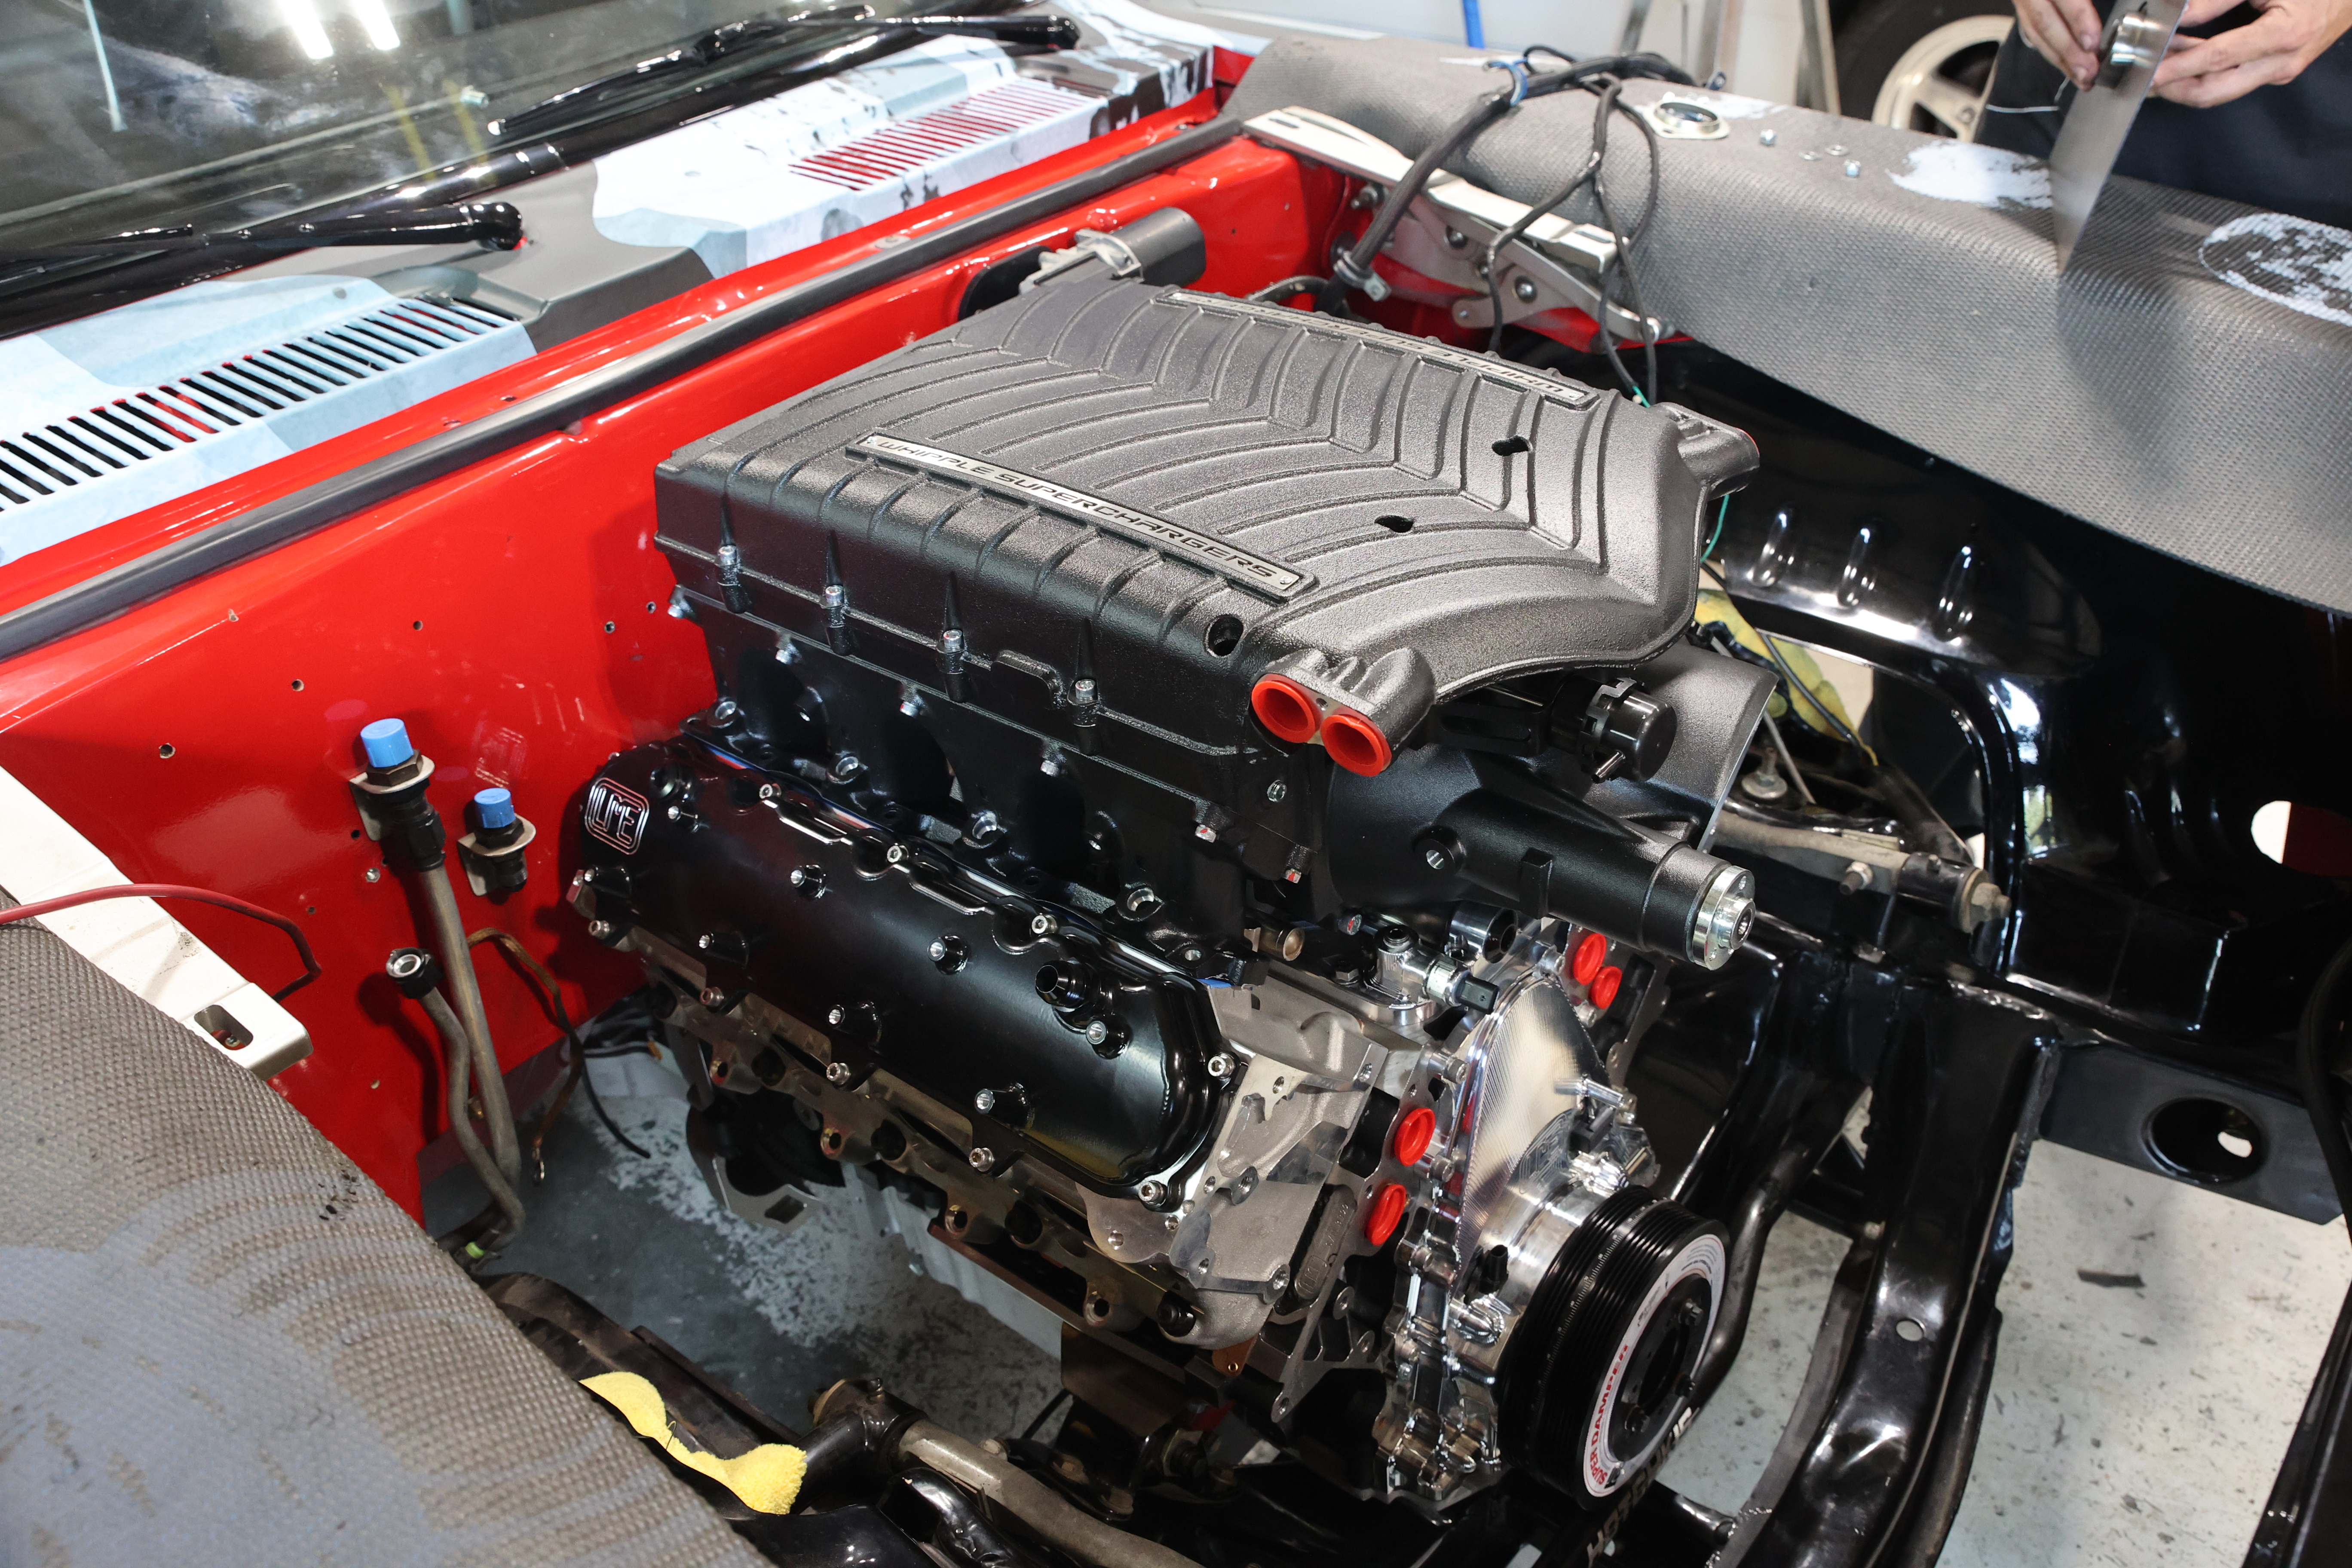
When setting the supercharger on the cylinder heads be sure that none of the O-rings try to fall out of their grooves. A small dab of silicone in each of the O-ring grooves ensures they all stay in place while setting the supercharger atop your engine.
The entire installation was pretty straightforward. After bolting the supercharger down we moved on to installing the fueling components. For injectors, we are using 170 lb/hr units from Fuel Injector Clinic. These are a high-performance matched set that is E85 compatible, making them a perfect choice for this application. We installed a flex fuel sensor and will run the car on the corn fuel at the drag strip. In short order, we had the injectors installed and fuel rails mounted.
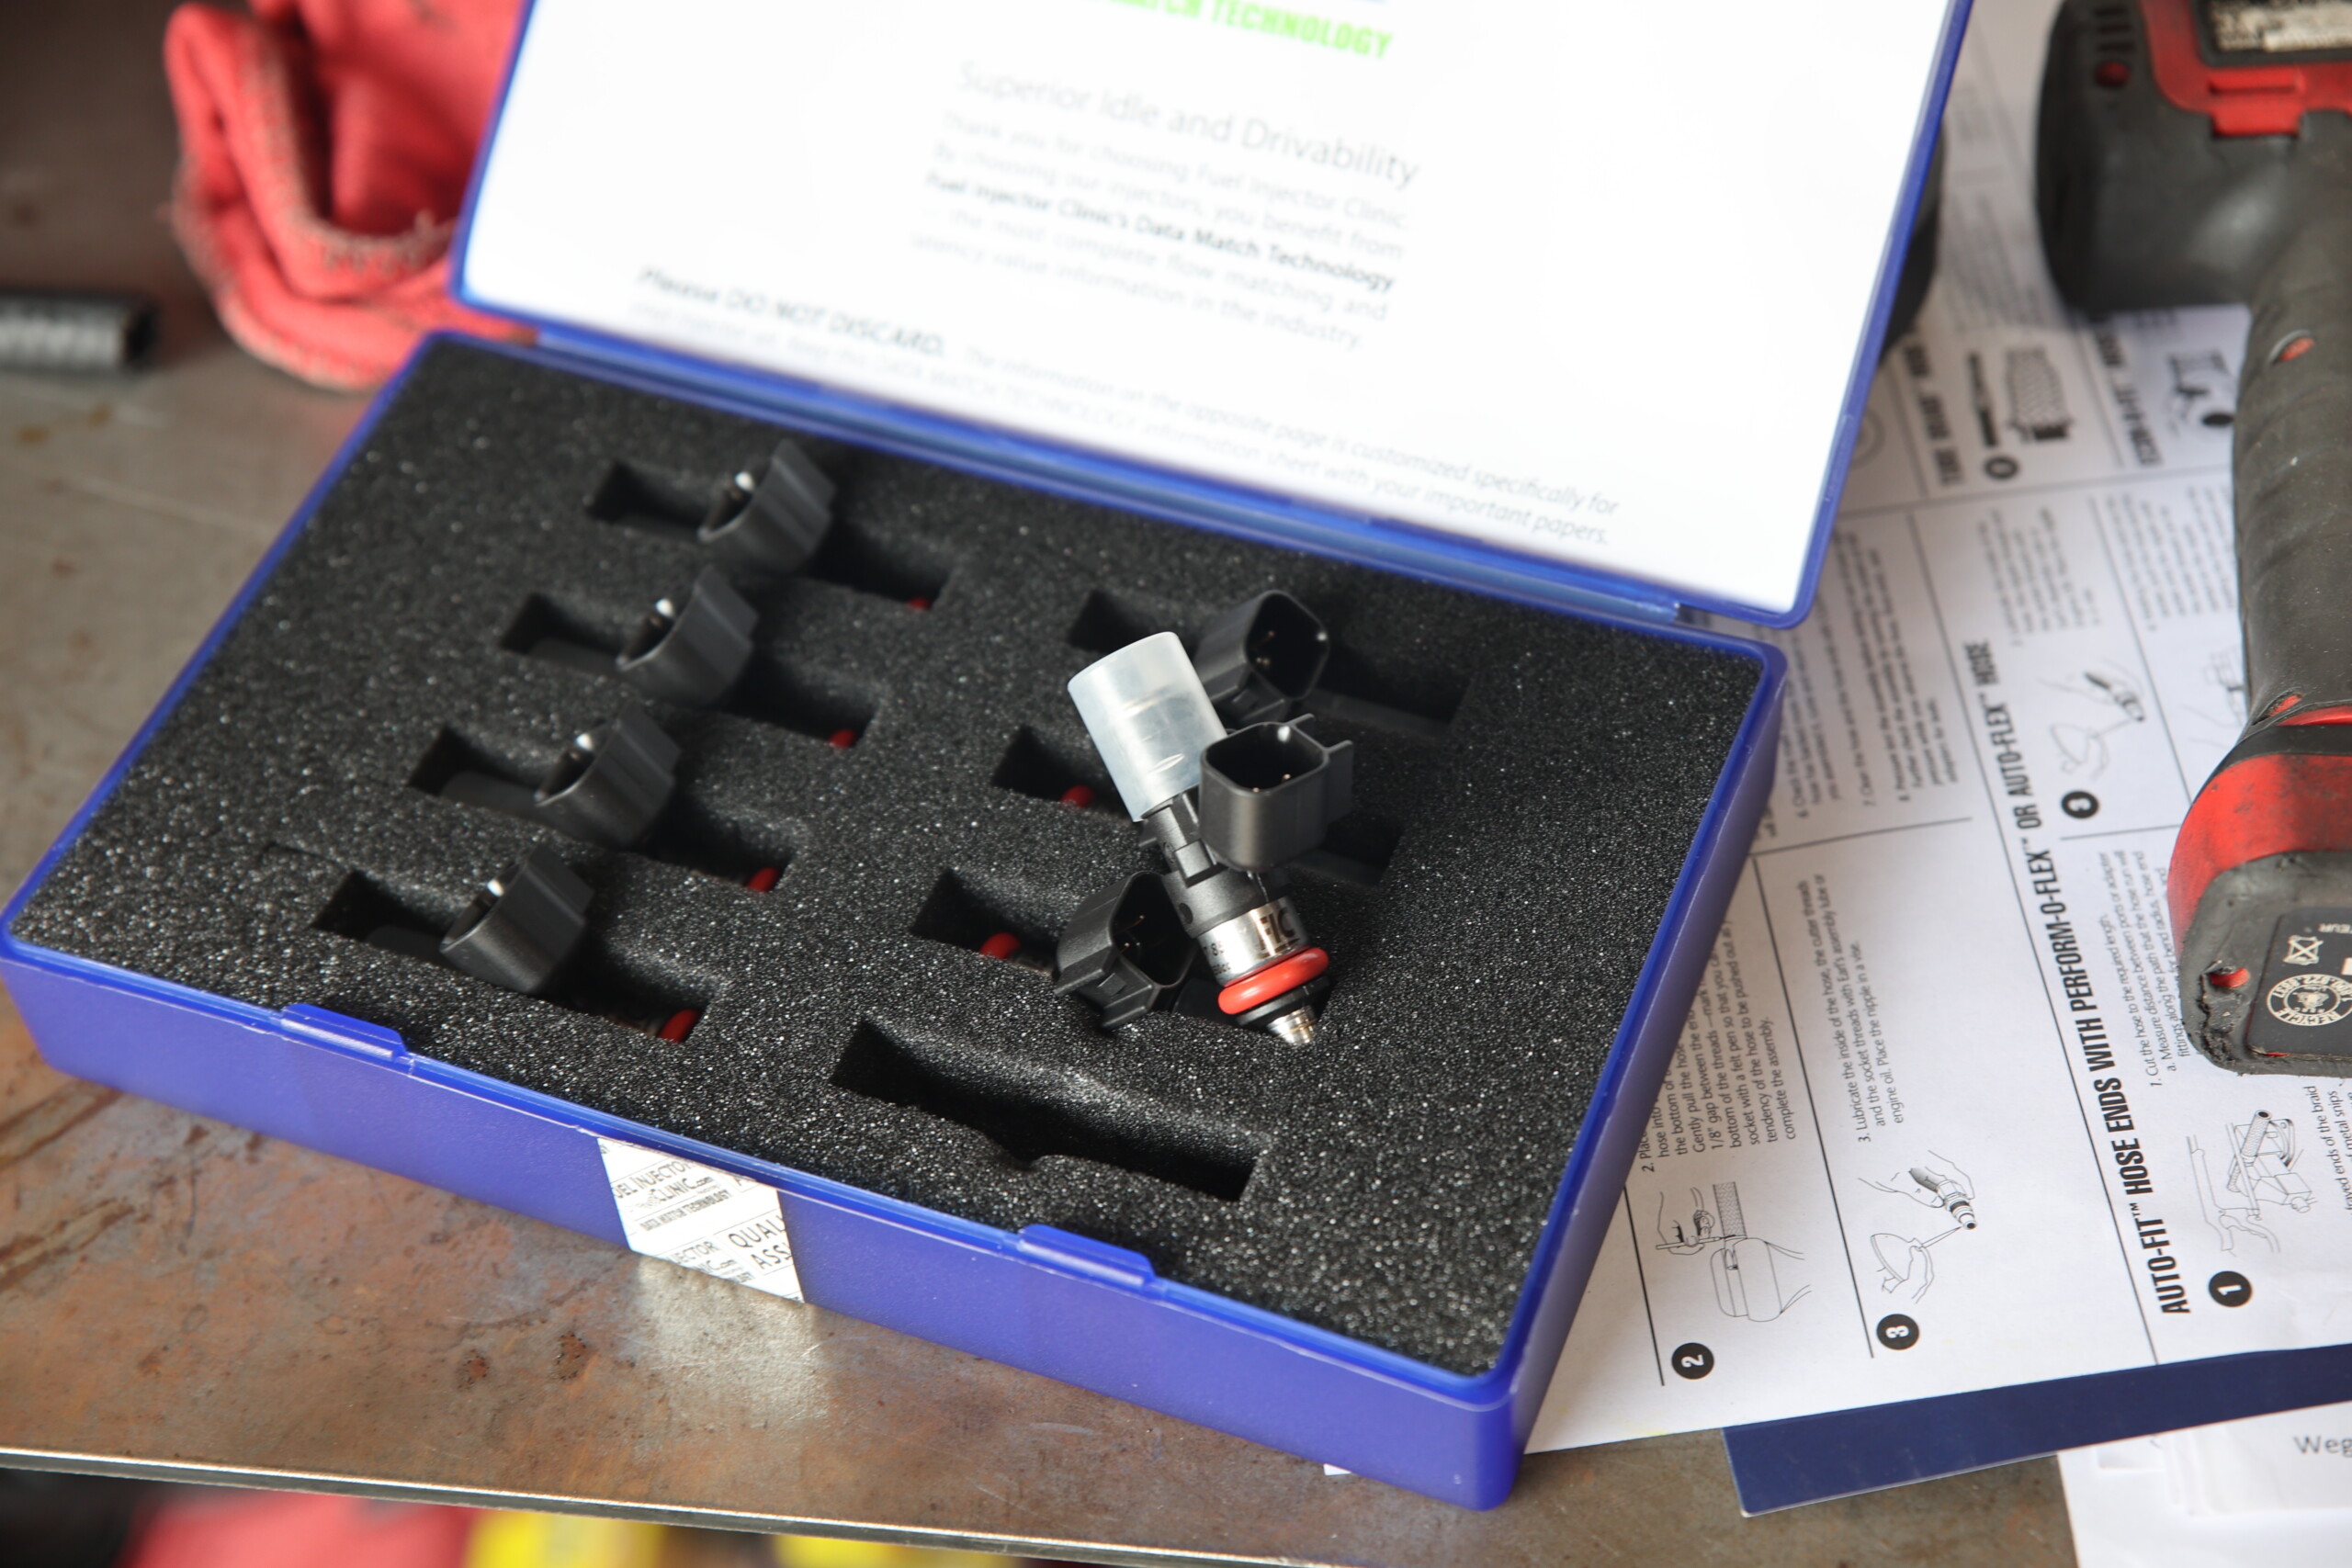
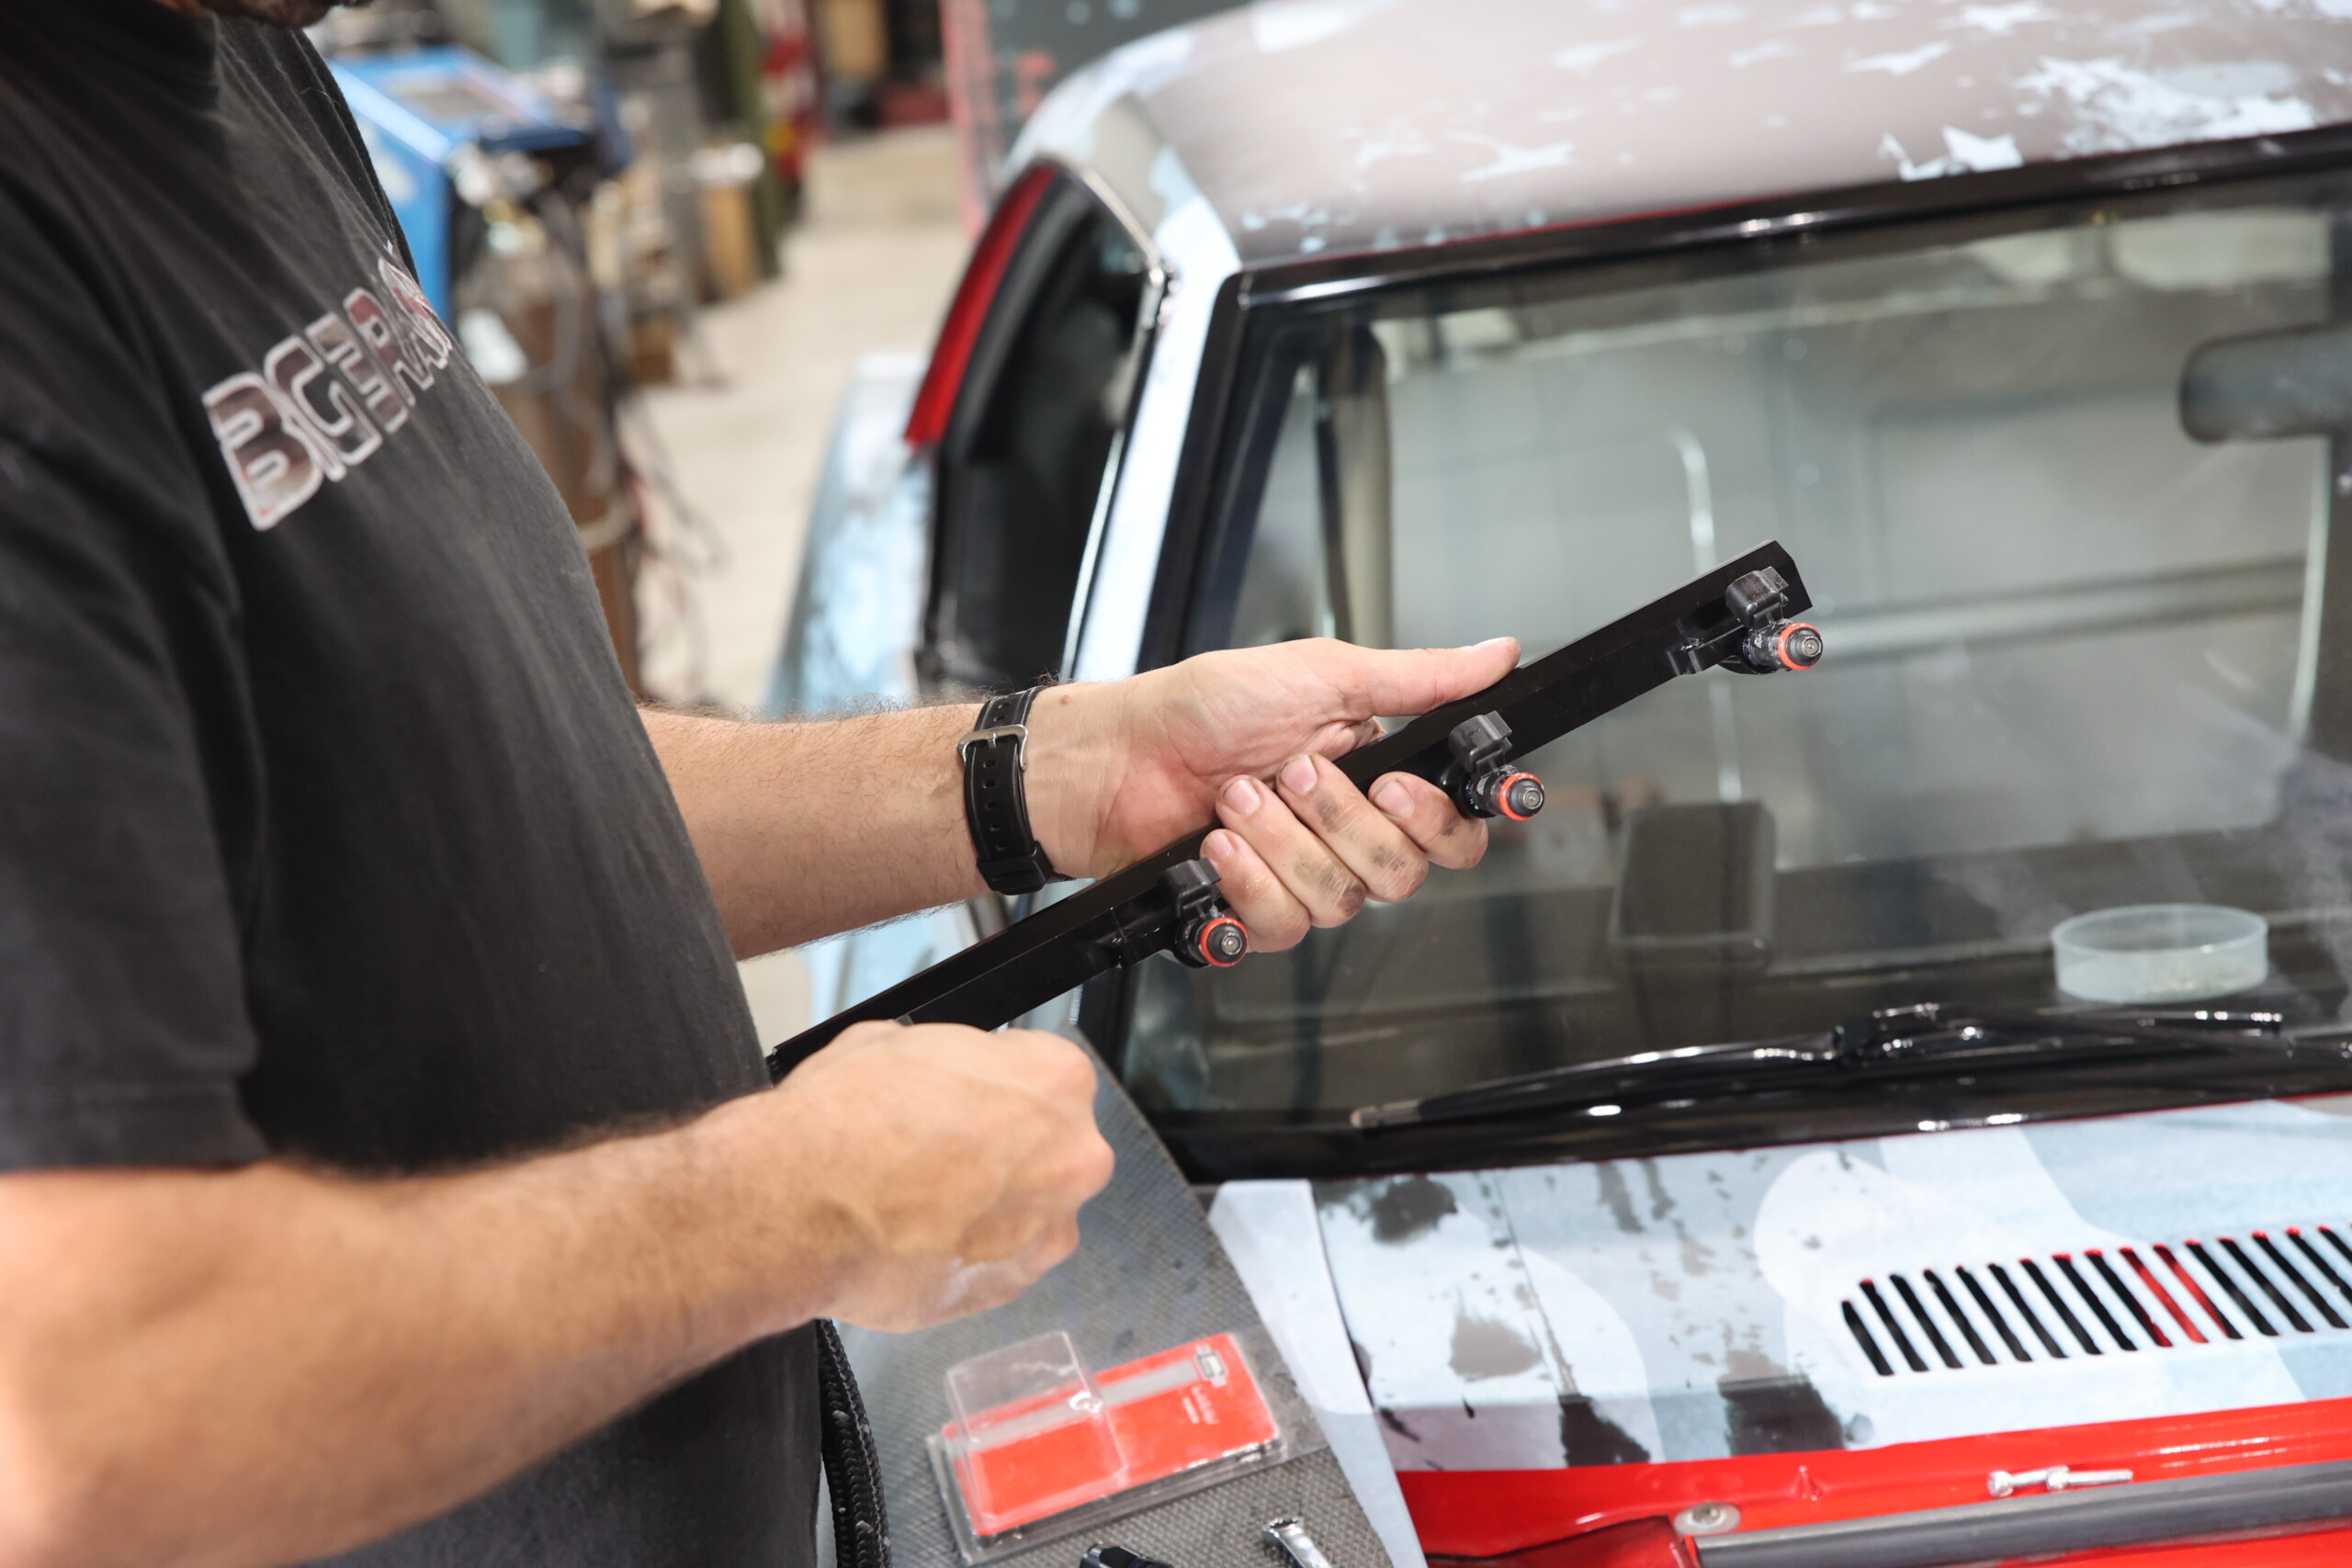
Our FIC injectors flow plenty of fuel even with E85 to meet the needs of our combination. Installing the injectors is a plug-and-play affair. Bob applied a small film of lubricant to the O-rings to make seating the injectors in the fuel rails easier and reduce the risk of tearing an O-ring.
With the fueling components securely in place we could tackle the routing of the coolant hoses. Because the packaging of our engine combination is unique and we aren’t using the supplied heat exchanger or coolant reservoir, we needed to devise a new routing solution for the coolant hoses that differs from the instructions. Instead of running the included coolant reservoir tank and heat exchanger, we opted to run an ice/water box that we mounted in the trunk. We were able to use the prebent hoses that Whipple included to run from the supercharger to the firewall, and from there we ordered up additional hose from Summit Racing and ran it from the firewall to the trunk. Being able to ice down the intercooler before each pass will help tremendously in keeping the intake air temperatures low.
Because we are using an ice/water box in the trunk to feed cold water to our intercooler we had to come up with new routing for the hoses. Bob and Jeremy ran the hoses to the rear of the supercharger where there are two T-fittings with hoses that run to the passenger side of the firewall before continuing to the trunk-mounted ice/water box.
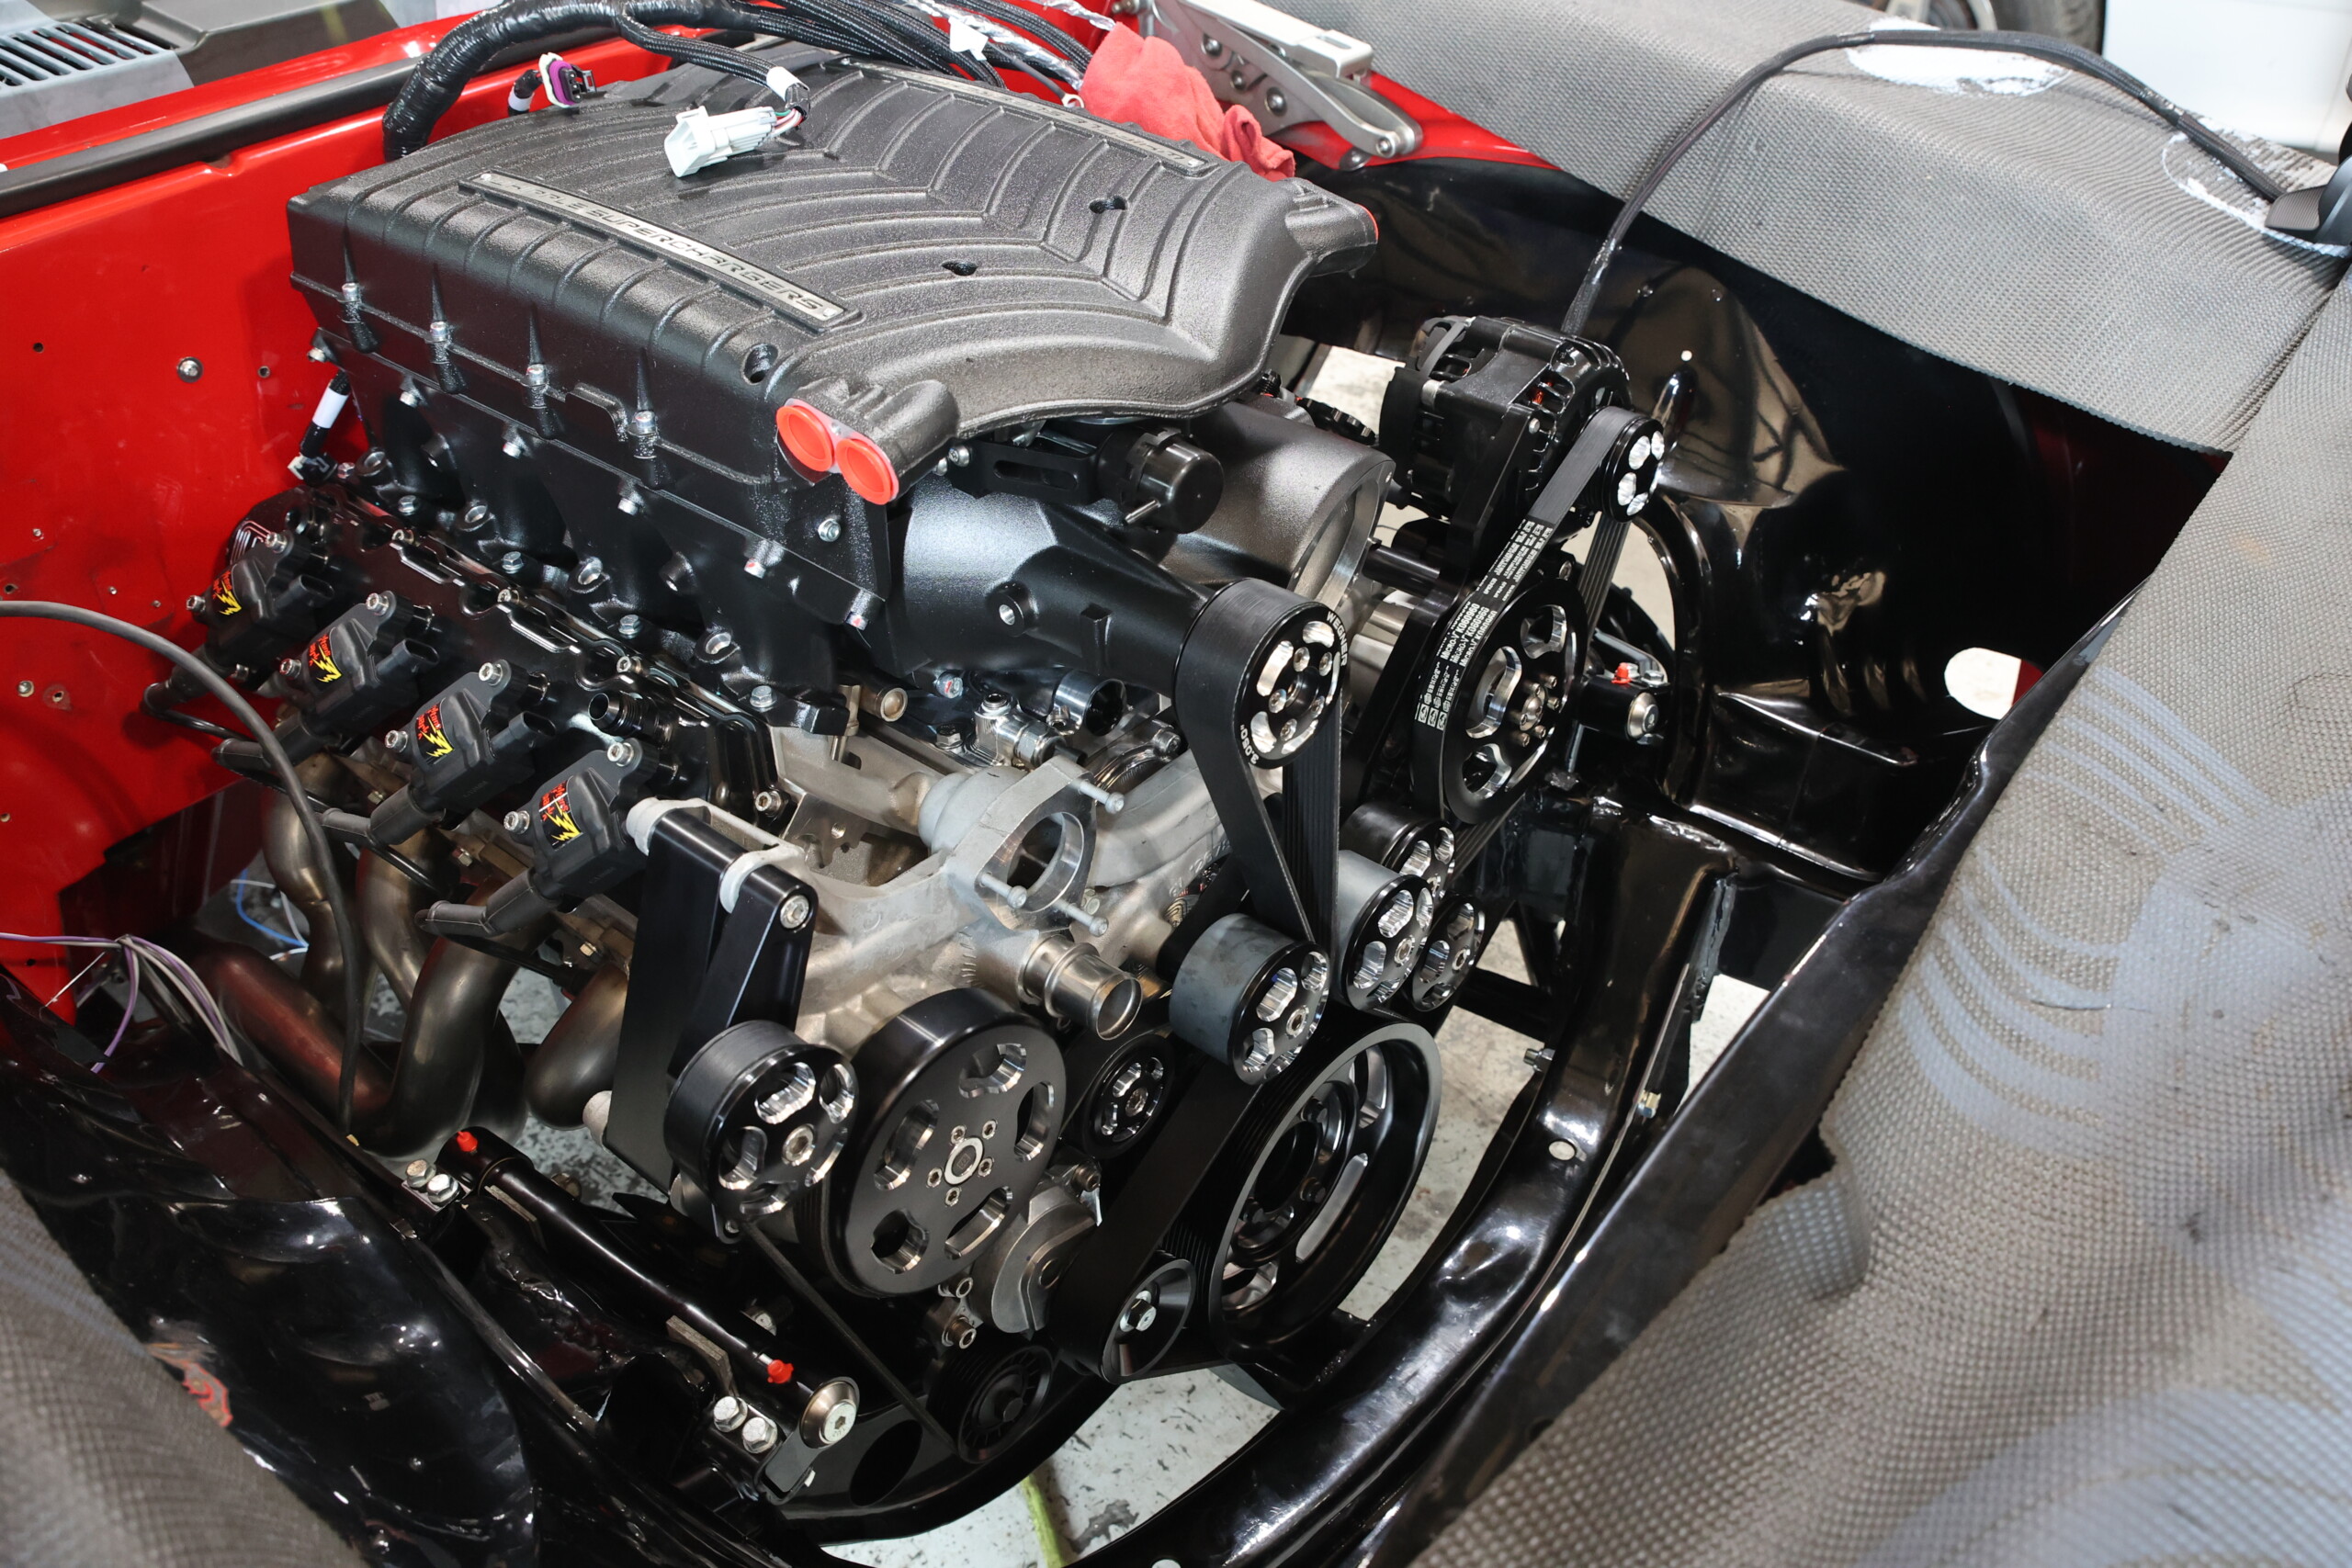
The next step in the installation was to bolt on the accessory drive so that we could install the drive belts. For the accessory drive, we chose to run a complete system from Wegner Automotive. The Wegner accessory drive is like jewelry for your engine. It features pulleys and brackets that are all CNC-machined from billet aluminum for maximum rigidity in high-horsepower applications. A key benefit to running this accessory drive is the design includes an additional idler pulley for complete belt wrap and no-slip operation. The Wegner design also has a separate 10-rib belt drive dedicated to the supercharger.
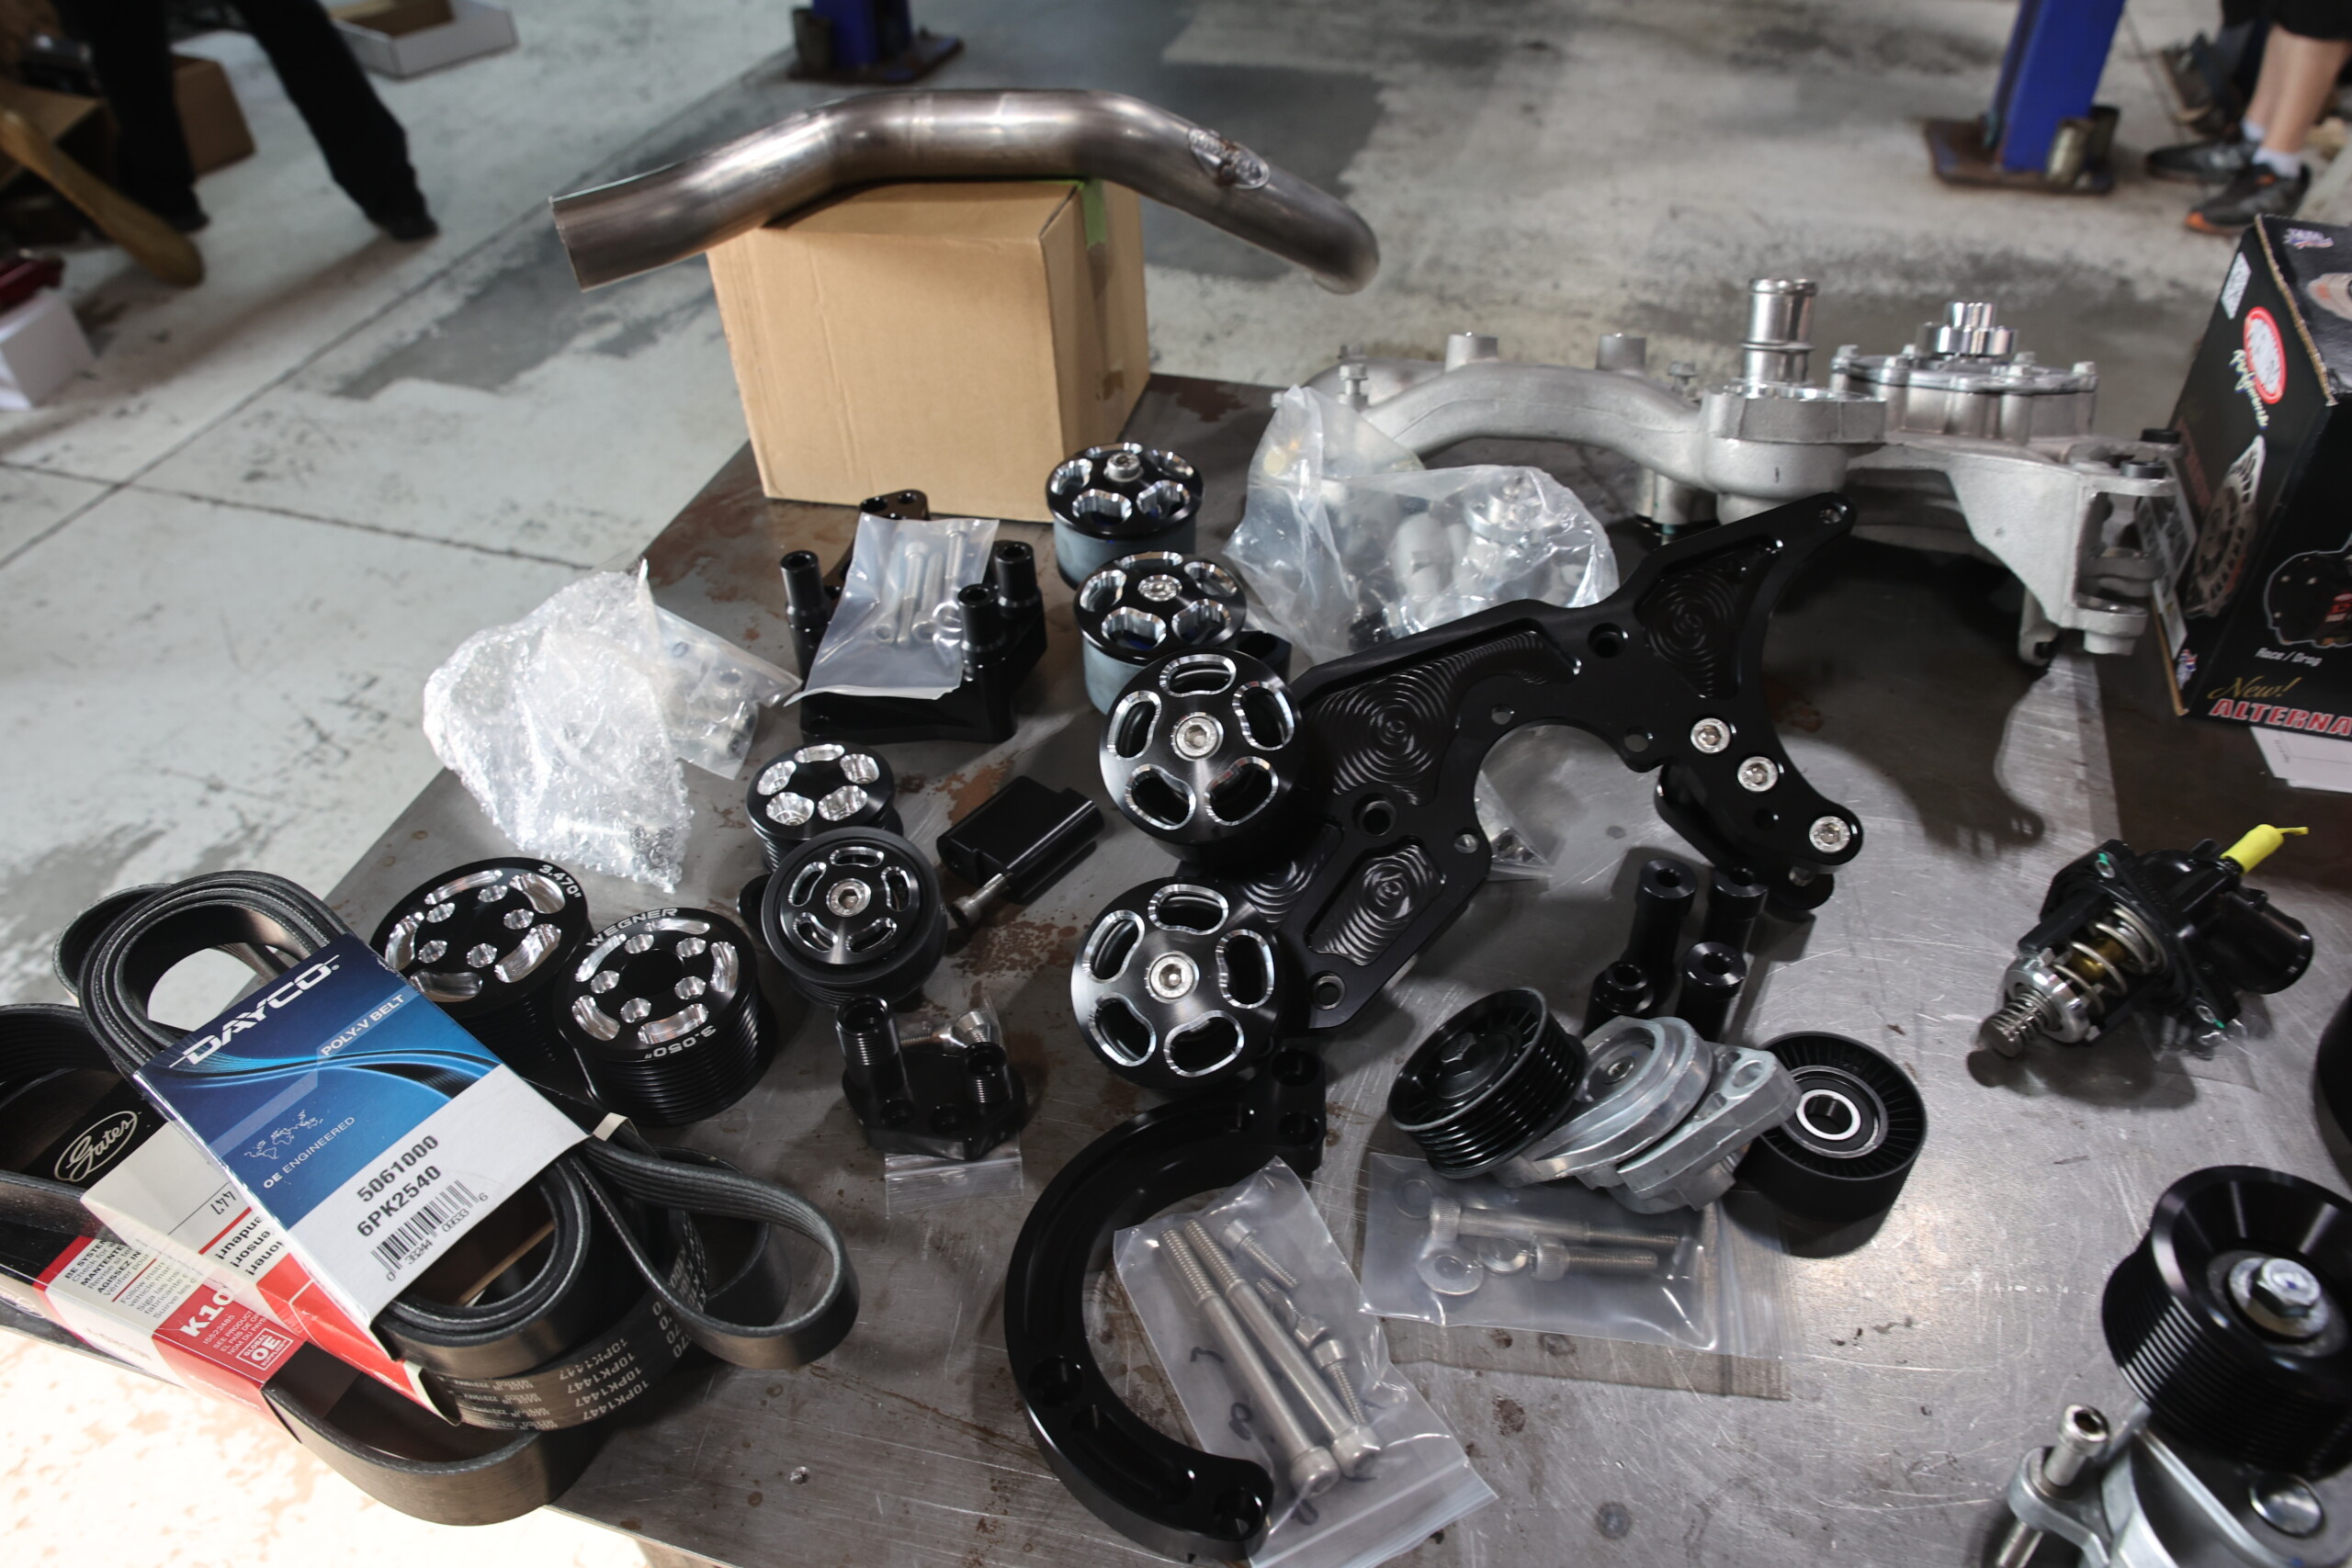
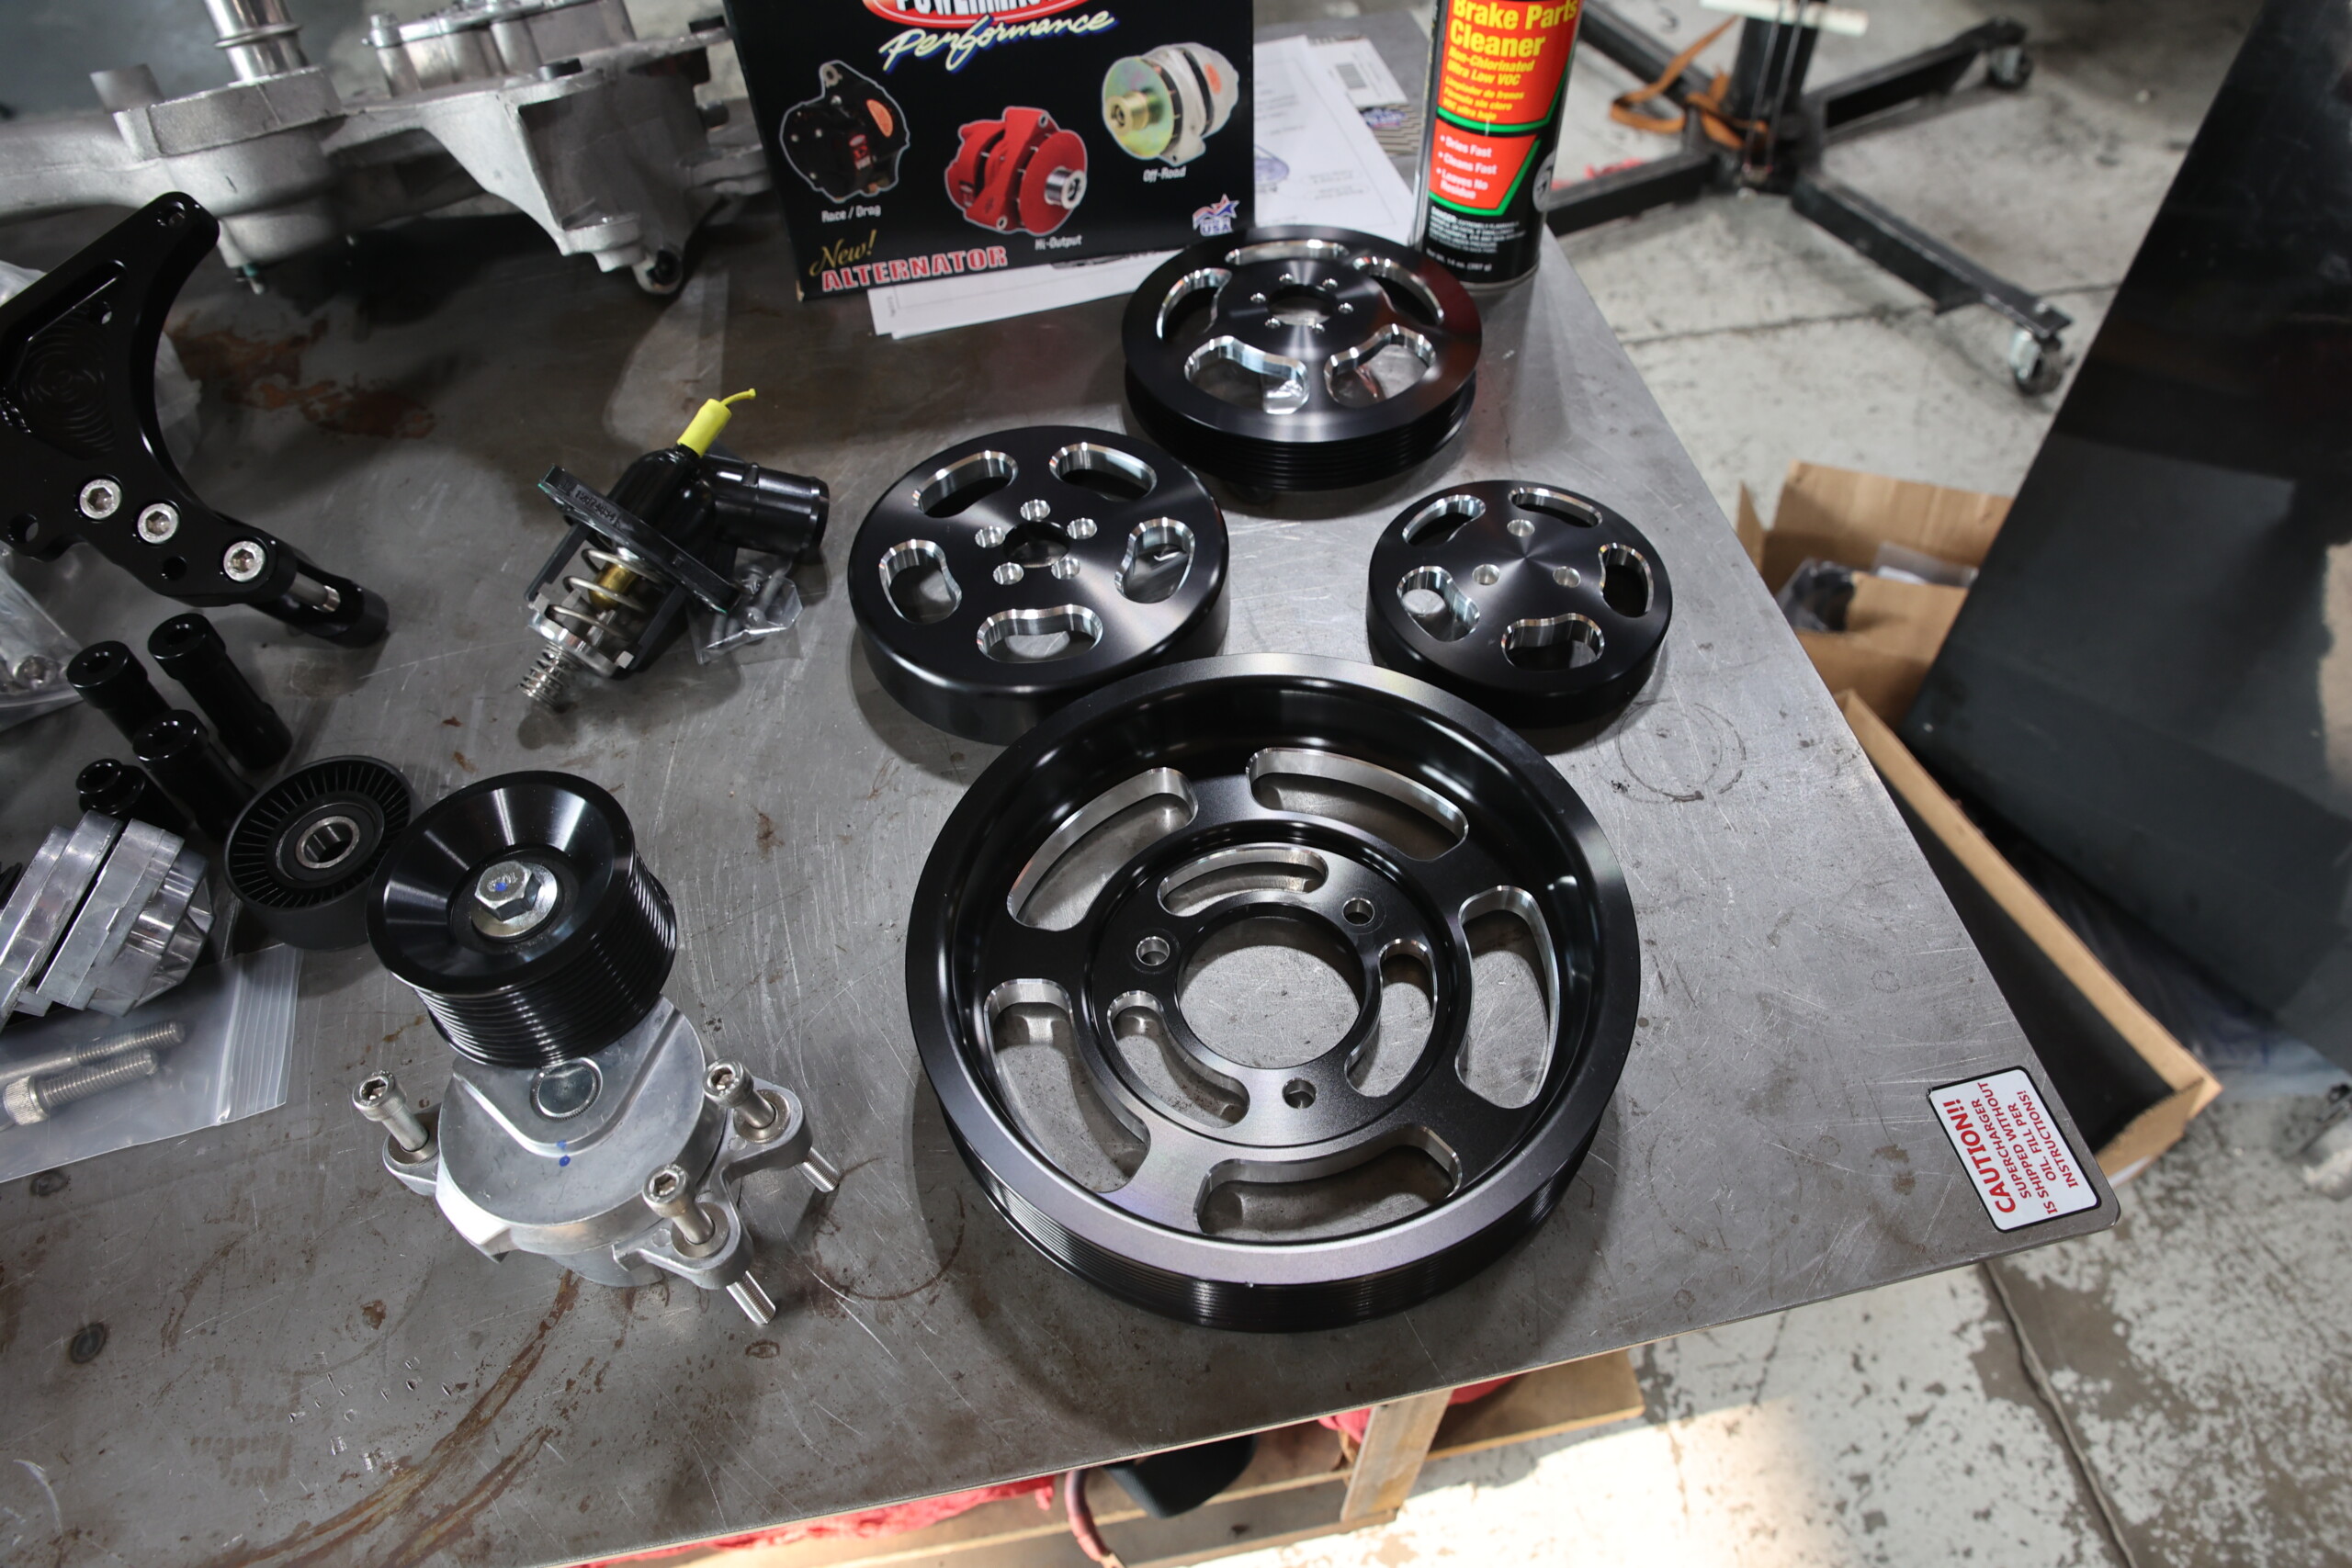
The Wenger Automotive LT accessory drive kit is an amazing package. It comes with everything you need to complete the mounting of all the accessories, and it looks fantastic.
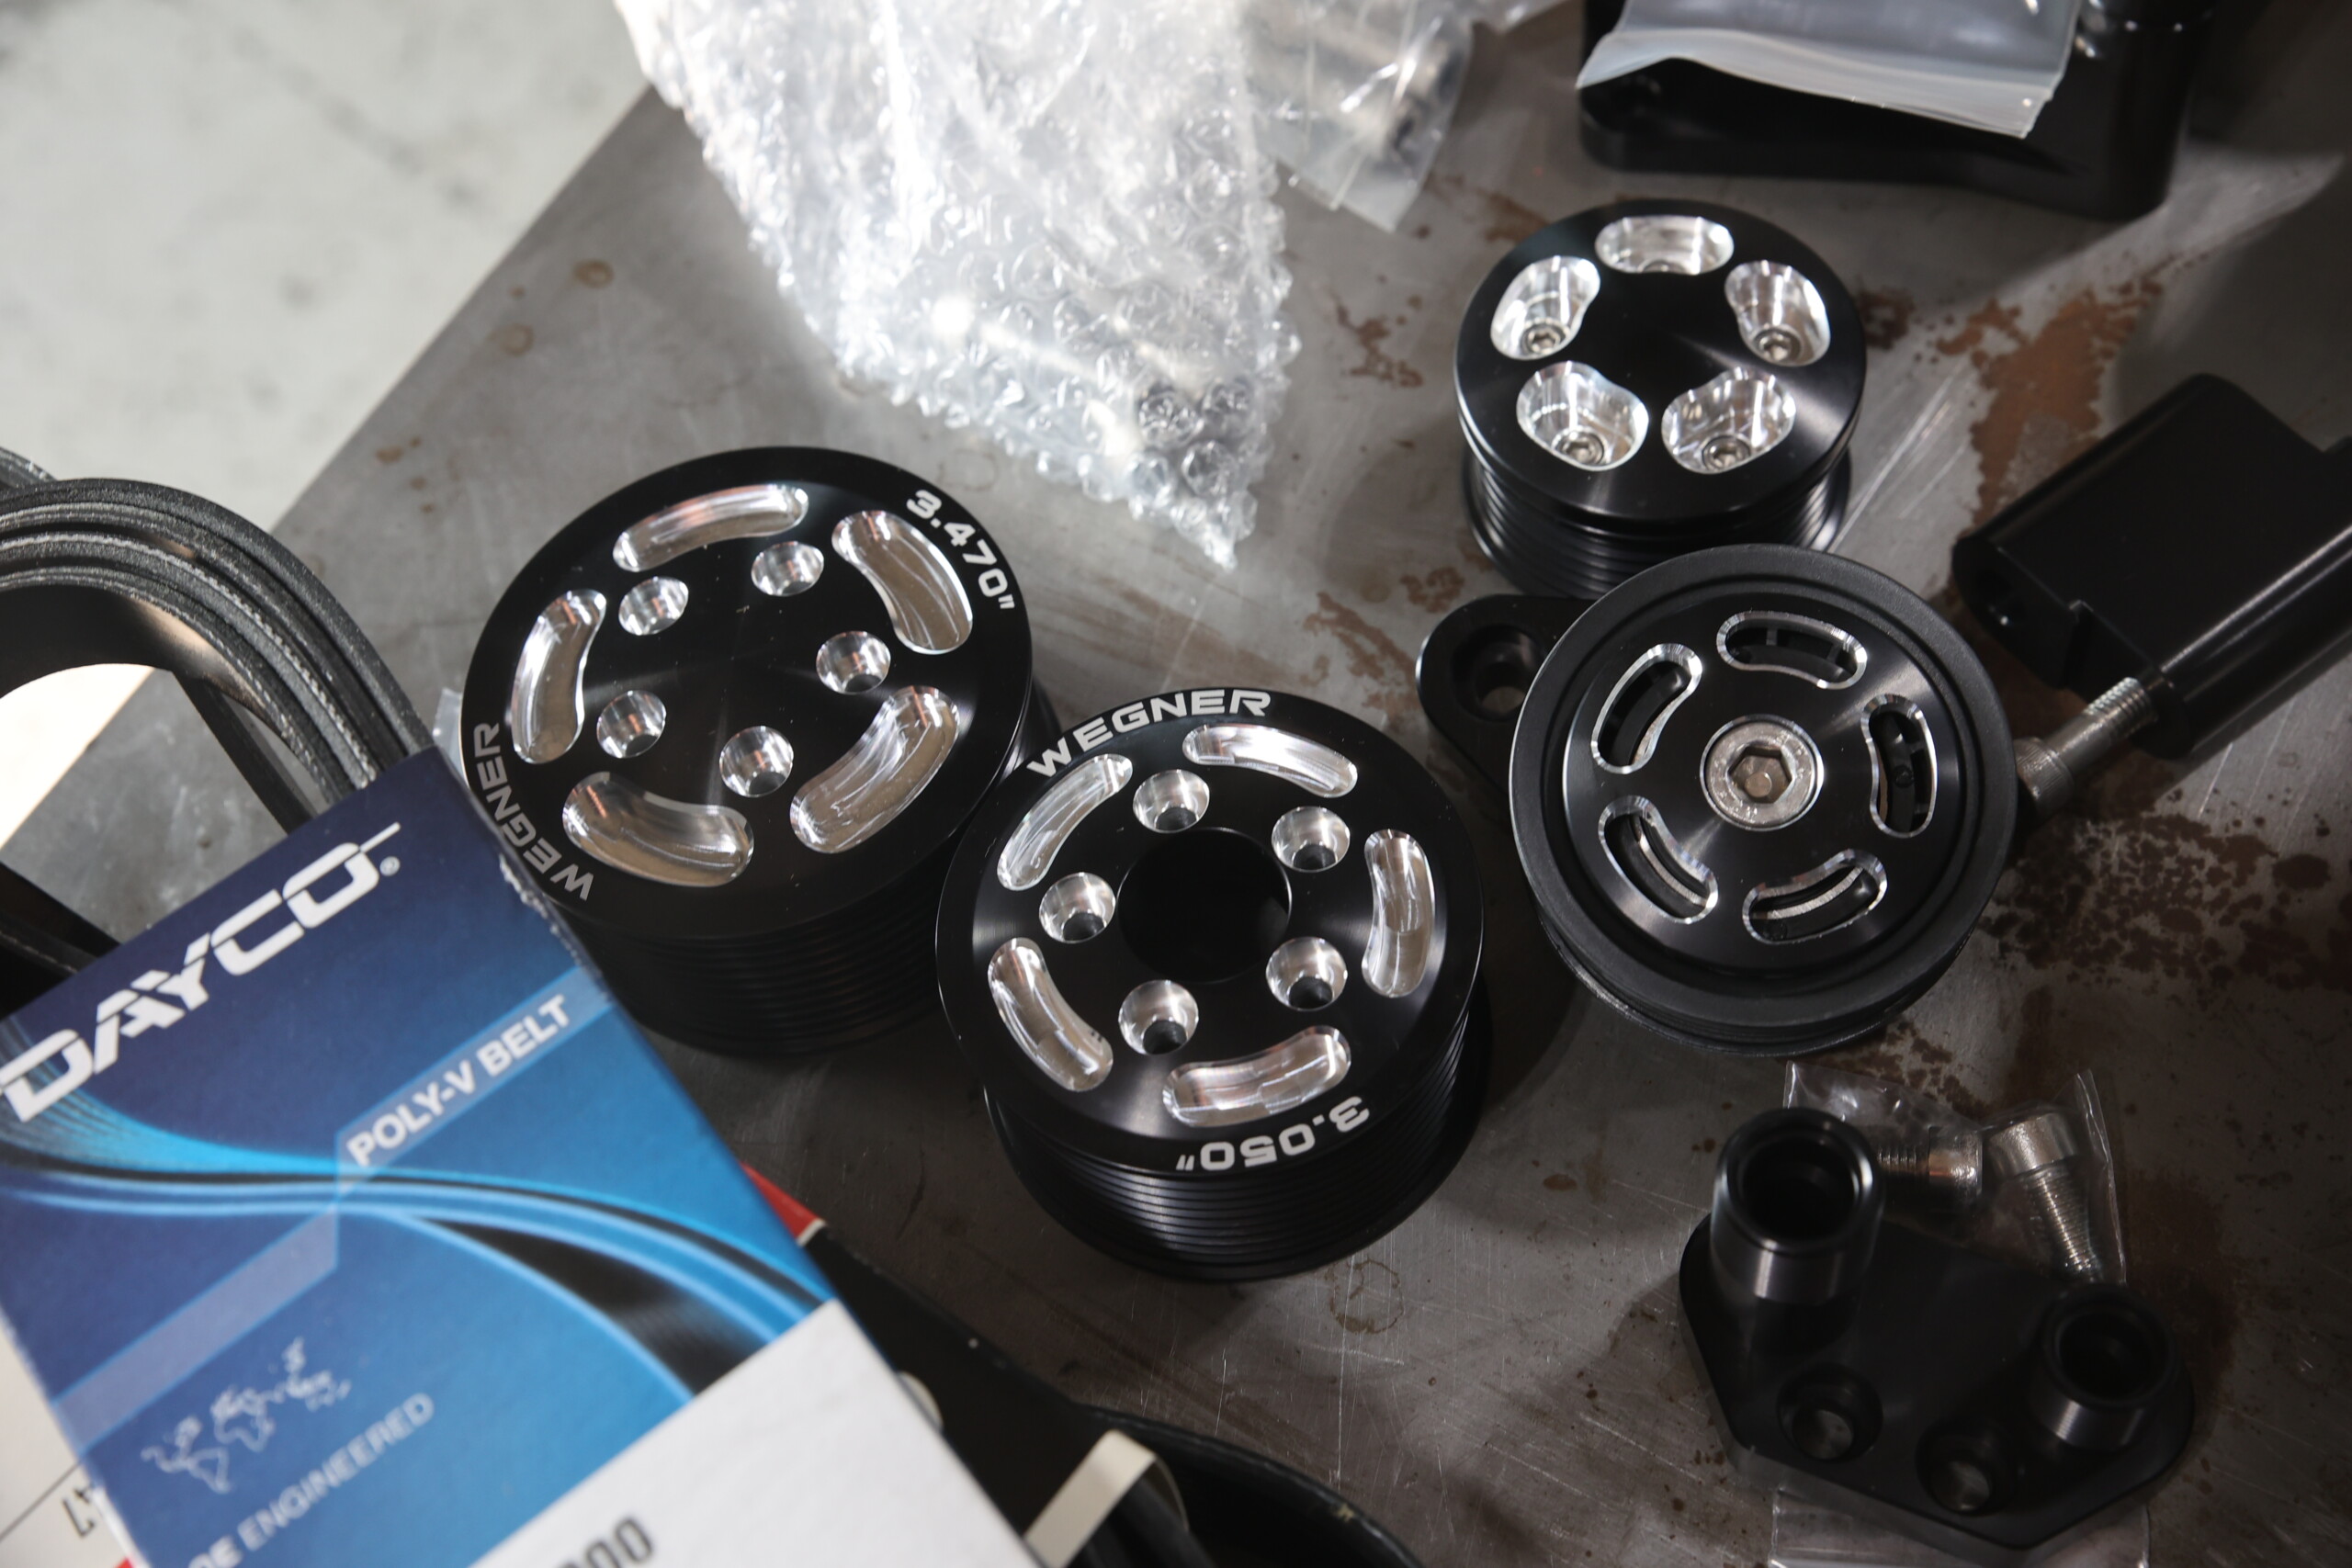
Included in the kit are a new water pump, A/C compressor, alternator, power steering pump, idler pulleys, crankshaft pulley, ATIharmonic balancer, belt tensioner pulleys, two supercharger pulleys, and two belts. We chose to install the smaller of the two supercharger drive pulleys which measures 3.050 inches in diameter. We did run into one issue during this install, and that was the belt touched the passenger-side upper control arm. However, since we are not running A/C on this car for the time being we called Wegner and they took care of us with an A/C delete kit that includes a replacement billet aluminum bracket and a small idler pulley. This gave us the clearance we needed between the belt and the upper control arm.
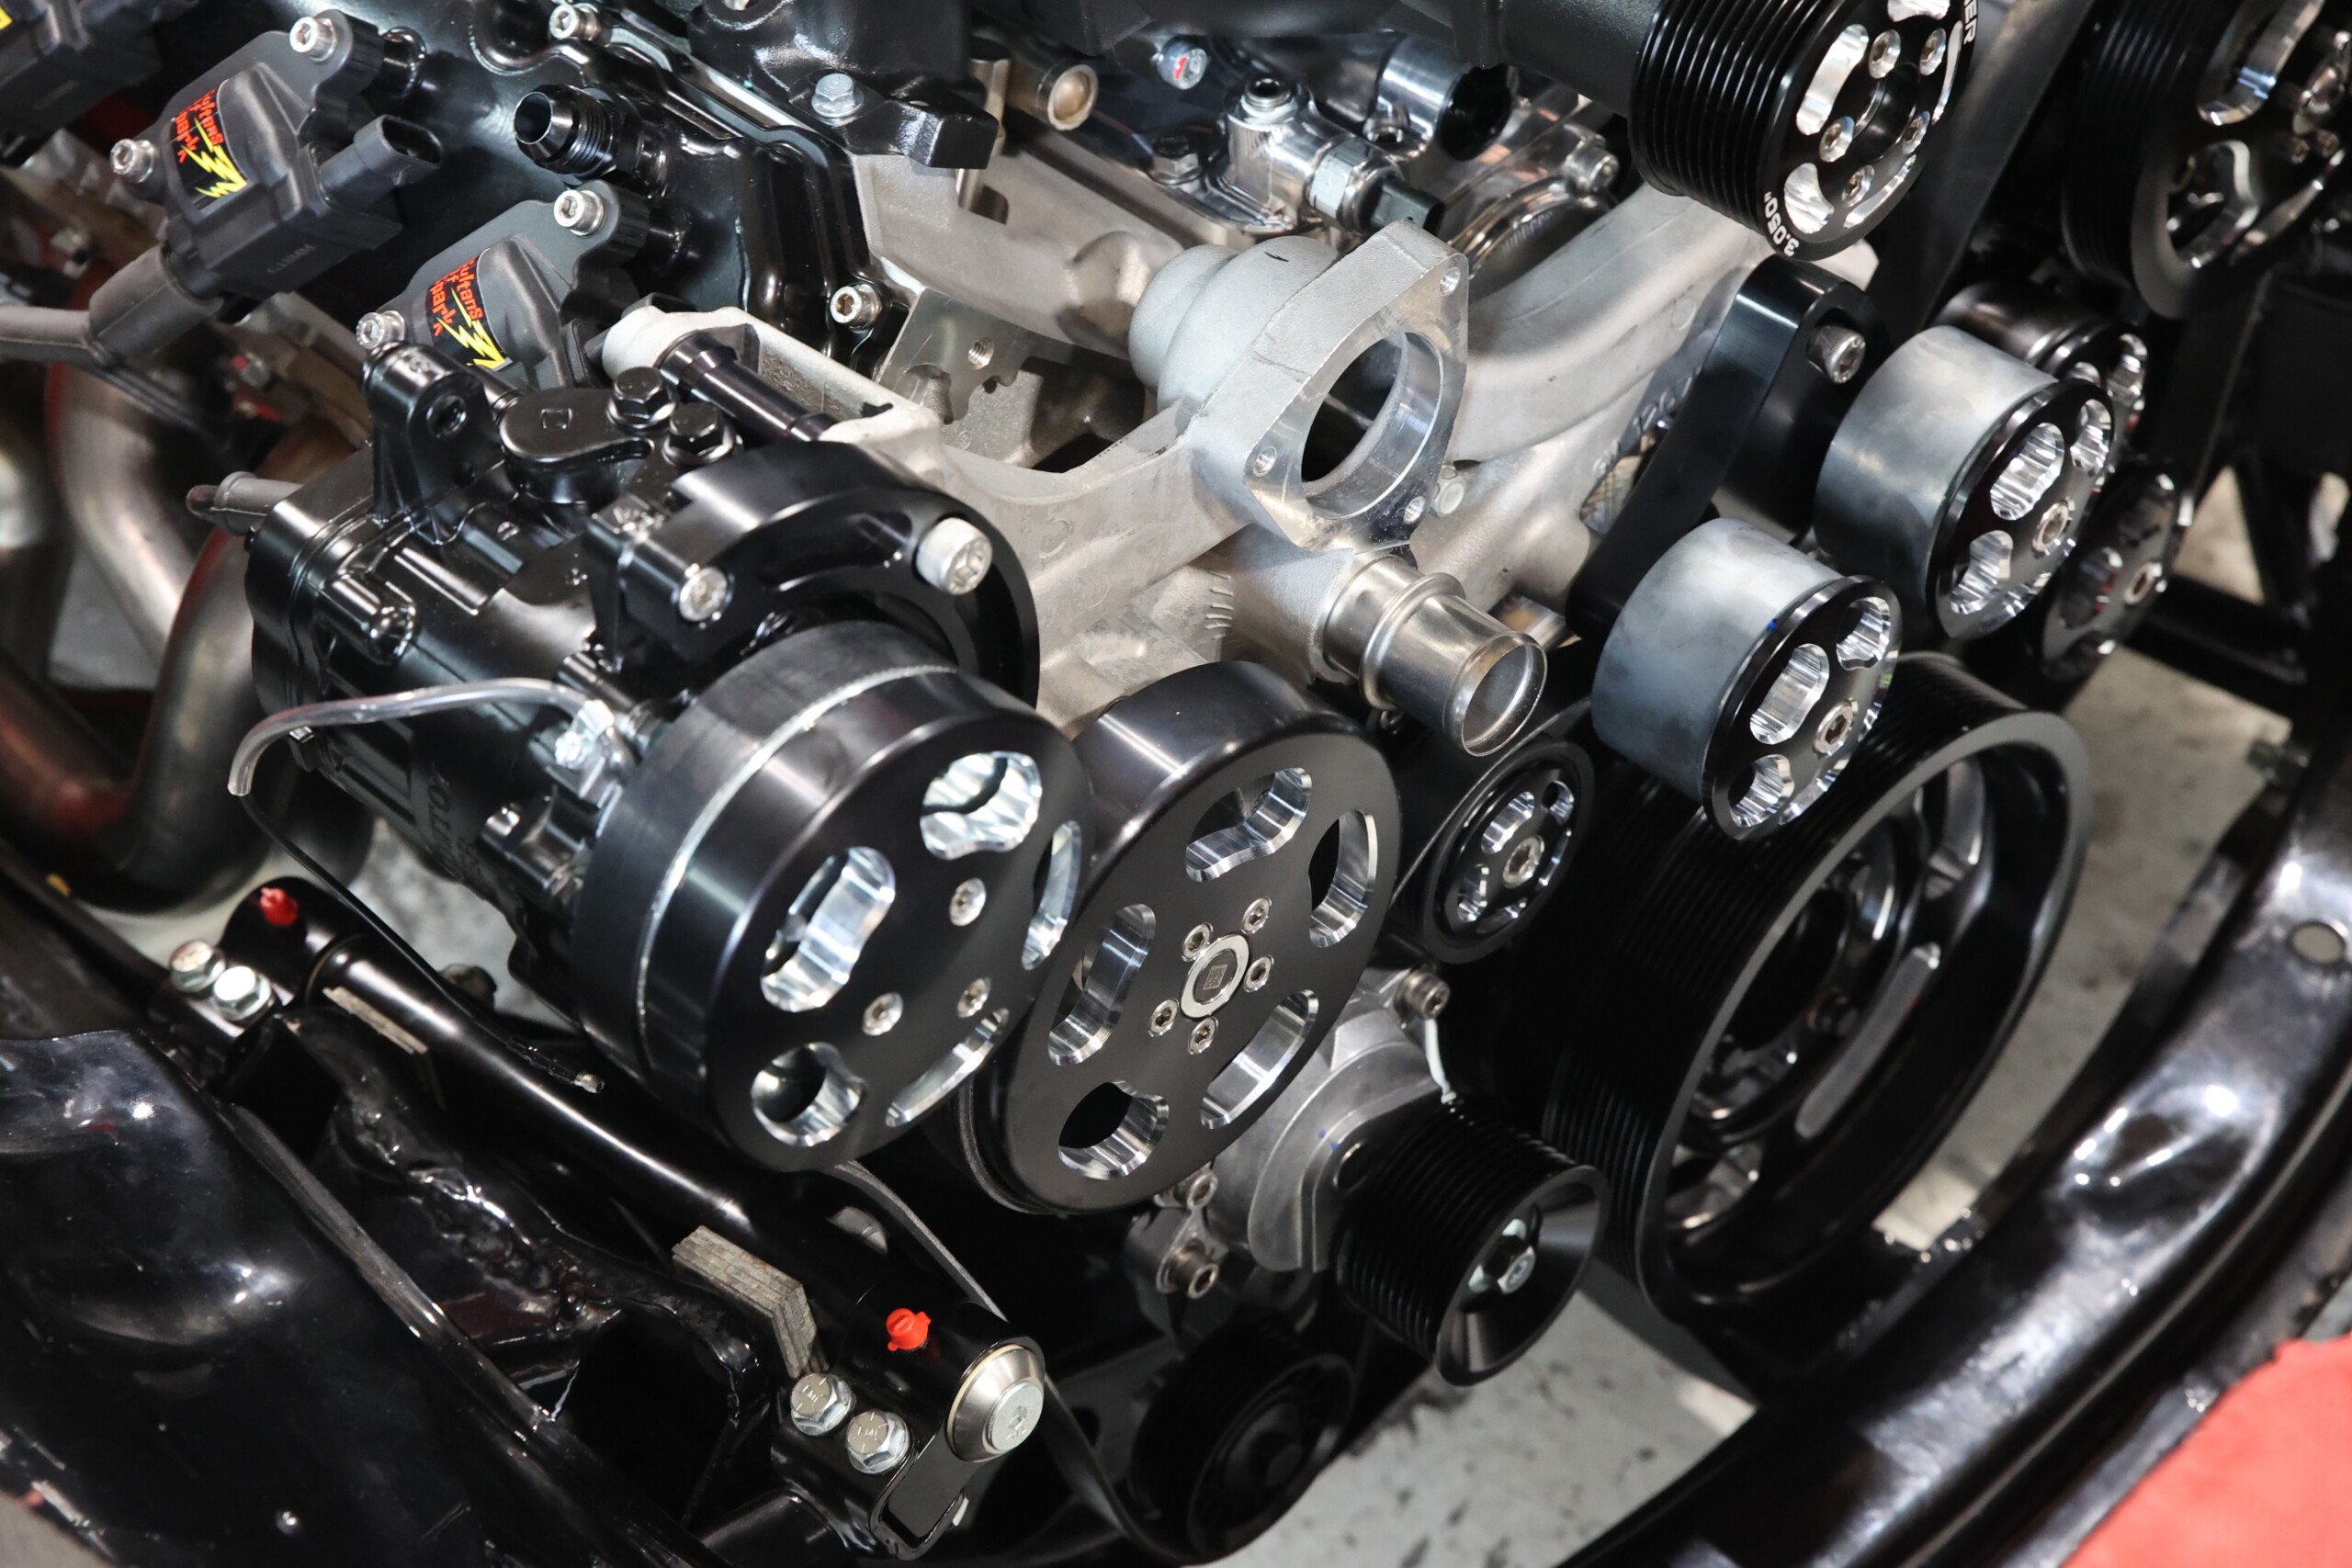
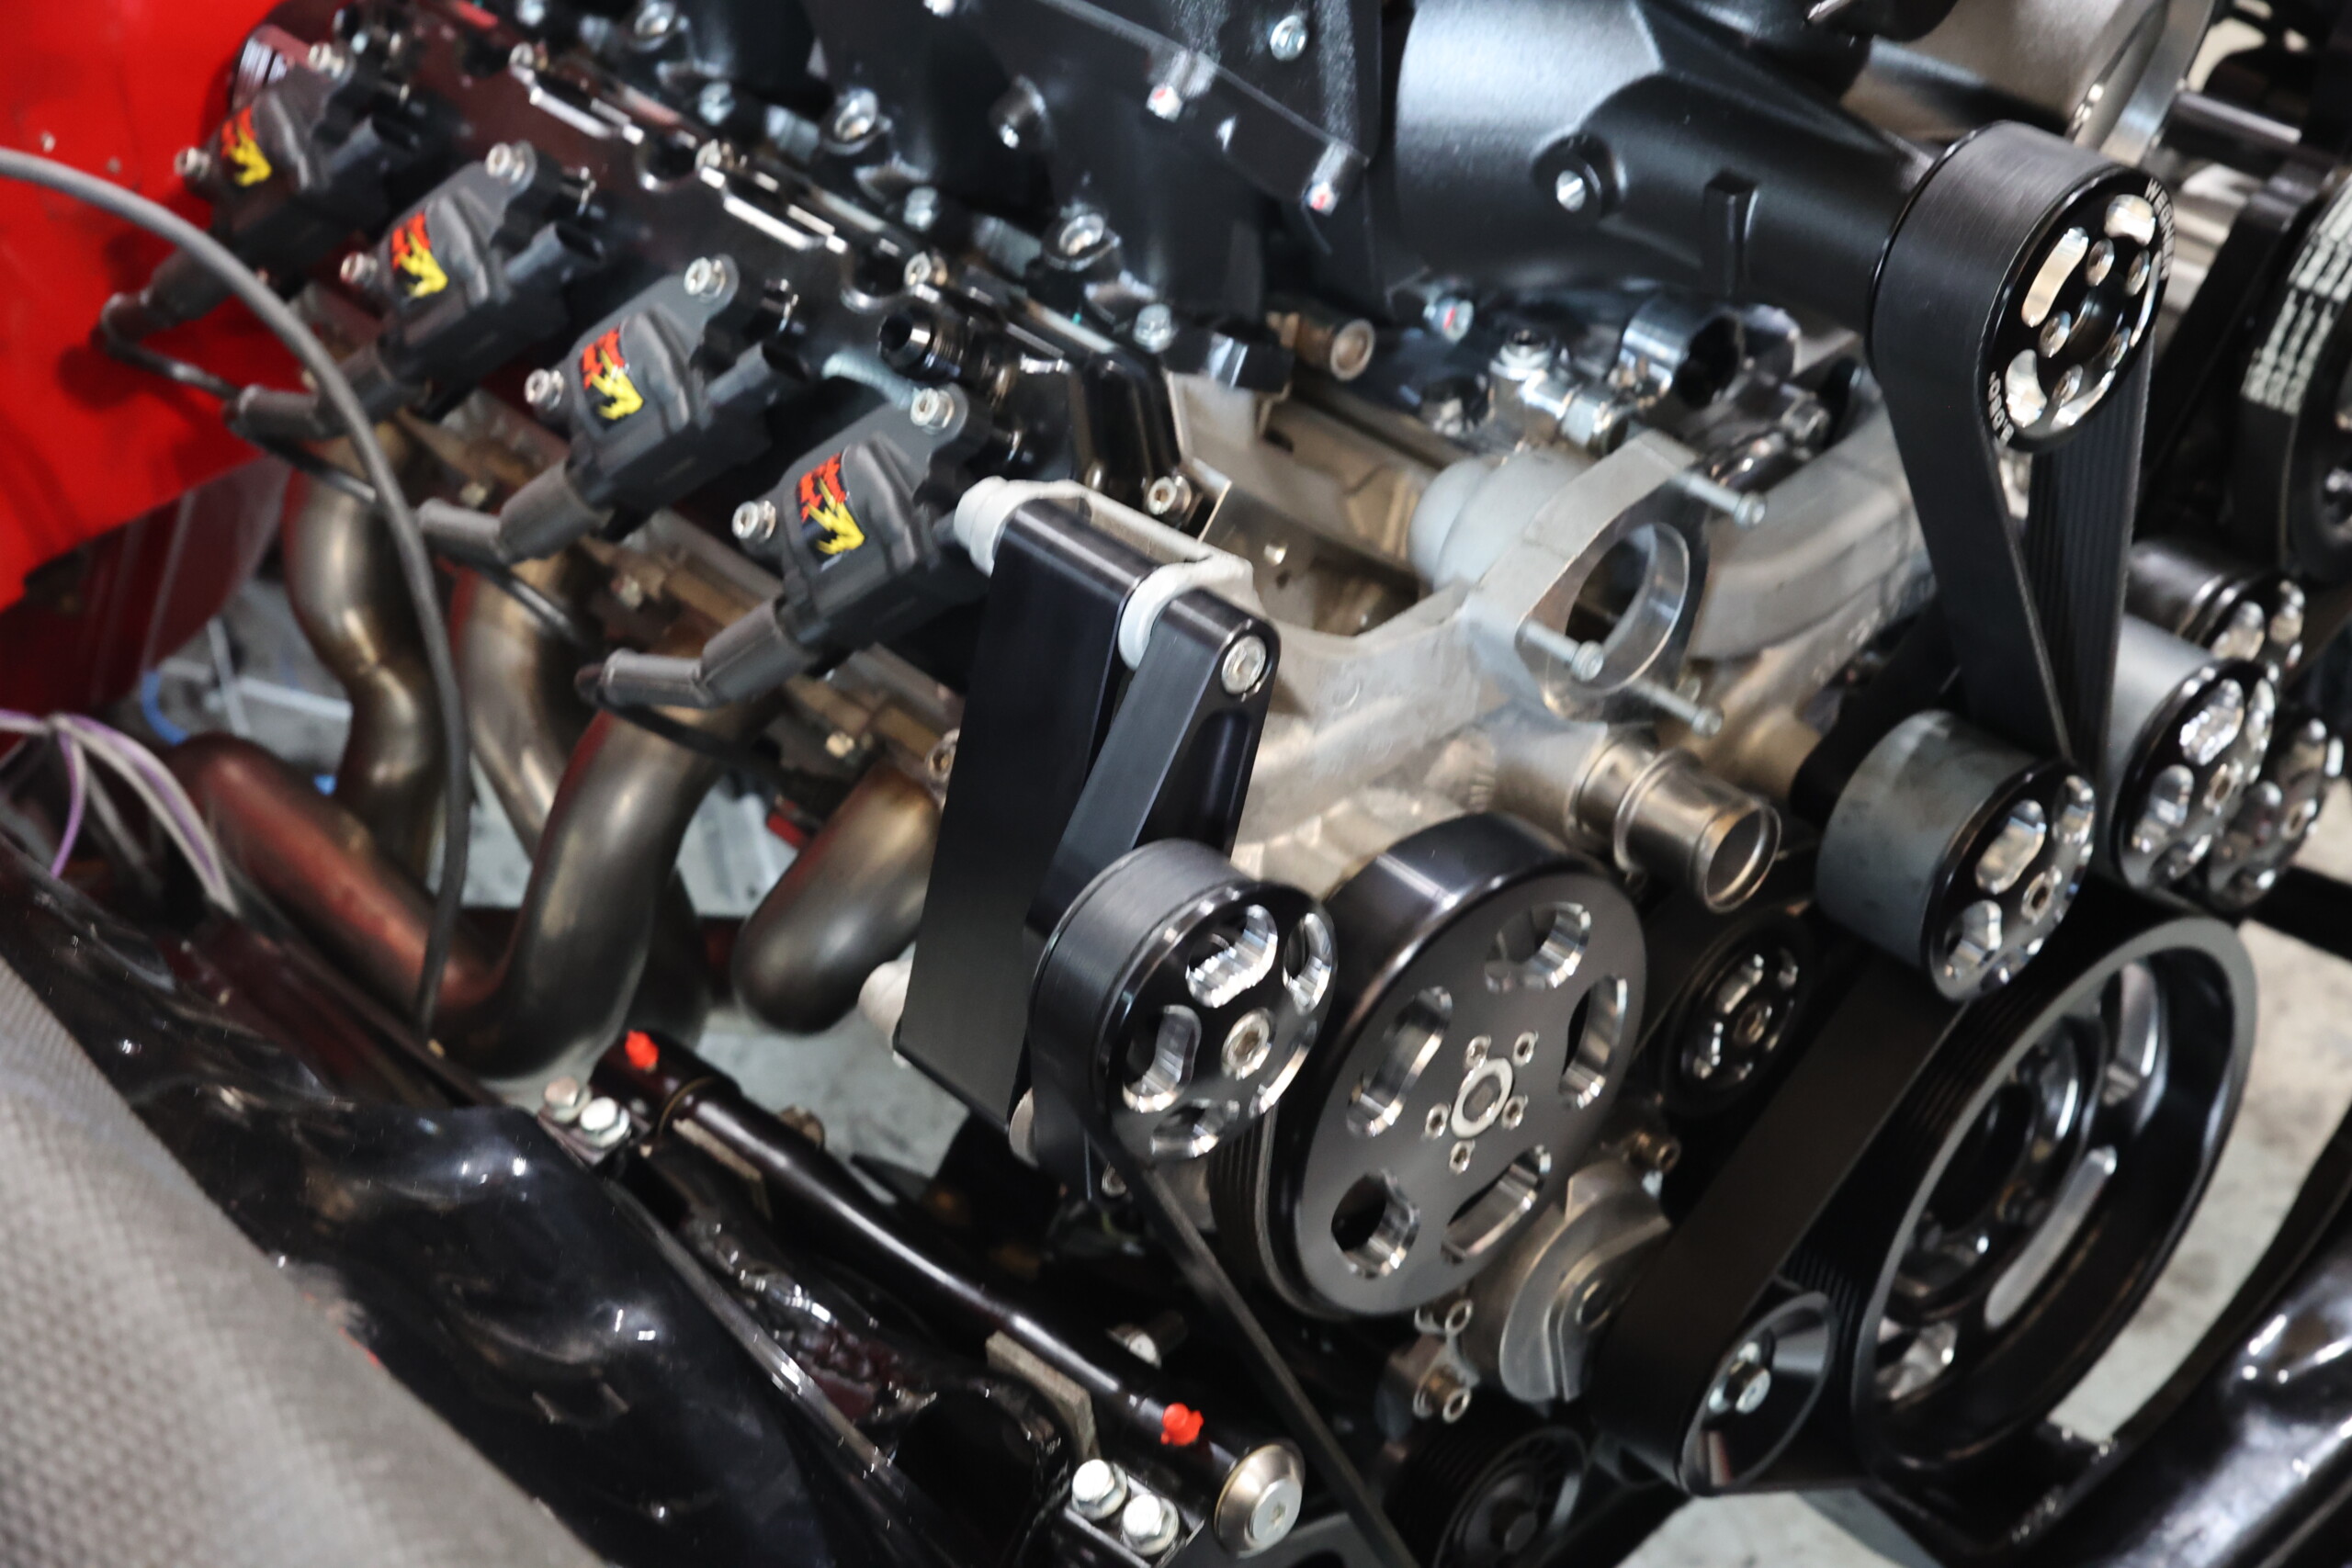
The image on the left shows the A/C compressor installed as it comes in the Wegner accessory drive kit. The middle image shows the A/C delete bracket and pulley that we installed to allow clearance between the belt and upper control arm.
The last step in our Whipple installation was bolting on our Holleybillet aluminum 105 mm throttle body and fabricating an air intake tube. With the throttle body mounted we saw that a throttle cable bracket would need to be made. Rick made quick work of whipping up a bracket that operates flawlessly. He then began fabricating the air intake tube. Using some universal 4-inch aluminum tube pieces from Summit Racing, Rick made the air intake so the filter is located behind the driver-side headlight, where it can get plenty of fresh air. We powder-coated the intake tube black to match the Whipple supercharger and Wegner accessory drive.

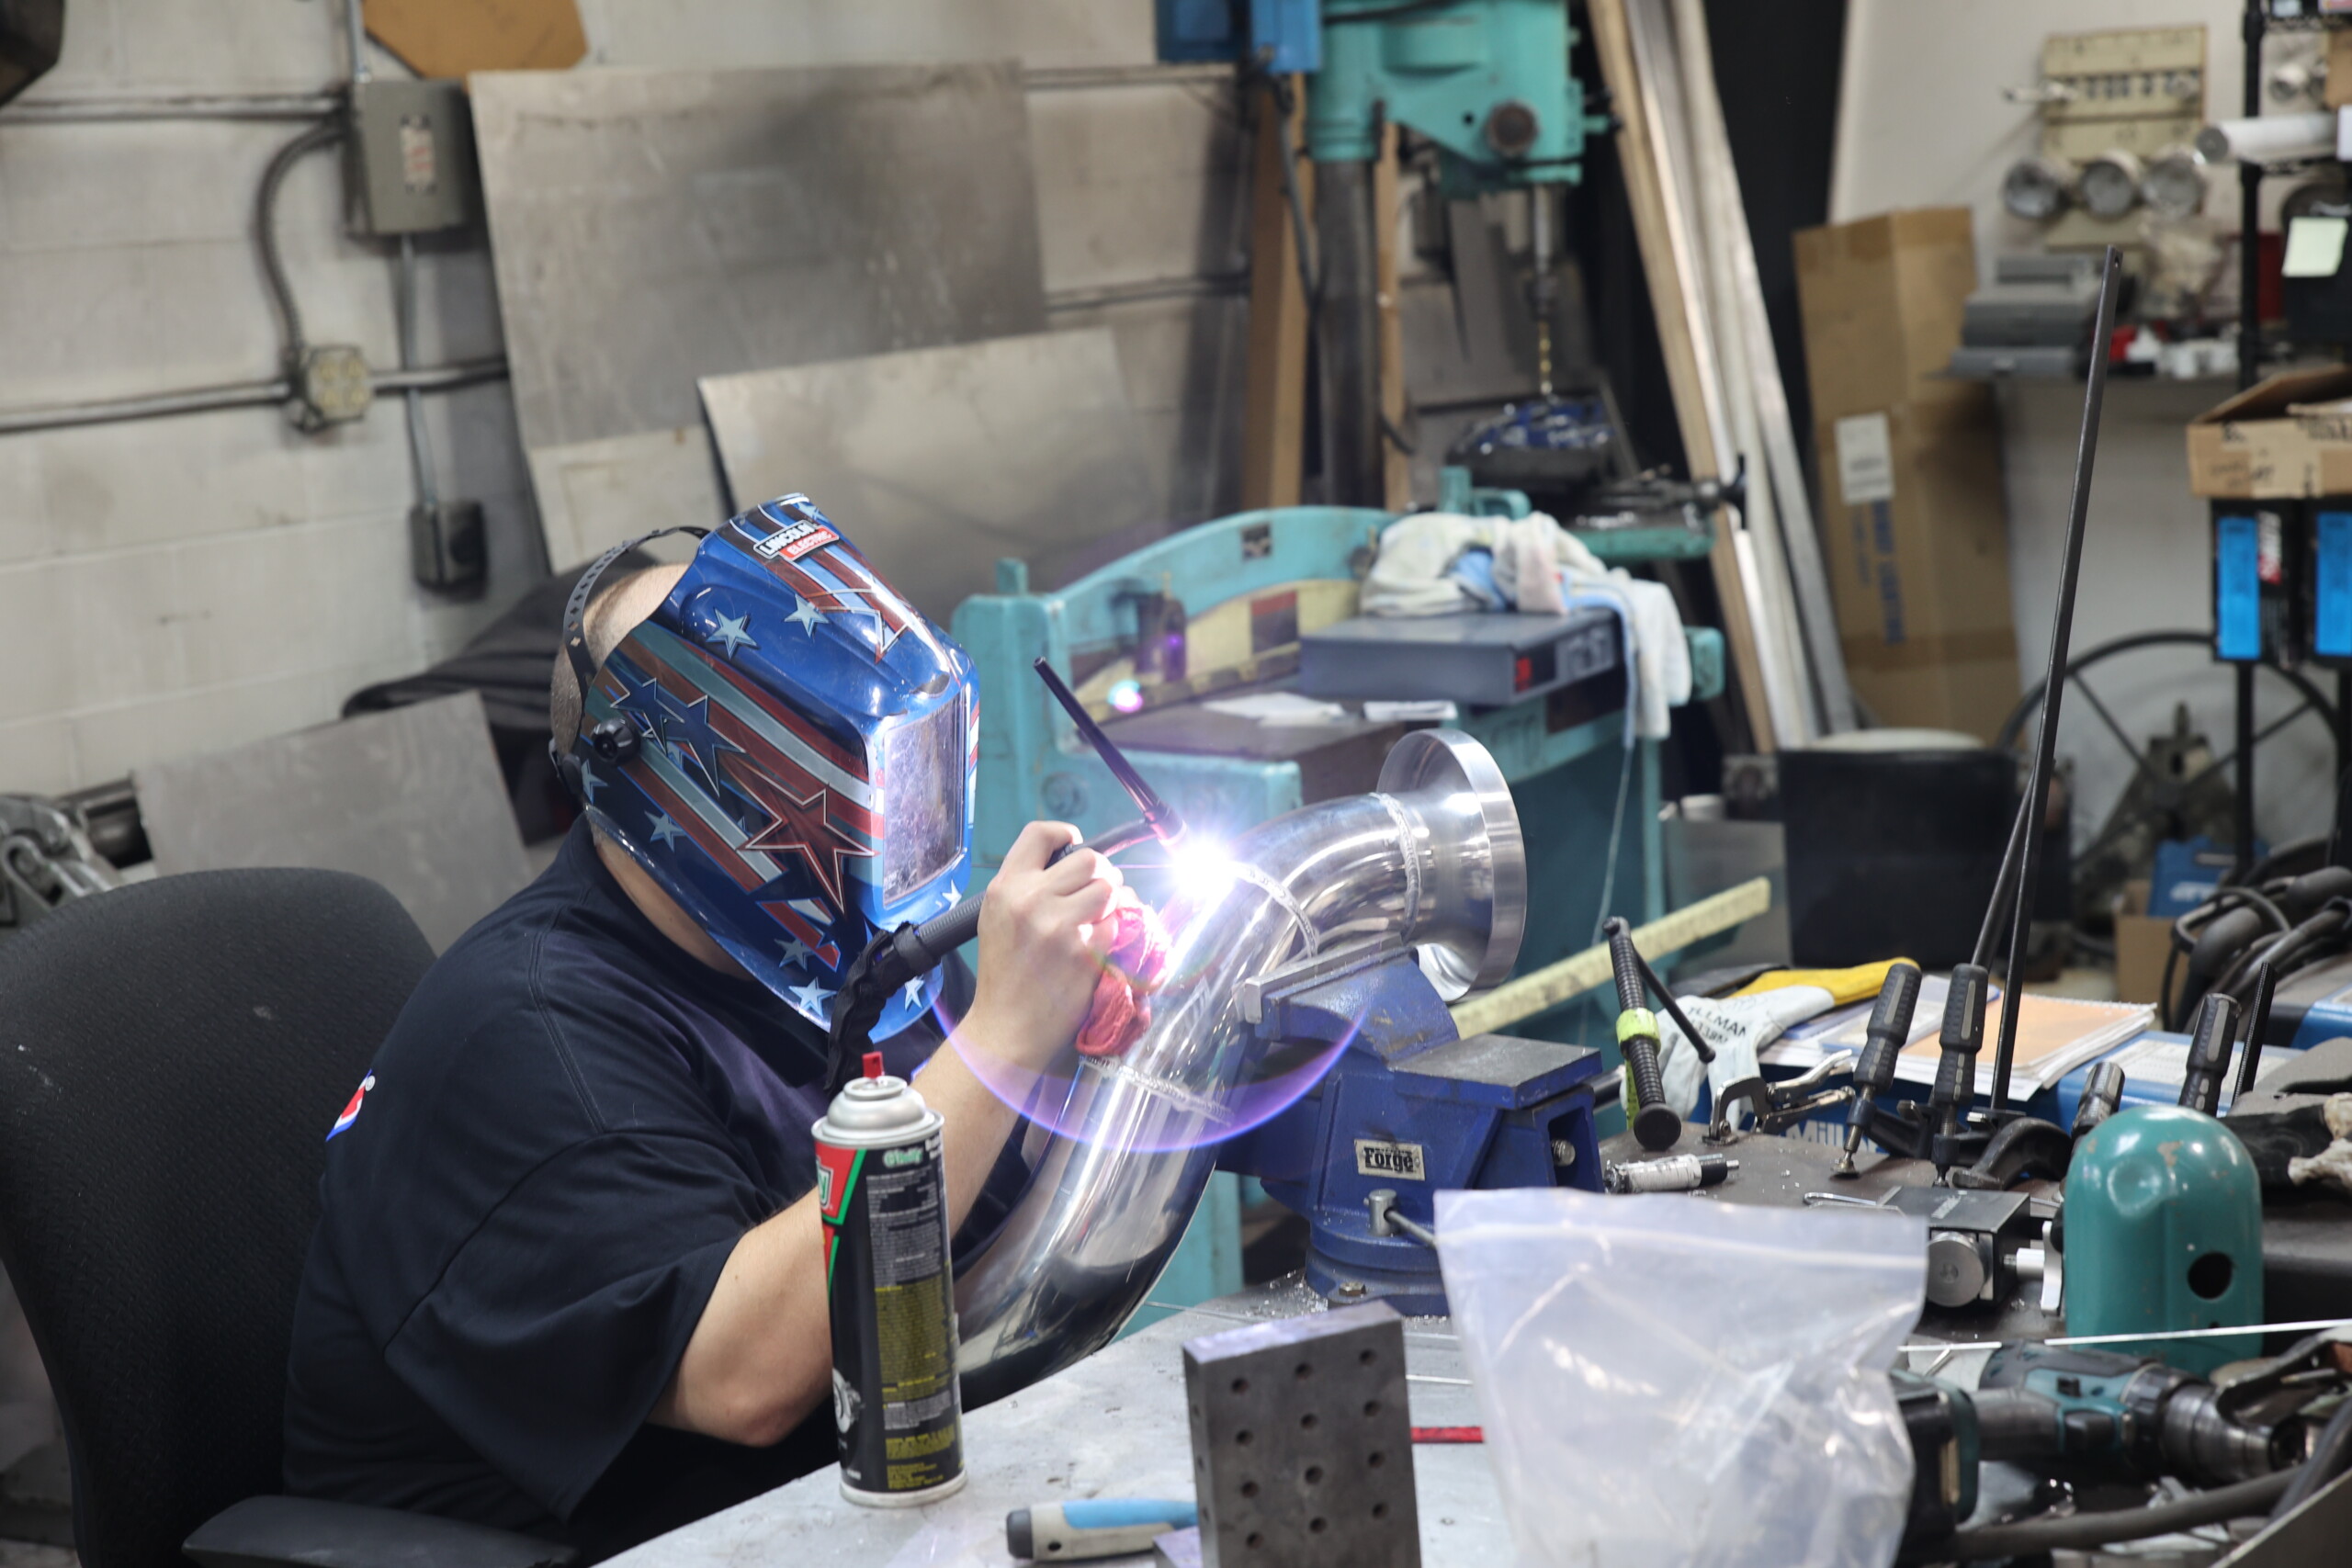
Rick wrapped up the supercharger installation by mounting the Holley 105 mm throttle body, fabricating a throttle cable bracket, and welding up an air intake tube.
All-in-all the entire installation of the Gen-5 3.0-liter Whipple supercharger and Wegner Automotive accessory drive went smoothly considering our application is somewhat custom and out of the ordinary. Now unfortunately we can’t reveal anything performance-related just yet as we still have more content to bring you on Project 899. But we do expect this supercharger combination to make between 18 and 20 pounds of boost, and hopefully, that will push us over the 899-wheel-horsepower mark. Stay tuned as we continue towards getting Project 899 finished, tuned, and making passes at LS Fest East September 8-10, 2023.