The Junkyard LS engine is all the rage these days. According to the internet, “You go to a scrapyard, buy an engine, throw it in your car, and run it forever.” While there are many stories like this, it’s in your best interest to check it out before installing it in your project. Wouldn’t you rather find the problem before having a severe issue causing you to pull the engine back out?
We bought a project vehicle and it came with an LS engine for a swap. Since the powerplant was included with the truck’s purchase, we didn’t do a thorough inspection like normal. Instead, we waited until we got the unit on the engine stand to give it a good look.
With the drain plug removed, water – yes, you read that right – flowed freely out of the pan, followed by some black gunk that vaguely resembles oil. At this point, we figured we might be in trouble, and our suspicions were right. After we tore the engine down, it was evident that the number six cylinder had seen better days and would need to be bored.
Plan B
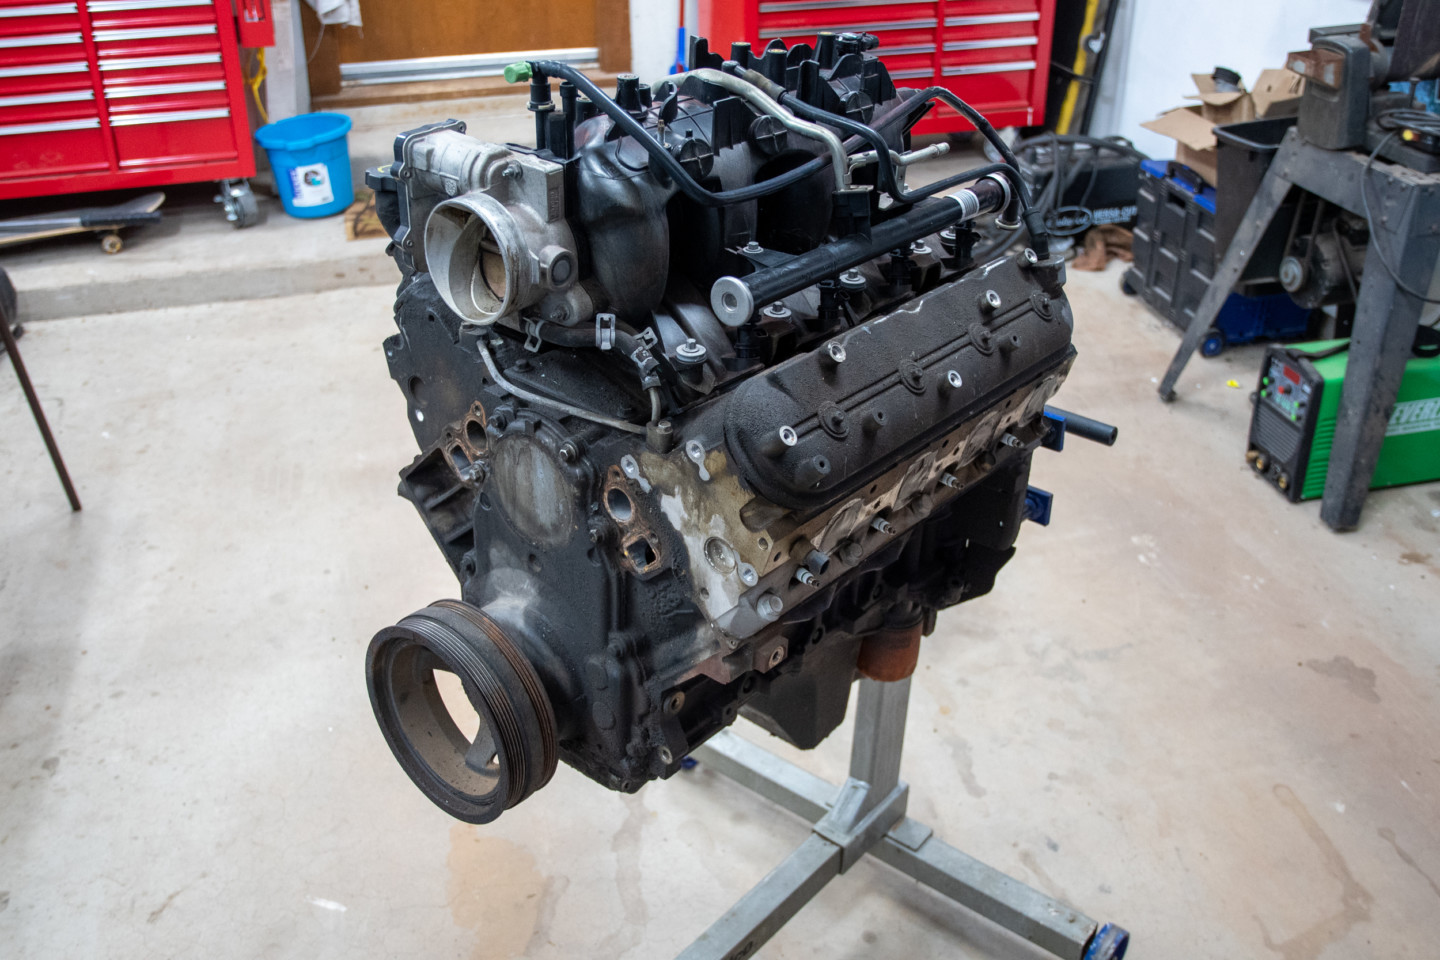
For this article, we didn’t want to get into machining and build a completely new engine, so we aborted the rusted one and picked up another Gen III 5.3. And that’s part of the beauty of the truck engines: they’re a dime a dozen. While our new engine looked much worse on the outside than the previous one, we were hopeful that the internals would look better than our first option.
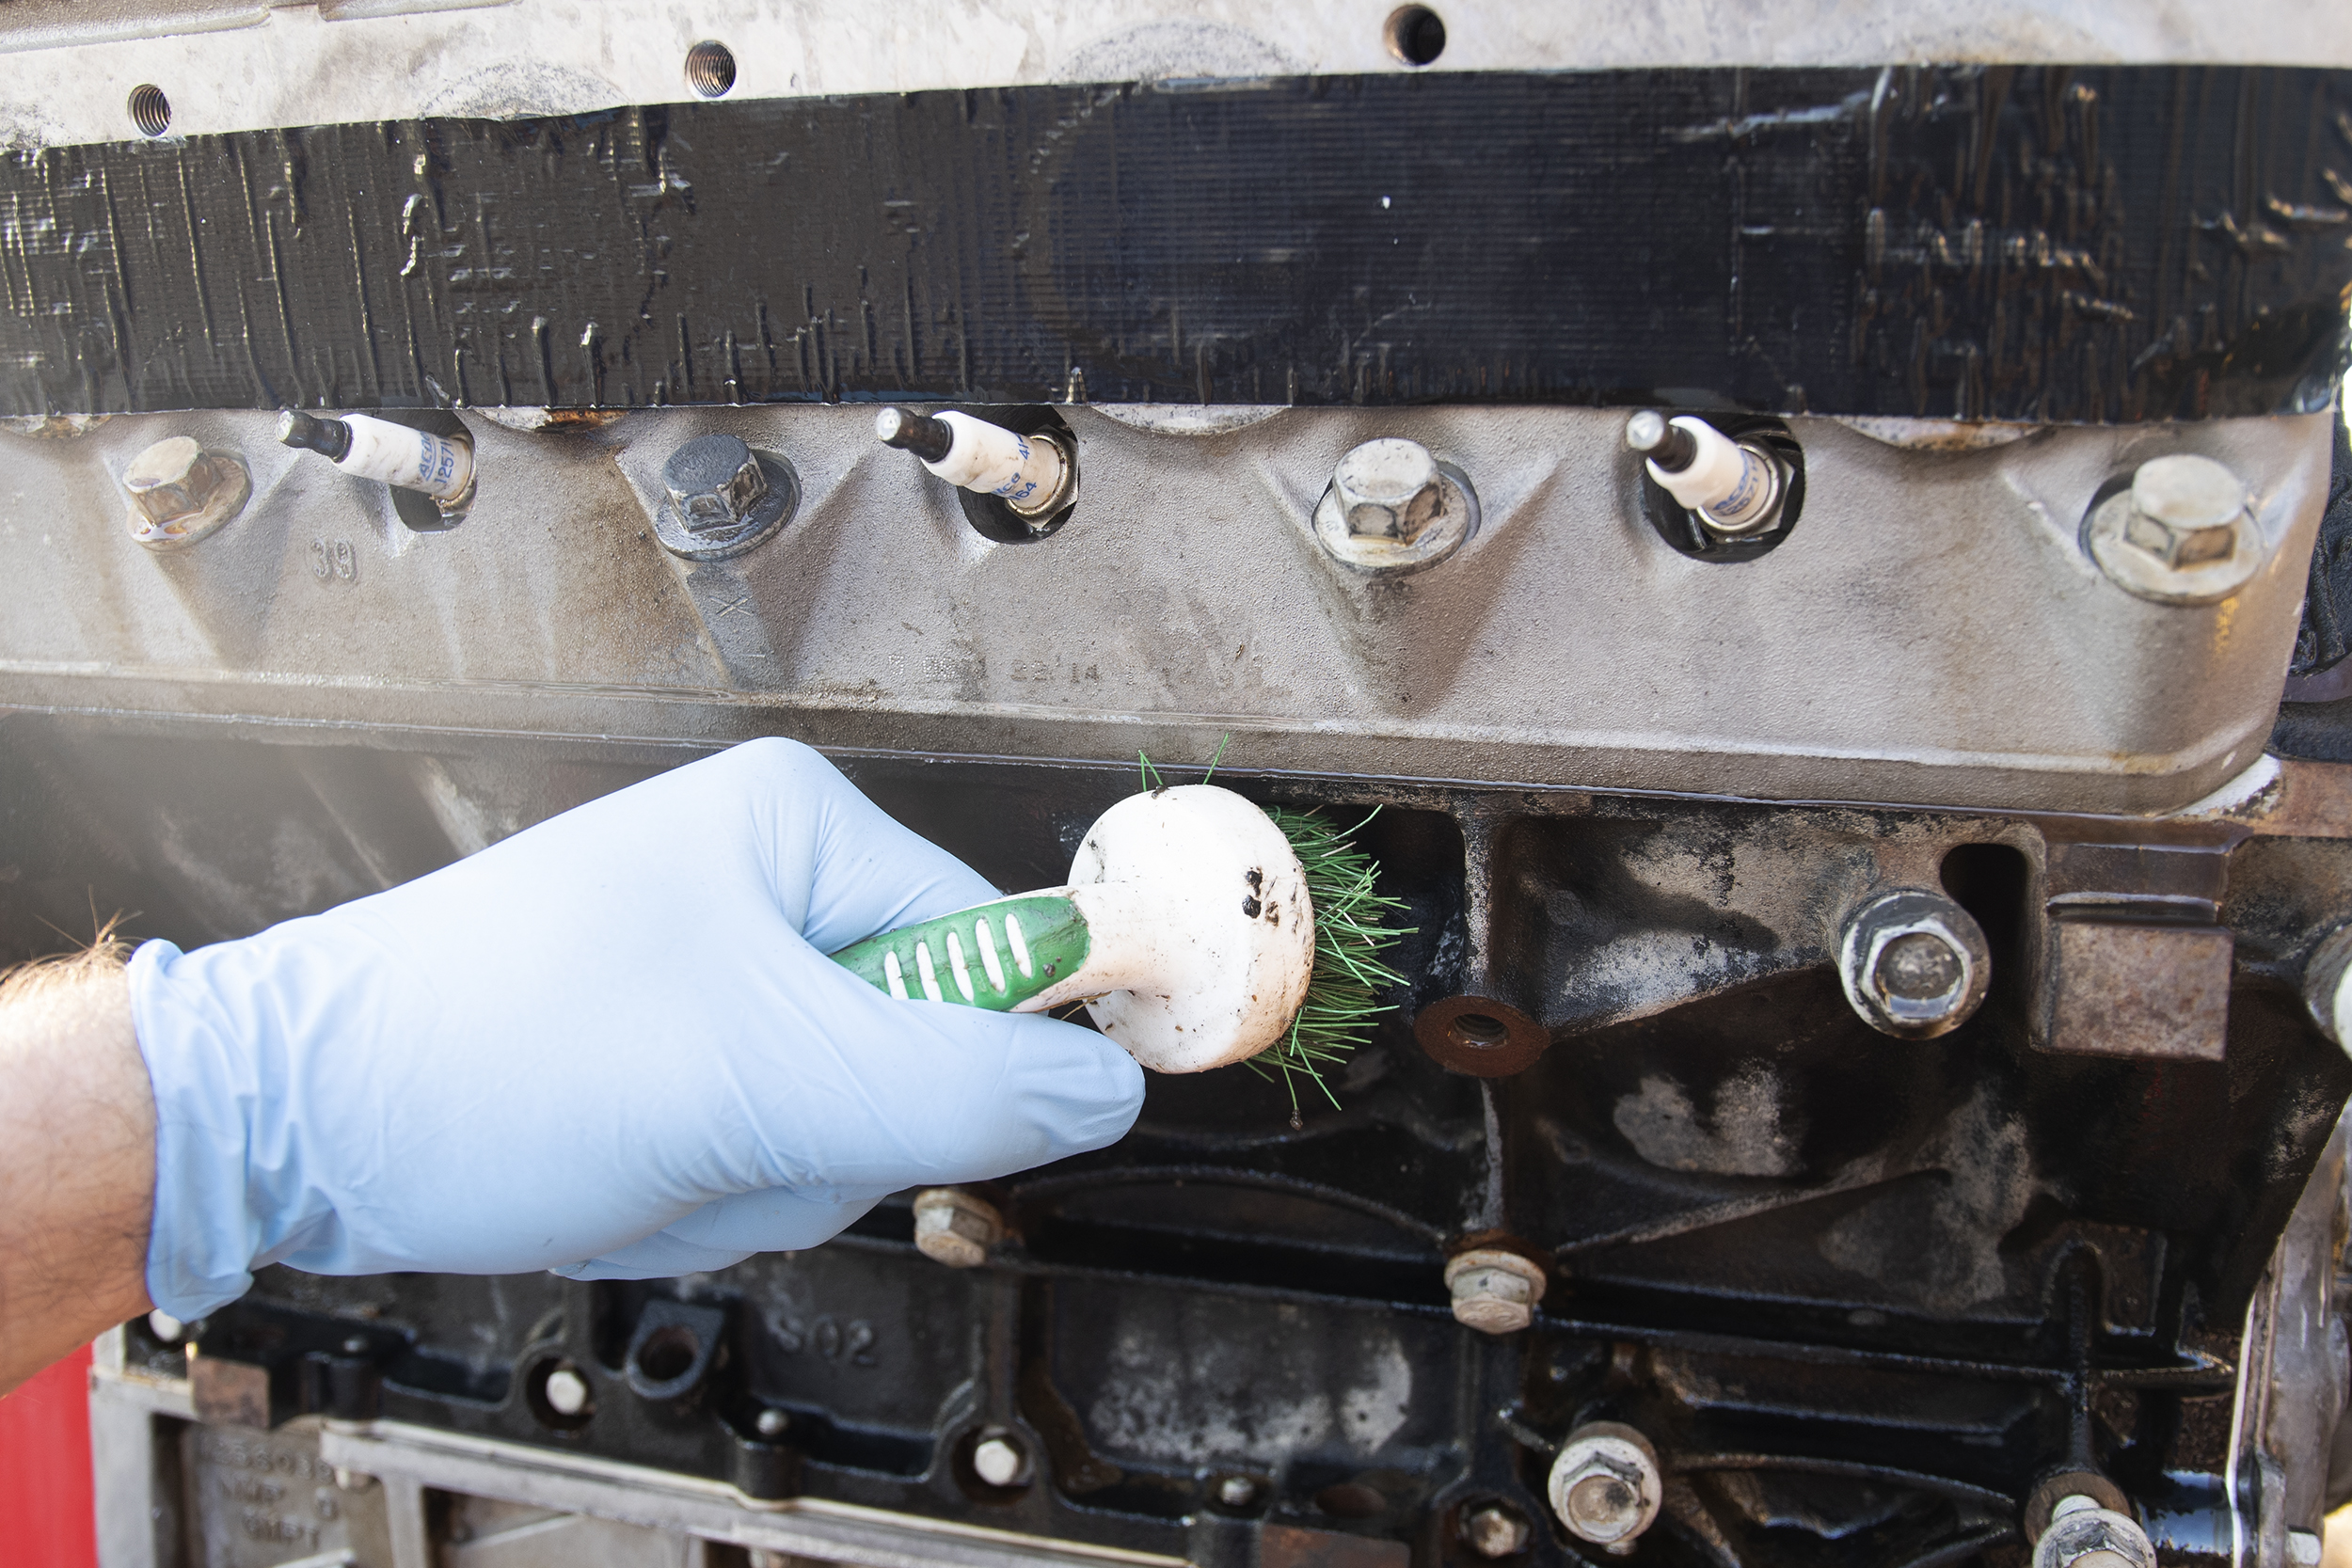
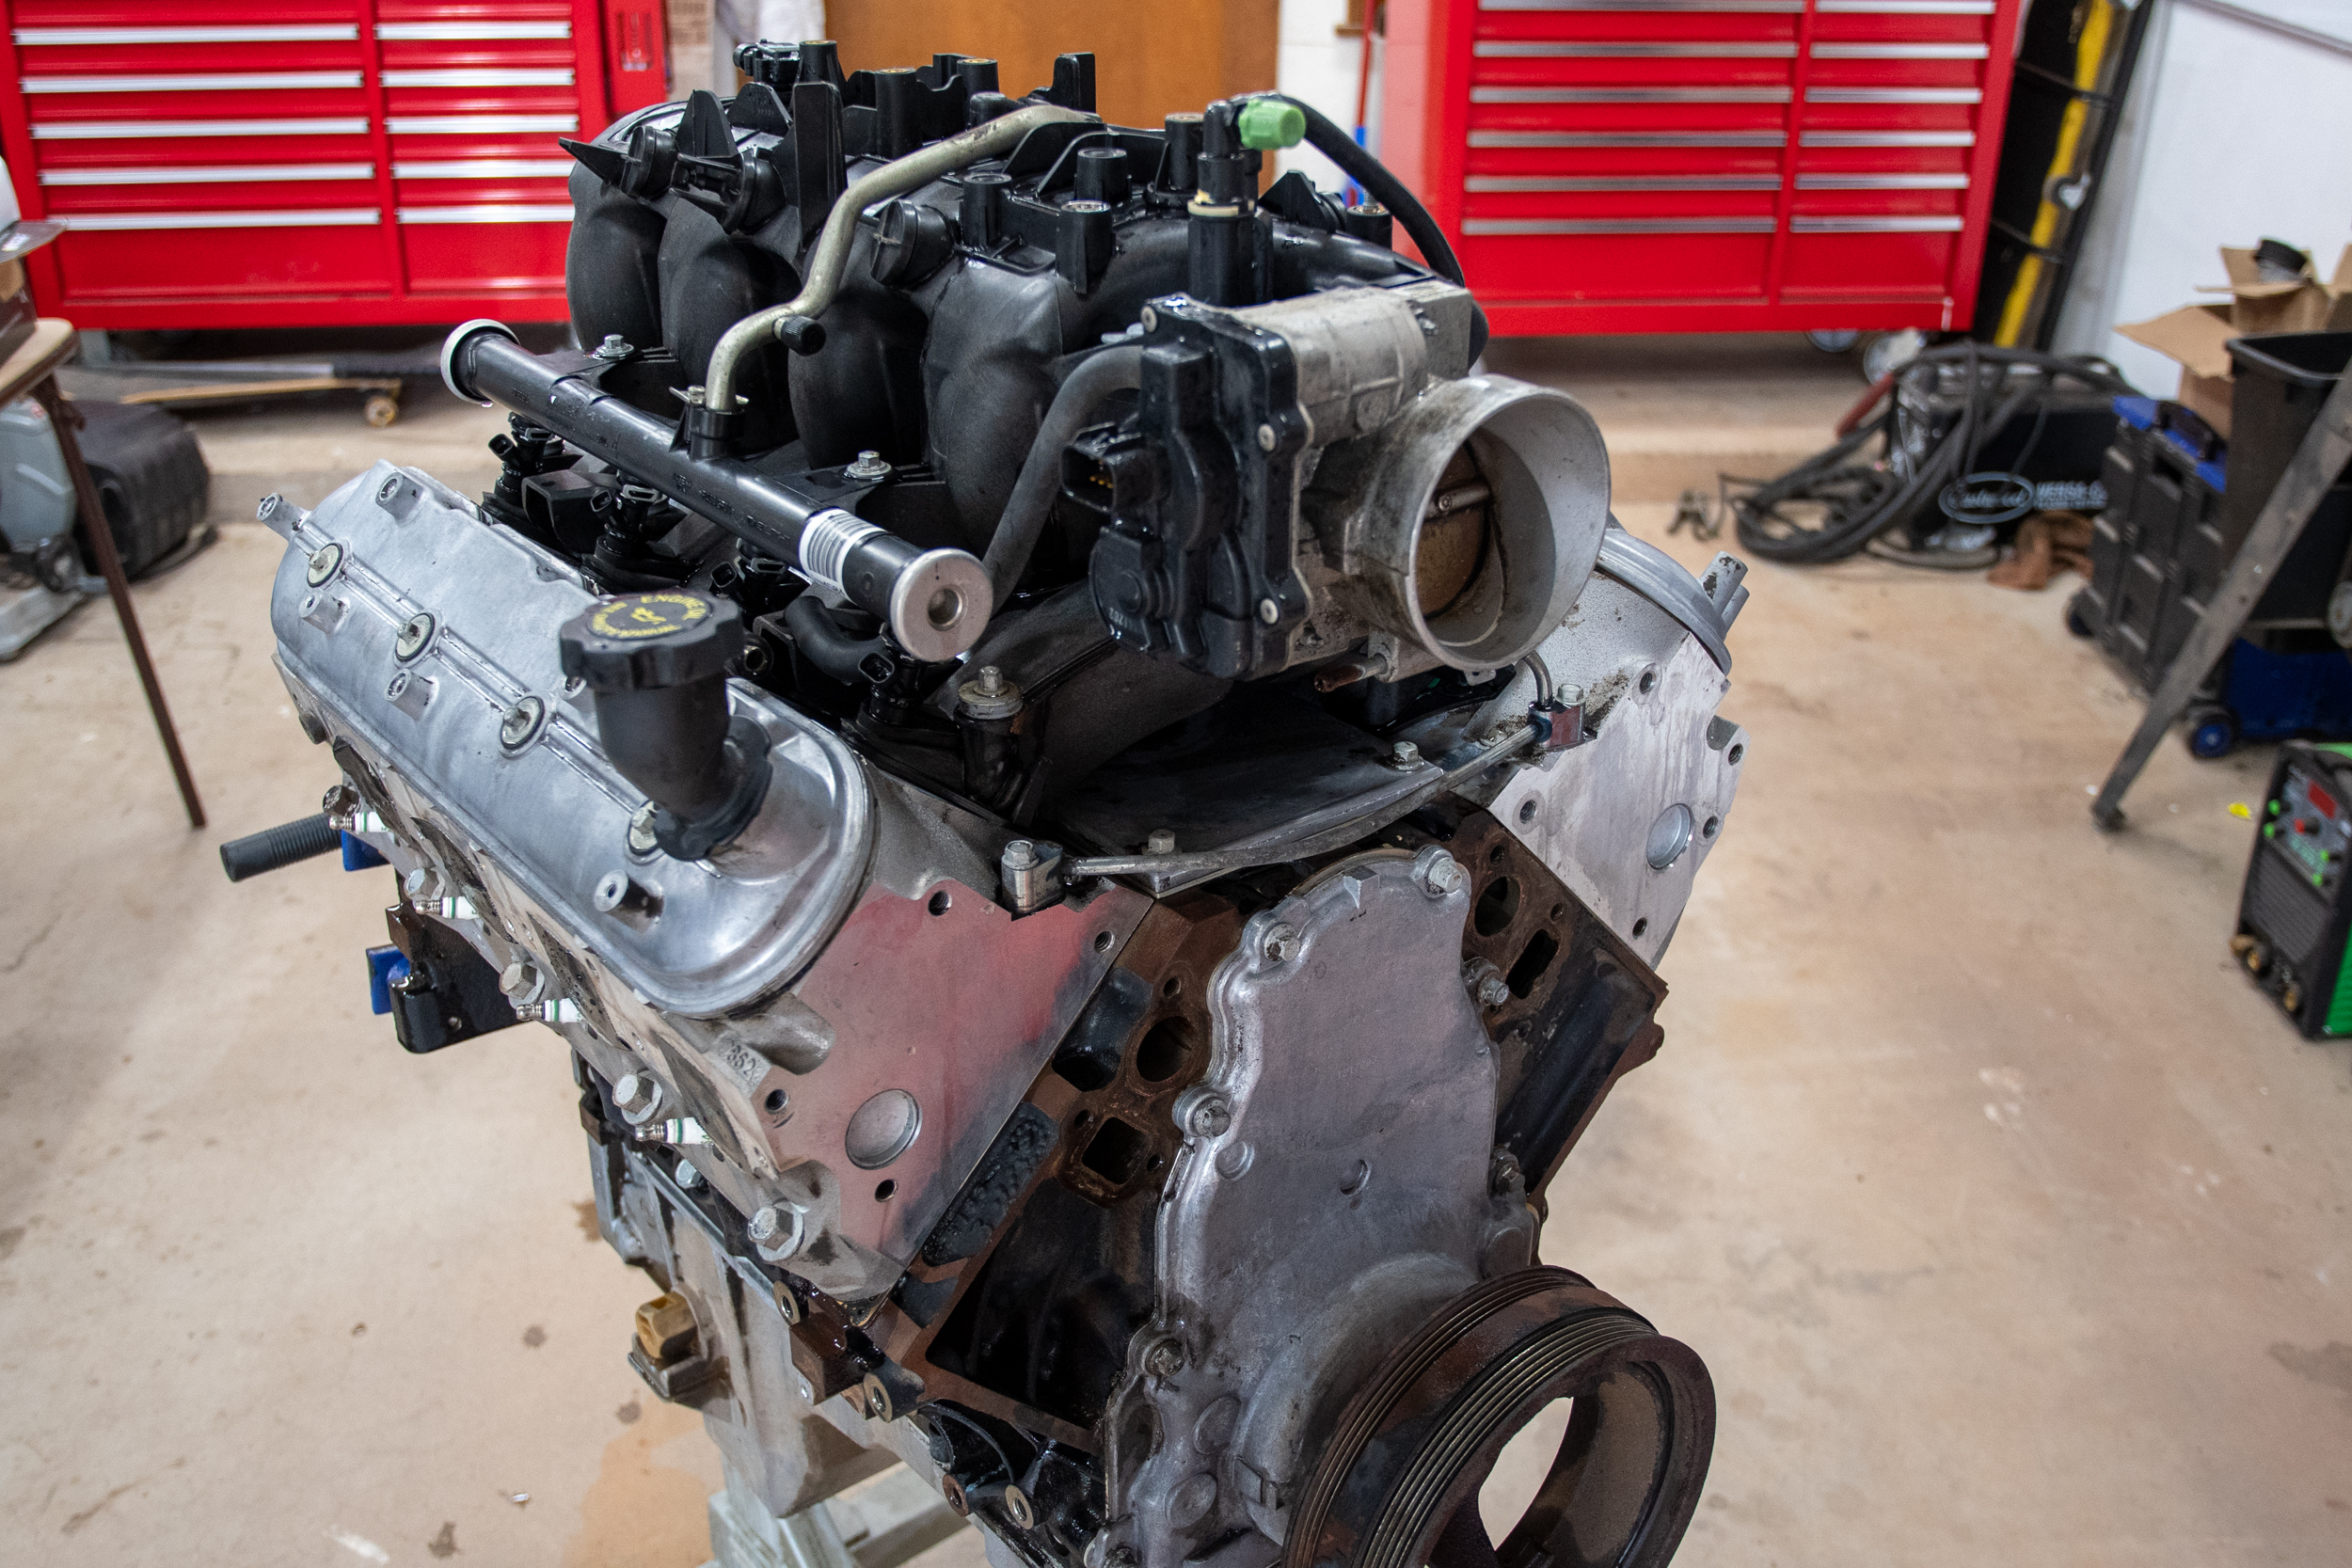
We grabbed our rubber gloves and a gallon of Superclean degreaser and went to work on the high-mileage 5.3-liter engine. The image on the right shows you what it looks like after a gallon of the purple stuff and lots of elbow grease.
Tear Down
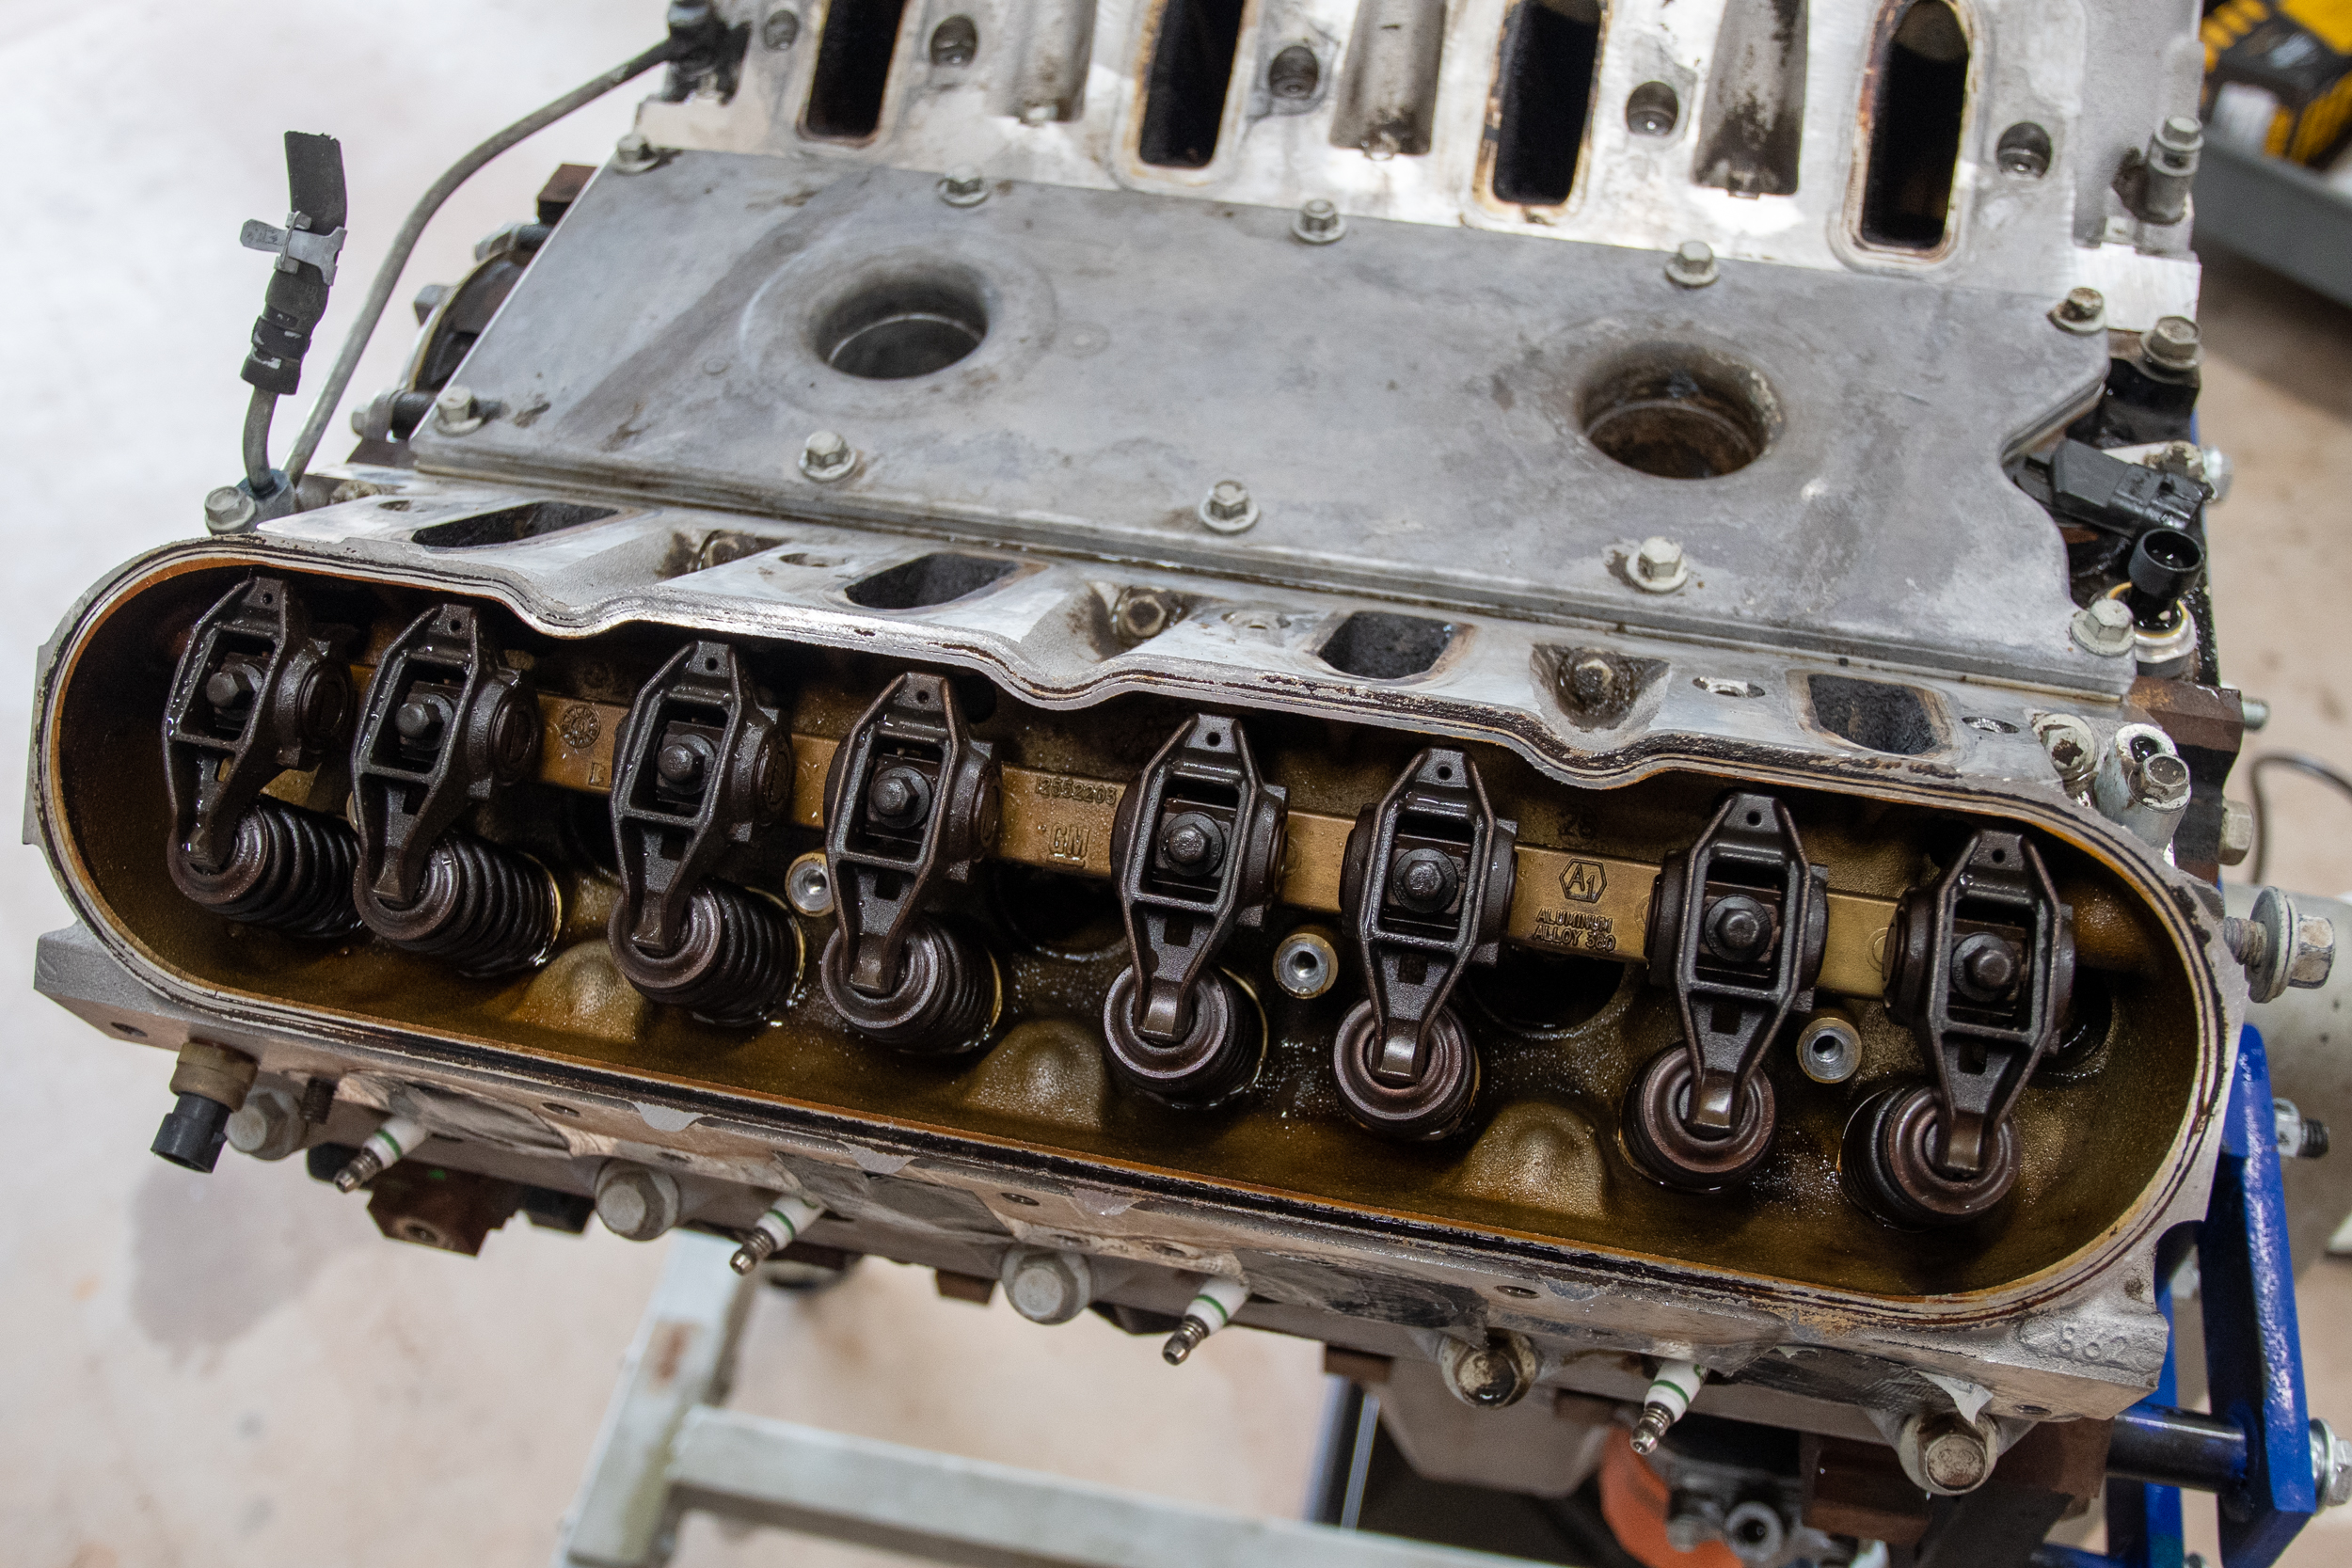
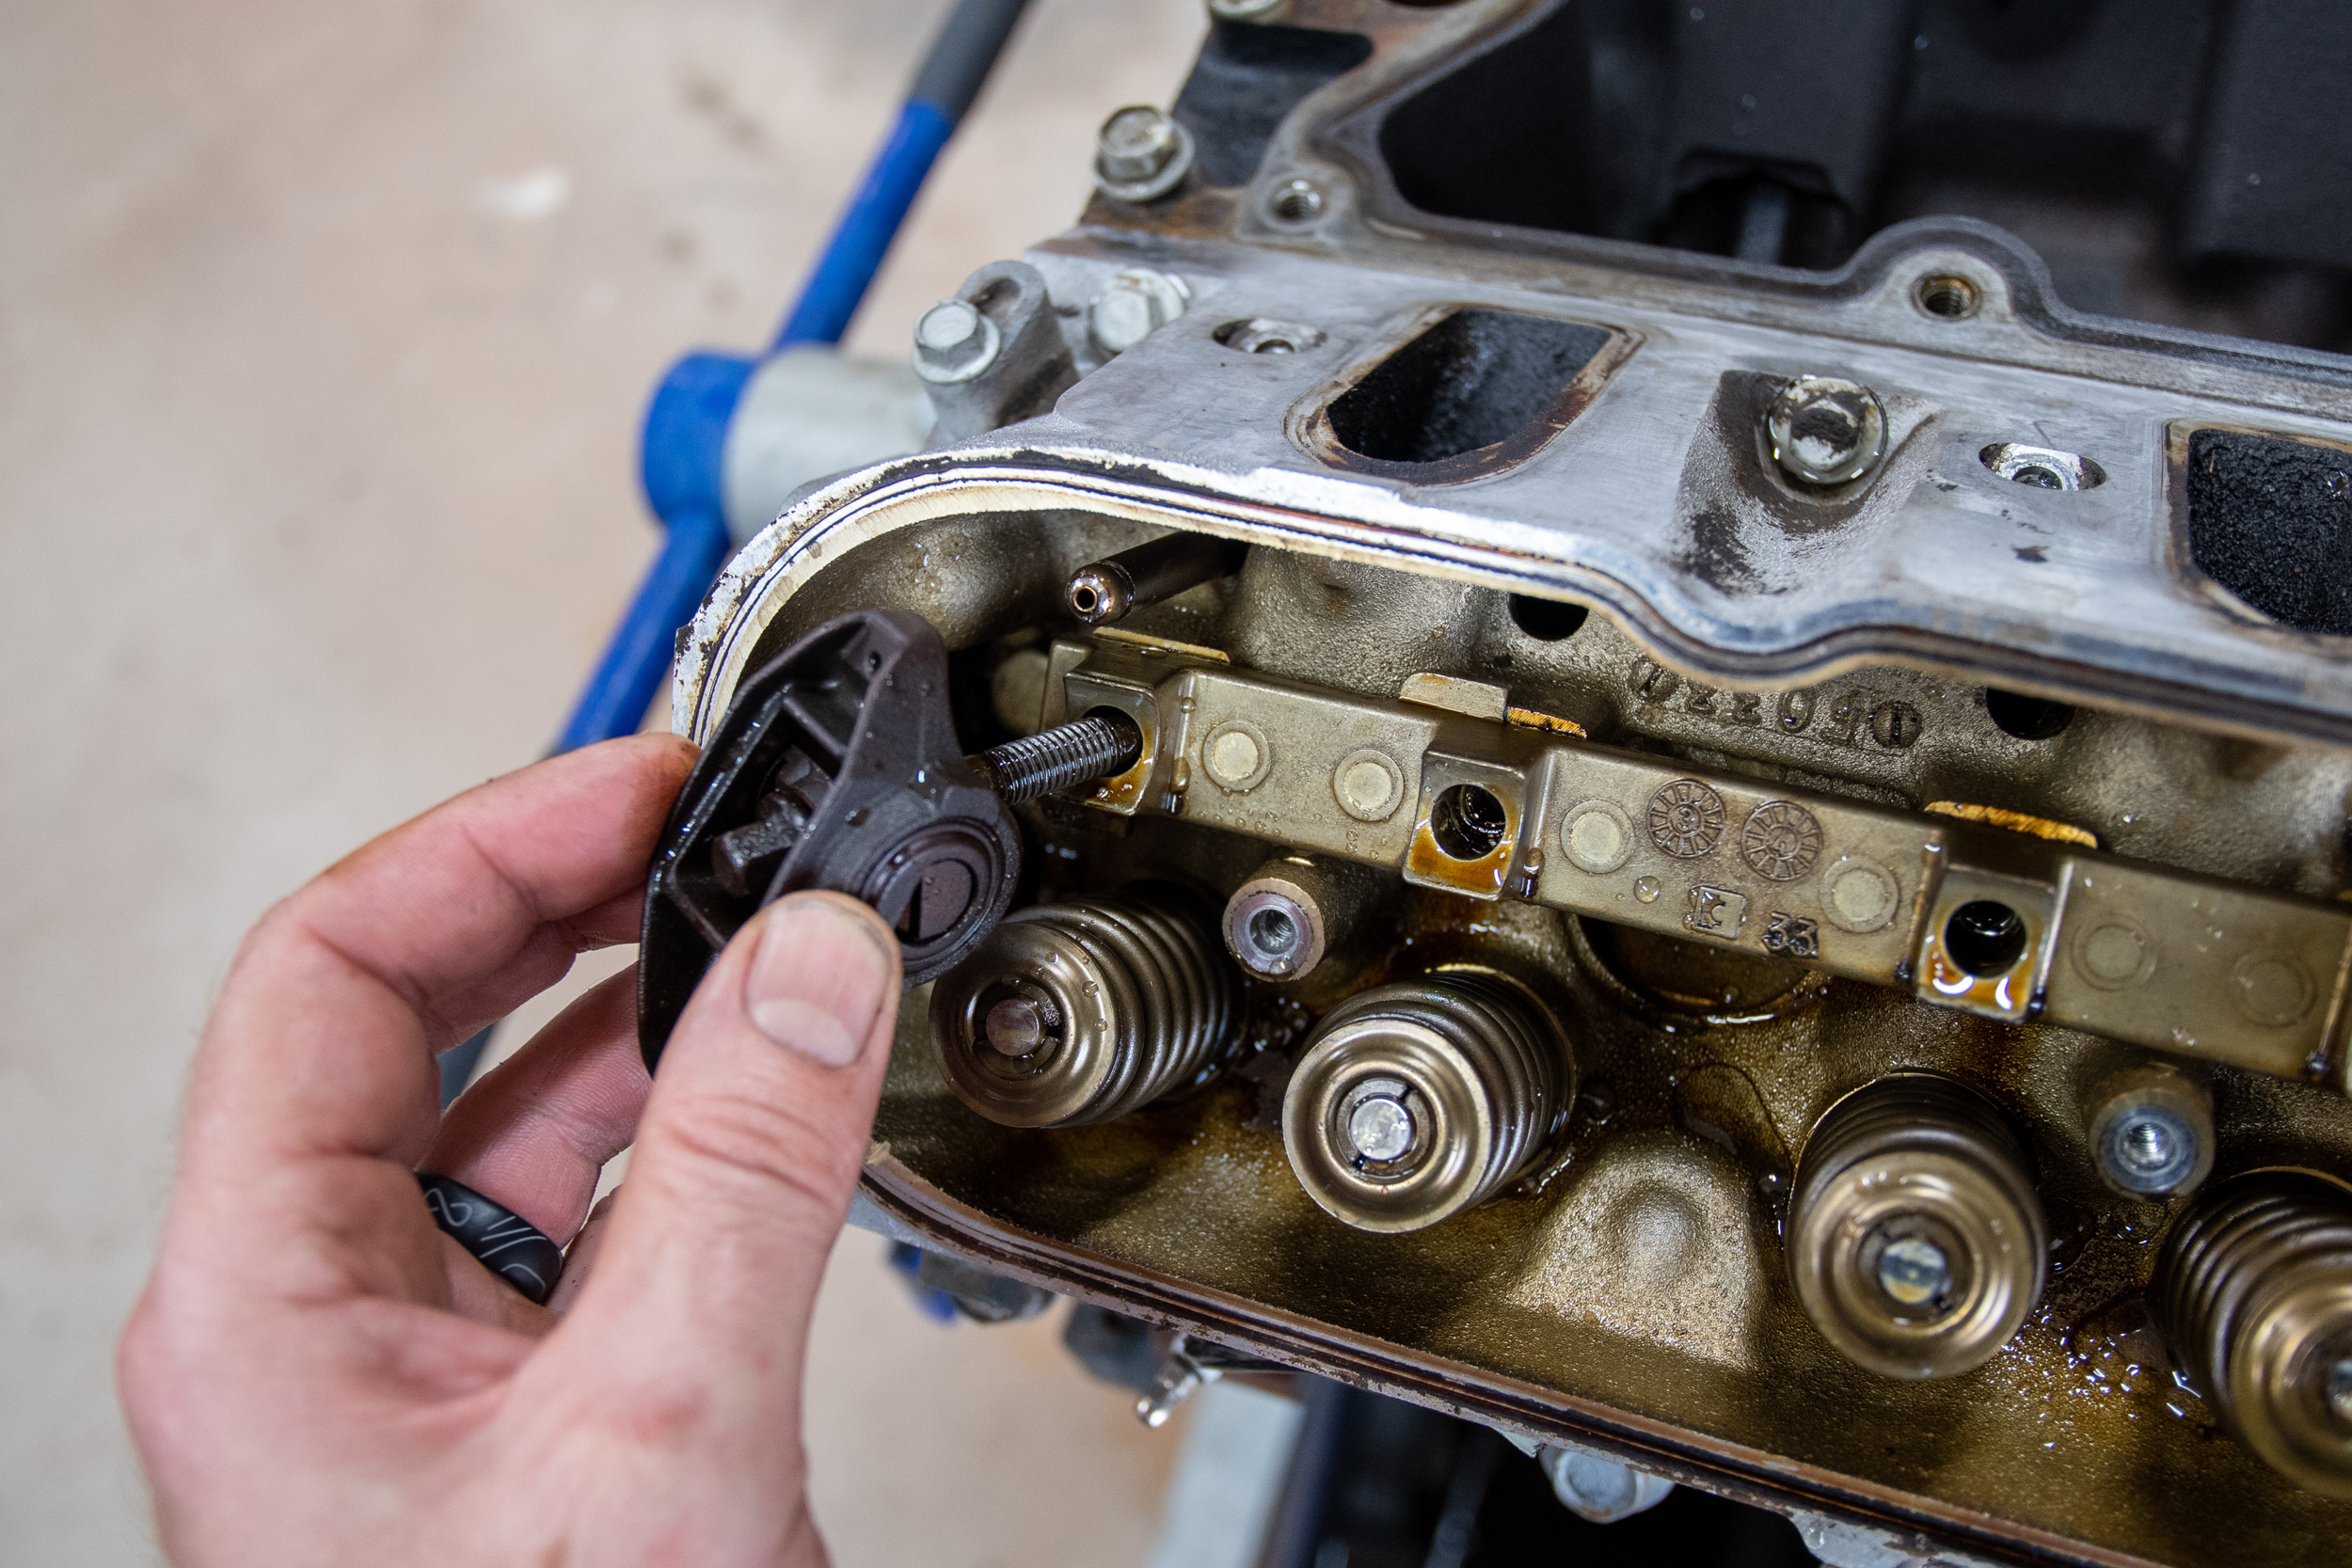
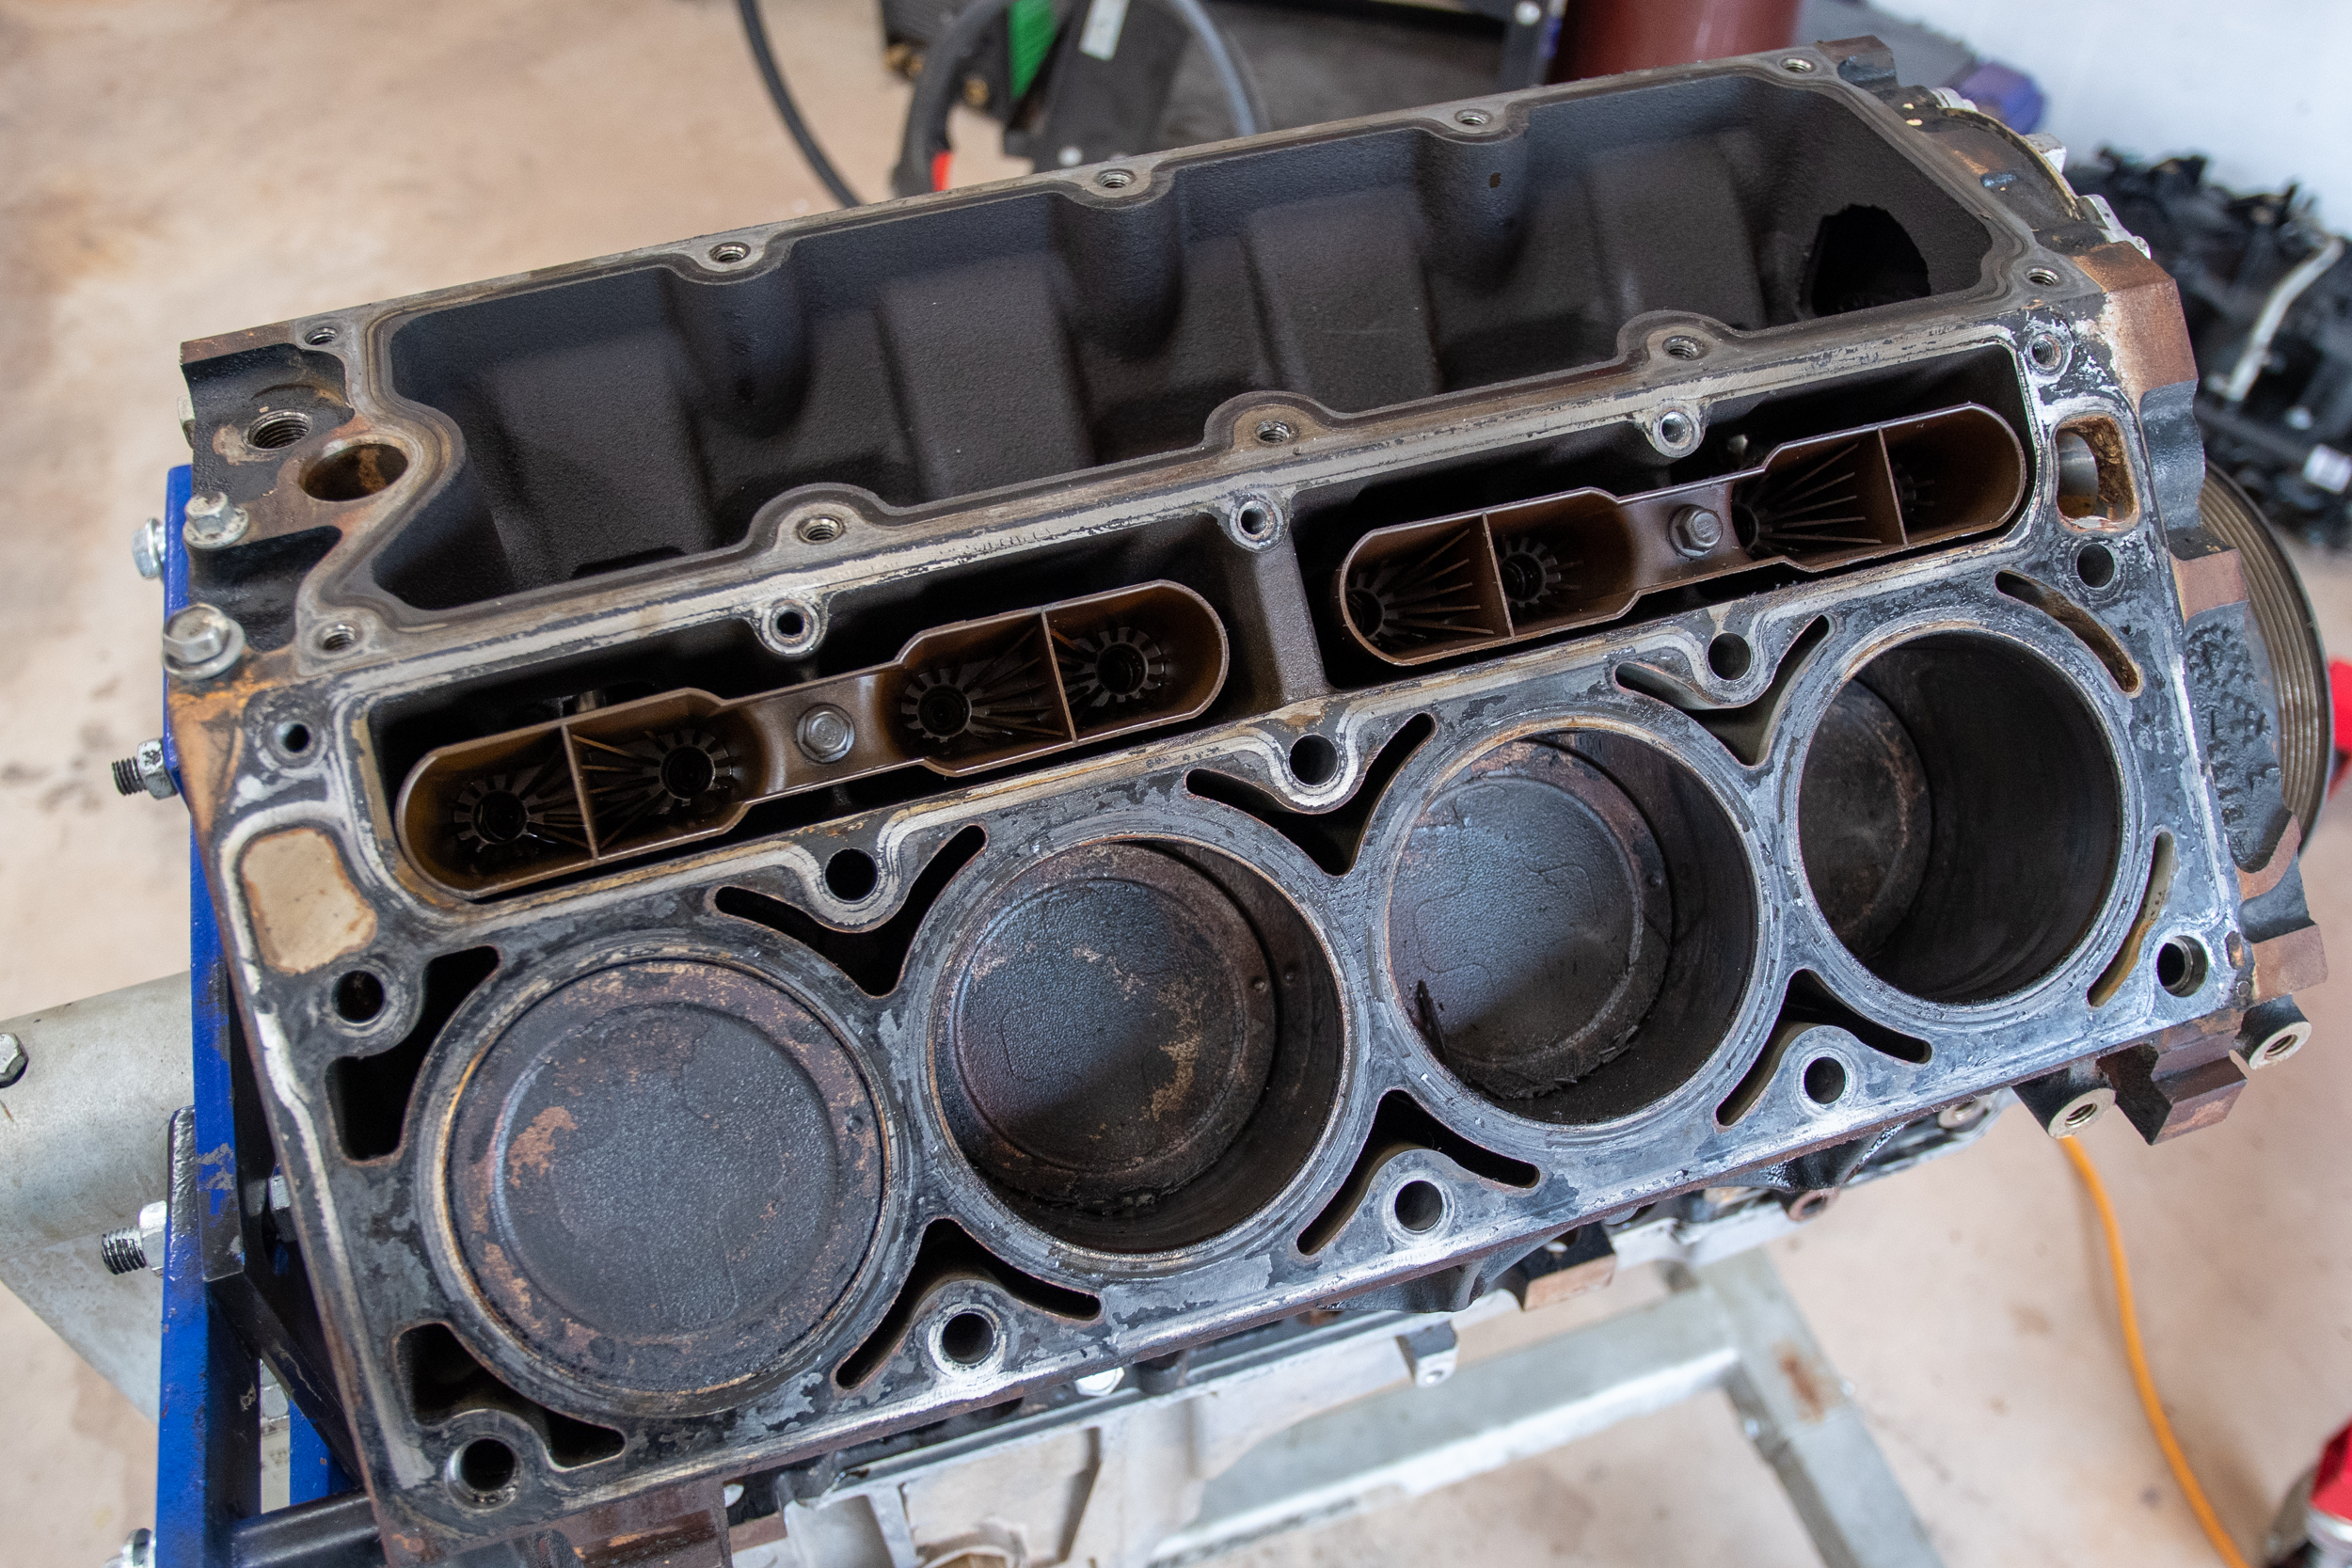
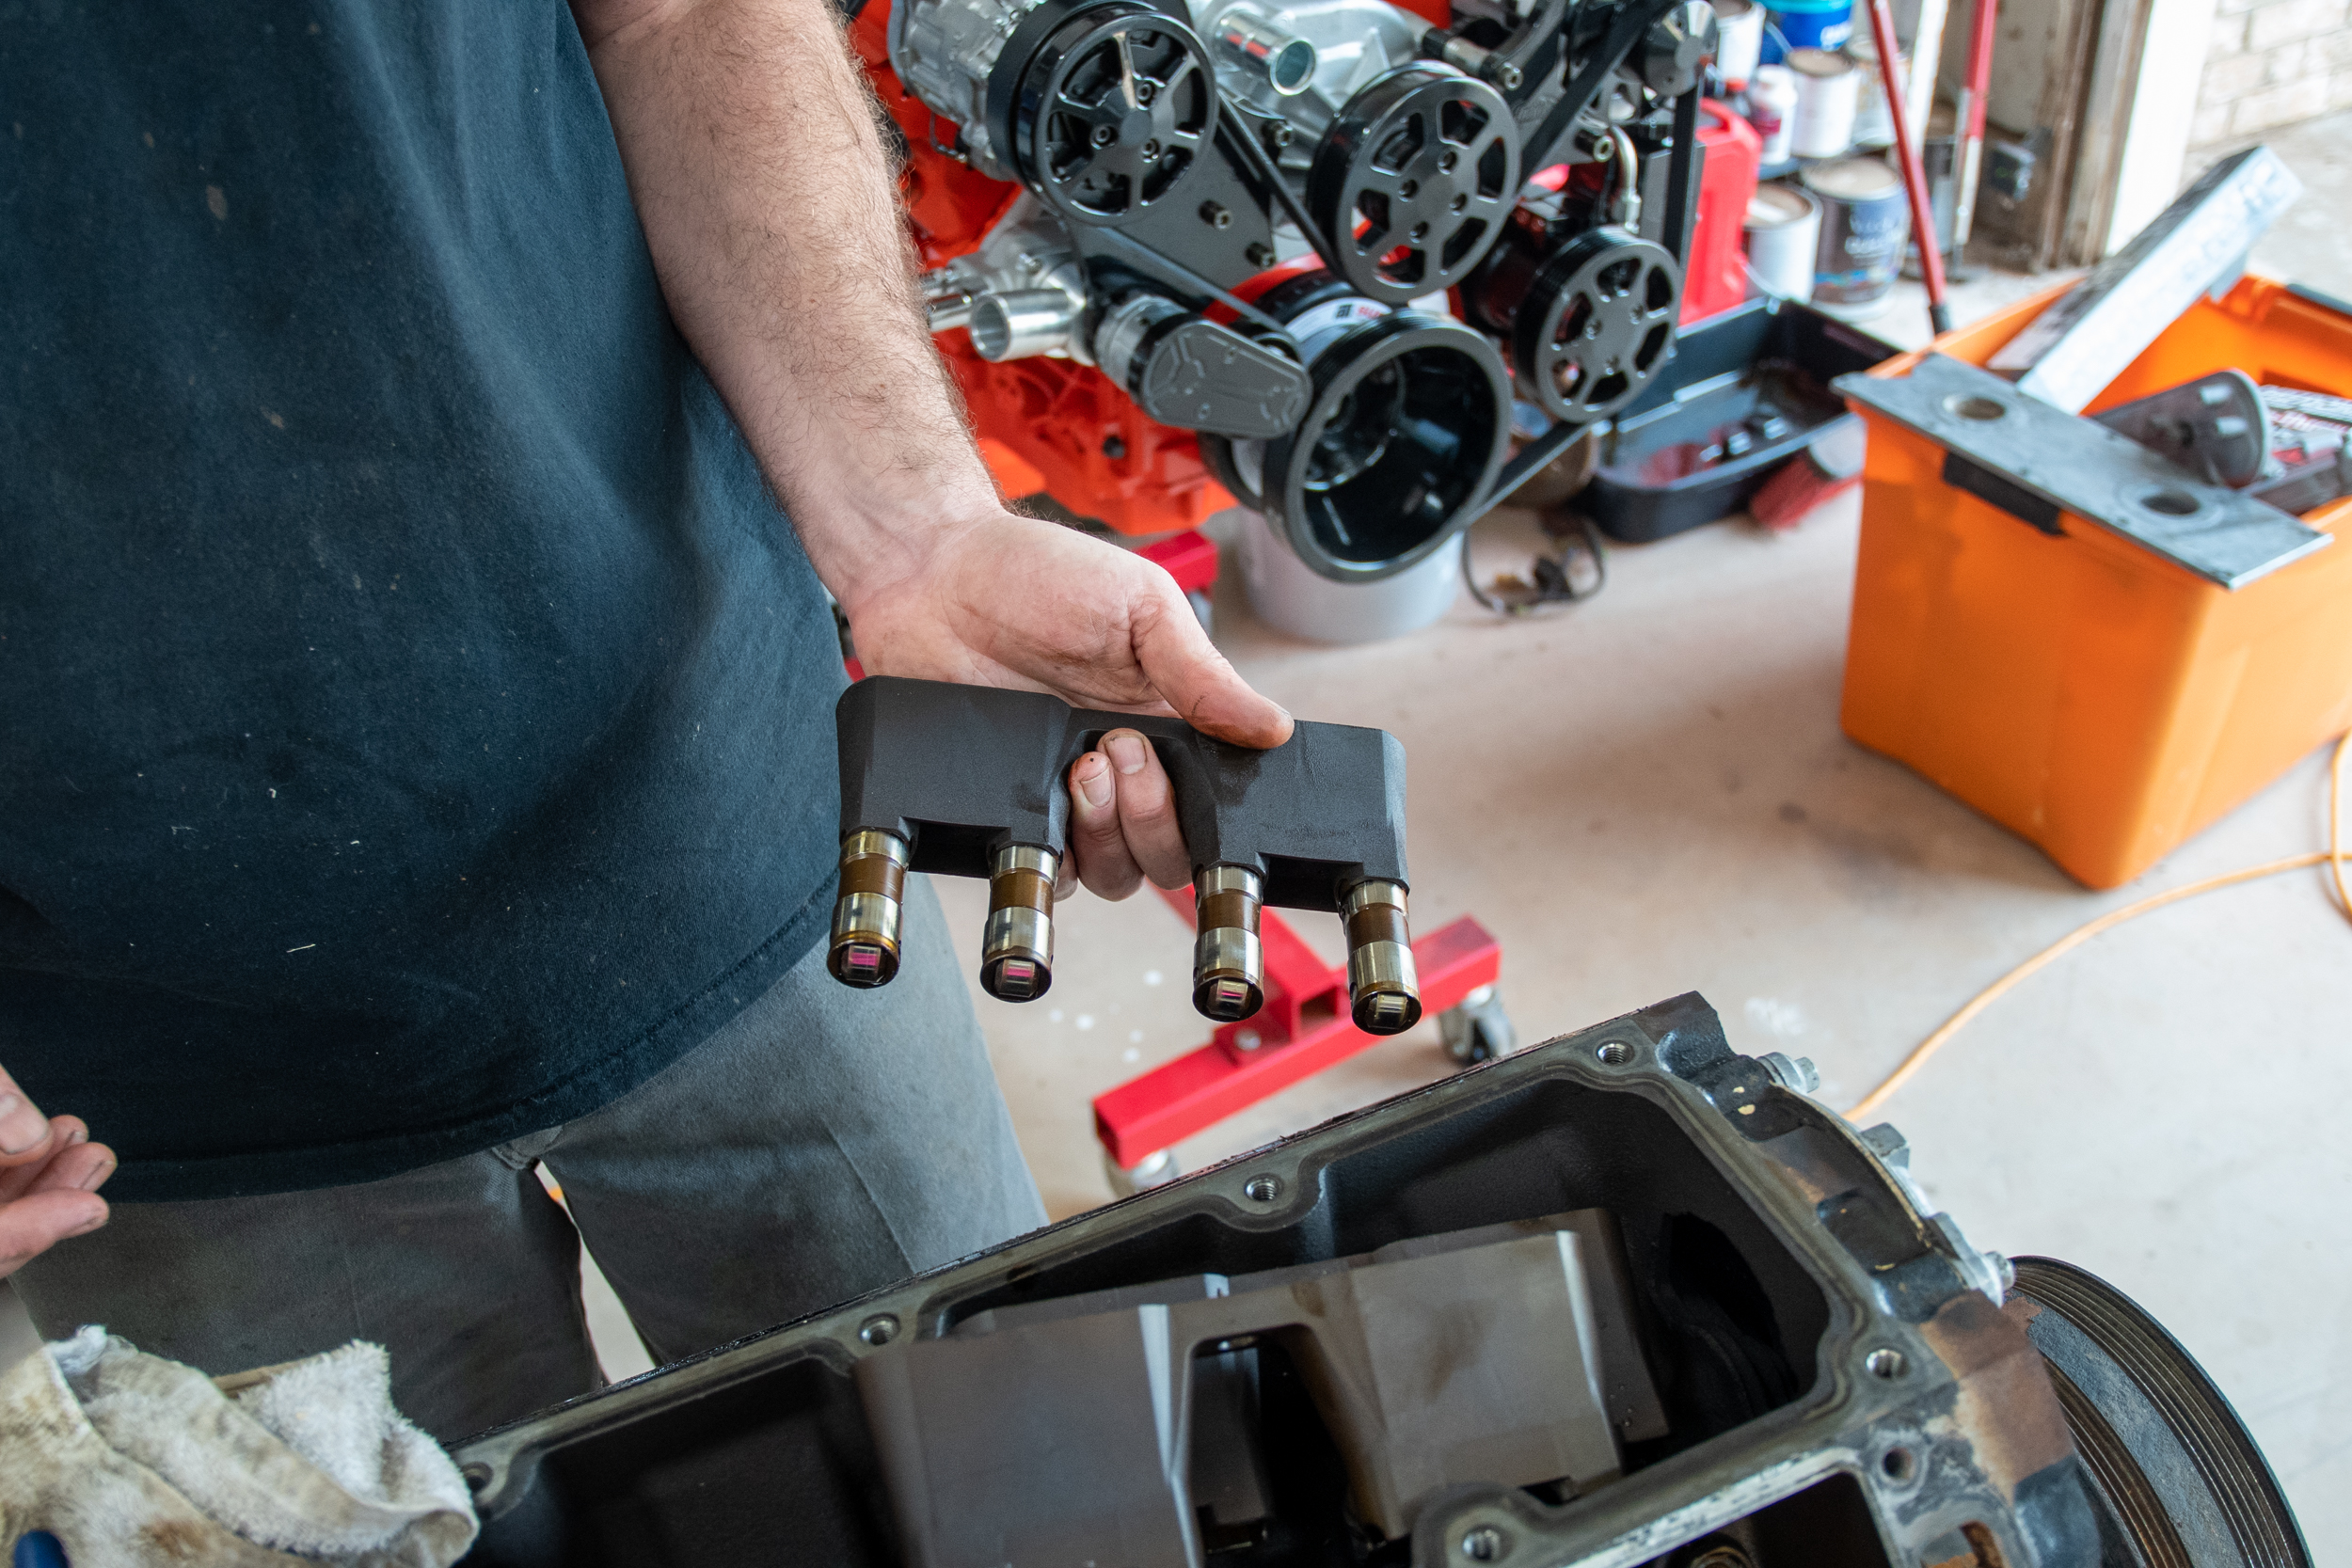
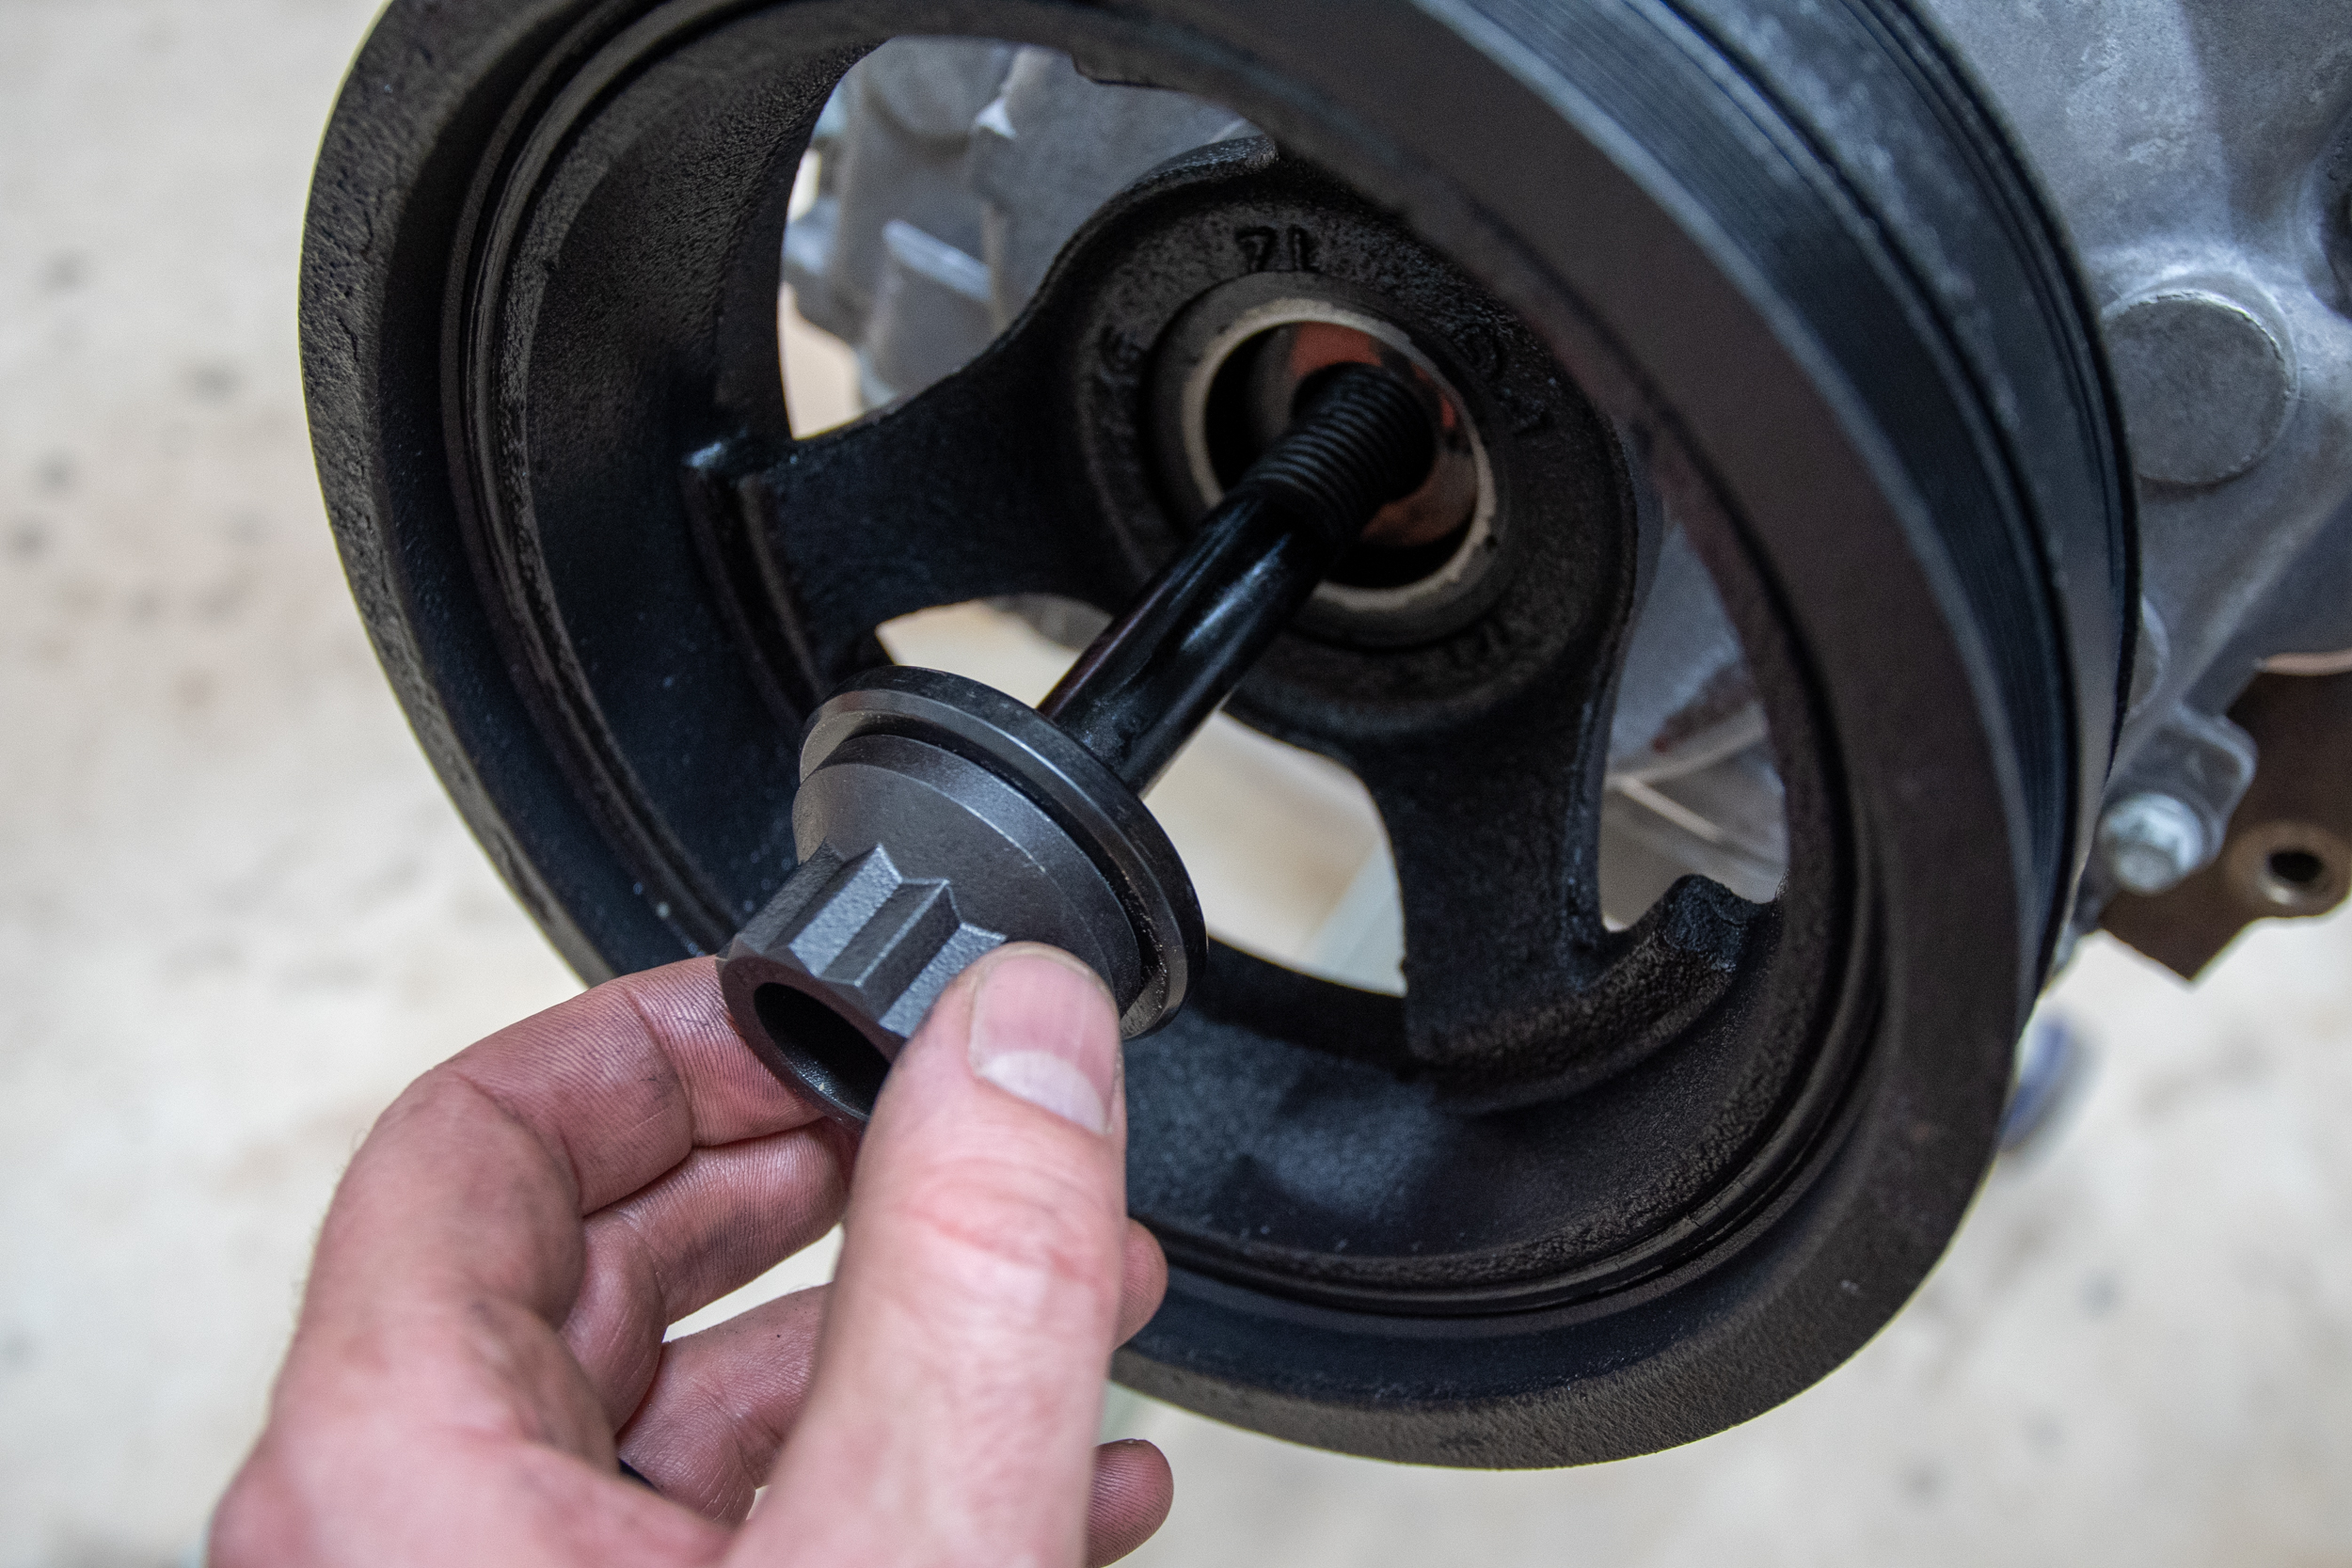
As we tore the engine down, everything looked surprisingly well on the 175,000-mile Tahoe powerplant. First, we pulled the intake and then removed the harmonic damper using a tool we purchased from ICT Billet. Then, we pulled the factory intake, valve covers, rockers, pushrods, and lifters. Finally, it was time to get the heads off and inspect the tops of the pistons and cylinder walls, which looked good.
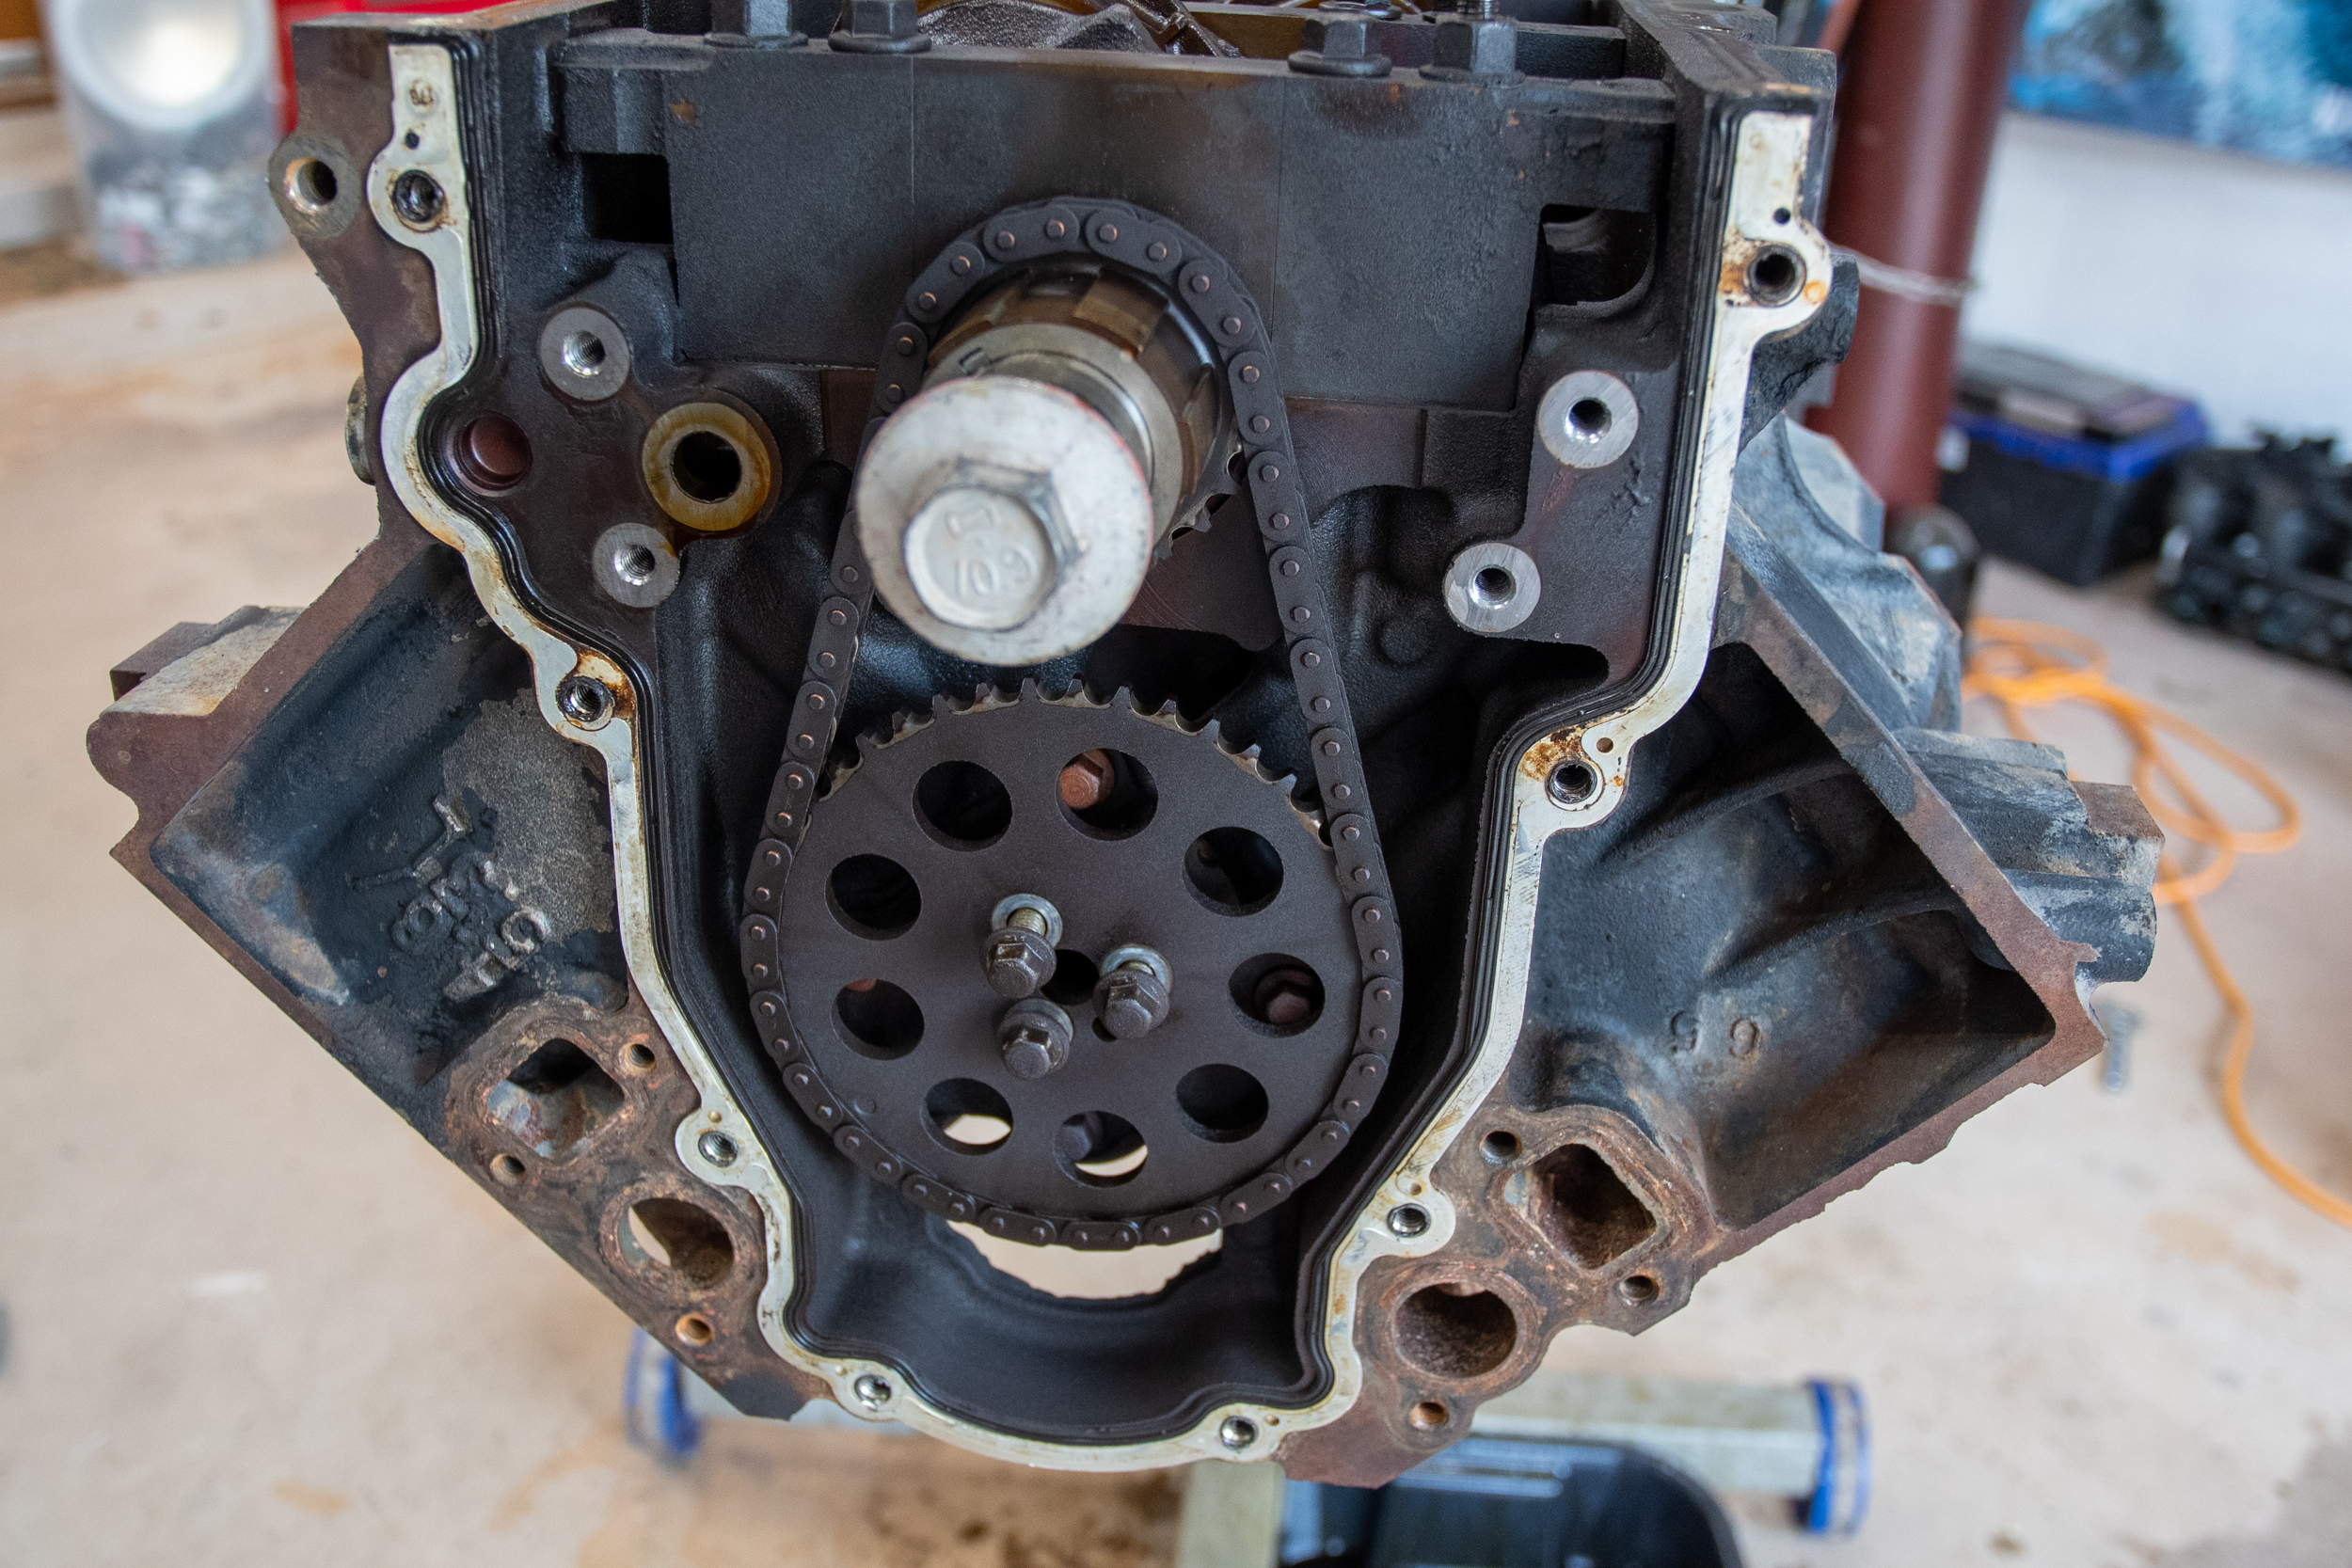
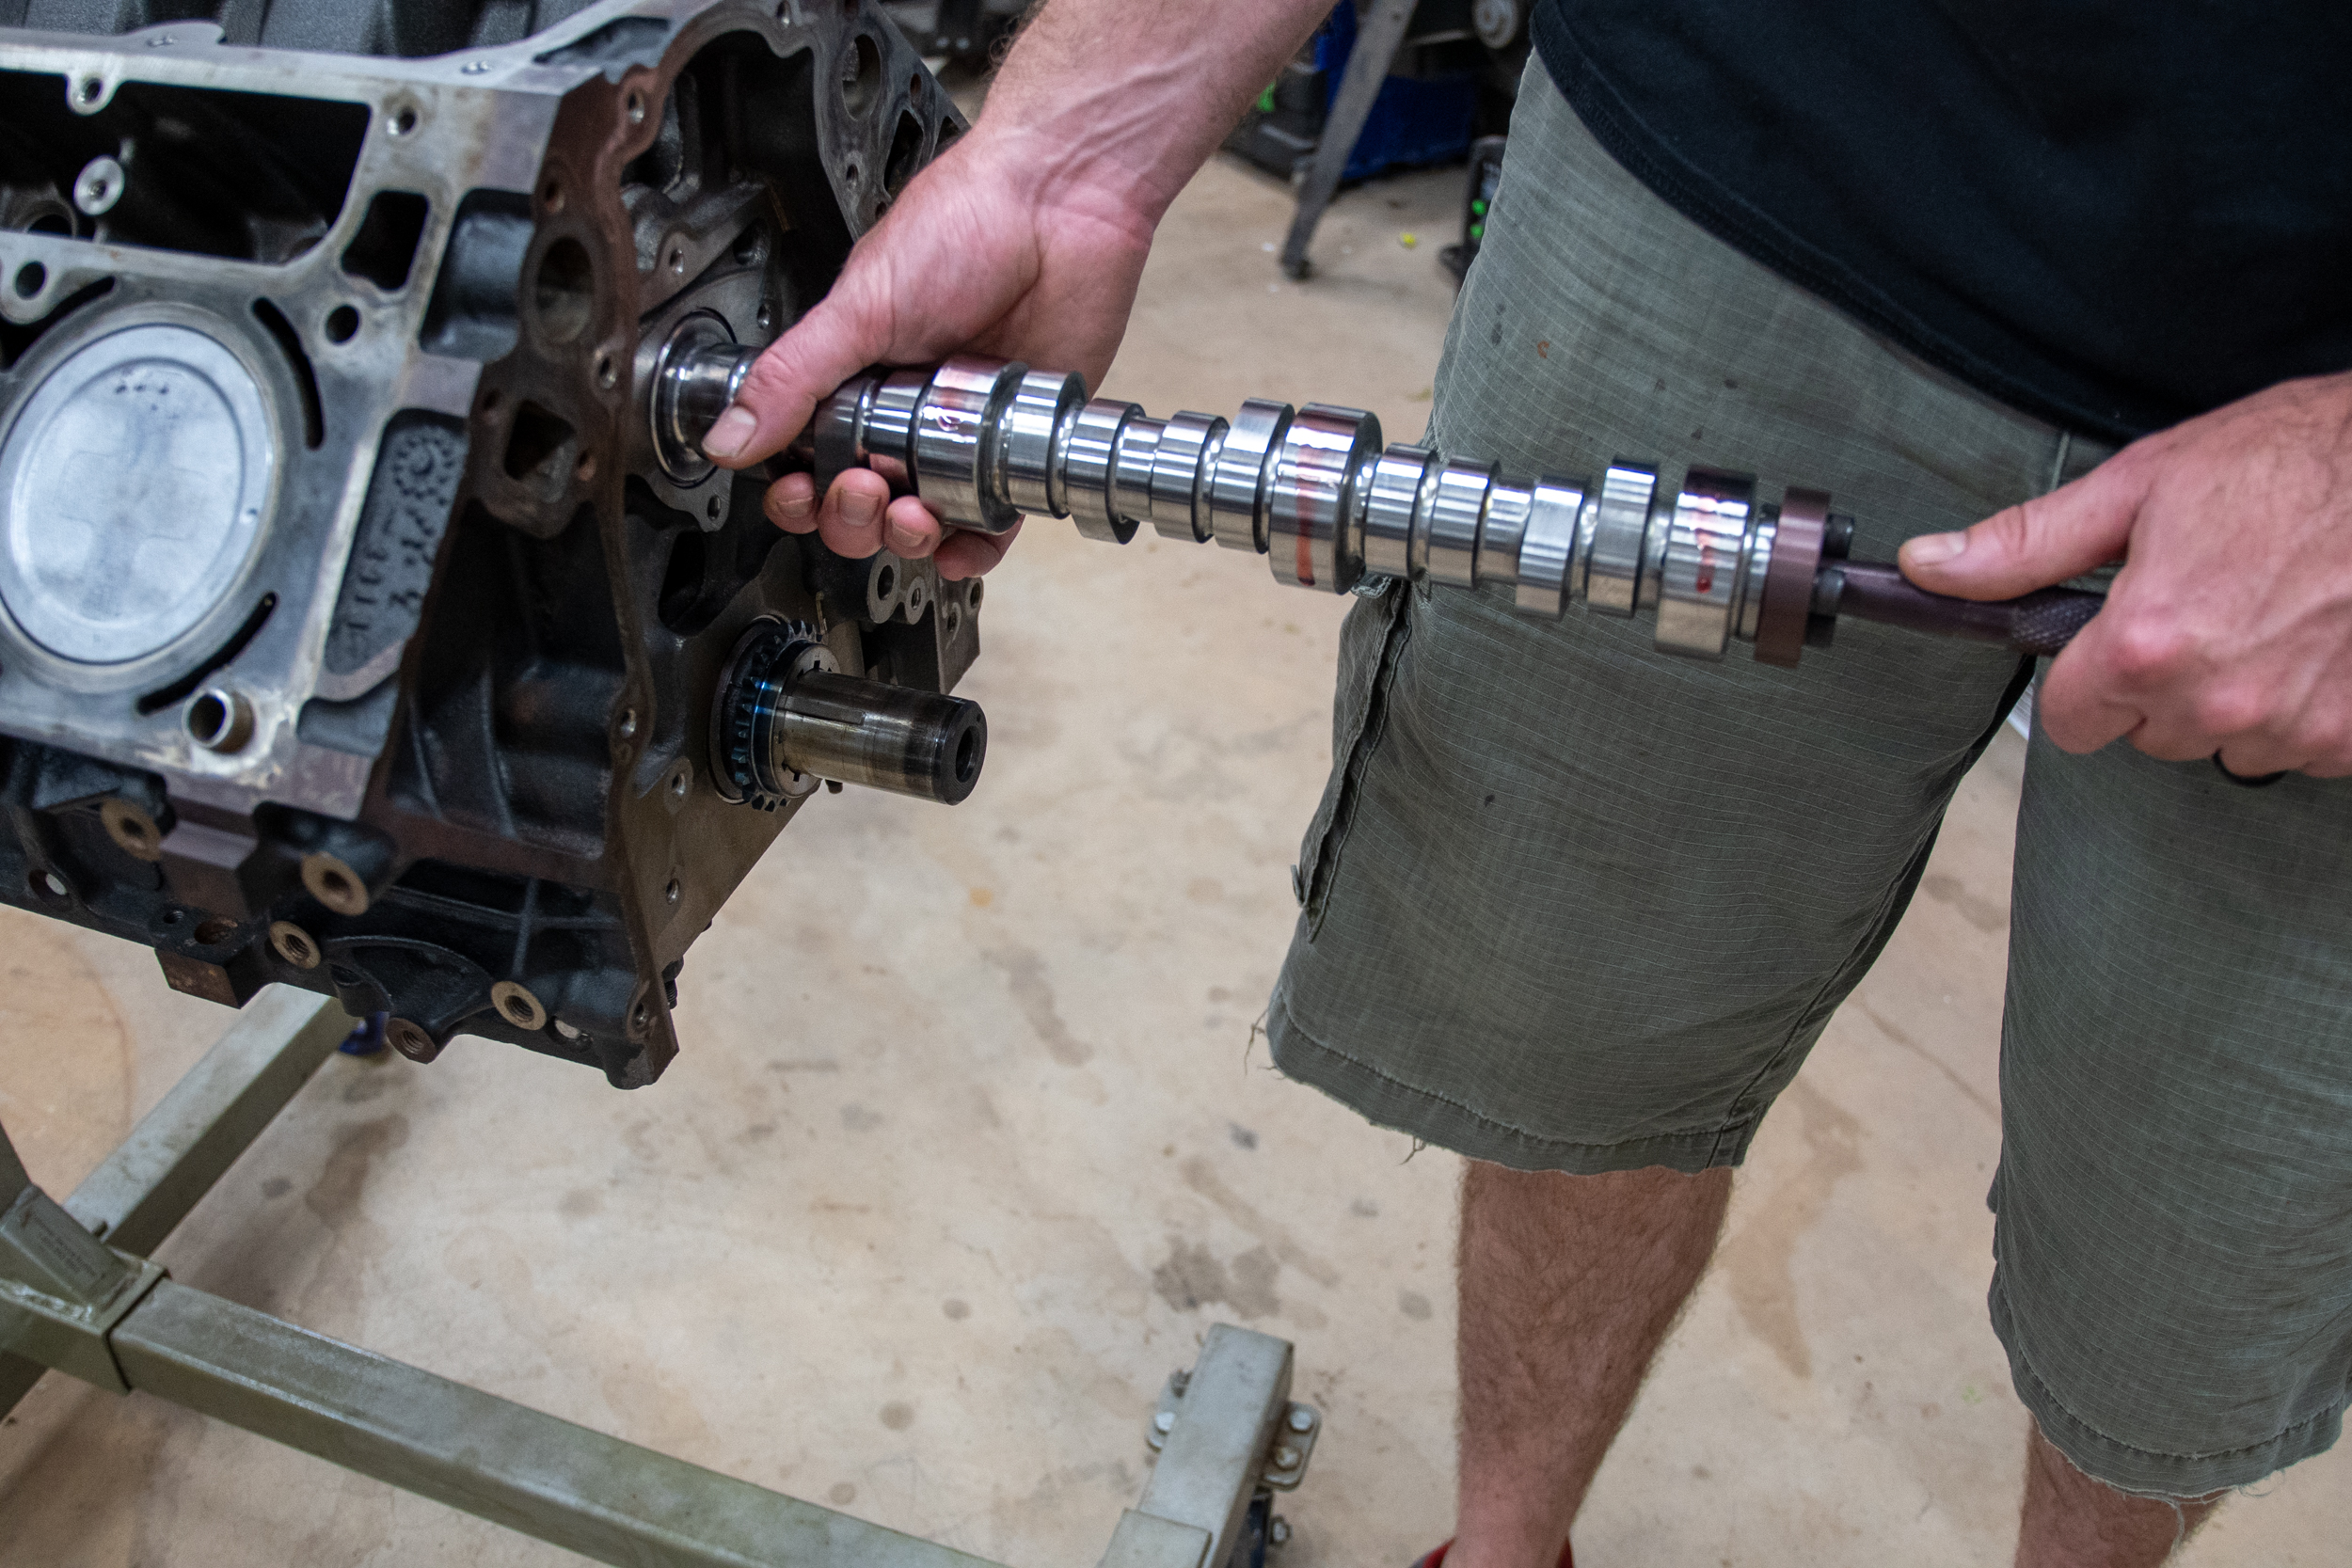
Before we removed the cam, we pulled the oil pump and factory timing set from the engine. Using a handy cam removal tool (PN CSIT-LS) from Melling, we bolted it to the camshaft with the supplied hardware. This device makes it easy to remove the cam, giving you enough leverage to finagle it out without disturbing the cam bearings. With the OEM unit removed, we were able to inspect the lobes, which showed slight wear. The cam bearings were a different story and had to be replaced.
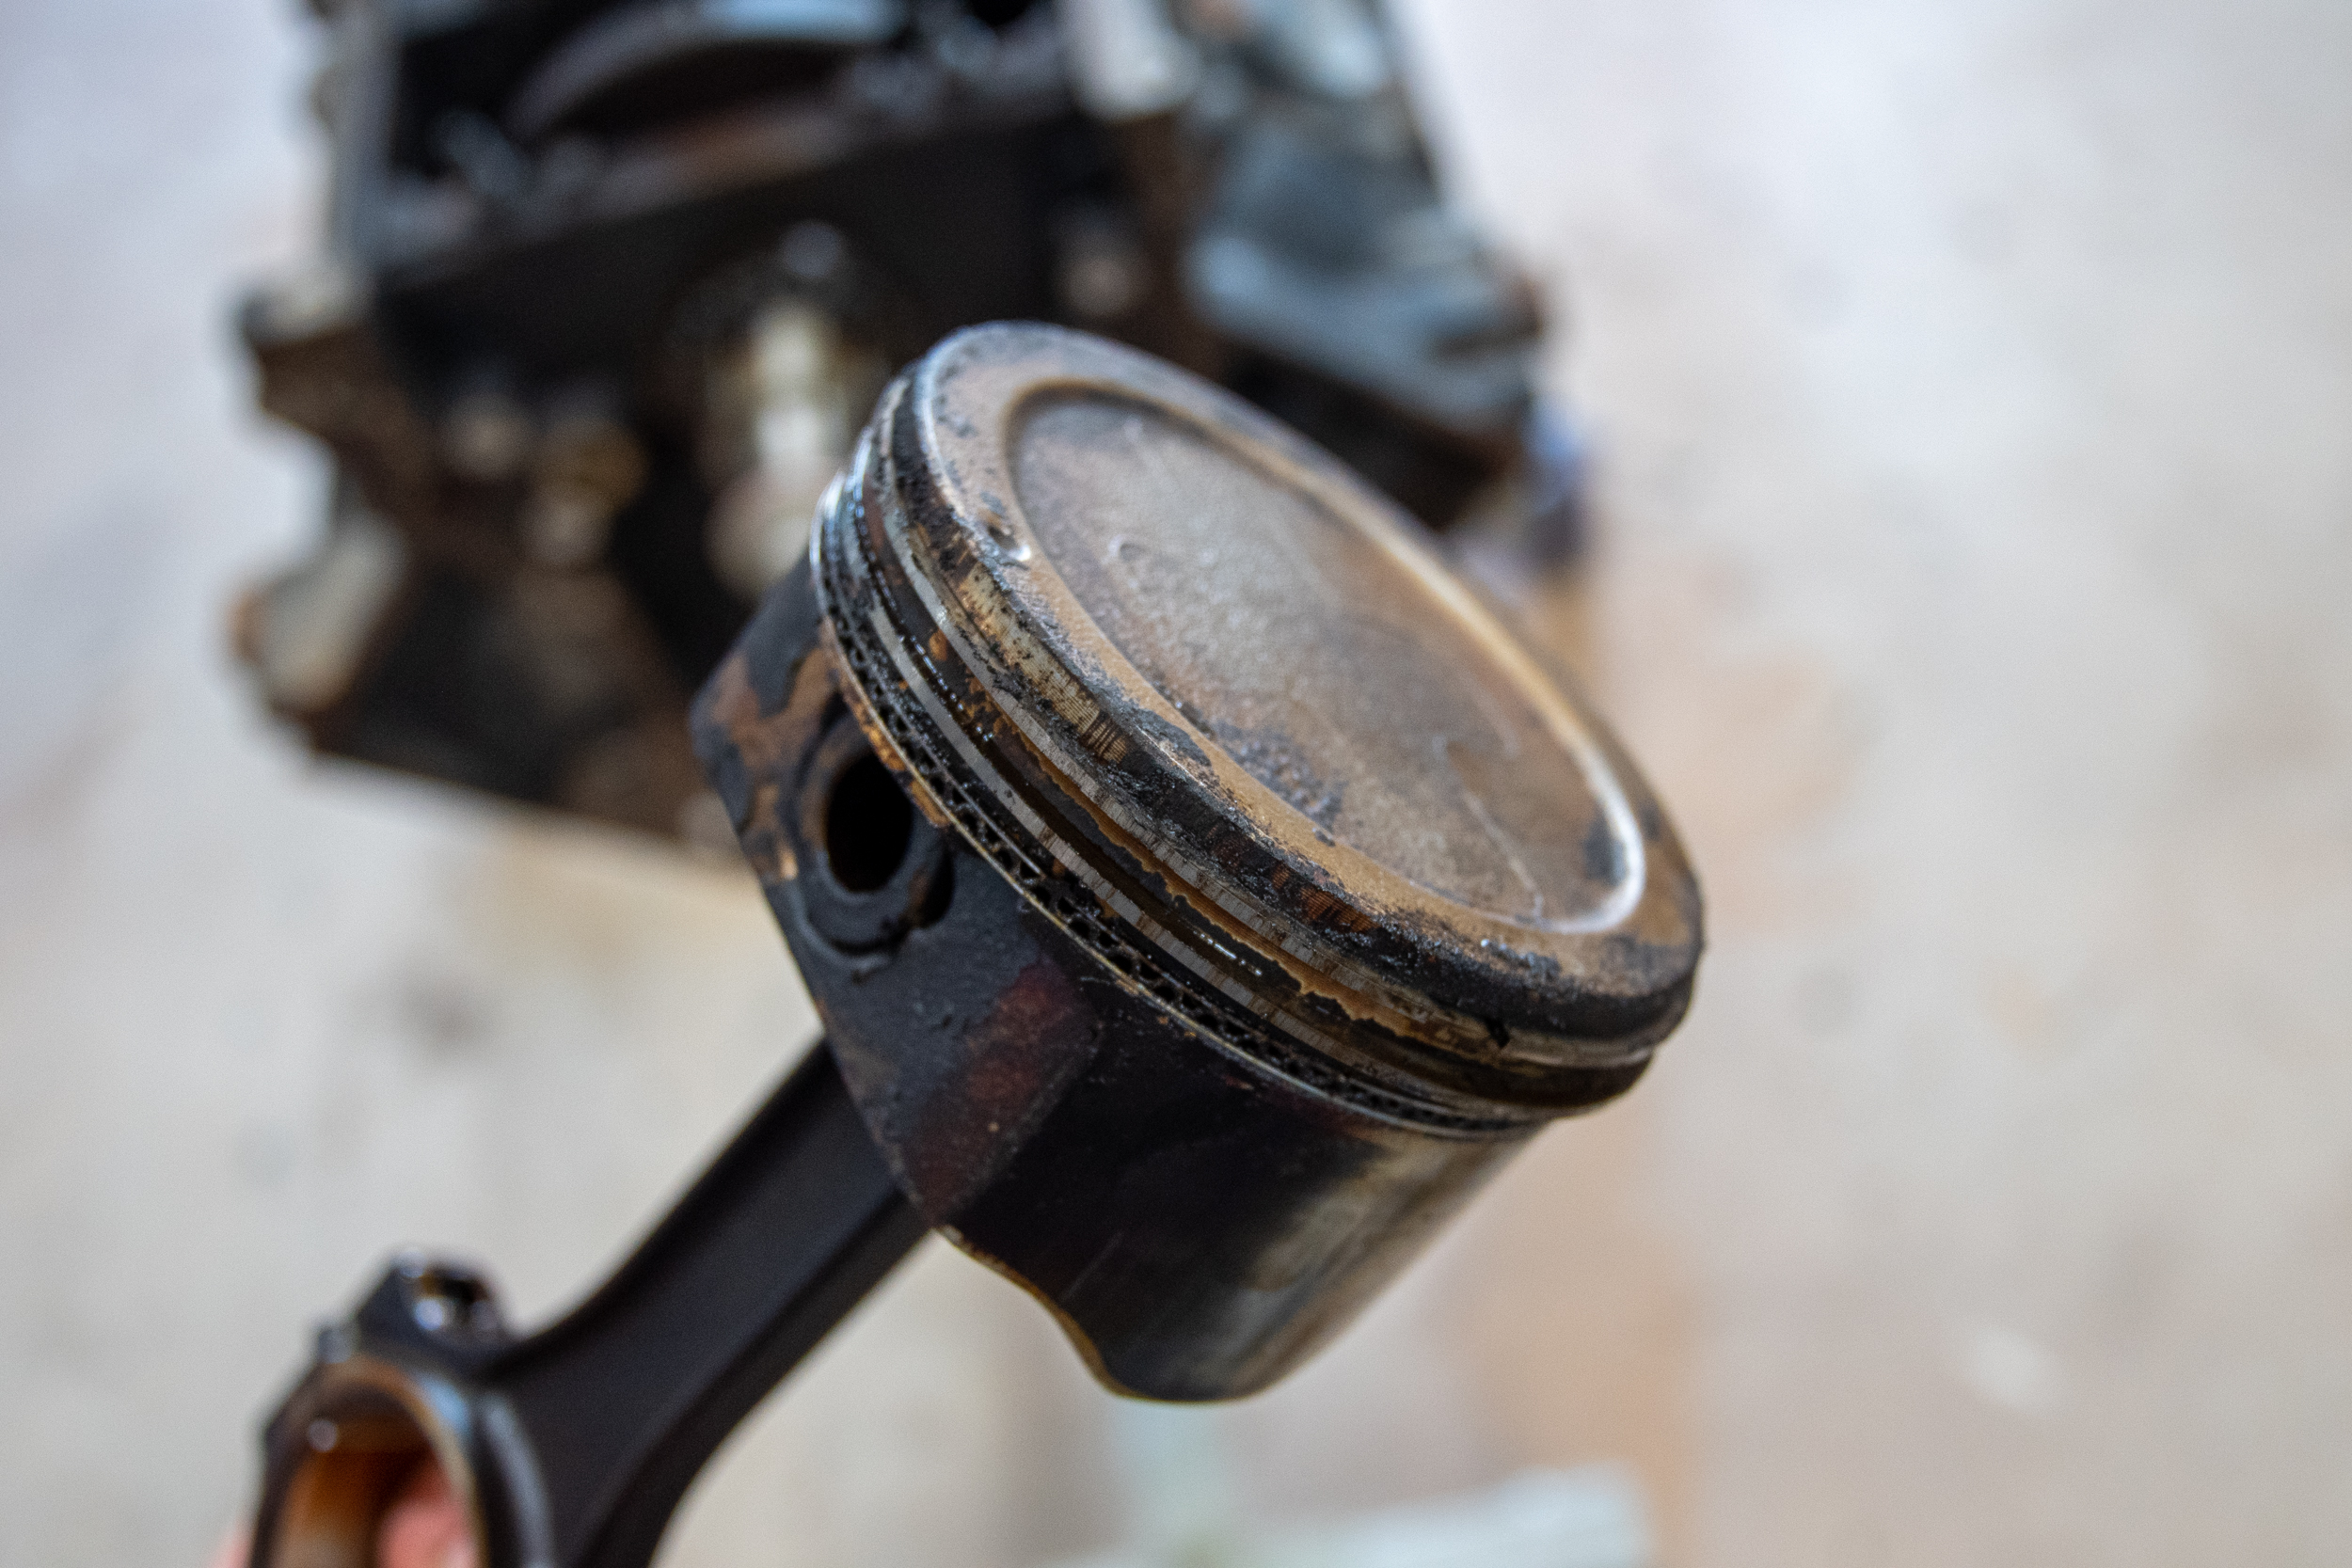
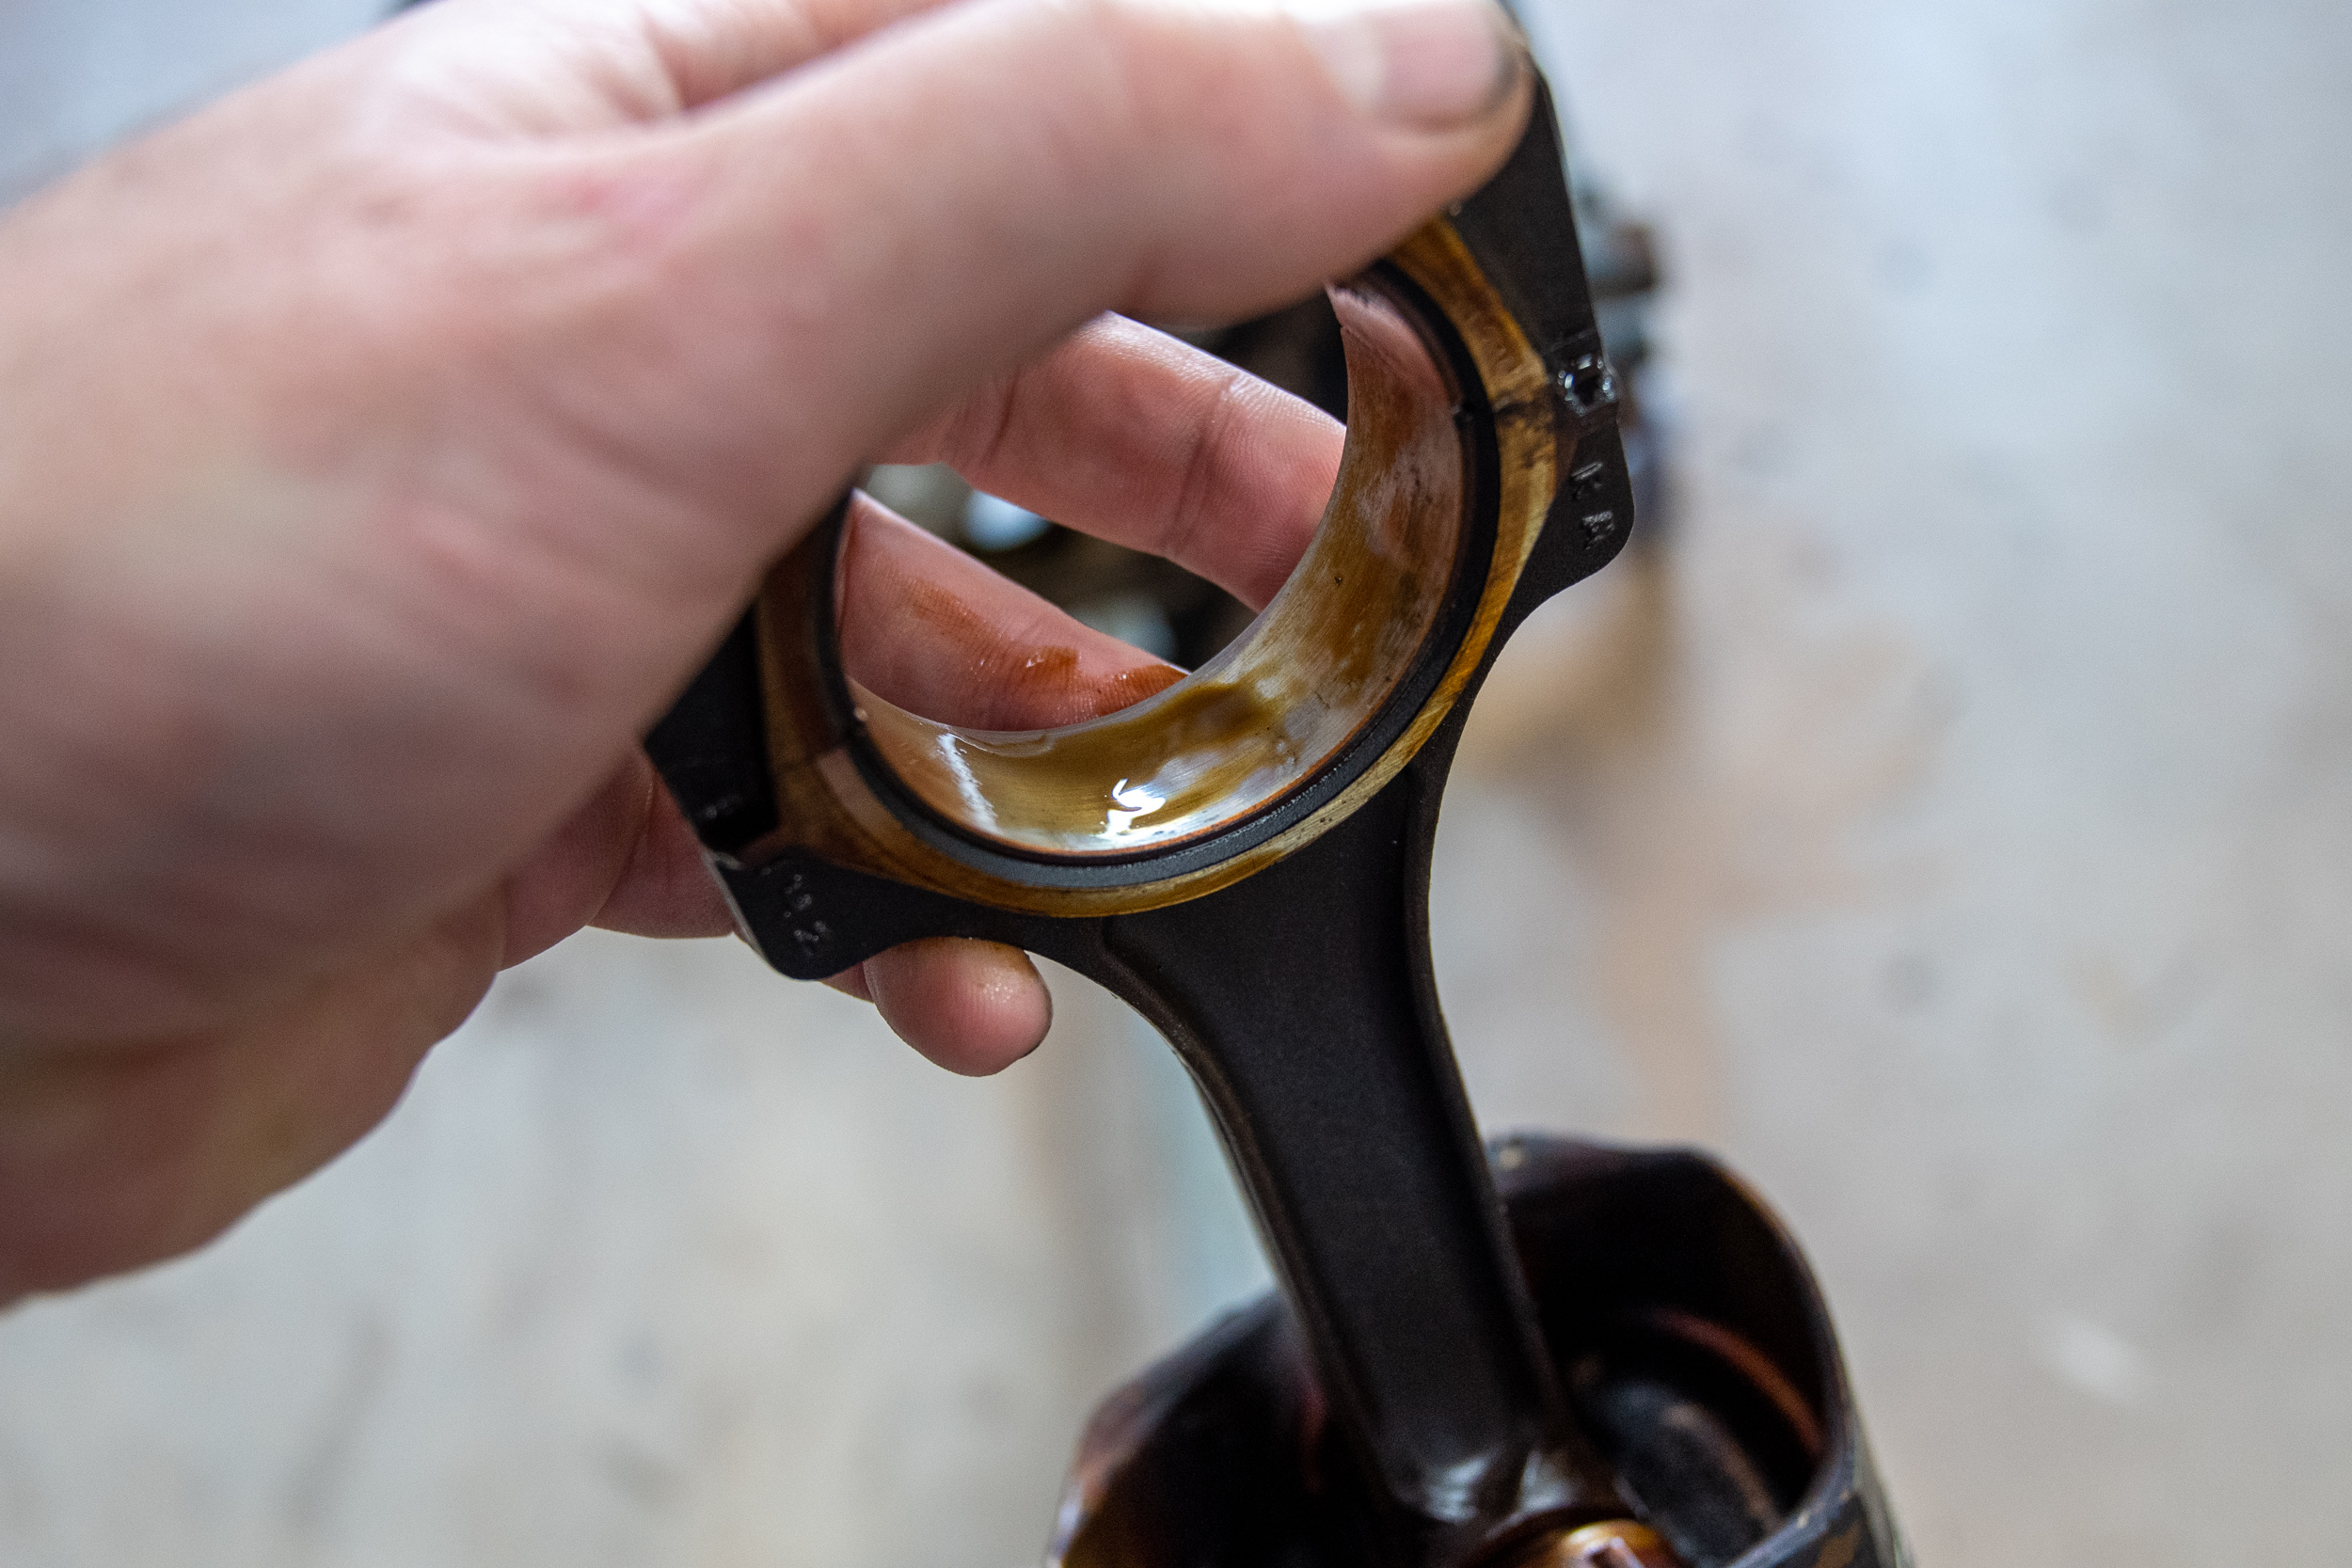
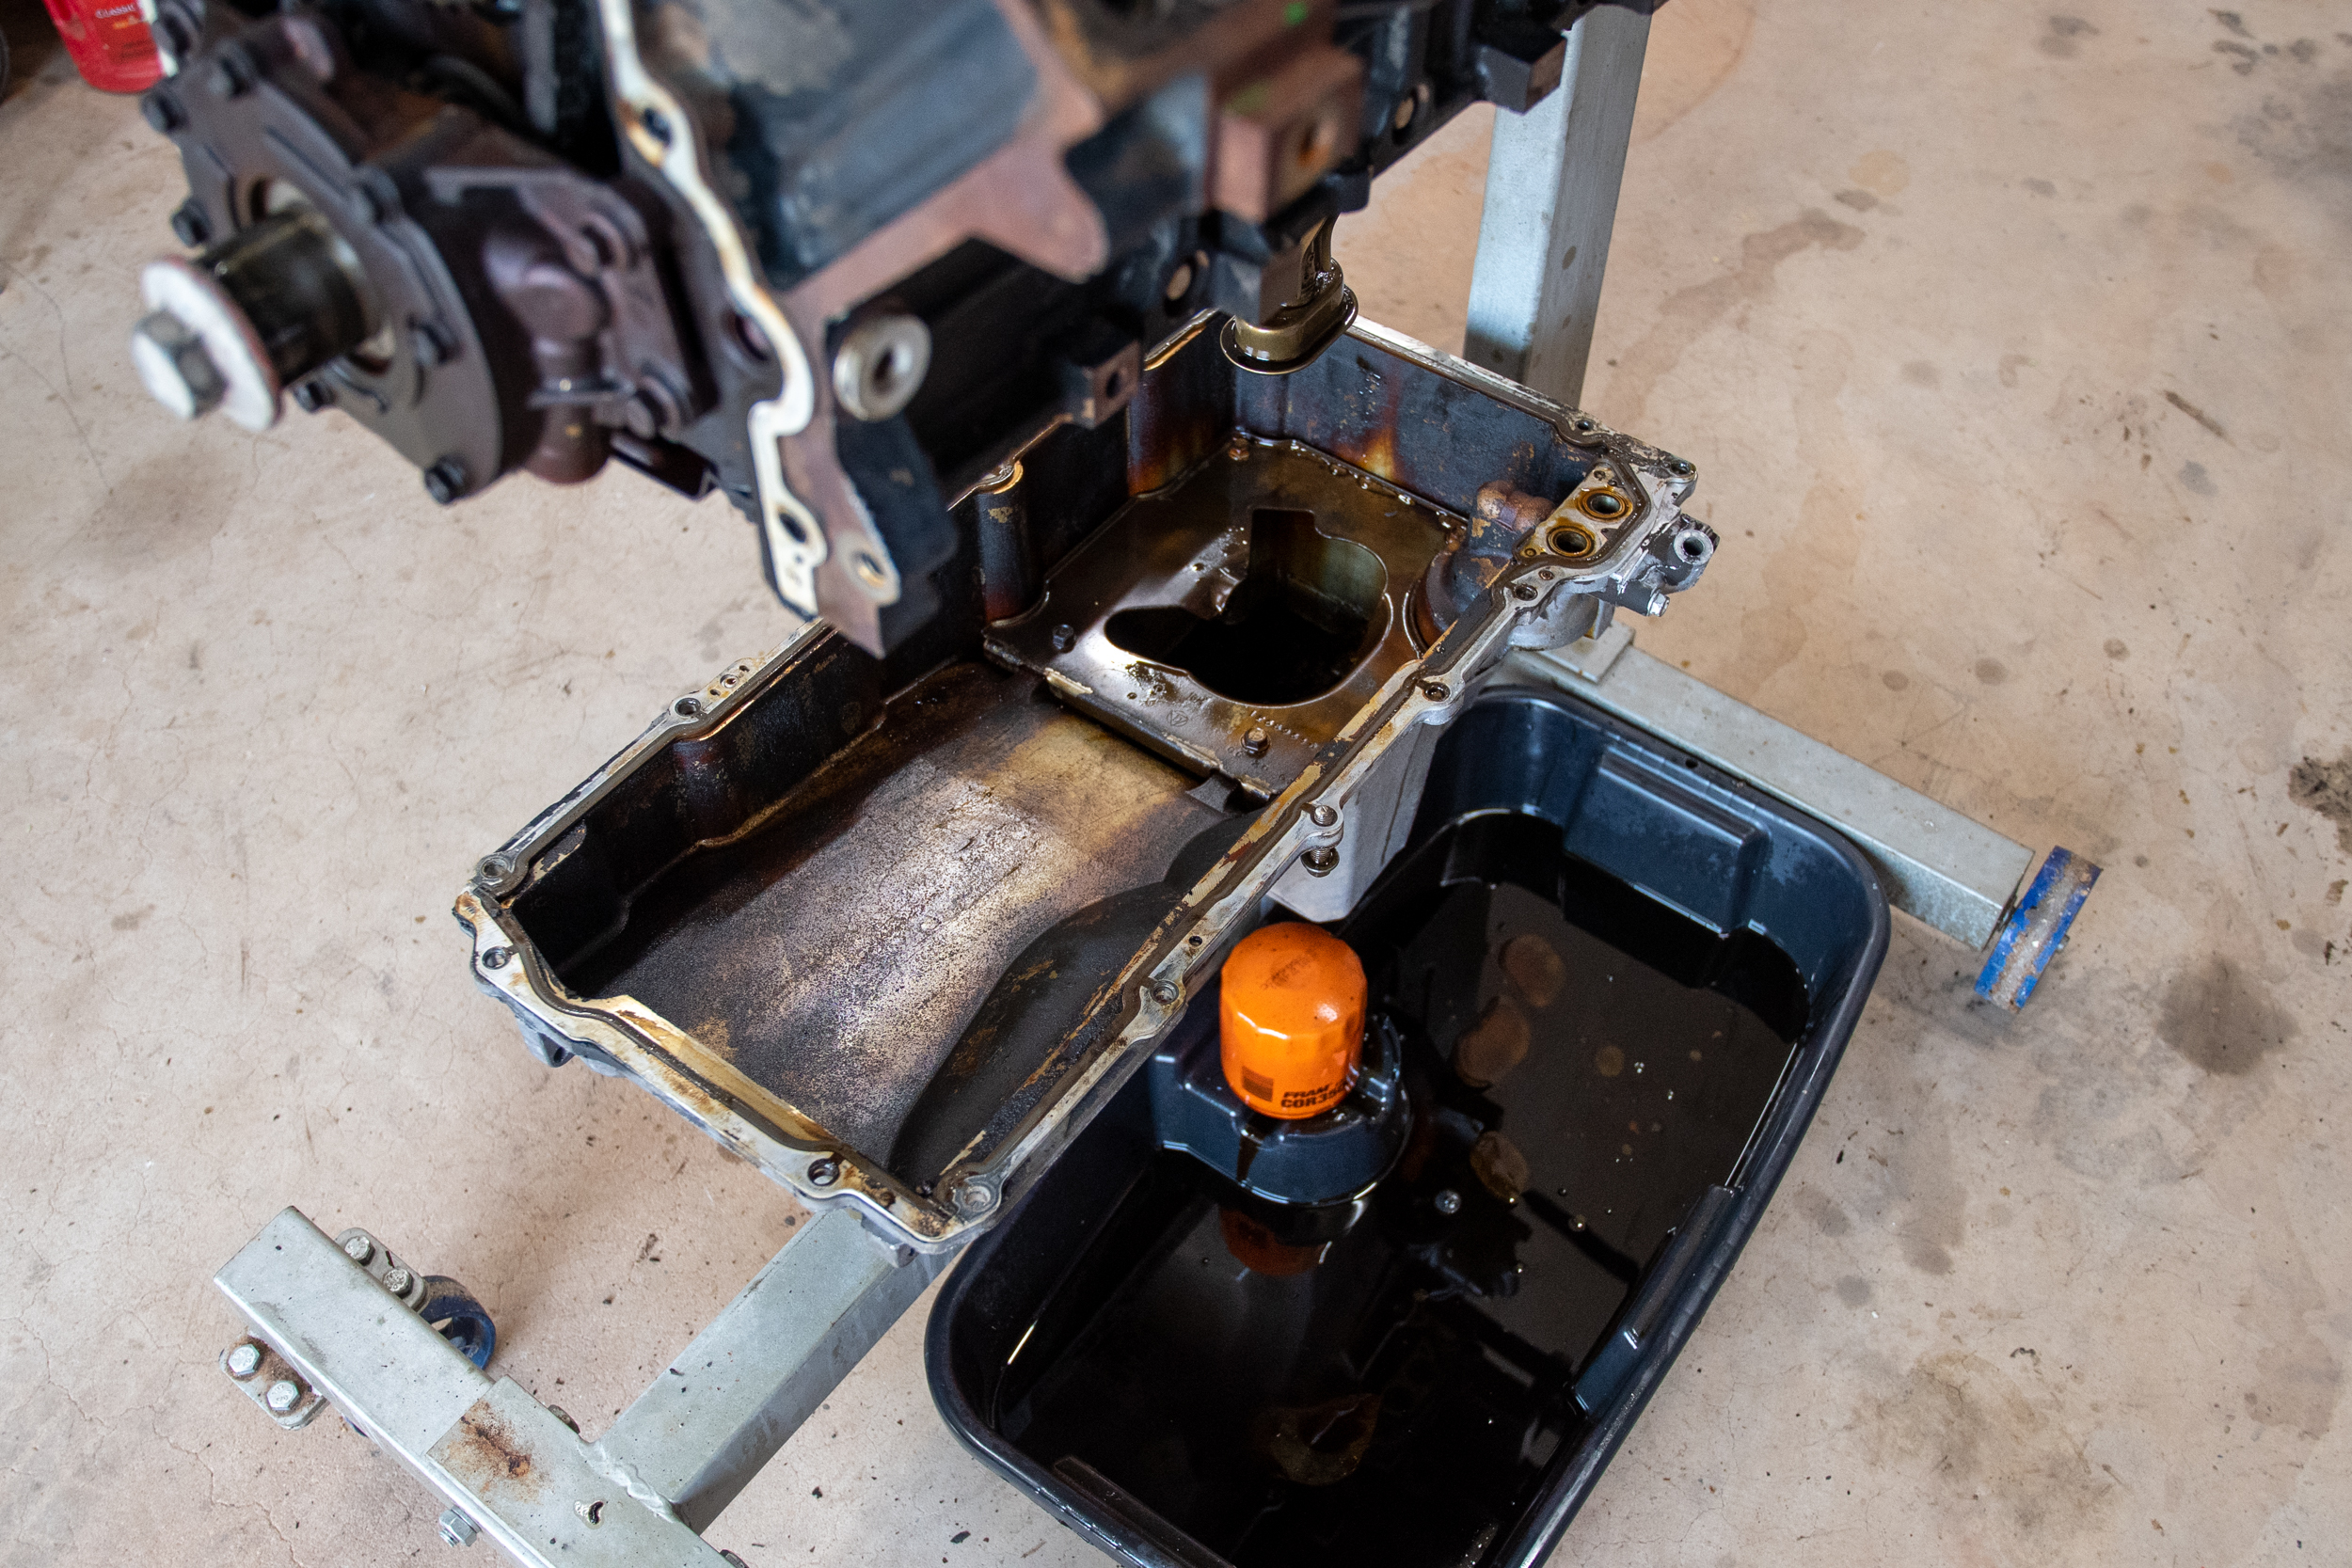
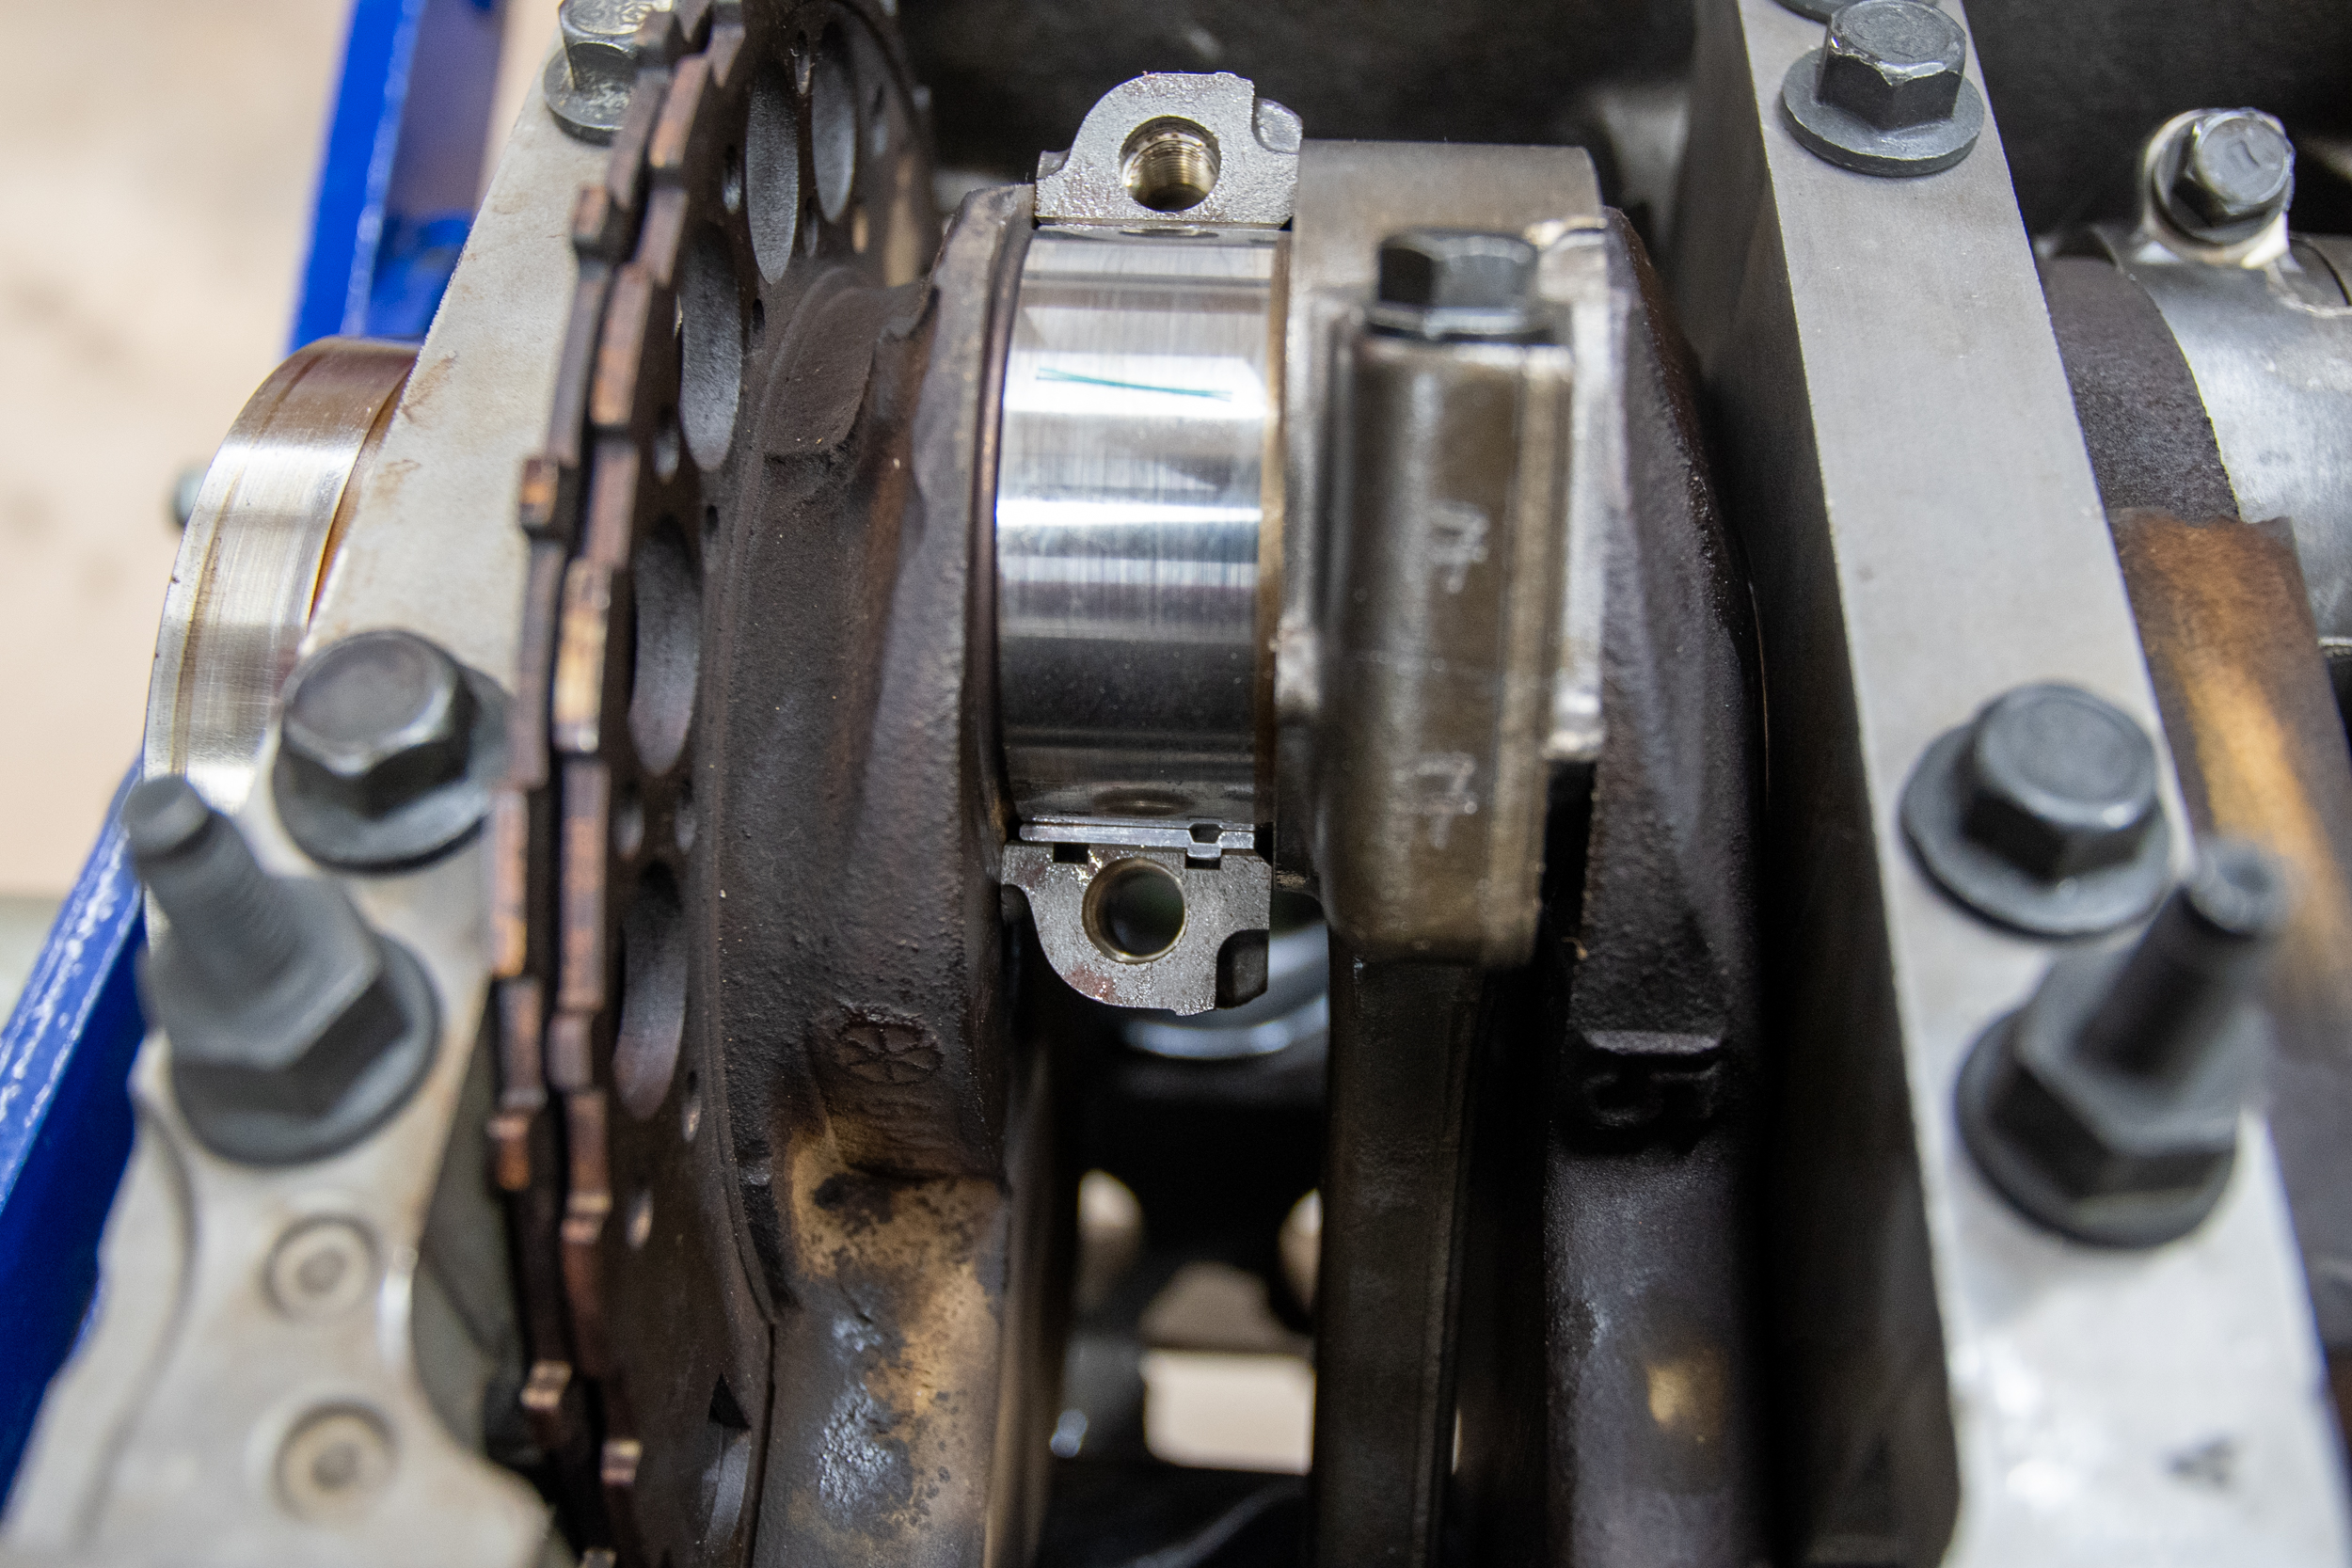
After we flipped the engine over and removed the oil pan, we popped off the rod and main caps to find that the bearings looked acceptable. We then numbered the pistons, which were in disgusting shape, so we would know what hole to put them in during reassembly. With the pistons out of the way, we popped the main caps off and yanked the crankshaft. Unlike the cam bearings, rod and main bearings are easy to replace and affordable since no special tools are needed. We decided it was a good time to replace them and called King Bearings and ordered a set of bearings.
Give It A Hone
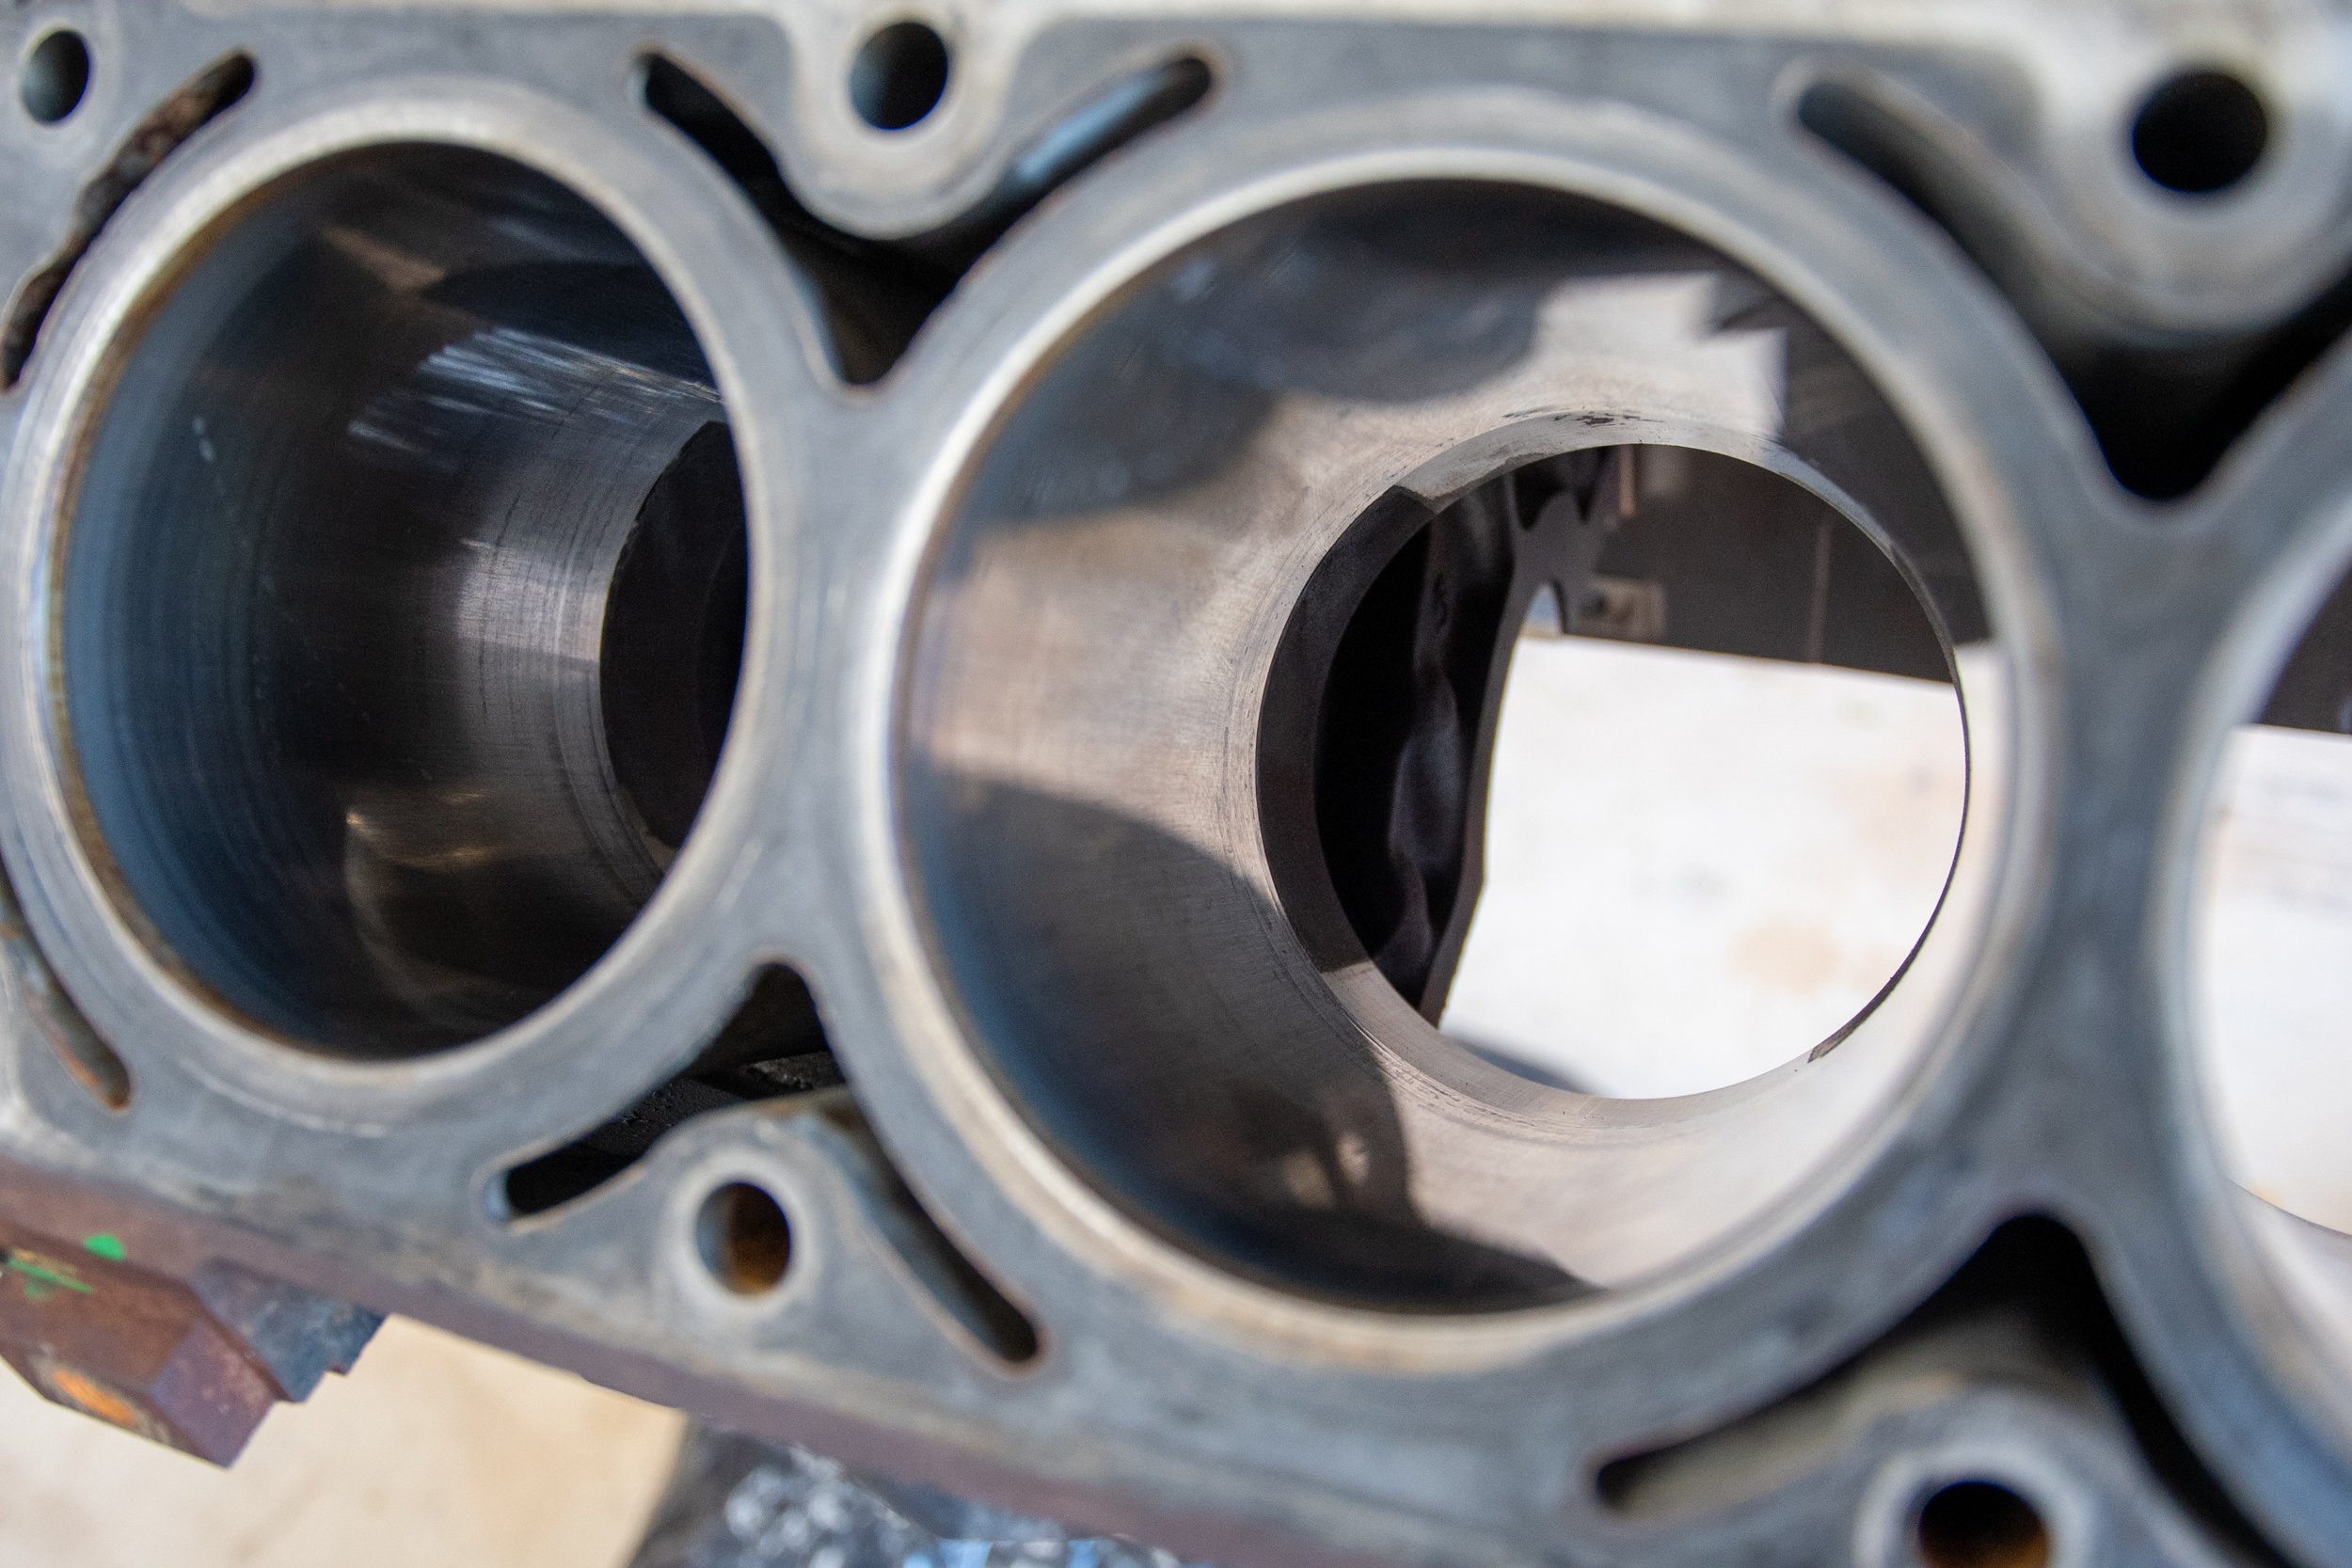
It was apparent the cylinders had a lot of miles on them because the cross-hatching was no longer visible. Cross-hatching is crucial because it ensures proper piston ring lubrication. We used a 4-inch, 240-grit ball hone to deglaze the cylinders. If you don’t already own a ball hone, then it might make sense to have a machine shop handle this process for you. It’s relatively inexpensive, depending on your machine shop.
Clean Up
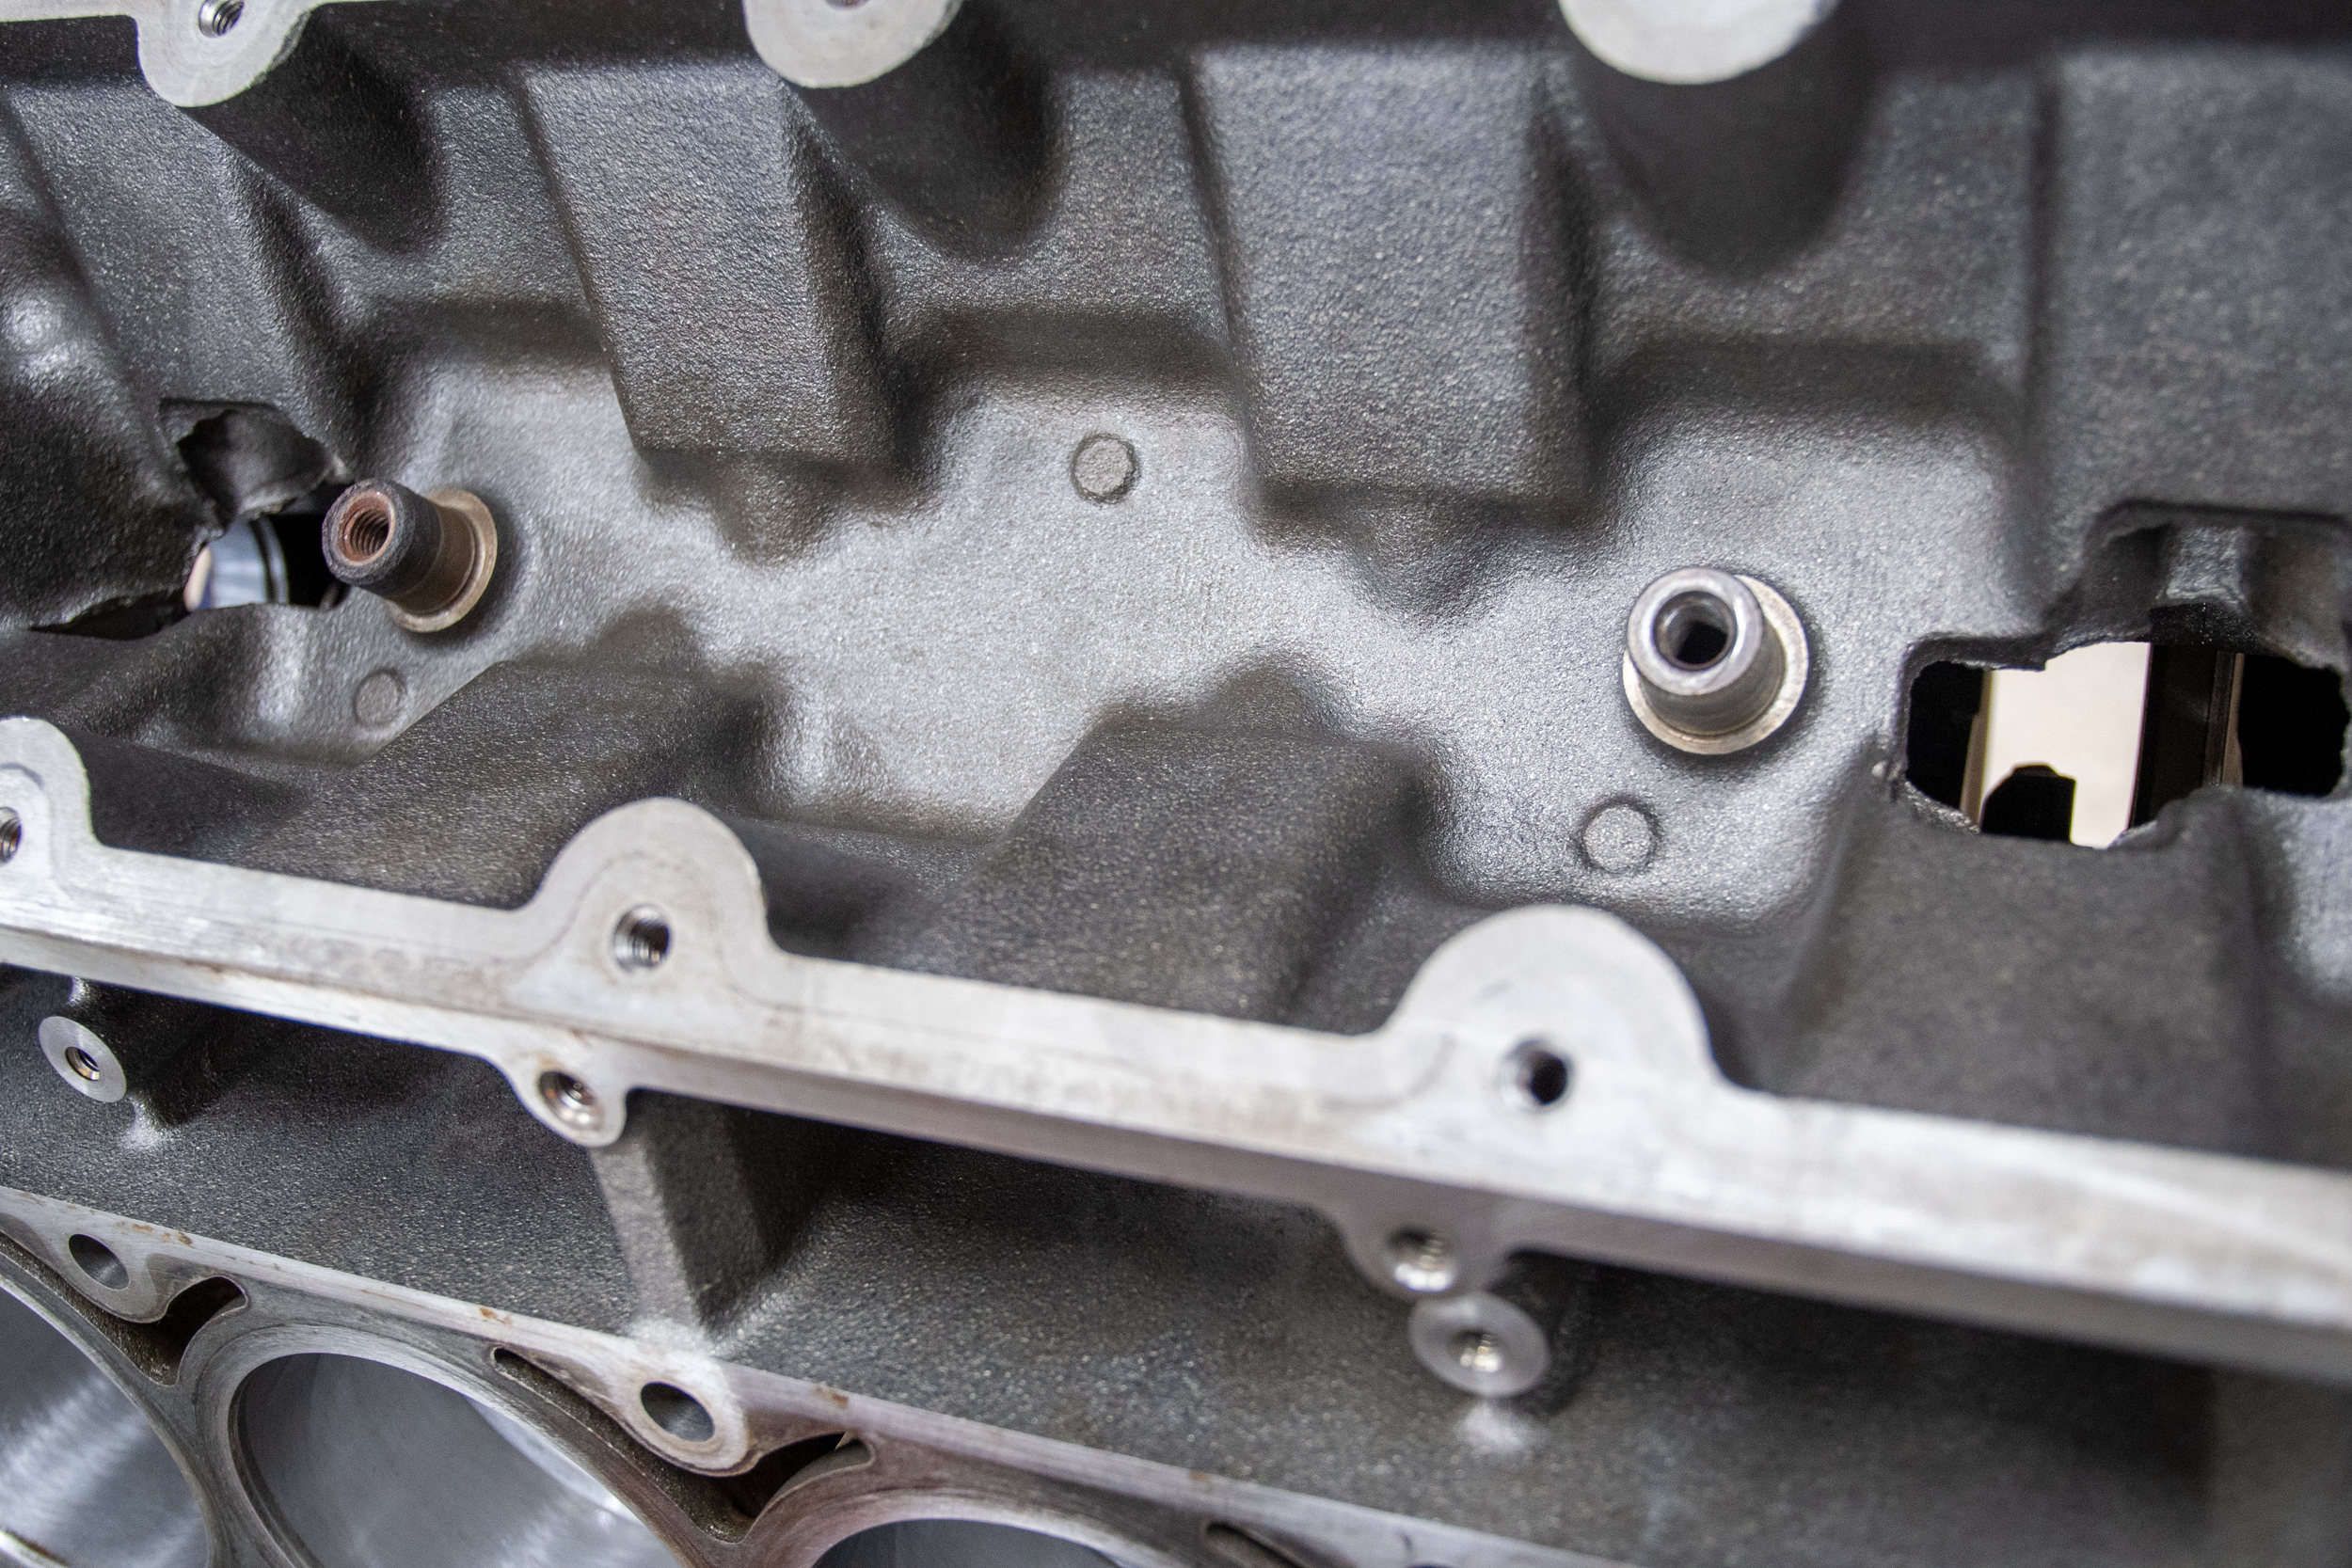
While we were waiting on the bearings to show up, we made the drive to KPE Racing to have new cam bearings installed in our block. We also dropped off some parts with the bare block for cleaning. Tommy Keeter, owner of KPE, hot-tanked the block, pistons, rods, oil pan, front and rear cover, and had them ready for pick up in a couple of days.
KPE made short work of getting our block prepped and cleaned up for us. With the new cam bearings installed, it was time to assemble the short block.
If you have a good relationship with your machine shop, it’s well worth having them clean all of your parts for you. Even though we could’ve saved ourselves some money, we would have never gotten the parts as clean as they are now. Keeter even washed our already “clean” block, and we could tell a huge difference.
Get Your Bearings
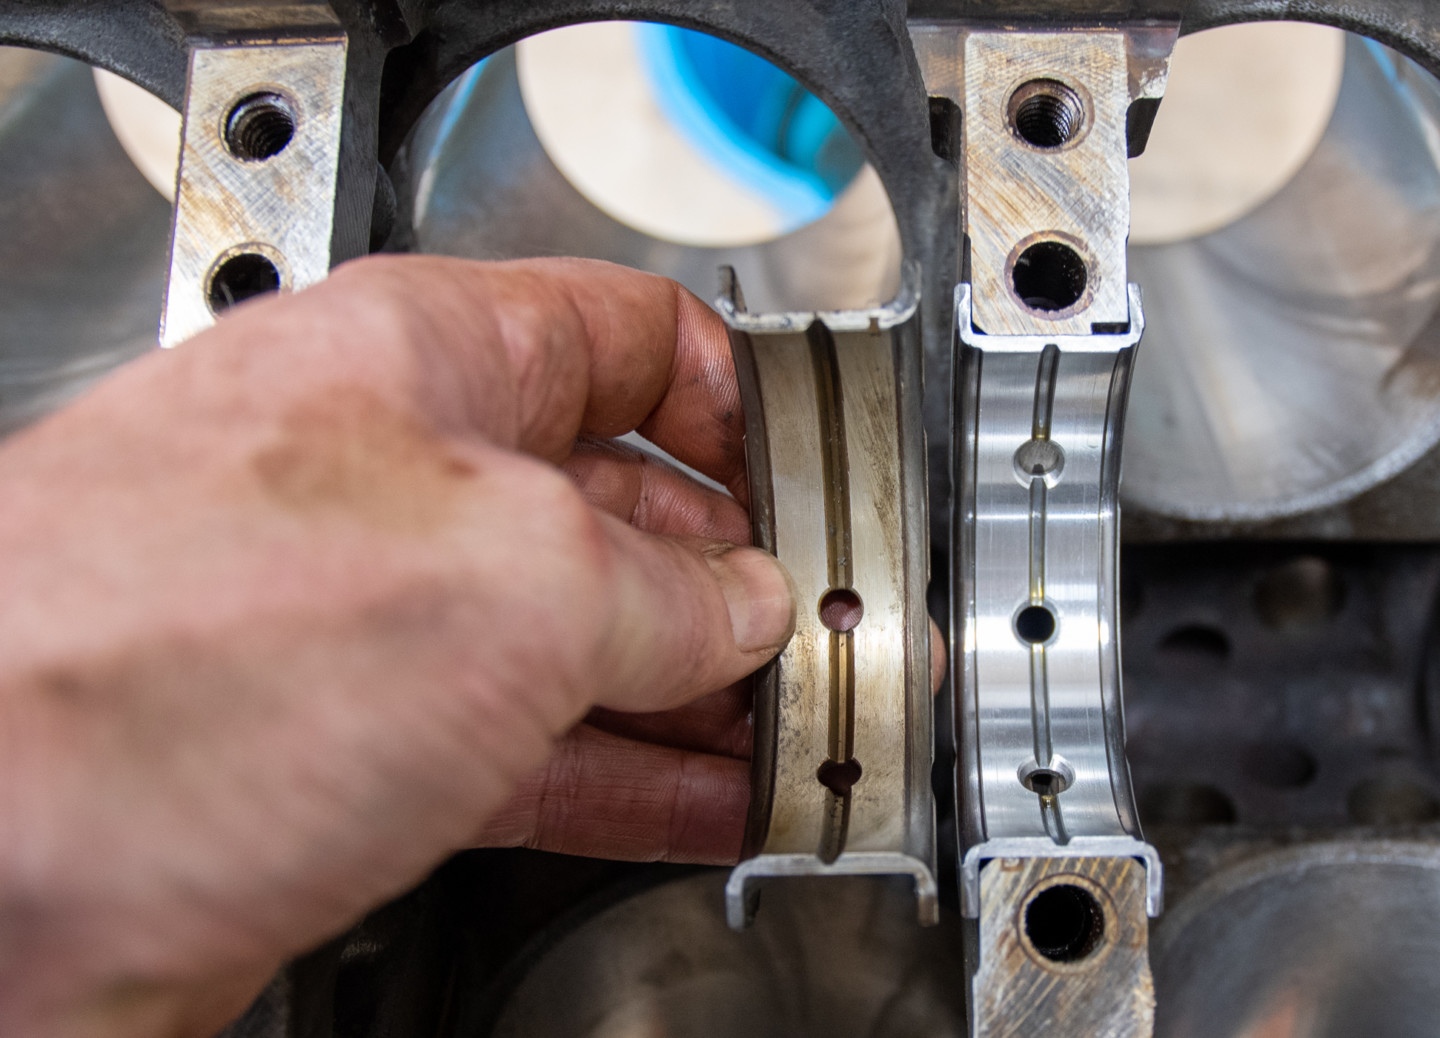
Typically, rod and main bearings are pretty standard parts. But, King’s new LS main bearings, (PN MB5293SI), offer something a little different. They’ve redesigned the LS engine’s main thrust bearing by symmetrically adding a third oiling hole to the upper thrust flange bearing and removing the locating lug. This redesign allows the upper block half bearing to be installed in any direction. Likewise, the locating lug was also removed from the lower thrust flange bearing, allowing the thrust bearing to be installed in any direction (longitudinally). The new design allows for less installation error due to the design, and now dealers can stock fewer part numbers since the modifications enable the bearings to fit both late model LS and late model LT engines. The lower half thrust bearing will fit right into the cap of 2014 and newer LS and LT engines, providing full thrust loading capabilities.
For this project, we used King’s SI Series rod (PN CR807SI) and main bearings (PN MB5293SI). The SI series is a direct replacement for the OEM bearings but offers an improved finish, reducing microscopic ferrite peaks on improperly ground or polished nodular cast iron crankshafts. These rod bearings also offer improved oil clearance to minimize wear and increase engine life. The SI Series bearings are of high quality and very affordable.
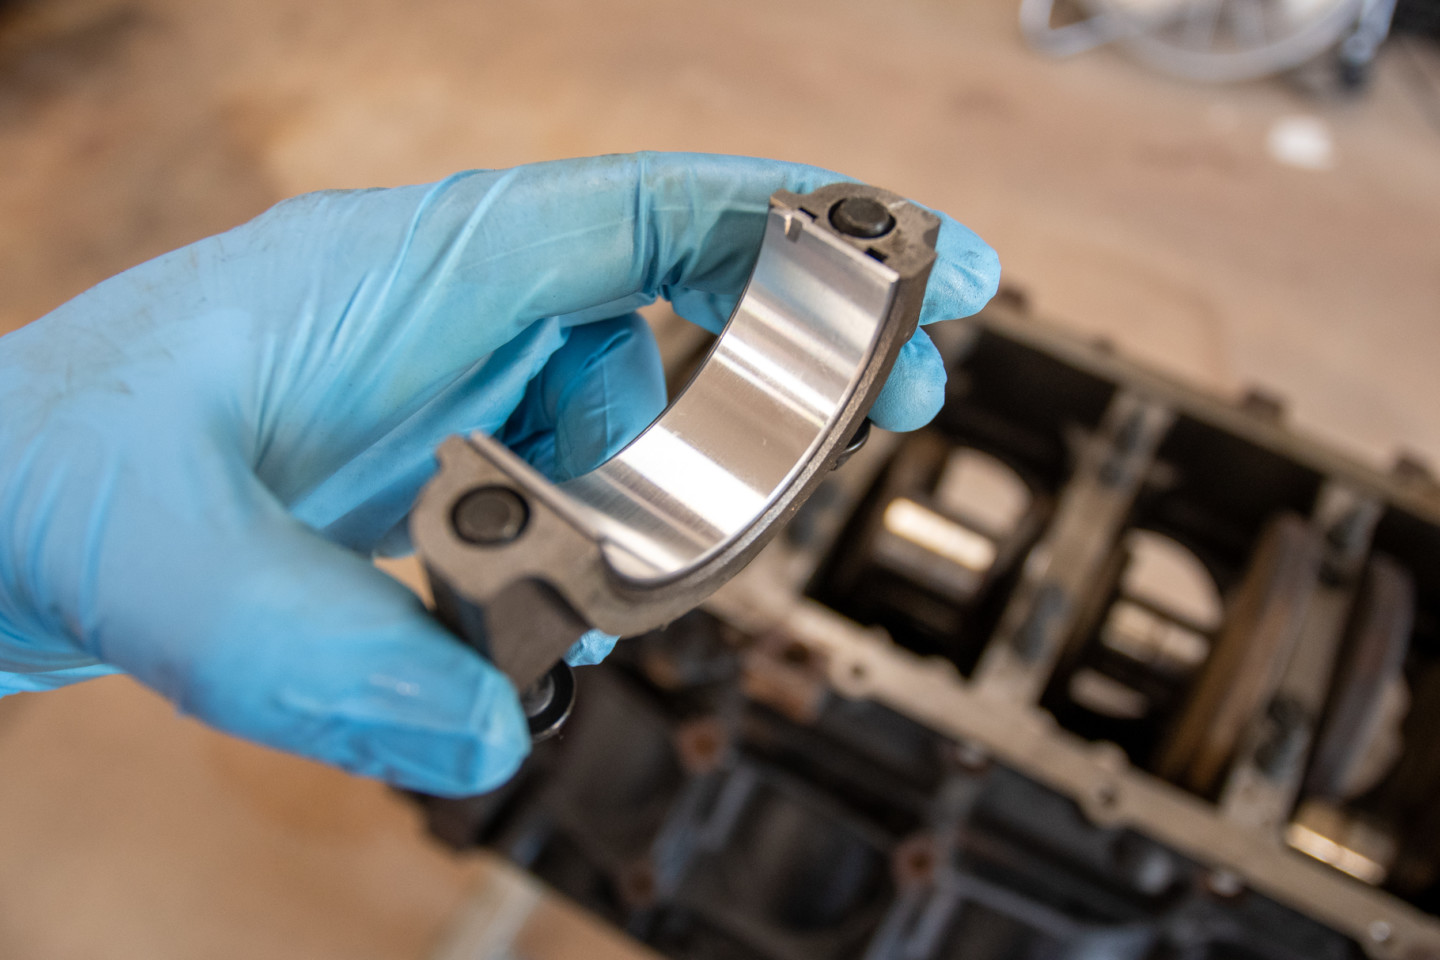
King’s SI Series rod bearings are inexpensive and leave us with a peace of mind when it comes to our high-mileage engine.
Torque To Yield
You might be wondering why we choose to use OEM bolts for the bottom end of this engine. It’s pretty simple: since we were doing a junkyard rebuild, we tried to keep costs at a minimum, and changing bolts would have changed the clamping force. When this load changes, the rods and mains need to be aligned-honed by a machine shop to make them round again. This engine was never intended to be a high-horsepower build, so we didn’t see the point in additional machining that wasn’t required.
Torque Specs and Rod Bolts
If you don’t know all of the LS engine’s torque specifications by heart, Summit Racing has this handy chart that can be referenced. It’s important to note here that GM used two types of rod bolts on the GEN III engines. The first design has one dimple on the head and no retaining sleeve. The second design, which we had, had two dimples on the head and a retaining sleeve.
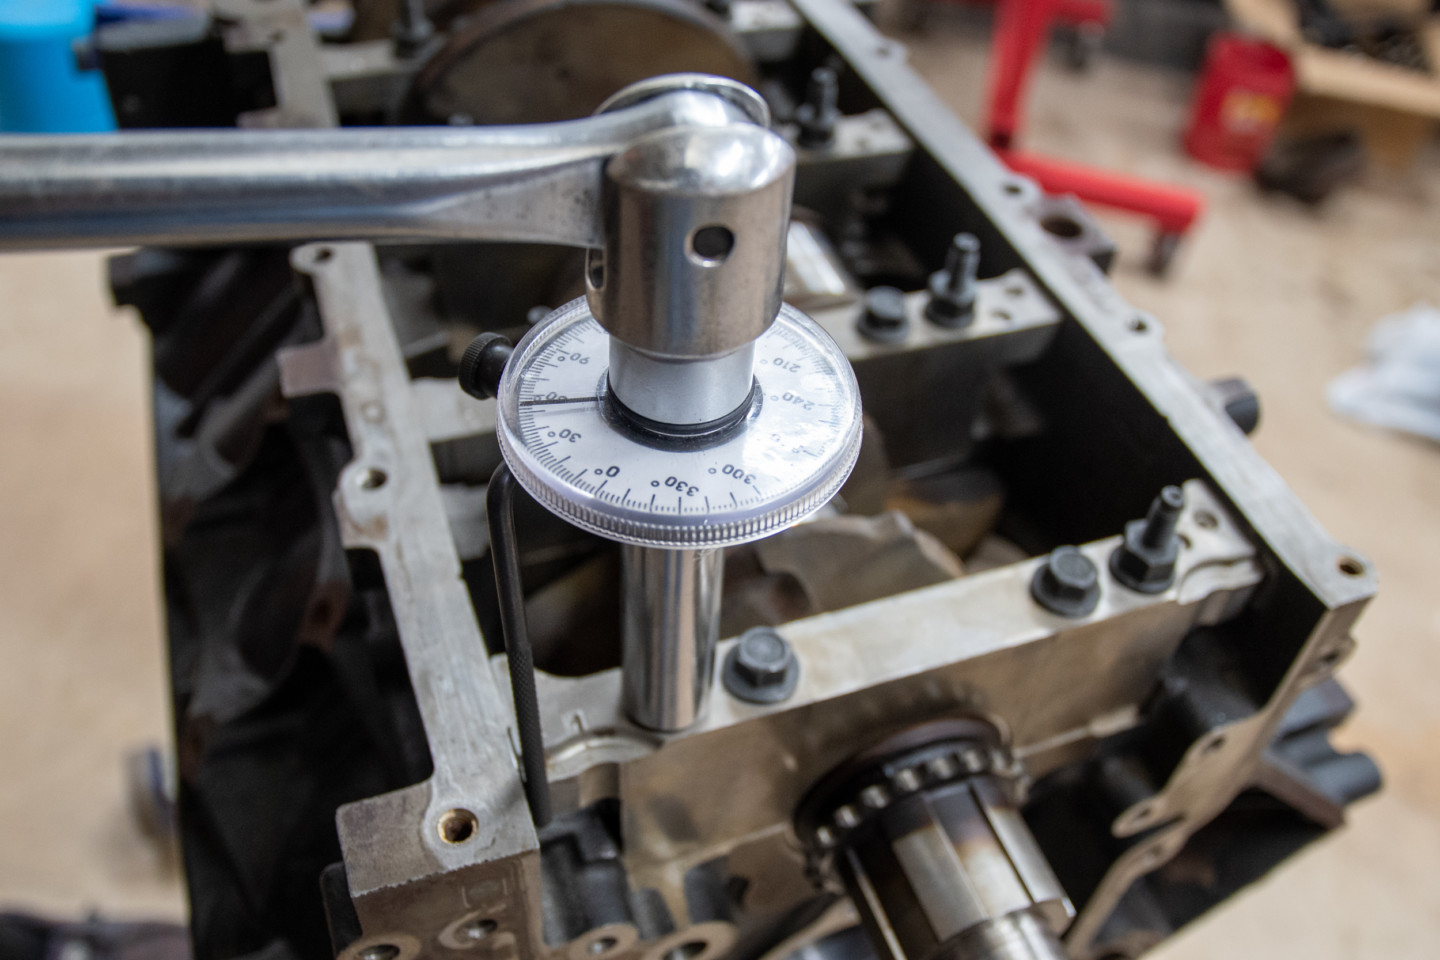
This information is critical for two reasons. These bolts have different TTY specifications as the first design is rotated to 60-degrees, while the other design is rotated to 85-degrees. Secondly, when you order new bolts for your build, you want to make sure to order the correct ones.
The Short Block
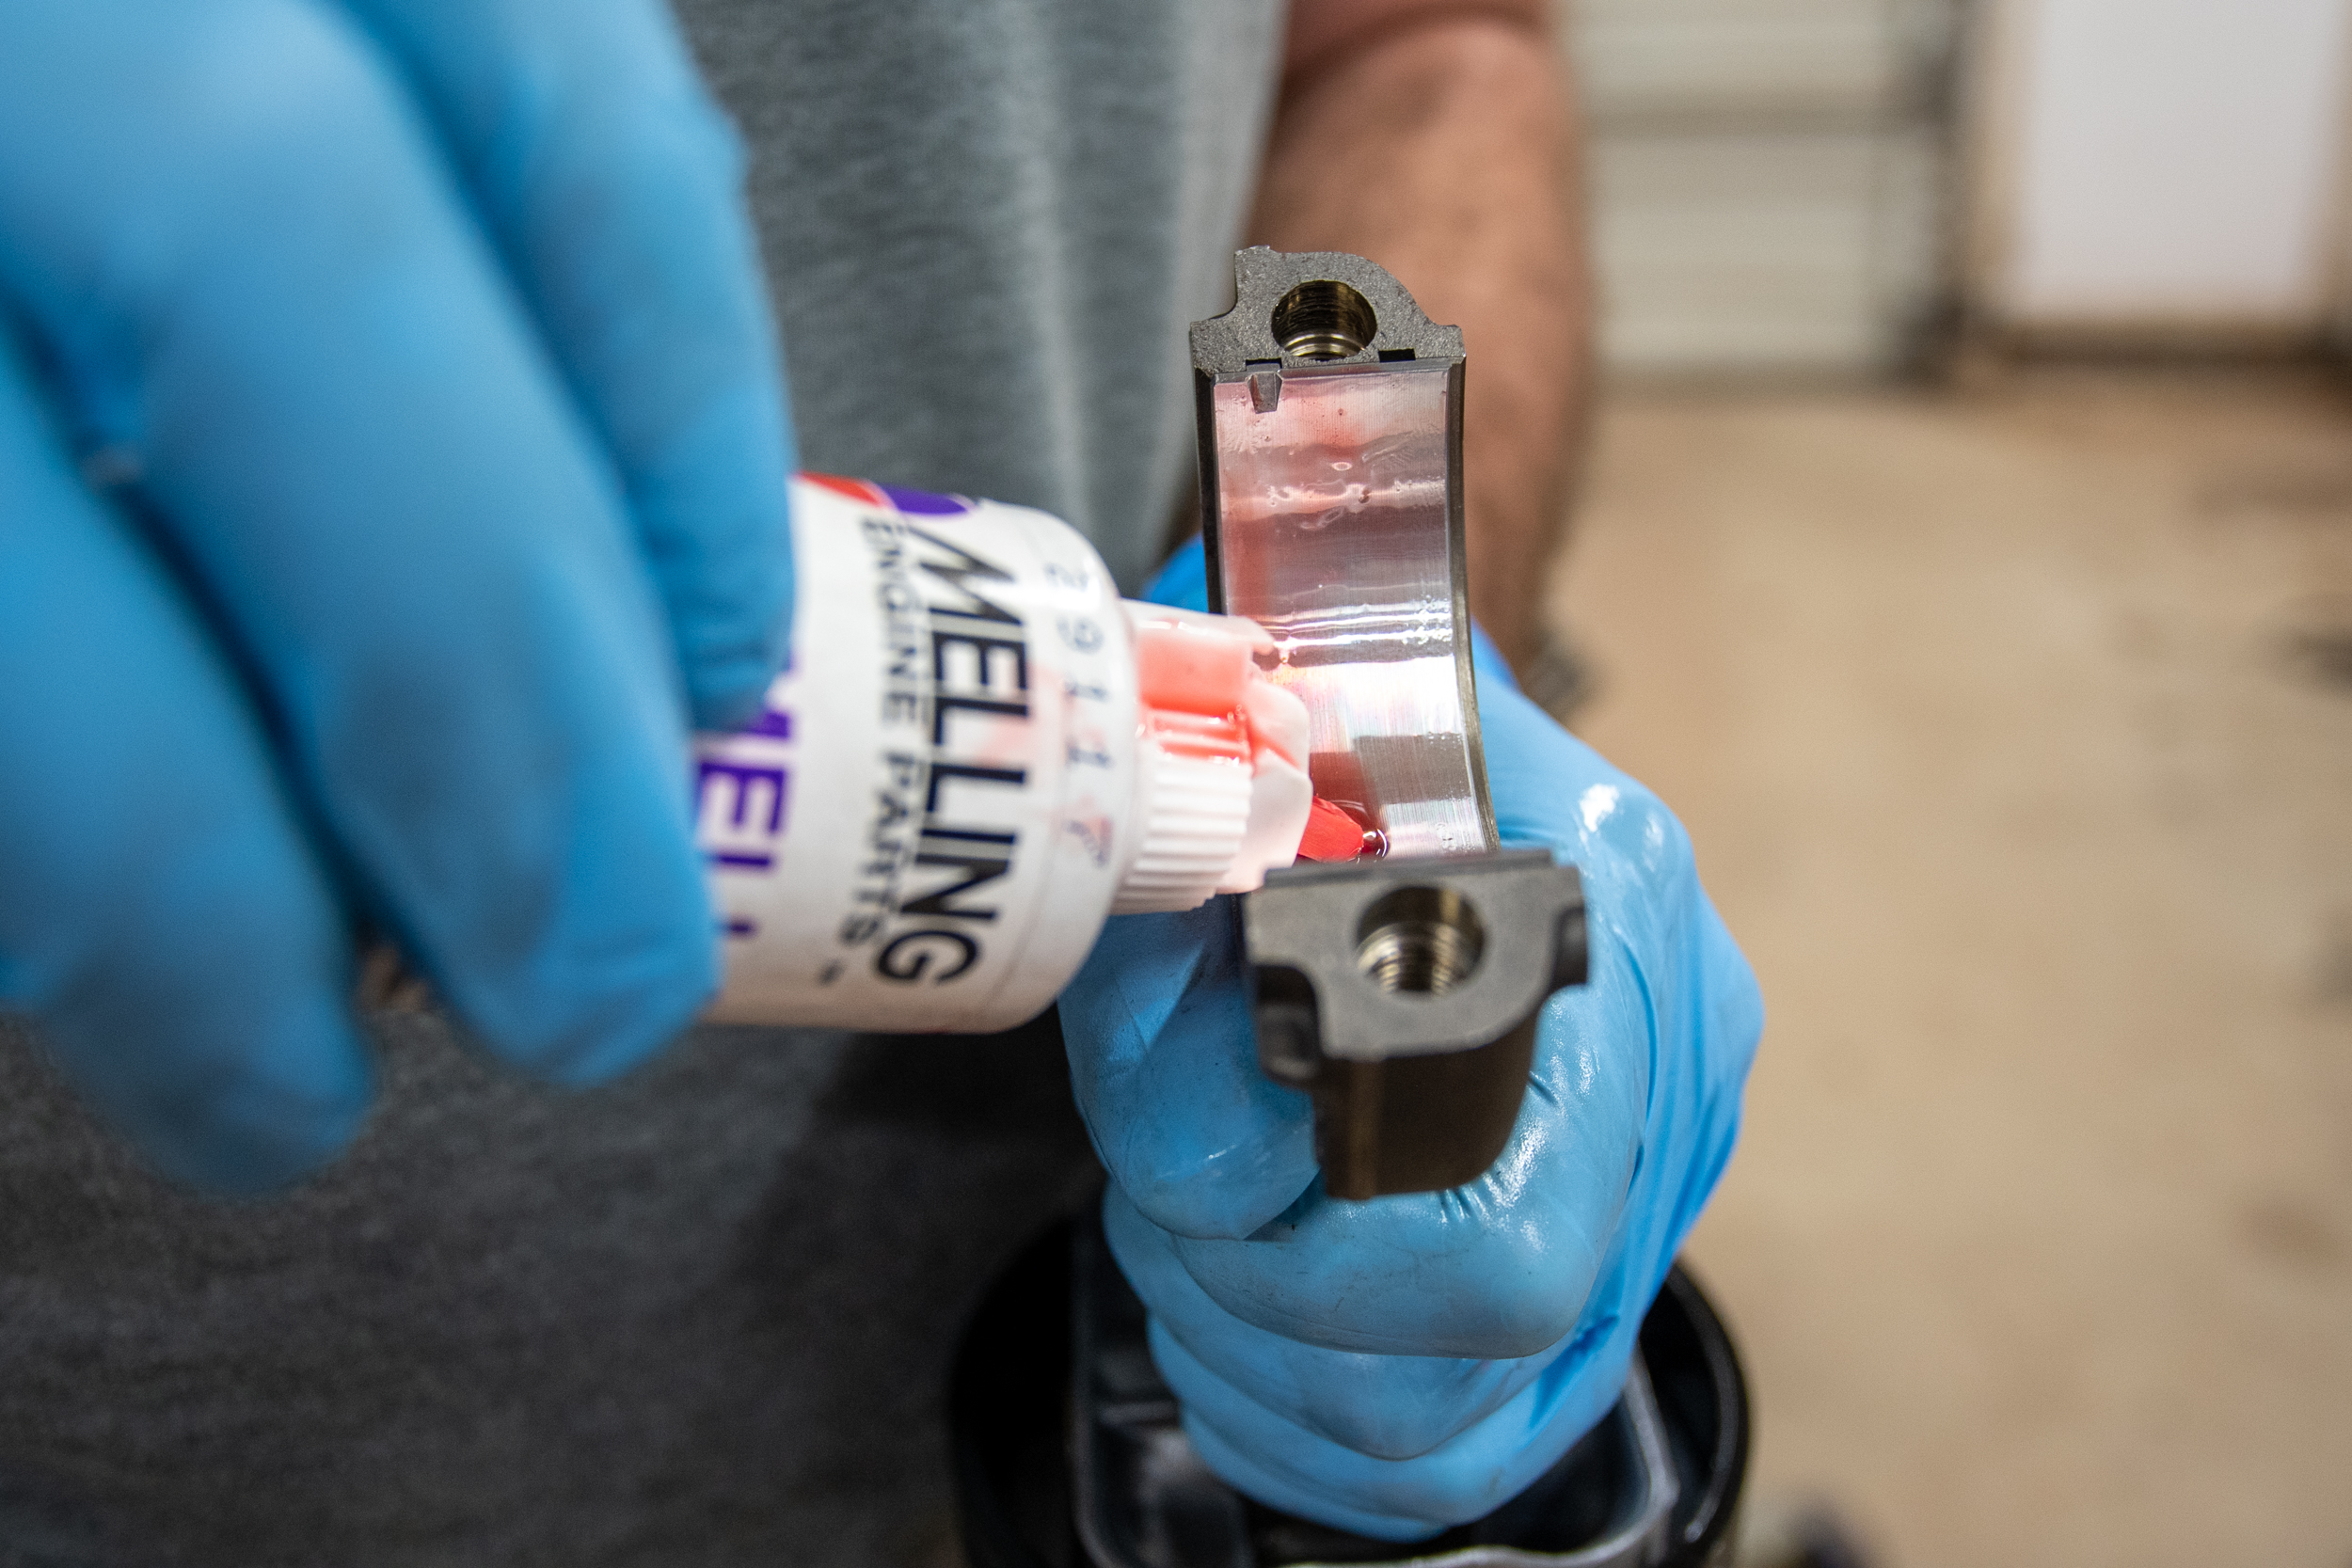
With the King main bearings and crank in place, we checked out clearances with Plastigauge, the original main bolts, and a torque angle gauge. While Plastigauge is not the best method for checking clearances, it’s close enough for what we’re doing. With the bearing tolerances to our liking, we cleaned the Plastigauge off and then lubed the main journal bearings with Melling’s engine assembly lube and put the caps in place. Make sure to note the orientation of the main caps on the LS upon reassembly. You can see in the picture that the number five cap is positioned in a different direction than the others. With the old bolts out, we inserted new factory GM torque to yield (TTY) bolts in the mains and reused the bolts on the engine’s side. With the crankshaft secured, we moved our attention to the rods and pistons.
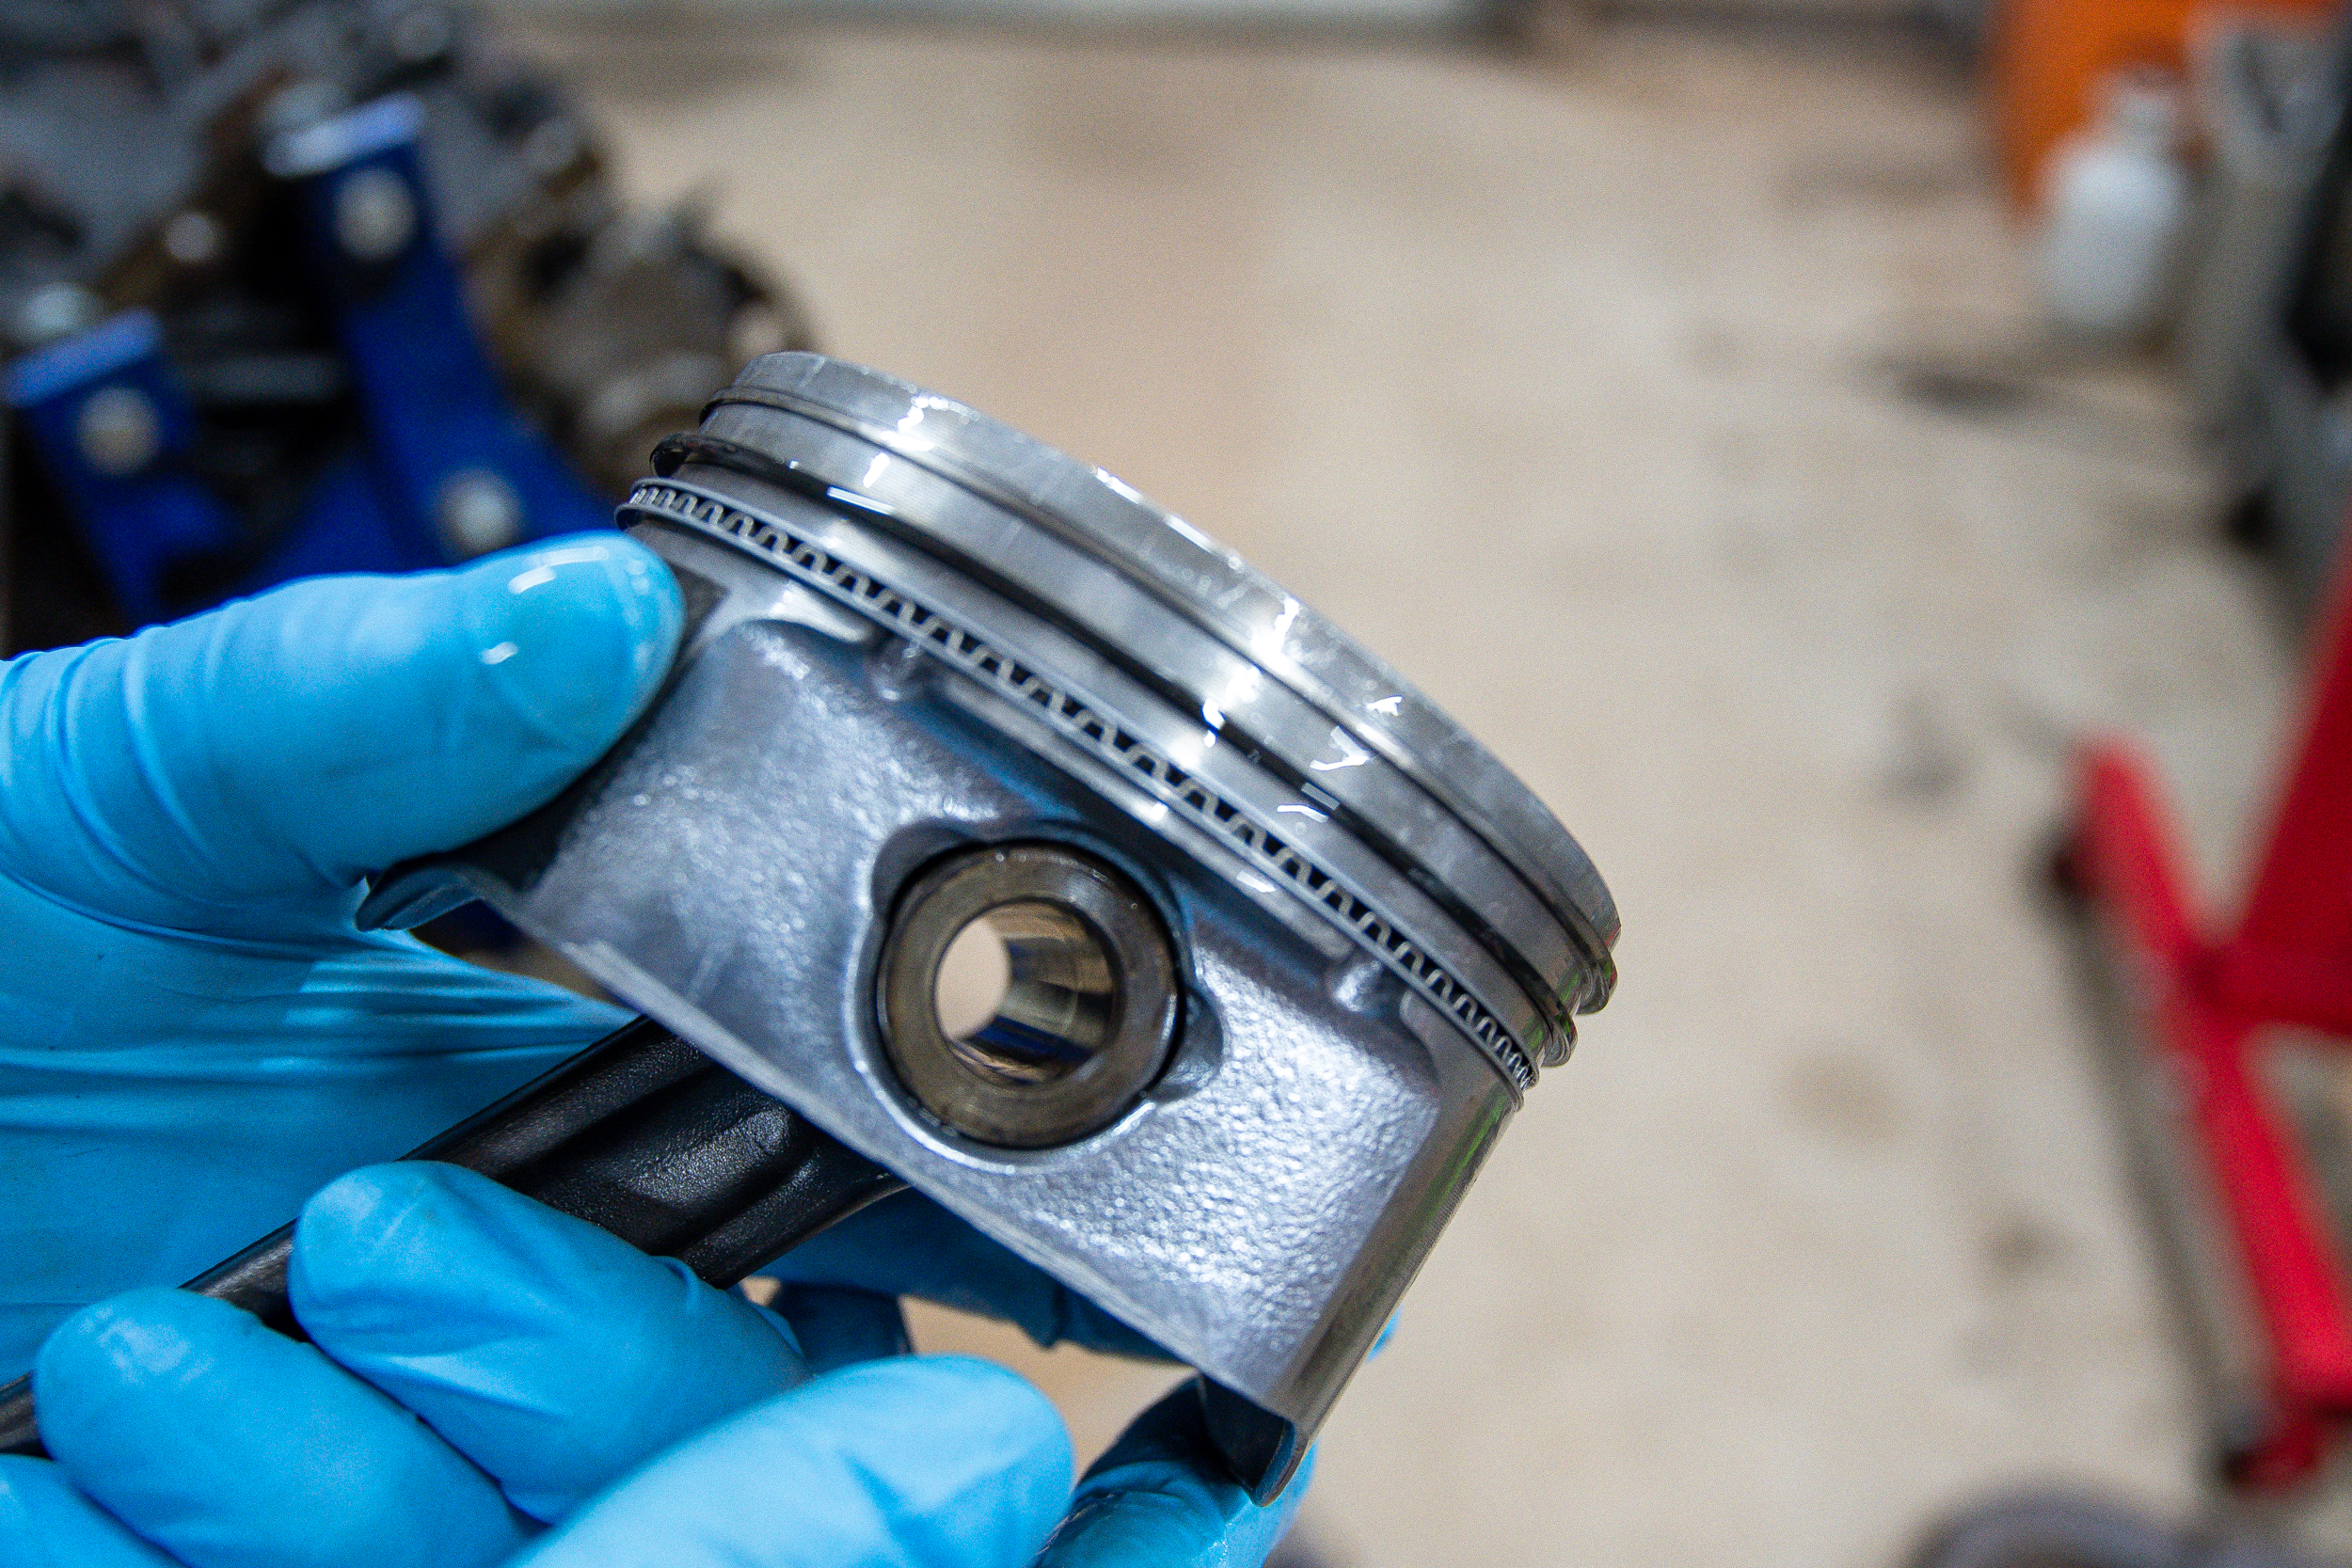
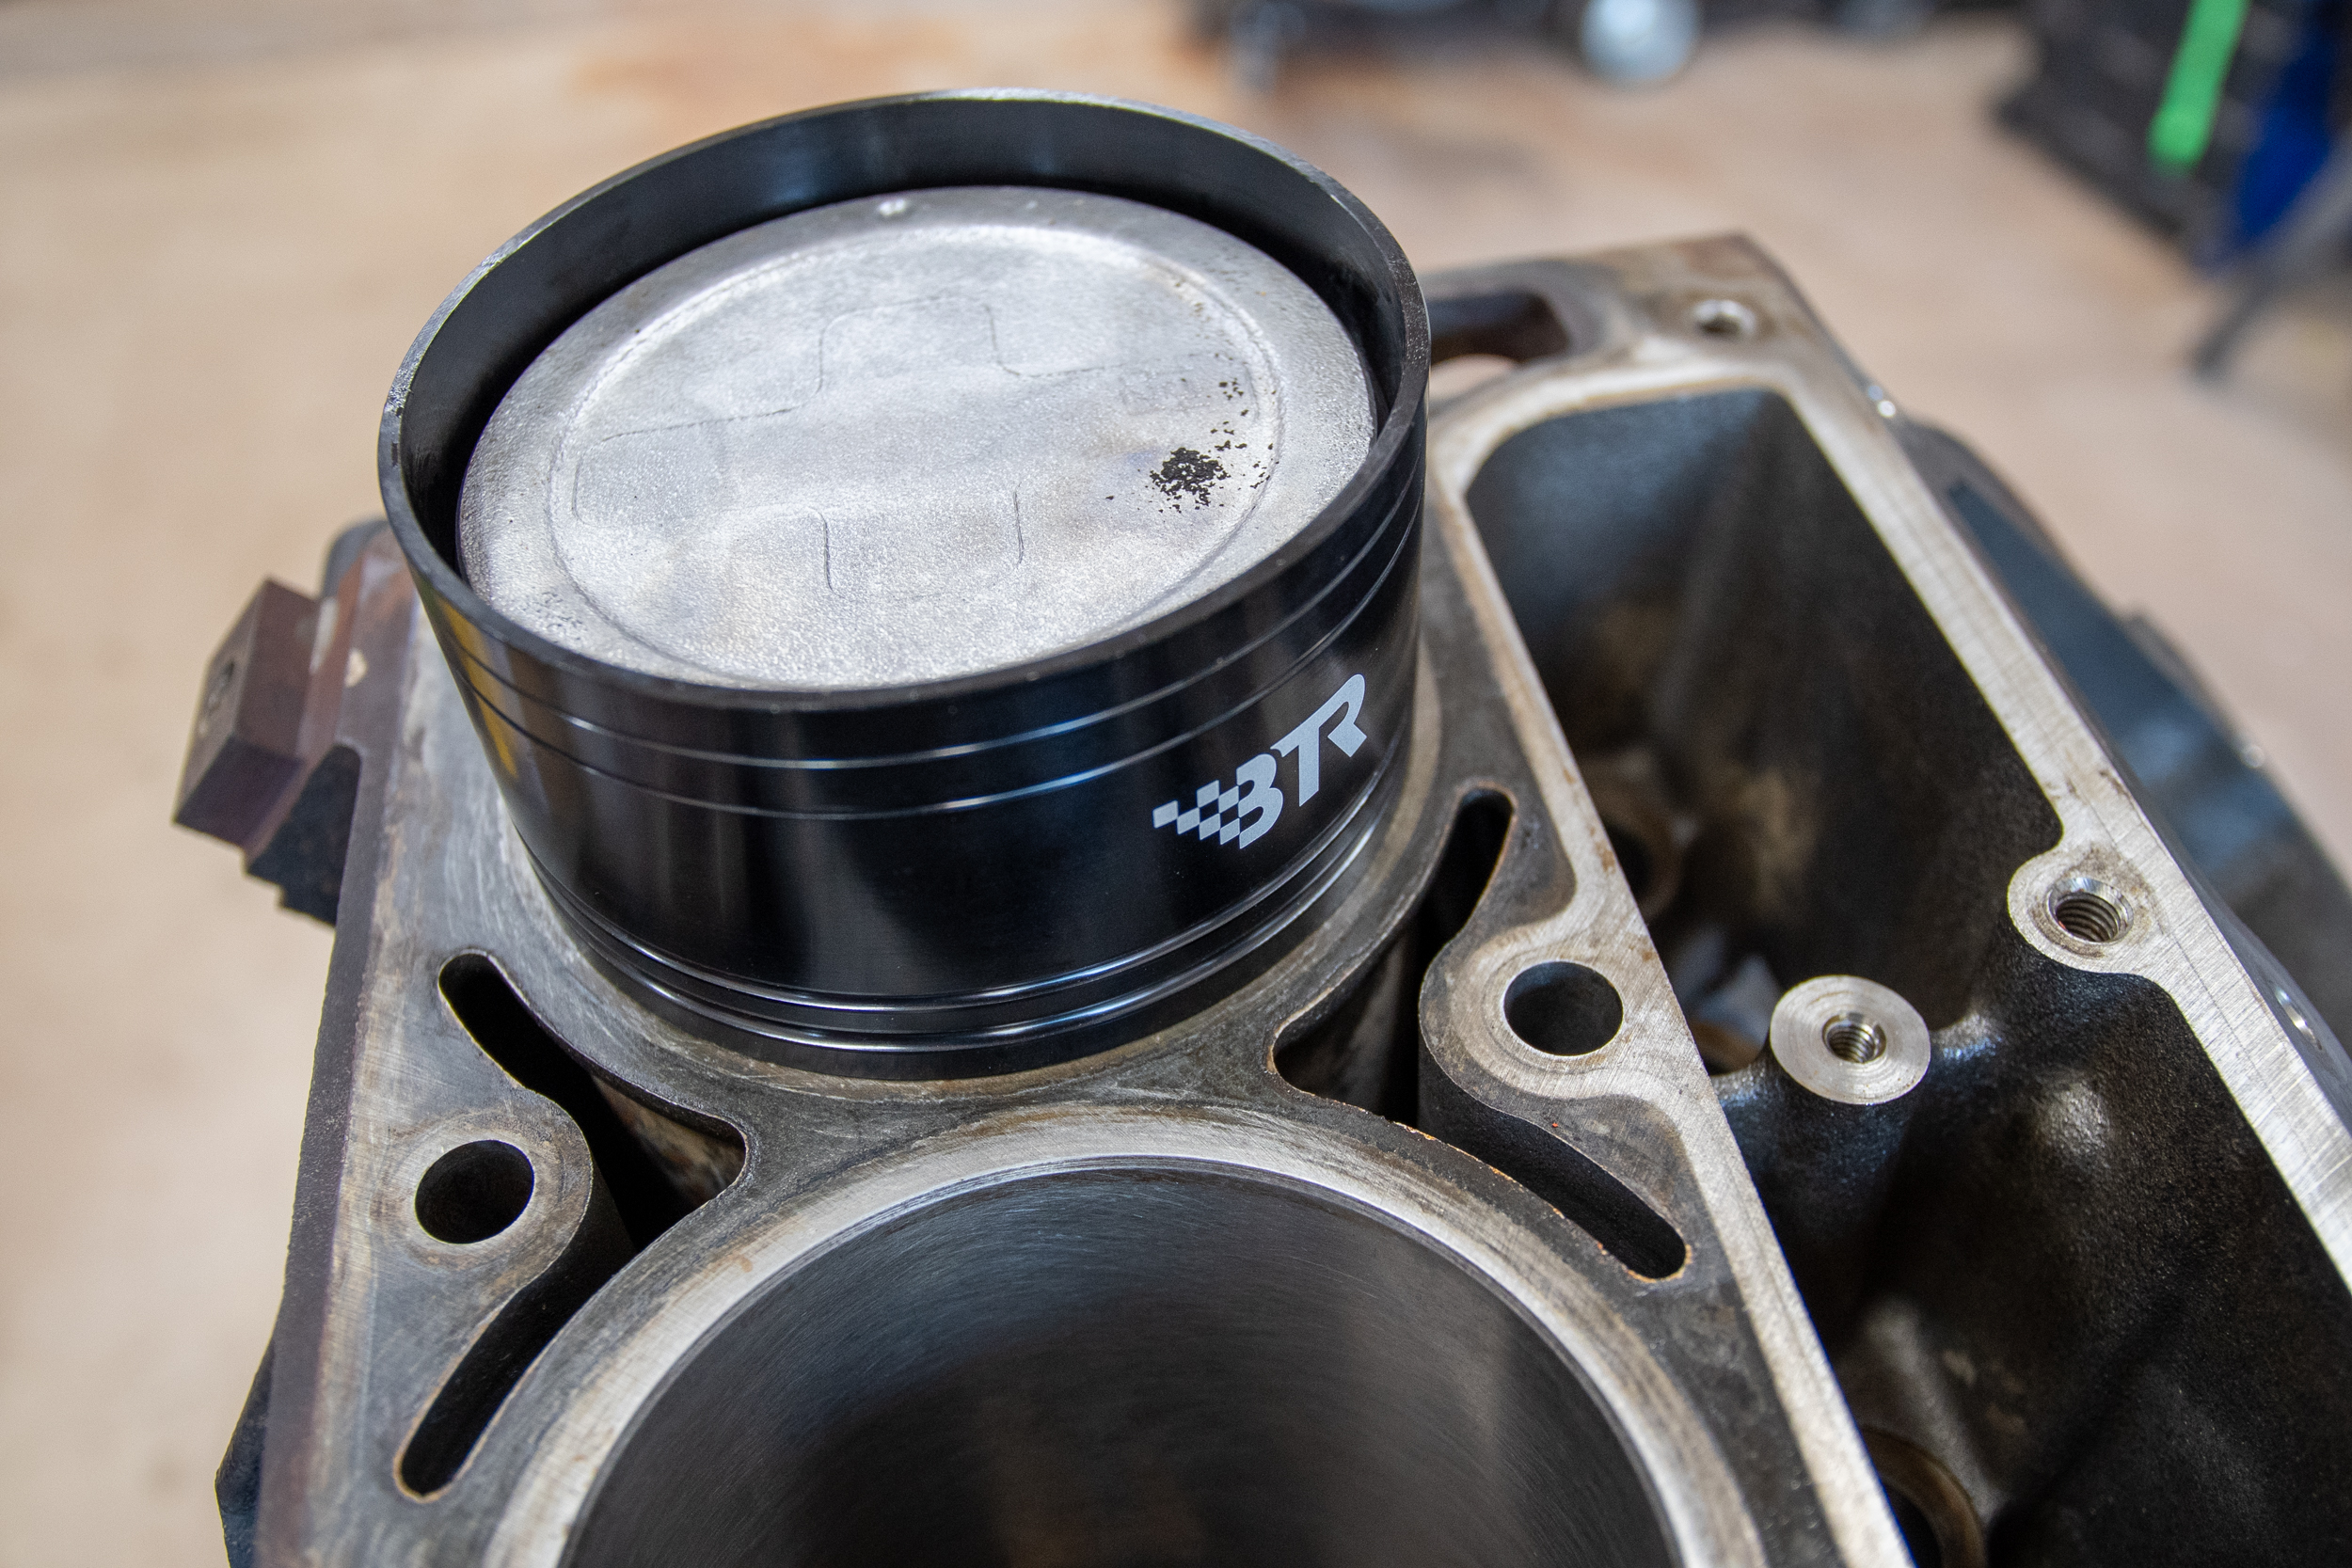
Since the piston rings were so dirty, it was easier to replace them rather than try to save them. We had KPE remove them for us before cleaning the pistons. We used a set of Mahle standard bore rings in conjunction with the factory pistons. After clocking the piston rings correctly, we then lubricated them with oil and inserted the piston and rod assembly in the cylinder using the Brian Tooley Racing ring compressor.
With the pistons in place, we first checked our rod bearing clearances again with Plastigauge. We then torqued the rod bolts to 15 lb-feet of torque and rotated the bolt 85-degrees since we had the second design rod bolts.
Camshaft Selection
Previously, we reached out to Mike Osterhaus, VP of Aftermarket Products for Melling Engine Parts, to ask about its different camshafts and performance levels. Osterhaus said, “The numbers with our stock replacement MC1383 cam, which we used as a baseline for our tests, were 361 horsepower, and 389.9 lb-ft of torque. The MTC-7 produced 403 horsepower and 406.4 lb-ft of torque while the MTC-8 we saw 411.9 horsepower and 412.2 lb-ft of torque. The only variable in these tests was the cam. All other components and the tune stayed the same.”
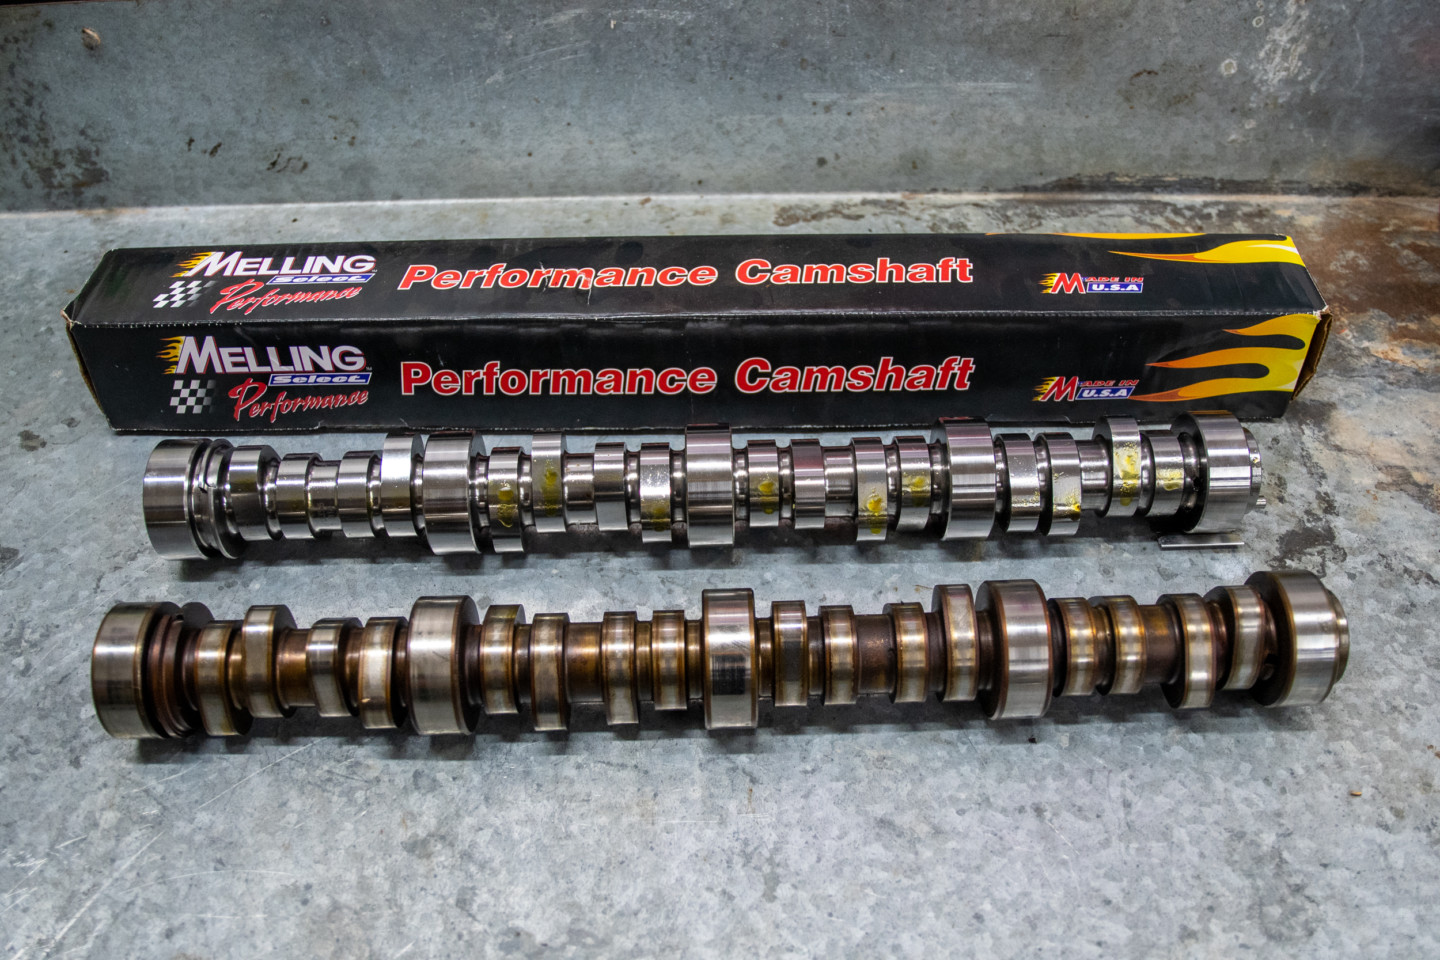
The factory cam was looking pretty worn in areas. Mellings cam will not only add more power but due to its design, it can also run on the stock tune safely.
One advantage of these camshafts is that you can use them with the factory tune. Osterhaus said, “These cams operate very well with the factory tune, and we know because all of our testing was done with factory settings. However, by adjusting things such as the air/fuel mixture and timing, you could definitely gain additional horsepower and torque.”
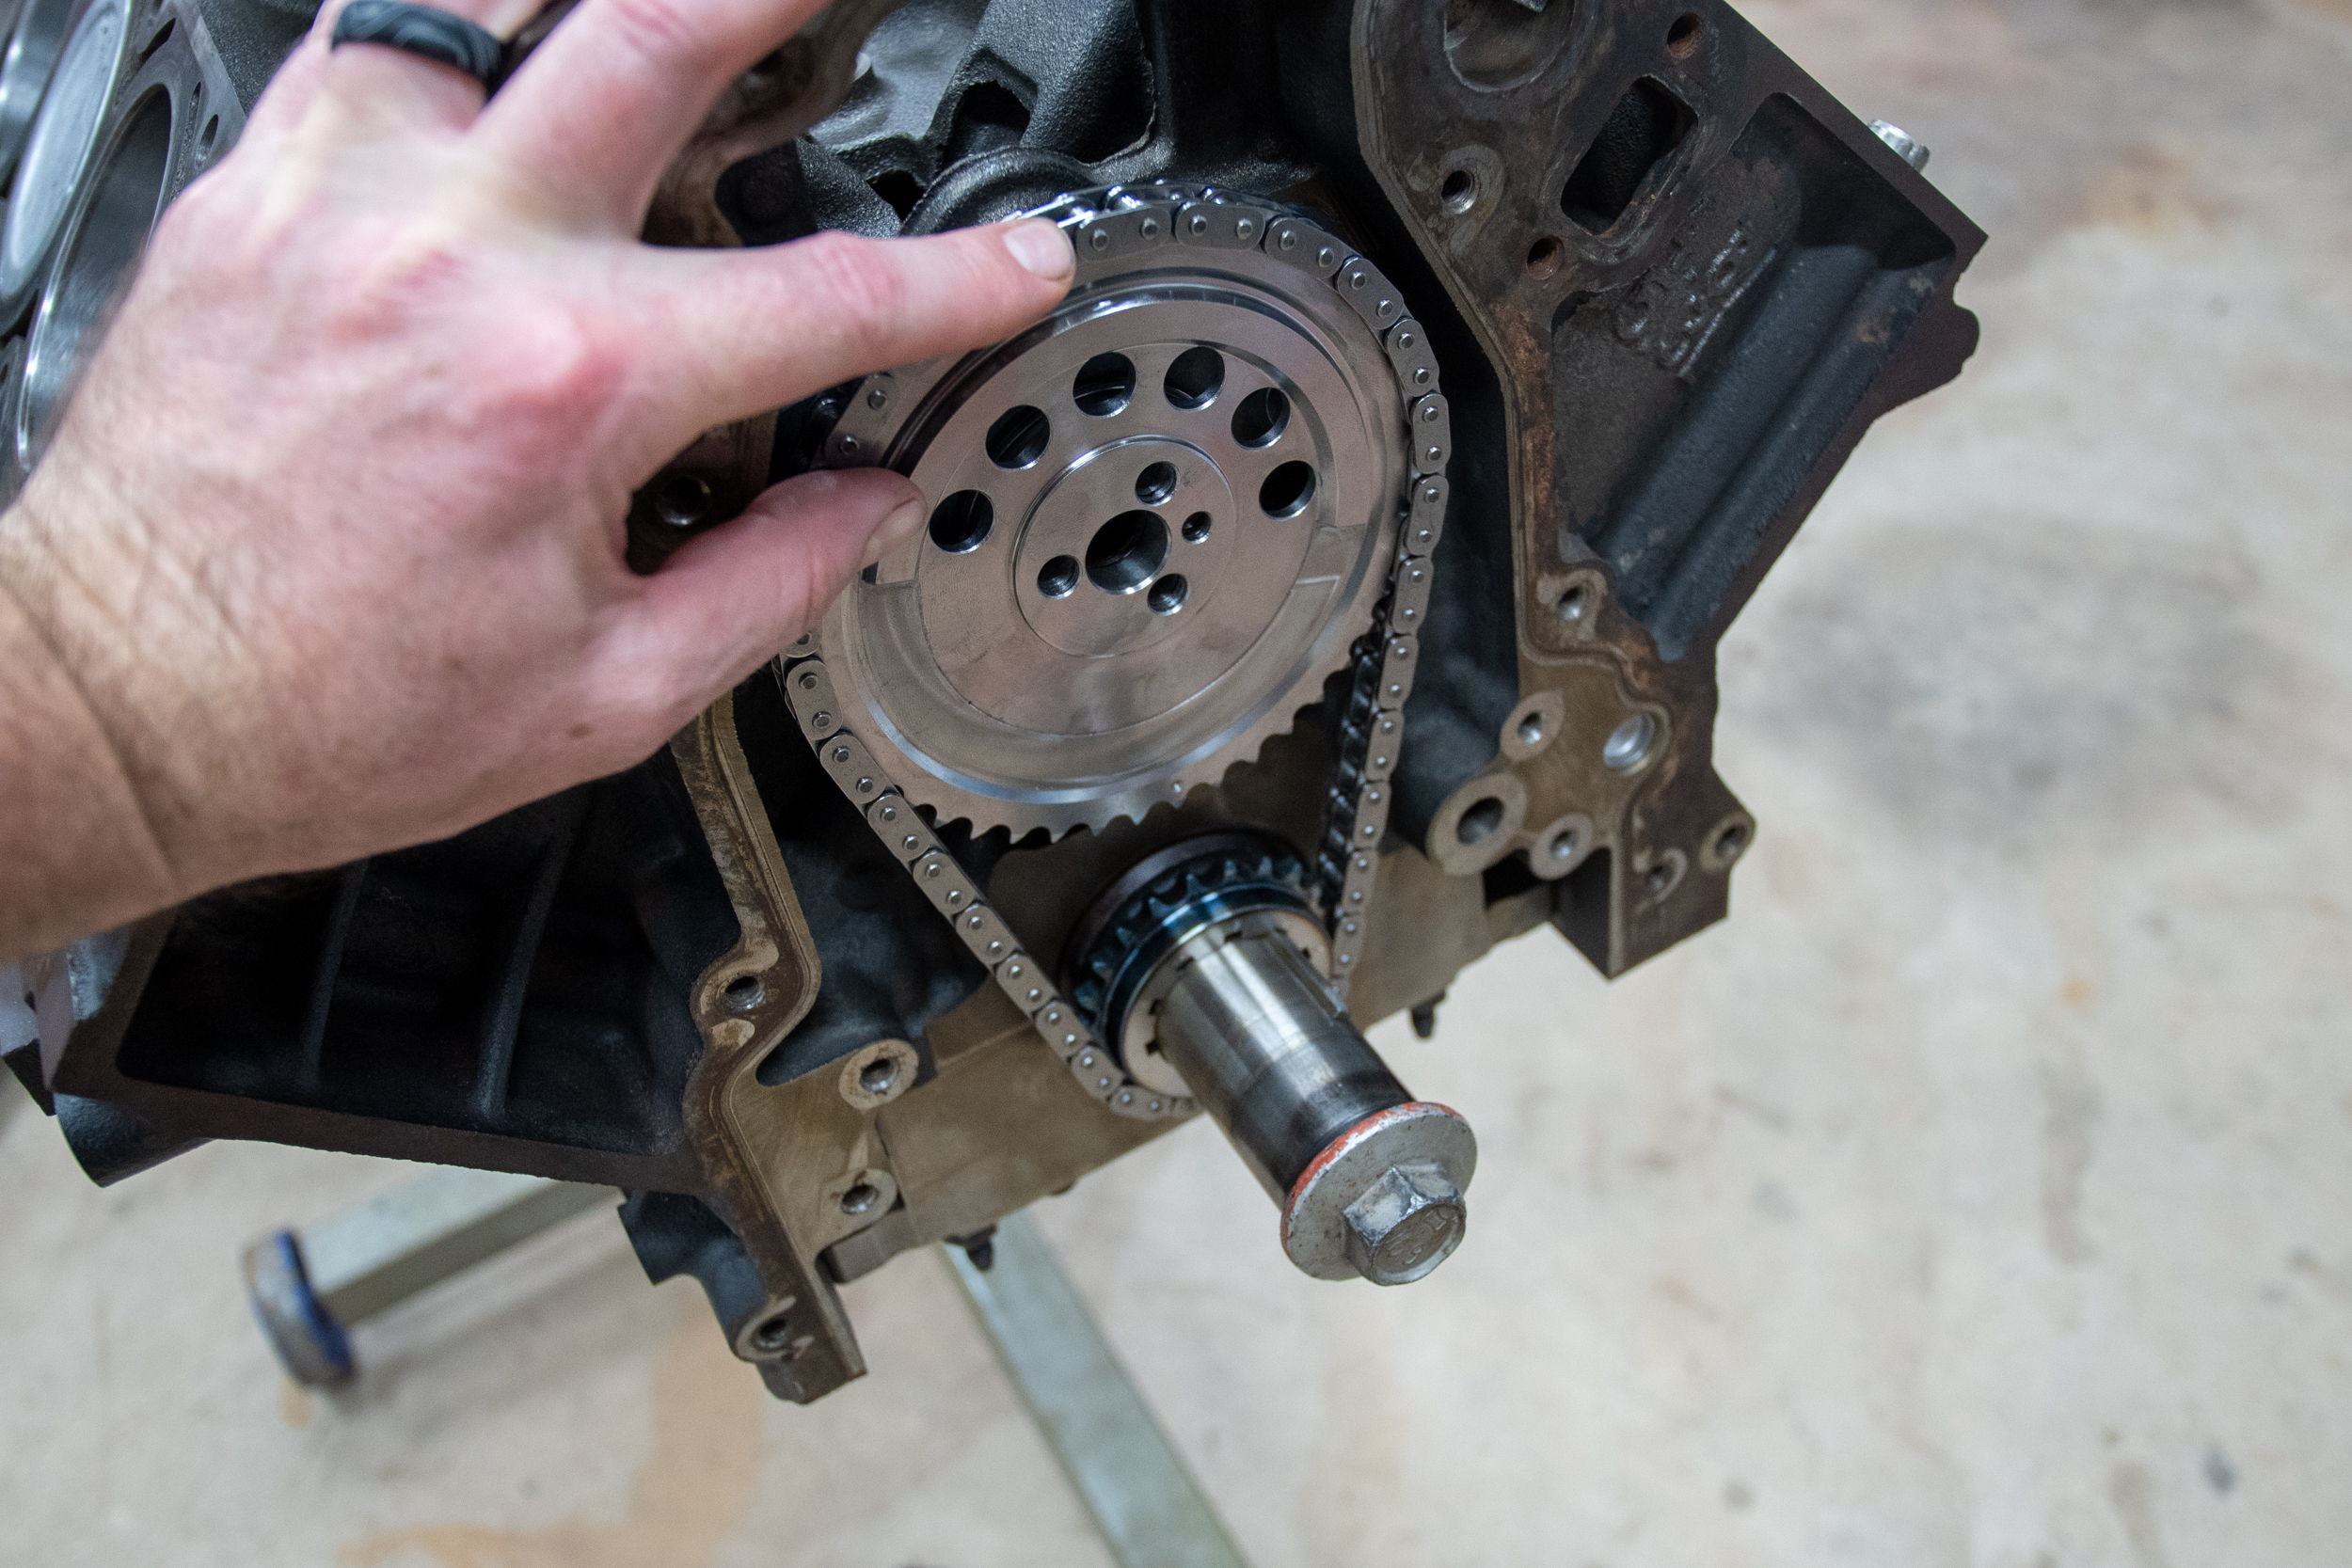
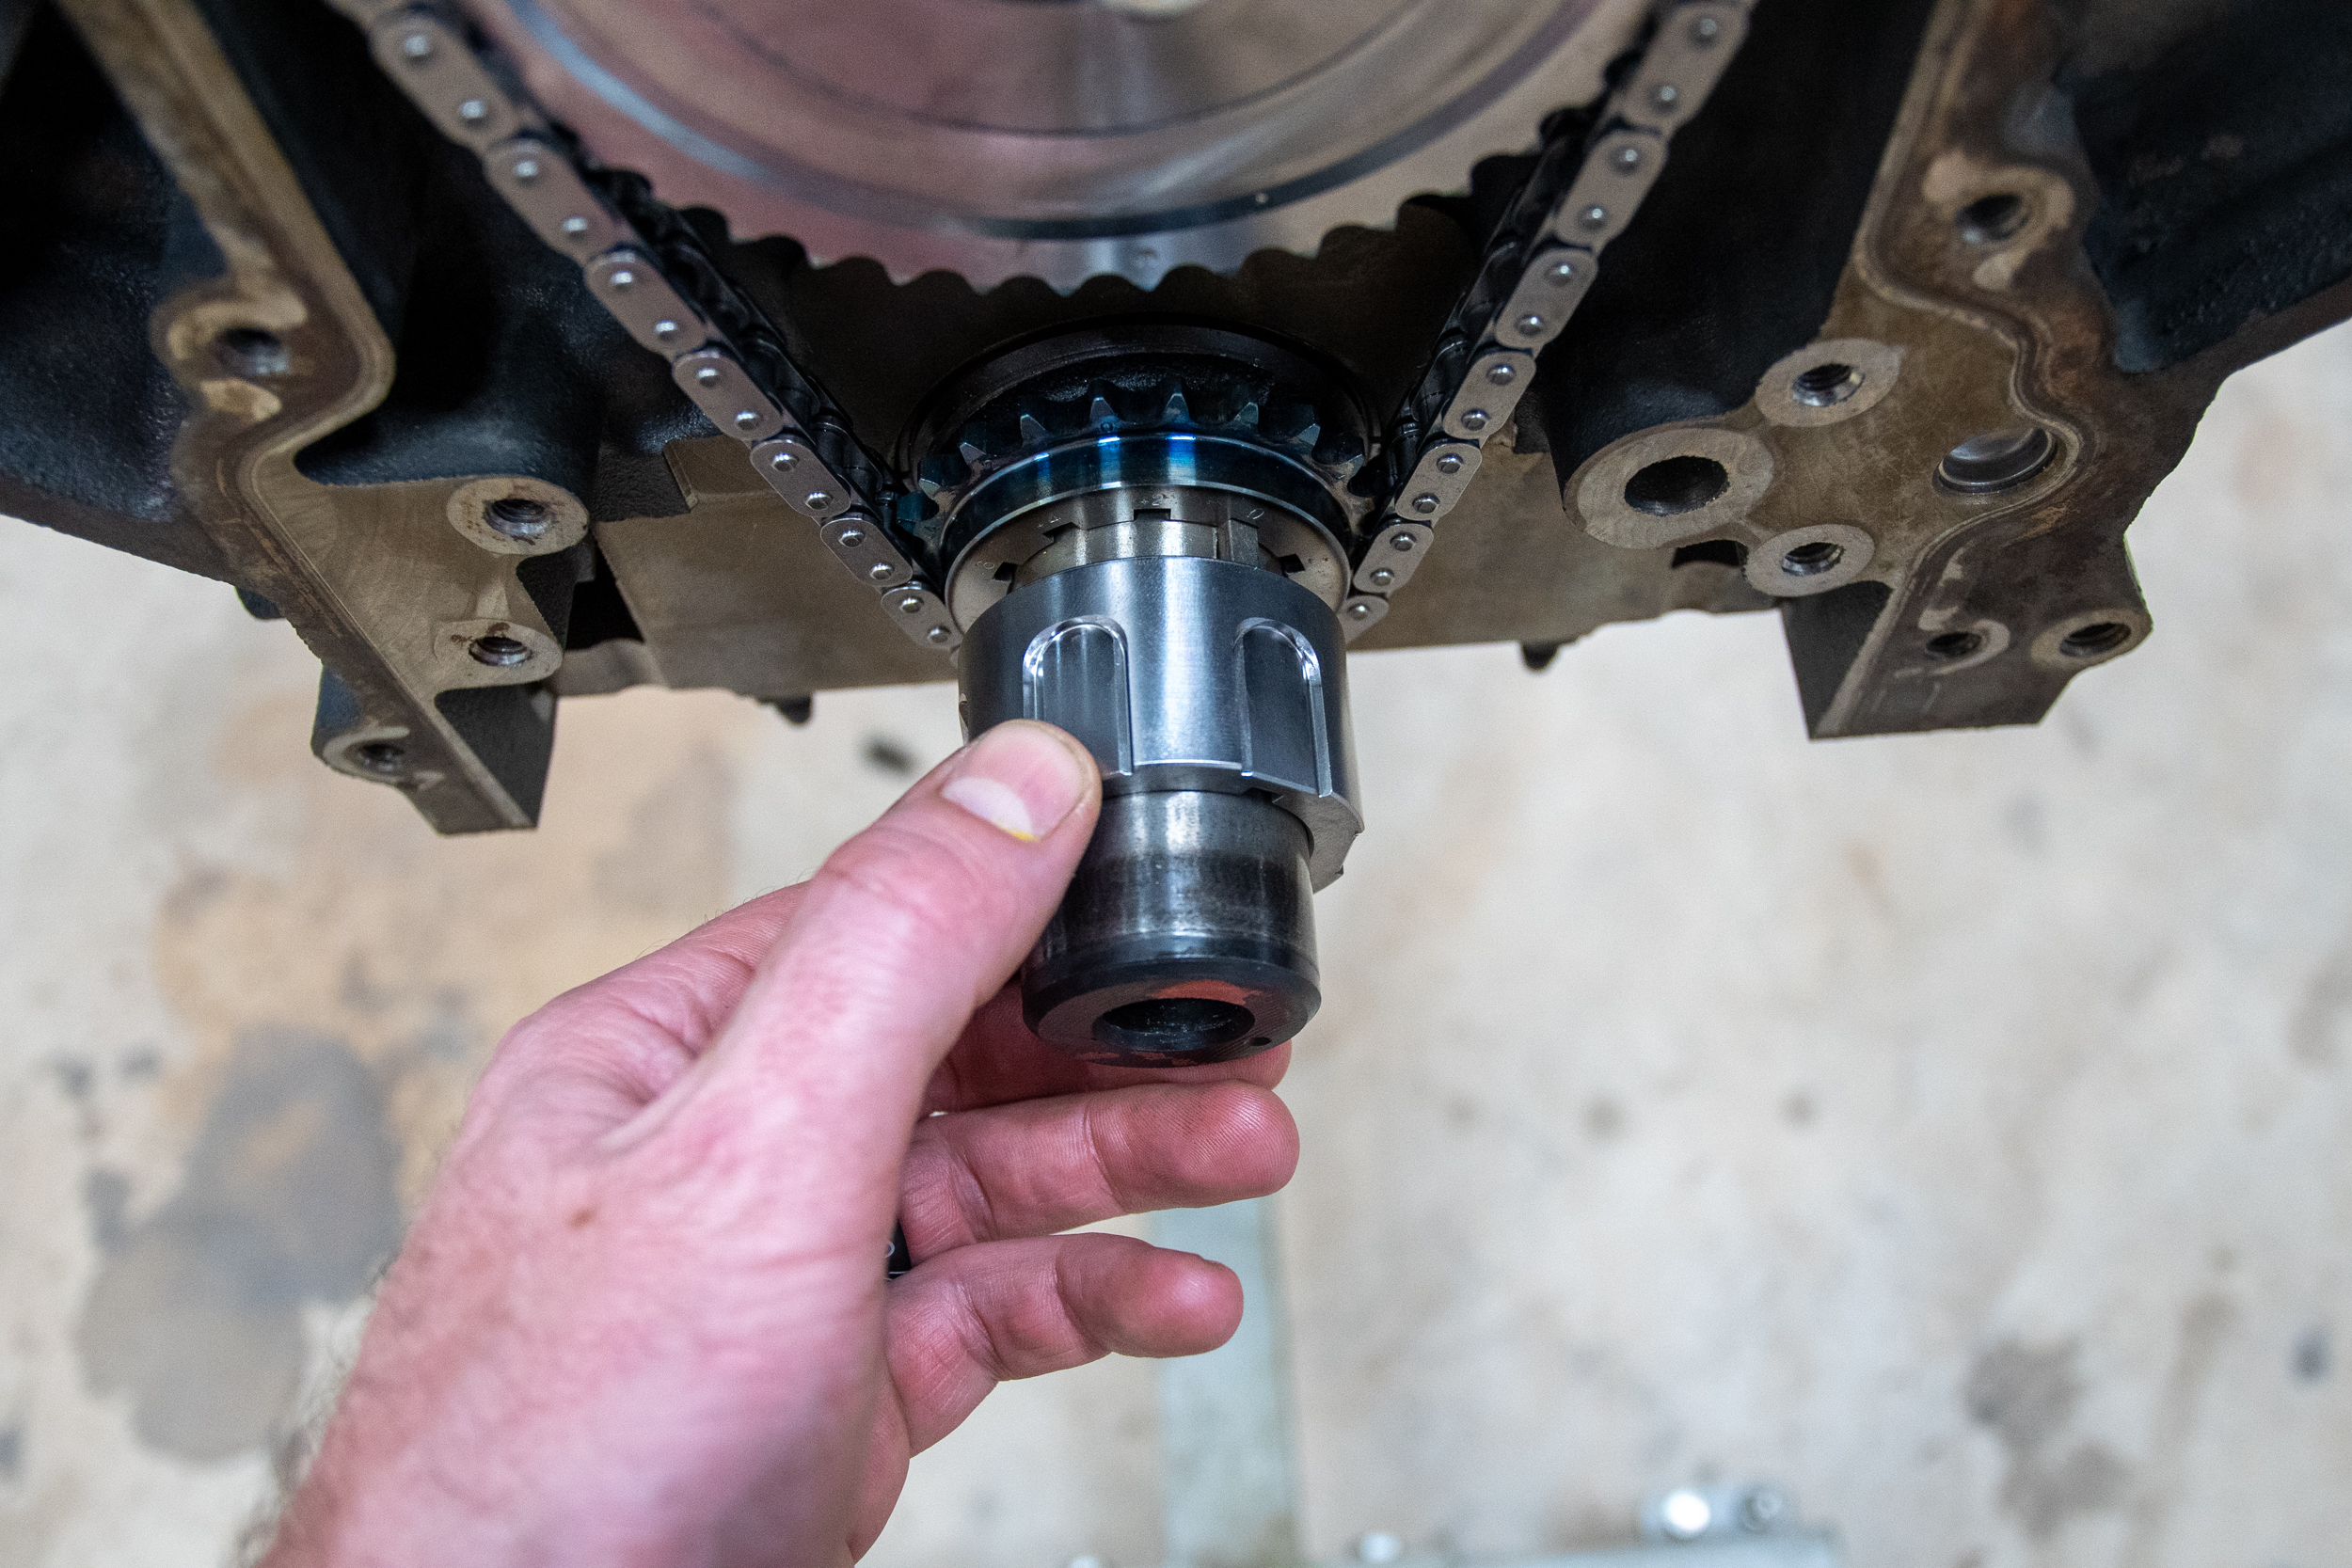
With the Melling bump stick lubed up and attached to the camshaft installation tool, we slid it into the engine effortlessly. We then used a new Melling thrust plate (PN MF127) and secured the cam in place. With the factory crank sprocket off, we replaced it with the melling unit before installing the timing set.
Timing Set
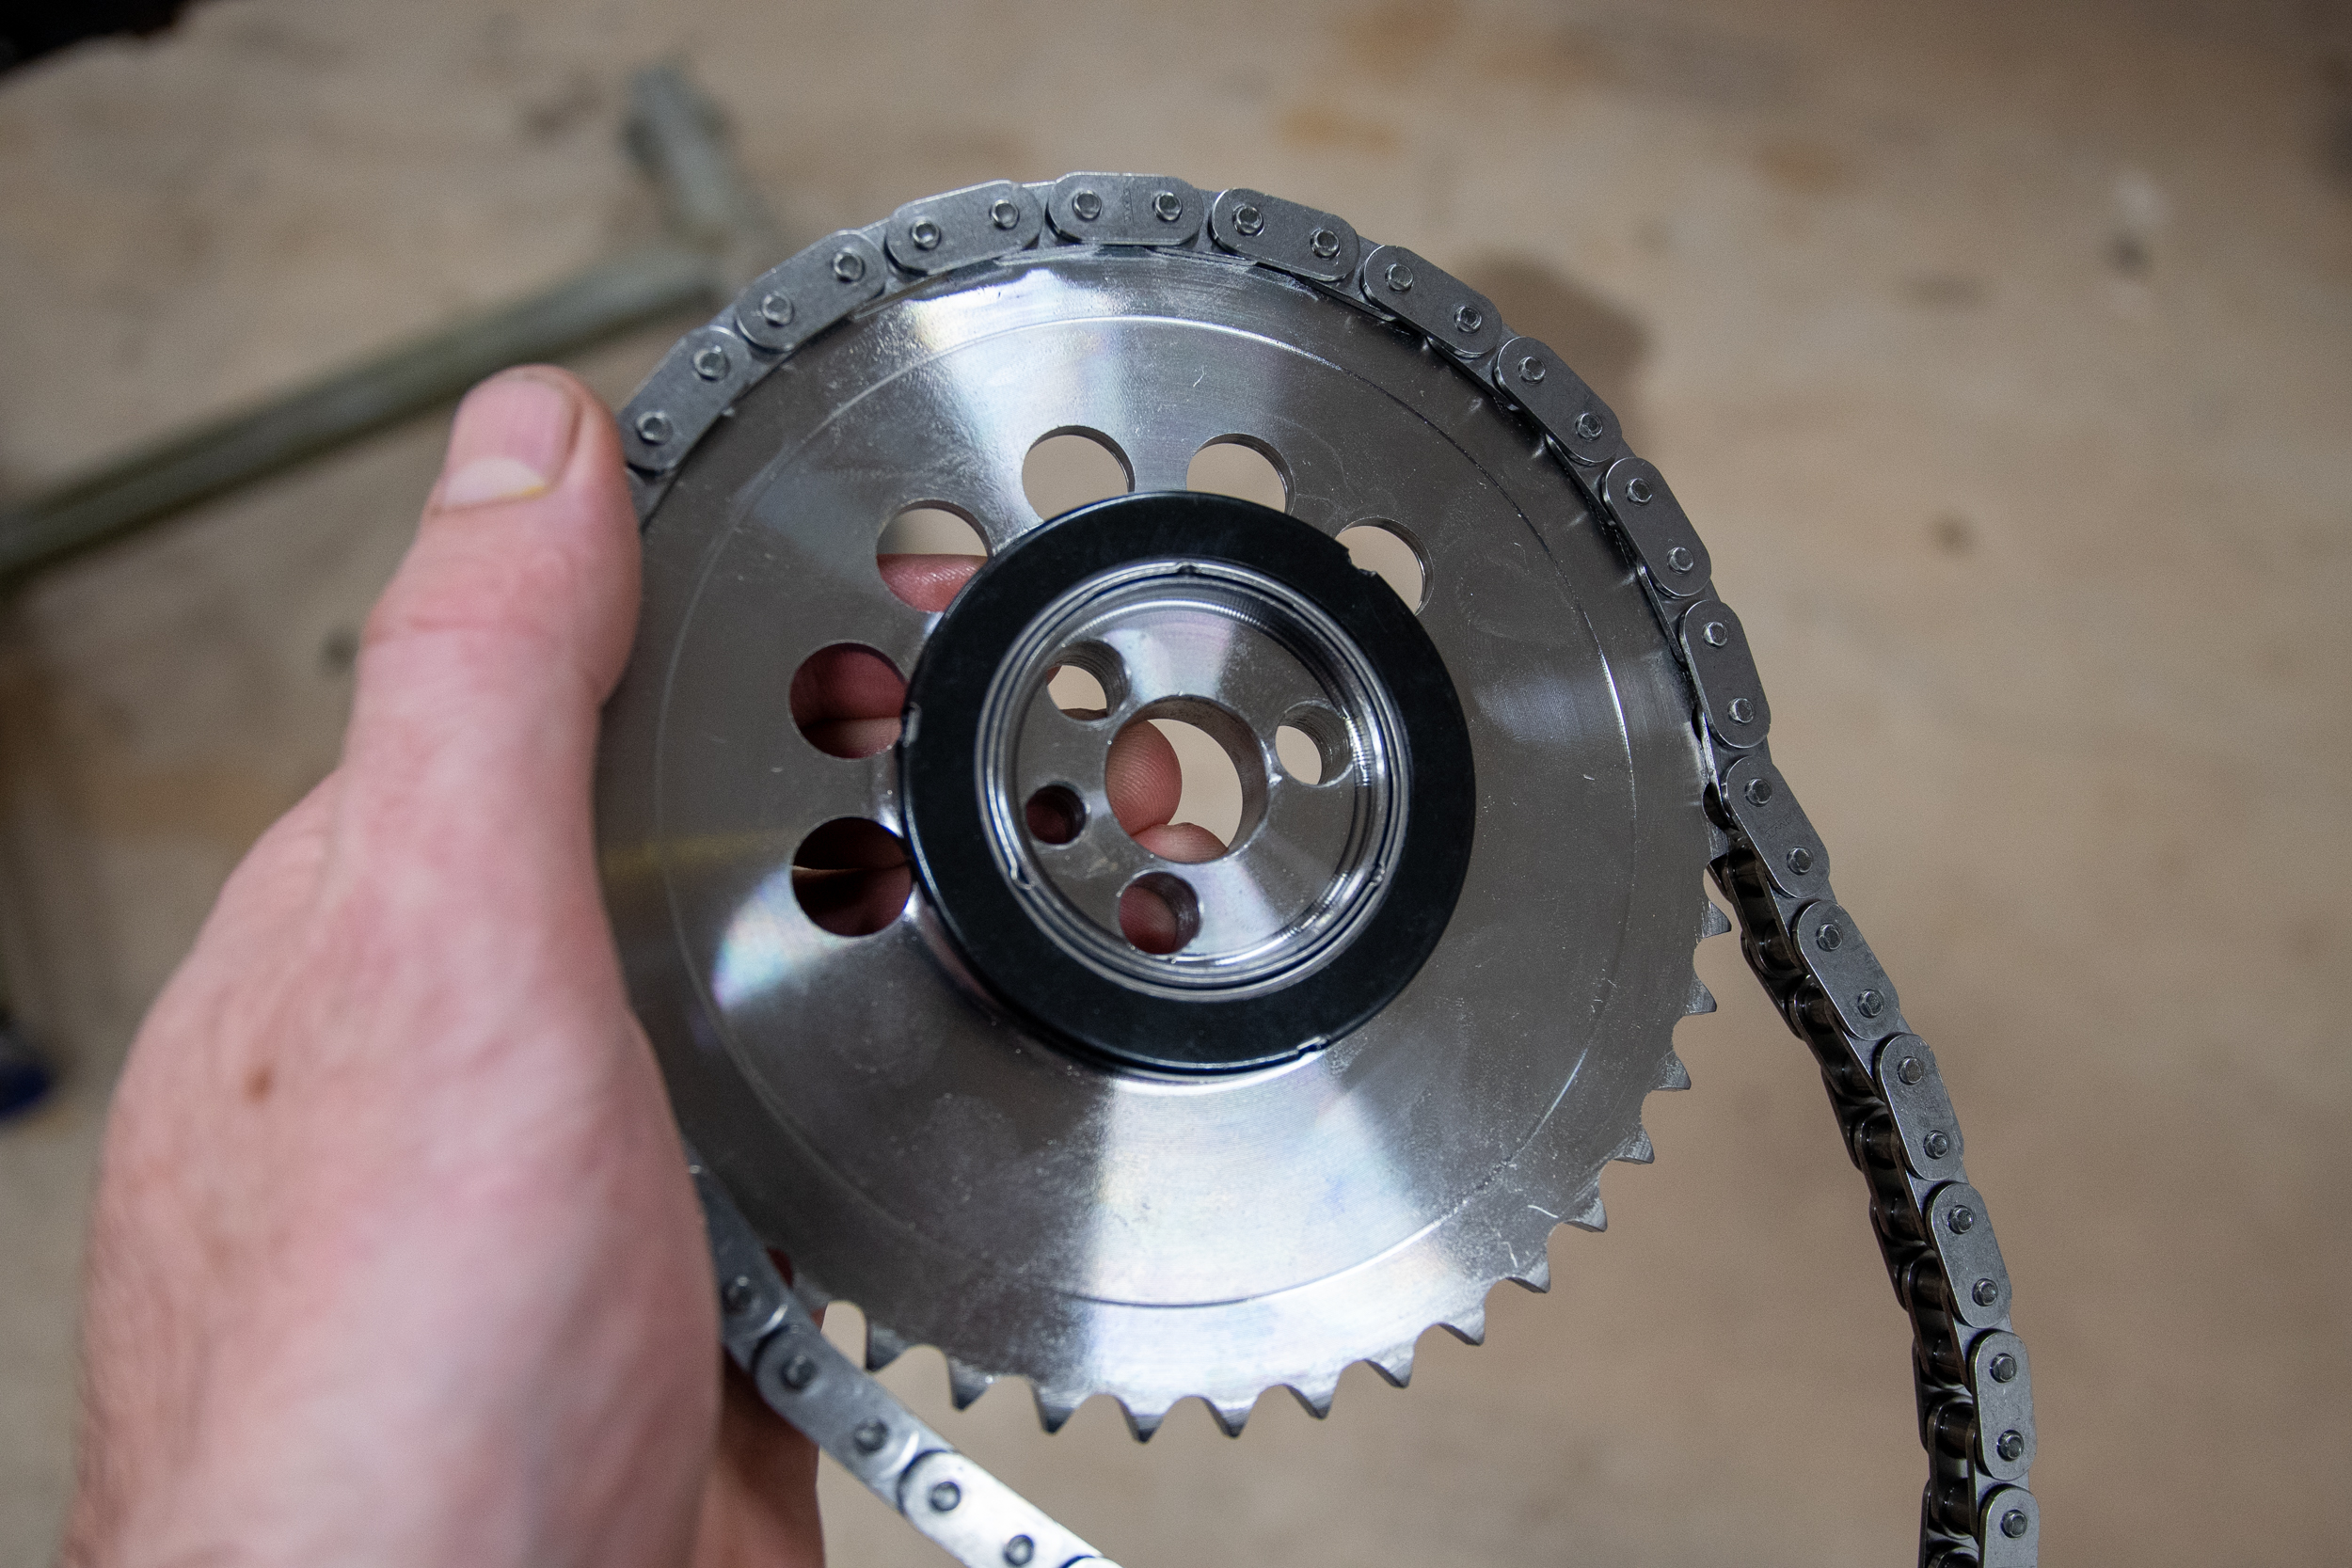
“Timing chains stretch over time, and the most significant risk would be chain breakage. A stretched chain can also affect the base timing, which can hurt performance,” Osterhaus explained. “Our performance timing set features superior materials, like billet steel instead of cast iron or powdered metal. Many will have a multi-key crank sprocket, heavy-duty seamless roller chains, and, depending on the set, a thrust bearing or washer.”
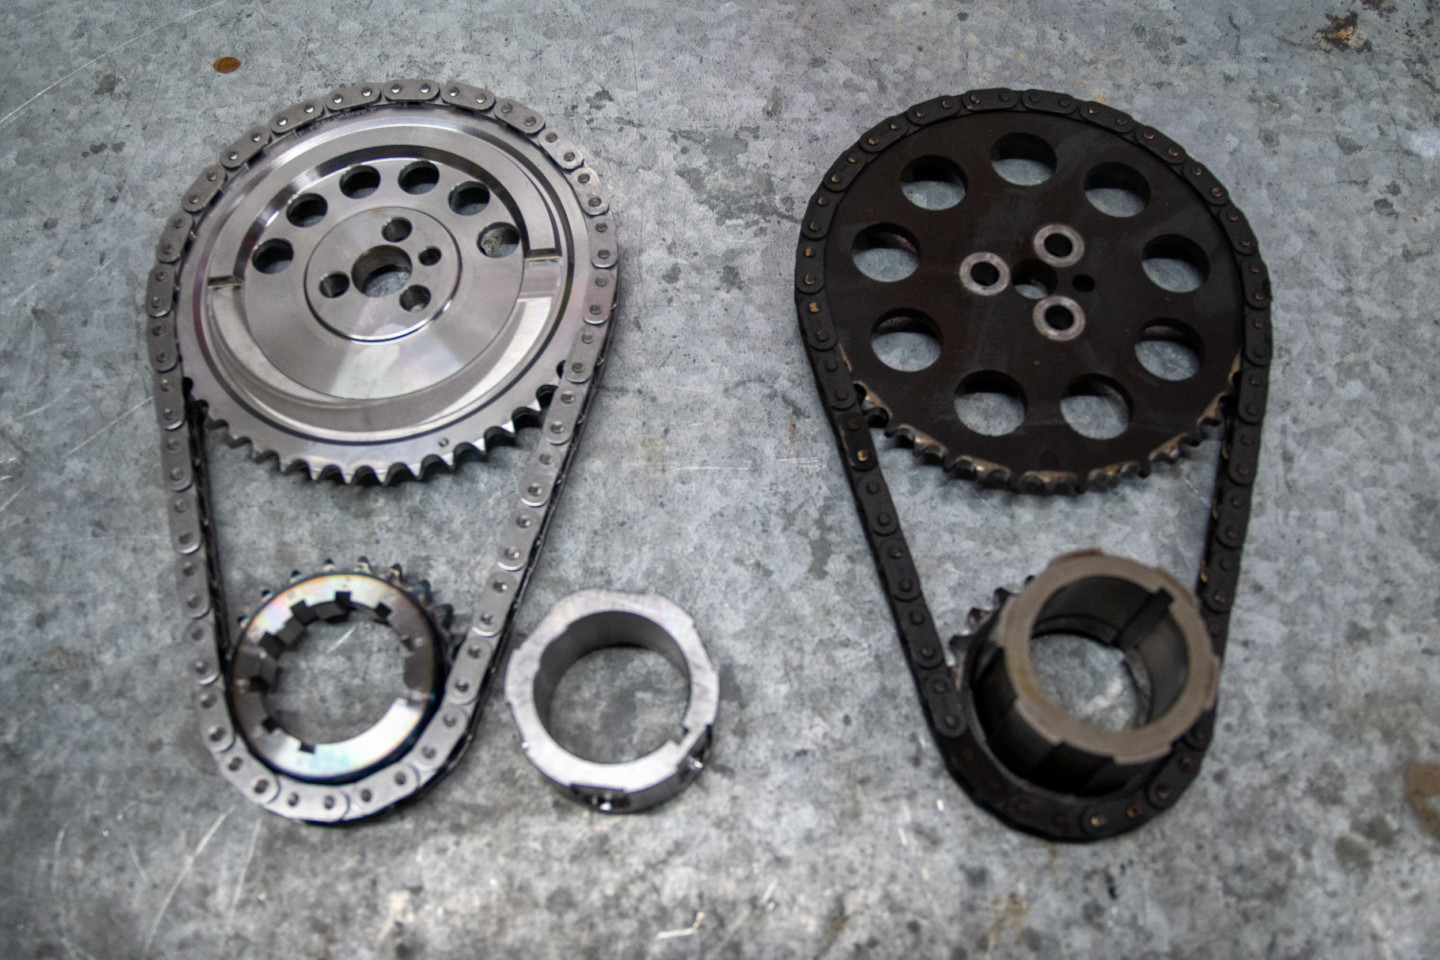
Caption – Even though we have heard and seen some people reuse the factory timing chain, it’s not advised.
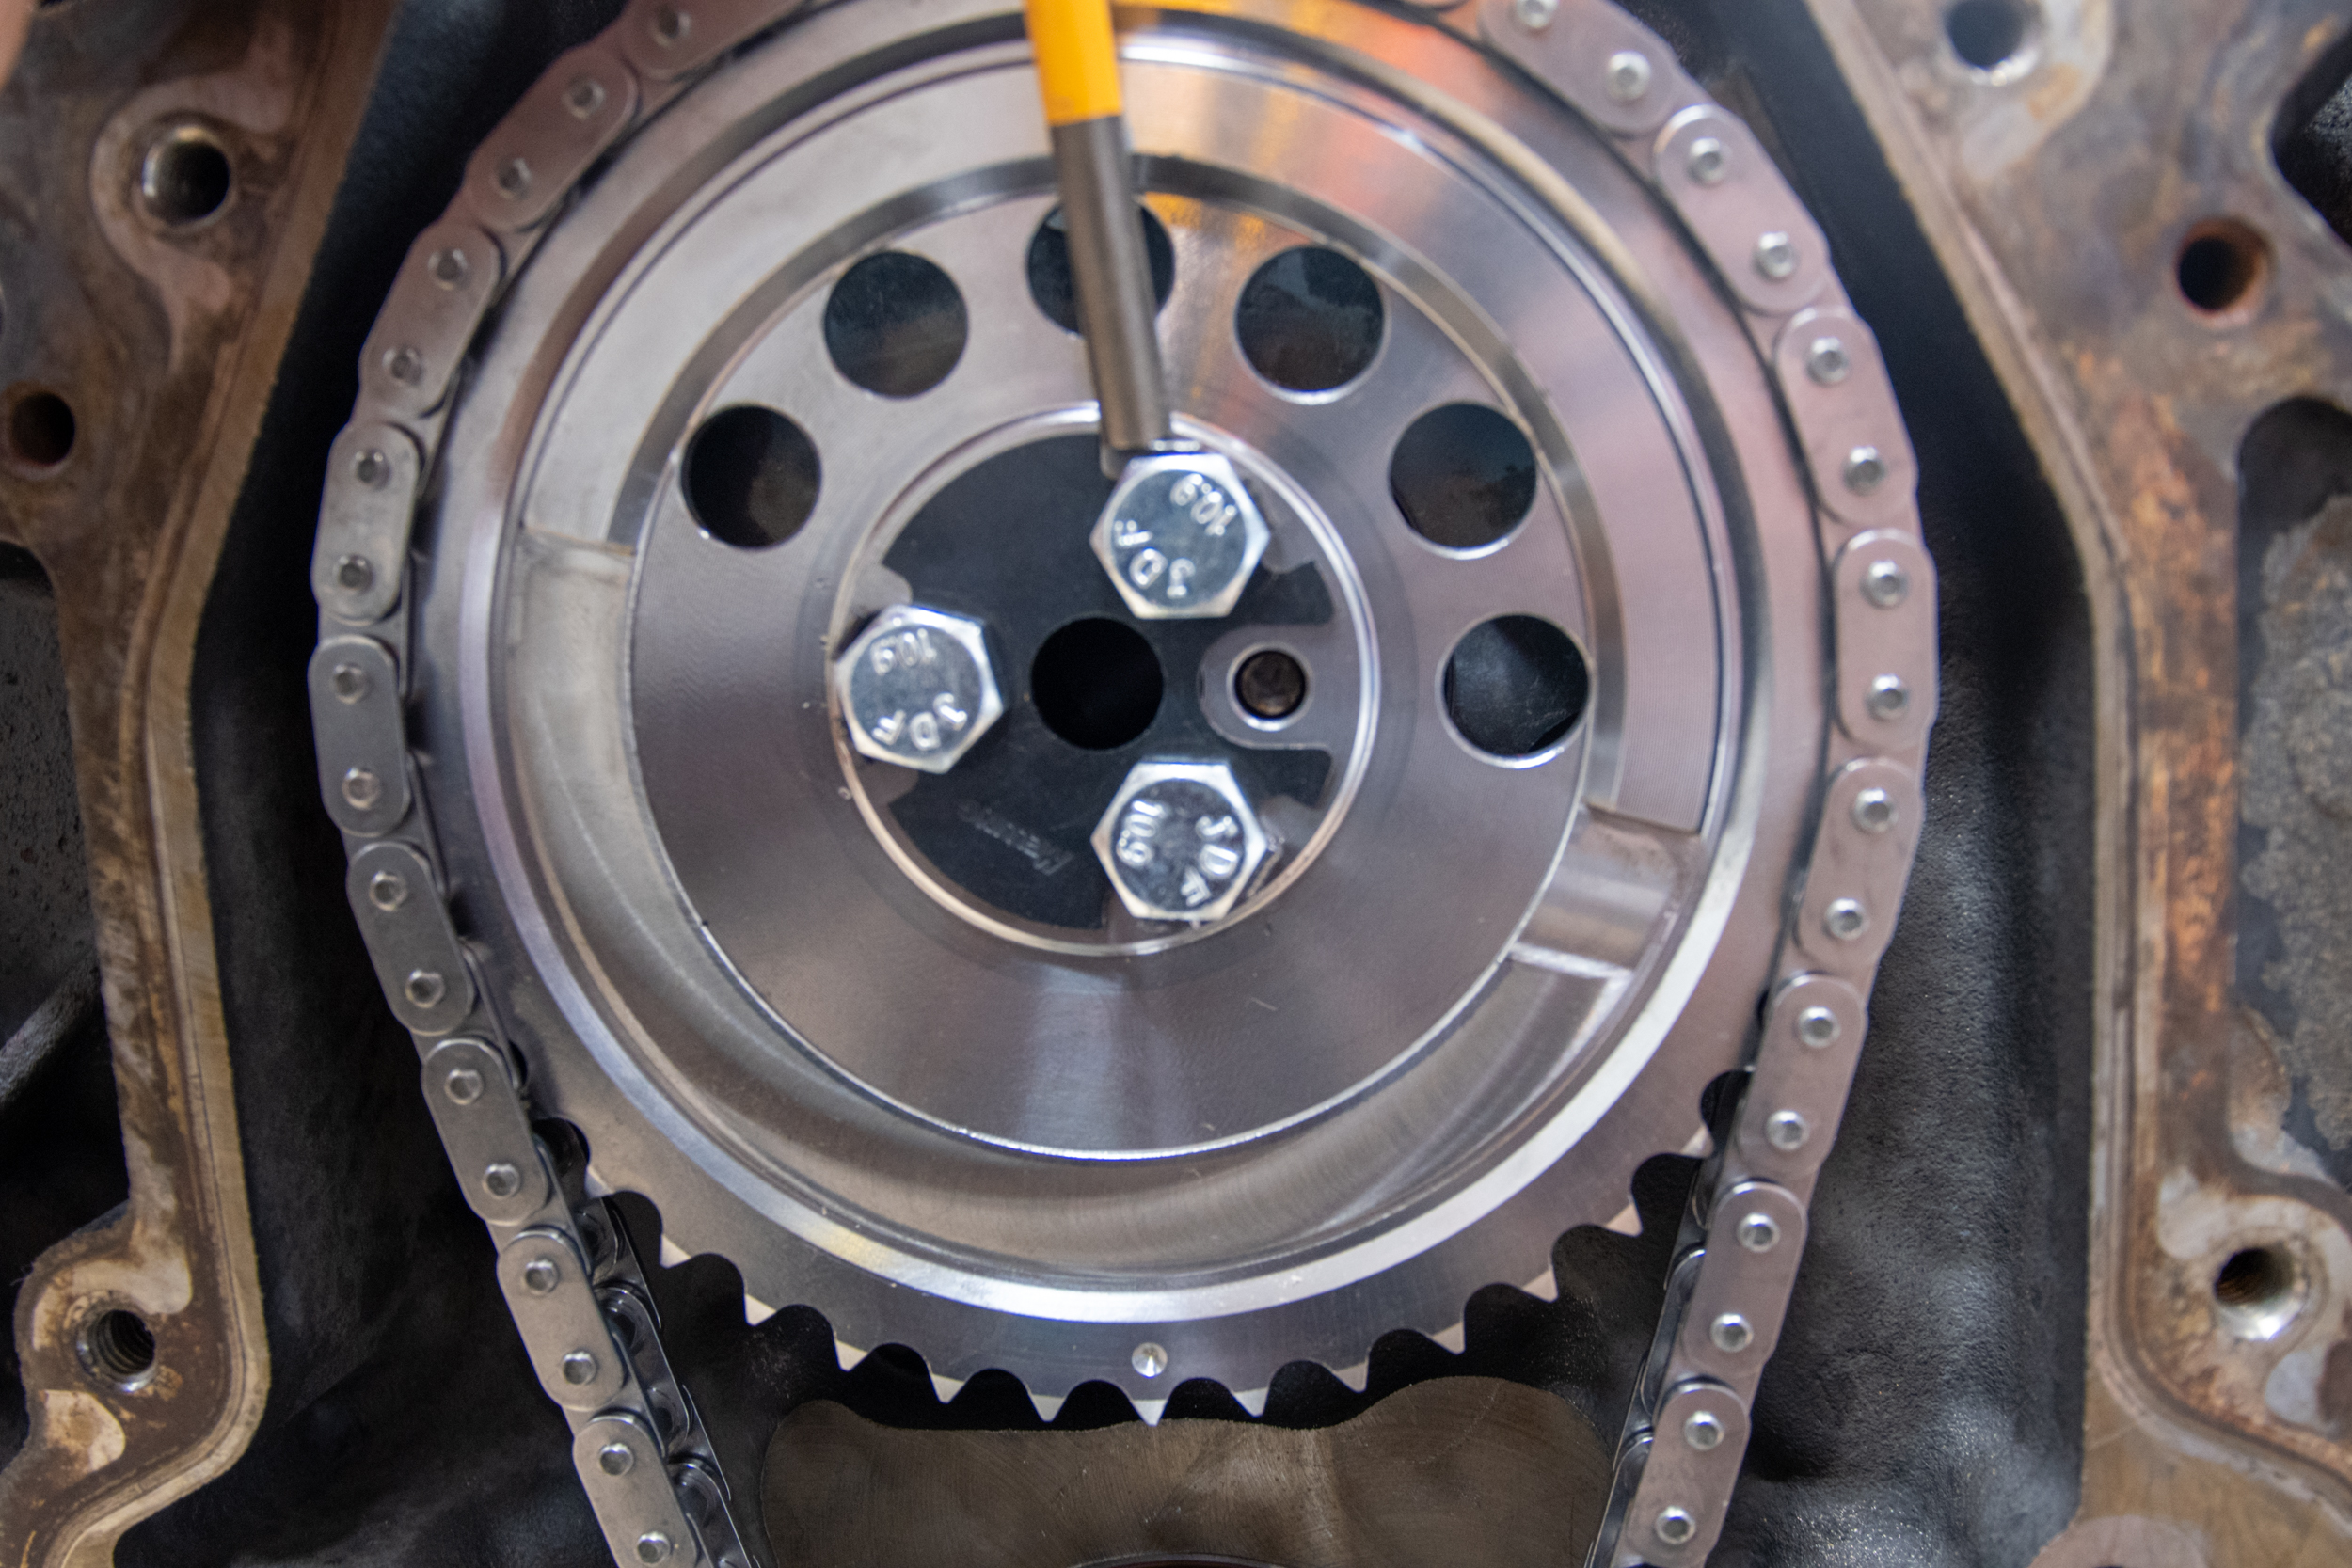
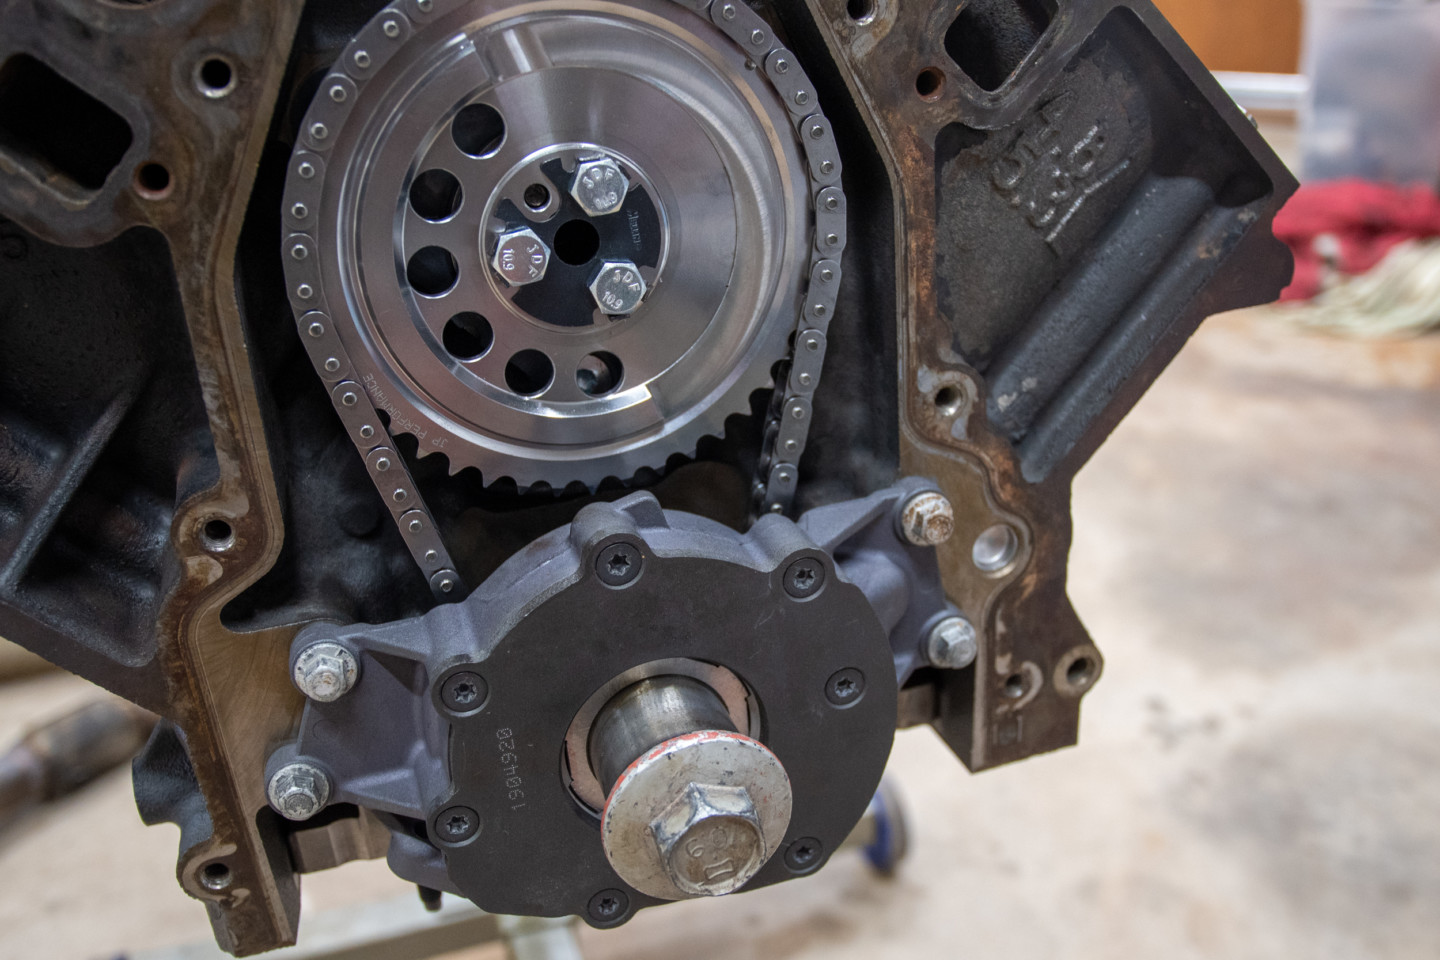
Melling’s timing set for our application (PN 48560T-9) included all of the options and was easy enough to line up and install on the 5.3. We then used the cam bolt locking plate (PN 5461-LPK) to make sure the bolts would not come loose until we were ready to pull the cam.
Oiling System
The oiling system is an essential part of any engine, but there’s a lot of conflicting information on the web regarding high-pressure versus high-volume. Since we were unsure which one would be best for our application, we asked Osterhaus about it.
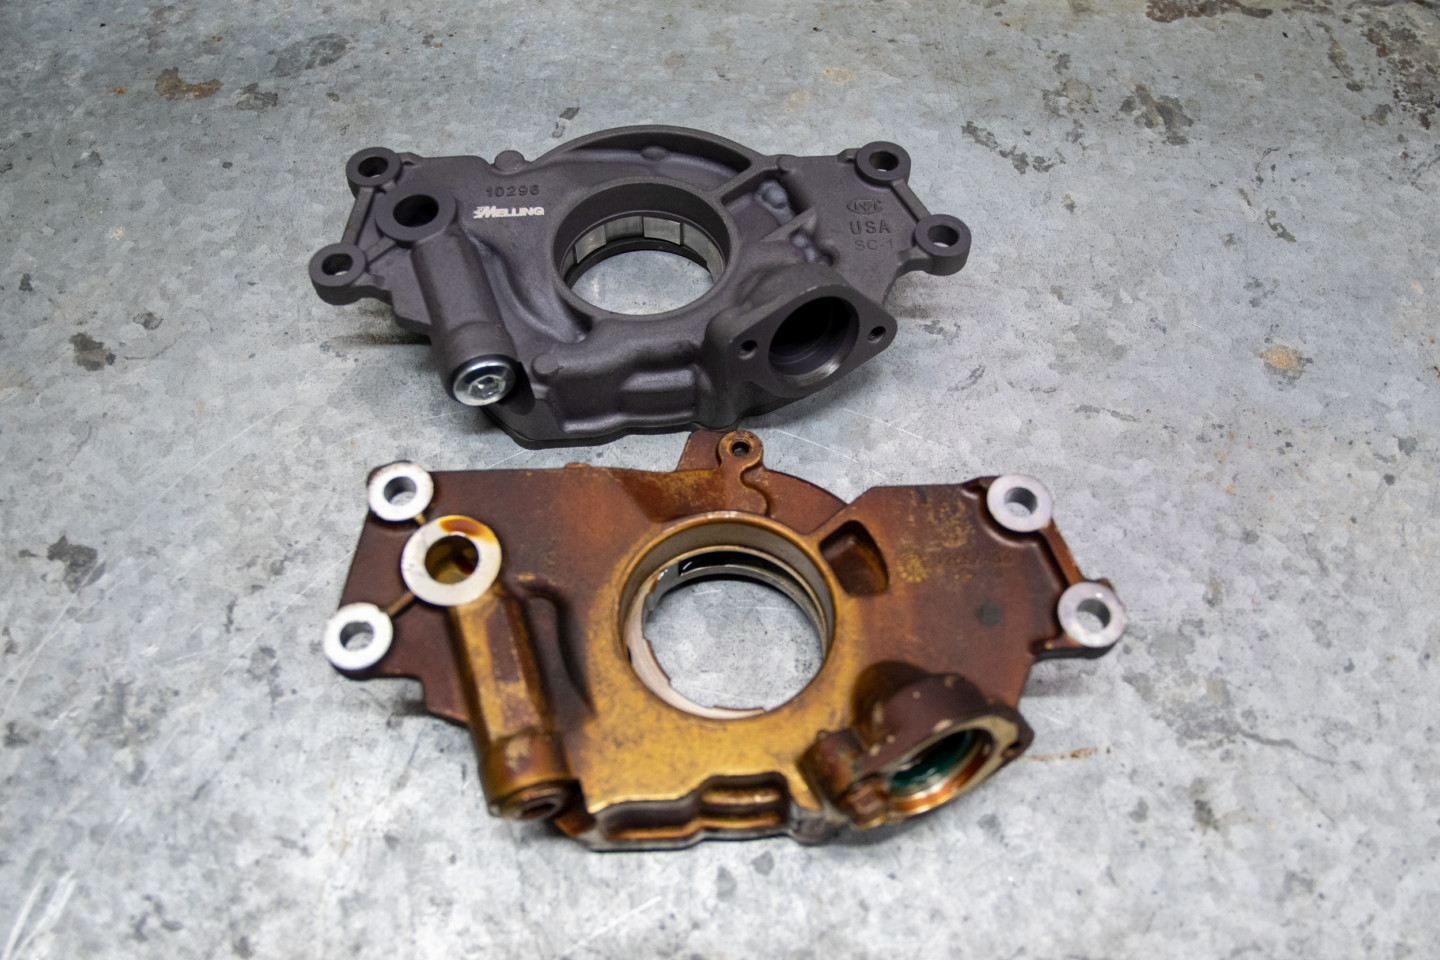
It’s really easy to tell which pump has 175,000 miles on it. For our application, we used the Melling high-volume, high-pressure oil pump (PN 10296), which supplies 18-percent more oil flow.
“A high volume oil pump will provide more oil flow to the engine across the engine’s operating range, from idle speed to red-line. Any modifications that will increase the engine’s demand for oil will require a high volume pump. So an engine with larger bearing clearances, higher flow rate lifters, added piston and valve spring oilers is a good candidate for a high volume oil pump,” Osterhaus explained. “In comparison, a high-pressure oil pump will supply additional oil flow at higher engine speeds due to less oil passing through the oil pump’s internal pressure relief circuit. Many factory-stock performance engines came with standard volume high-pressure oil pumps.”
The Best Of Both Worlds
For our application, Osterhaus suggested the high-volume, high-pressure oil pump (PN 10296), which supplies 18-percent more oil flow. “The PRV spring postpones the opening of the valve by an additional 10 psi. The additional oil flow from the pump will work well in your high mileage engine to support the increased bearing clearances and provide good oil pressure,” explained Osterhaus.
Oil Pump Installation
Another area of interest is the proper way to install an oil pump. If you search online, the internet will tell you that you need to shim the oil pump for maximum performance. This question was another one for the experts. This time we reached out to Cale Risinger, Technical Services Manager at Melling. Risinger said, “Our pumps are all sealed up and tested before they leave the factory. When a customer opens the pump back up, they take a chance on installing the pump incorrectly, and it’s possible they will not reassemble it correctly.”
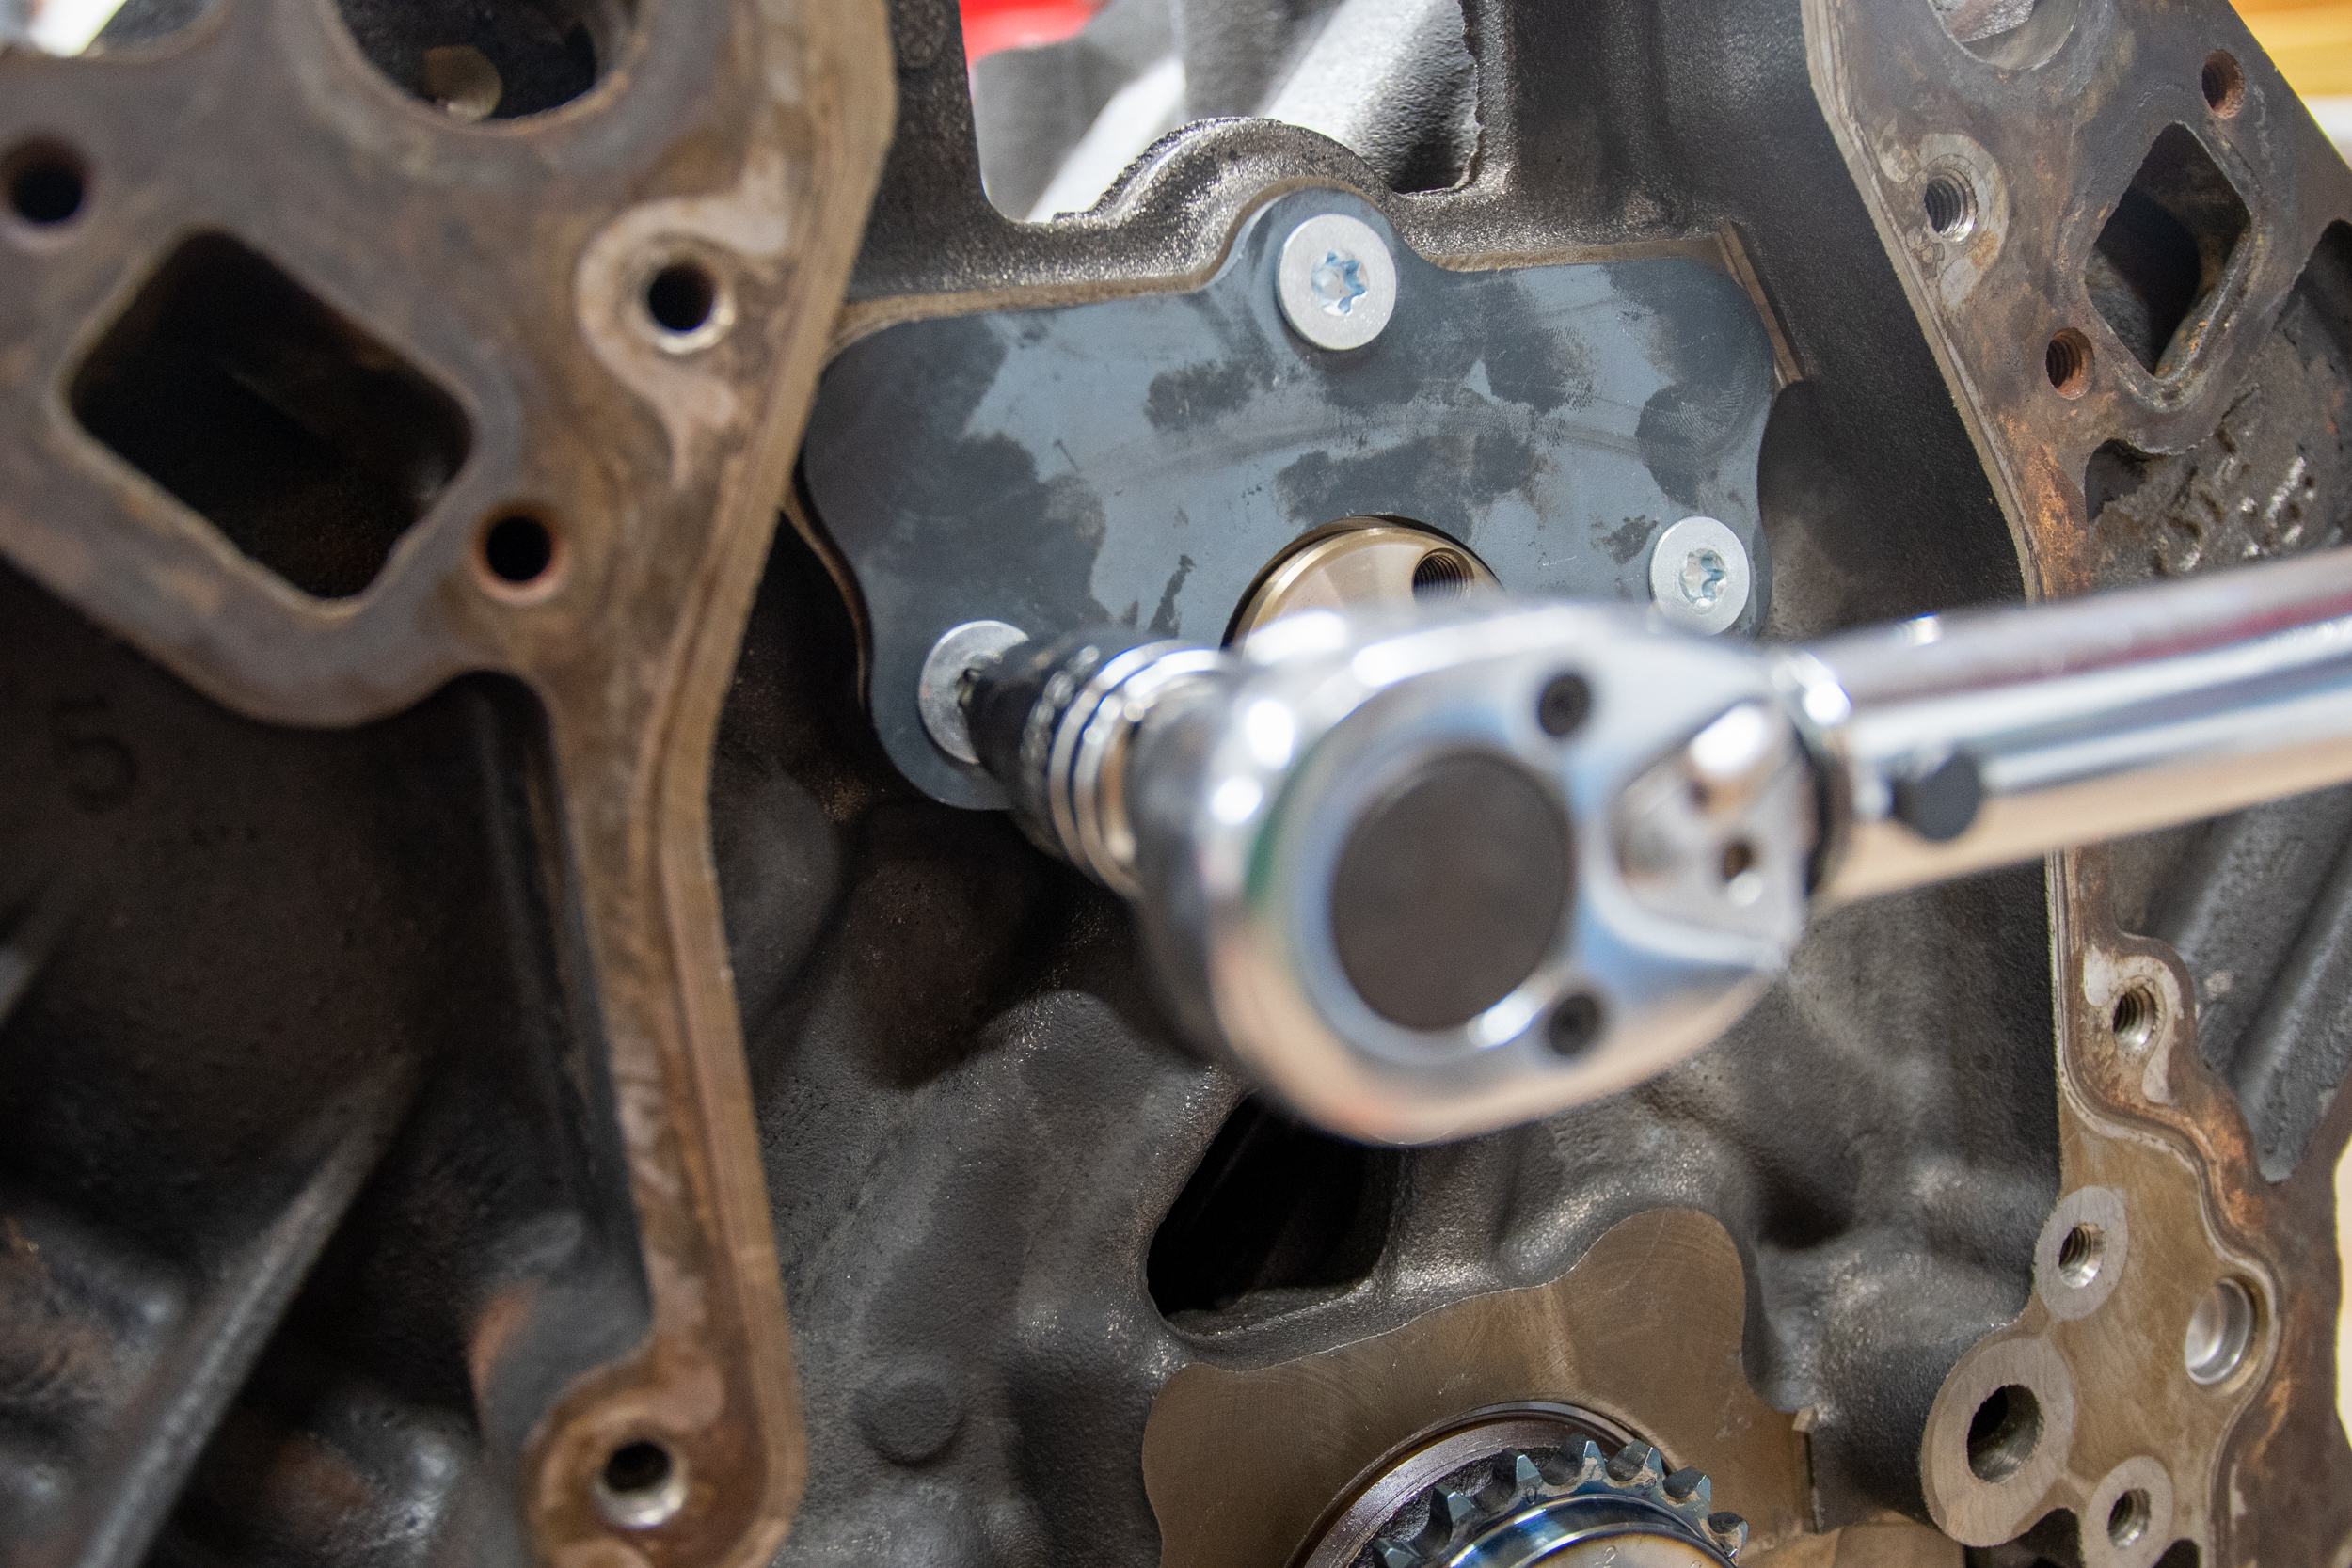
Instead of using shims to center the pump, Risinger suggested this approach. “The method that we recommend for our pumps is to put the bolts in finger-tight and then rotate the crank 360-degrees and then torque them down. This will center the pump and alleviate any problems that you might have from disassembling it.”
Another vital part of the oil pump assembly process is lubrication — make sure to fill the oil pump up with oil during the installation. Melling recommends not only this method but priming the engine with its engine pre-lube kit (PN MPL-201), as well.
Buttoning Up The Bottom End
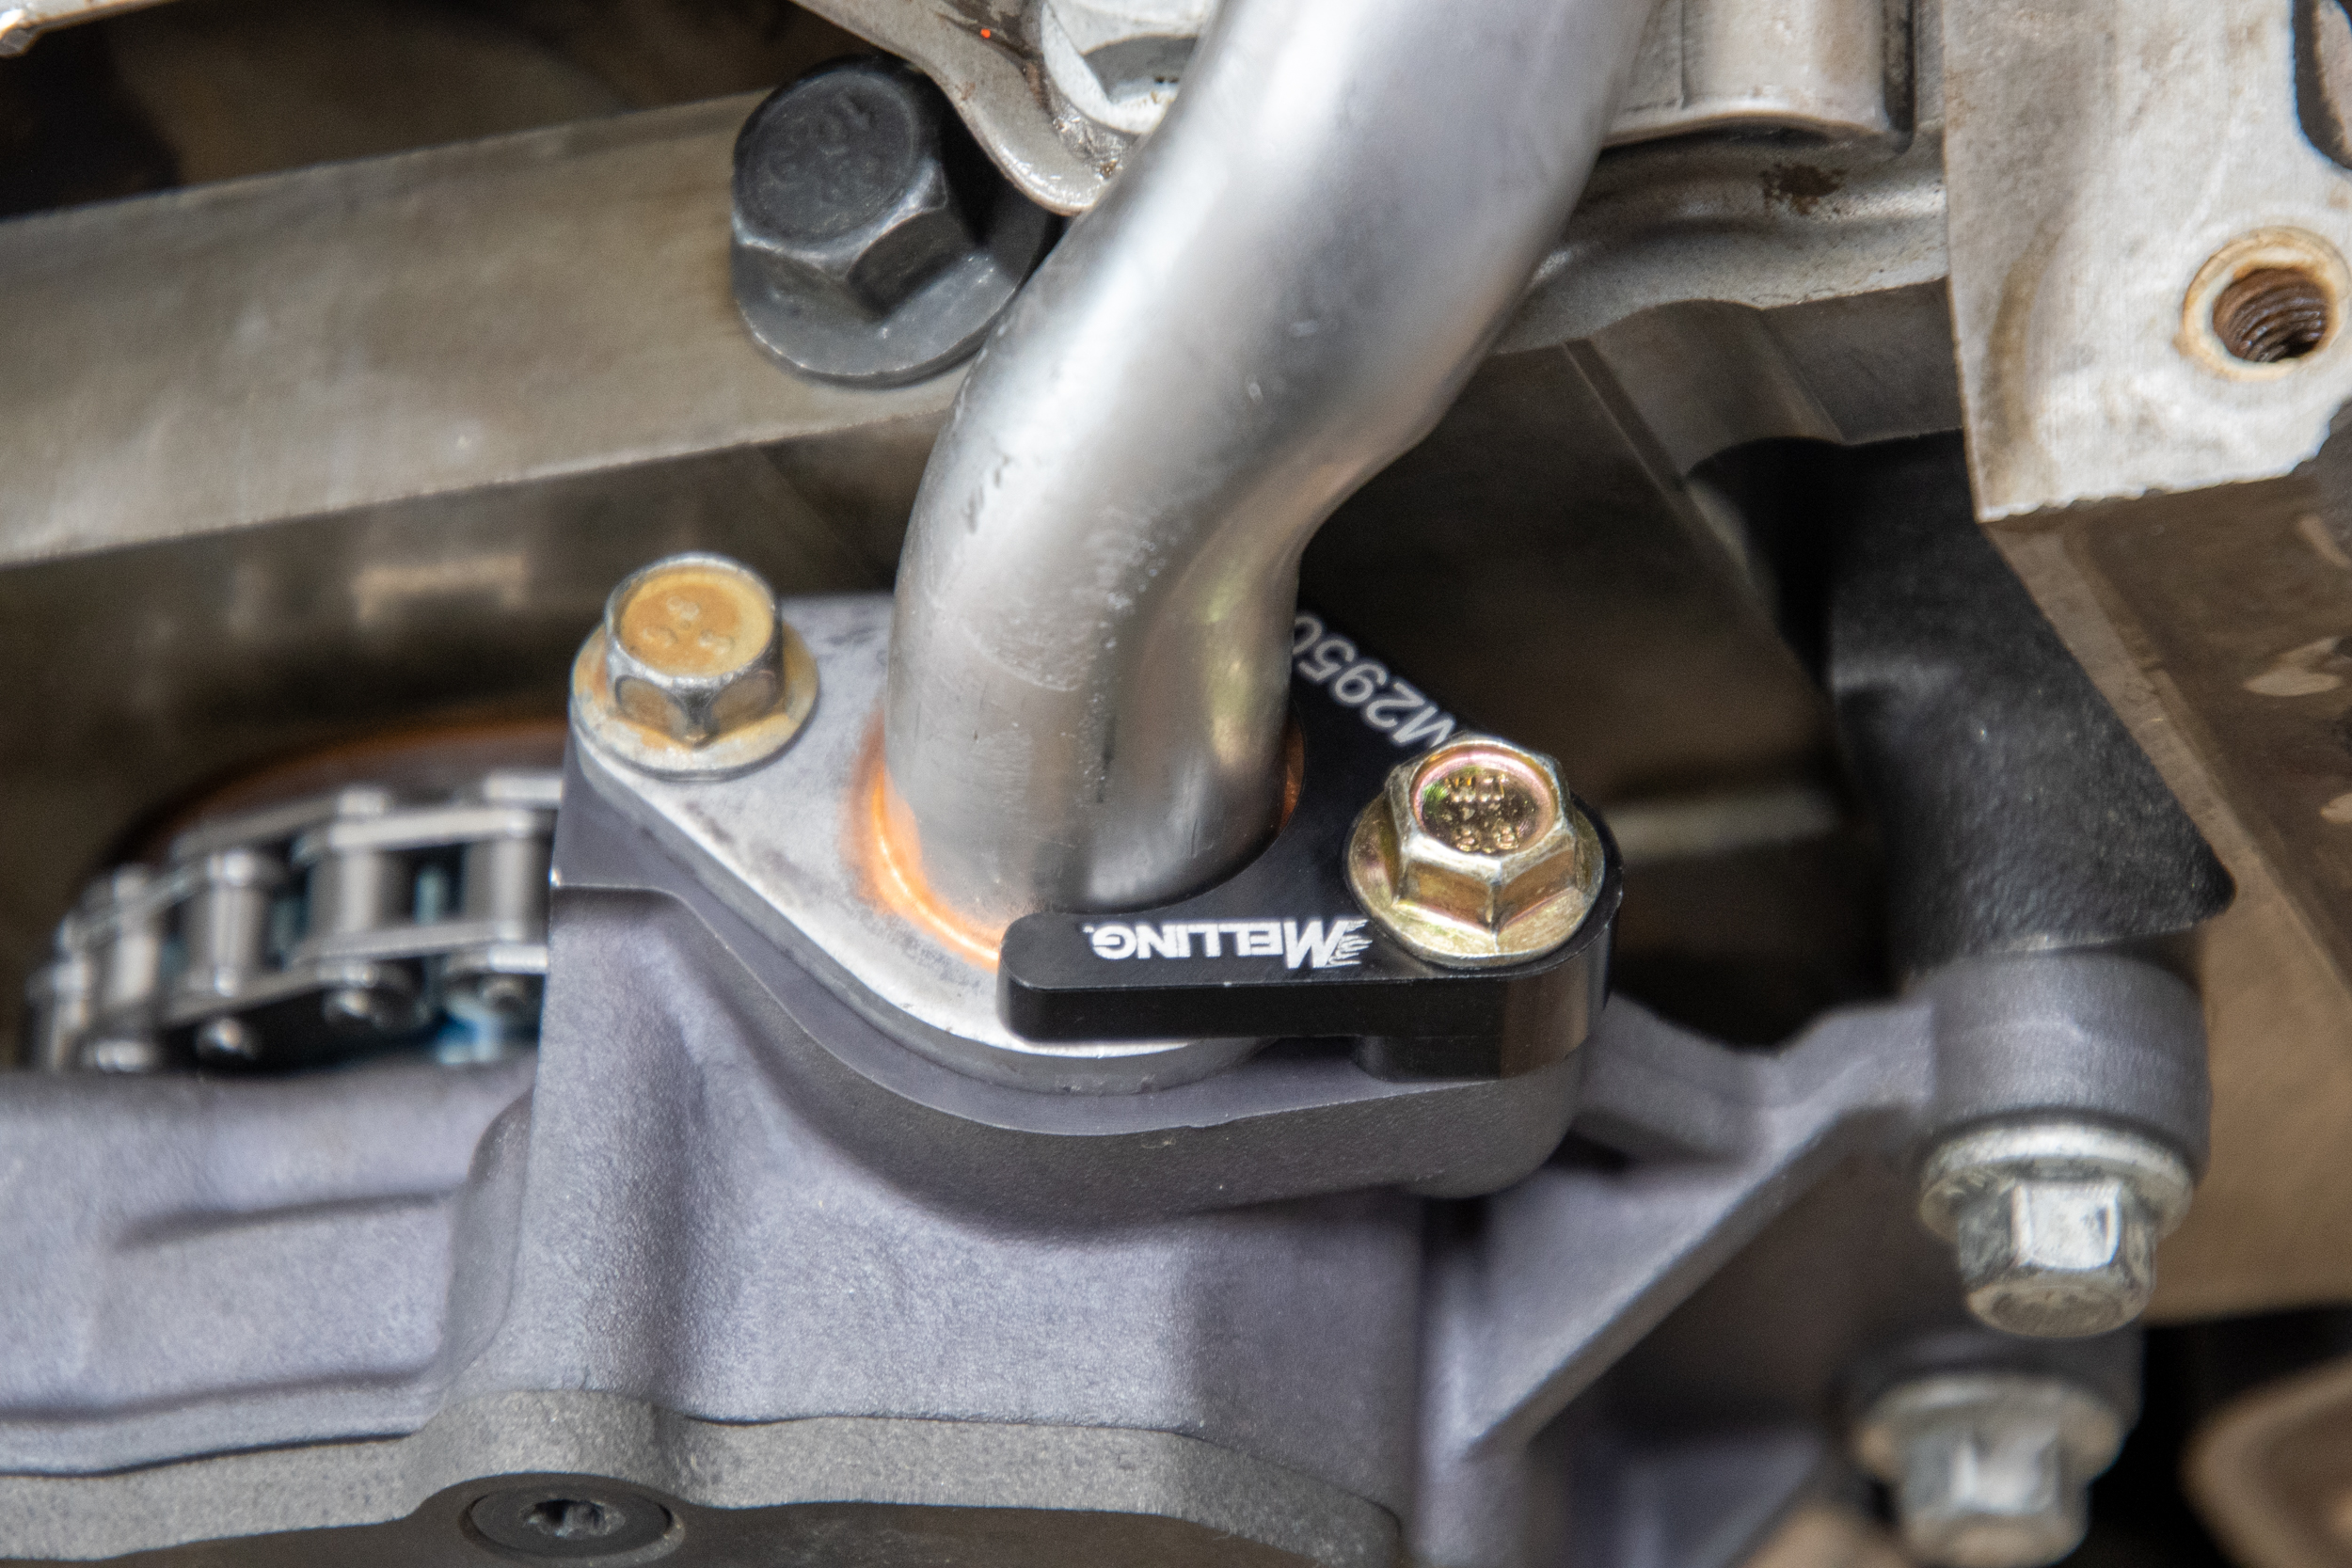
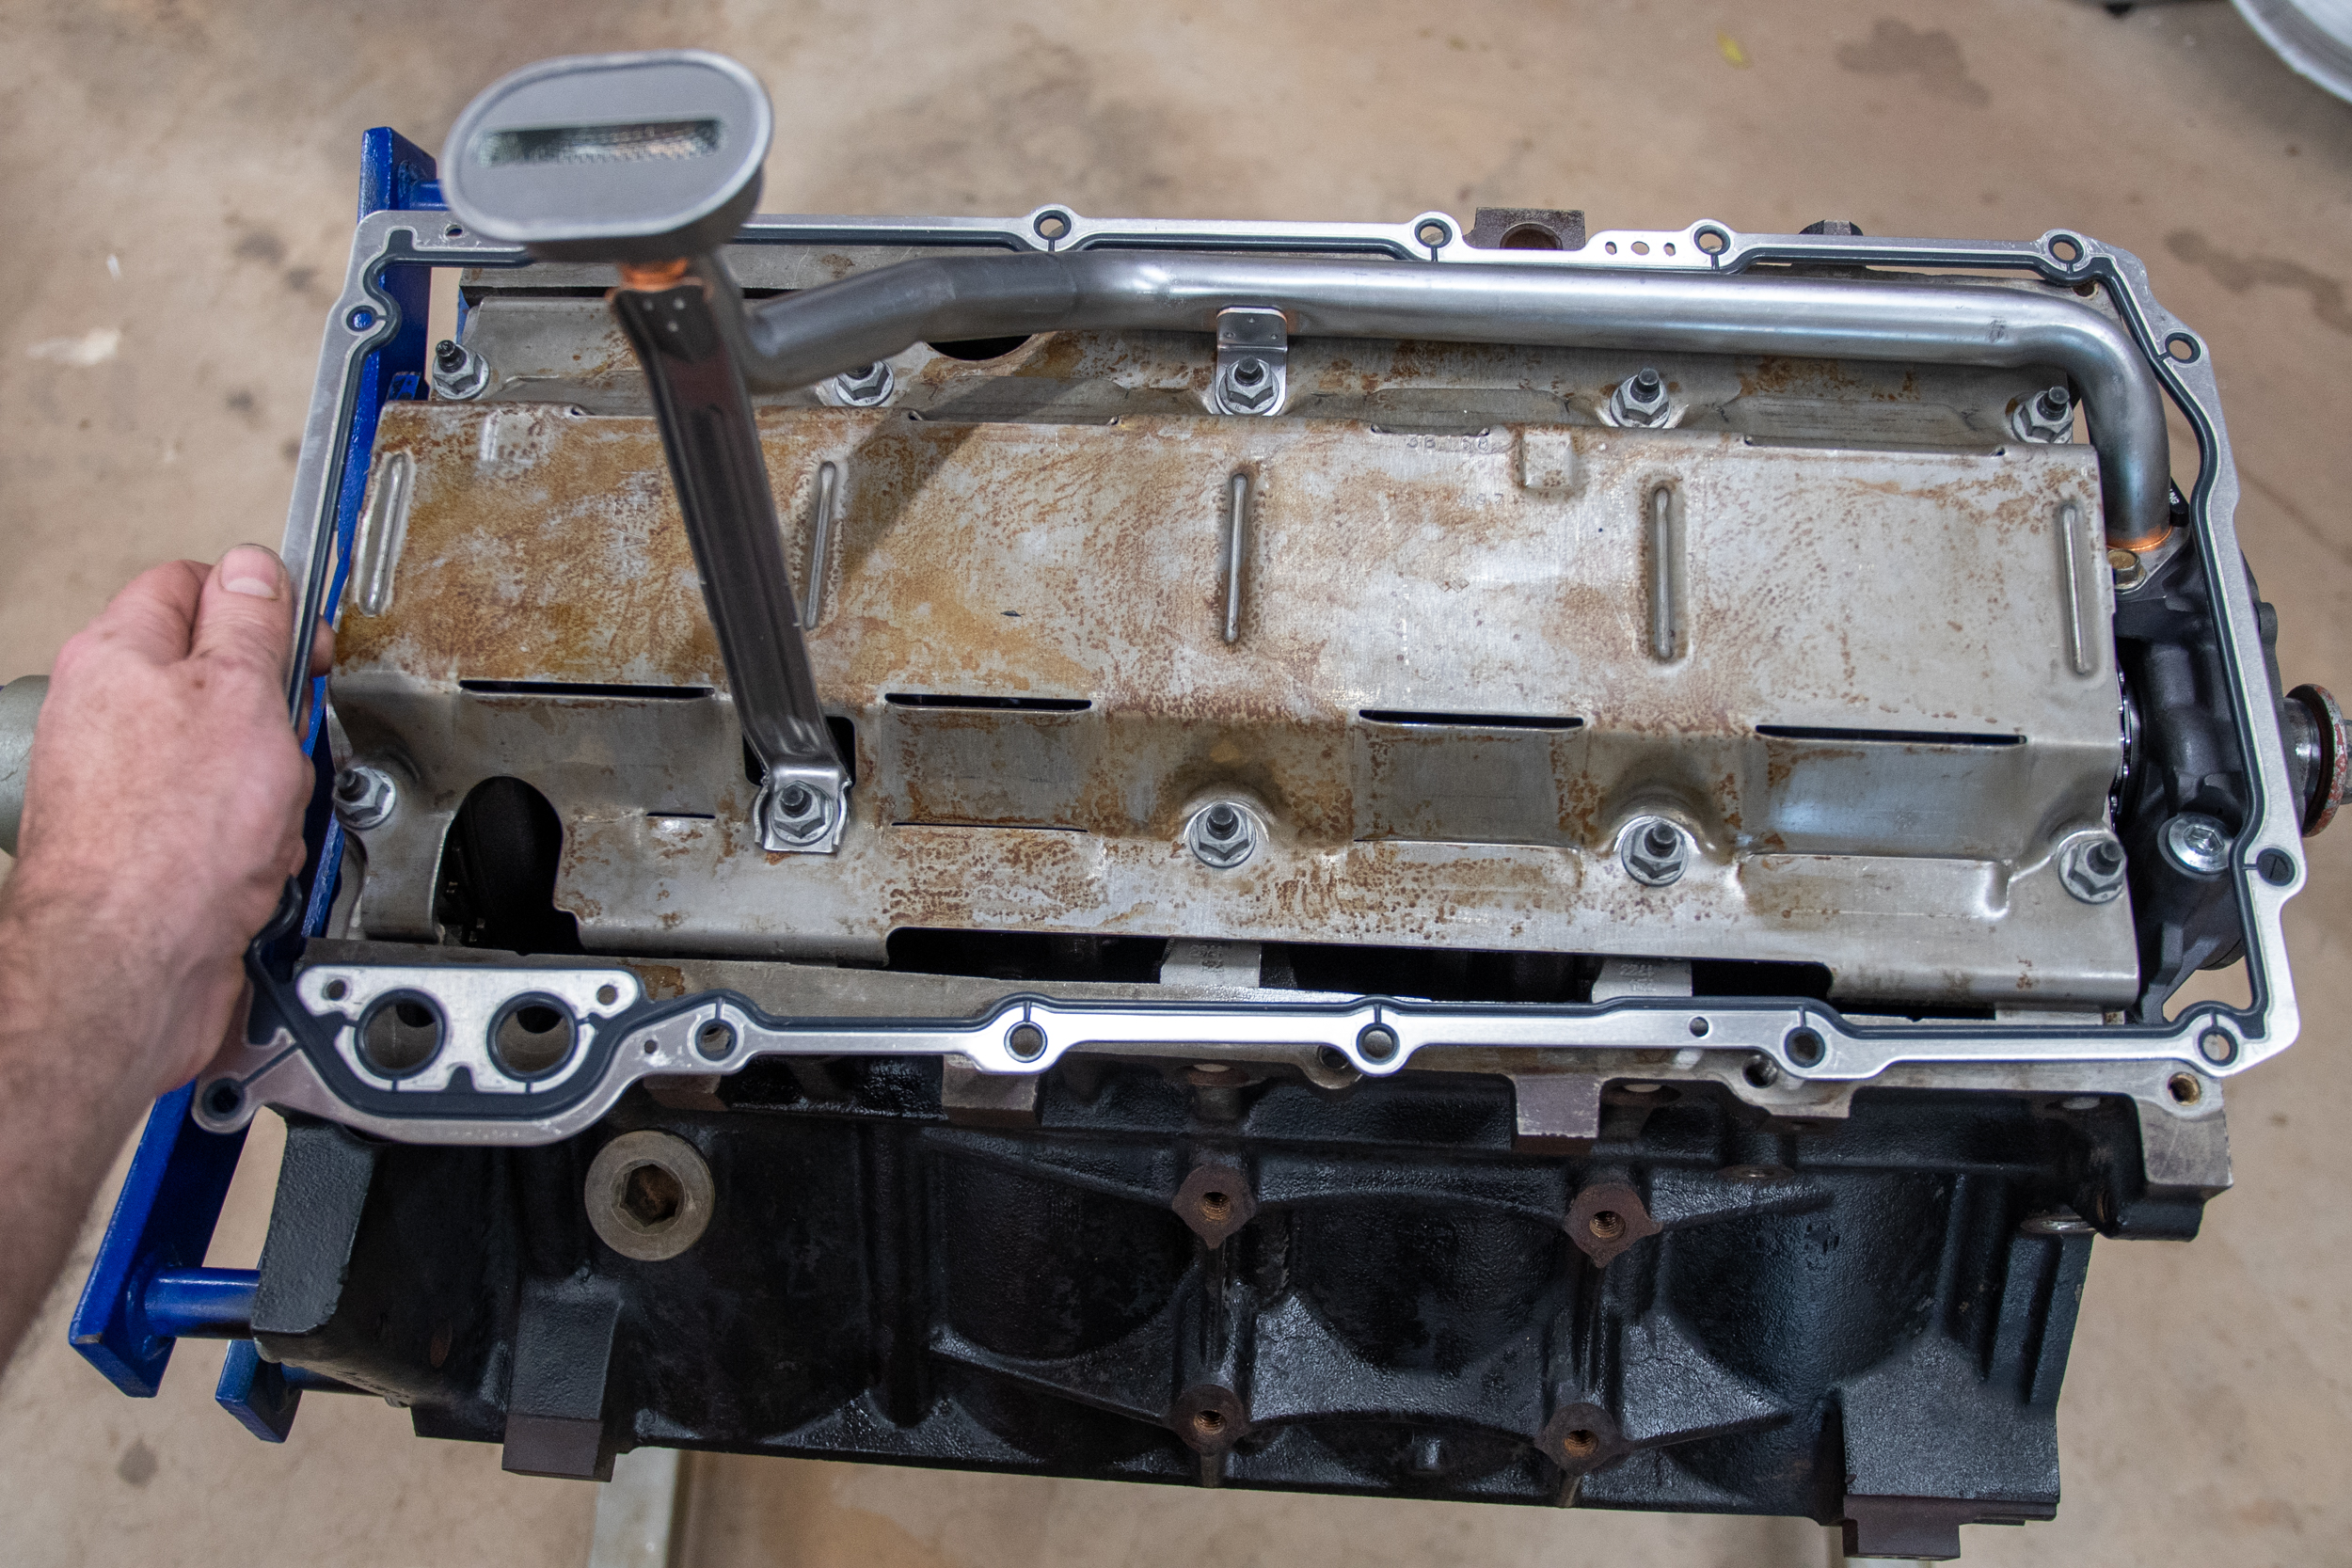
After we centered the oil pump per Melling’s method, we then torqued the pump to the block and installed the windage tray and a new pickup tube (PN 324S). It’s imperative that the pickup tube stays in place for the life of the engine. And while one bolt does the job from the factory, Melling offers an oil pickup tube bracket (PN M29500) that increases the clamping force making sure it will never come loose. With the bracket in place, we were finally ready to button up the bottom end and install the oil pan.
Front Cover
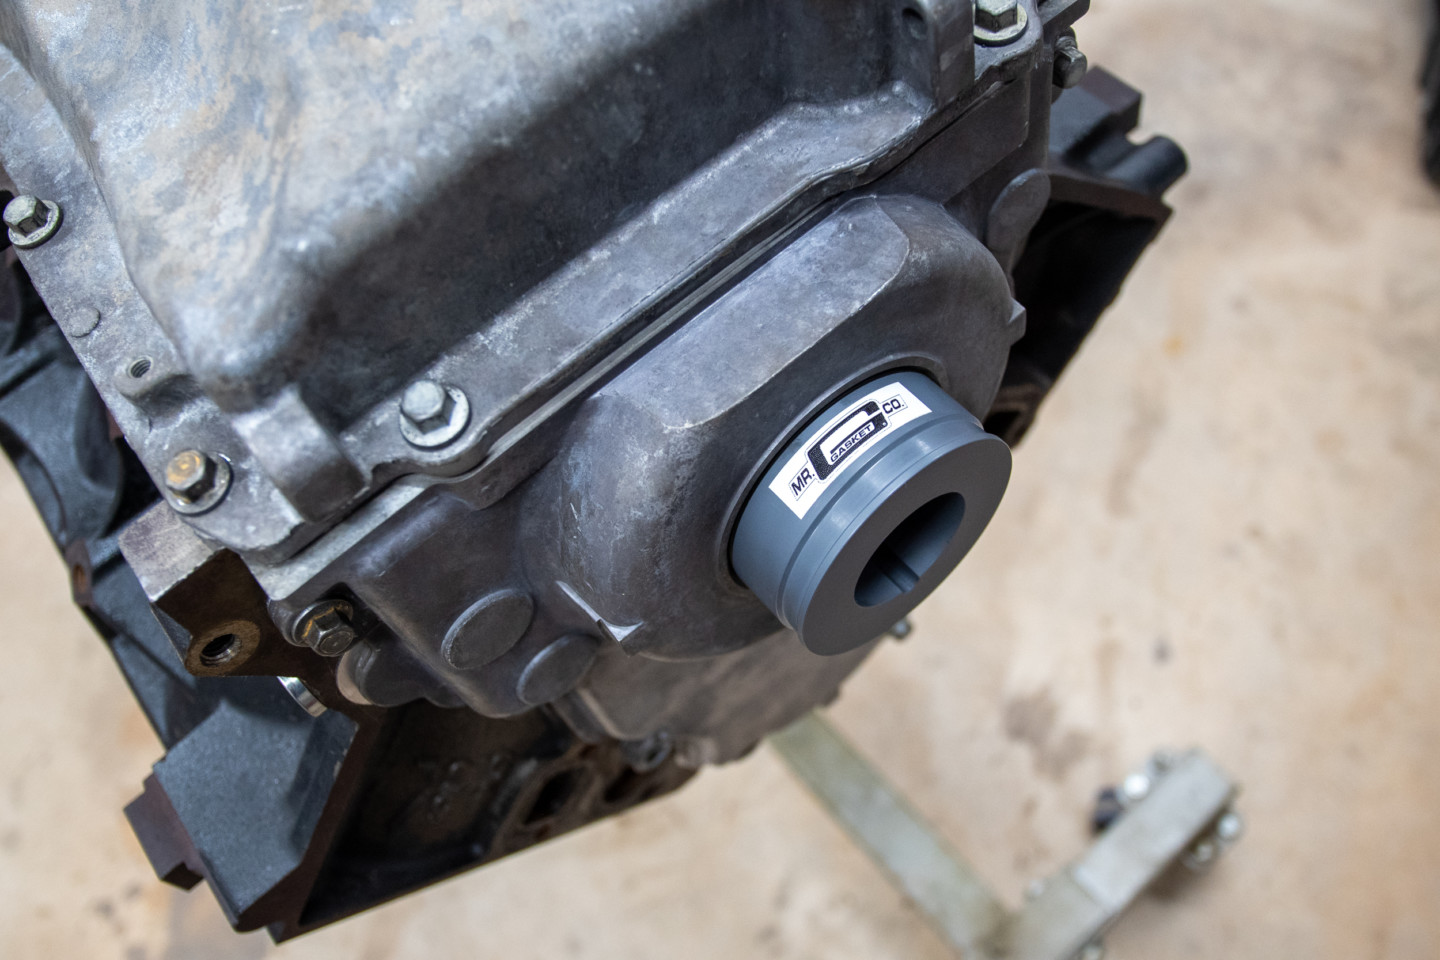
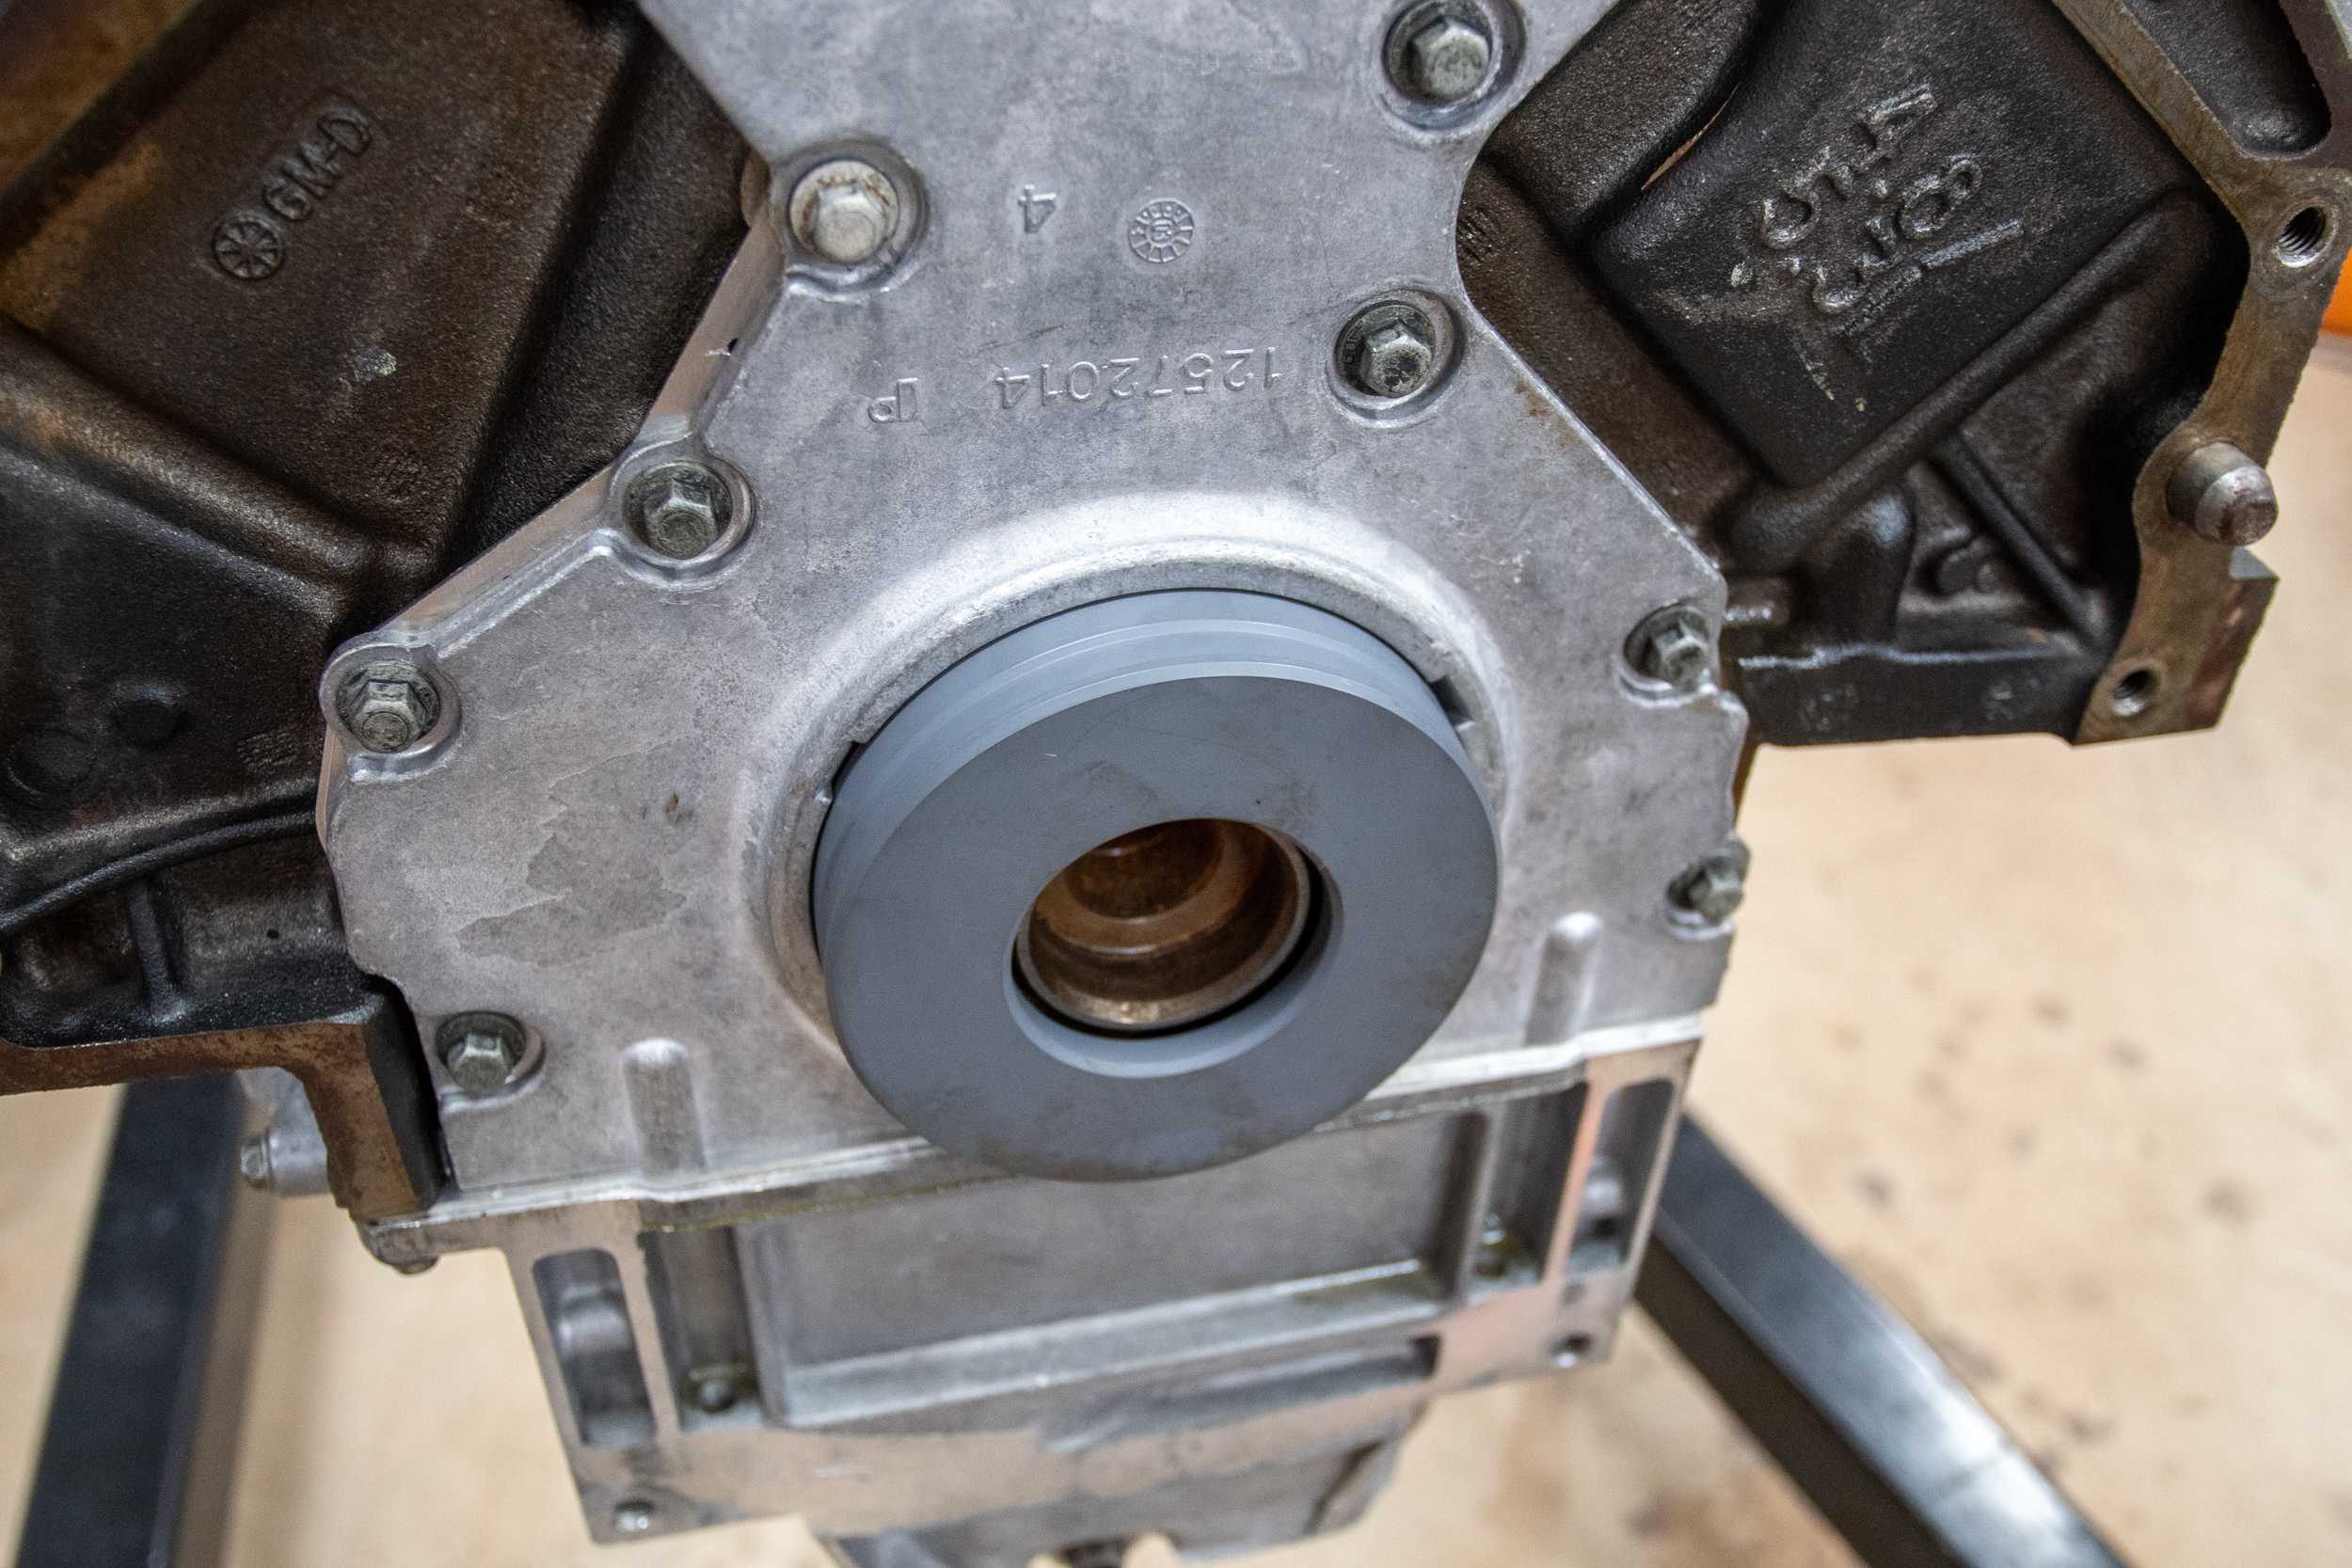
With the oil pan in place, we flipped over the engine and went to work on the front cover. We used a Mr. Gasket front cover gasket set (PN61015G), which includes the gaskets for front seal, front cover, and water pump gaskets. You should use a little bit of RTV silicone to seal the front cover off to ensure no leaks. We also used the Mr. Gasket front cover alignment tool (PN LSTC1) to straighten the cover before installing the harmonic damper.
Installing the Damper
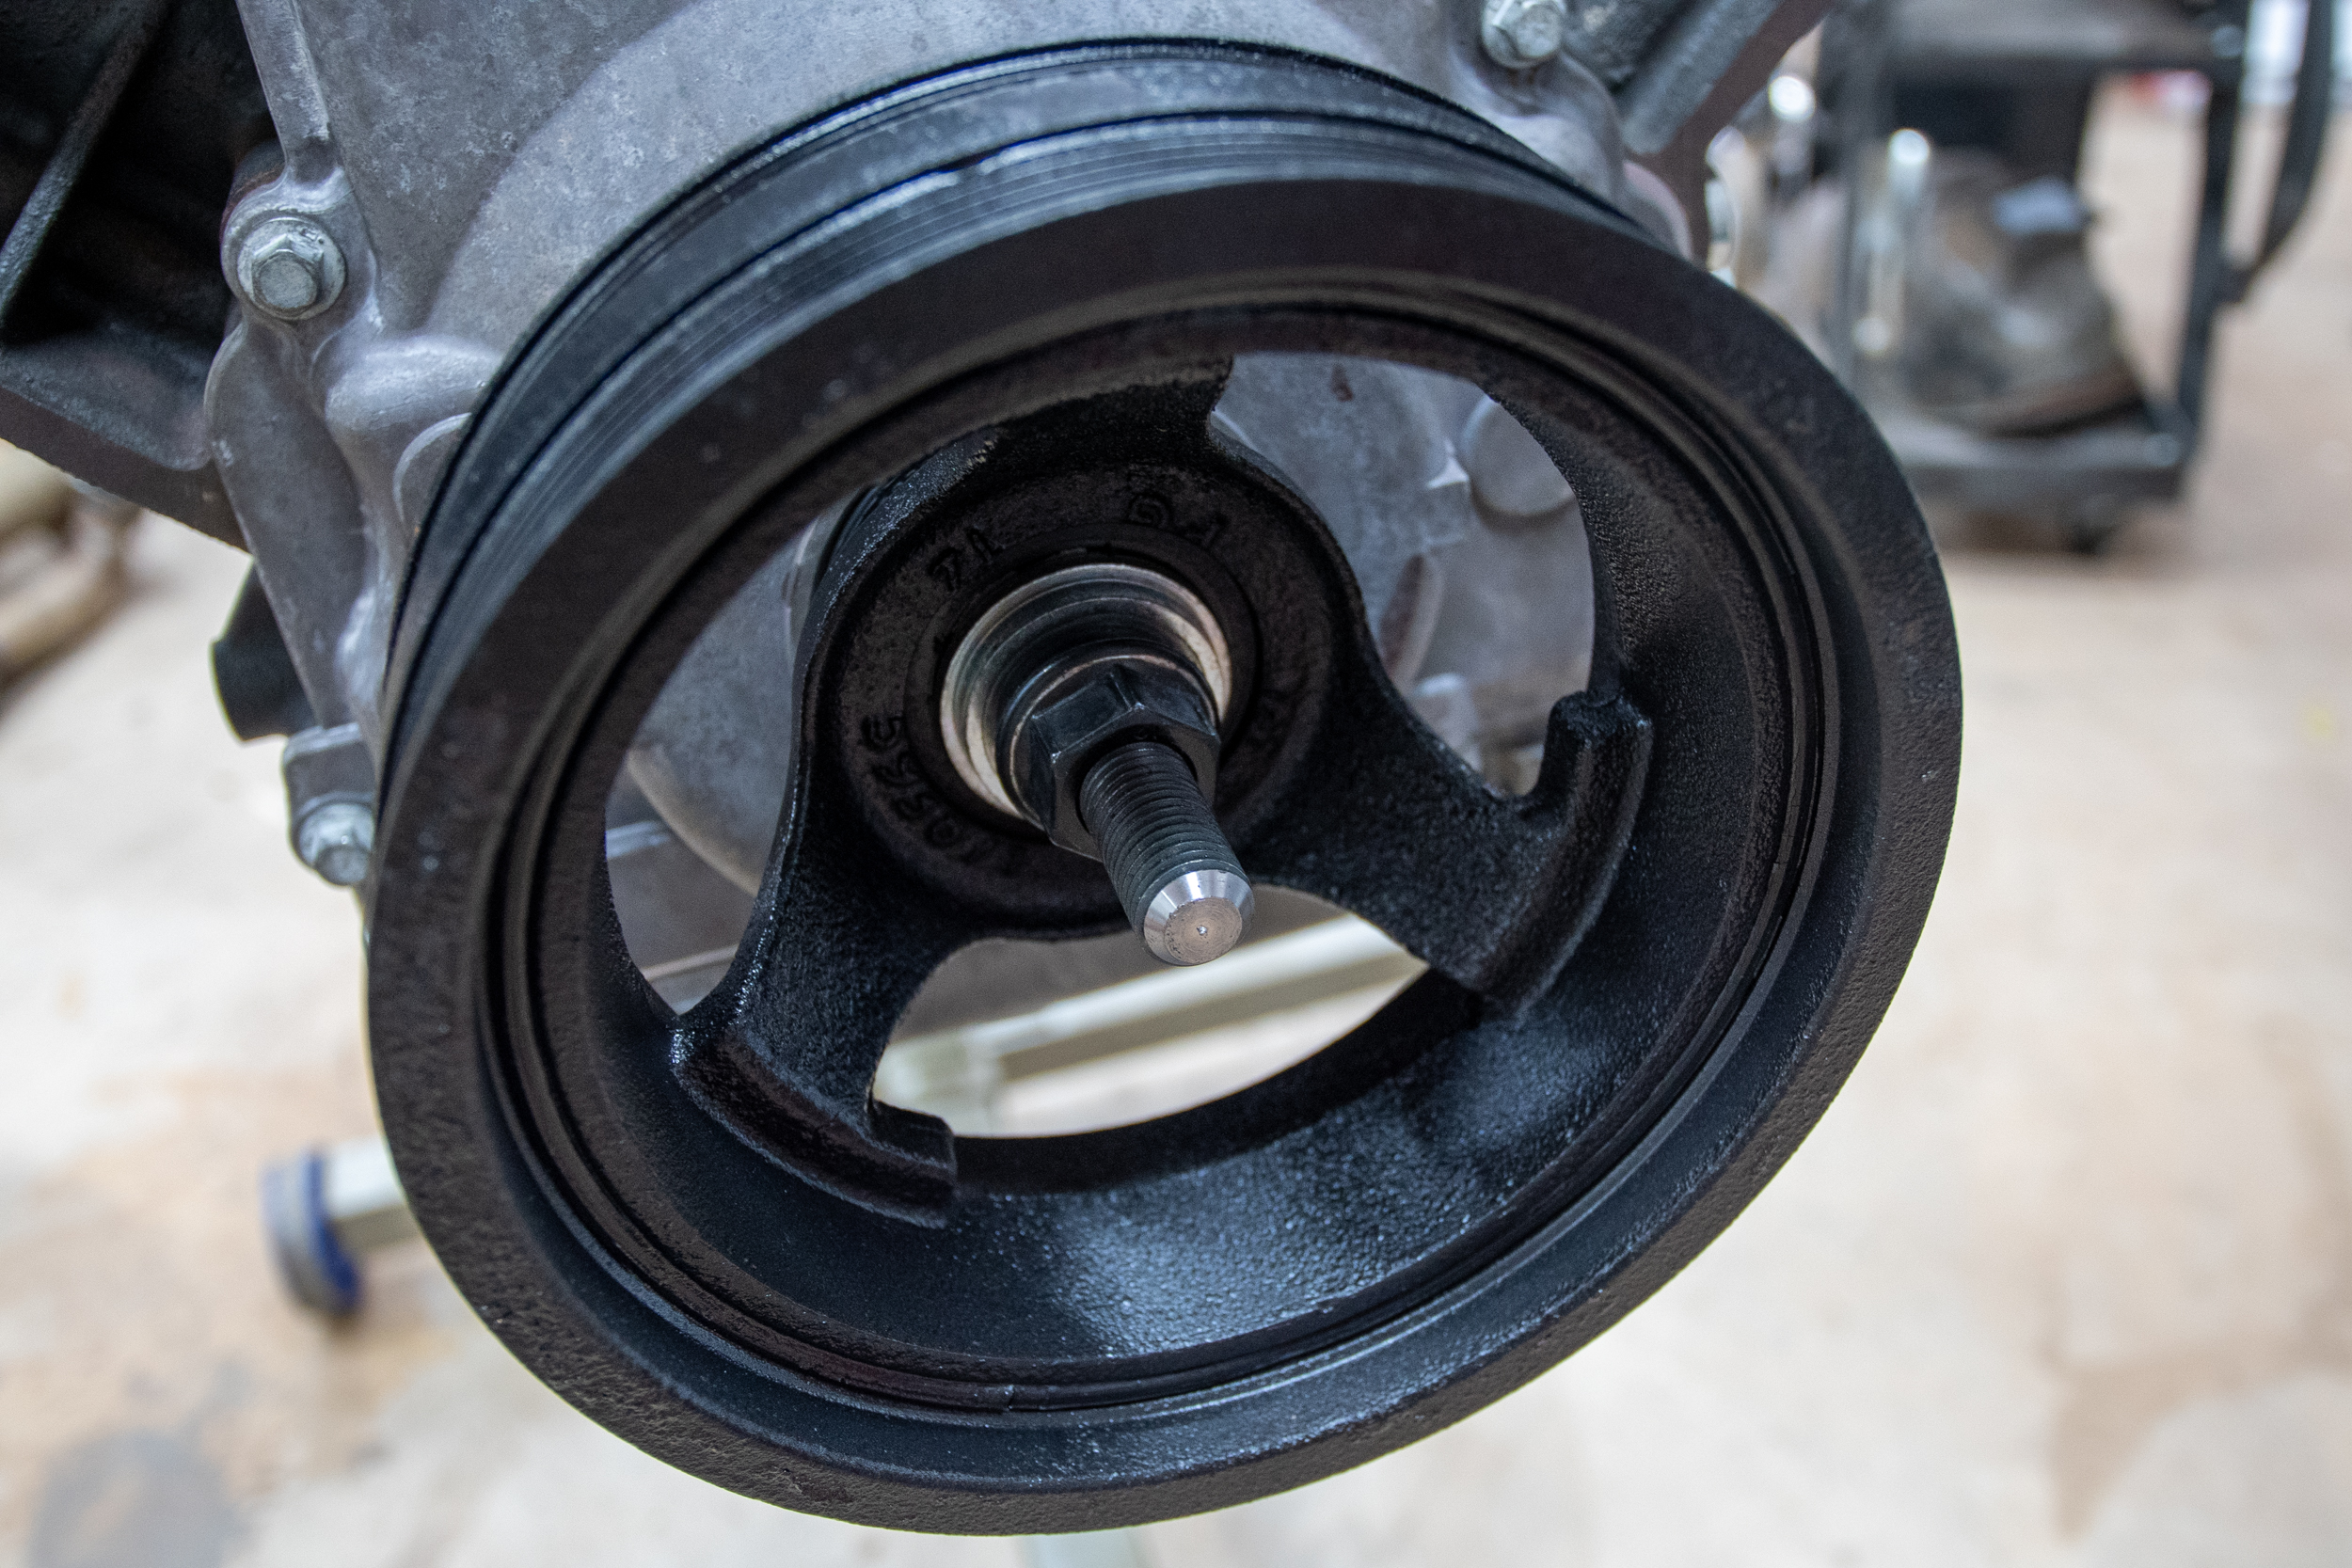
Before you install your damper, you will want to inspect the rubber insert for cracks and wear. Ours looked good, so we went ahead and installed it. To secure the damper, we used an ARP damper bolt, but first, we applied the ARP Ultra Torque Fastener Assembly Lubricant. After we threaded the bolt in by hand, we then torqued it to 235 ft-lbs as instructed. We recommend the use of a flywheel locking tool for this process.
Rear Cover And Expansion Plug Kit
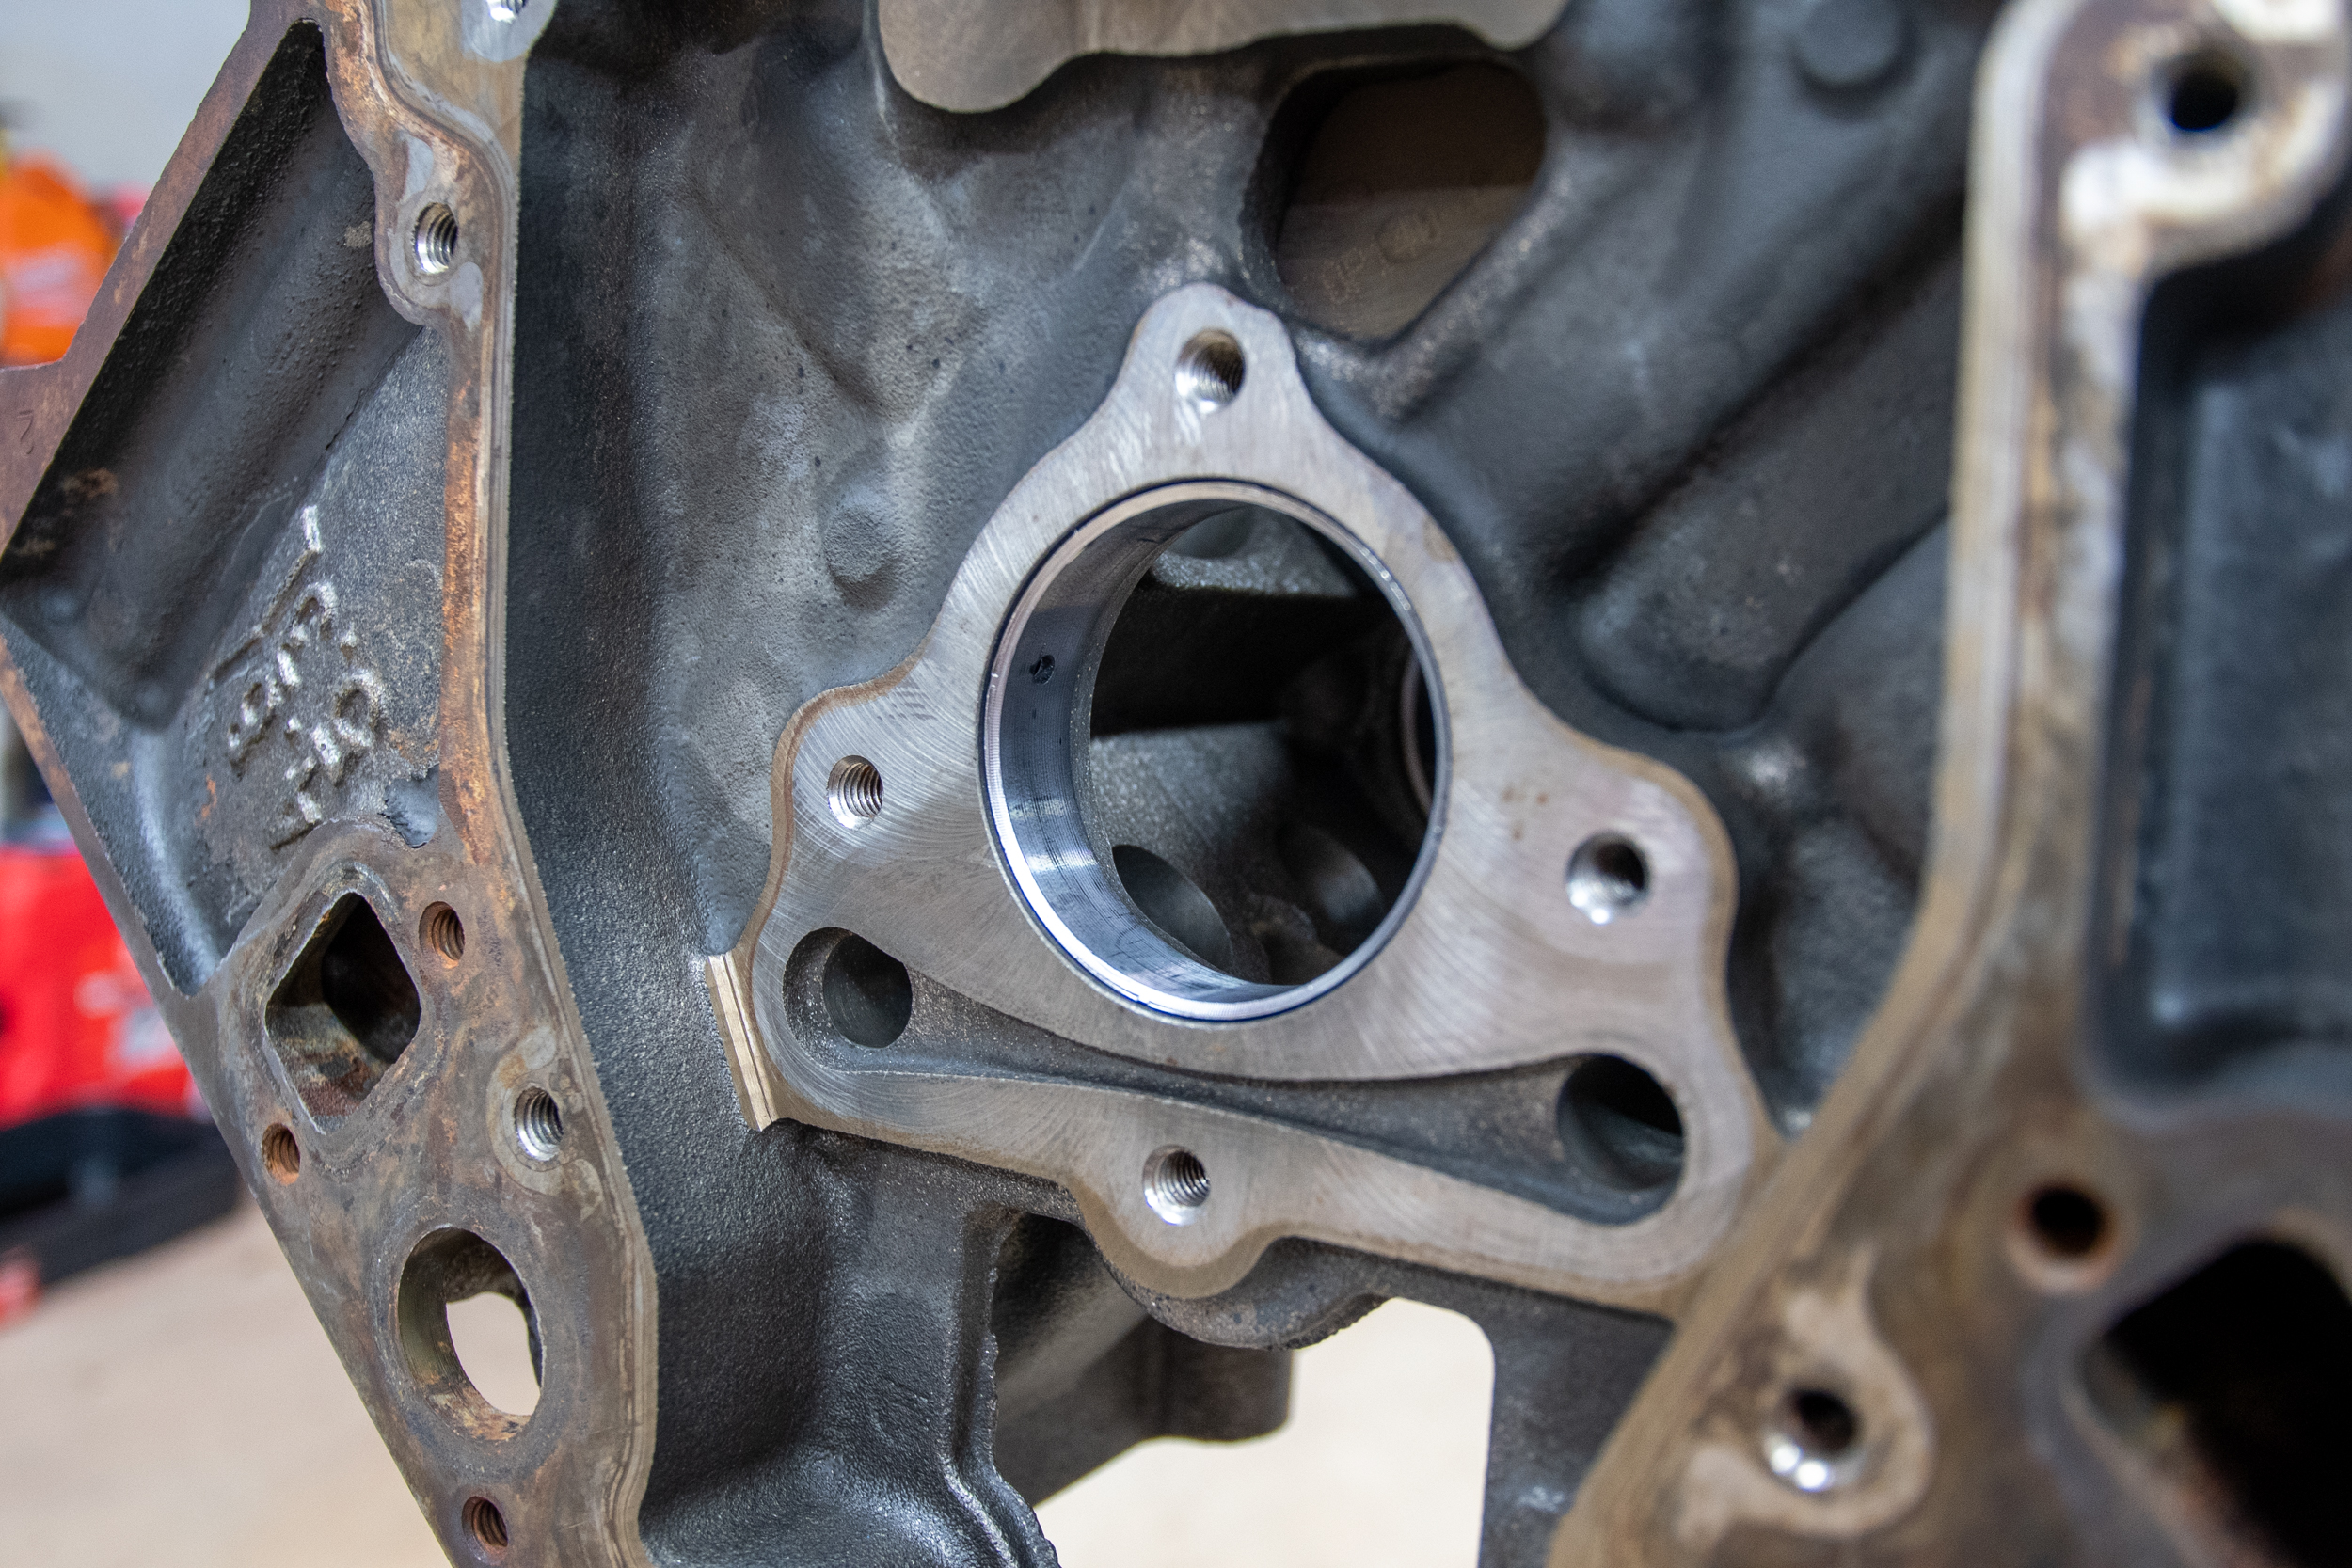
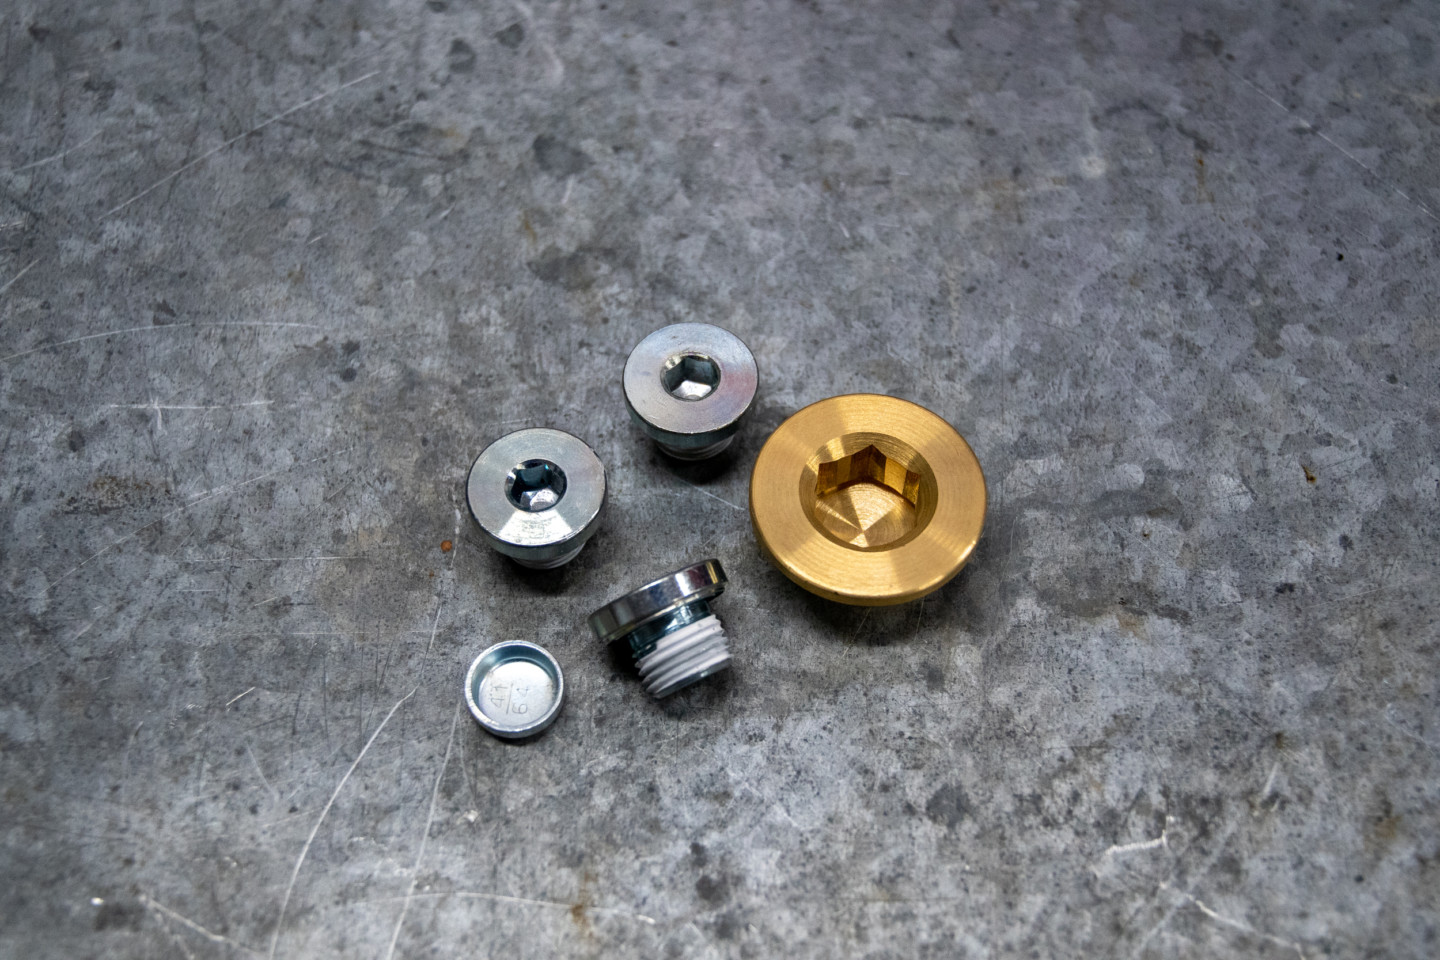
Before installing the back cover, you will want to change the oil galley plug or “barbell” and the expansion plugs. For the extraction of the plugs, you will need an 8mm and a monstrous 17mm hex wrench. Our plugs weren’t that hard to remove, surprisingly. Melling’s engine block plug kit (PN MPE-900BR-GP) includes all of the plugs and the oil galley plug, as well.
With our short block on the engine stand, we didn’t have room to get the plug out of the engine. So, we had to temporarily hang it from the engine hoist to do this process.
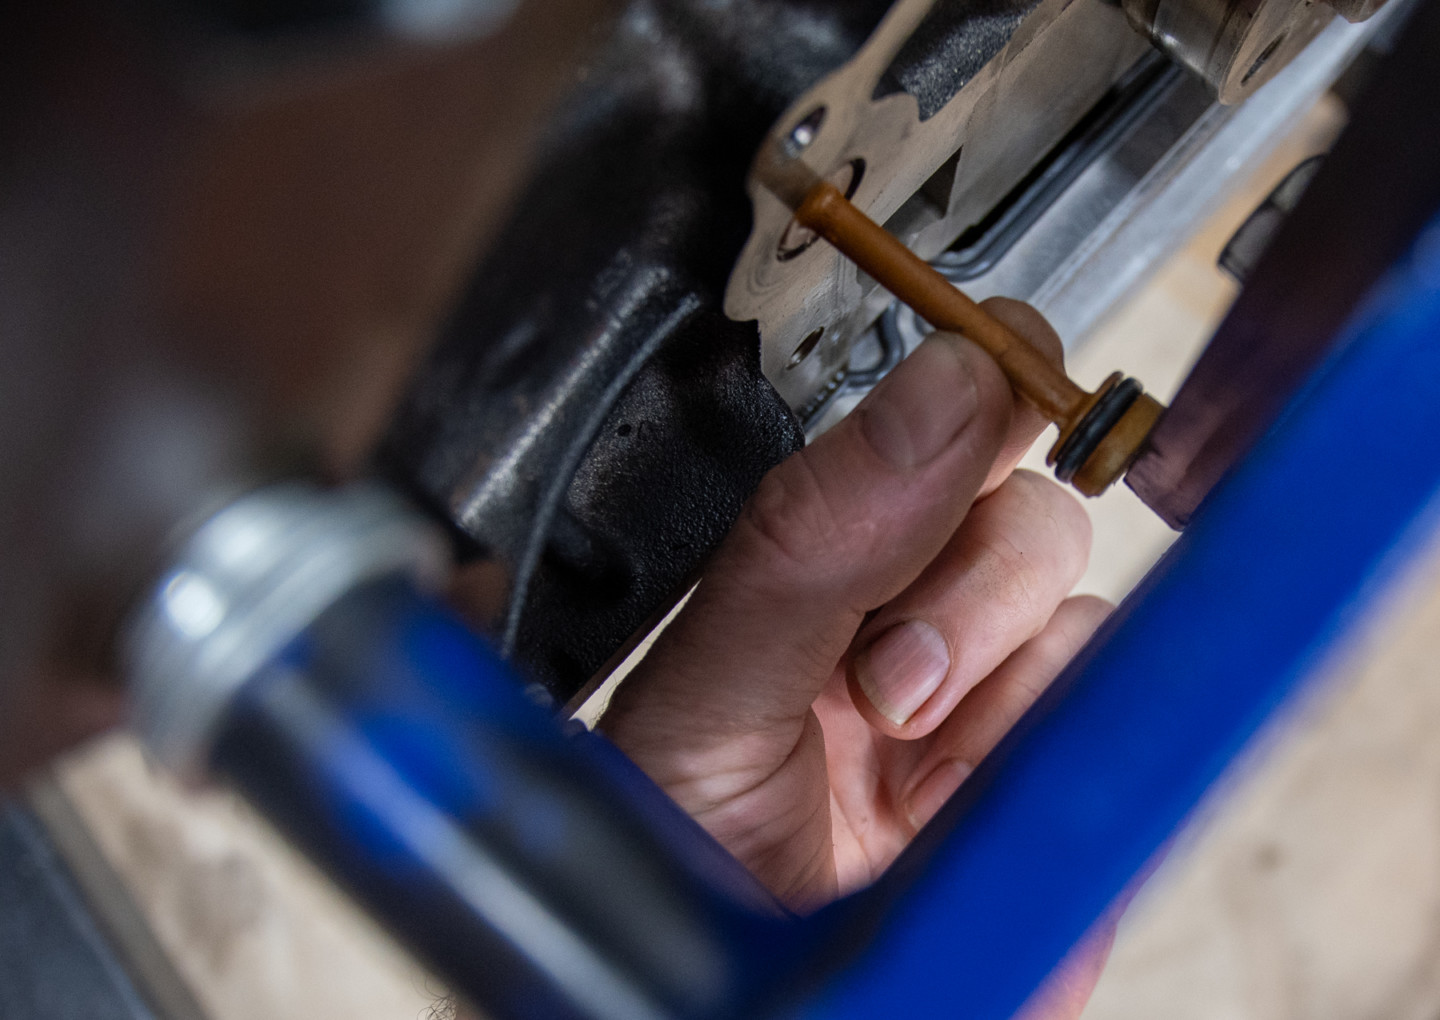
You can see in this picture that we didn’t have enough room to get the plug out. We had to put the engine back on the hoist to eliminate this problem.
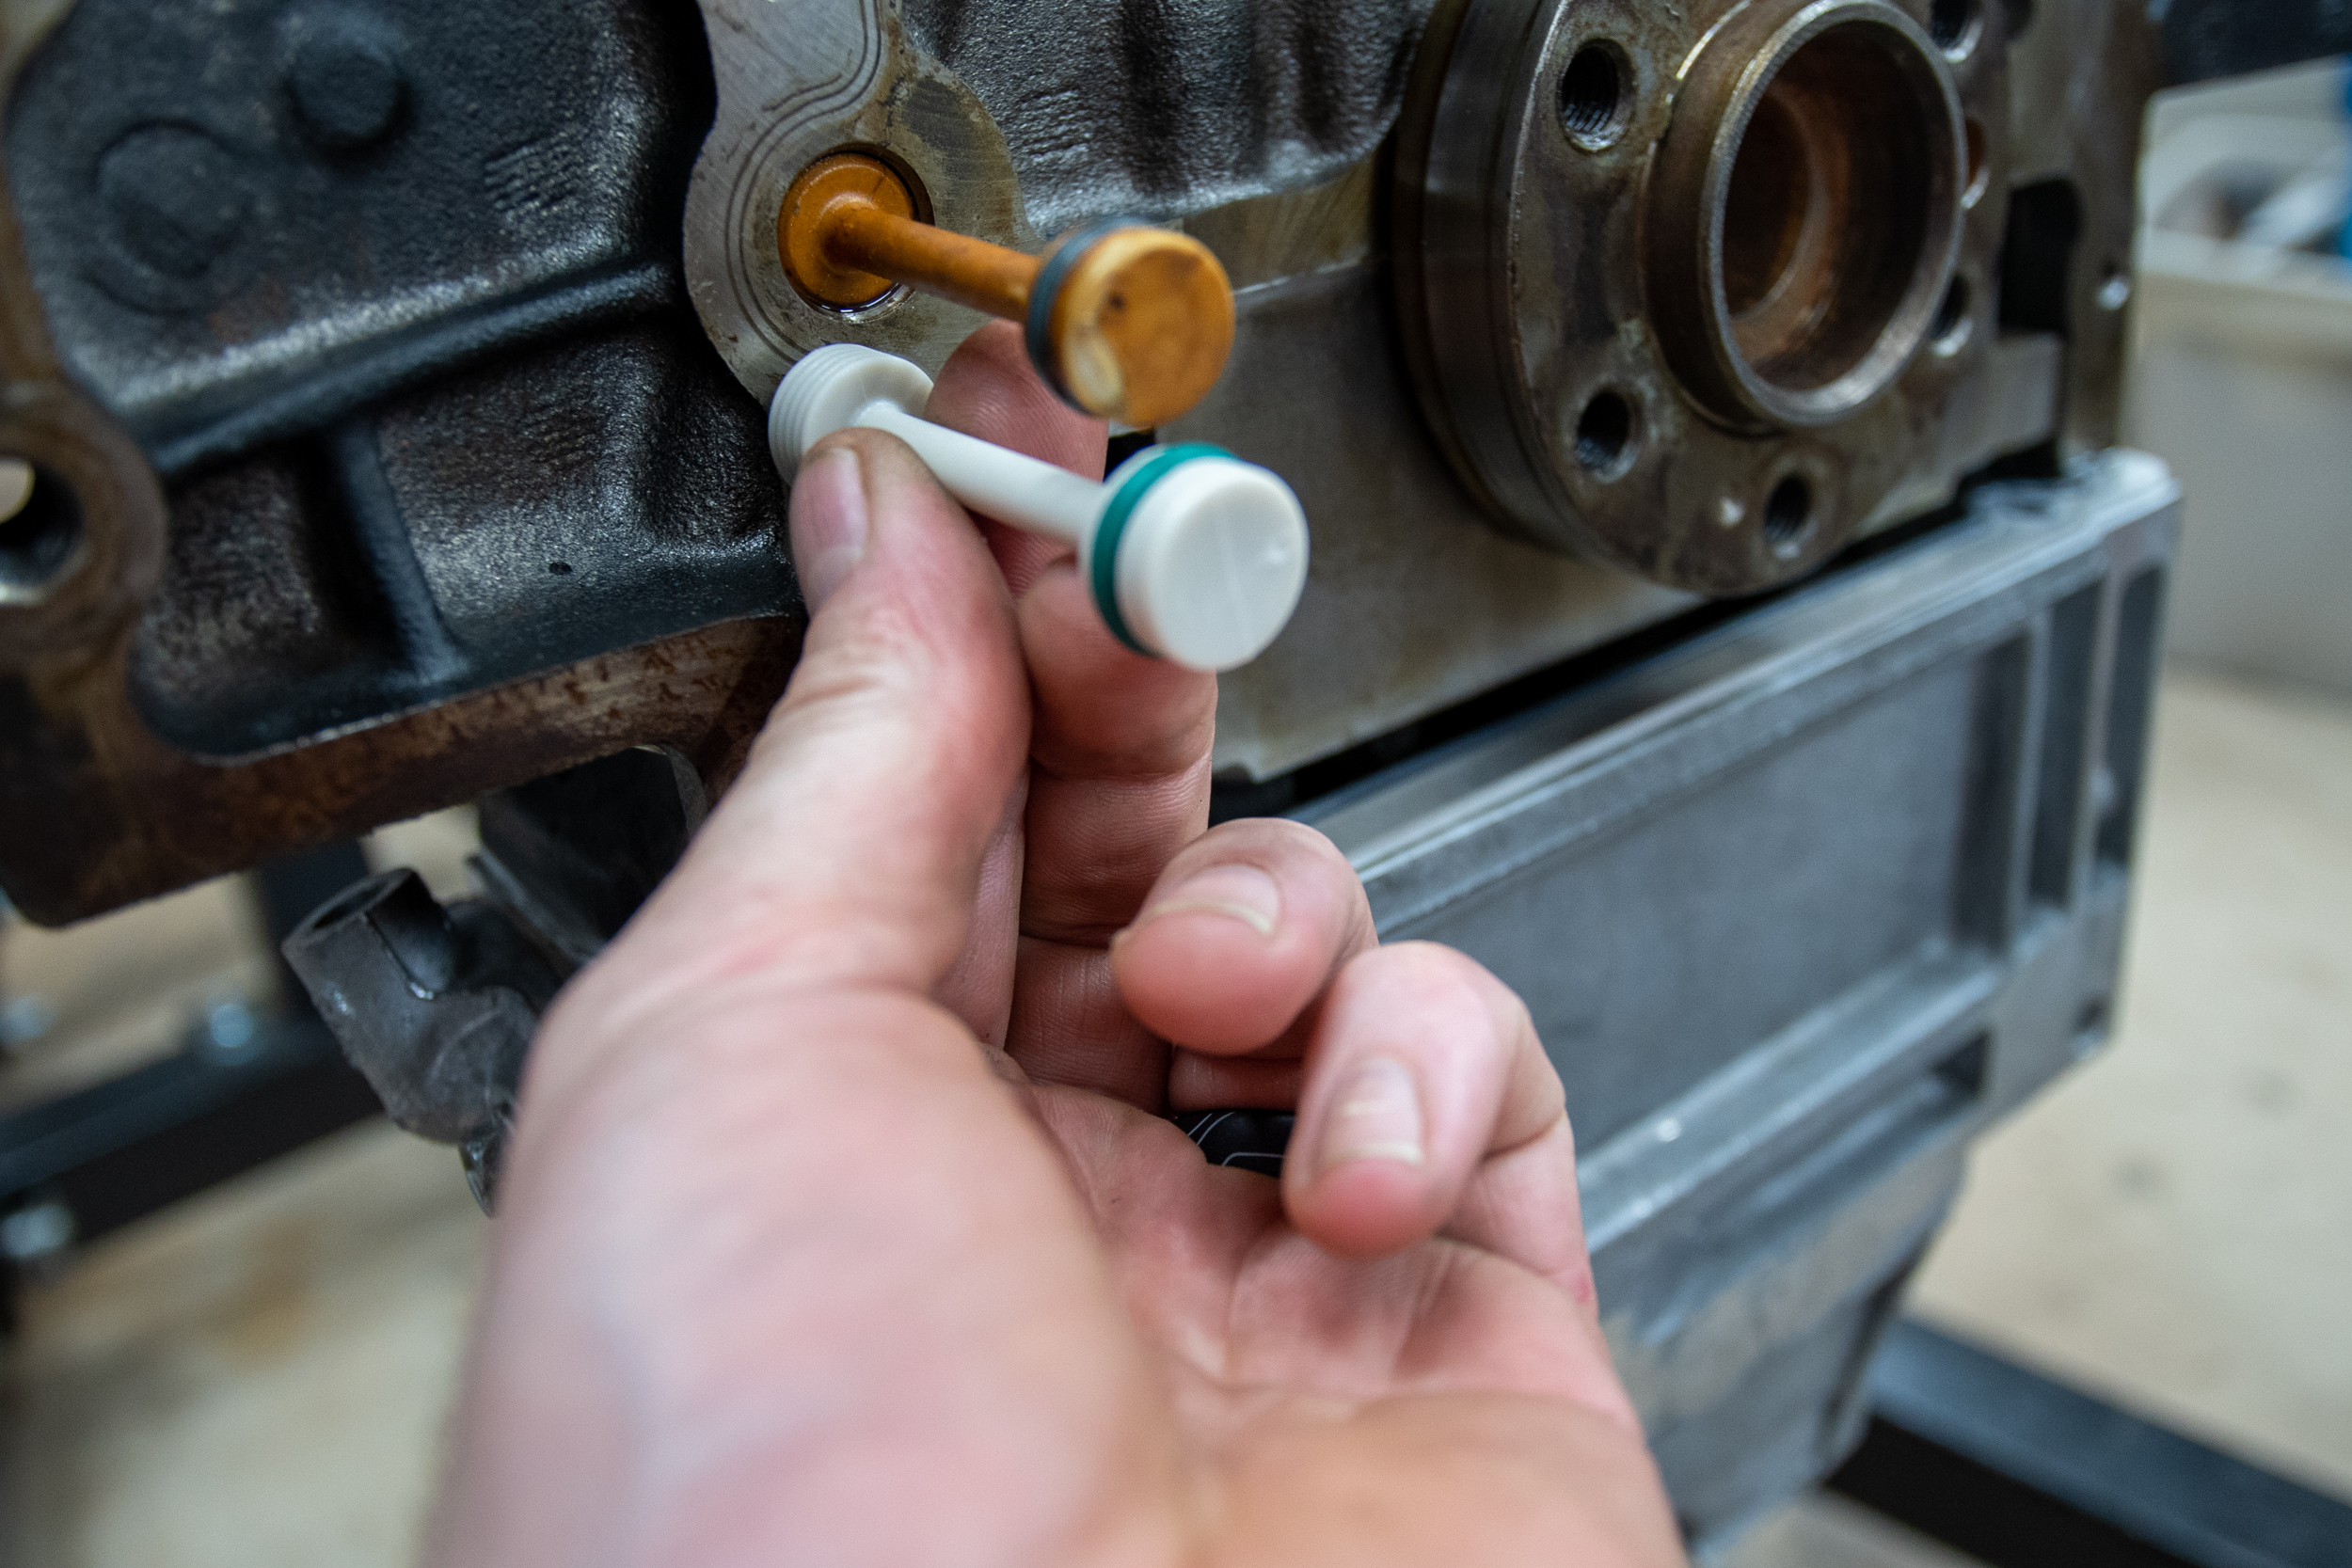
There are several ways to remove the plastic oil galley plug. We were able to pop ours out with a small screwdriver. If that doesn’t work, people have used pliers and even a self-tapping screw. With the OEM part out of the way, we put some oil on the o-ring and slid the new plug into place. Make sure the rounded end goes in first. We then put the rear cover on.
At this point, you may be wondering, was it worth the time and effort to freshen up this engine? In our case, it was. After looking at the internals, we have no doubt that this engine had some life left before the rebuild. However, the seized piston rings would cause the LS to be down on power and up on oil consumption. And while the cam bearings had some life left, it’s not worth the risk of messing up a brand new camshaft. Plus, every seal and gasket had paid their dues on this engine and needed to be replaced. With that said, and the short block buttoned up and ready to go, our next article will focus on rebuilding the heads and assembling the long block.


