The seal between a cylinder head and an engine block is extremely important. If you don’t make sure that seal is leak-proof, there’s a good chance the engine is going to have problems. We talked with Scott Hesselgrave from Air Flow Research (AFR) and got some tips about how to make sure your cylinder heads and engine block can get the best seal possible.
There’s really not much keeping the combustion process contained inside a cylinder besides a gasket. The gasket is the meat in the block and cylinder sandwich, but it’s not the main reason the seal between the two parts remains intact There’s plenty of prep work that goes into making sure the surface of the block is ready, that the cylinder head is as flat as possible, and that the fasteners have been used correctly.
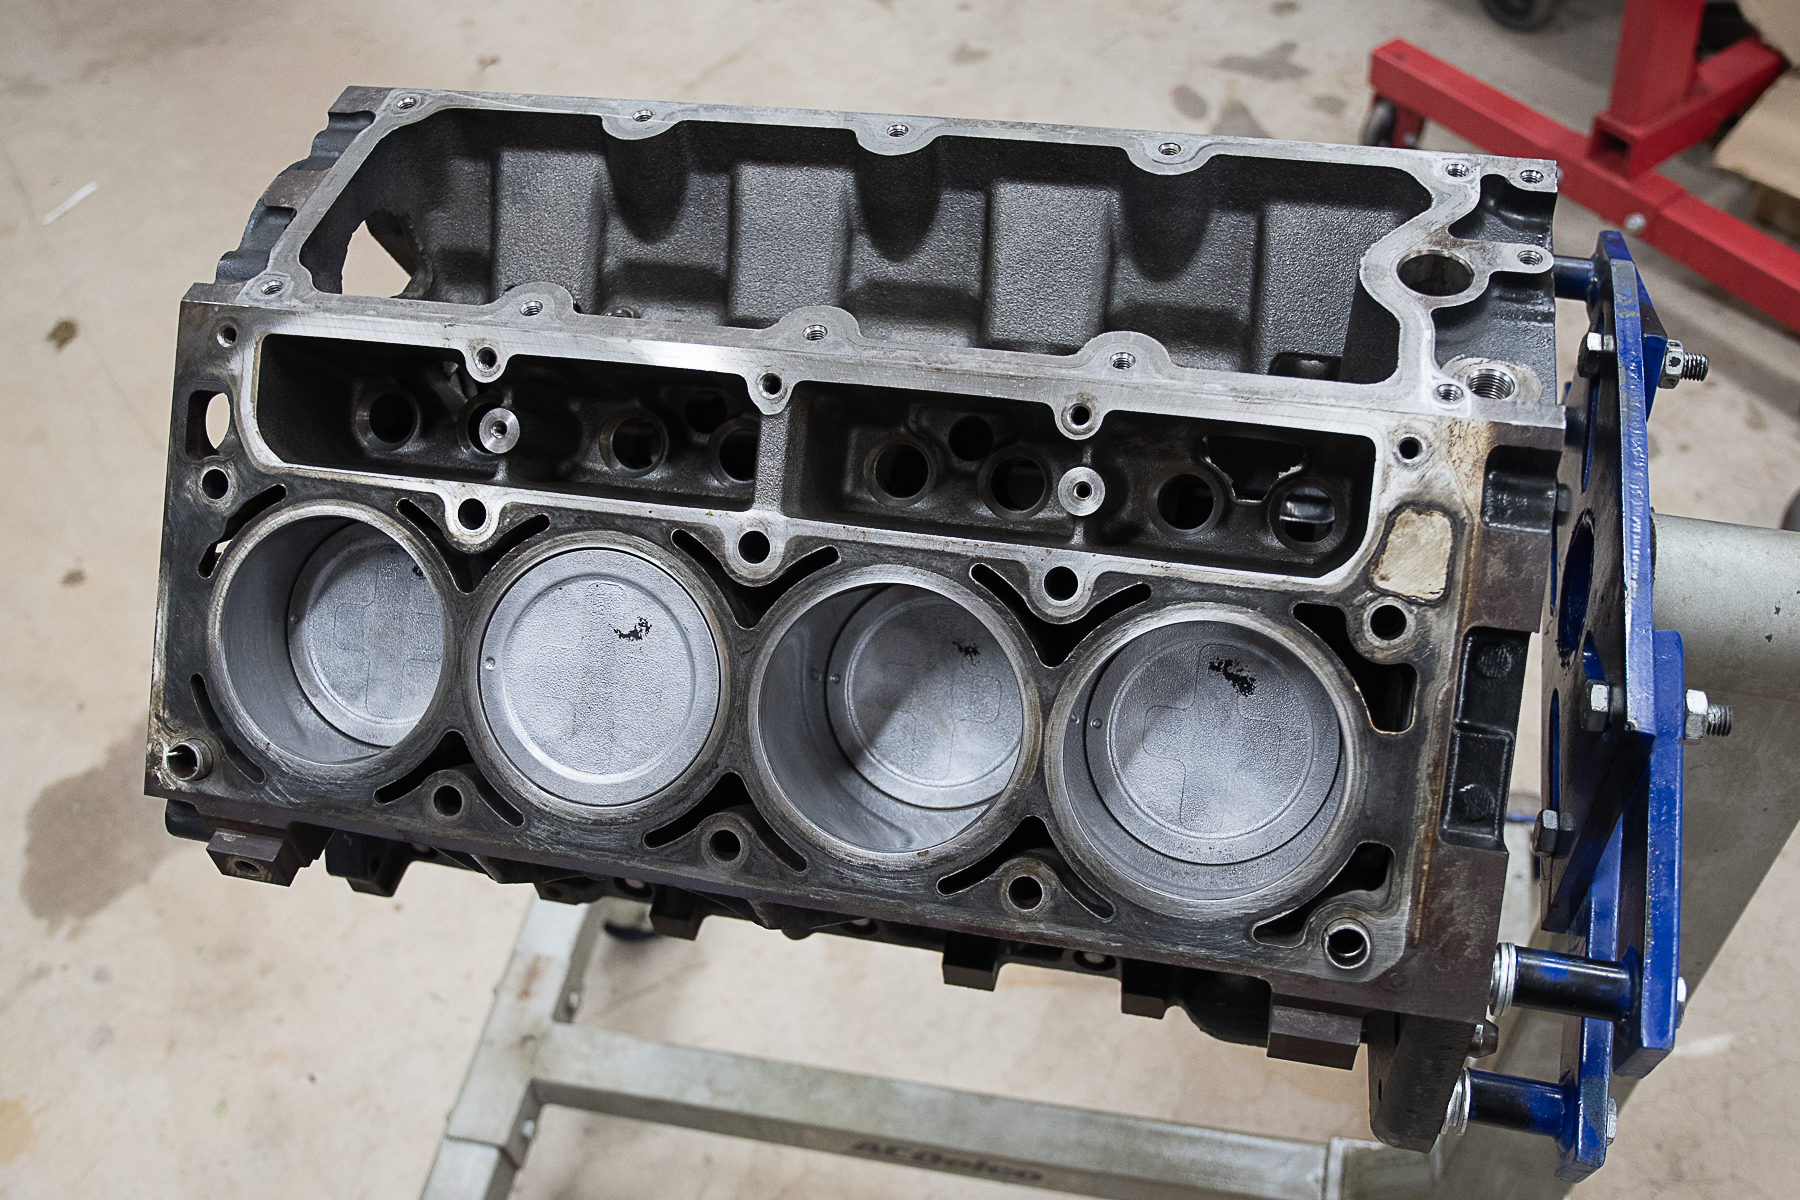
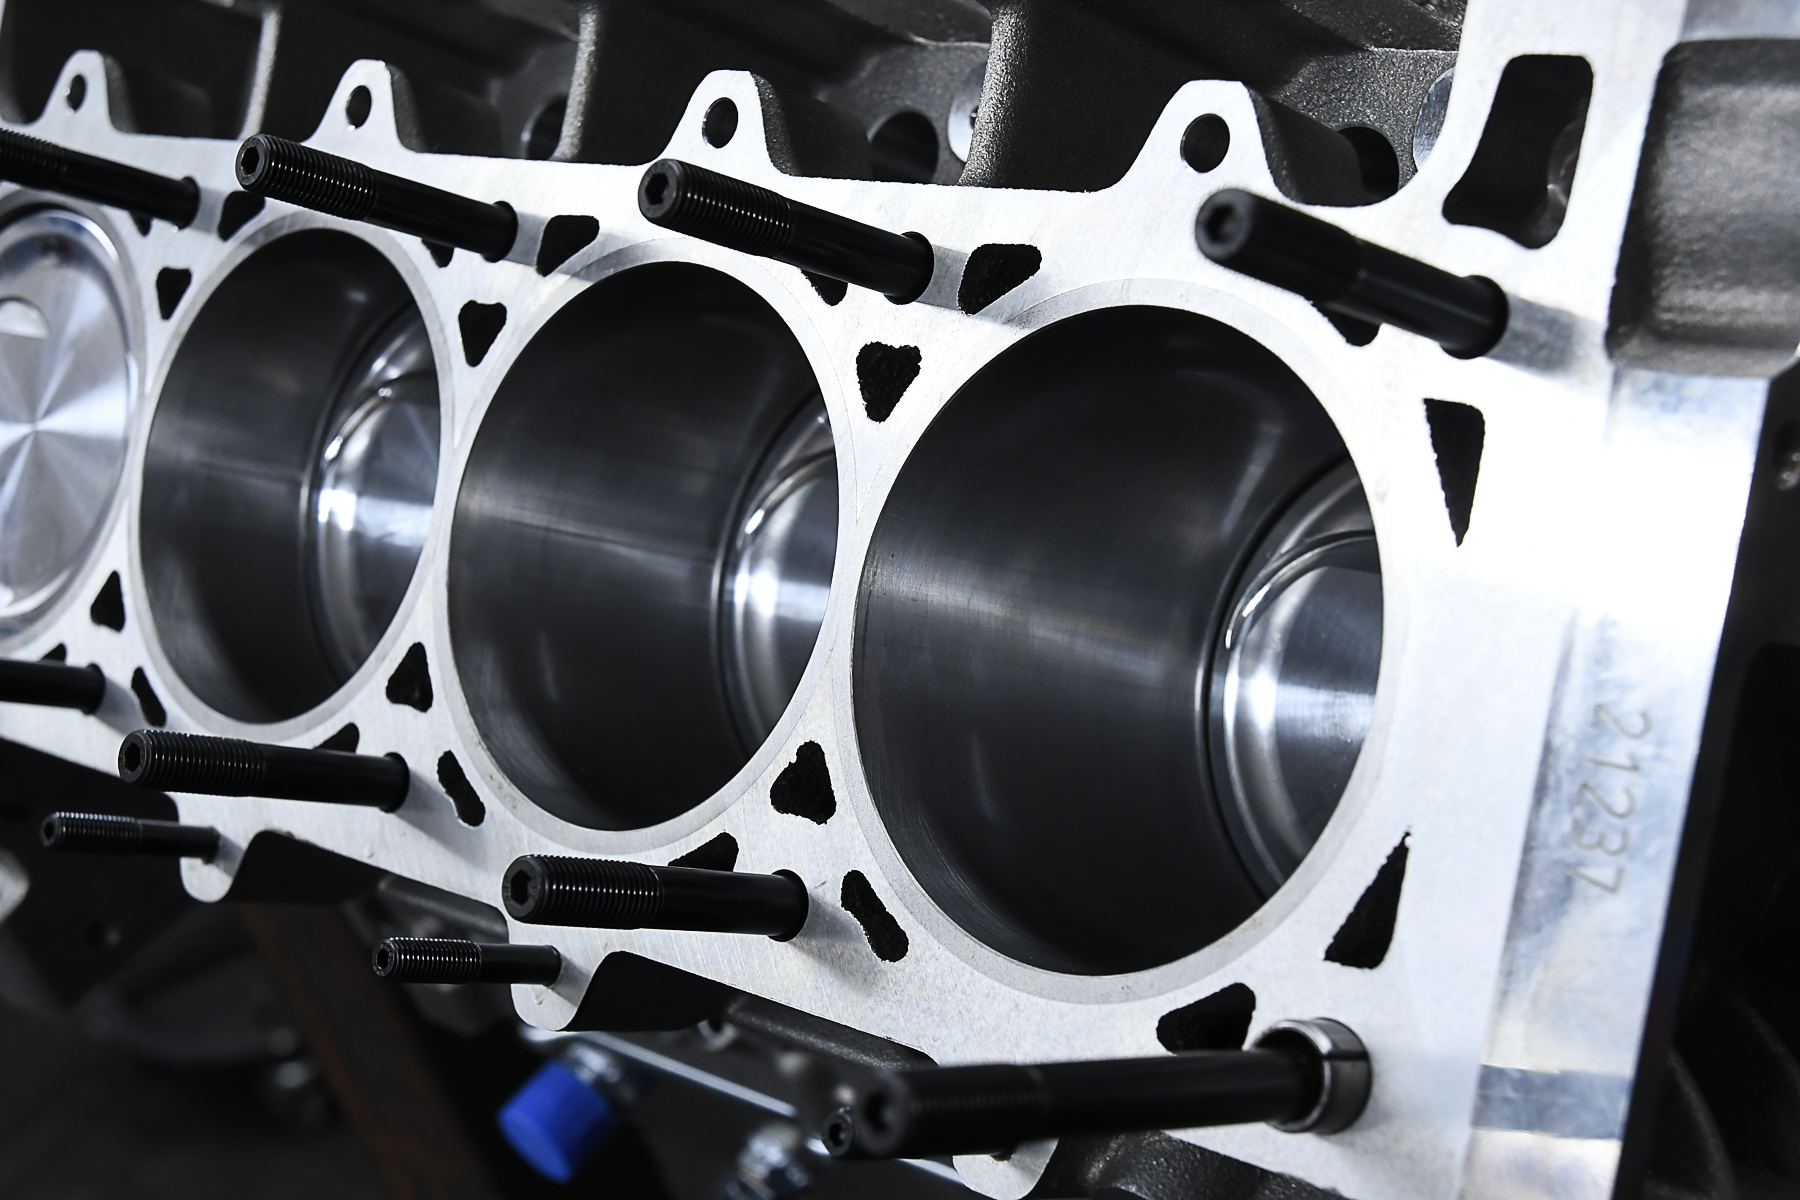
You want the surface of your block to be so clean surgery could be performed on it. This will make it much easier for the cylinder head to seal up to the block.
Initial Prep Work For A Good Seal Between The Heads And Block
We’re going to mention this a few times in this article, but prep work is the backbone of a good seal between a cylinder head and the engine block. The initial prep work you do before you even think about final assembly will set the table for success.
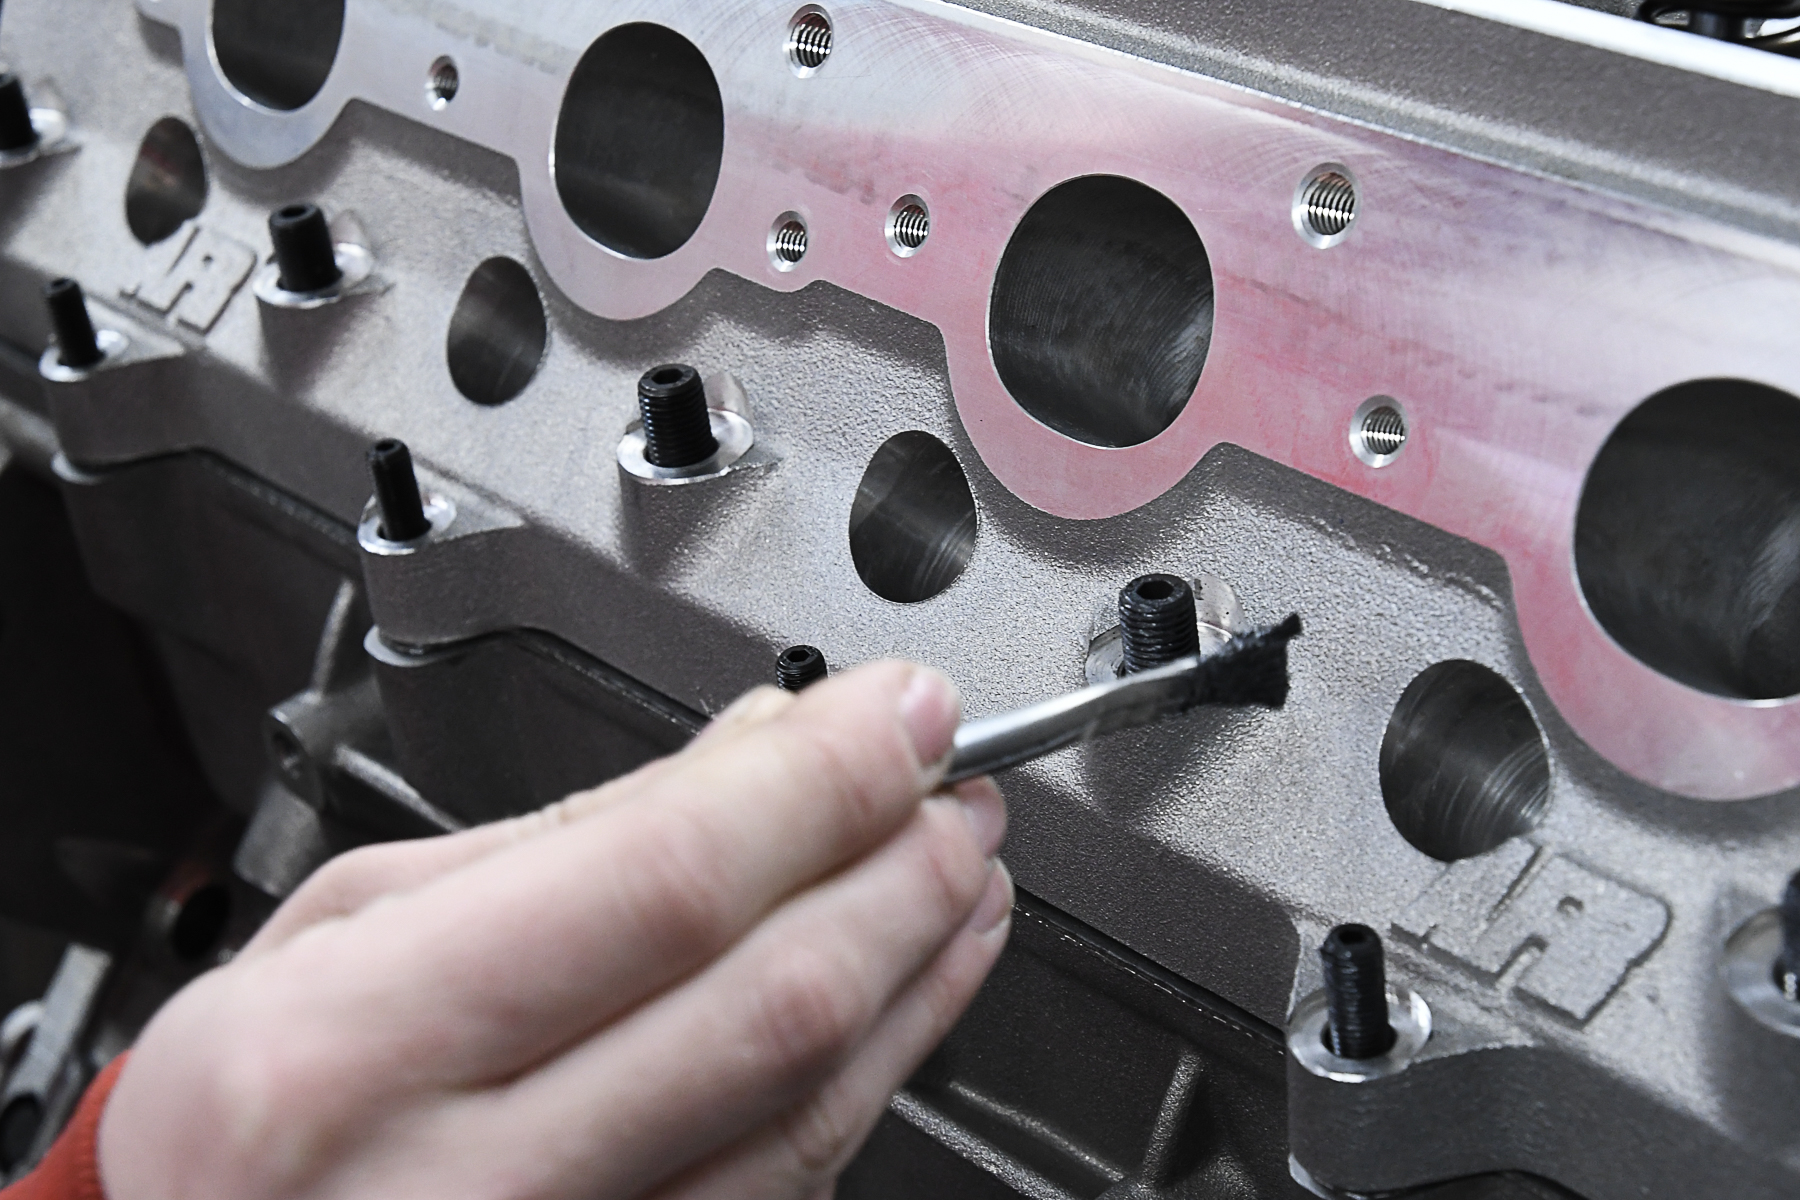
The first step in the prep work process is making sure that the block and cylinder heads have been properly machined and have the right surface finish. You need the deck of the block and the cylinder heads to be as smooth as possible. The machine shop will also need to make sure the block has been cleaned. Any anti-corrosion coatings, gunk, and other containments on the mating surfaces need to be removed. All of the threaded holes should be chased to clear out all debris.
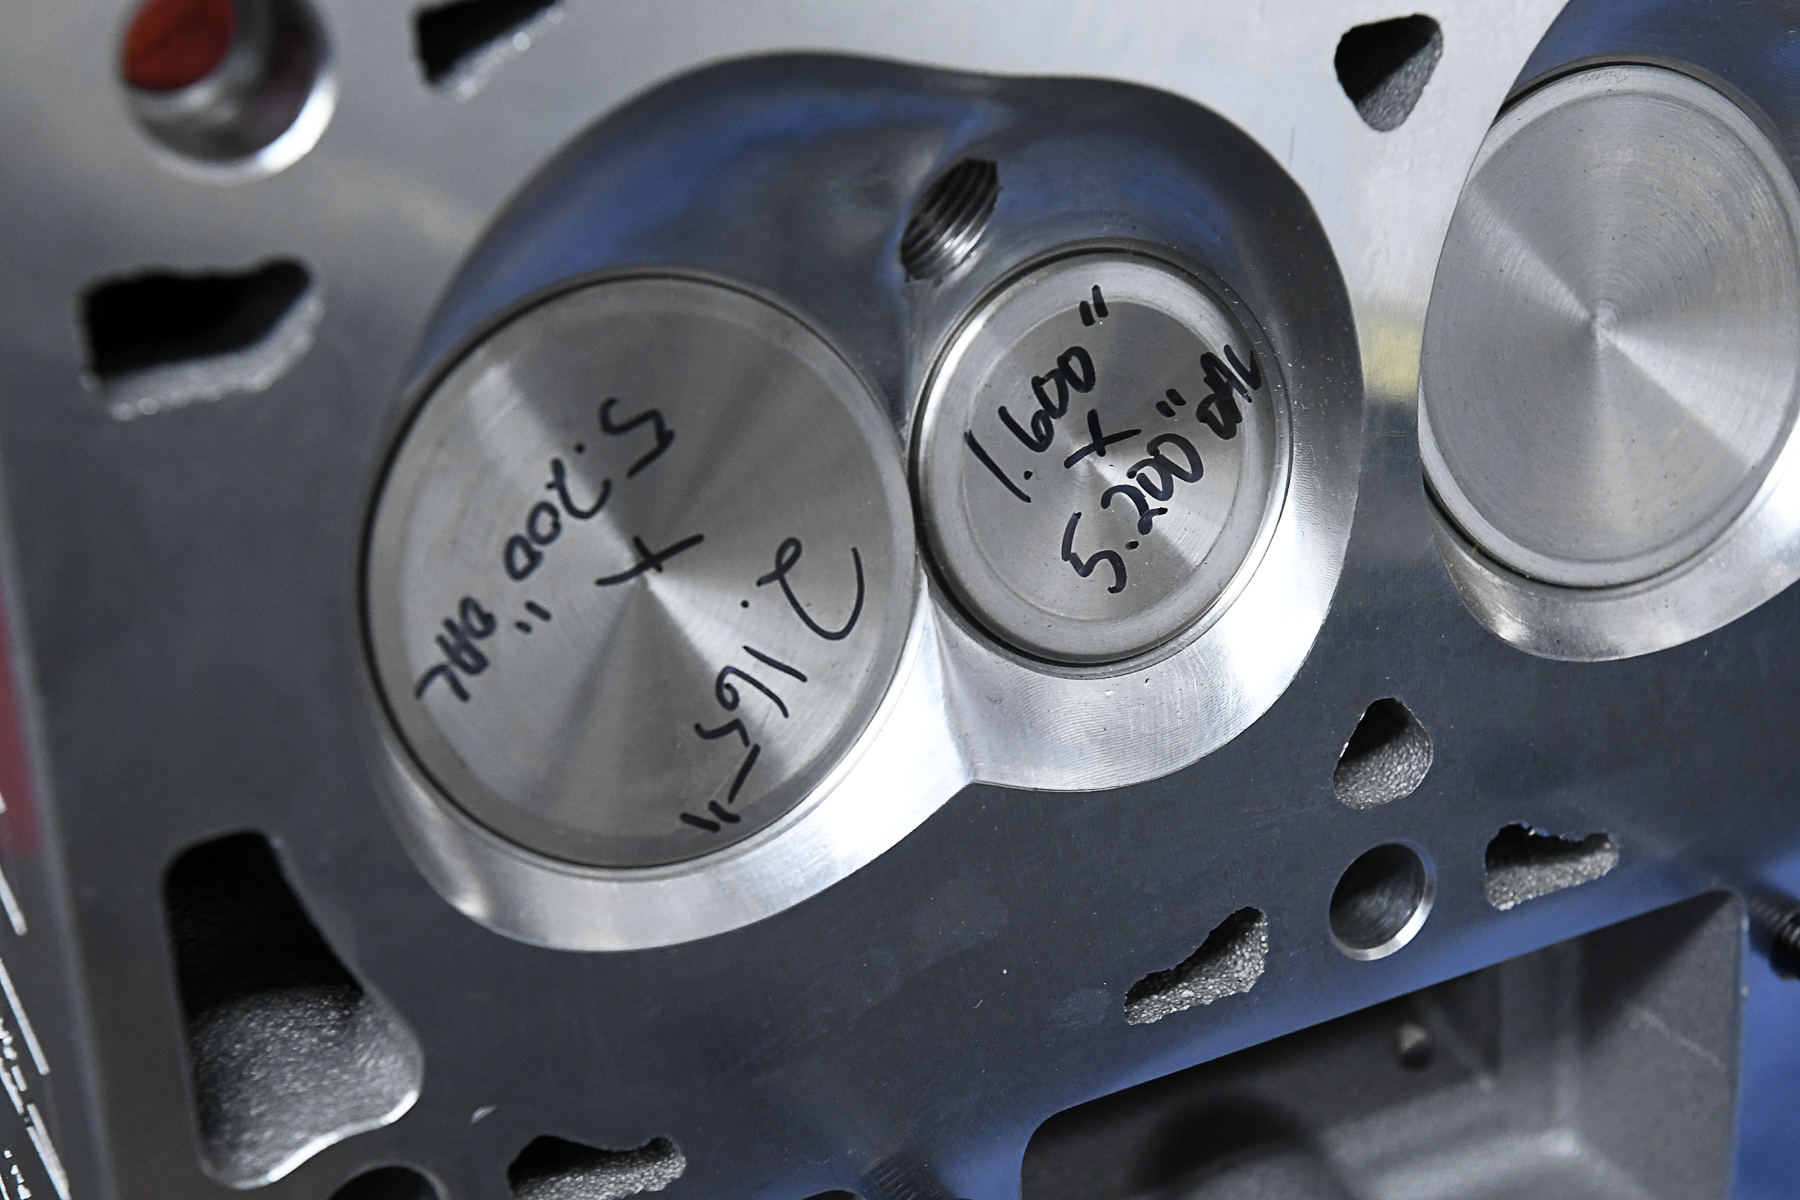
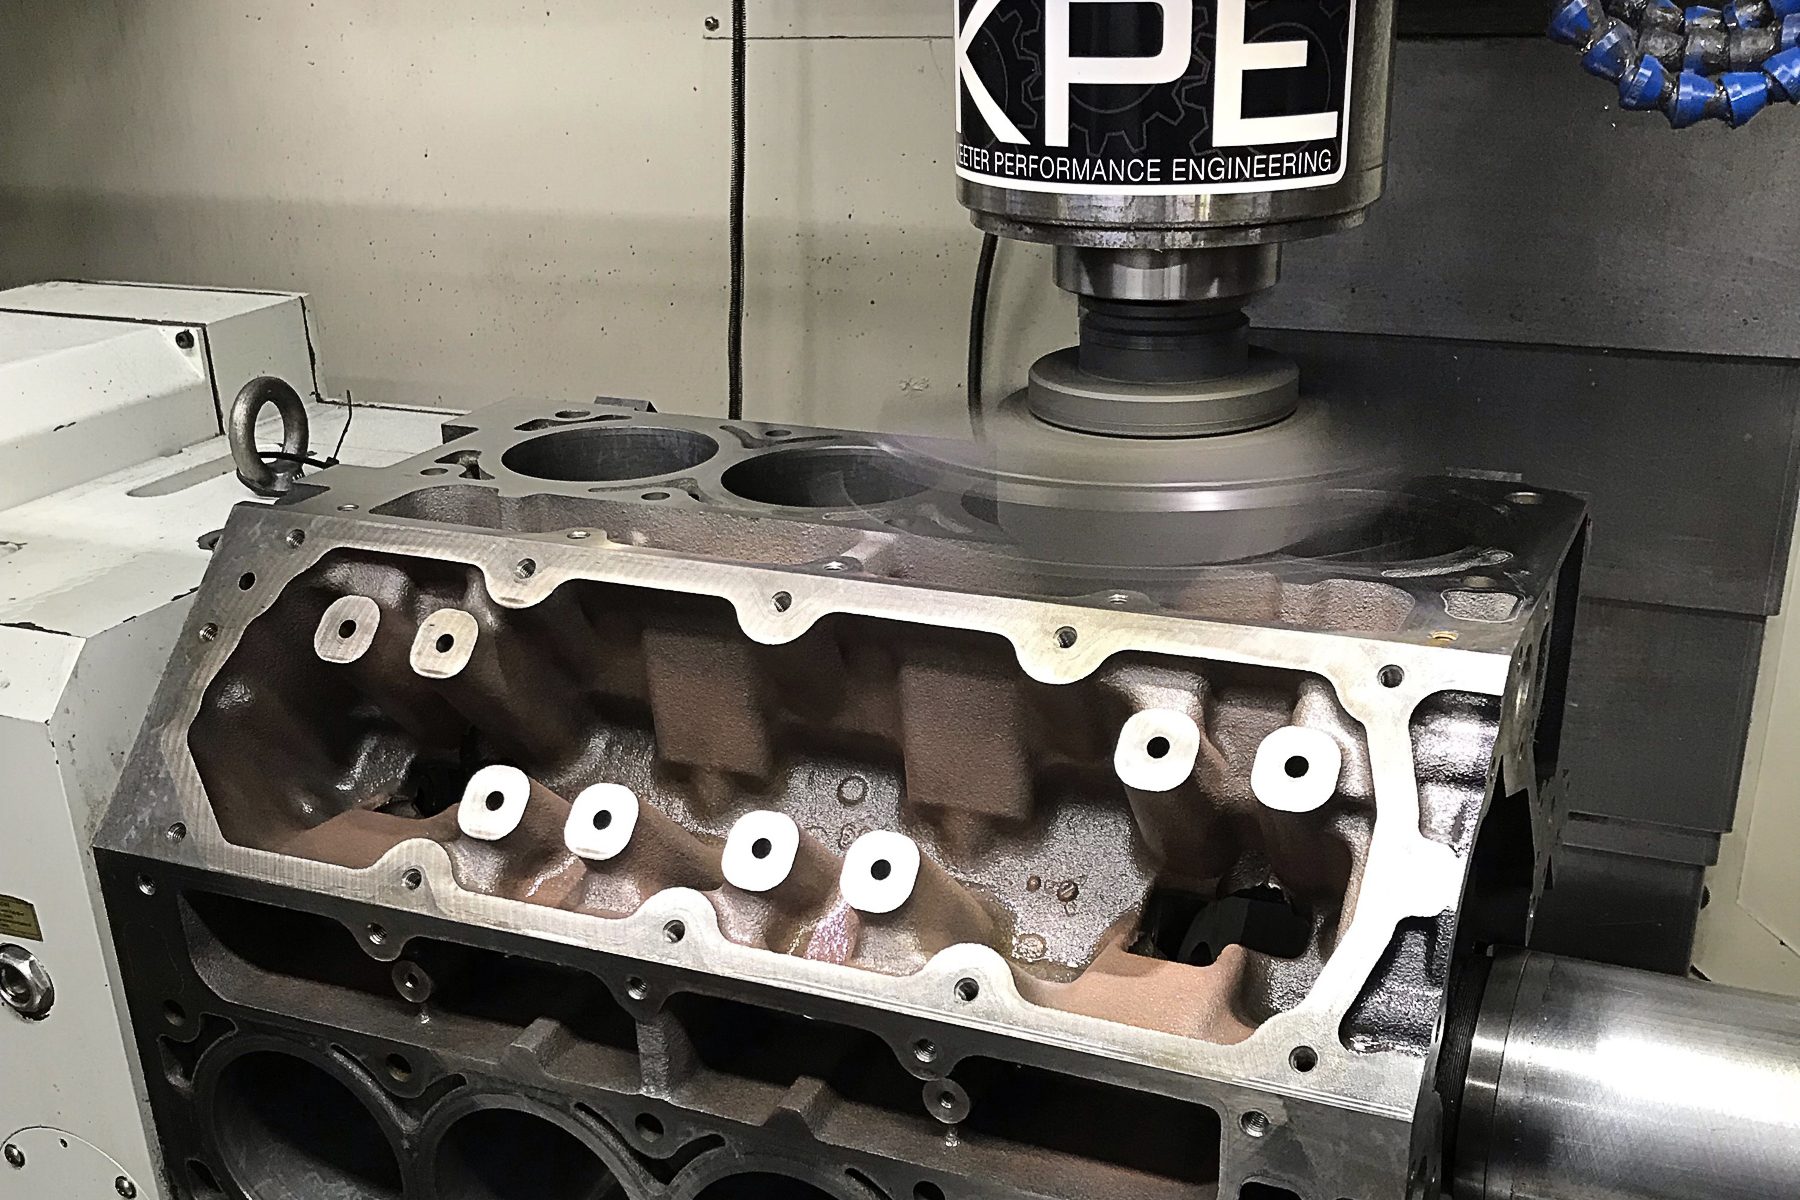
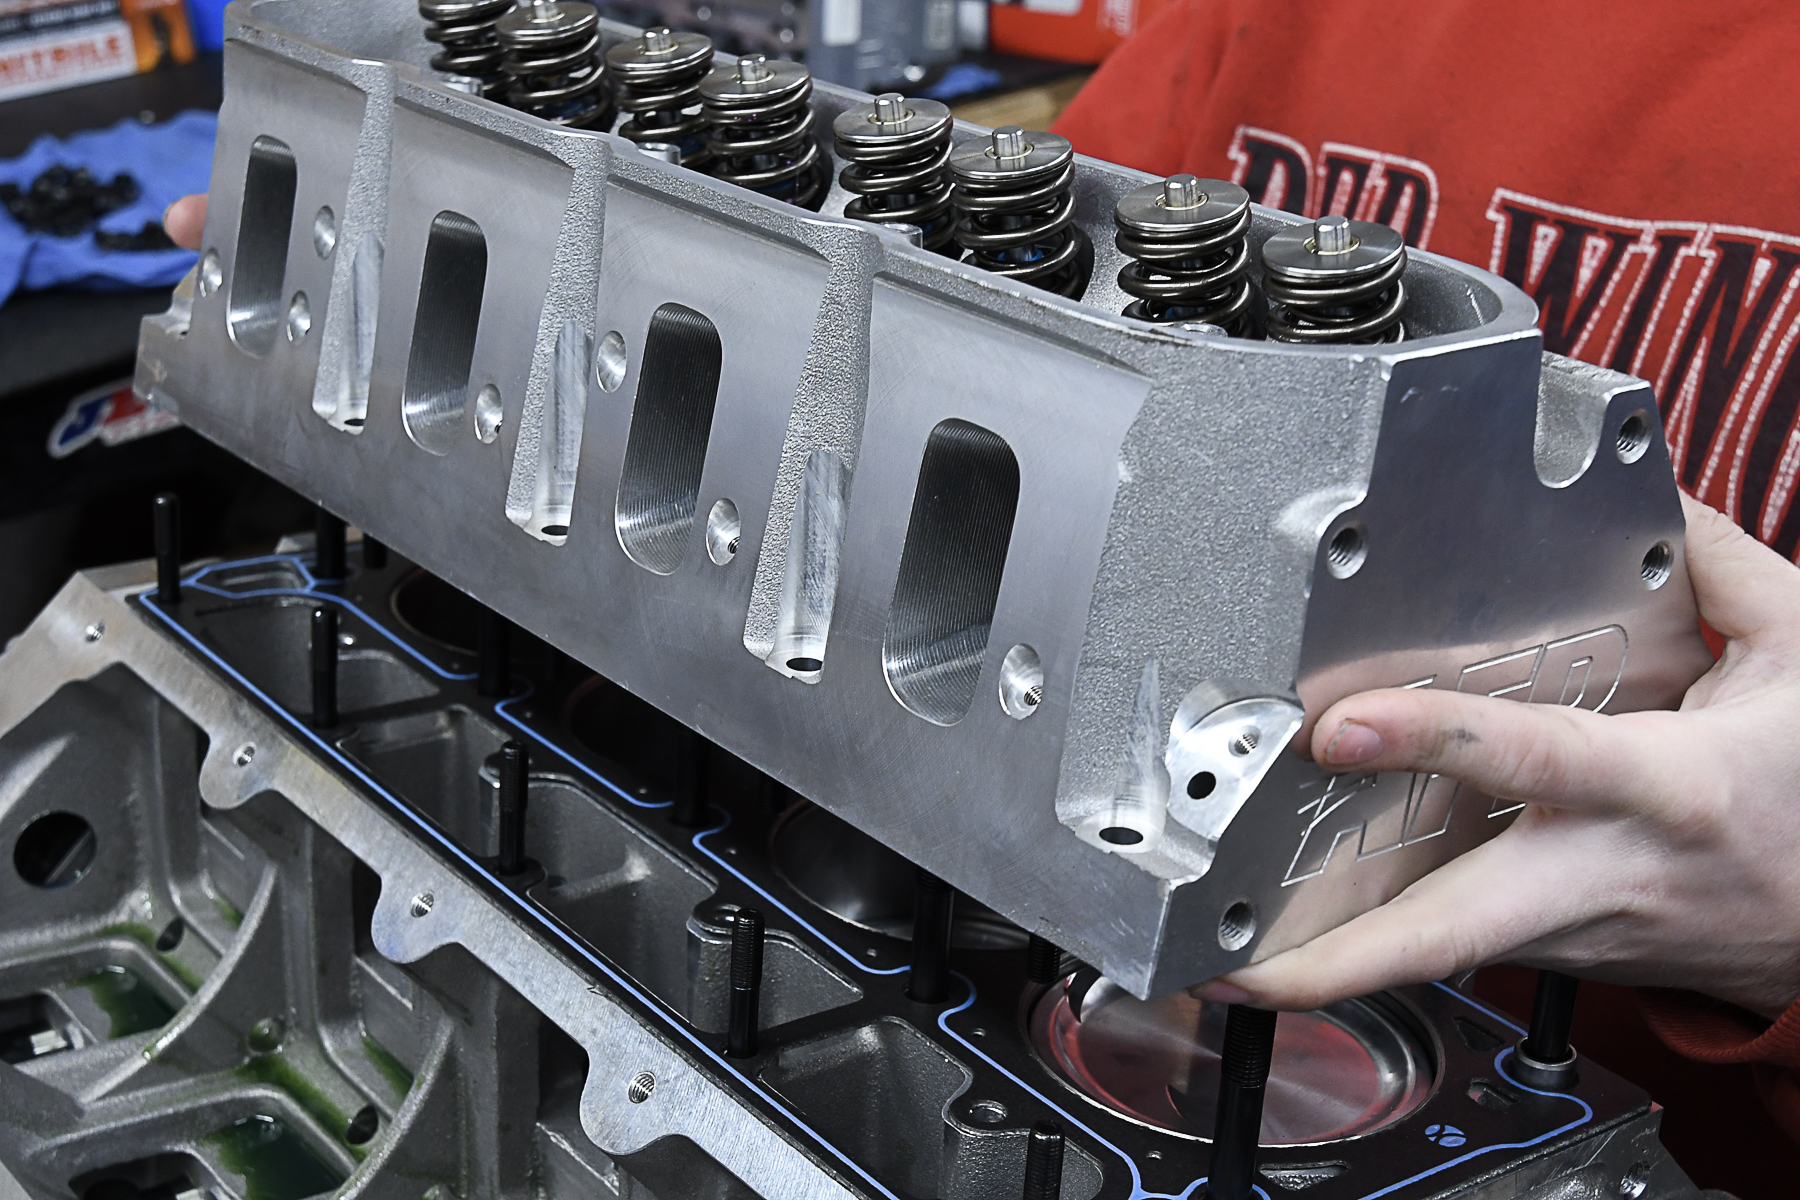
If possible, have the mating surfaces of your heads and block machined. This will ensure they are not only clean, but as flat as possible.
“You want the gasket mating surfaces to have a 50Ra or finer finish. And of course, the head surface needs to be flat. The deck of the block also needs to be flat, not ‘close enough’. People get into trouble when they try to assemble engines with a set of heads or a block that haven’t been checked or machined for flatness,” Hesselgrave explains.
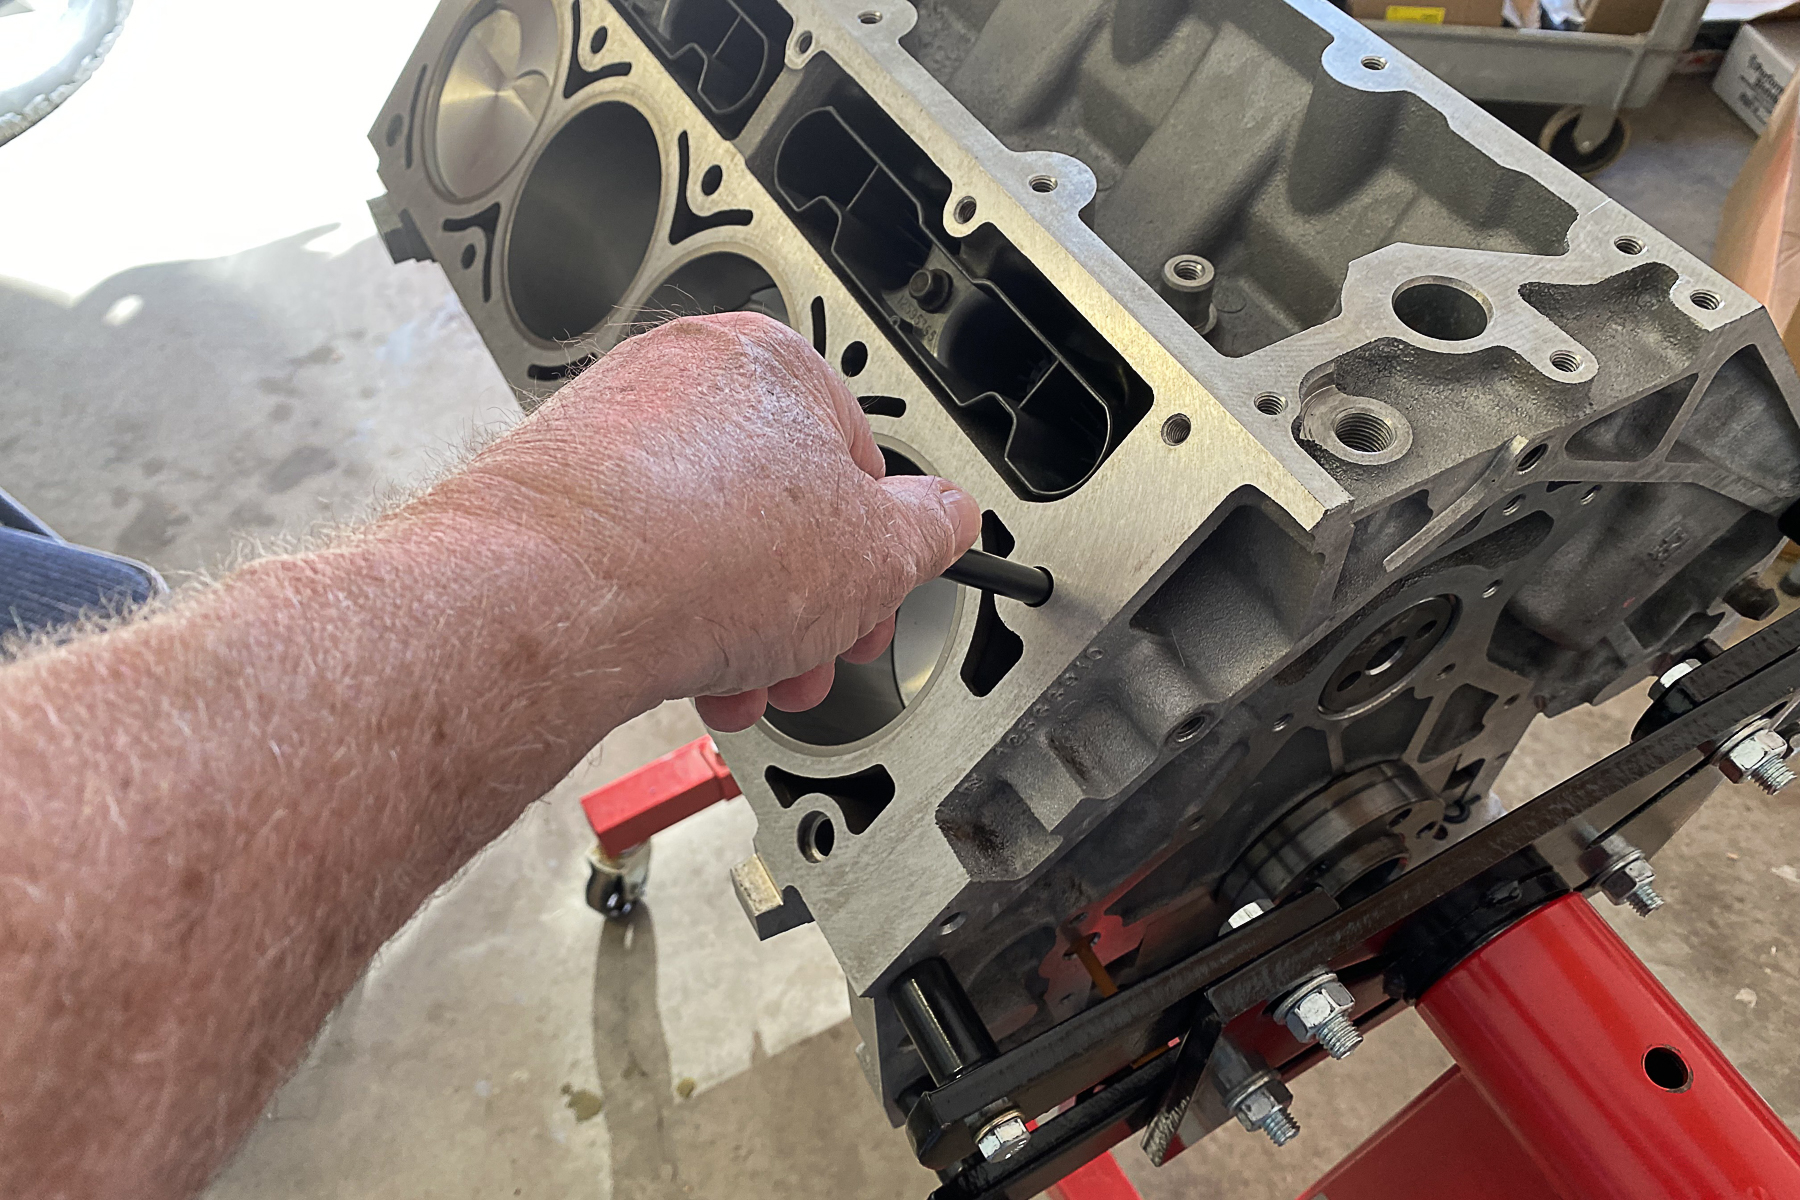
Hesselgrave also recommends that you check everything over one last time, before the first bolt is installed. Make sure the surface of the block doesn’t have any dirt or other debris on it that might have landed there when the rotating assembly was being added to the engine. You’ll also want to make sure you’ve got all of your fasters ready and any sealant you’ll need, plus some ARP Ultra-Torque for the assembly process.
Getting Your Fasteners Ready
There’s an art to using aftermarket fasteners when you’re assembling an engine. If you’re using fasteners or studs from ARP, they’ll need to be cleaned. These parts have been coated with a rust-preventative coating before they’re boxed up. They don’t need to be cleaned with anything special, any standard solvent will do the trick.
According to Bob Florine from ARP, there are only certain situations where you want to use thread sealers when bolting heads up to a block.
“Thread sealers are used when the fastener passes through an area where fluids are present to provide protection against leakage. In some cases, ARP advises using Ultra Torque on the underside of the bolt head or nut with the sealer applied to fastener threads. Recommended torque values are given in the instruction sheets for each fastener kit and all are available online. Applying both lubricant and sealer to the threads is frowned upon.”
There's a lot that goes into making sure the fasteners you use on your engine are ready. You also need to make sure that you follow the correct torqueing process for the fasteners. Lubrication is also critical, so make sure you have plenty on hand to keep the process going smoothly and prevent friction-related issues.
It’s also important to pay attention to where you apply the Ultra-Torque fastener lubricant.
“First off, DO NOT lubricate the underside of a washer unless it specifically calls for in the instructions. With many machining surfaces very smooth these days, putting lubricant under the washer can cause it to rotate and affect preload readings. As for the application itself, it depends on the container the lubricant comes in; the larger tubs have brushes and the small packets can be opened so that only a desired amount is squeezed out. Some builders use Q-tips, wooden coffee stir sticks, etc.,” Florine states
After you’ve got your fasteners prepared and have all your materials to install them, it’s time to talk about the torquing process. Every engine is going to have different torque specs and a different order you torque the fasteners or studs.
“The goal is to apply clamping force in a pattern that assures an even gasket compression. This is important in properly sealing the cylinder head(s), intake, and exhaust manifolds. Most published torque application patterns start in the middle and gradually work toward the outside tightening the opposite fastener. You want to avoid going from the outside to the inside,” Florine says.
Hesselgrave goes a little deeper into the art of torquing heads down.
“You want to use three even steps of torquing. On the final step, you just want to make sure that you don’t hear any of that gnarly creaking sound that maybe some of us have heard when you’re torquing a nut or bolt. You don’t want to hear a jumping and snapping sound out of your torque wrench. That means that there’s an ultra-overpowering amount of friction somewhere, and the fastener wasn’t lubed correctly. If you experience that, stop, back that fastener off, add some lube under the head, and retorque that fastener. Don’t just let it snap and torque, then leave it alone, because you’re not getting the proper stretch on that fastener. You’ll more than likely have head gasket problems if you don’t address this issue.”
Getting Head Gaskets To Provide The Ultimate Seal
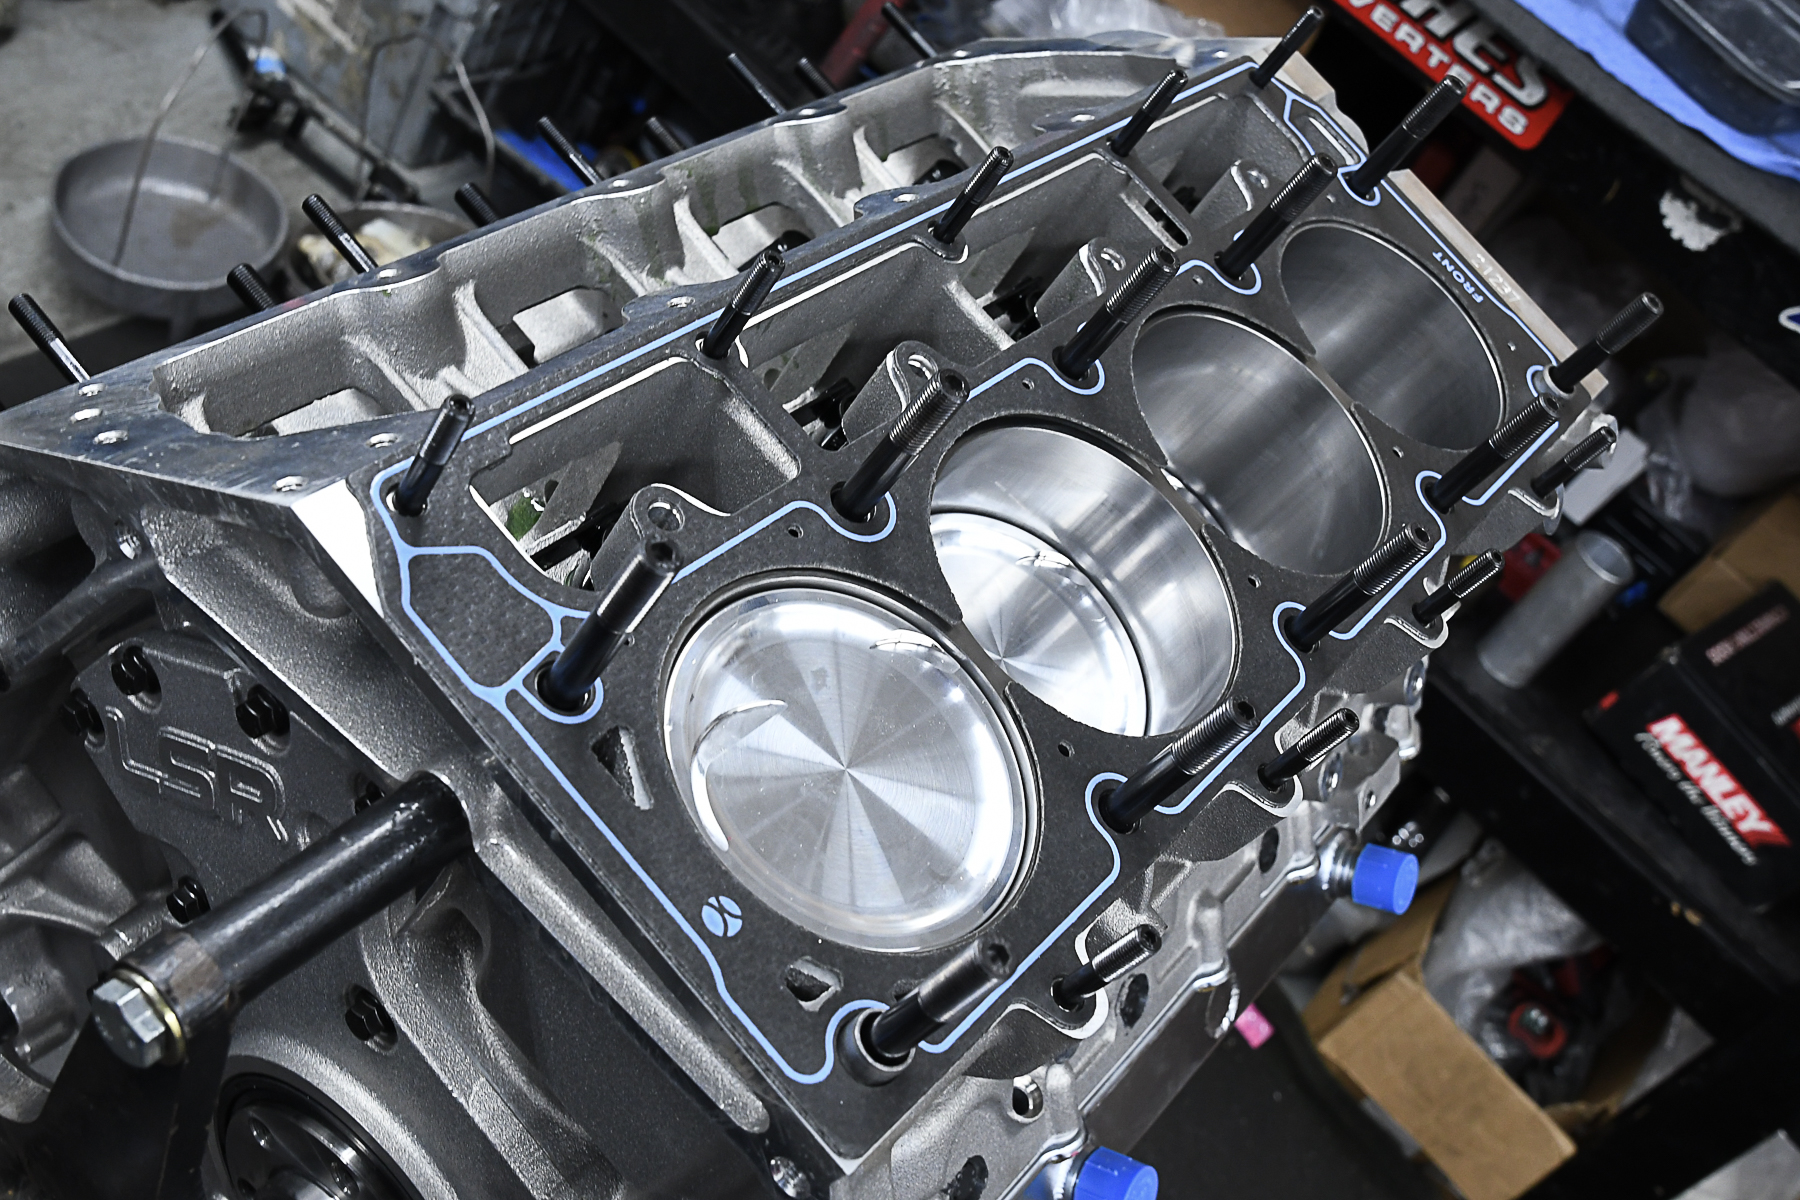
Your head gaskets are what keeps the heads and block sealed up when the engine is running. Depending on your application, you can choose between a composite style of gasket, a multi-layered steel gasket, a shim steel, or a solid copper head gasket. The thickness and type of gasket is something that you need to discuss with your machine shop to make sure you’re selecting the right gasket, otherwise, you risk having sealing issues.
There are a few different types of head gaskets on the market today. Jeff Evers from Cometic Gaskets gives some examples of these head gaskets and what makes them different from each other.
“You’ll find Multi-Layer Stee (MLS), Copper with O-rings and receiver grooves, and Composite with fire rings are the main options in the performance head gasket world. Most OEM engines use some form of MLS head gasket from the factory, which is the most common design even in the performance aftermarket. Copper with O-rings has its place in certain applications but comes with the added hassle of additional machining and the challenges of sealing water and oil. Composite with fire rings are typically used in lower to moderate-performance applications and their advantage is lower cost.”
Make sure the head gaskets you select will work with your application.
According to Evers, when you’re using a set of MLS gaskets you should install them dry. These gaskets will have a special coating on them that assists in the sealing process. If you add sealant to the gasket or mating surface it could impede the gasket’s ability to properly seal the head to the block.
So, is there a secret to getting a head gasket to provide the best seal possible? No, it all comes down to how smooth and flat the mating surfaces are.
“Surface finish is key to proper sealing of head gaskets. A finish of 50Ra or better is required. The surface really can’t be too smooth. A flat surface on the head and deck is also important. Aftermarket studs or bolts are always a good idea to use as well as the fastener manufacturer’s torque specs. Again, no additional sealants should be used. While not a requirement, a cold retorque is a great way to gain an extra edge on sealing, especially for tough-to-seal platforms and applications that are pushing the limits overall,” Evers explains.
The name of the game when it comes to getting cylinder heads to seal up to an engine block is preparation. When you put the time into making sure the surface of your heads and block has the right finish, use your fasteners correctly, and select the right head gaskets you’ll have a higher probability of achieving an outstanding seal.