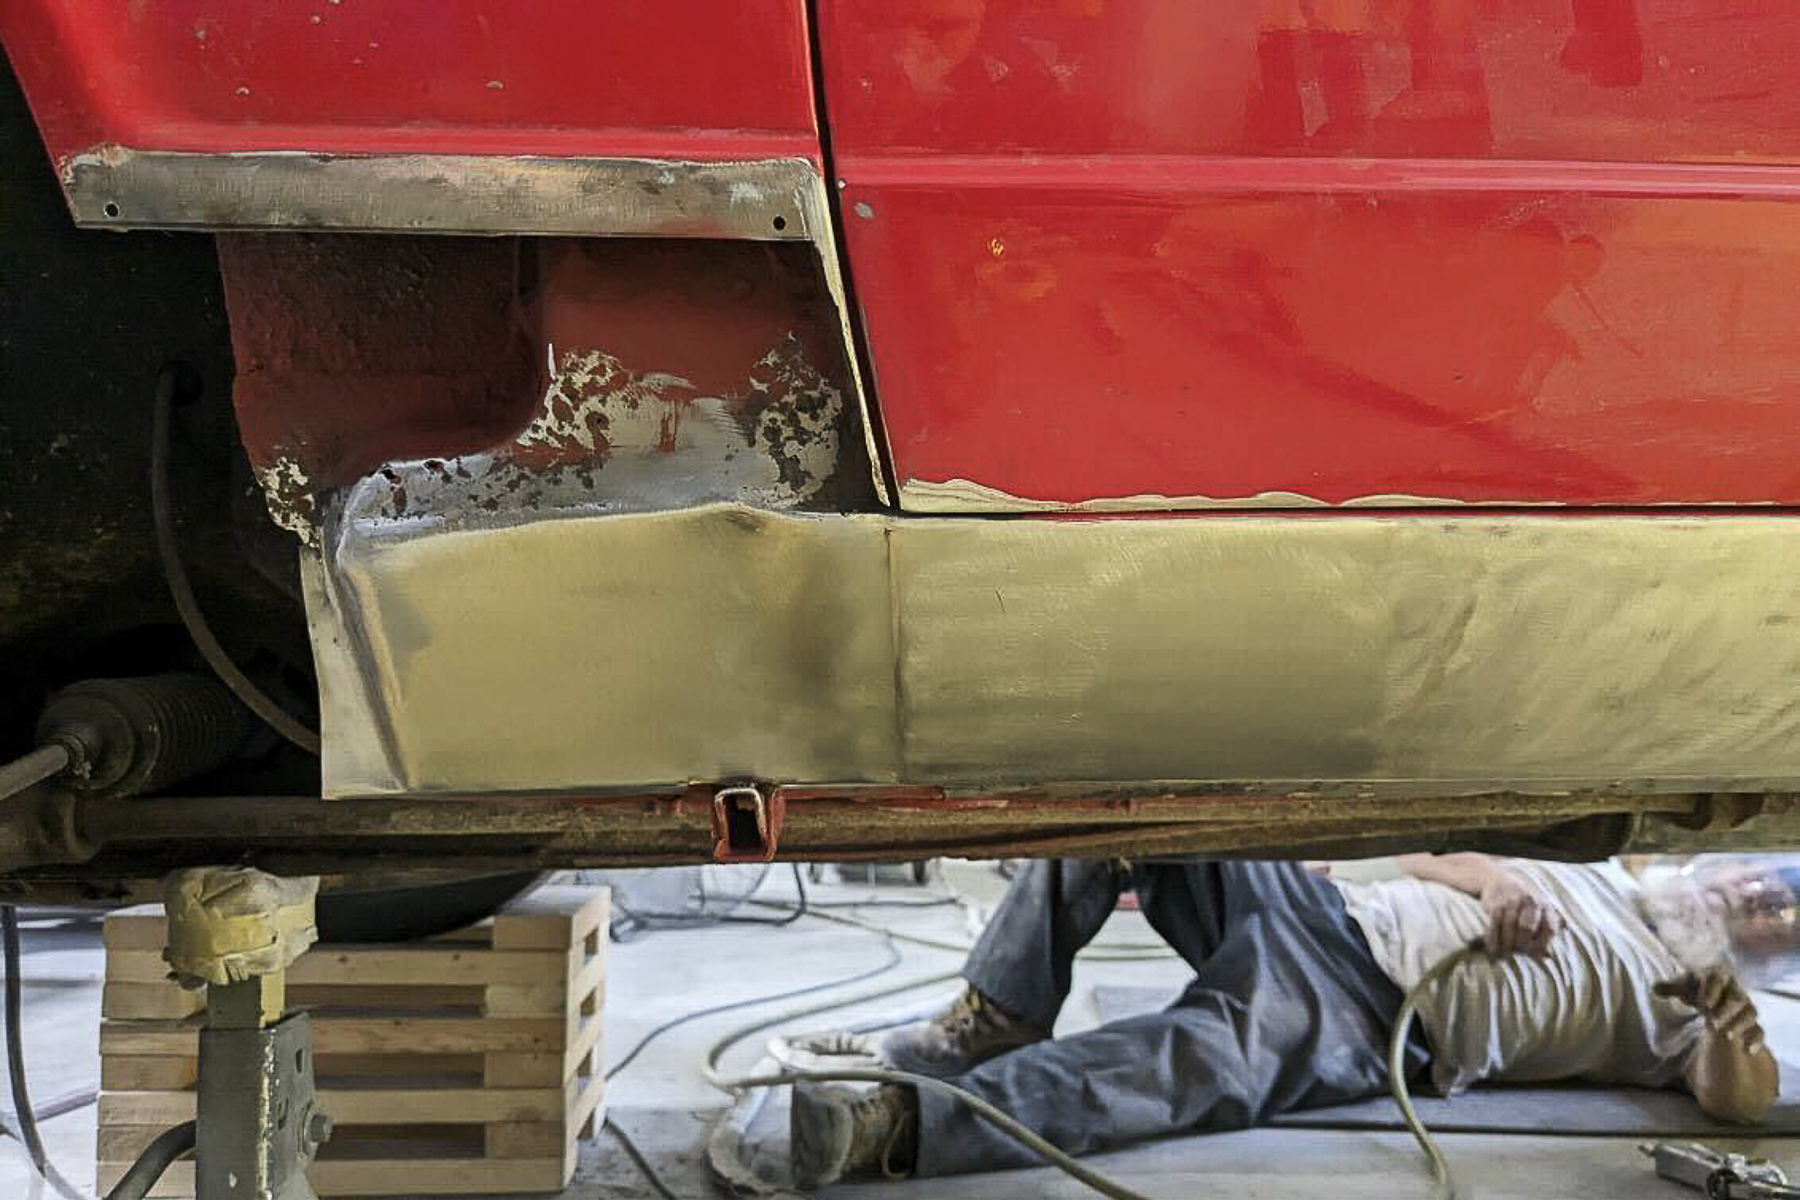
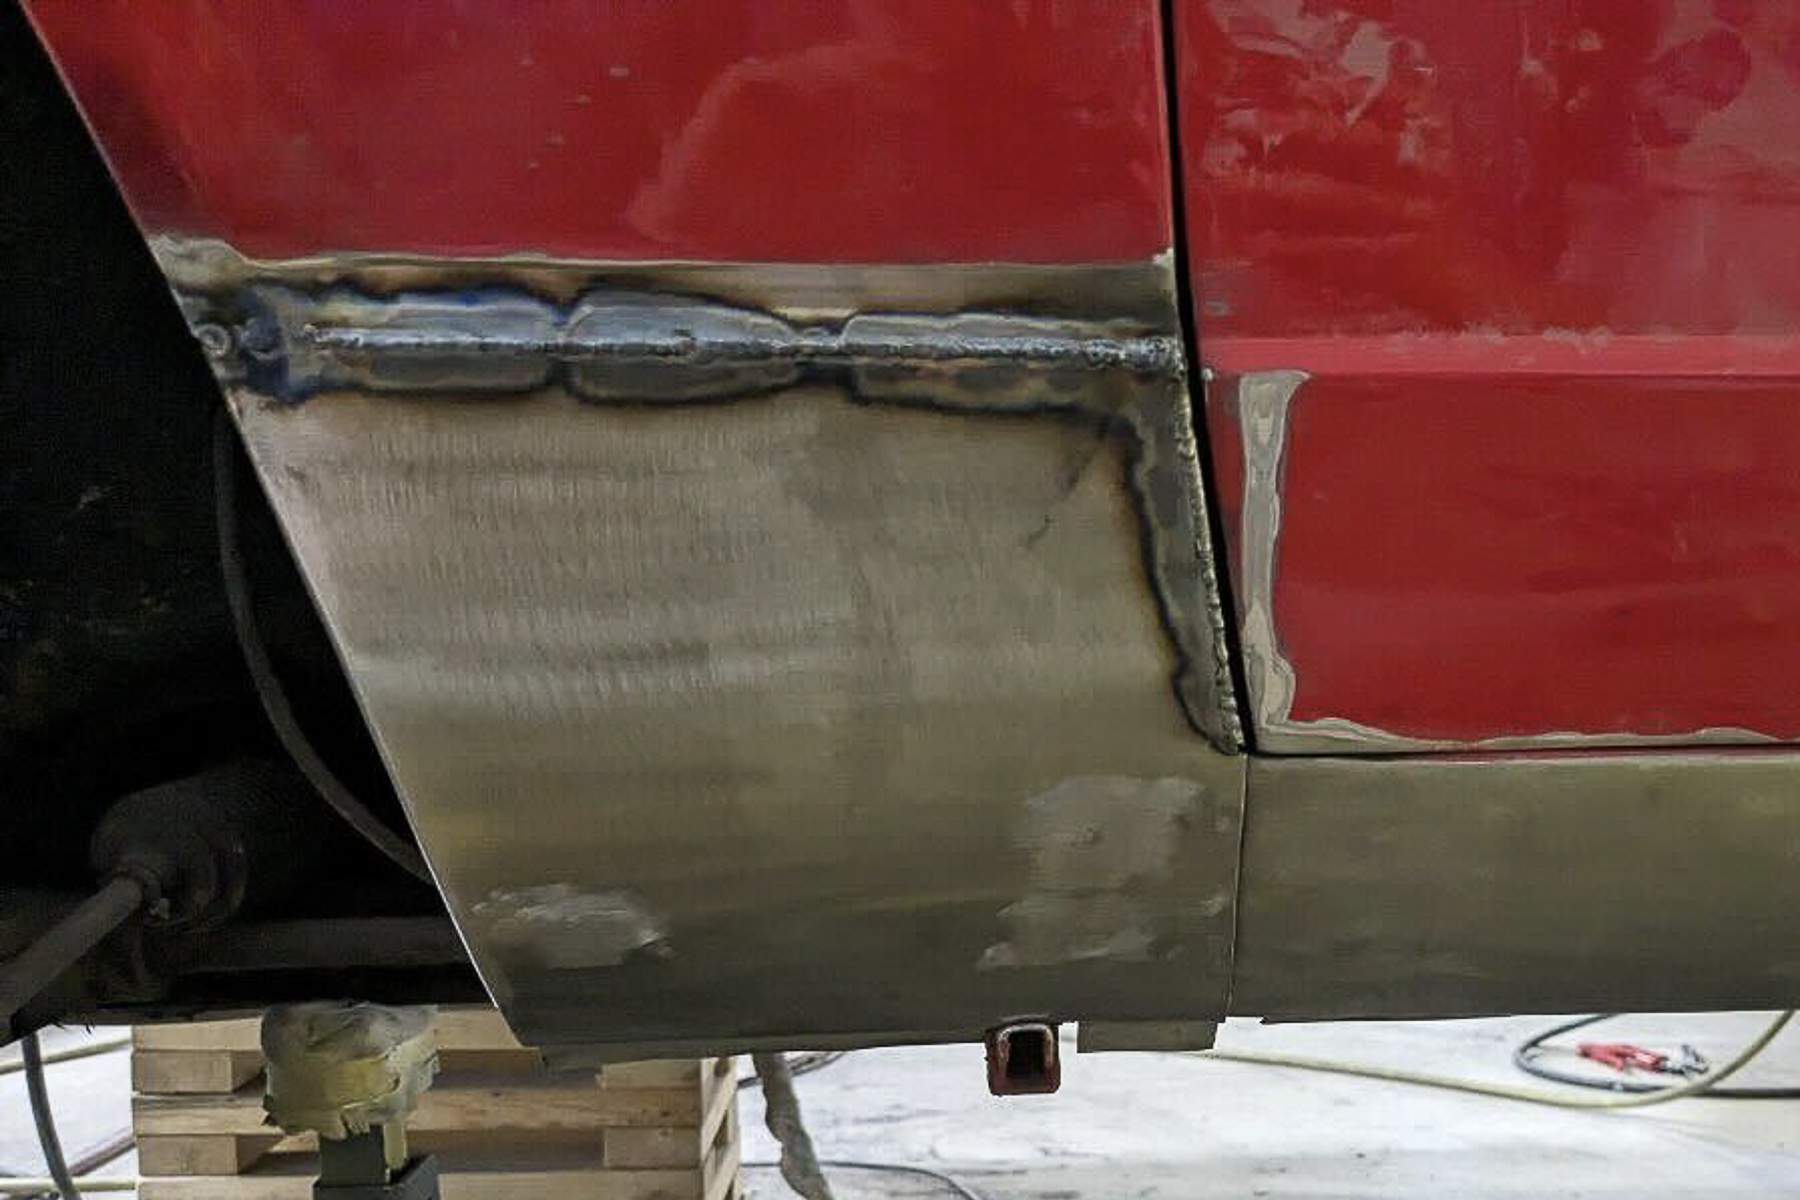
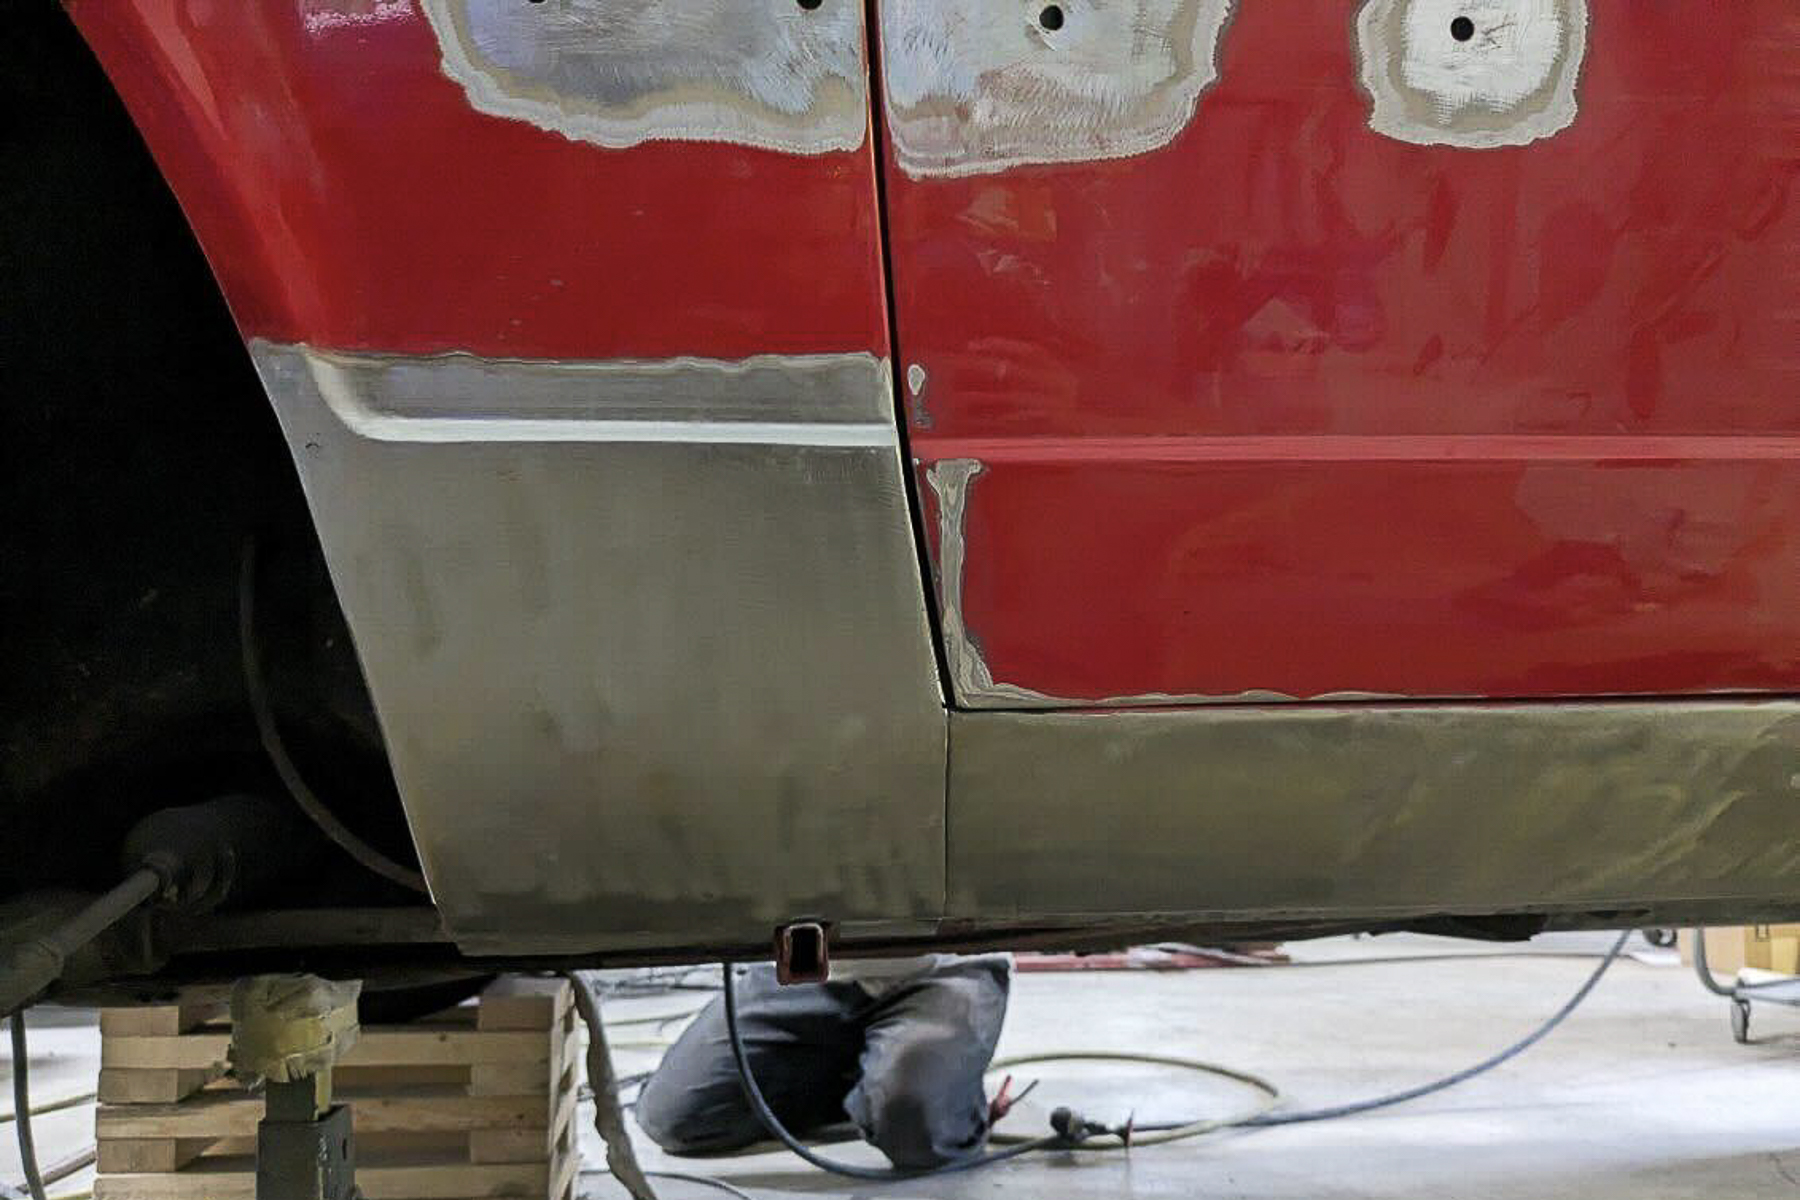
The sun has almost set on the days of finding affordable project vehicles that have nearly rust-free bodies. If you’re going to restore a vehicle these days, you better be ready to do some rust repair and replace some panels.
If you’ve never done a panel replacement it can seem intimidating at first, but like any other type of bodywork, it comes down to preparation and parts selection. If you’re trying to tackle a restoration project at home, chances are you already have all the basic tools required to replace a body panel. We talked with Jon Nachreiner from Garret’s Rod Shop to learn the basics of how to install body and patch panels that you can get from companies like United Pacific Industries for your project vehicle.
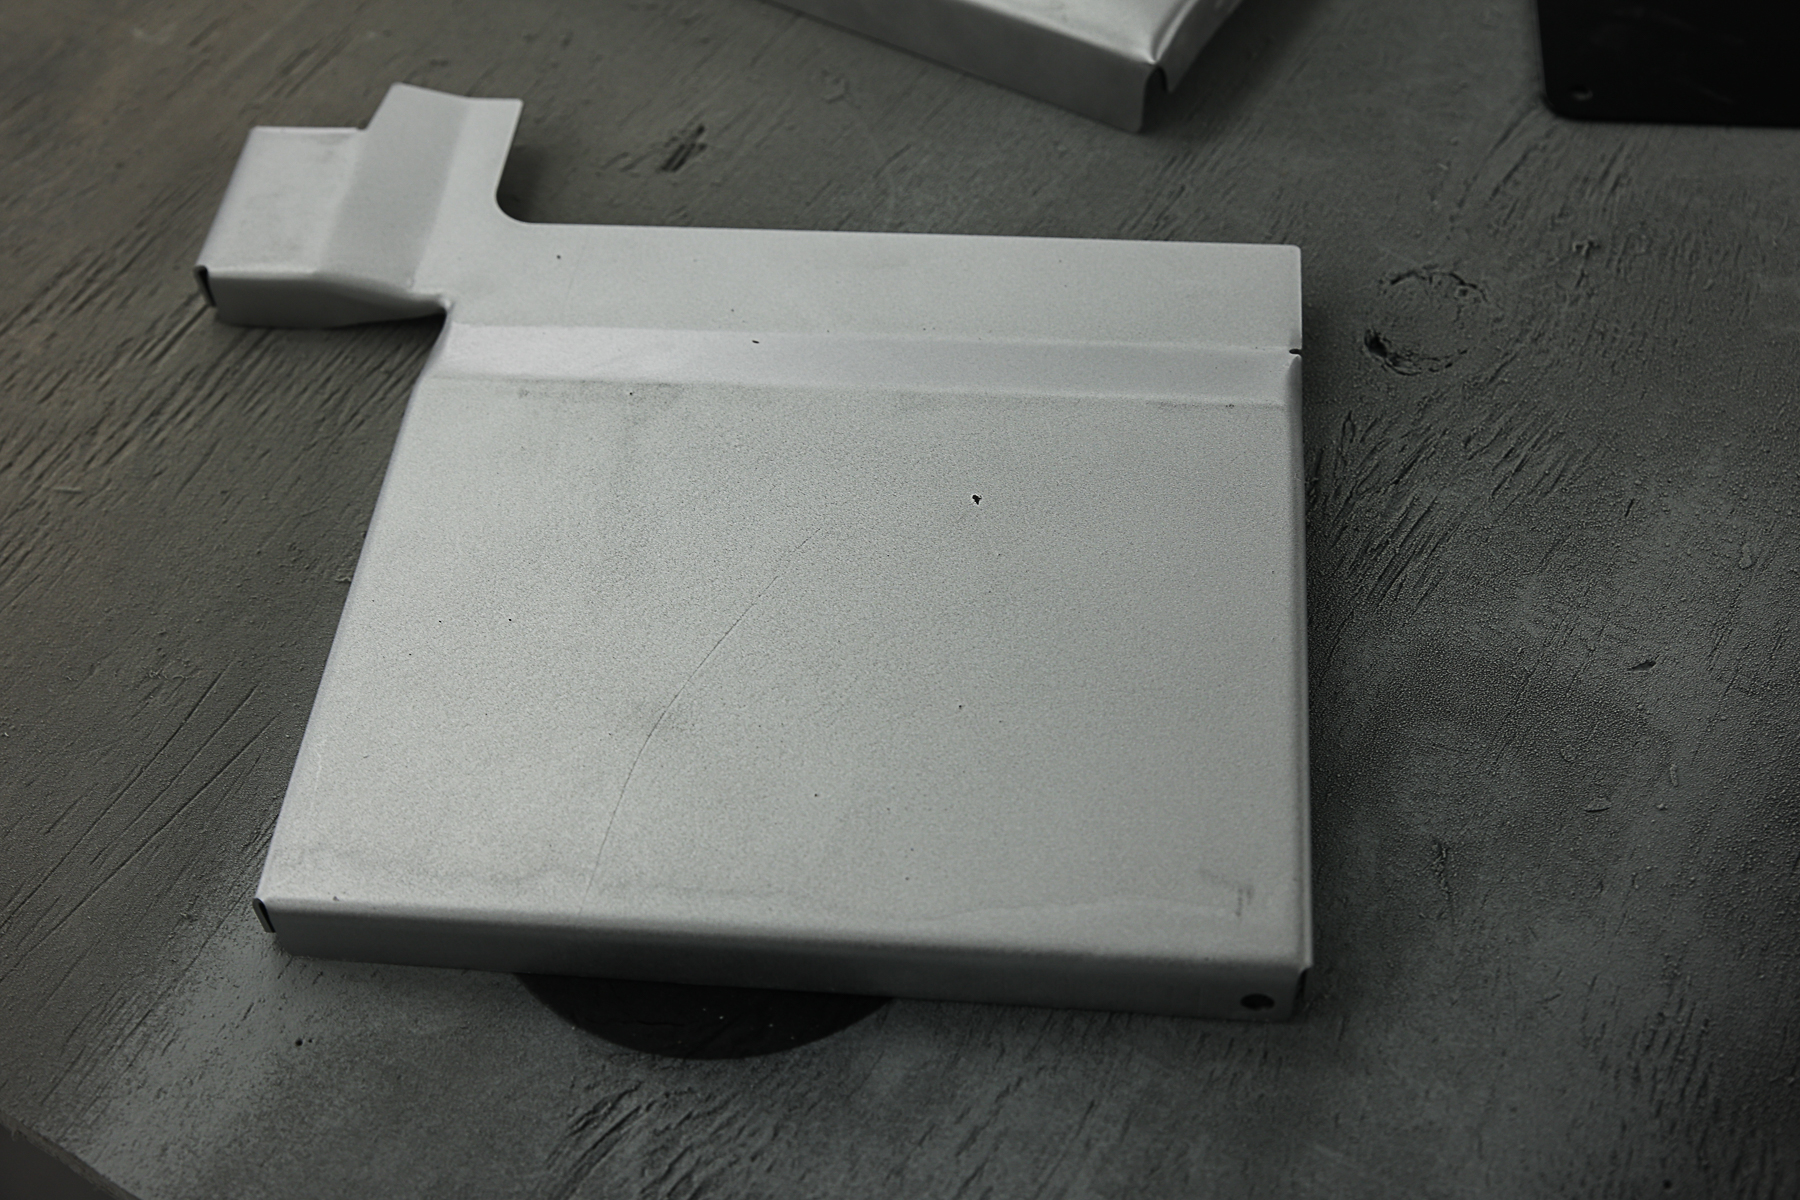
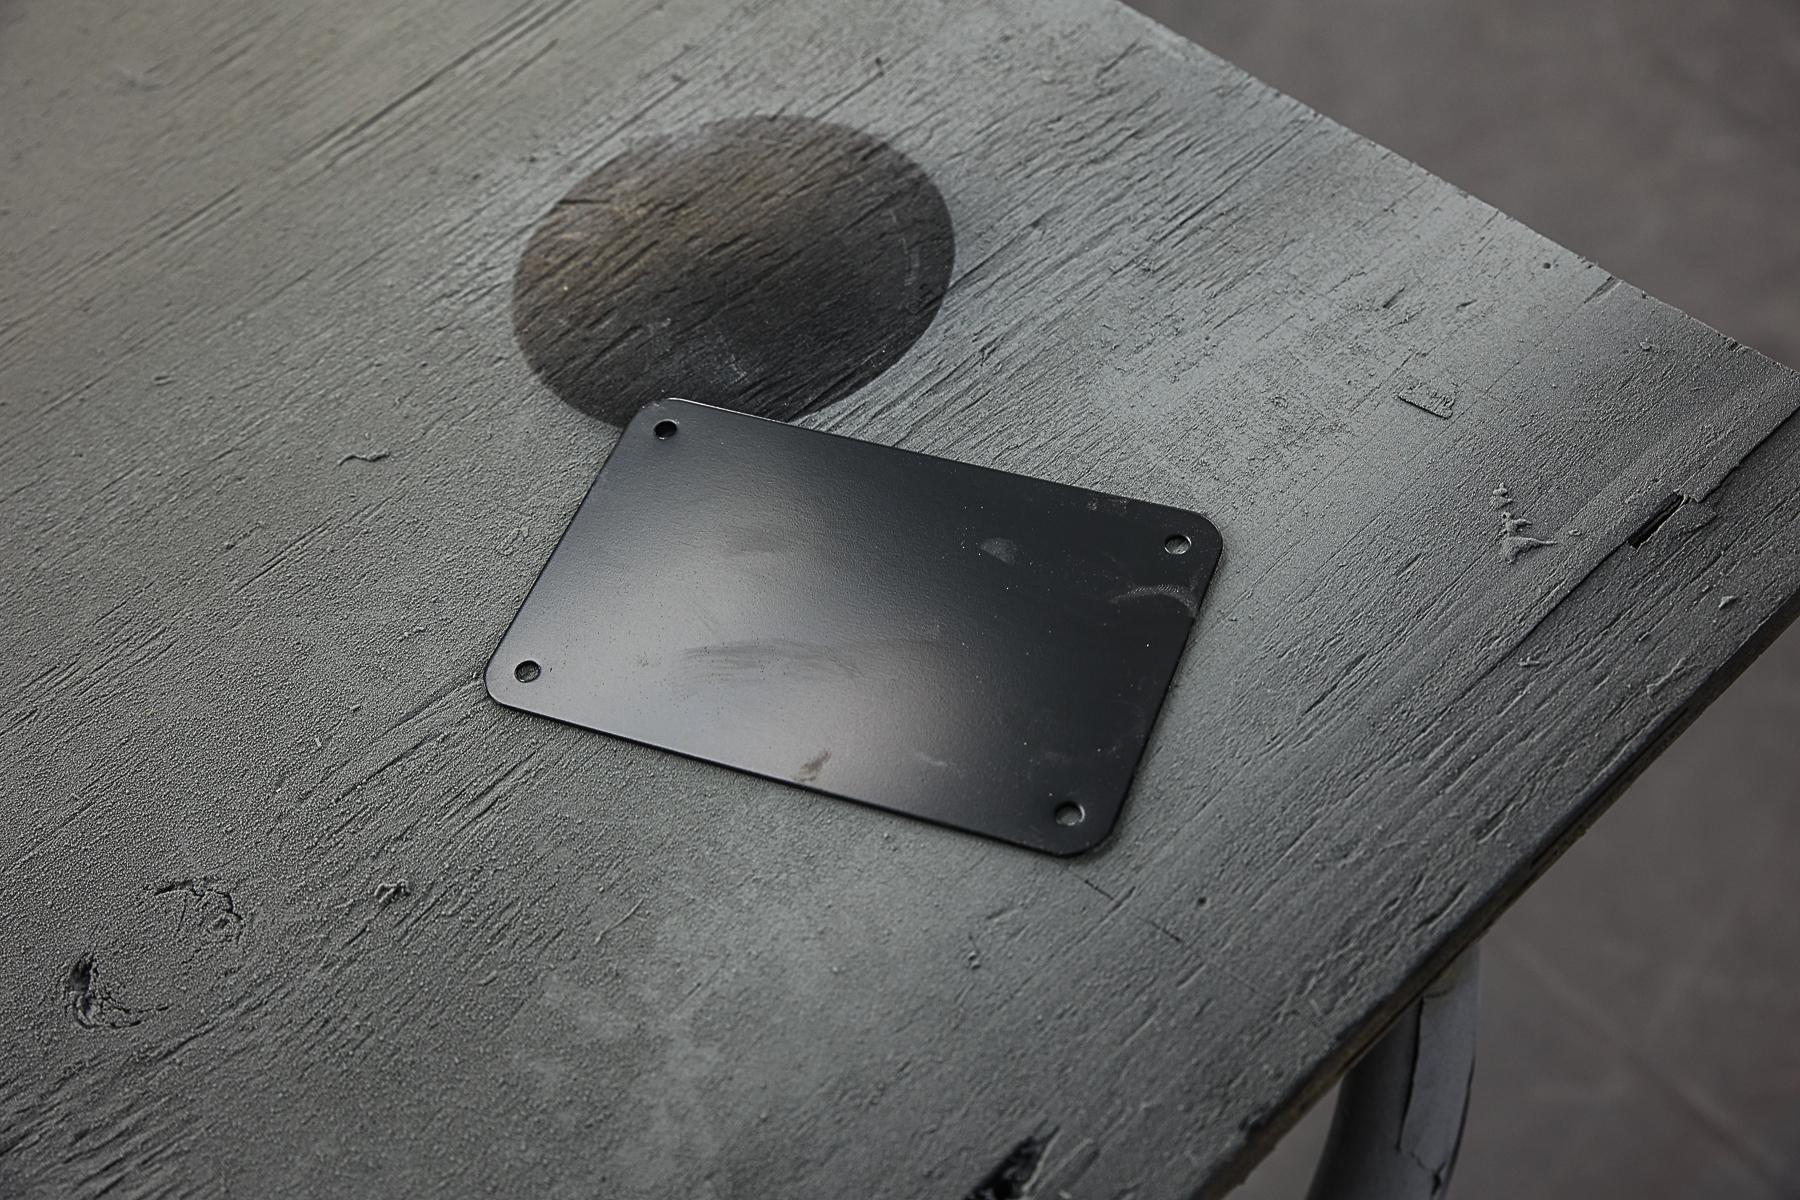
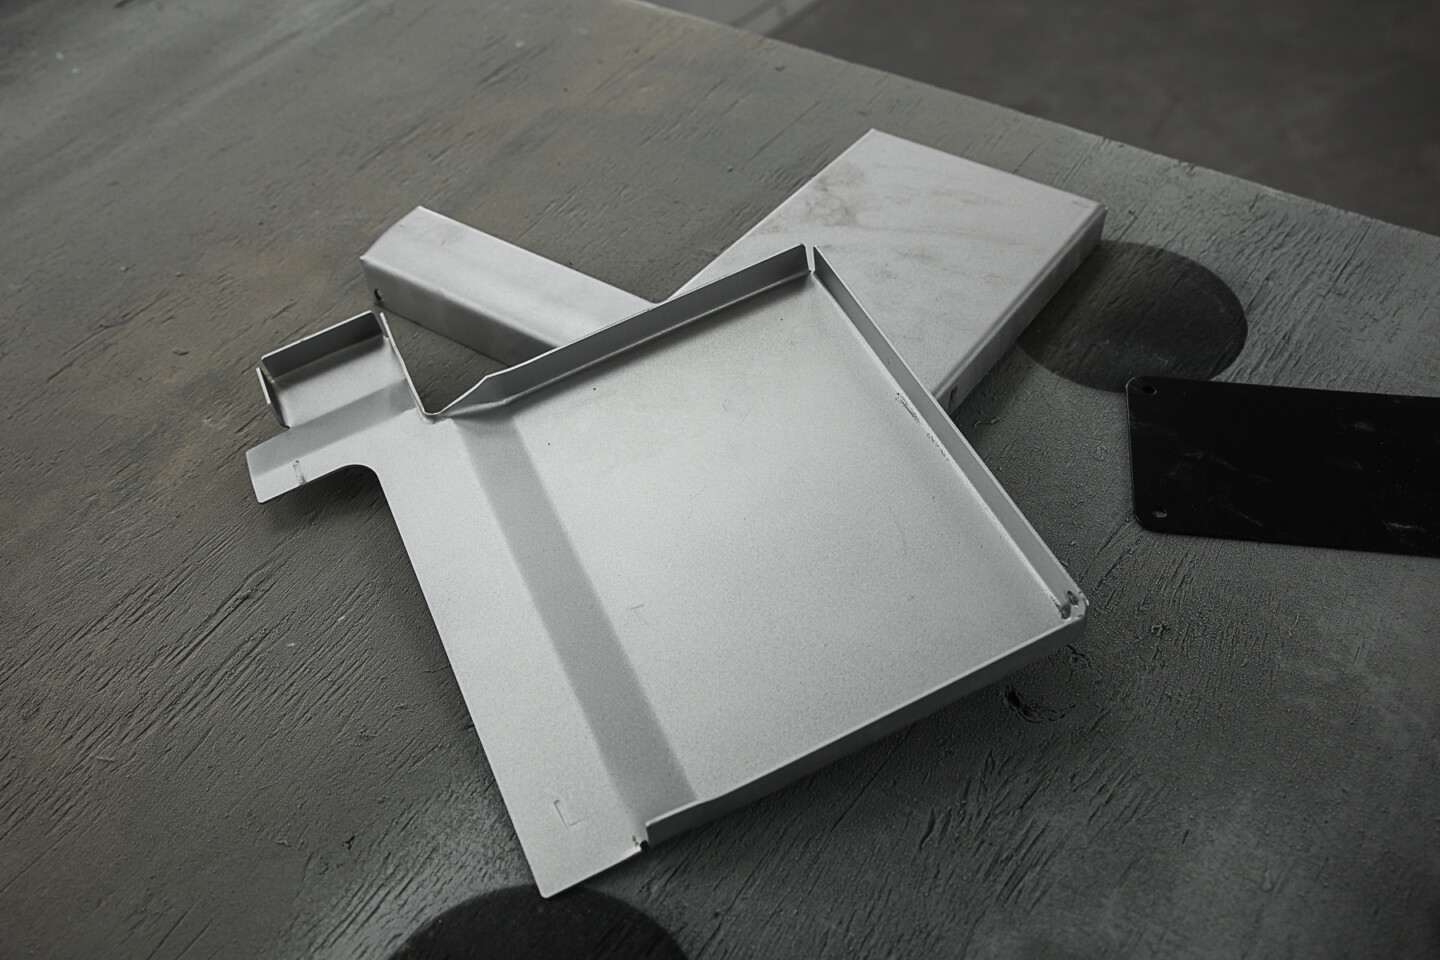
Aftermarket panels come in all shapes and sizes, but they all need some kind of prep work before they can be installed.
Preparing For Surgery
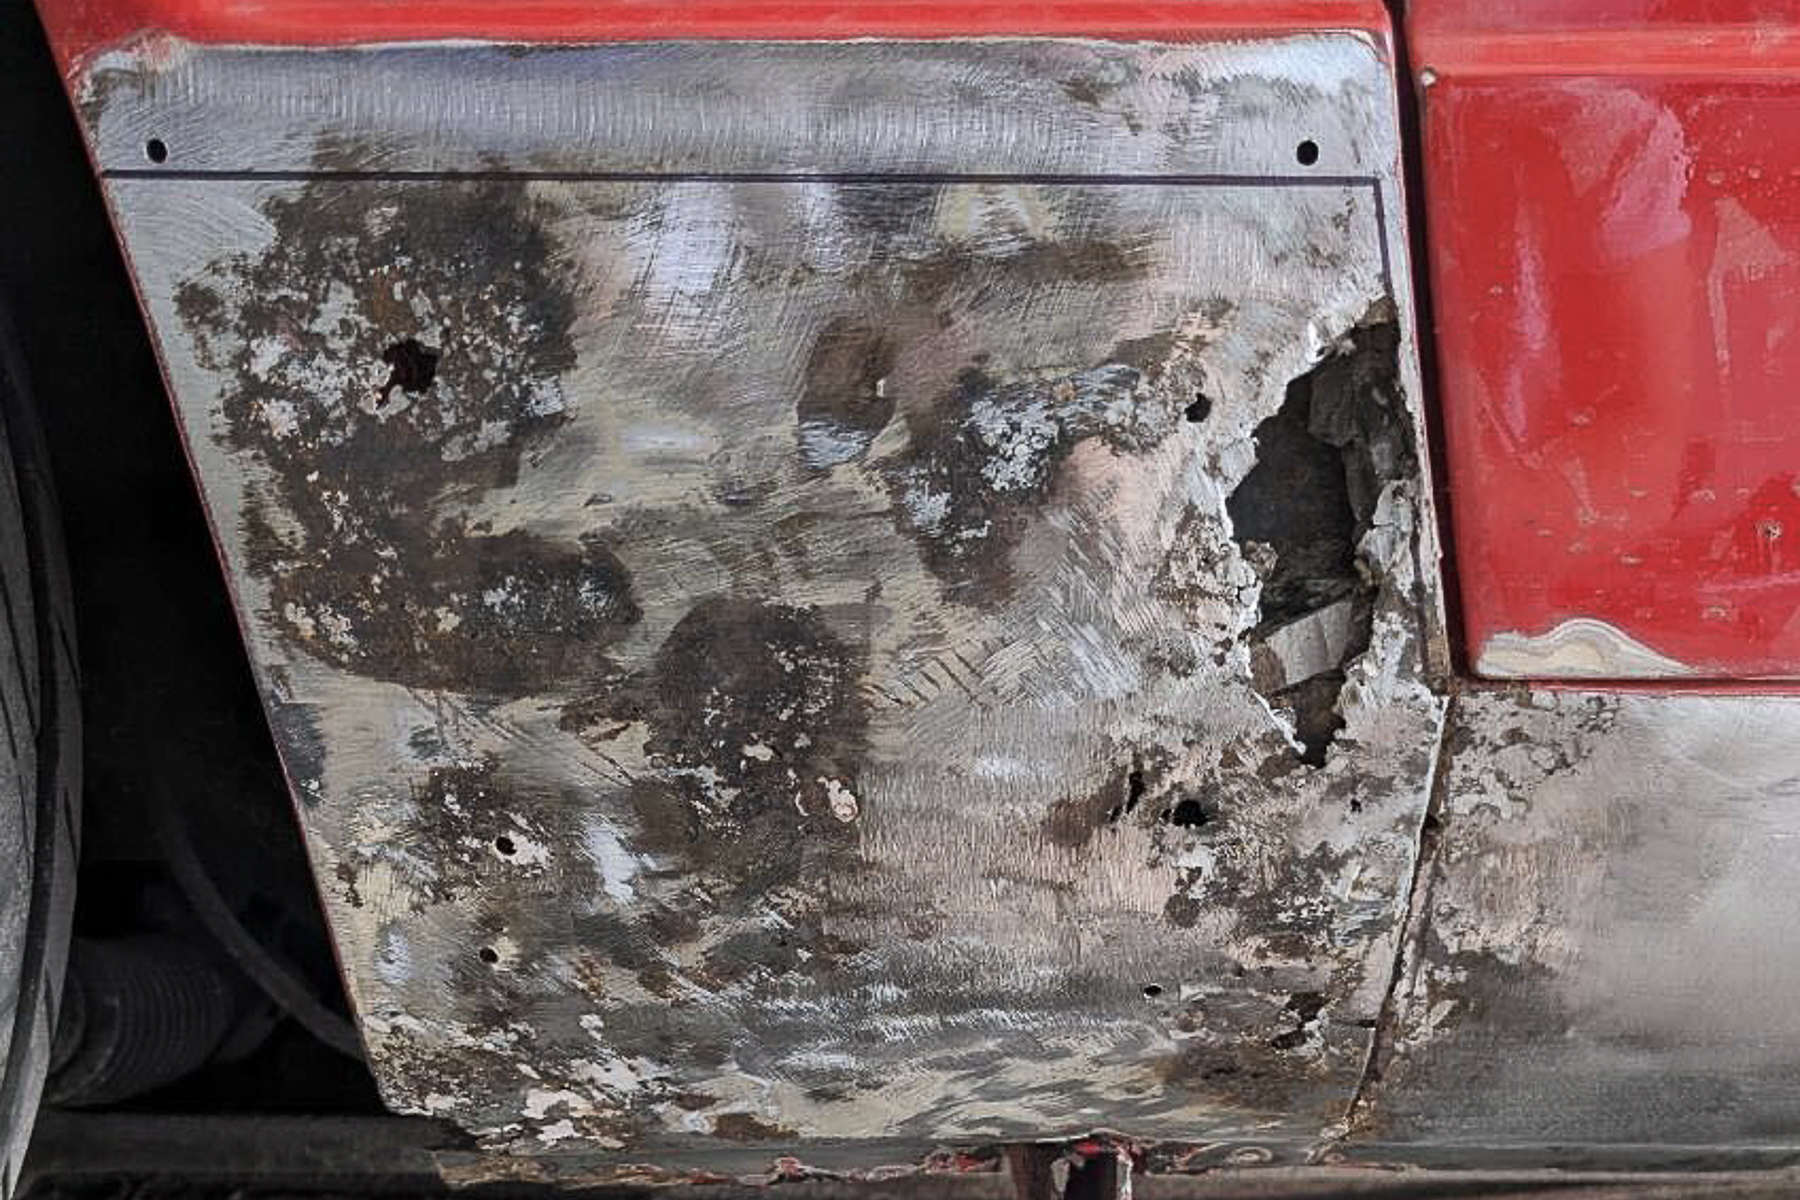
The more you prepare for your bodywork project, the higher the probability it will be successfully completed. You’ll want to prepare the area of the body you’re going to be working on. This usually means removing all the rusty and bad material so you know exactly how big of an area you’re going to need to replace. This is going to prevent future rust problems, make the panel look better, and make it easier to secure the fresh metal to the vehicle.
Now that you have a sterile field to work with, you need to look over the new panel that you’ll be using. Inspect the panel and make sure there are no dings, dents, tears, or other defects. If everything looks good, make sure it’s the right part for your project. Sometimes parts can get put in the wrong boxes or mislabeled, so just double-check to make sure it’s what you need before you move forward.
If everything looks good with the part you received, it’s time to start the fitting process. Your first thought might be to strip the part down to bare metal, but you don’t want to do that. The coating that was applied to the part prevents rust. Your oily and dirty hands will introduce all kinds of contaminates to the bare metal, increasing the probability it will rust, and will make paint prep more of a challenge.
Proper prep work ins the most important part of installing aftermarket body panels.
It doesn’t matter what part panel you’re going to replace, according to Nachreiner, it will need some adjustments to fit your vehicle.
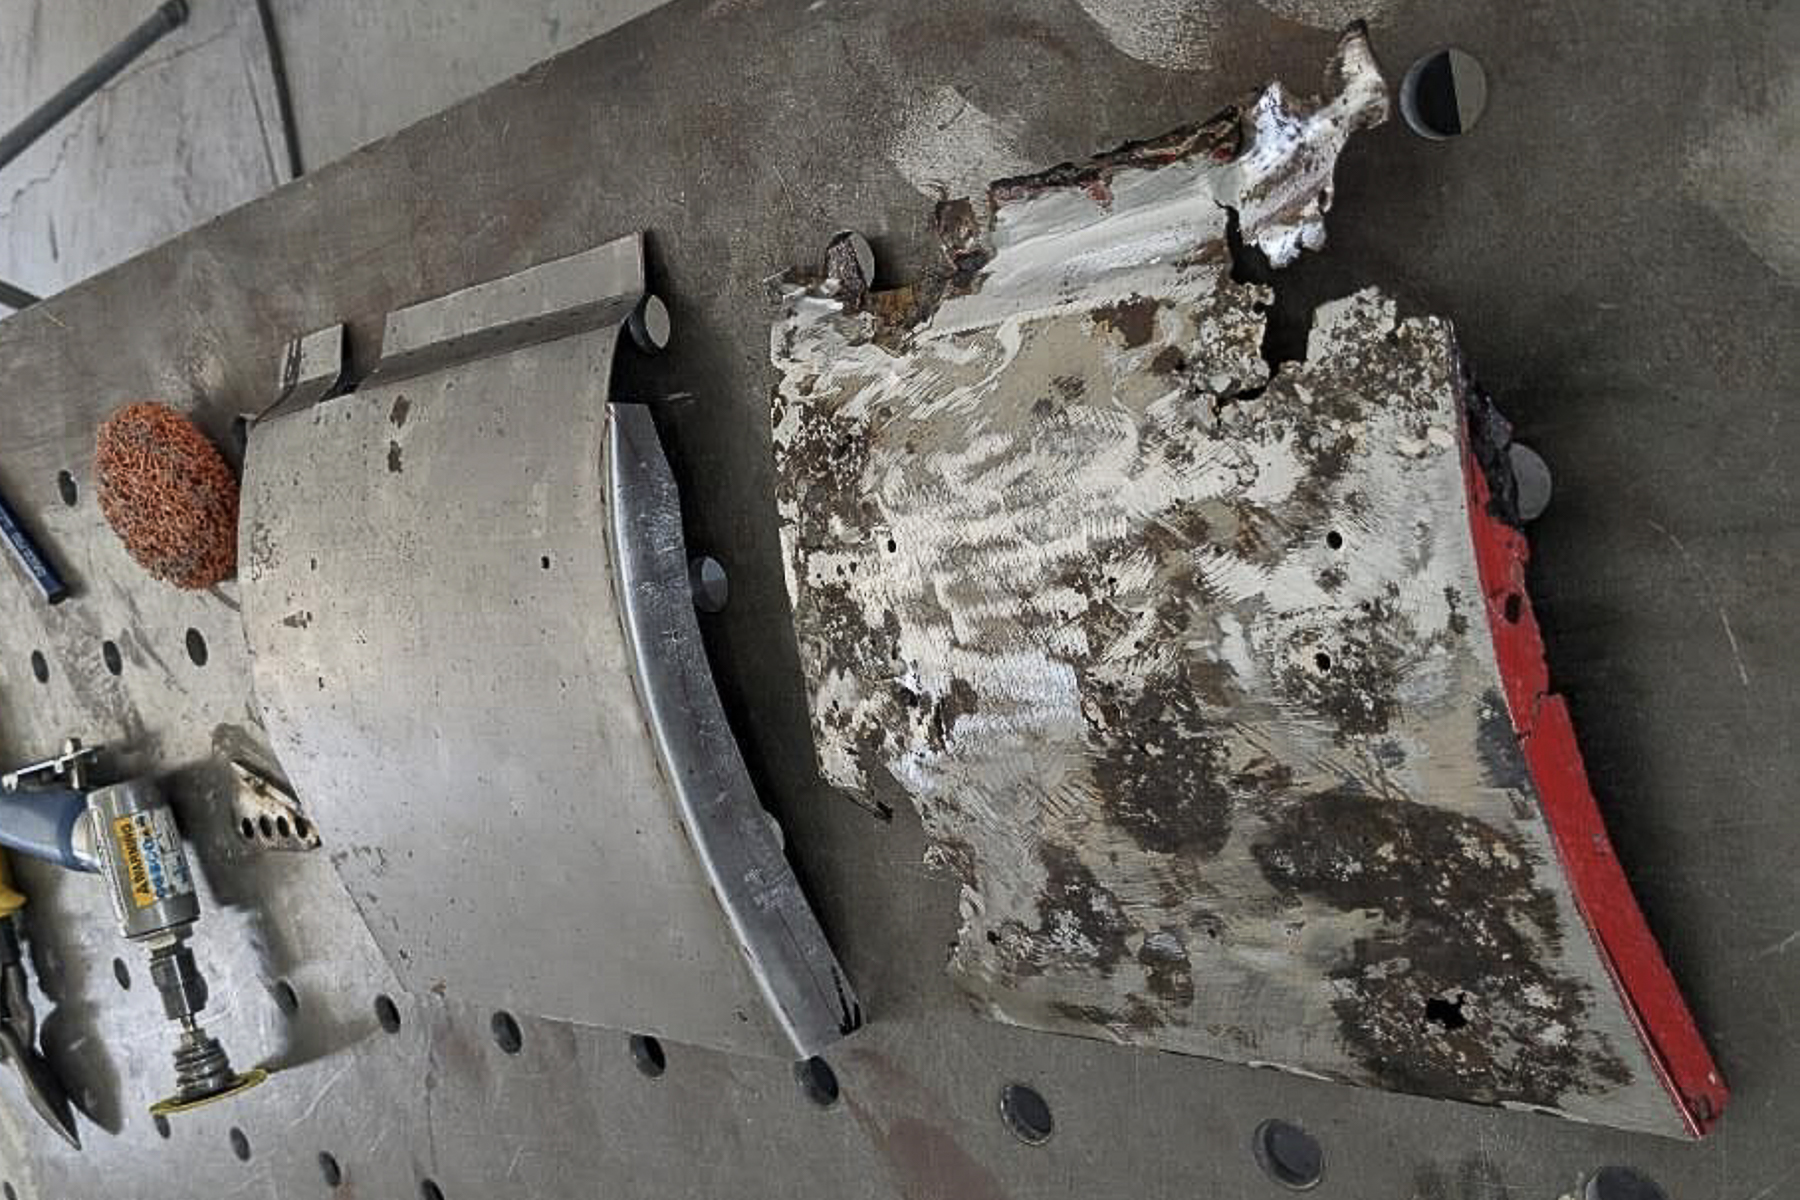
“You’ll want to take the part or panel and do a preliminary test fit to see what changes will need to be made. Before you start cutting anything, you want to create a pattern that will be transferred to the part. The shape might need to be changed to fit the area you’re working on. If you’re only using part of a panel, you need to double and triple check what you’re trimming to ensure it’s going to fit and match the area that you’re replacing.”
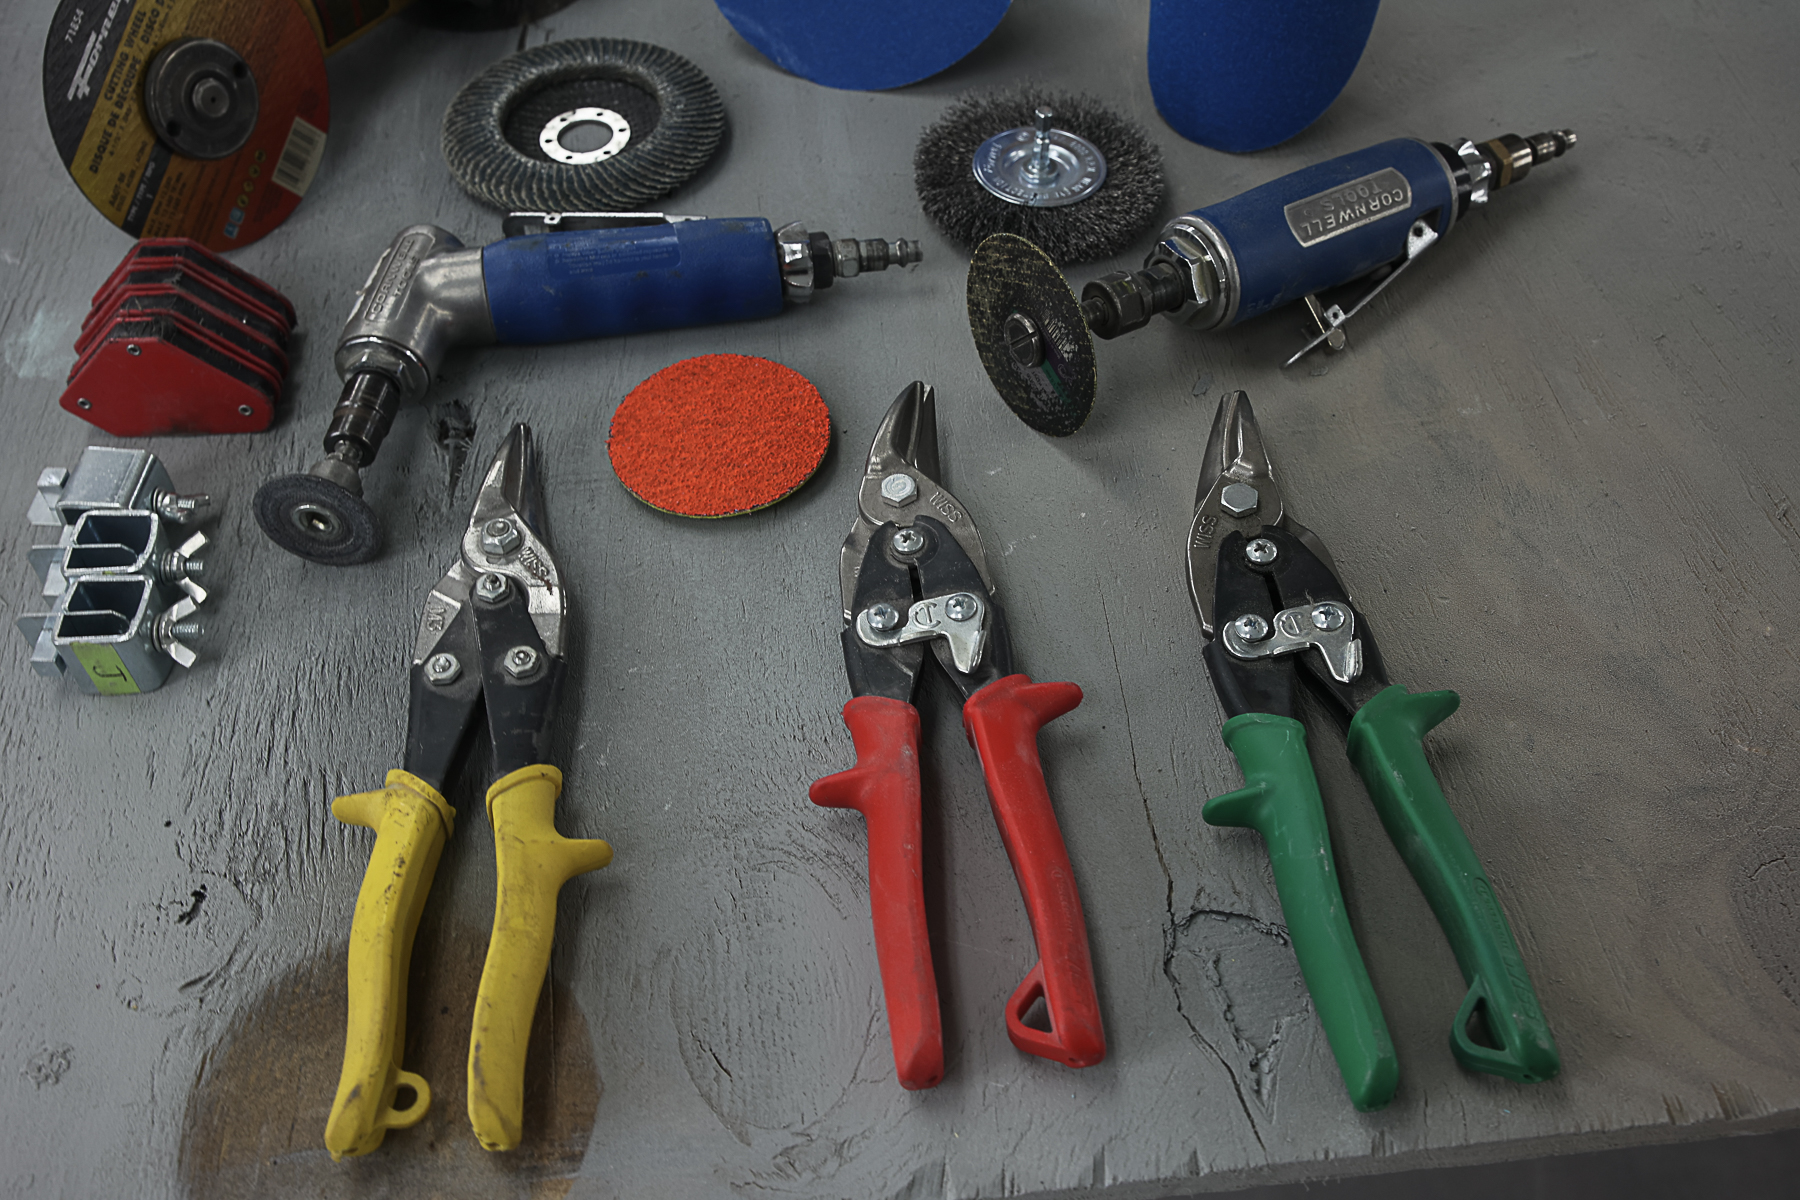
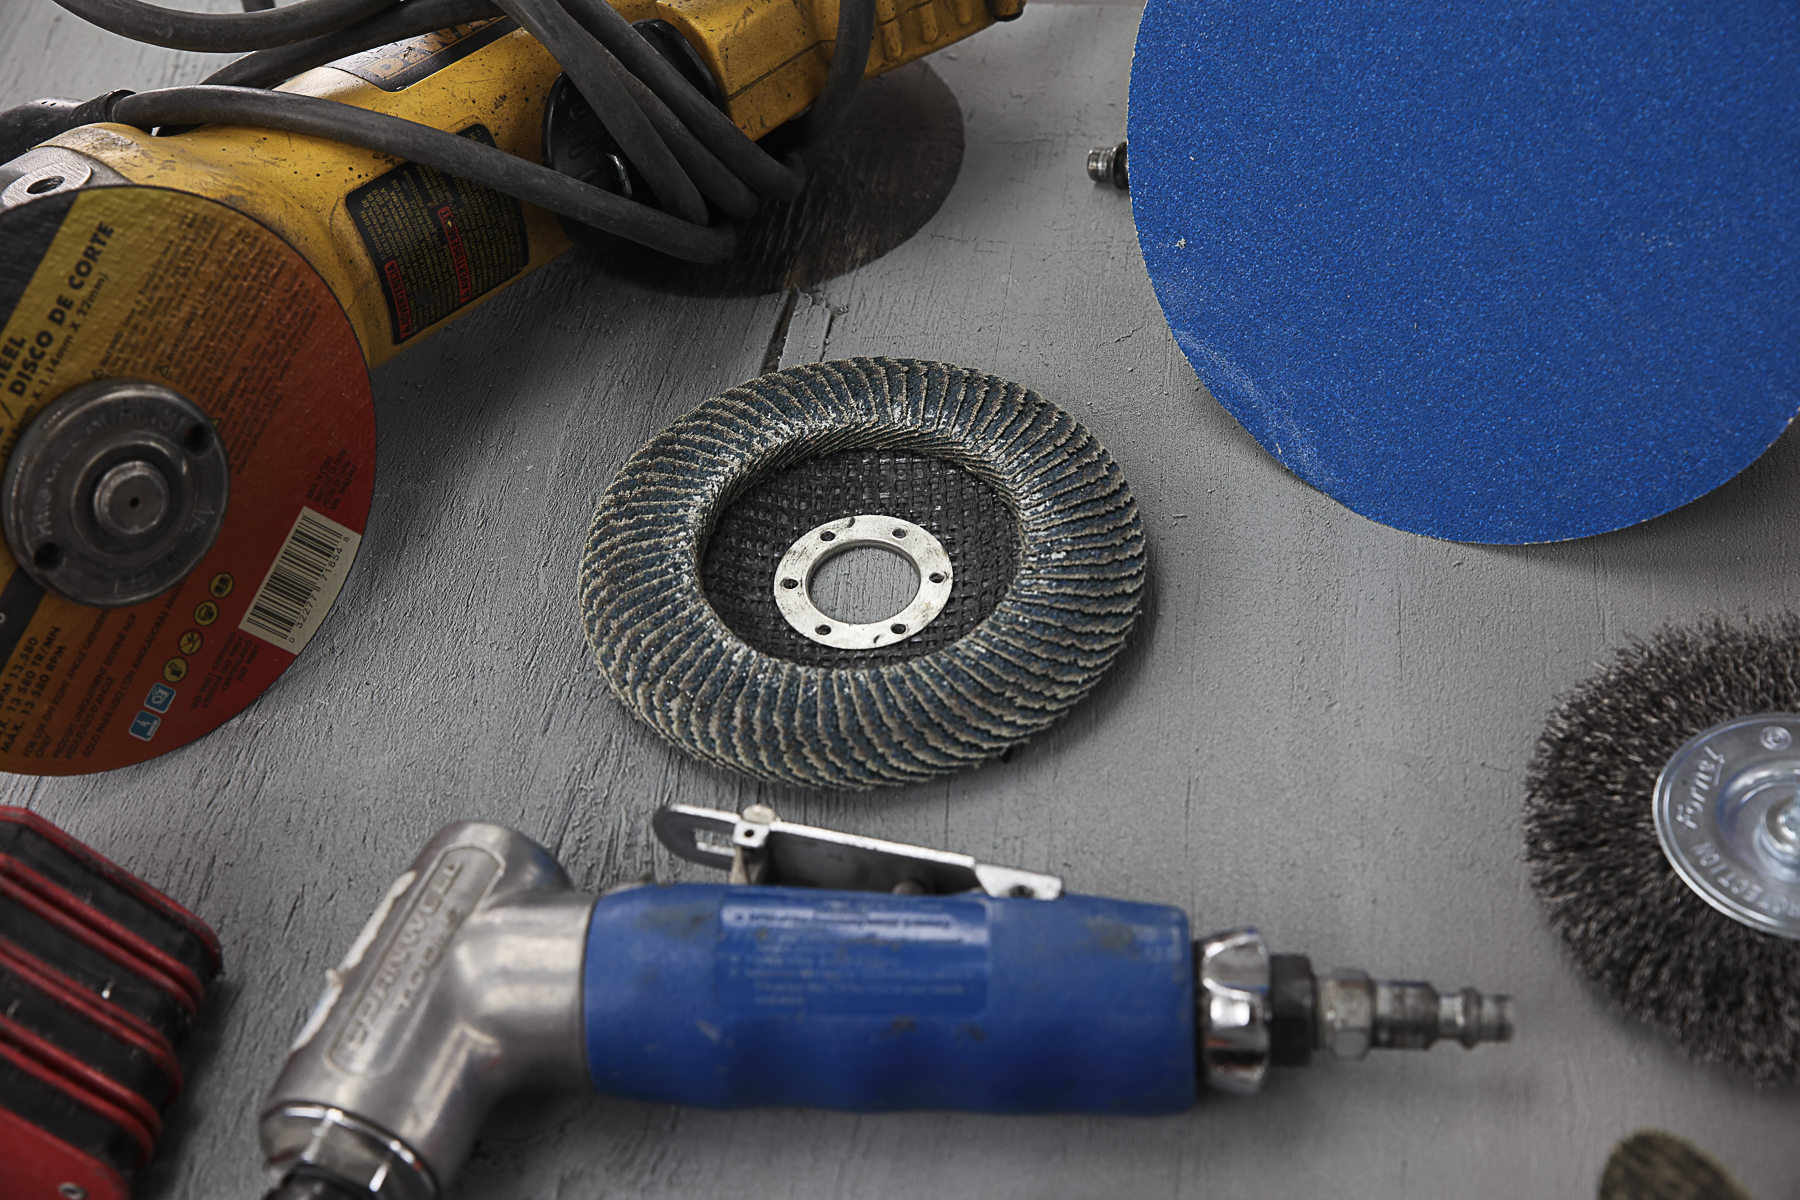
When you’re working on getting the panel’s fitment, you want to remember that less is more. Nachreiner recommends using a basic set of tin snips to cut the panel. The tin snips give you plenty of control over just how much material is being removed. Nachreiner says that a die grinder, sander, and cutoff wheel can also be used to remove material. These tools still give you plenty of control over the shape and trimming process, this is important because accuracy is critical.
The Right Tools For The Job
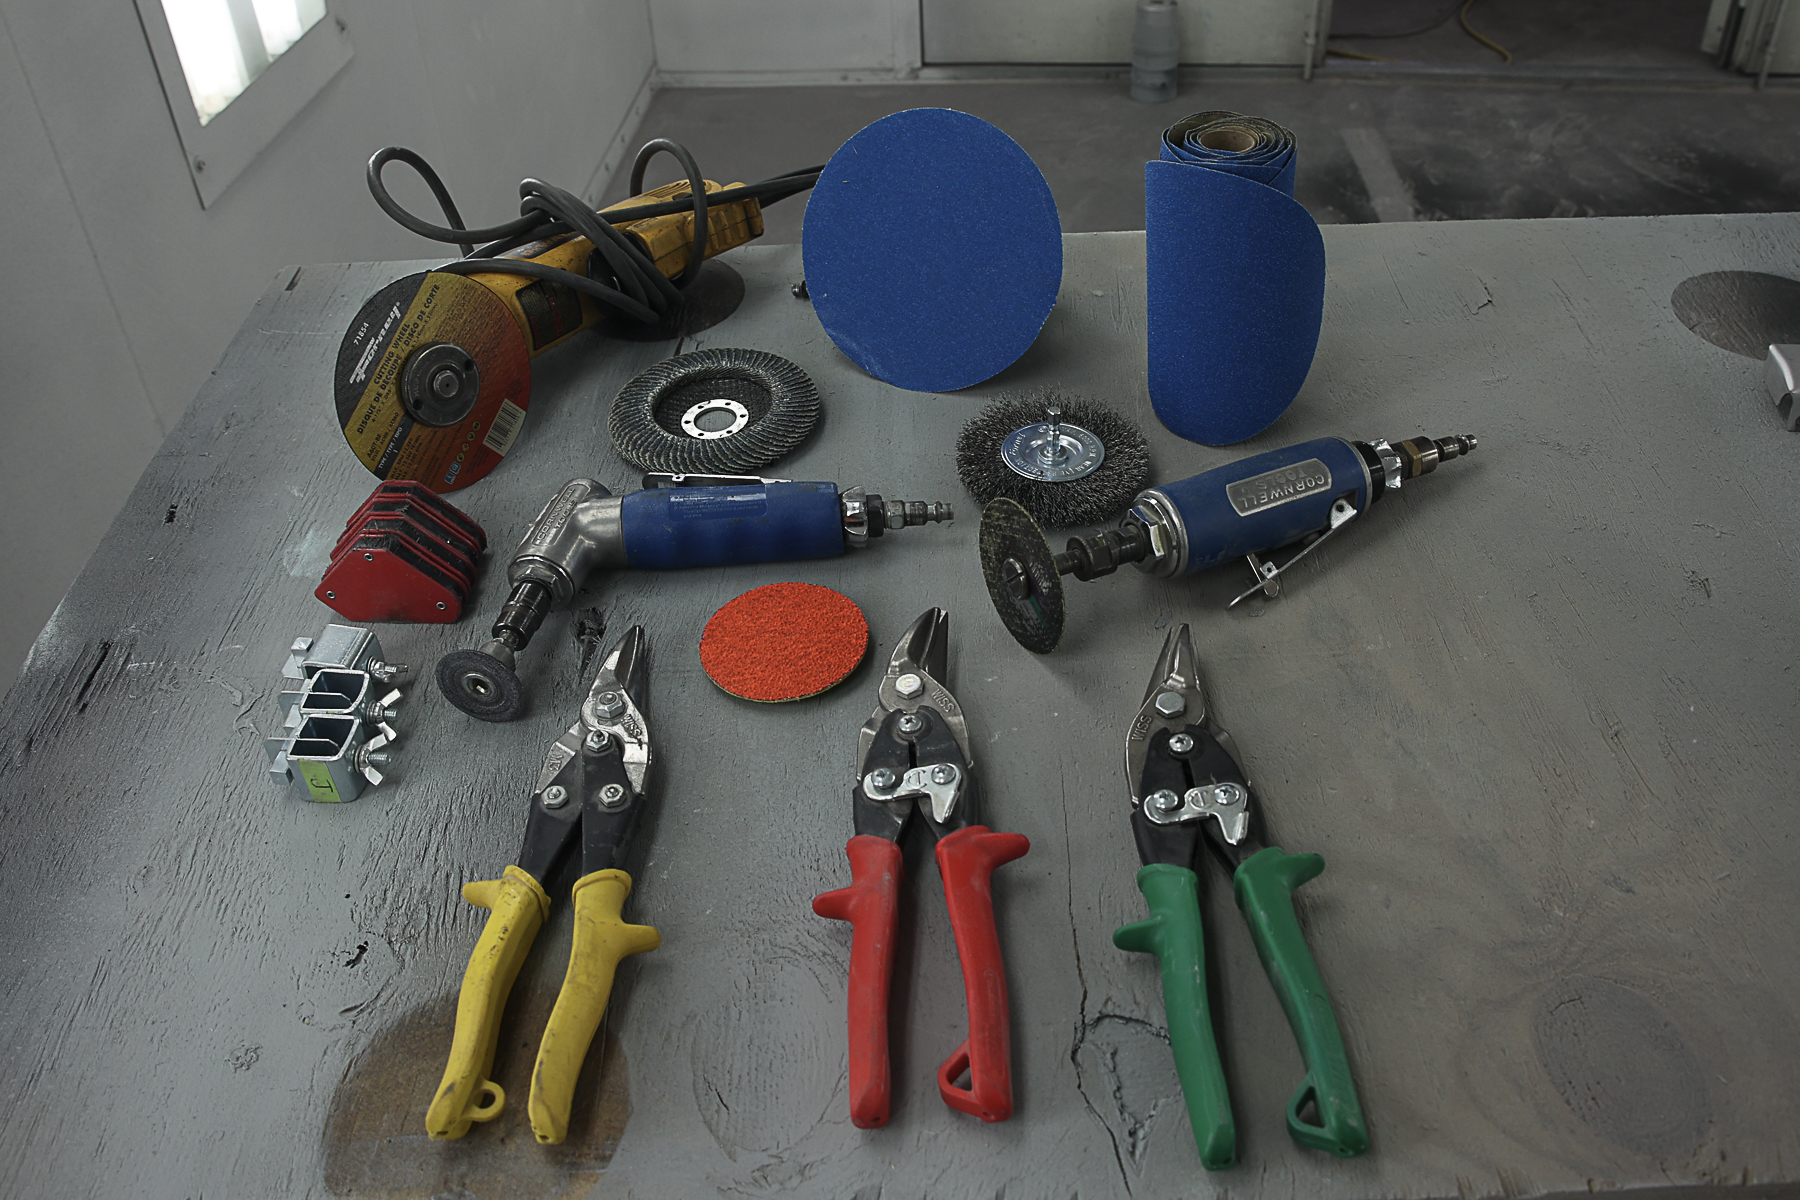
You really don’t need a lot of tools or anything exotic to install some fresh metal in a project vehicle. Installing a quarter and rocker panel can be done in any home garage as long as you have the right tools for the project. Everything you need can be purchased at your local big box home improvement store or Harbor Freight.
You don't need any fancy tools to install body panels at home.
The most expensive tool you’ll need for installing body panels is a welder, and even that can just be a basic MIG machine. If you’re already working on restoring a vehicle, you might have one. If not, it might be a good excuse to invest in an affordable home-shop welding machine.
“We replaced a rocker panel on a friend’s car in his home garage with a borrowed welder and some basic tools he already had. You just need a grinder, cutoff wheel, tin snips, a ruler, and some markers. That’s literally all we used in his garage to install the new panel. The tools we used were all battery powered, so you don’t even need a big air compressor,” Nachreiner states.
It’s Time To Operate
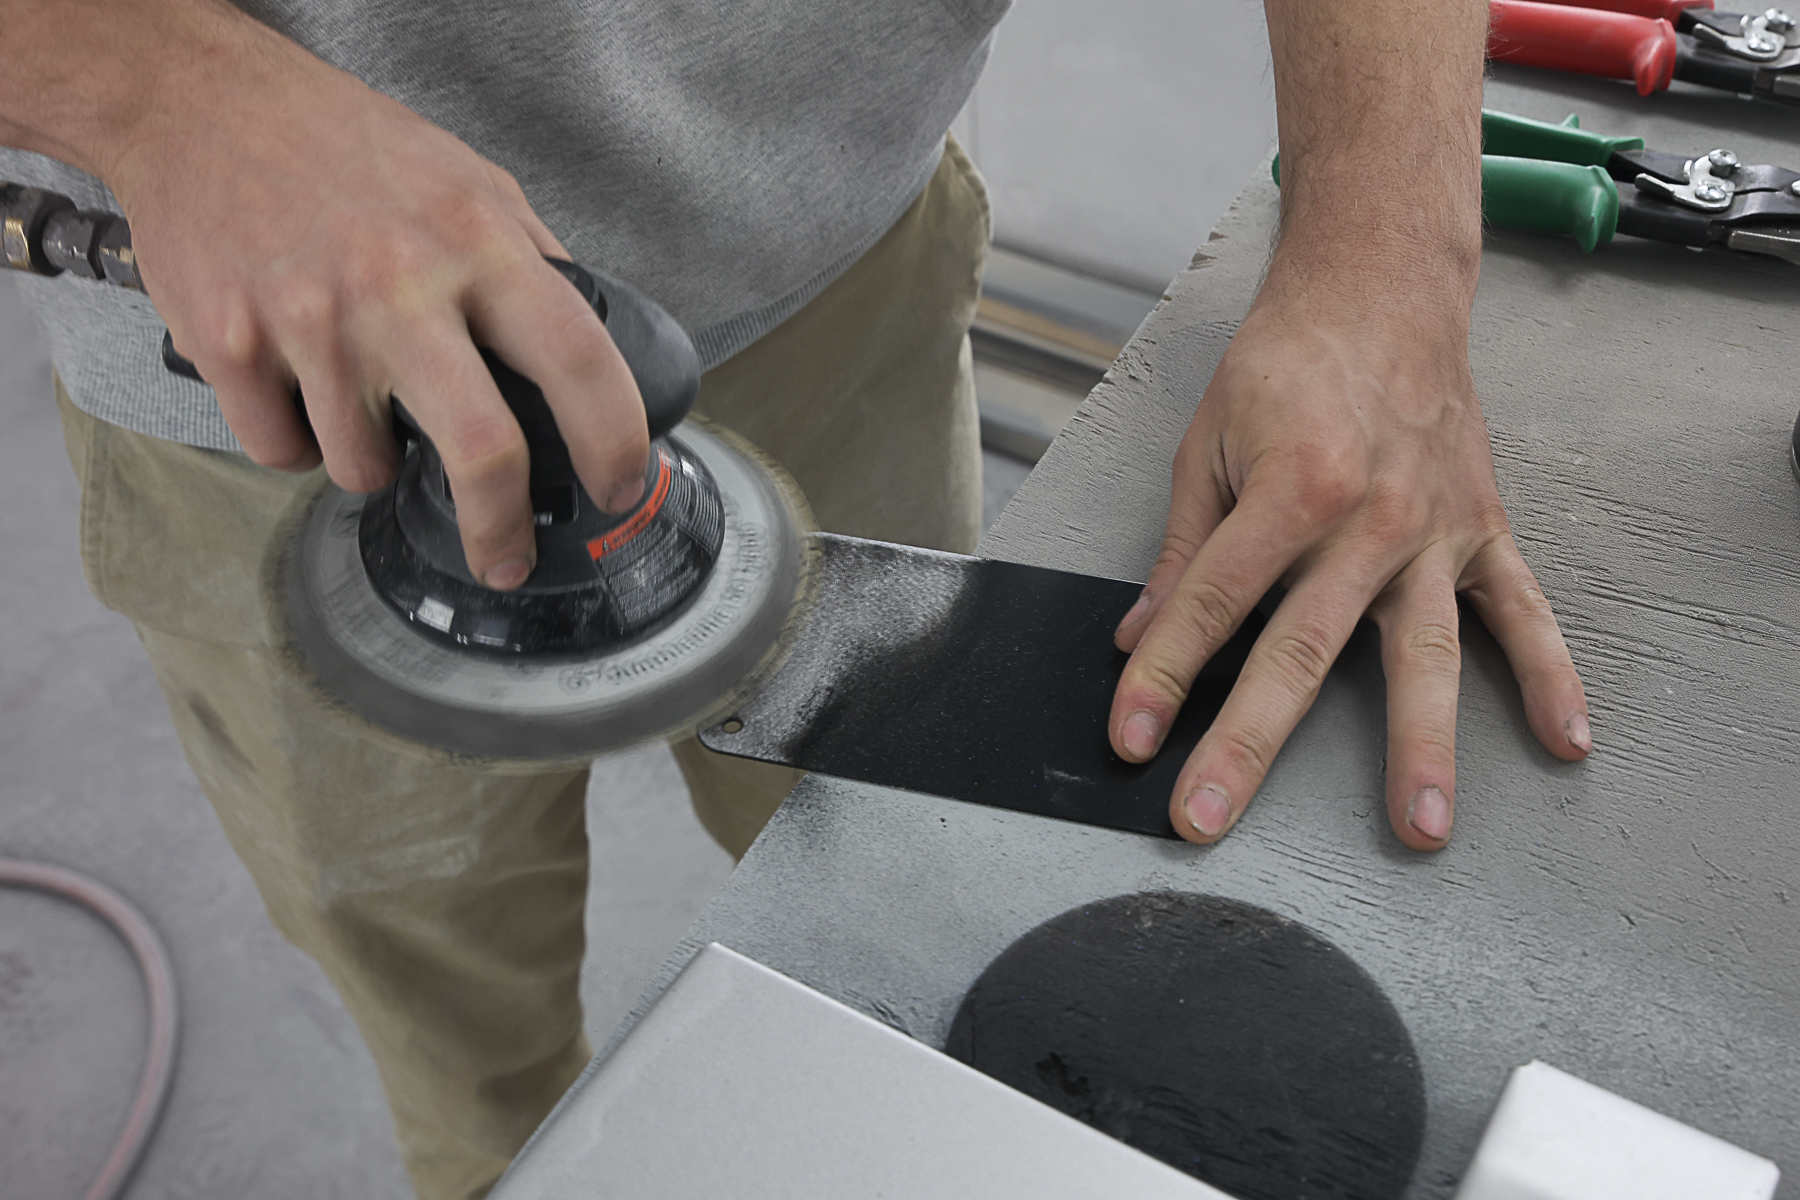
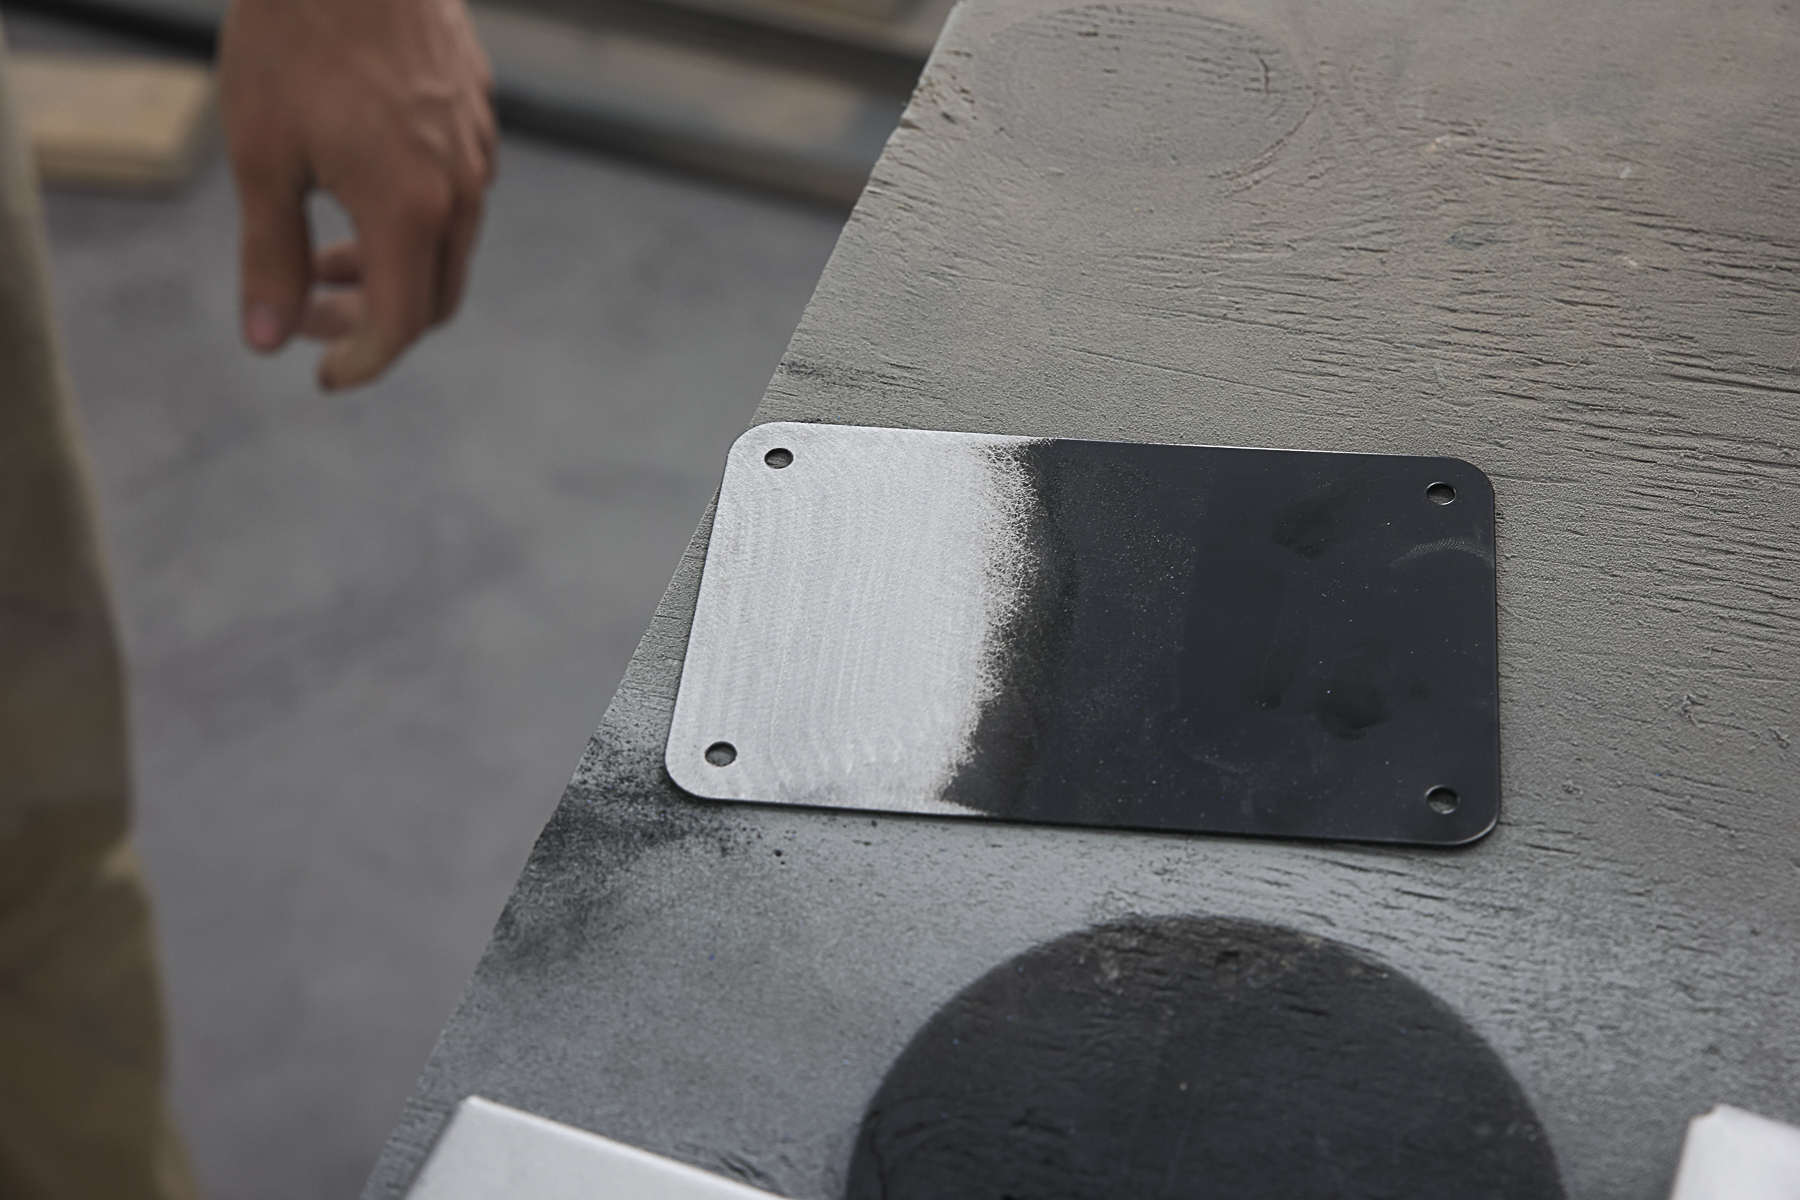
After you’ve got the panel dialed in and fitting like an OEM part, it’s time to work on getting it permanently attached to the vehicle. This is when you need to remove the E-coating that’s on the surface of the part where you’ll be welding or painting. Usually, this includes the outside facing surfaces, these are what need to be brought down to raw metal.
E-coat must be fully removed before the panel can be installed. Failure to remove the E-coat and properly prepare the panel will lead to installation issues.
“Removing the E-coating isn’t usually that difficult. You can sand it off with some 80-grit sandpaper, a DA-sander will speed up the process on larger parts. The main thing you need to keep in mind is that all of that coating needs to come off. If you don’t remove it, you will have issues getting good welds, and it’s going to create more paint prep work later,” Nachreiner says.
Once the coating has been removed, you can go through the final test fitting process to make sure everything lines up how you want. Nachreiner recommends using a wire wheel to clean up all the areas that will be welded, the cleaner the surfaces, the better the welds. The gaps between the vehicle and the new panel need to be as tight as possible. When you’re satisfied with the fit, you can burn some metal and make the panel a permanent part of the vehicle.
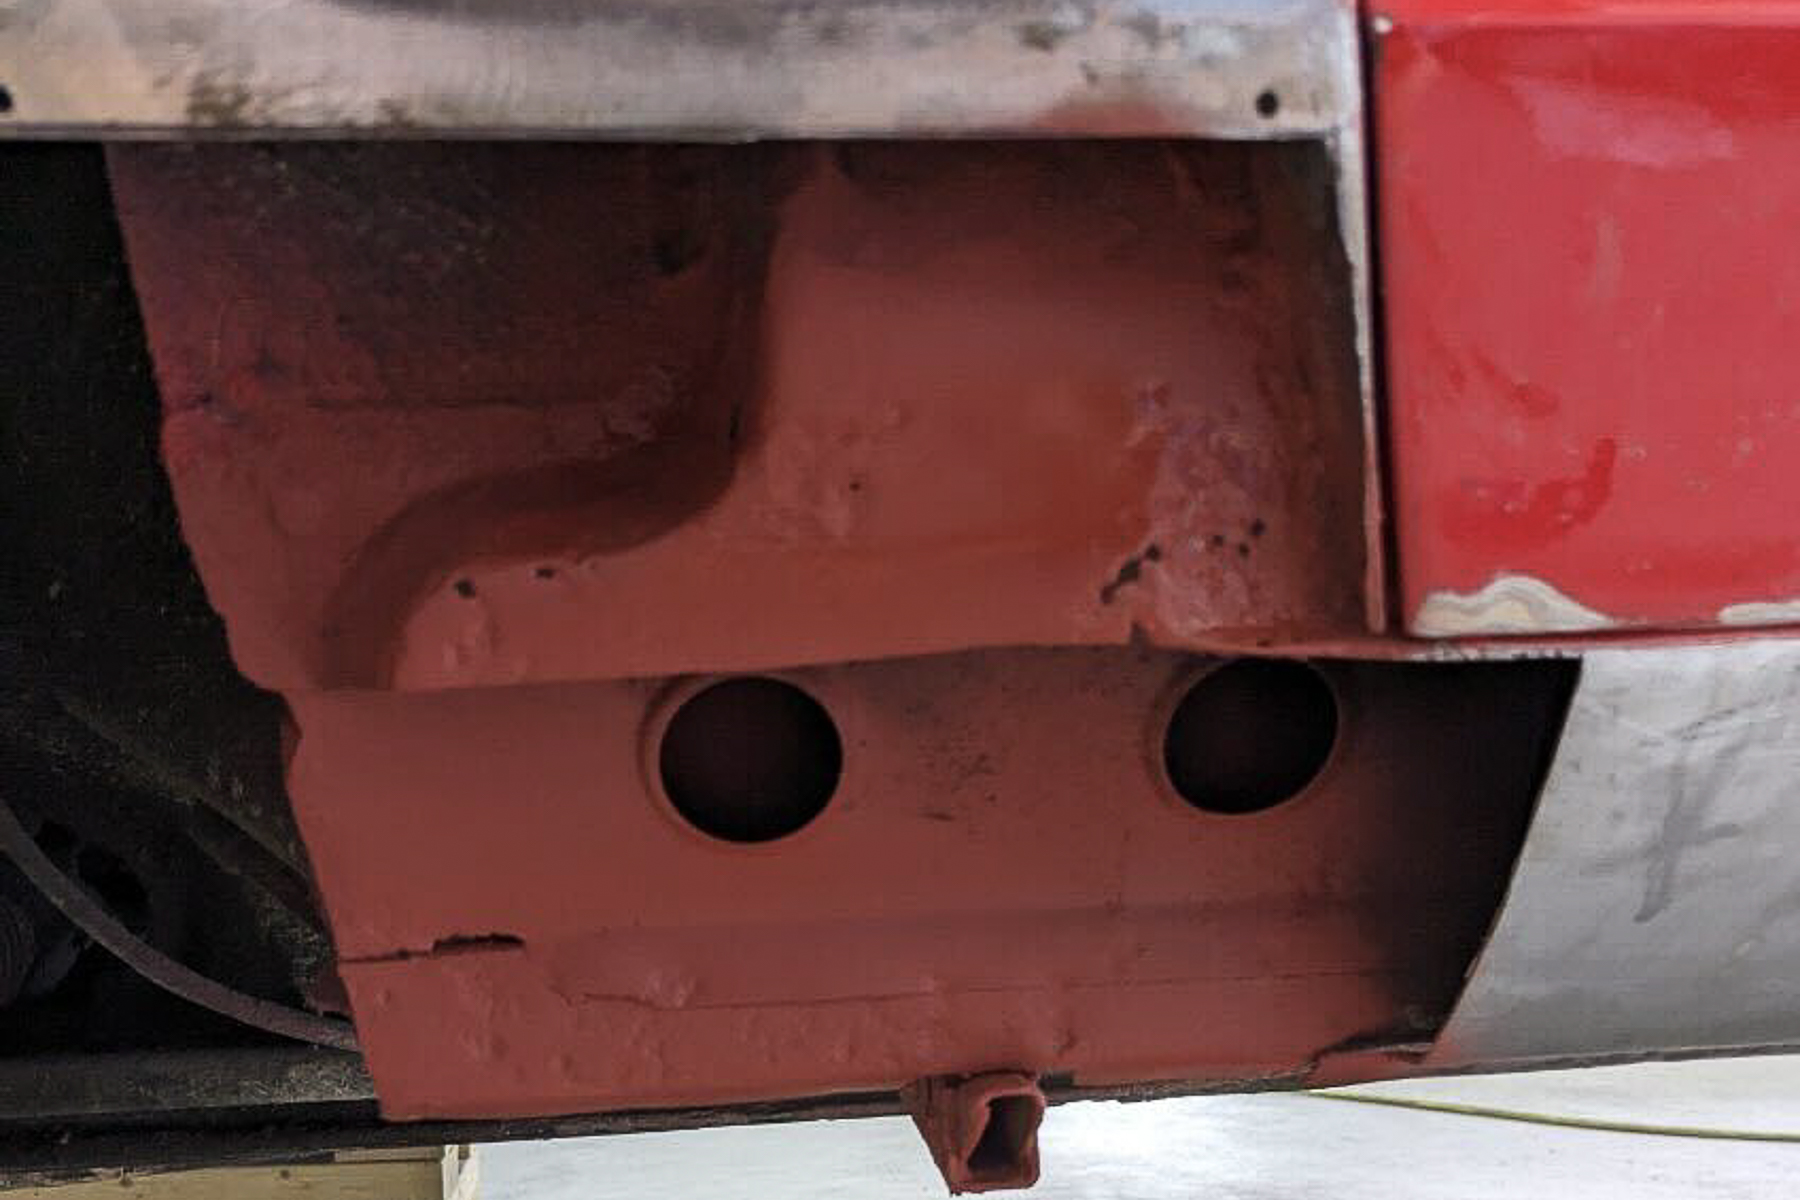
Not every part is shipped with E-coat. Some might be delivered to you covered in weld-through primer. This is actually a good thing because it saves you the time of having to apply the weld-through primer to the backside of the panel yourself. Weld-through primer can be purchased at any local auto parts store and you’ll need to use it on any surface that won’t be getting painted.
“The backside of the part you’re welding, will need to have some type of coating that will prevent corrosion. A weld-through primer is great for these areas. It won’t be compromised by the welding process, and won’t catch on fire either,” Nachreiner explains.
You must use primer on the areas that will be covered by the panel you're installing. After you've made sure the panel fits correctly, you can weld it into place. The final step is preparing the new panel's surface for the last bit of body work and paint prep.
You spent the time making sure your panel fit perfectly, you prepared the panel to perfection, and welded it in with amazing precision, now what? It’s time to check your work over and make sure everything lines up properly. You need to keep in mind that some additional adjustments might need to be made now that the panel has been welded into place.
“Metal can do some weird stuff when you weld on it. There will be some movement because you’ve applied heat to it. Some hammer and dolly work might be required to get everything lined back up properly. You want everything lined up properly before you start final paint prep because if the panel isn’t right, it will show up after you paint it,” Nachreiner says.
Replacing body panels isn’t as scary as you think it is. It comes down to preparing the panel and surfaces properly, taking your time, and checking your work.


