Power adders are great. They can take an ordinary engine and make it something extraordinary and usually within a few hours over a weekend. The only problem is, when people see modifications like nitrous or forced induction, they expect it to be fast. So what can you do if you want more power without all of the extra attention? While turbos and superchargers are pretty much impossible to hide even if you don’t pop your hood, nitrous is a completely different story.
The idea of hiding a nitrous system is not a new one. Racers are always looking to bend the rules for an edge over the competition. We know for a fact that this idea has been utilized in everything from dirt track racing, Jr. Dragsters, and even Pro Stock racing. And while some vehicles are easier to work with than others, if you’re creative enough, you can fool a majority of the people on the streets.
As they say, “The devil is in the details,” and this statement could not be any more true than when trying to hide a nitrous system. The more time you take to plan out your hidden installation, the harder it will be for someone to find. You will be at the mercy of the components supplied with a standard system, and while most of these parts will work, if you plan accordingly, you can make some changes or additions before you ever start the process. Smaller solenoids, longer or shorter feedlines, and even the bottle size can make or break a hidden system.
Nitrous On A Modern Vehicle
Most modern EFI vehicles are an excellent candidate for a hidden system, and our 2000 Pontiac Firebird WS6 fits the bill perfectly. They offer lots of hoses, clutter, and hiding places for components. You can also run either a wet or dry setup, depending on your preference. To adapt nitrous to a modern car, in most cases, you will need a way to remove some ignition timing, and change the factory sparks plugs out to colder ones.
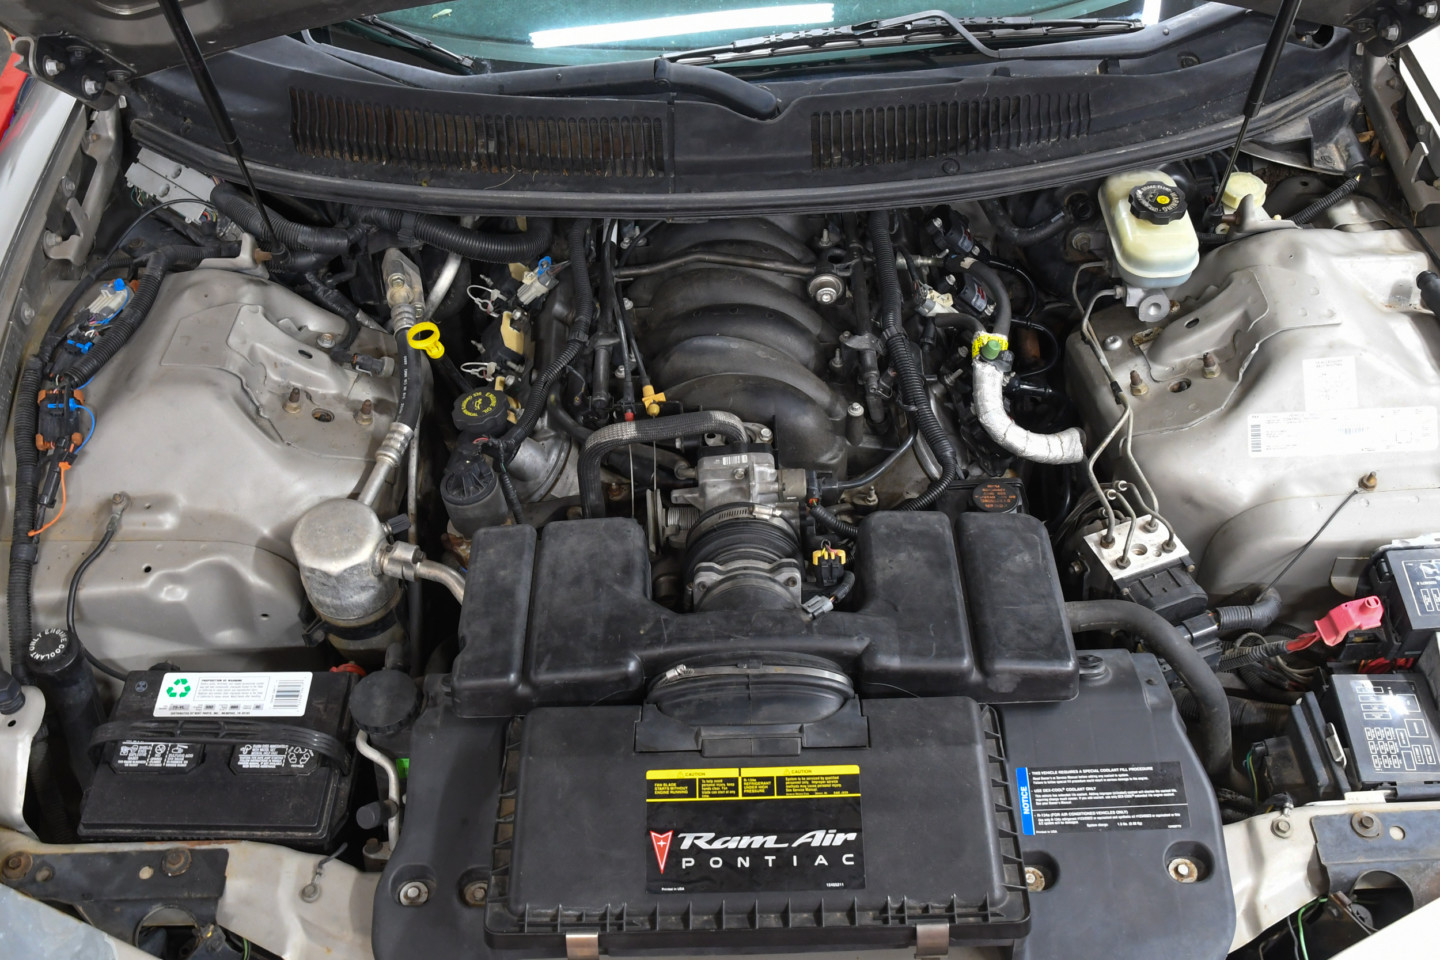
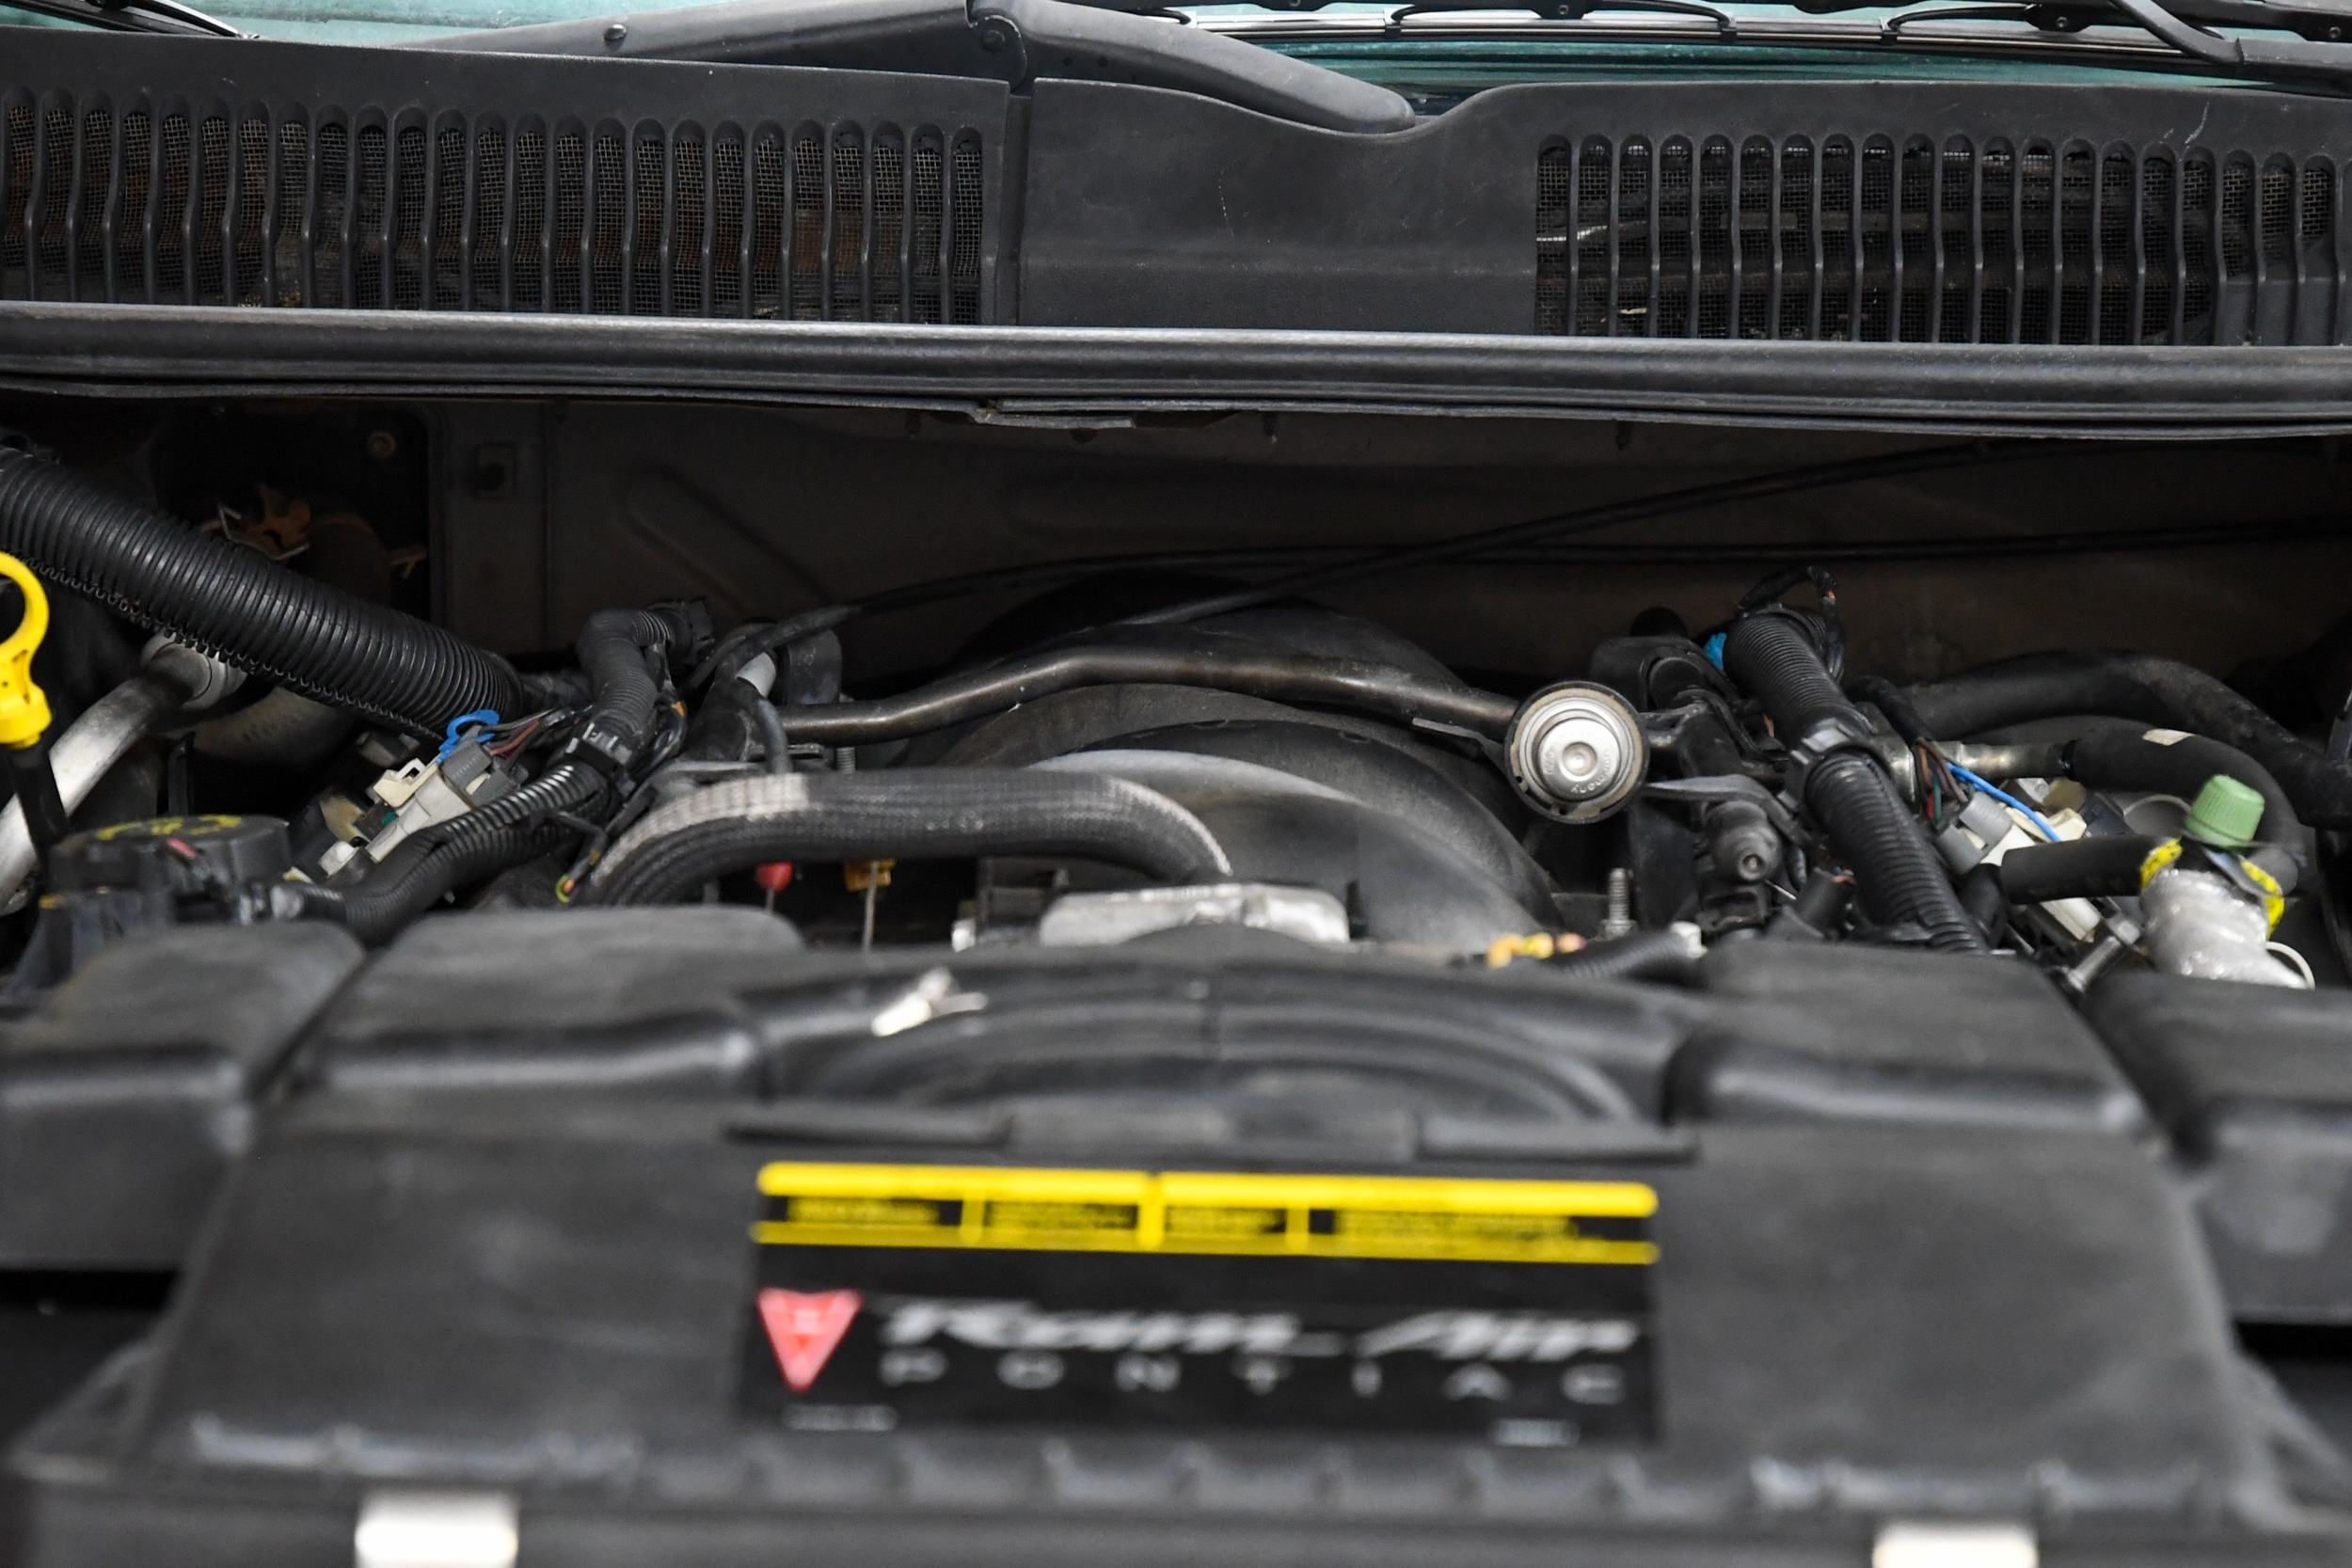
Our 2000 WS6 is the perfect car for hiding a nitrous system. The engine bay is jammed packed with hoses, lines, and wiring.
Wet vs. Dry
If you’ve researched nitrous before, you’re probably familiar with the terms wet and dry. A wet system will inject added fuel with nitrous activation. A dry system only adds nitrous and then it’s up to the ECU and injectors to add the needed fuel.
A wet system is preferred for most vehicles with a factory ECU. This type of nitrous setup is a true bolt-on power adder that does not require changing anything in the ECU tune of the vehicle, other than ignition timing. – Ryan Lewis
We reached out to Ryan Lewis, Marketing Director of Nitrous Express, for some insight on these types of systems. Ryan said, “A wet system is preferred for most vehicles with a factory ECU. This type of nitrous setup is a true bolt-on power adder that does not require changing anything in the ECU tune of the vehicle, other than ignition timing. Since a wet system adds nitrous enrichment fuel through the nitrous system, there is no need to upgrade the factory injectors. Dry nitrous systems are not the best choice for use with a factory ECU. Most factory ECU’s don’t have a way to see when nitrous is engaged, and there are no tables to add additional fueling when nitrous is flowing,” explains Ryan.
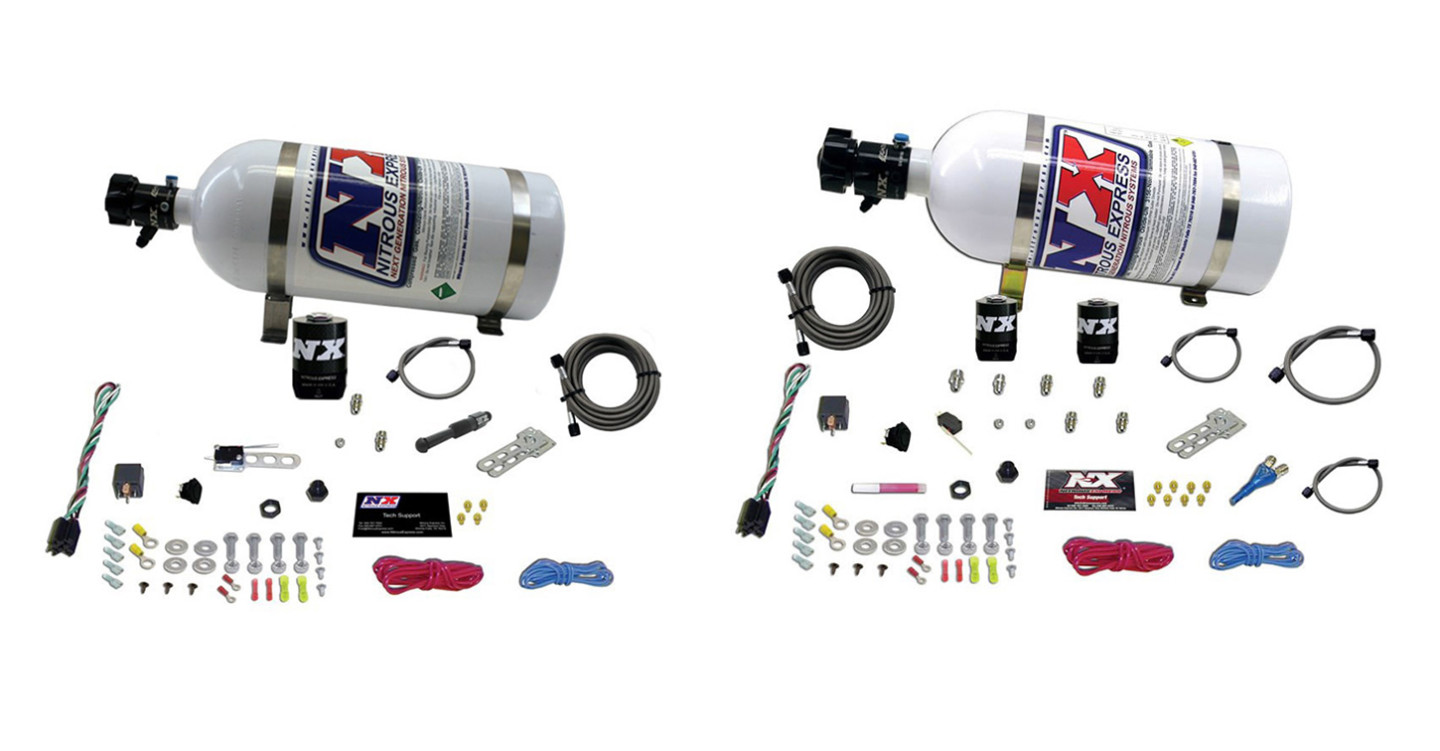
You can see that the dry nitrous system on the left has fewer components than the wet system on the right making it easier to hide.
The people that can truly benefit from a dry nitrous system will be running an aftermarket ECU, such as Holley, FAST, or Haltech. – Ryan Lewis
To run a dry system on an LS you will need to be pretty familiar with a program like EFI Live or HP Tuners when you want to add the required fuel. And while you could pay a tuner, if you want to add more nitrous, it will require a new tune altogether. Ryan said, “The people that can truly benefit from a dry nitrous system will be running an aftermarket ECU, such as Holley, FAST, or Haltech. These products have the features to maximize the potential of a dry nitrous system if that’s the chosen route. Larger fuel injectors are usually required to provide enough fuel for the engine as well additional fuel for the dry nitrous system.”
Hiding a Dry System
A dry nitrous system is much easier to conceal than a wet for one reason: it operates with fewer components. Instead of two solenoids and multiple hoses, a dry system can use a single small nozzle, one hose, and a nitrous solenoid. Even though a dry system isn’t the method of choice on our WS6, we wanted to give you an idea of how easy a dry system is to hide in our car.
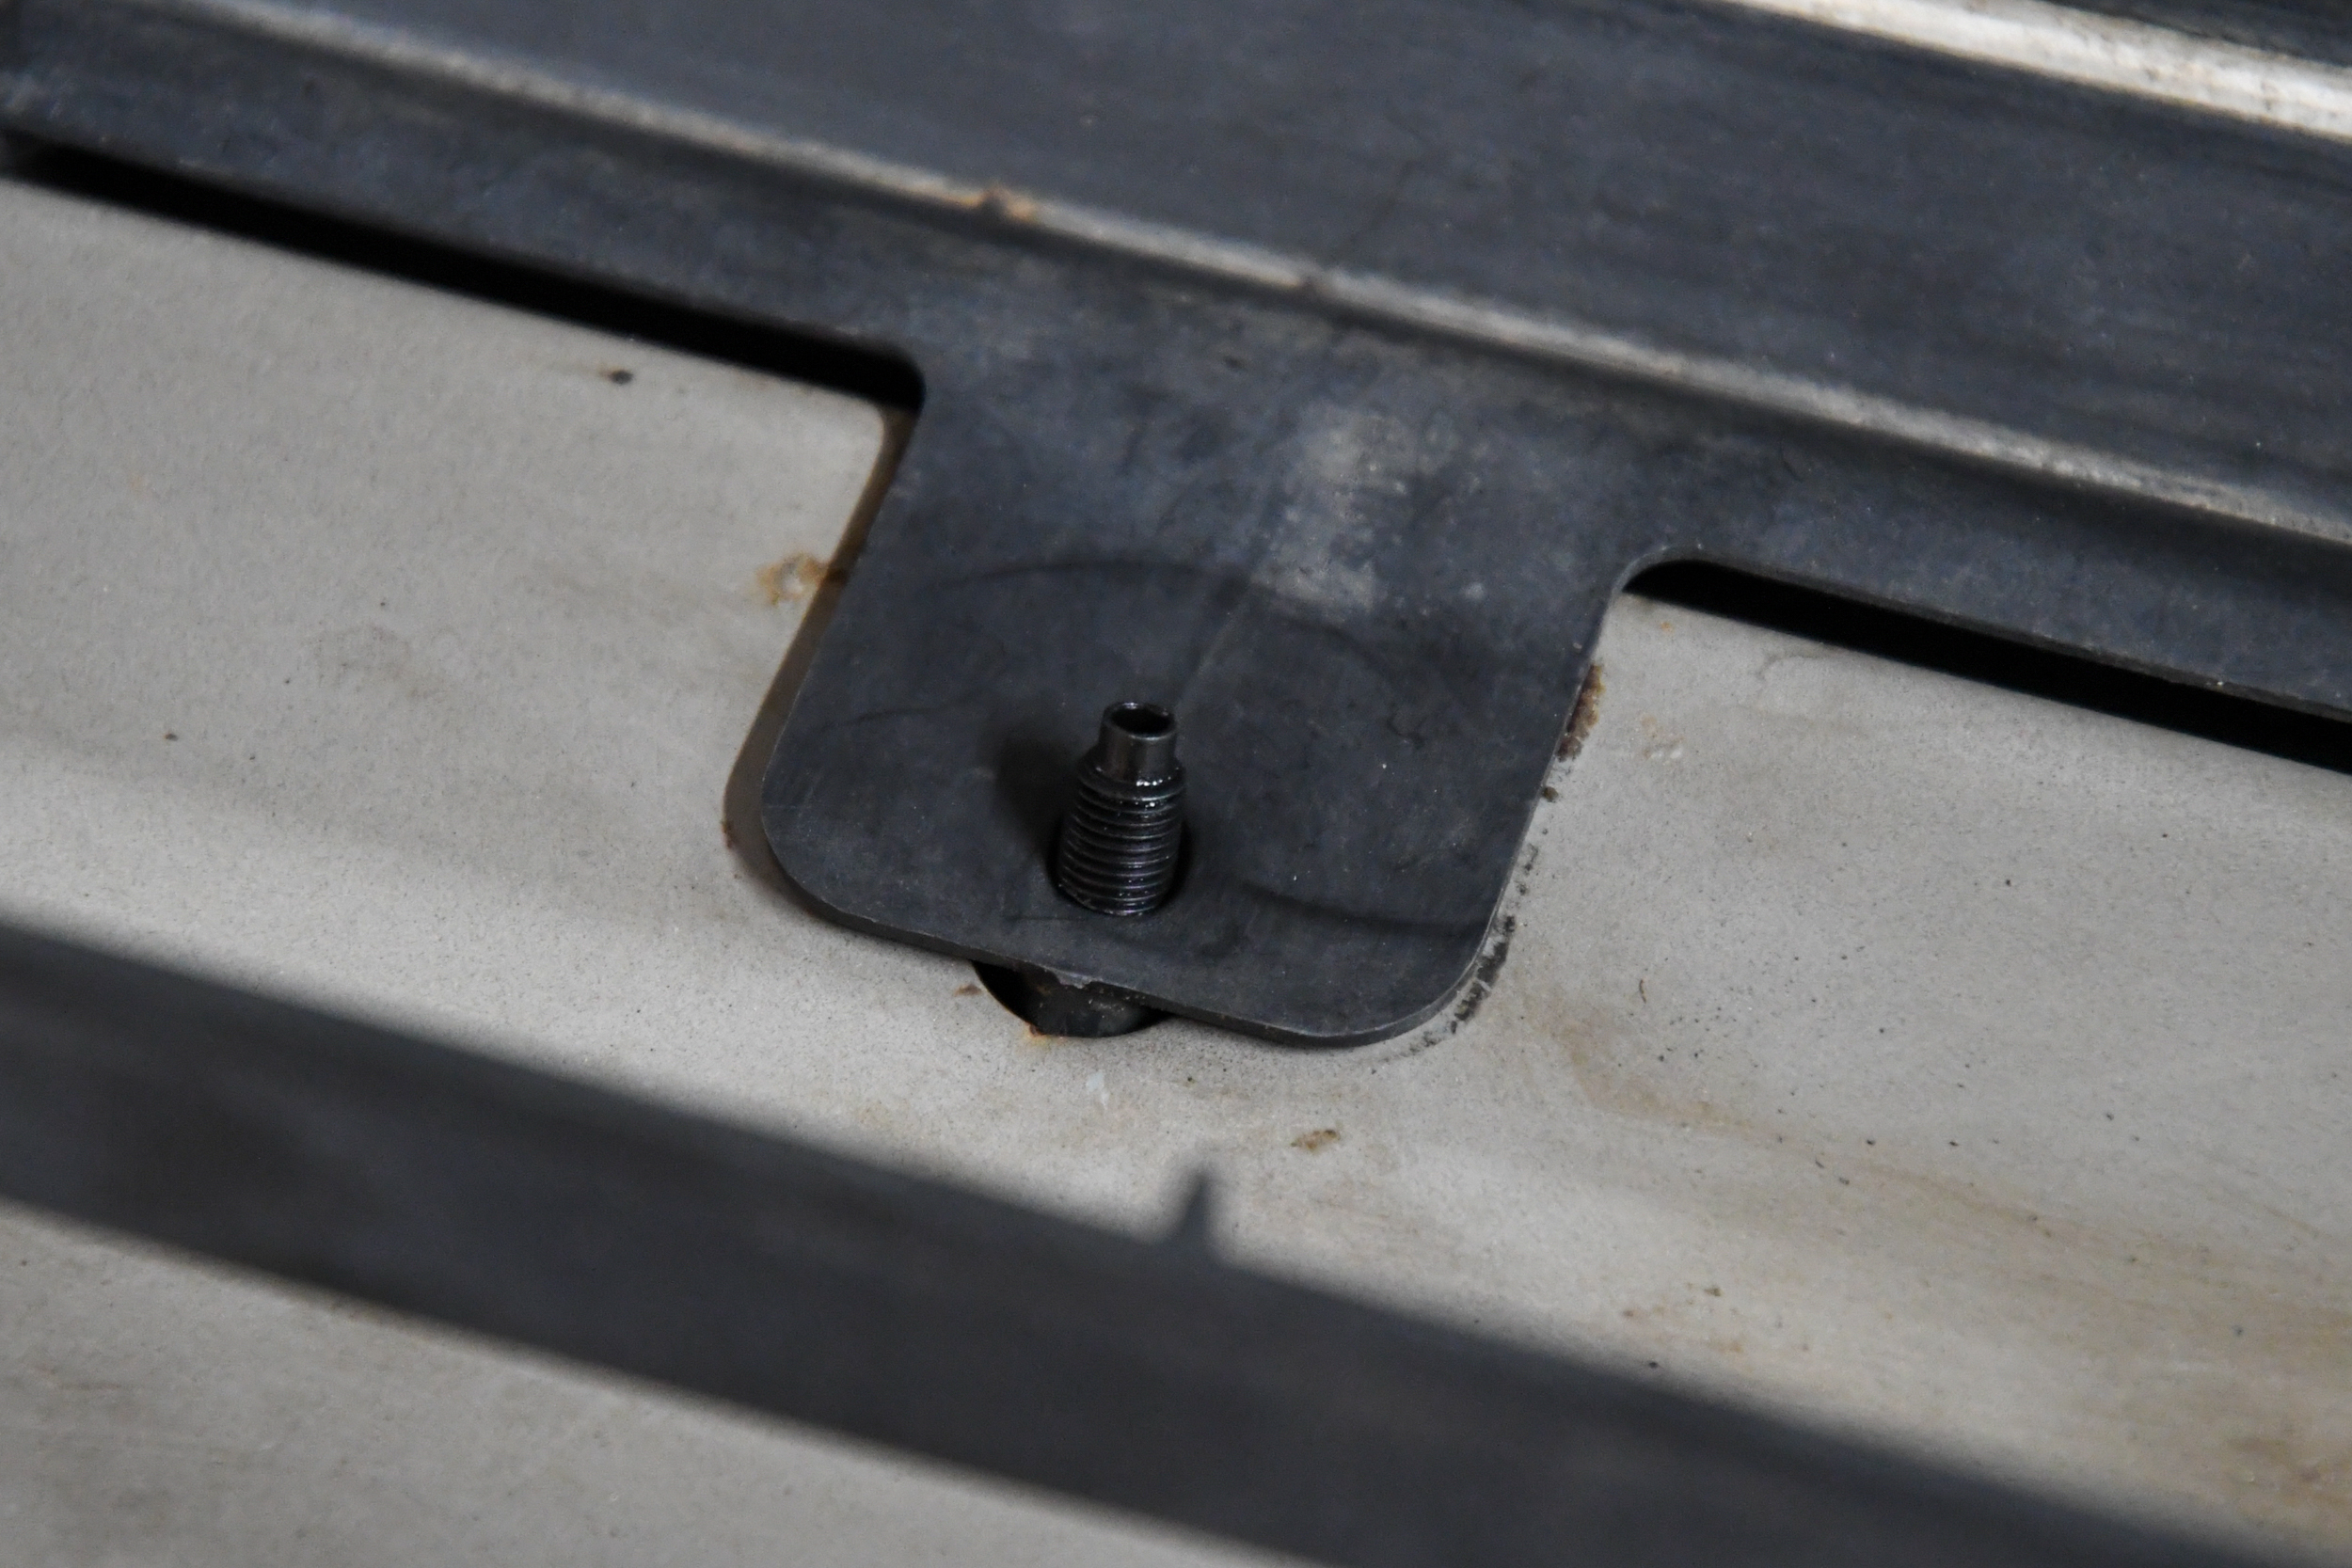
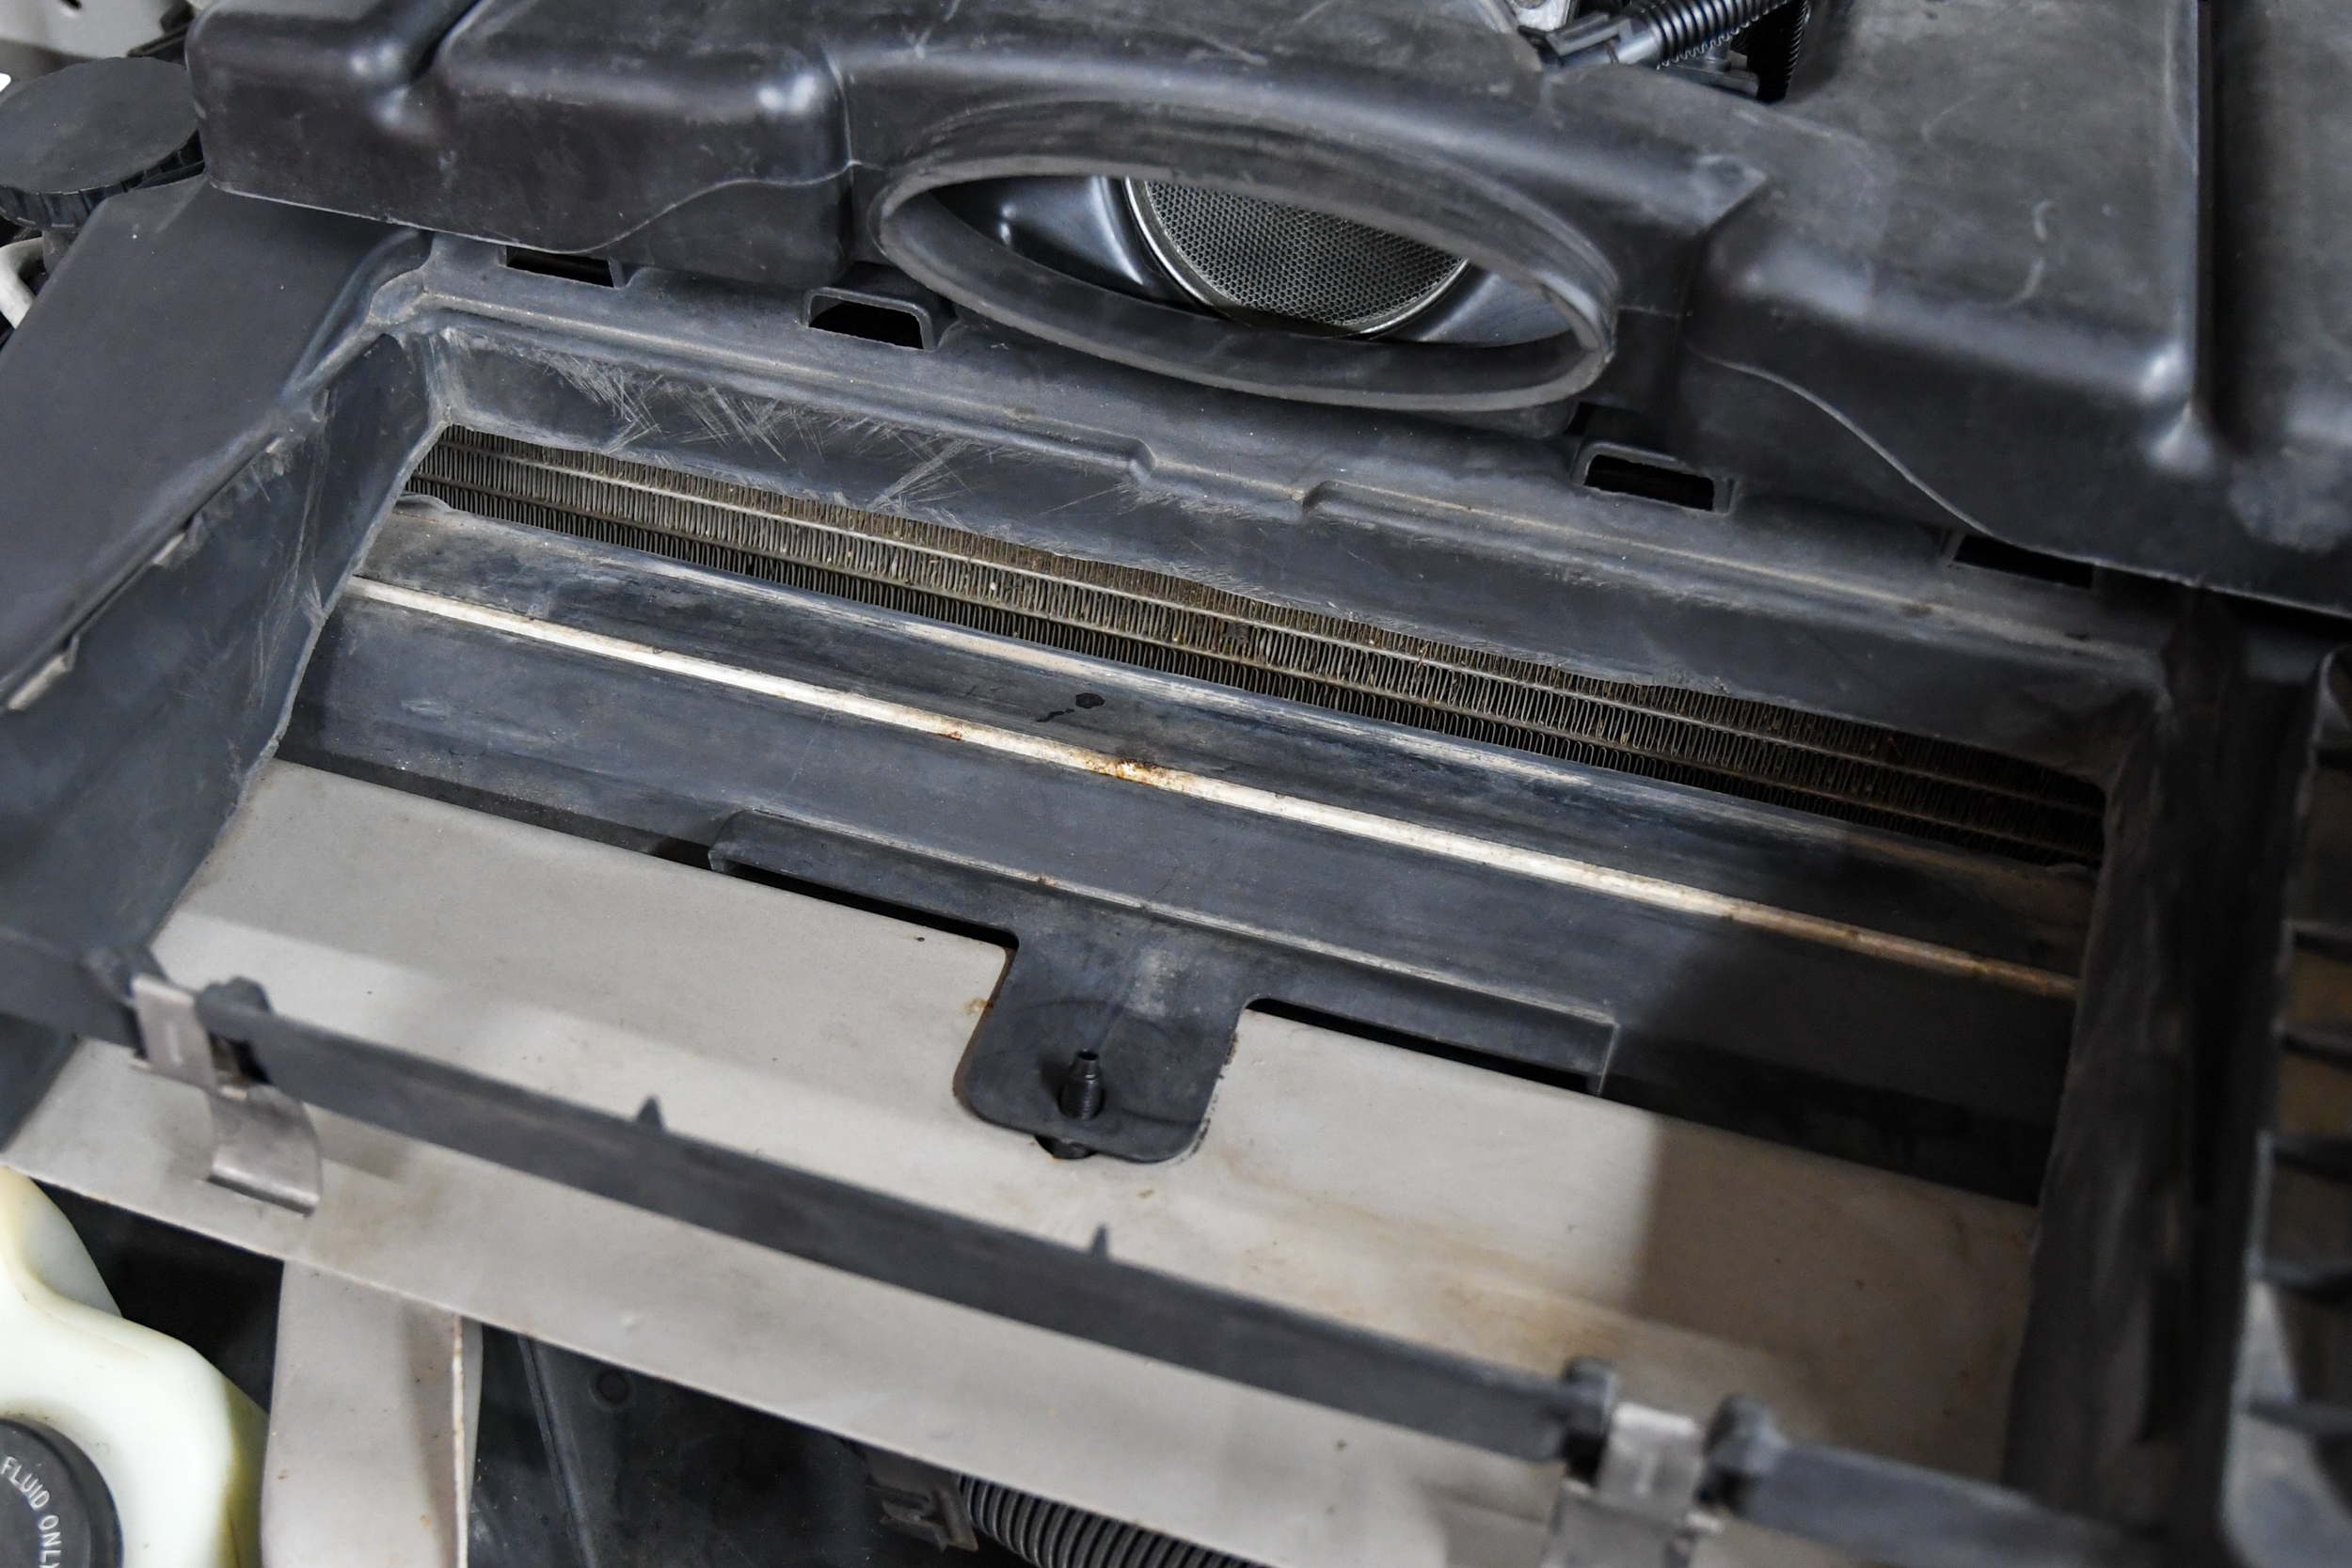
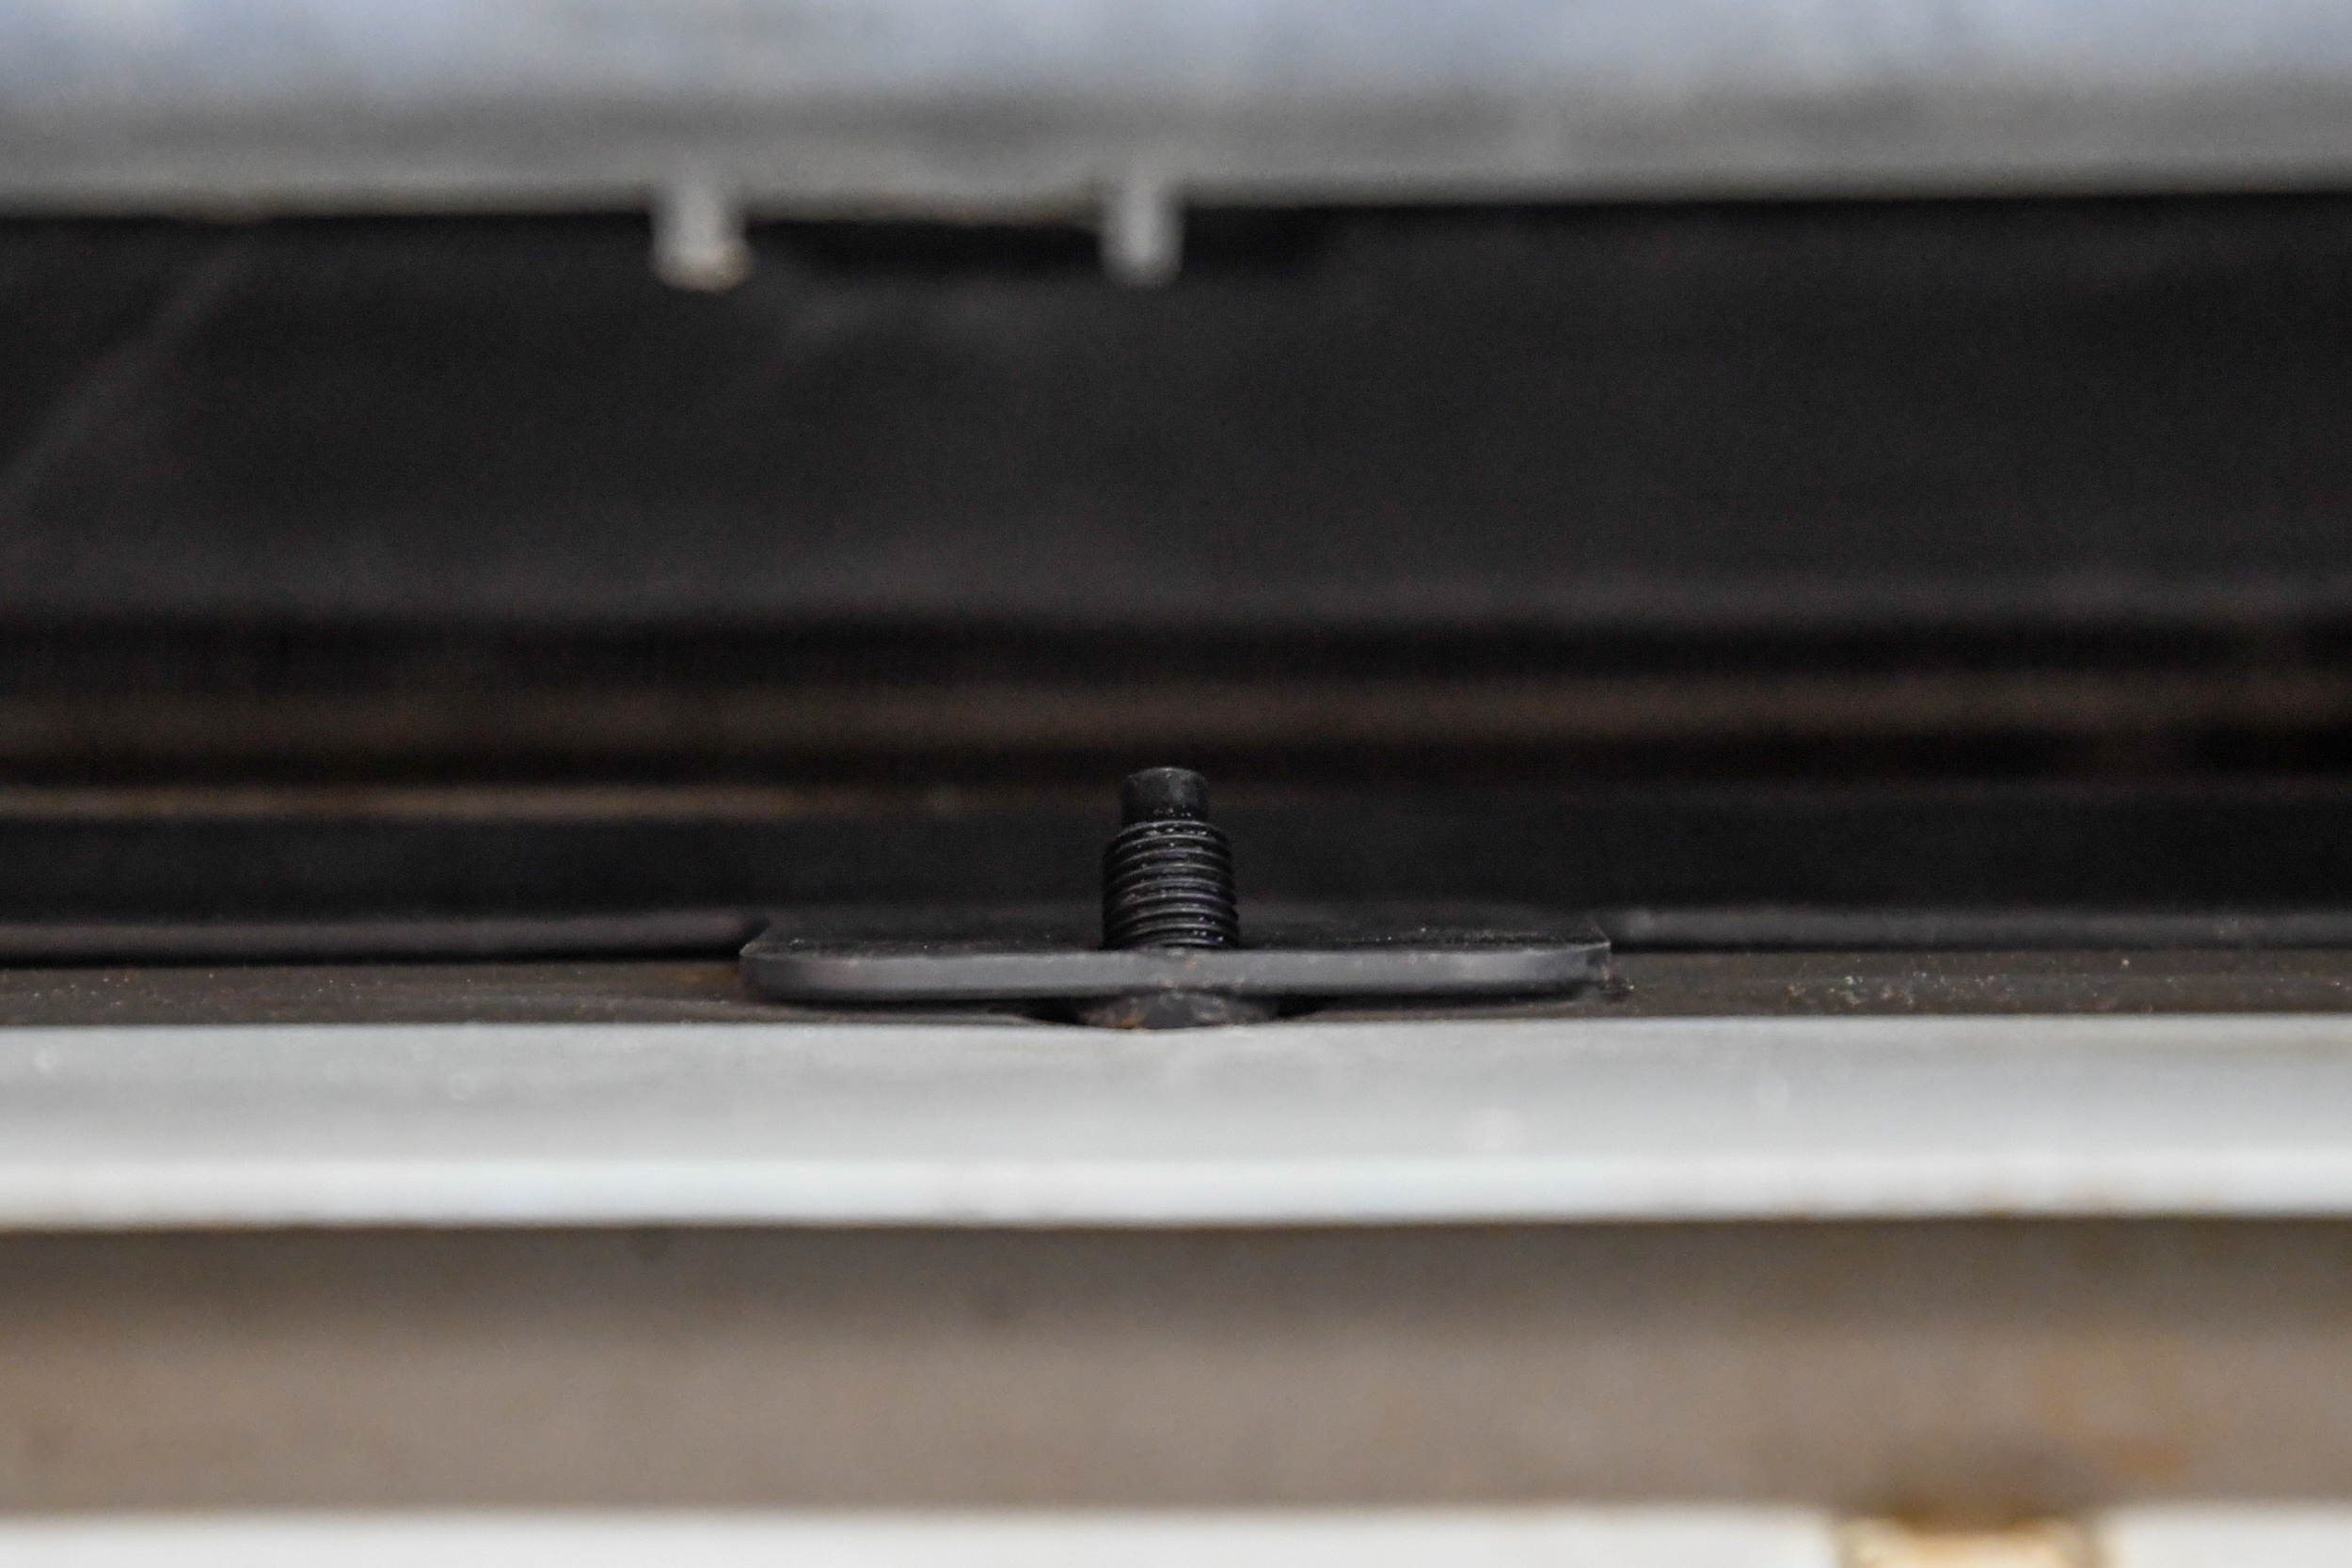
In the above picture, you can barely see the tip of the nozzle poking out of the plastic on the core support. This location would work perfectly on the WS6 with the air filter removed, and unless the car was dismantled, you wouldn’t be able to find a trace of anything under the hood.
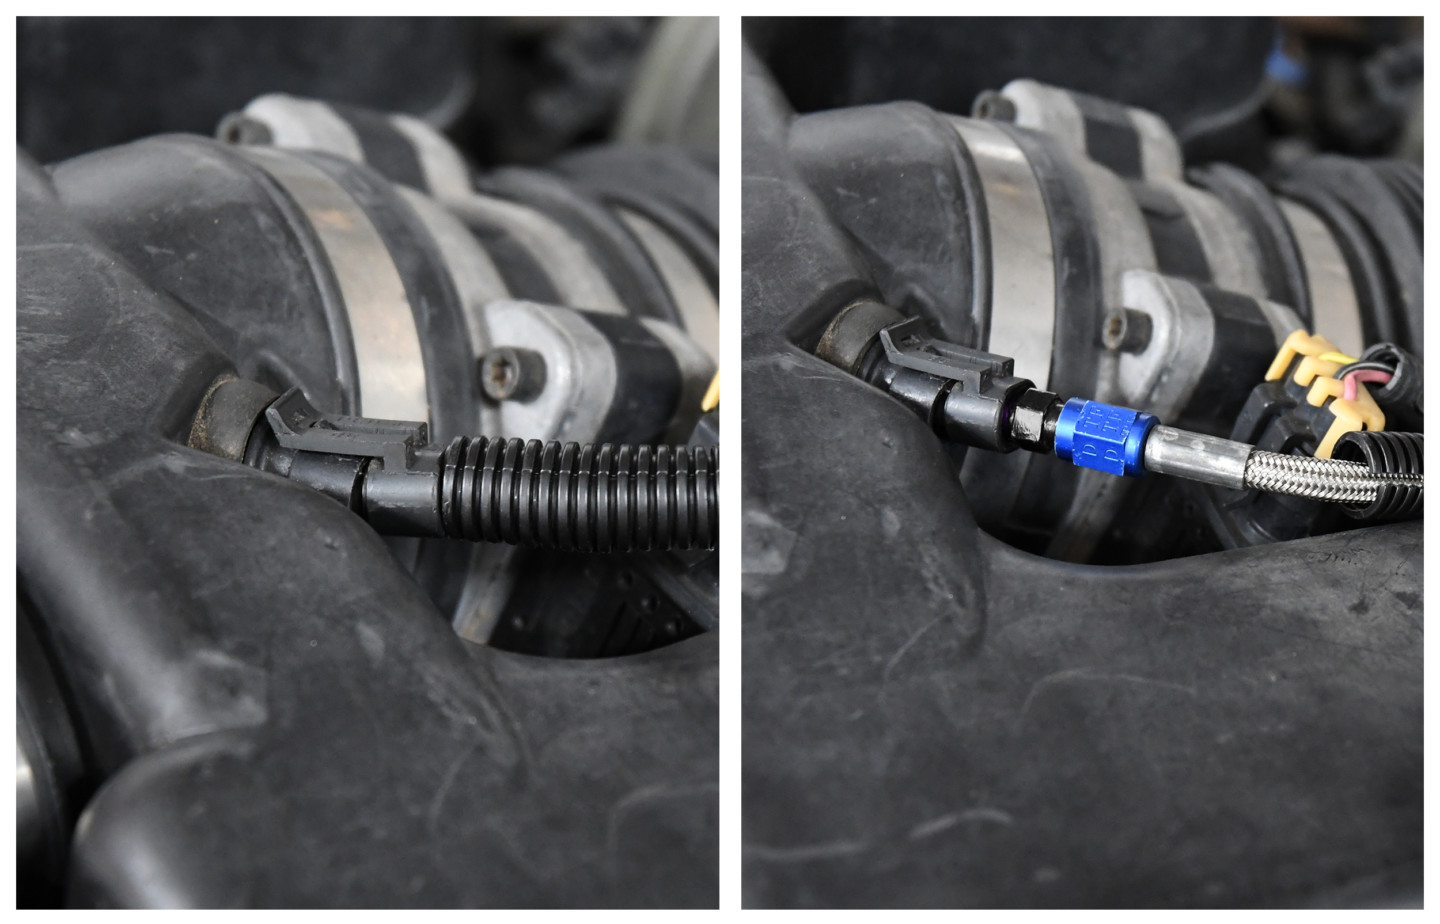
We drilled out an old air temperature sensor and then threaded in a dry nozzle. All that was needed was a piece of conduit to cover the steel braided hose and the remote mount the factory sensor.
Another sneaky location would be to relocate the air temperature sensor to a different place that’s out of sight. With the sensor out of our way, we drilled and tapped an old sensor, and mounted the nozzle in plain sight. What’s fantastic about this location is nothing is out of place, and everything is as it should be. We like it just because it’s an obvious location that not many would think of utilizing.
Weapon Of Choice
While a dry system is much easier to install and hide due to smaller components, among other things, this option was out for us because of our factory injectors and the stock ECU. A wet system was the best option for our application.
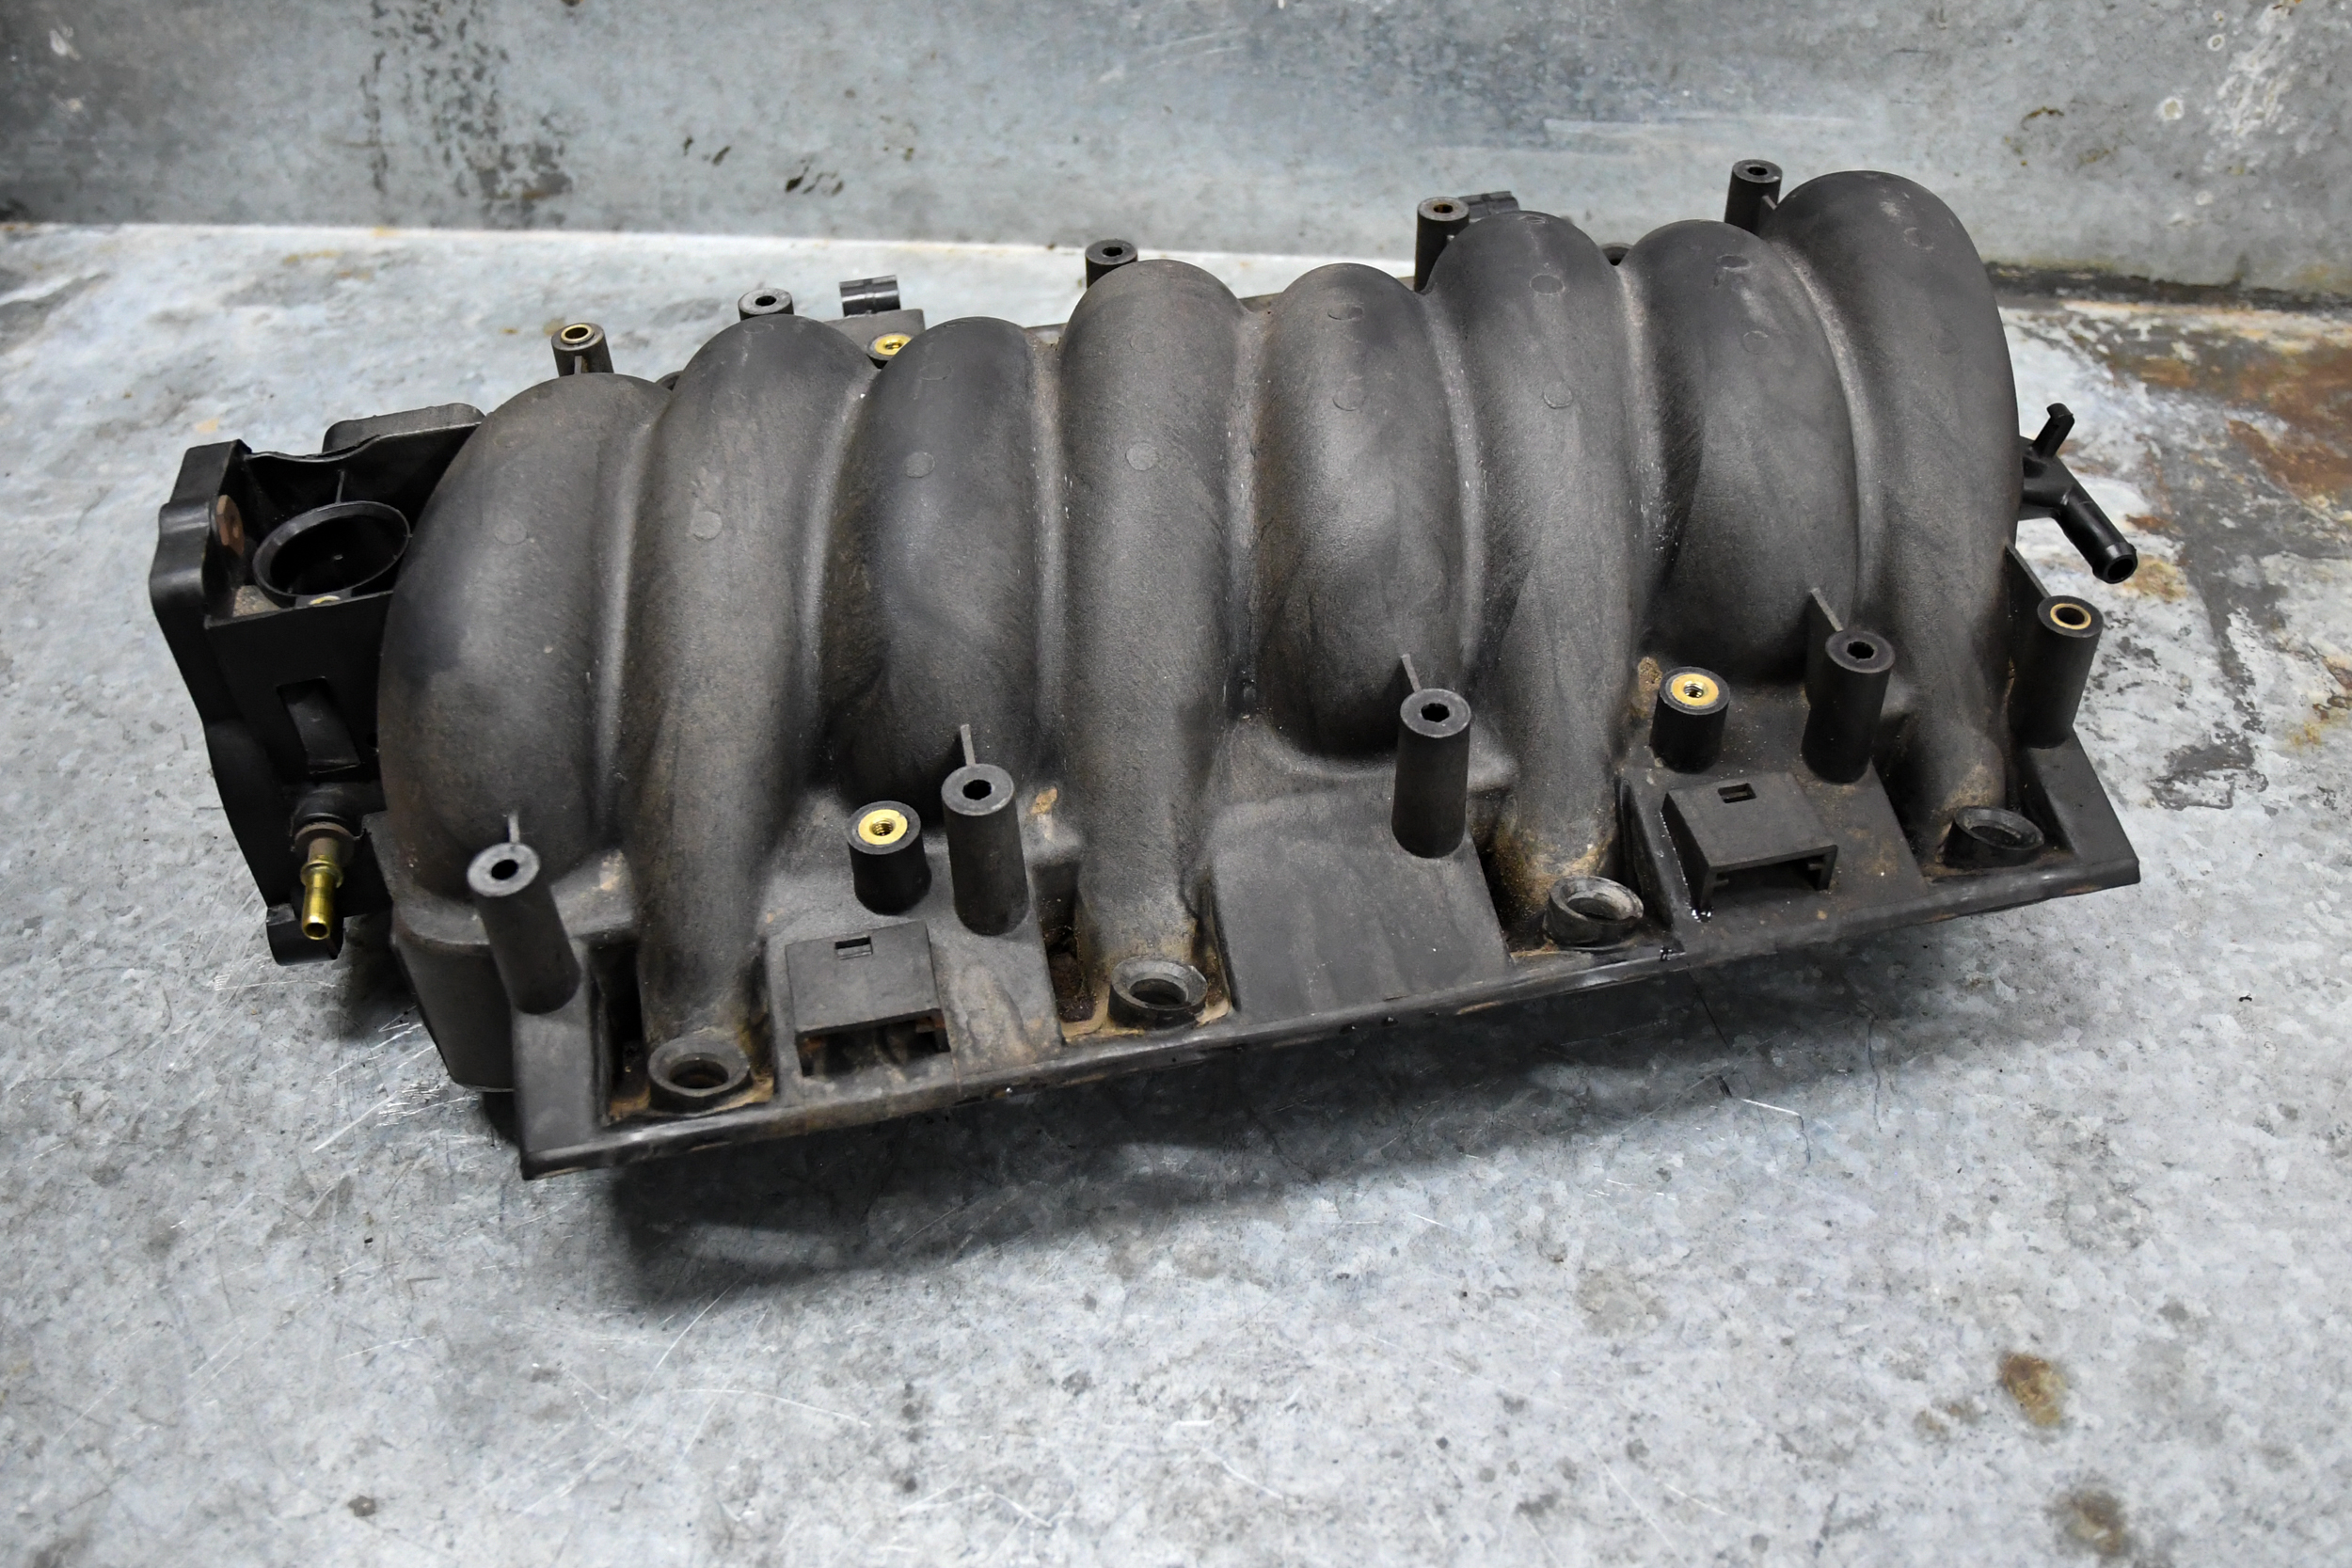
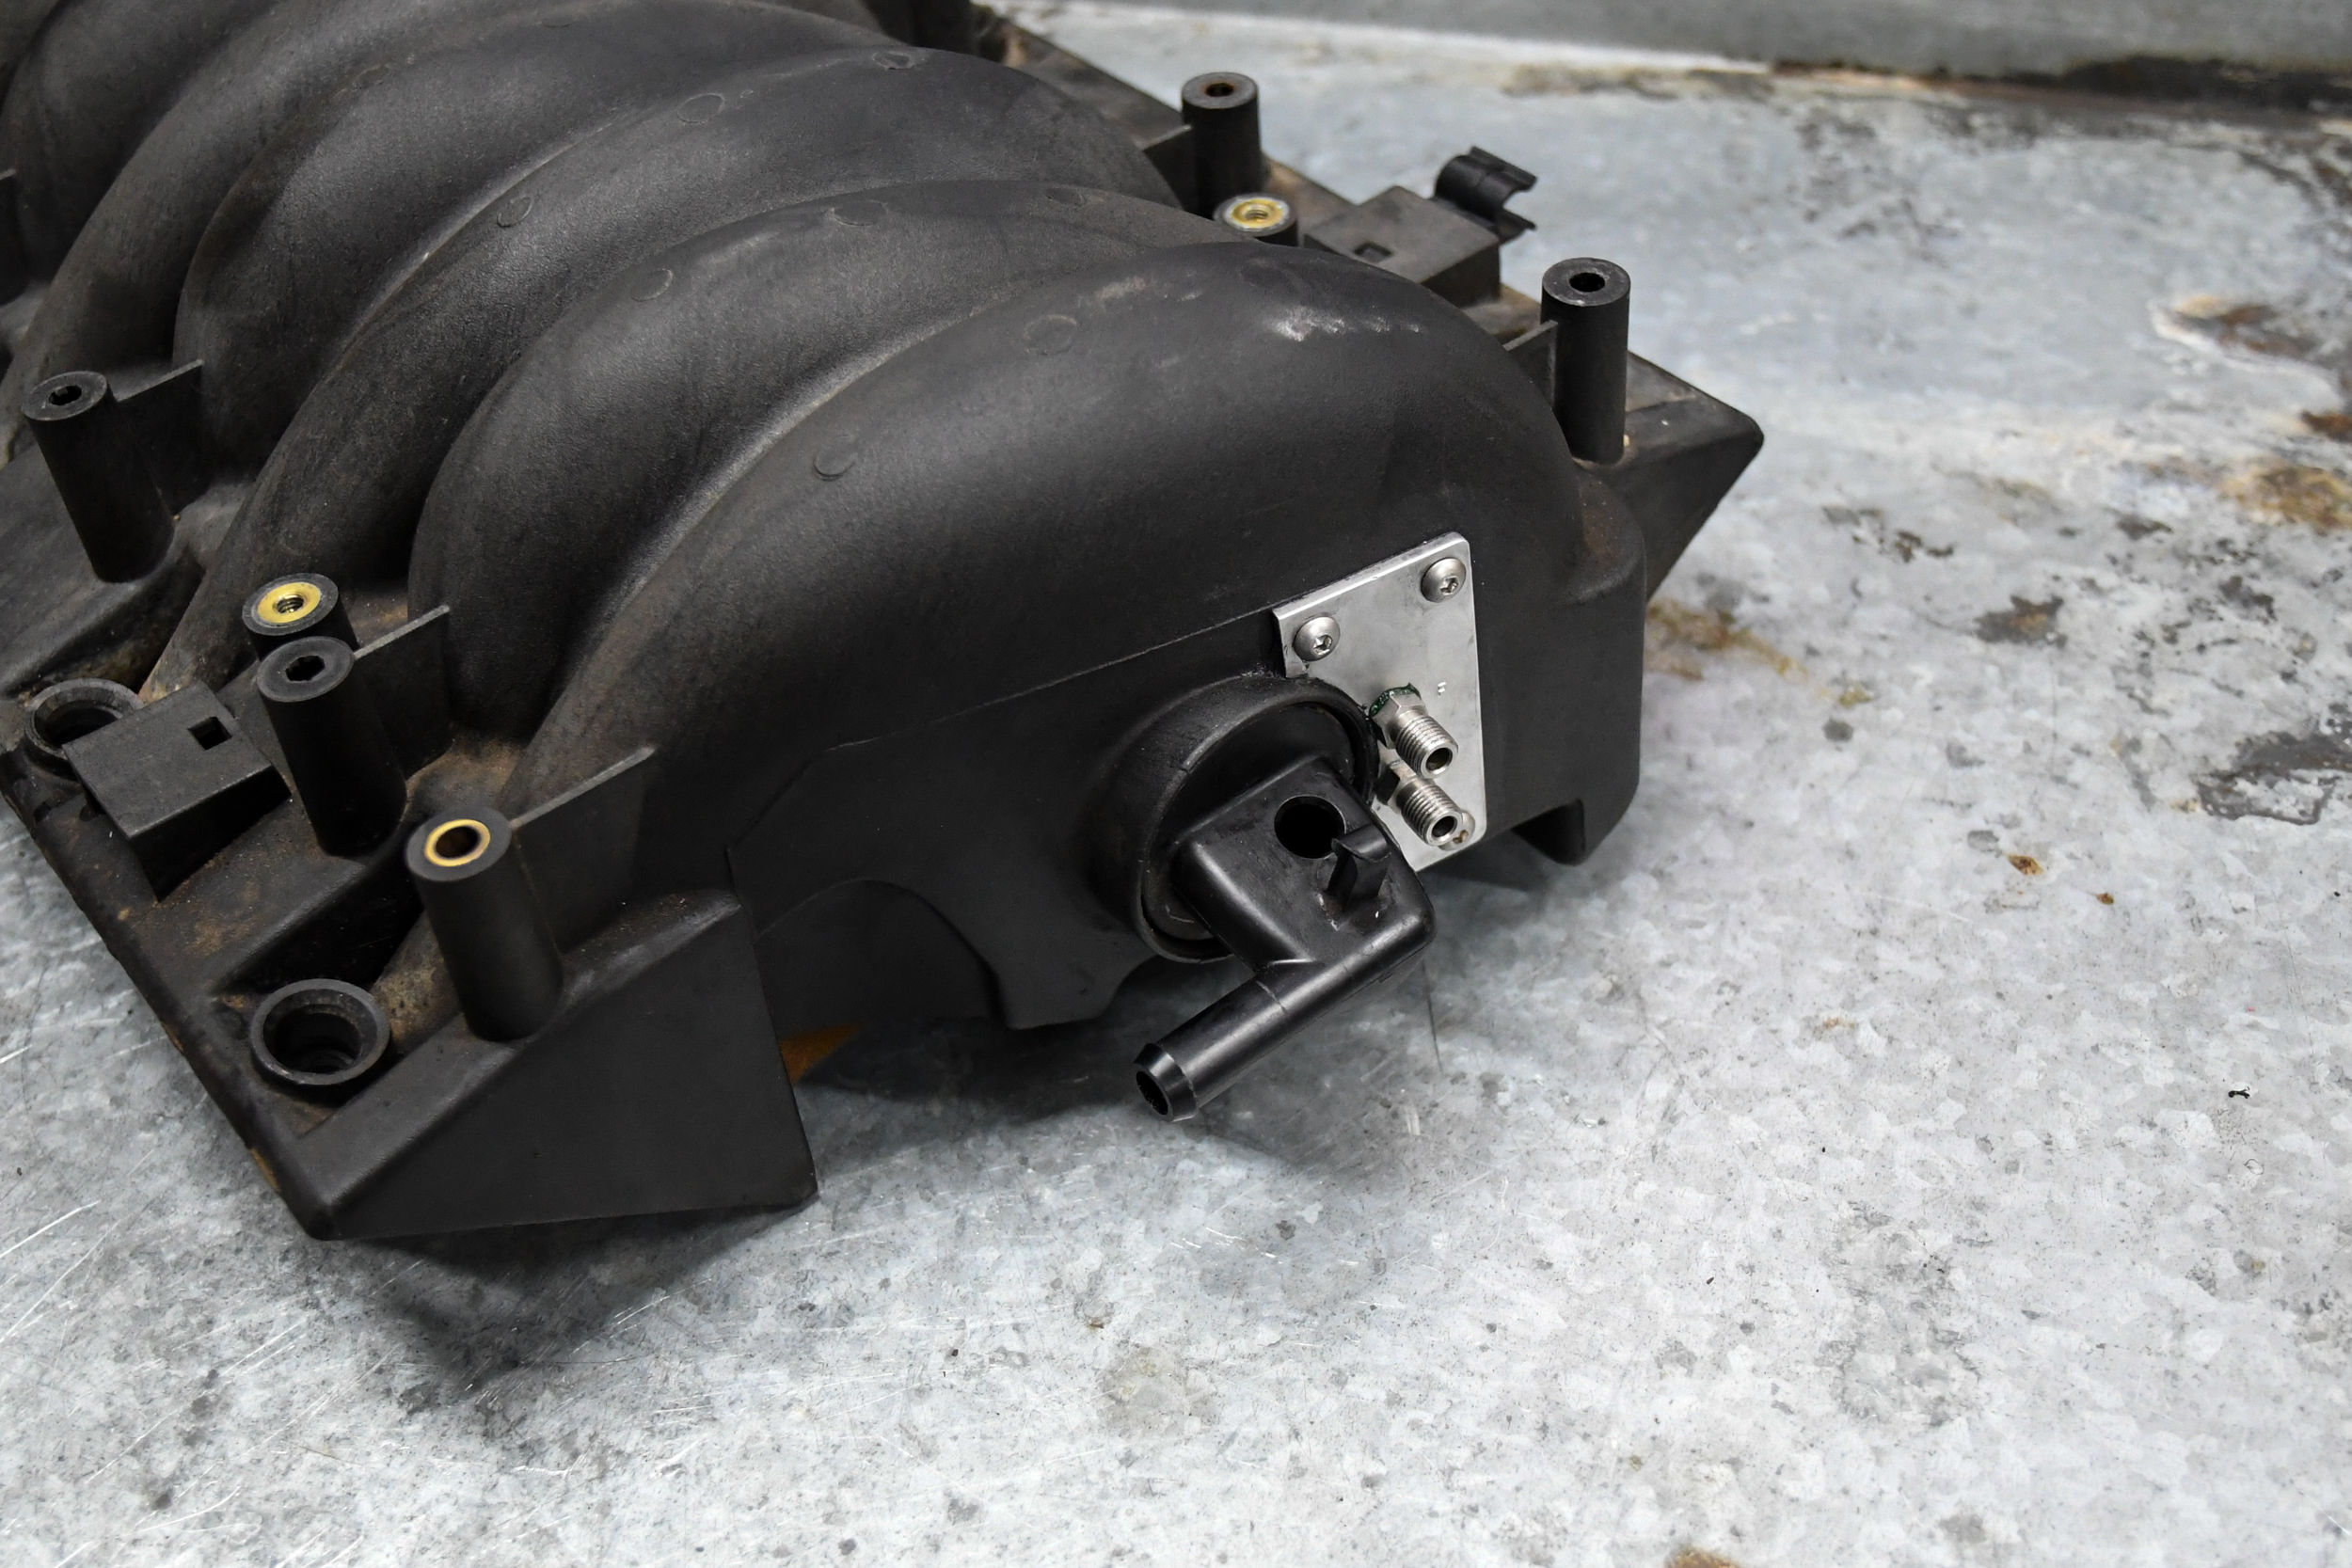
Our LS1 intake may look stock, but it has spray bars installed inside that will be extremely hard to find when mounted on the engine. This system will give us an additional 50-300 horsepower depending on our needs.
Our first move for the installation was to send our intake manifold to Nitrous Express for a spray bar installation inside the factory intake manifold. NX machines out the rear on the intake manifold and then inserts a fuel and nitrous bar the length of the intake. The bars are secured at the back of the manifold with an aluminum plate and at the front with a pedestal. You will need to remove the intake off of the engine for a jet change, but that’s a small price to pay for all of the mind-games you will play with people in the future.
Solenoid Location
With our intake complete, the next hurdle was to find a mounting location for the fuel and nitrous solenoids. Luckily, we had a spare engine for mockup, but first, we needed to know if the solenoids needed to be positioned in a specific orientation. Ryan said, “The solenoids can be mounted in any direction and don’t necessarily need to be in the engine compartment. However, they do need to be no further than 24-inches from the nitrous plate or nozzle for proper delivery.”
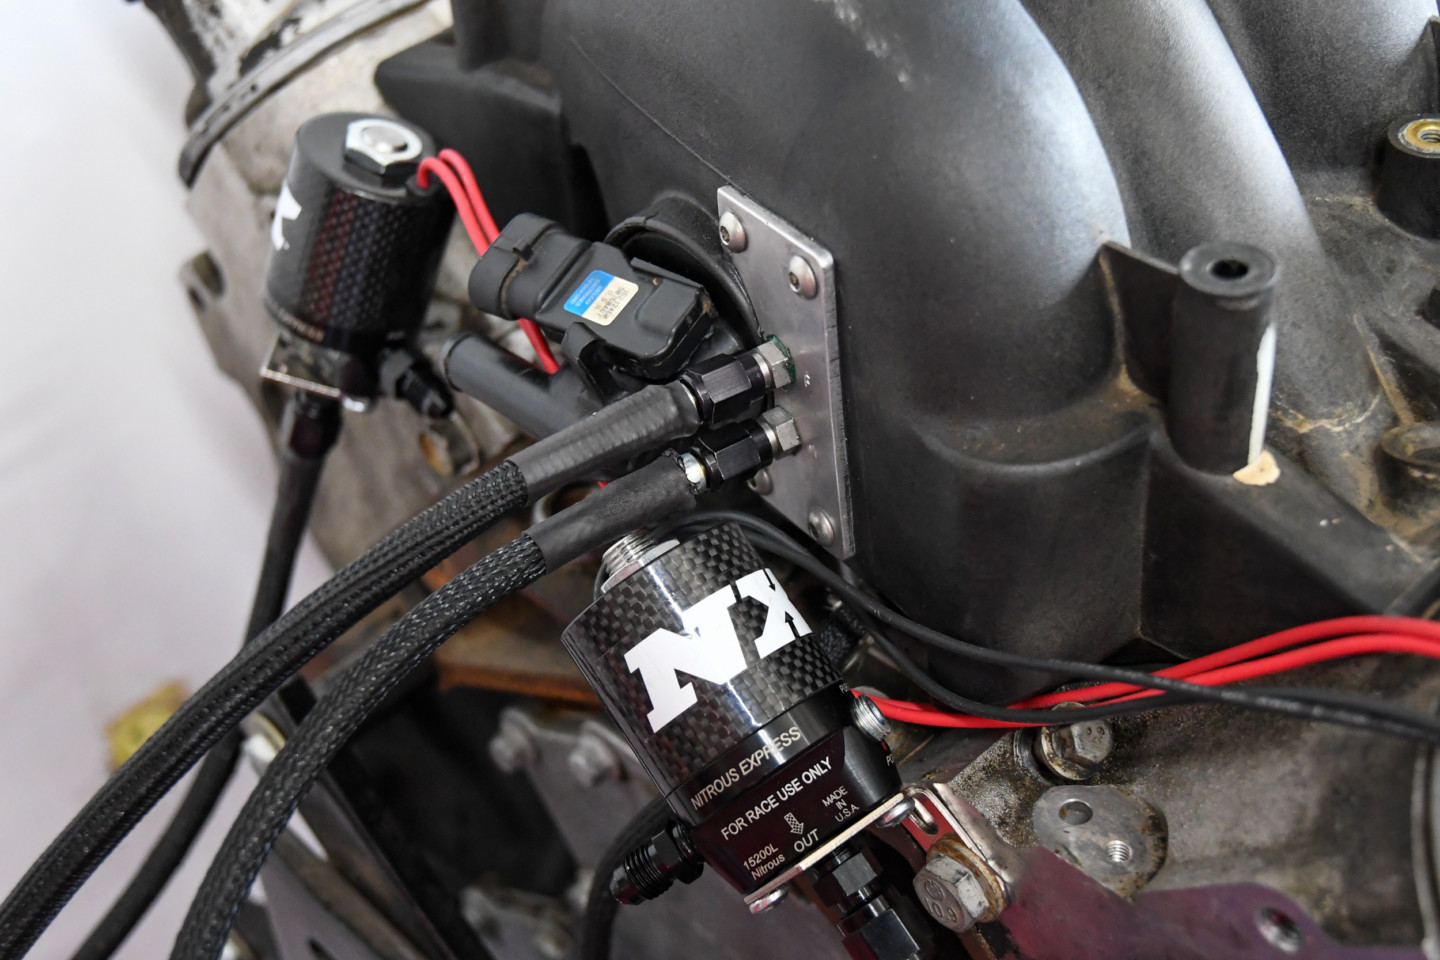
Fortunately, we had a spare 5.3-liter engine on the stand that we were able to use for mockup. We also covered the fuel and nitrous hoses in black conduit in case they were visible.
With this question answered, we used the supplied brackets and modified them for our application. After test-fitting them in different locations, we decided to mount them on the back of the heads. This position keeps them out of the elements and, more importantly, out of sight.
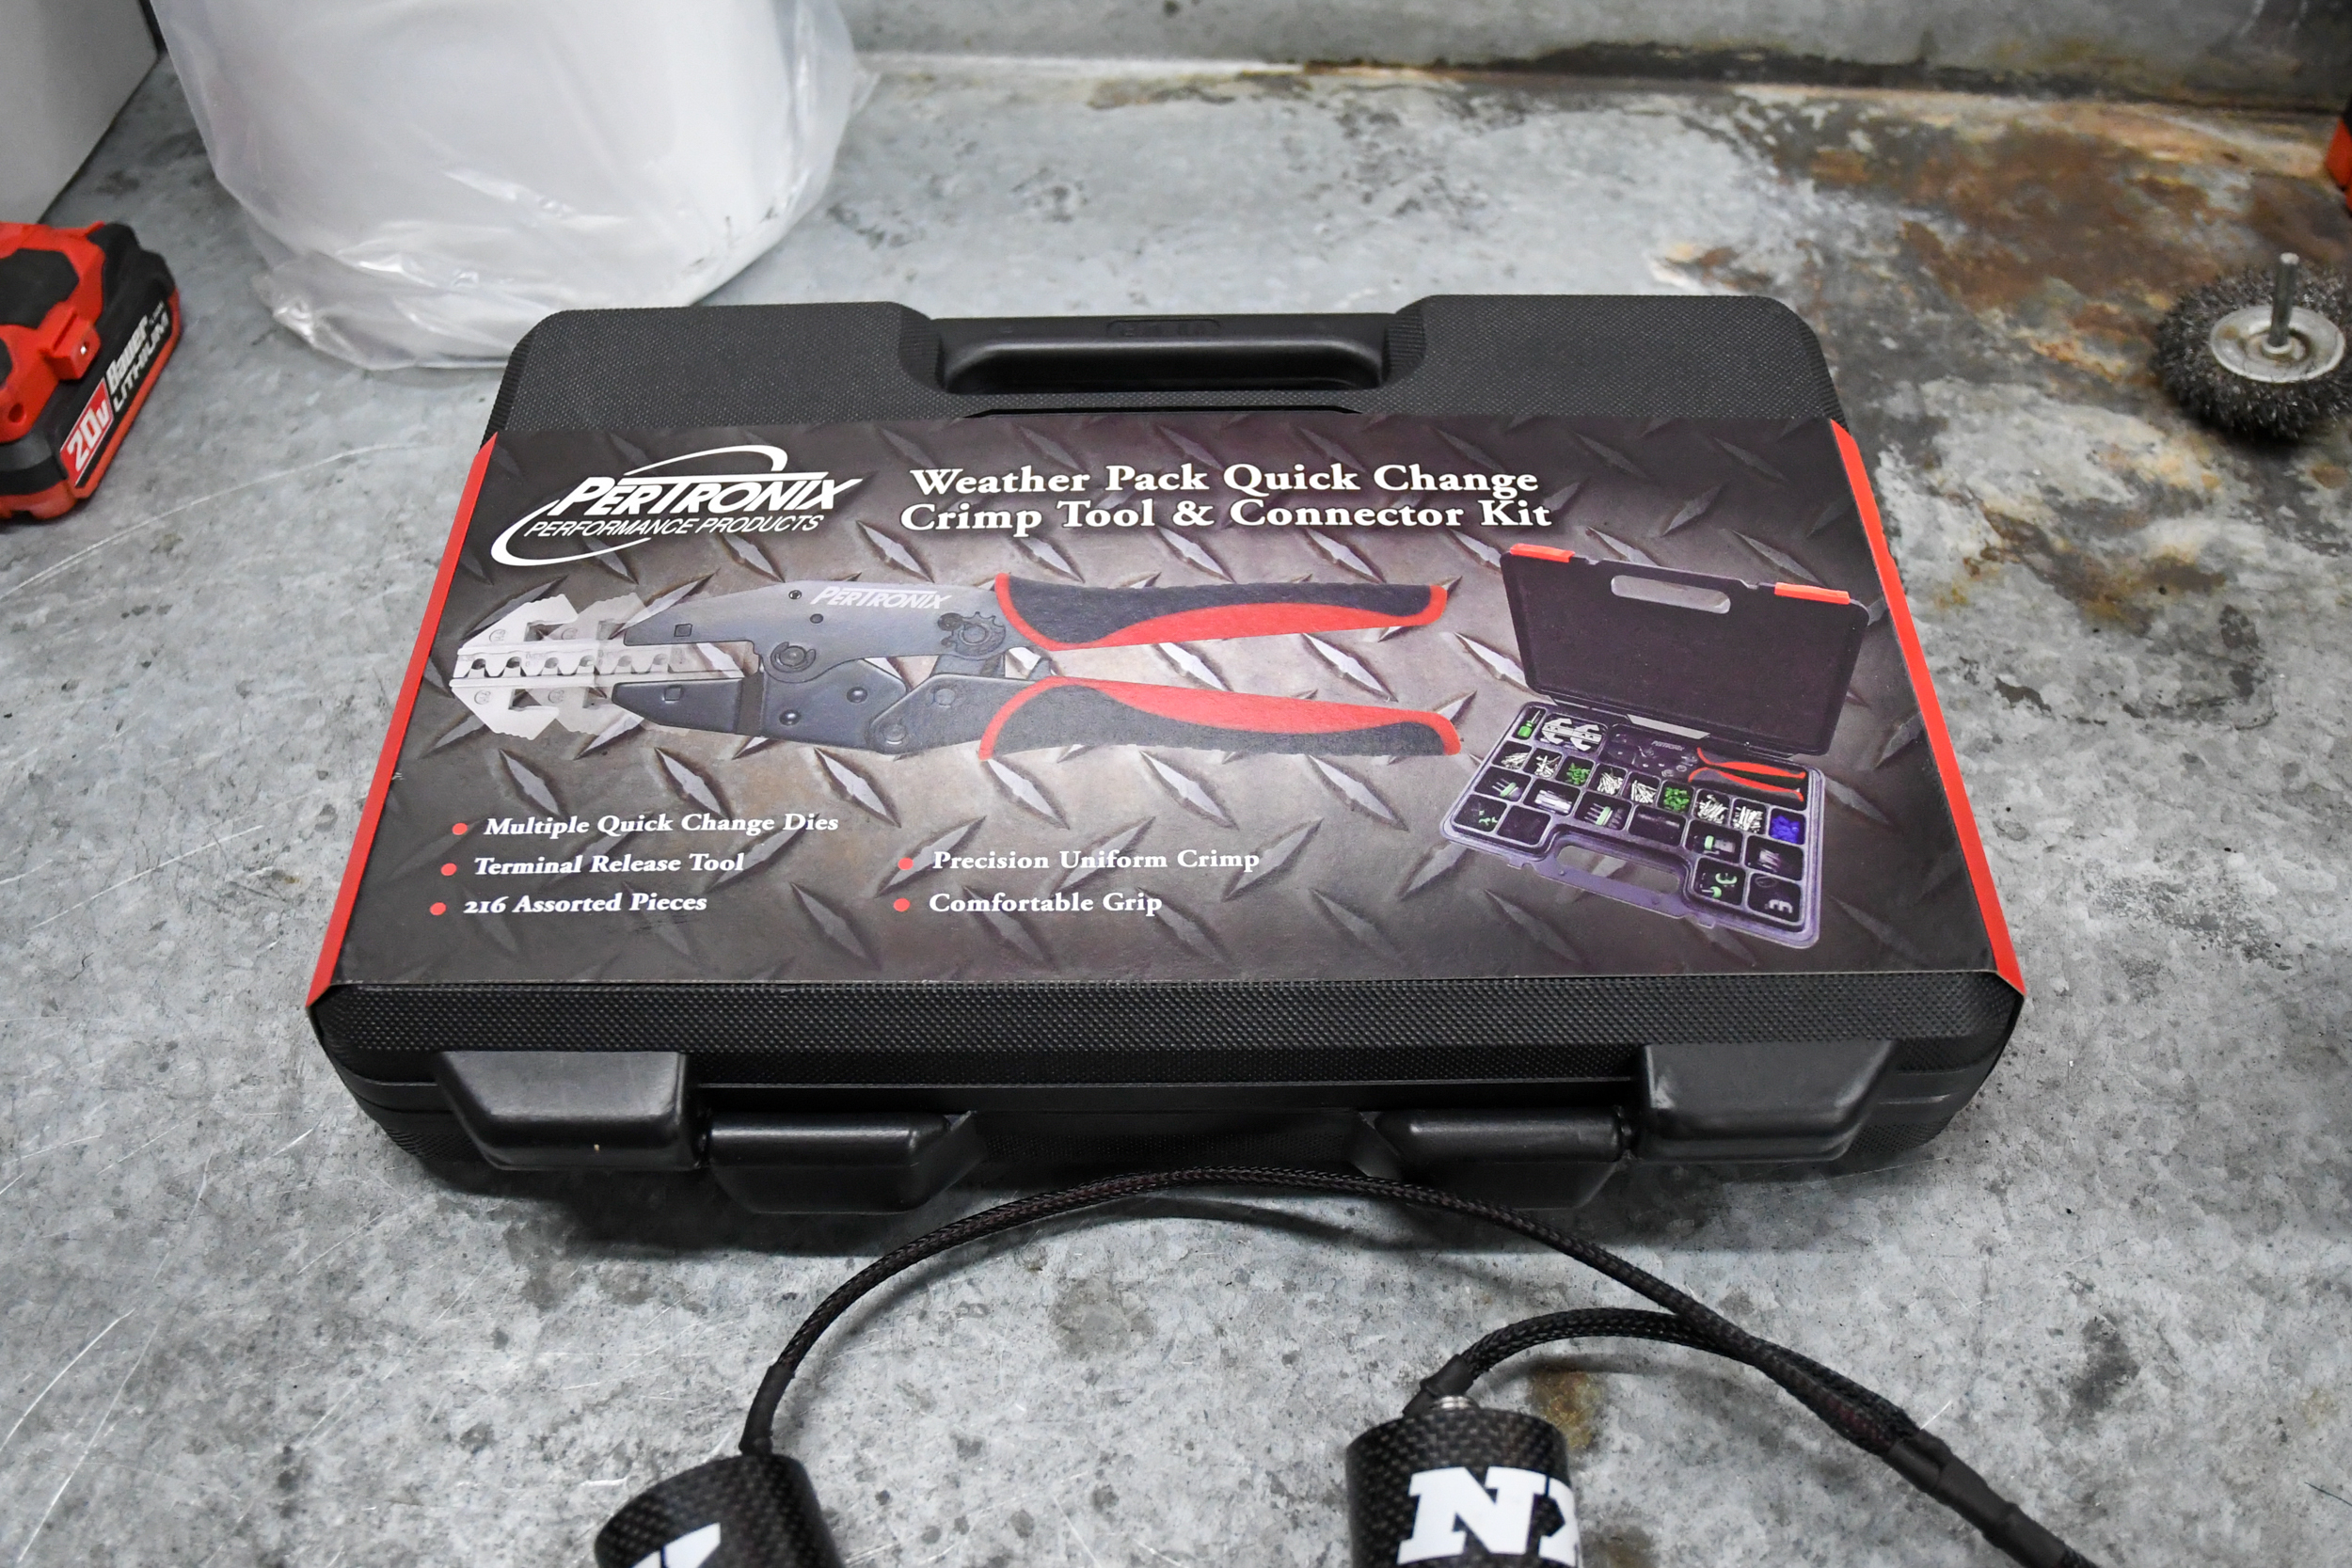
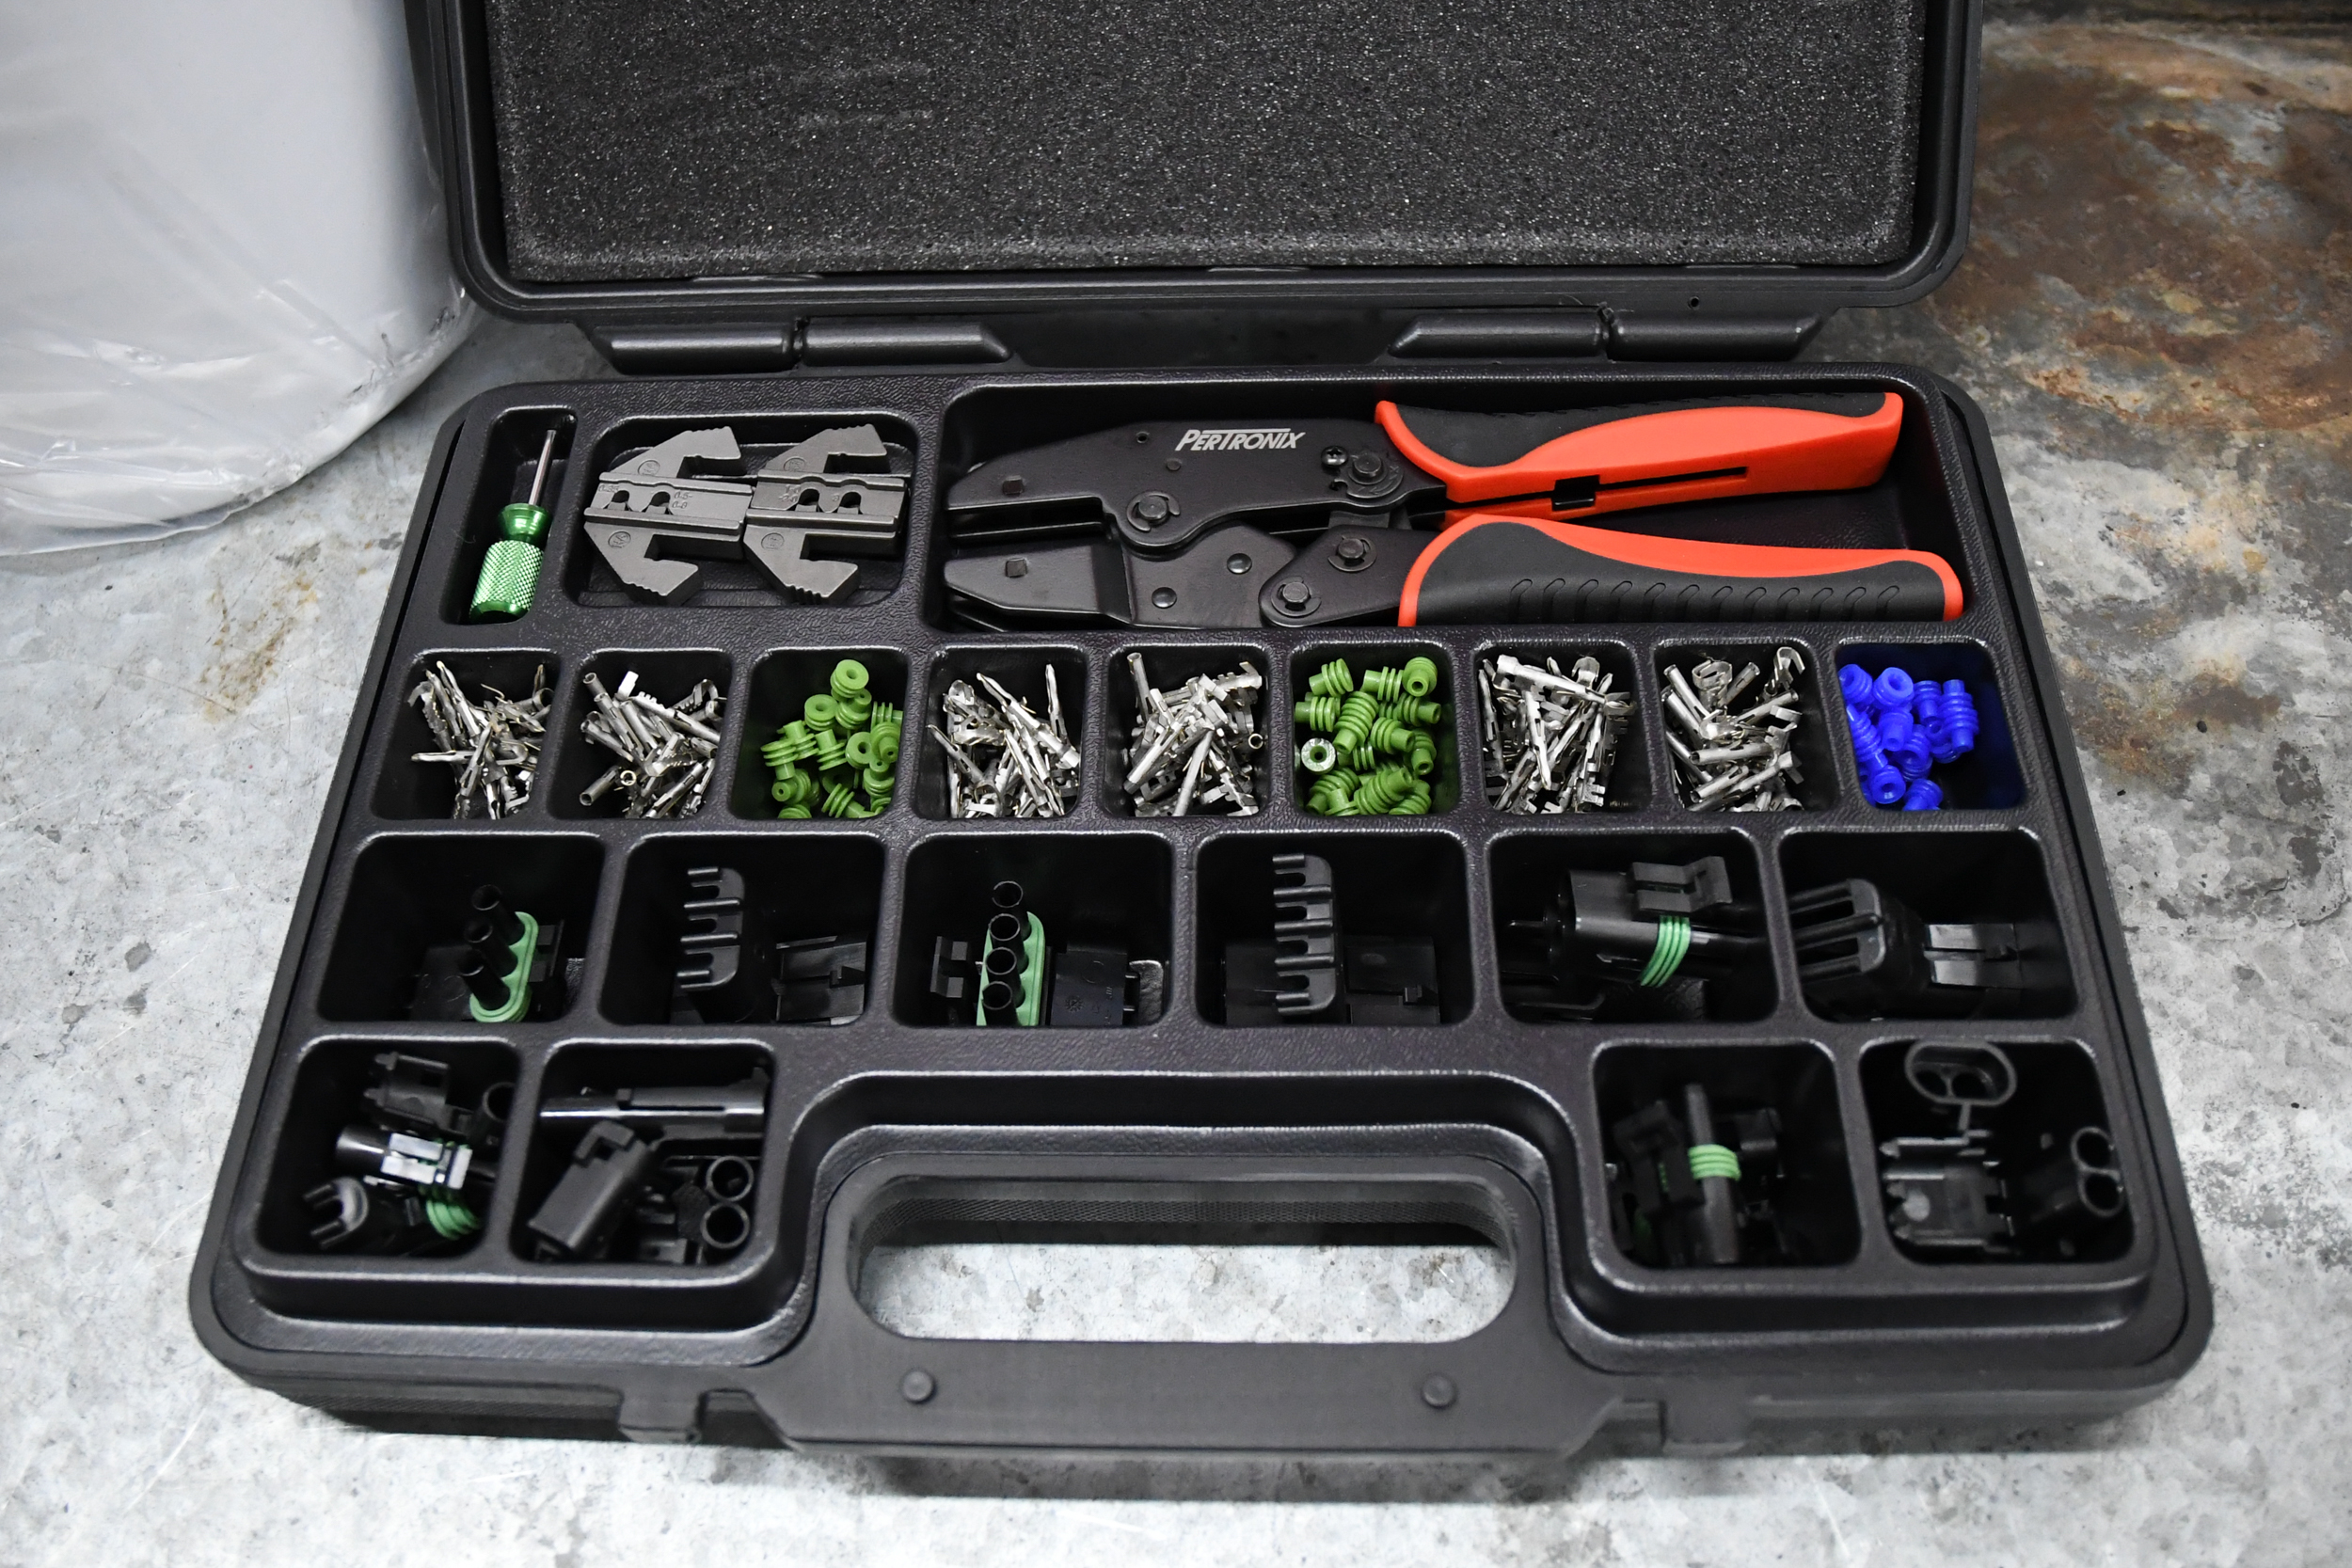
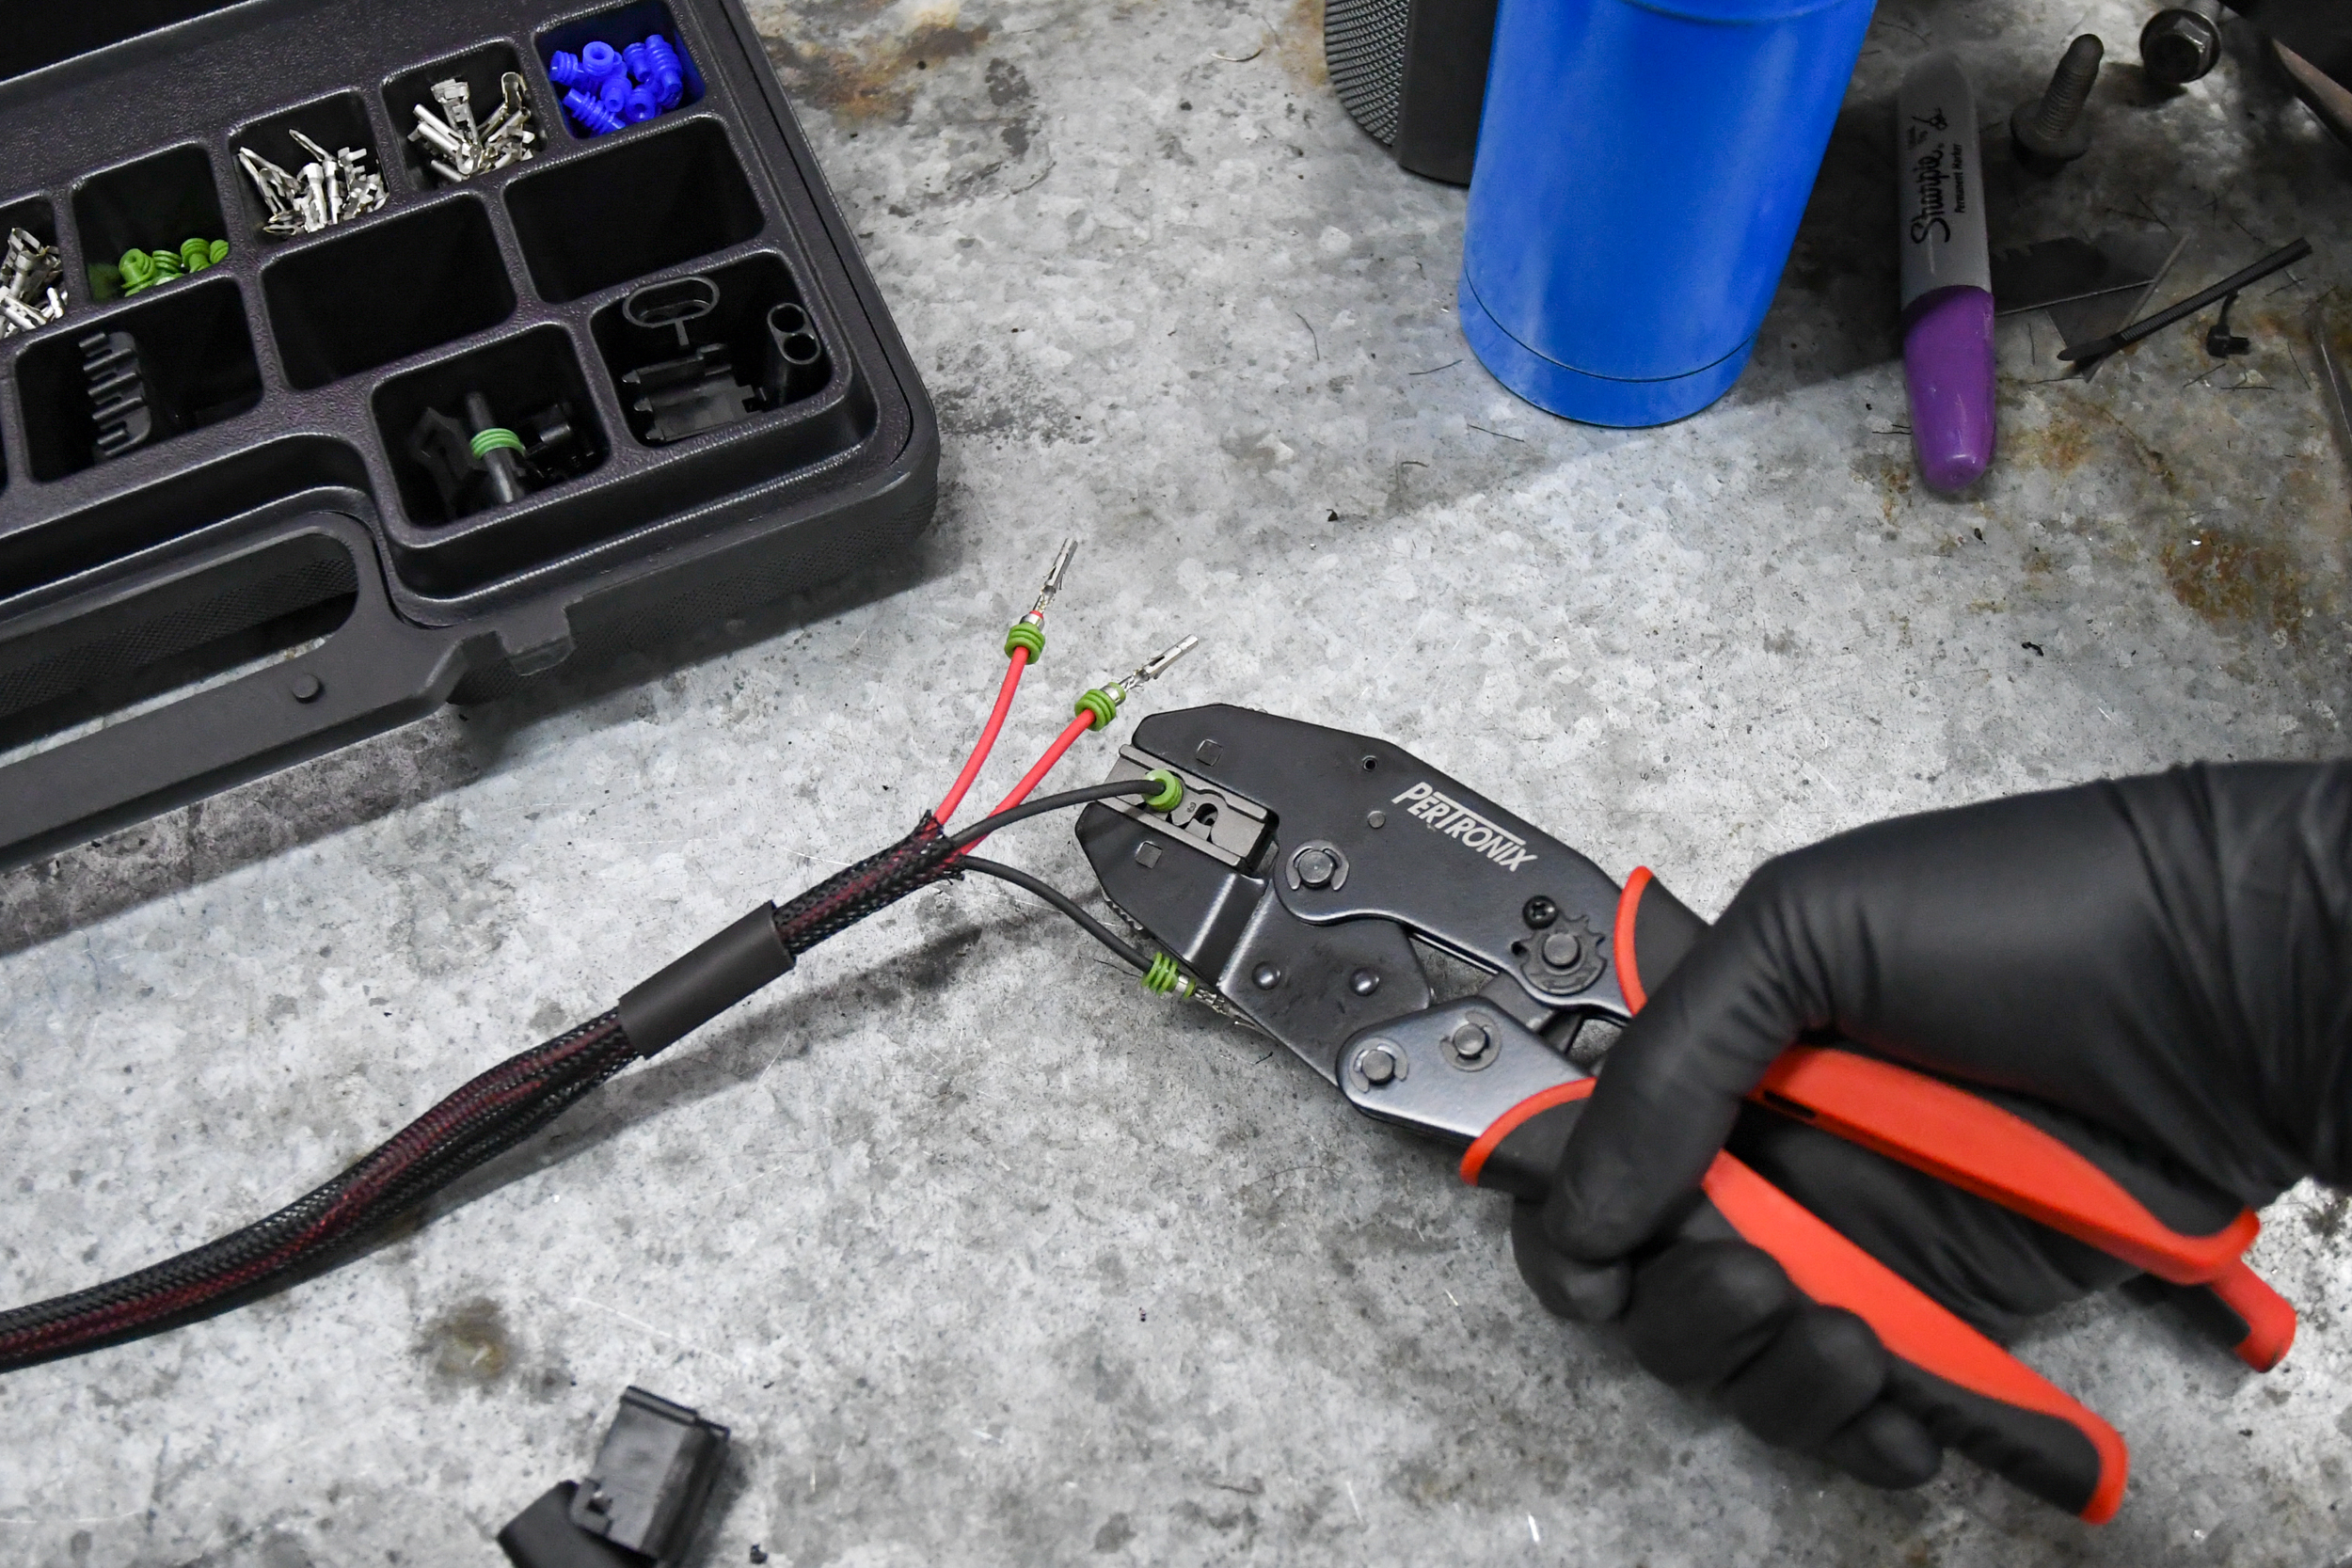
The Pertronix GM Weather Pack kit is great for installing connectors that look like factory equipment. We used the 4-pin connectors for our fuel and nitrous solenoids.
We then took the solenoids, and instead of using the supplied electrical connectors, we opted for a GM Weather Pack connector. These connectors not only make for a clean installation, but it also allows for quick removal, and they look factory under the hood. We used the four-terminal connectors from our Pertronix weather pack kit. This assortment gives you different options for the connection type and wire size, and the crimpers ensure a perfect connection between the terminal and wire every time. Best of all, Weather Packs keep the elements out so we don’t need to worry about corrosion or the wires breaking down.
Now You See It, Now You Don’t
With the solenoids terminated and mocked up on our engine, we went to attach the supply lines from the solenoids to the back of the intake. While NX includes stainless steel lines that are nice and shiny, we don’t want that kind of bling under the hood. The solution was a simple yet effective one. We took some split-wire sleeving, and slid it over the hoses and then added heat shrink on the ends to hold it in place. With the routing we selected, the odds of someone seeing them are pretty slim, but better safe than sorry. We carried this theme throughout the install and covered anything that looked out of place with the black sleeving.
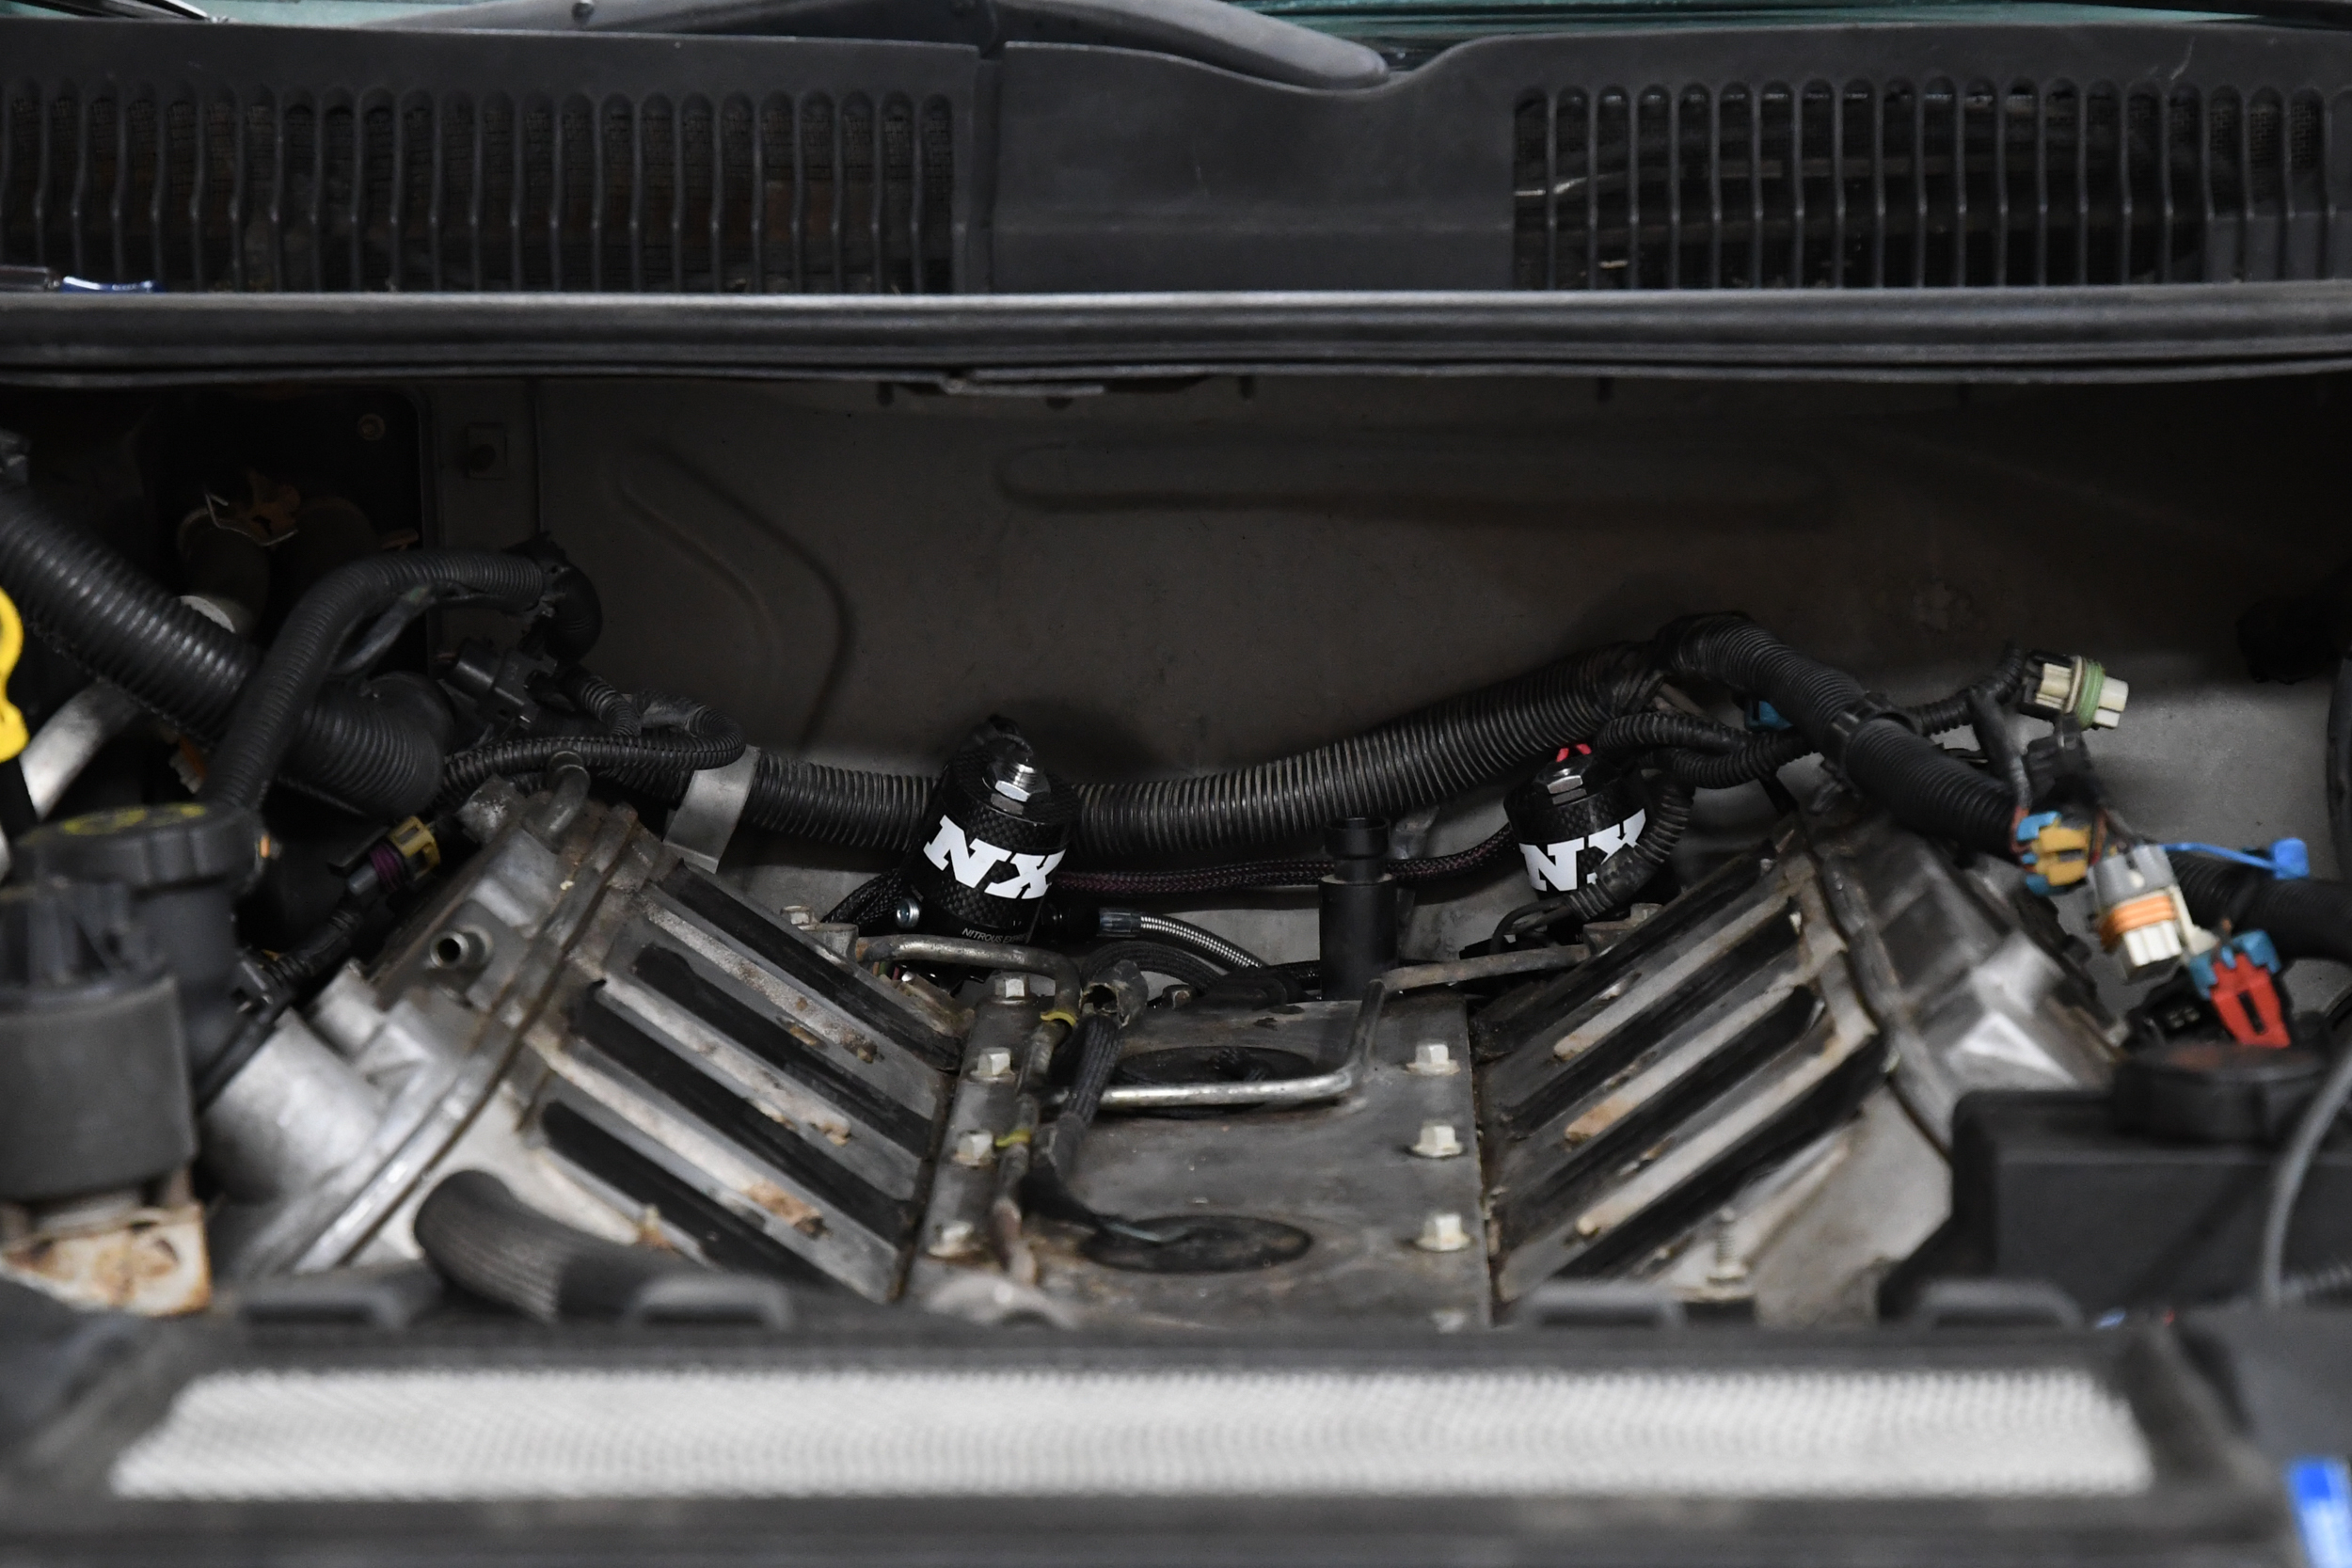
With the intake buttoned-up, the nitrous and fuel solenoids disappear. It's virtually impossible to notice that anything is out of the ordinary on what appears to be a stock LS1.
After we were happy with the mockup, we moved the components onto the WS6. Getting the solenoids in place on the Firebird was no easy task. It took two people, some time, and a lot of patience to get the parts installed. One thing we learned the hard way was to make sure that you have the nitrous feed and fuel supply lines hooked up before permanently mounting both solenoids. Doing this process a second time is even less fun than the first.
After we connected all of the hoses, it was time to jet the nitrous system. For this, we chose the 100 horsepower jets, since the engine is still bone-stock. The addition of 100 horsepower is enough to wake the car up significantly, but not enough to throw a red flag when racing because people generally think a T-56 equipped WS6 is super fast.
The Bottle Delima
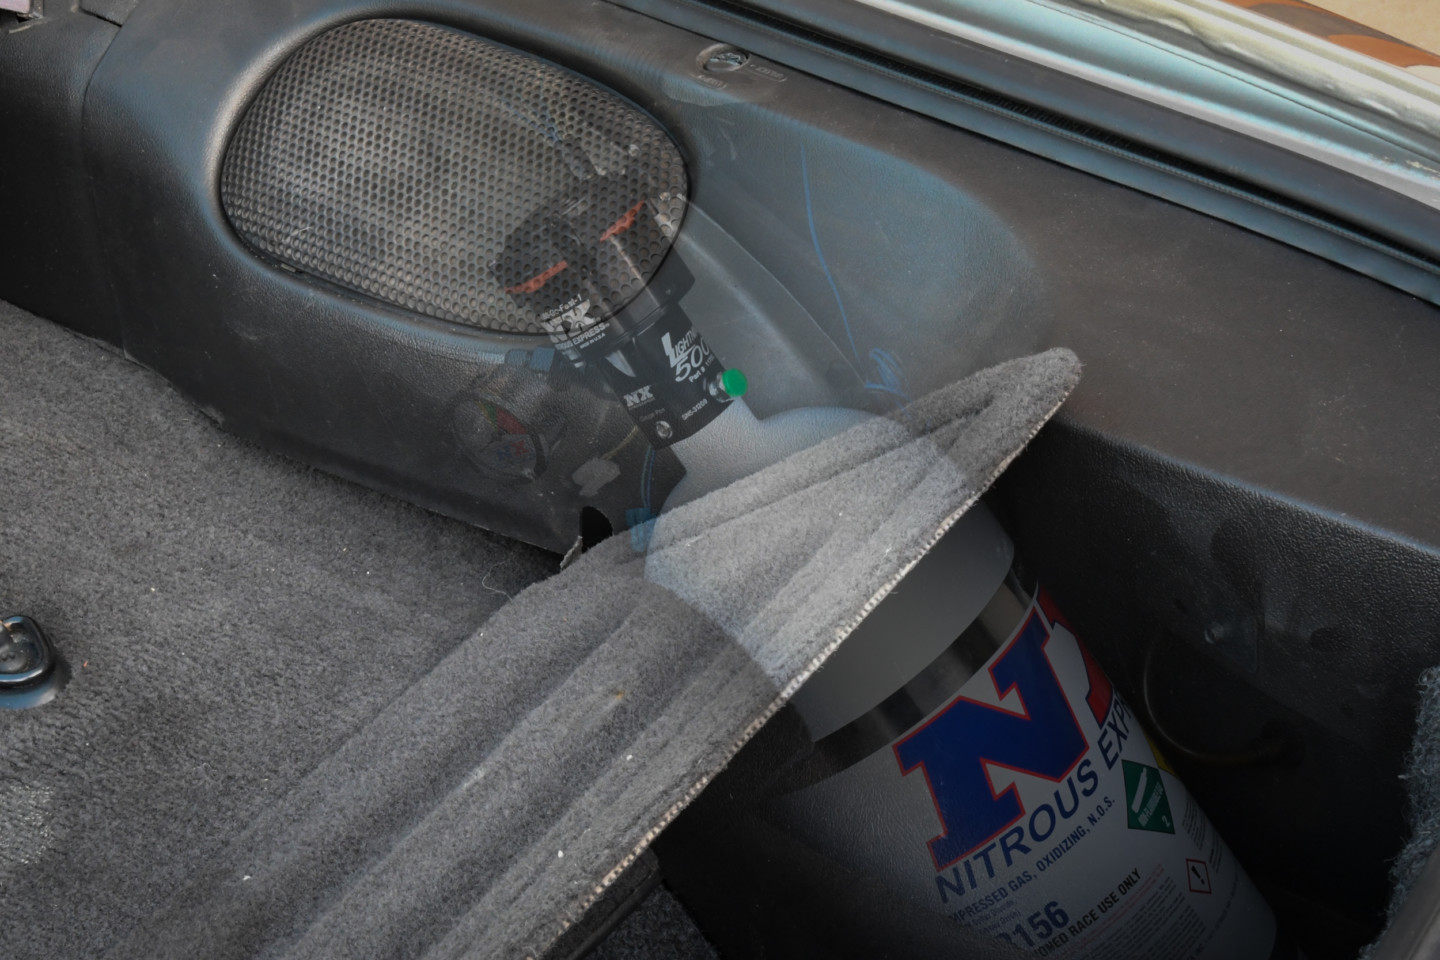
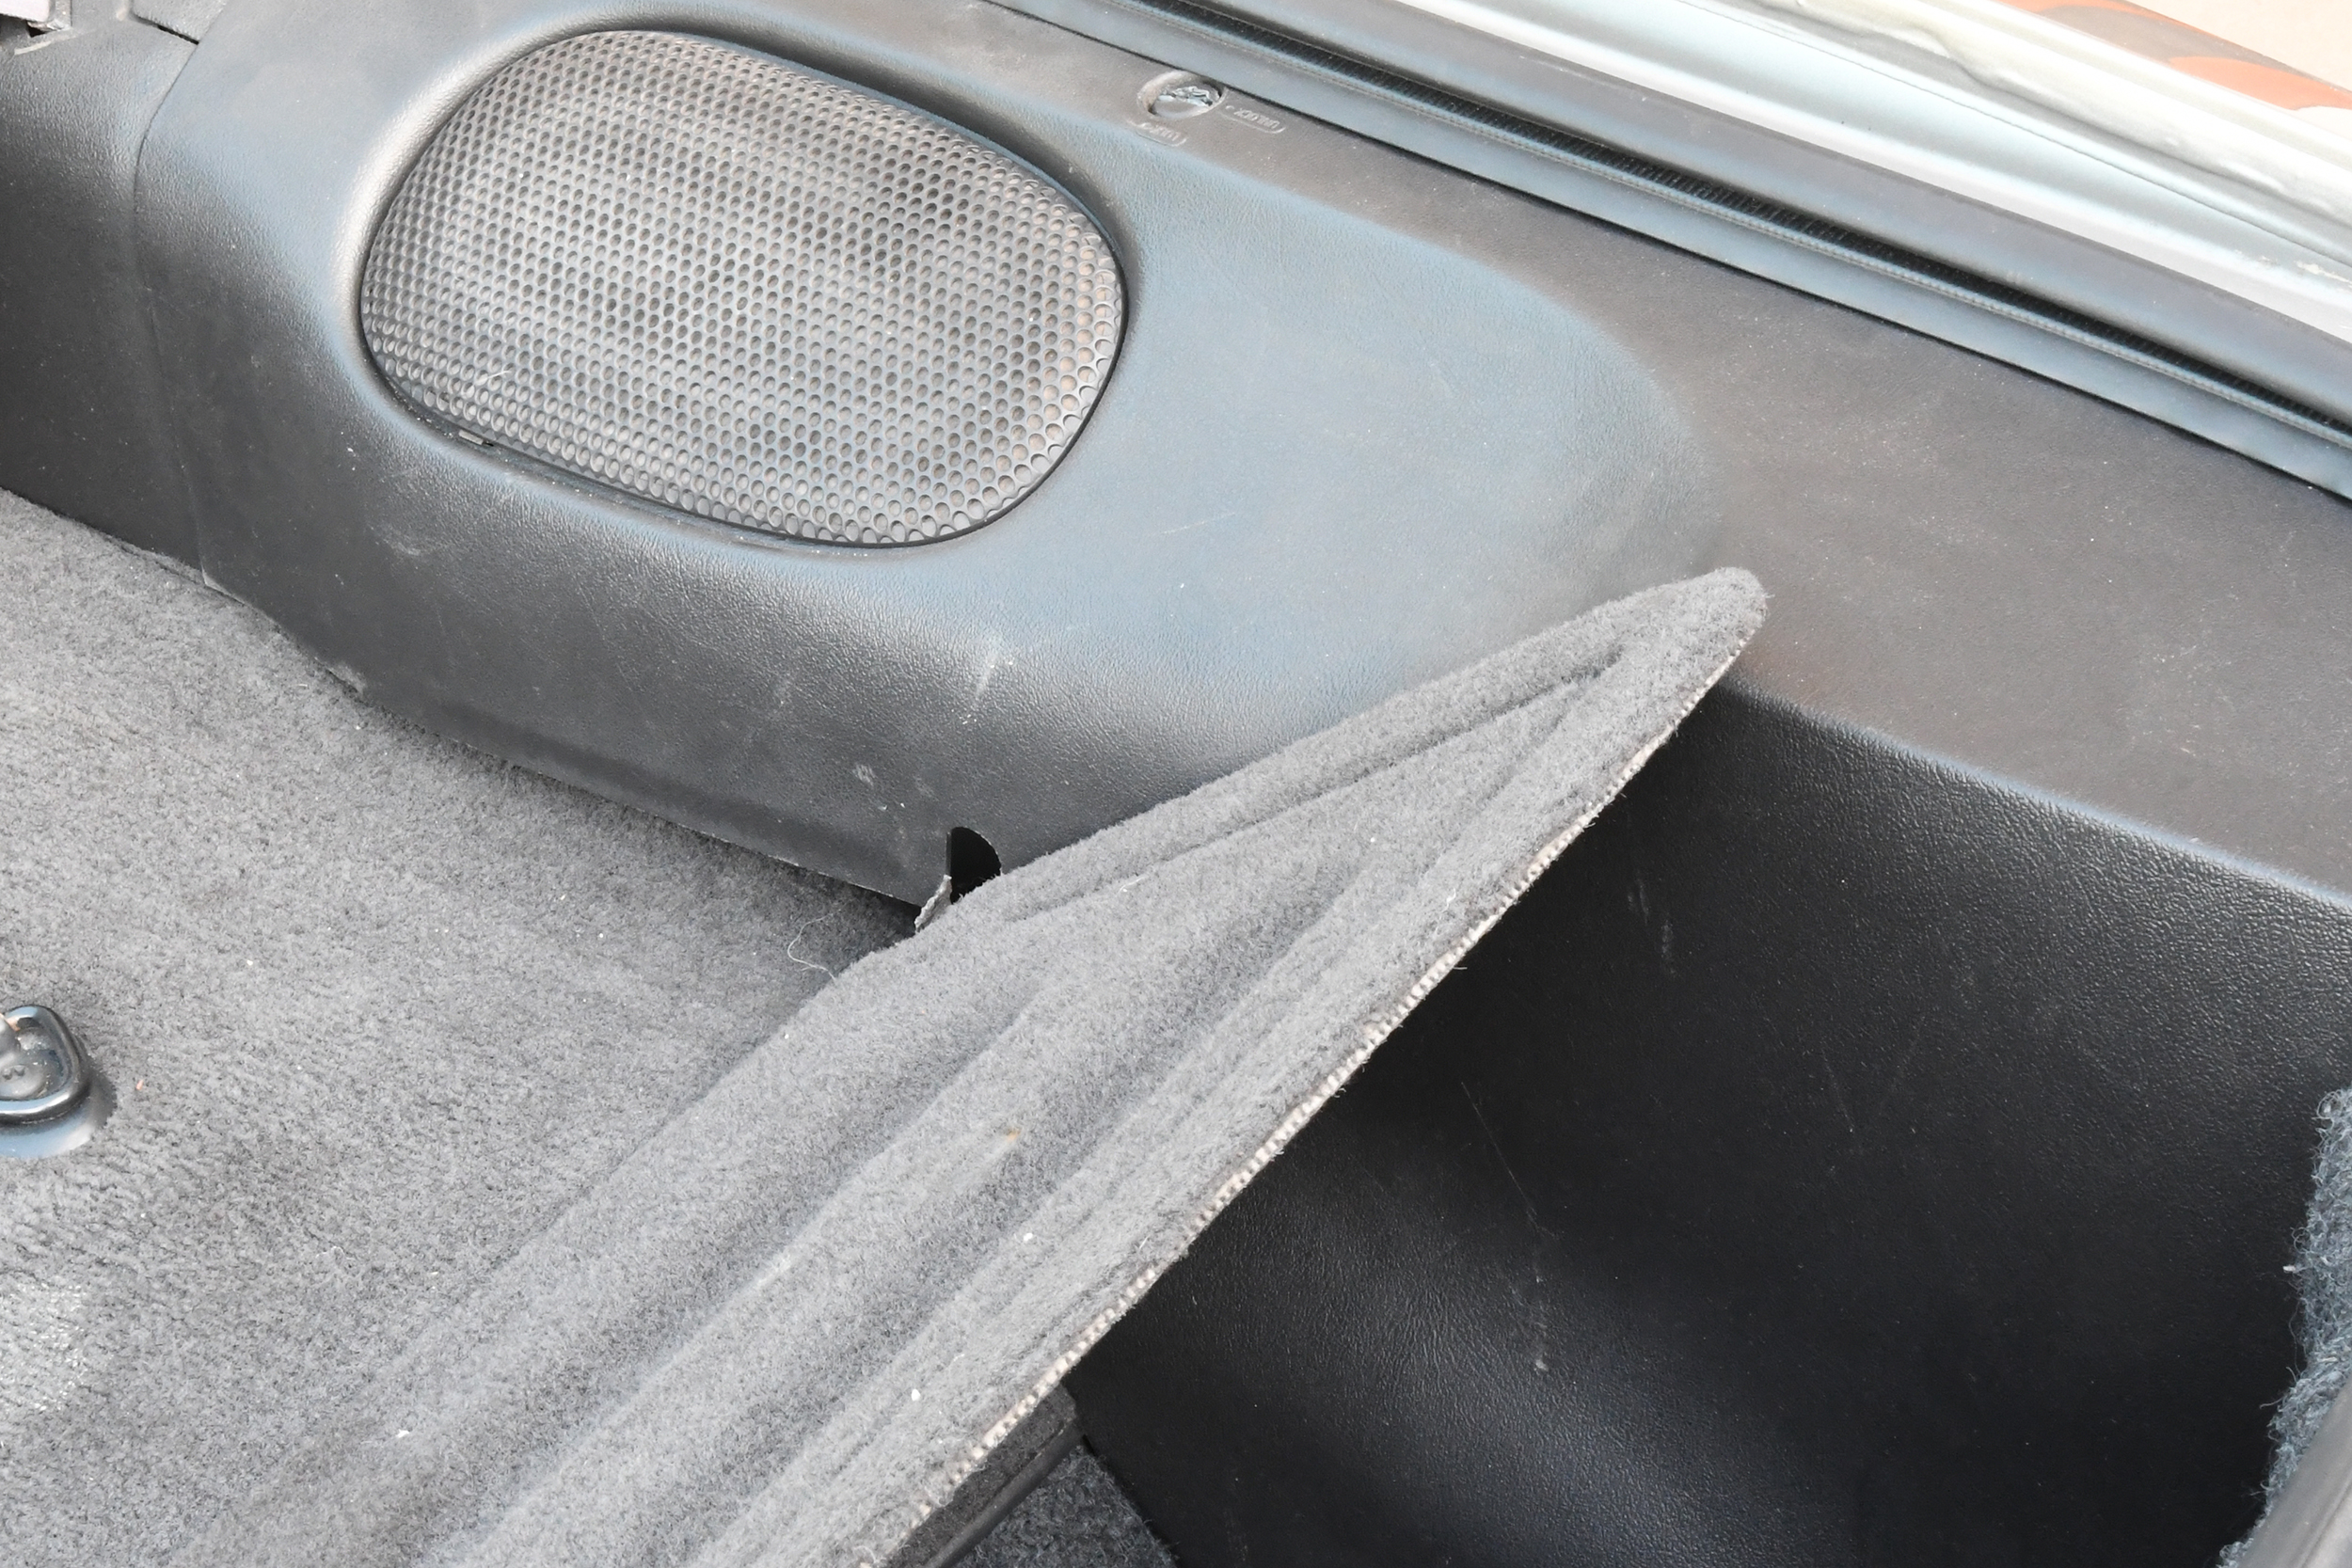
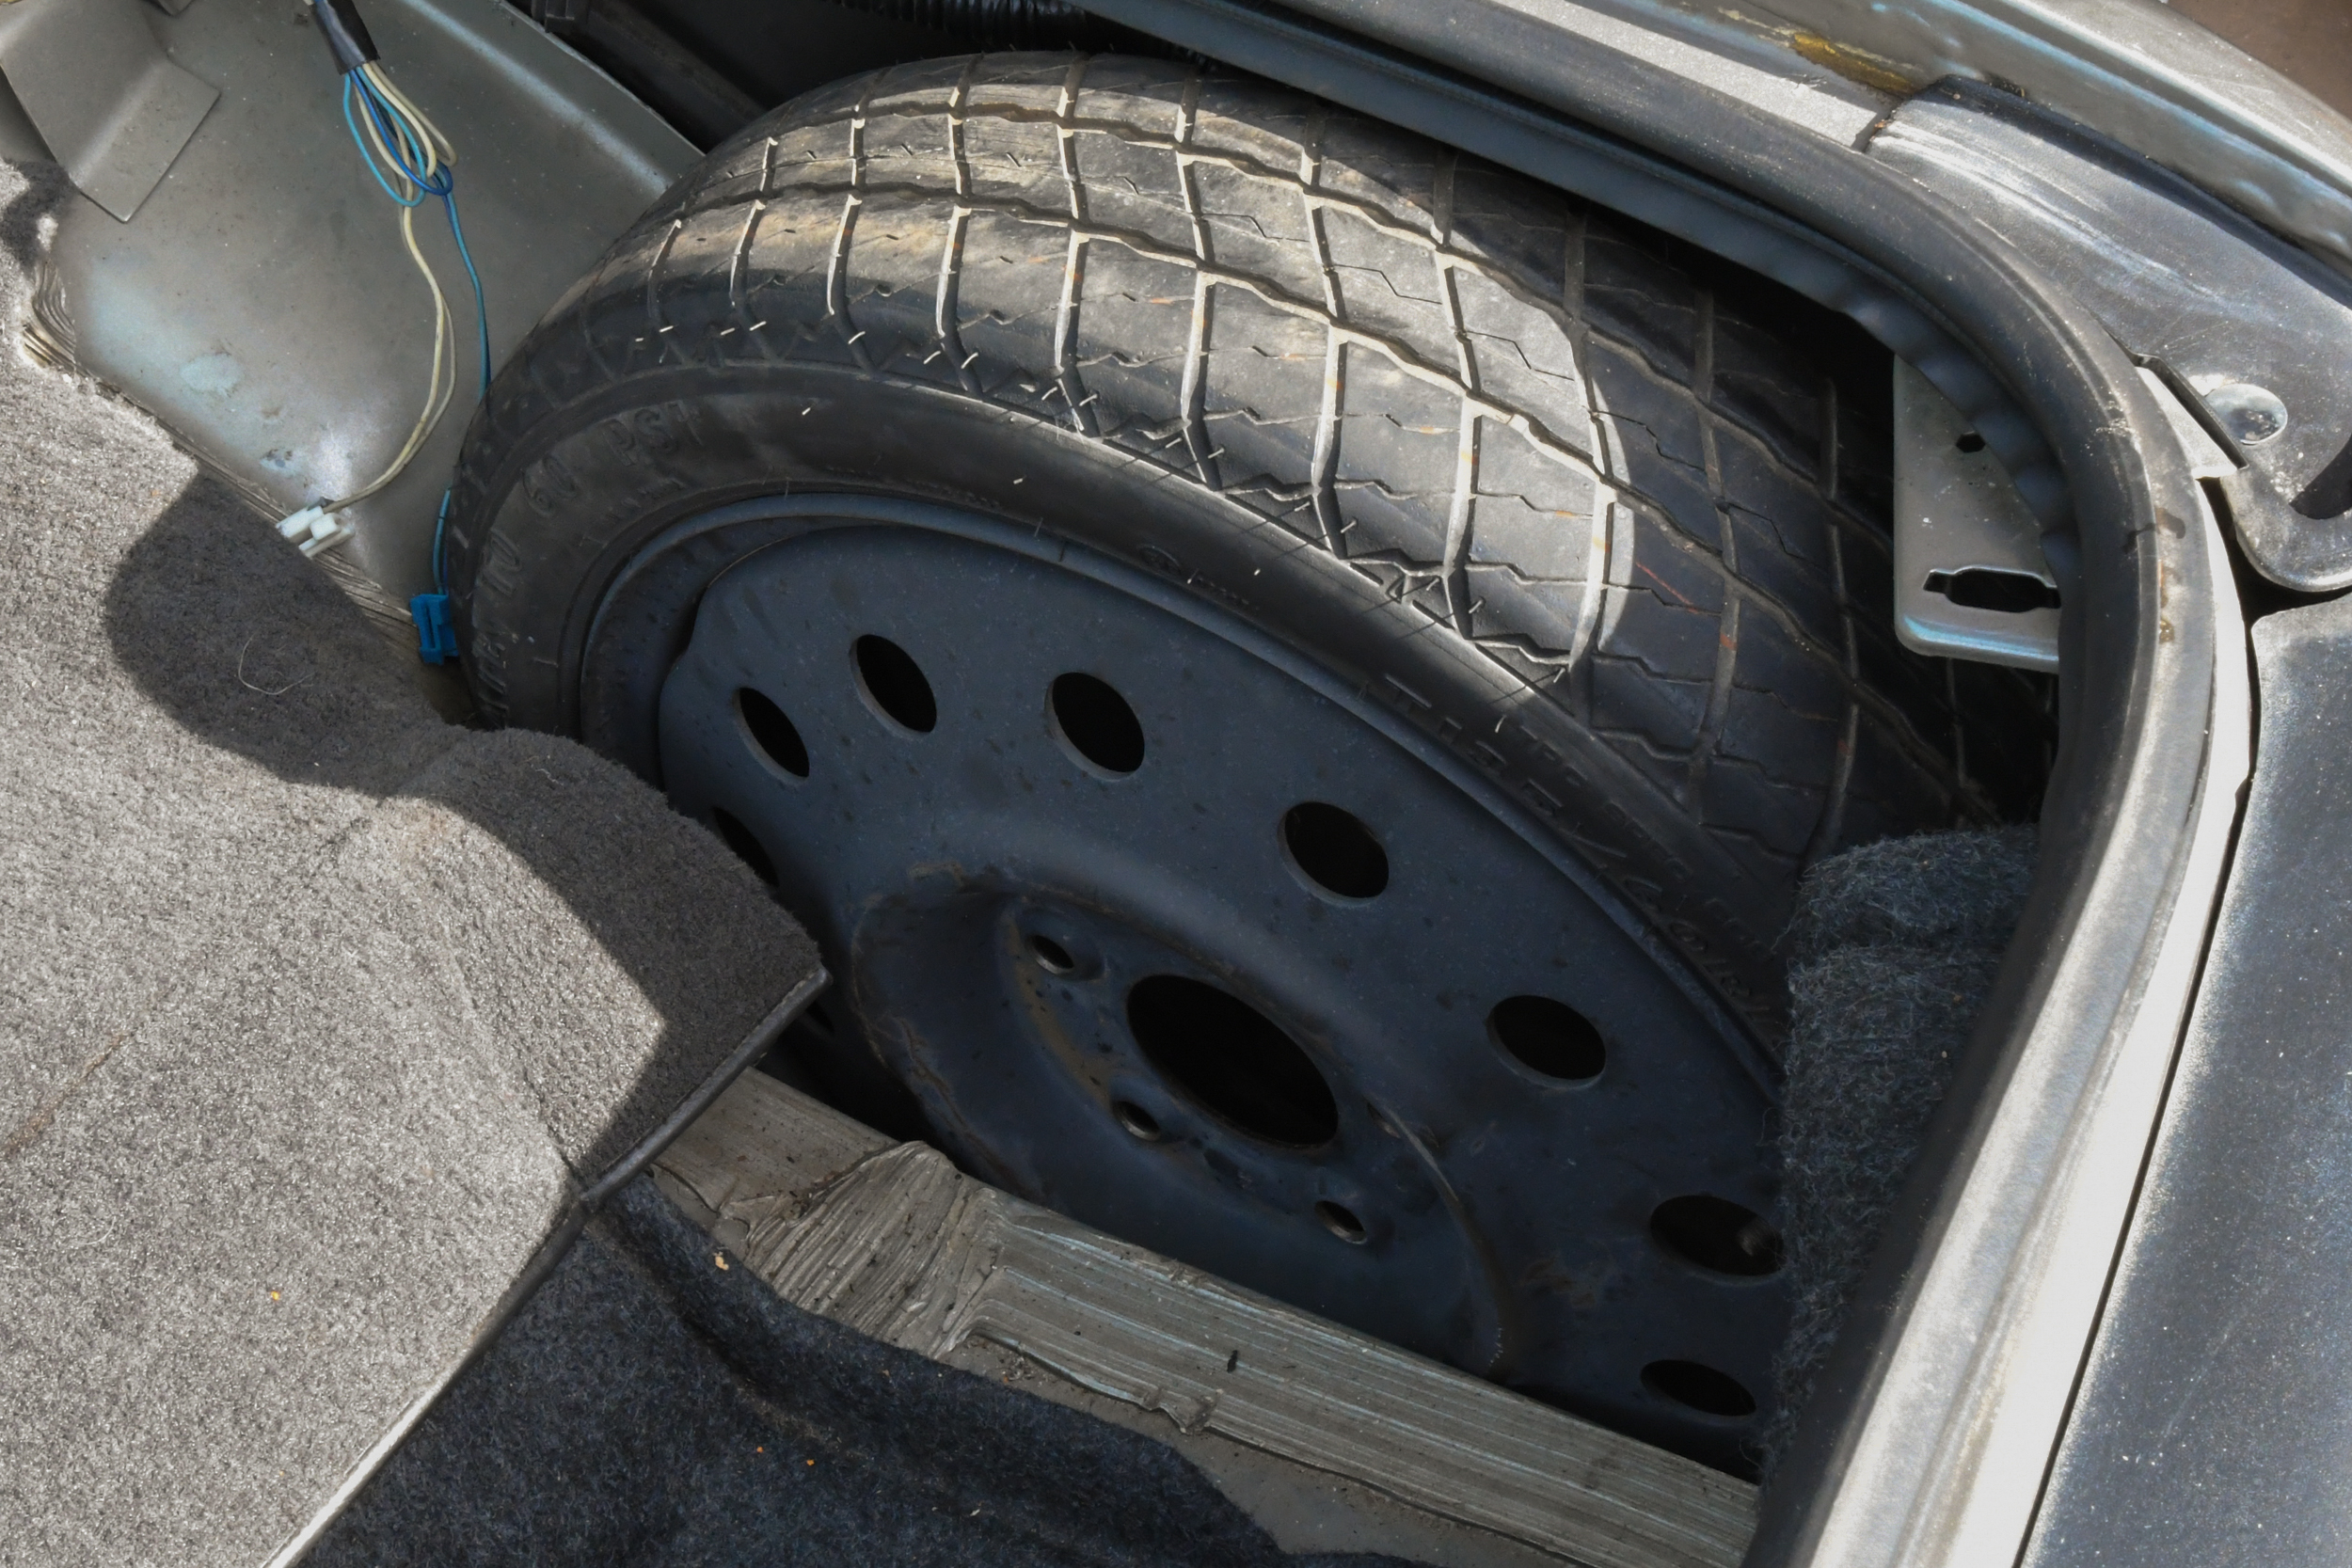
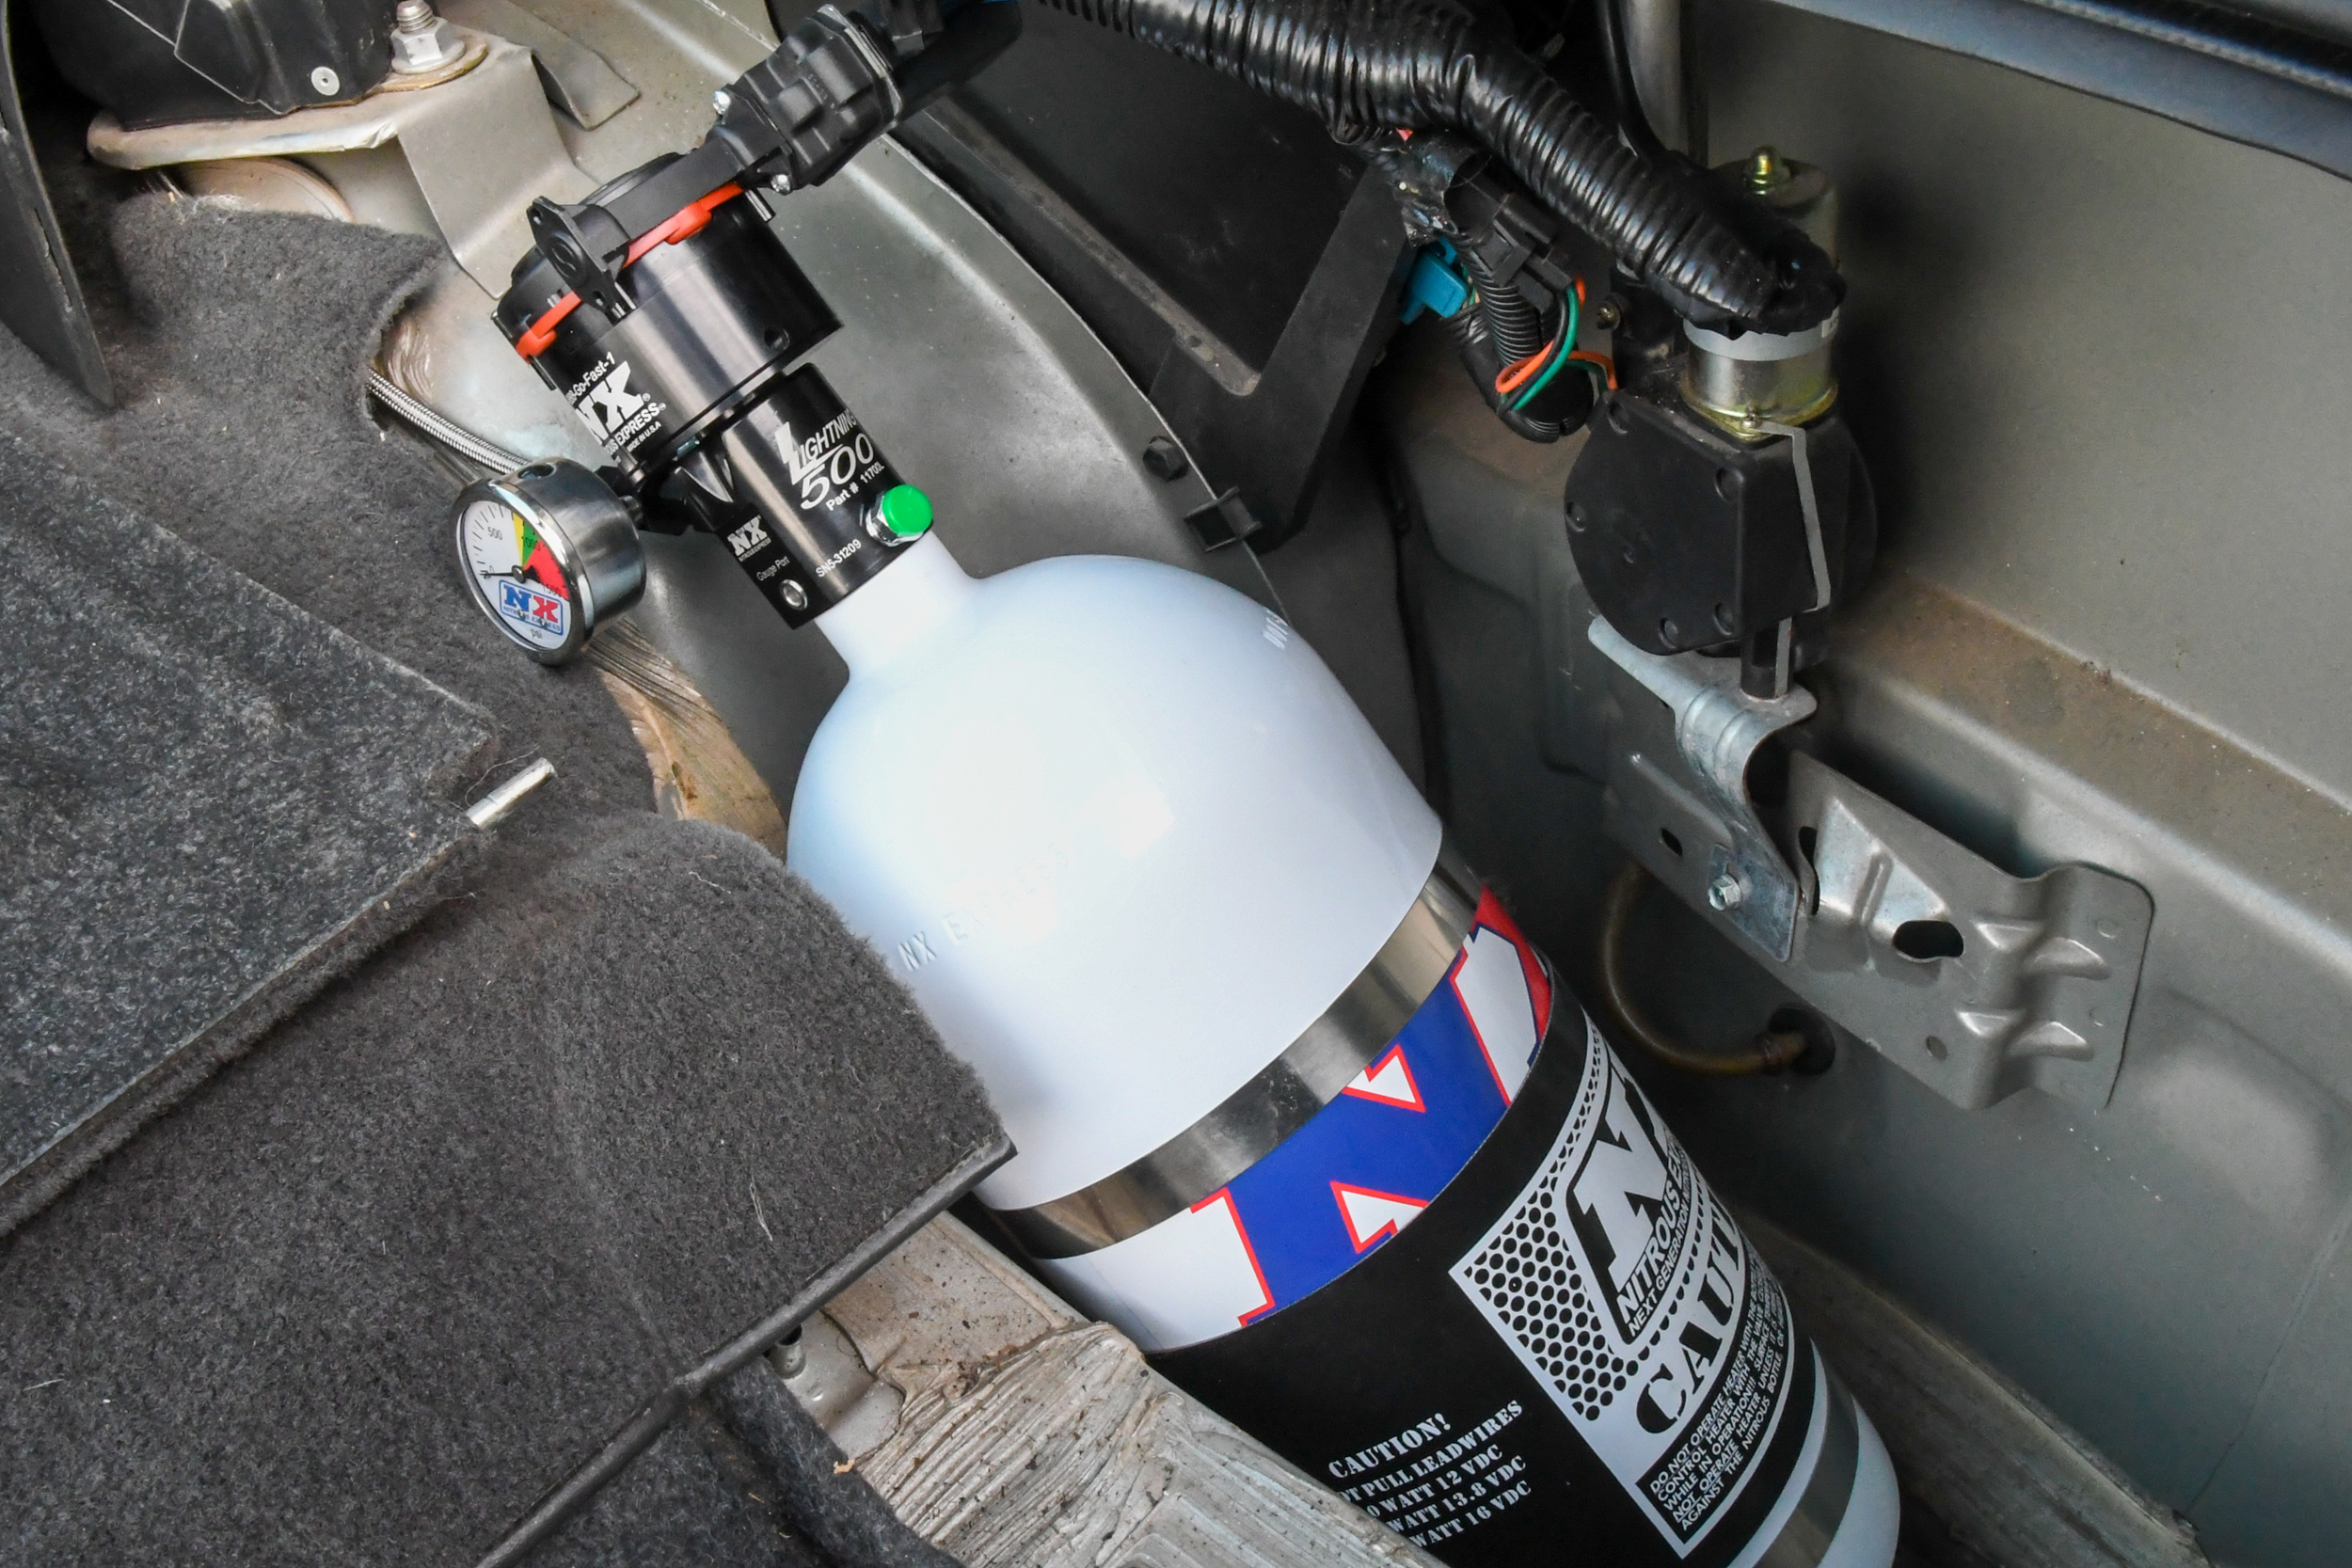
Hiding a nitrous bottle is one of the hardest things to pull off on a hidden installation. You can hide them where no one will find it, but dismantling half of a car to fill the bottle gets old fast. Just ask our friend Brad that had two 15-pound bottles mounted under the bumper of his C5 Corvette. In the case of our F-body, hiding the bottle is relatively easy. We opted to remove the spare tire and replace it and the jack with a 10-pound bottle. This is a discrete location that most fourth-gen owners know about. You can fit a 5-, 10-, or 15-pound bottle in this area with minimum effort.
To hide a nitrous bottle in our F-body, we pulled the cover, spare tire, and installed a 10-pound cylinder equipped with a remote bottle opener and an automatic heater.
While the F-body has a good location for a hidden bottle, what about a car that might not be so lucky? Instead of trying to hide the bottle, disguising it is a viable option. For this little experiment, we played around with a couple of ideas.
Bottle In A Box
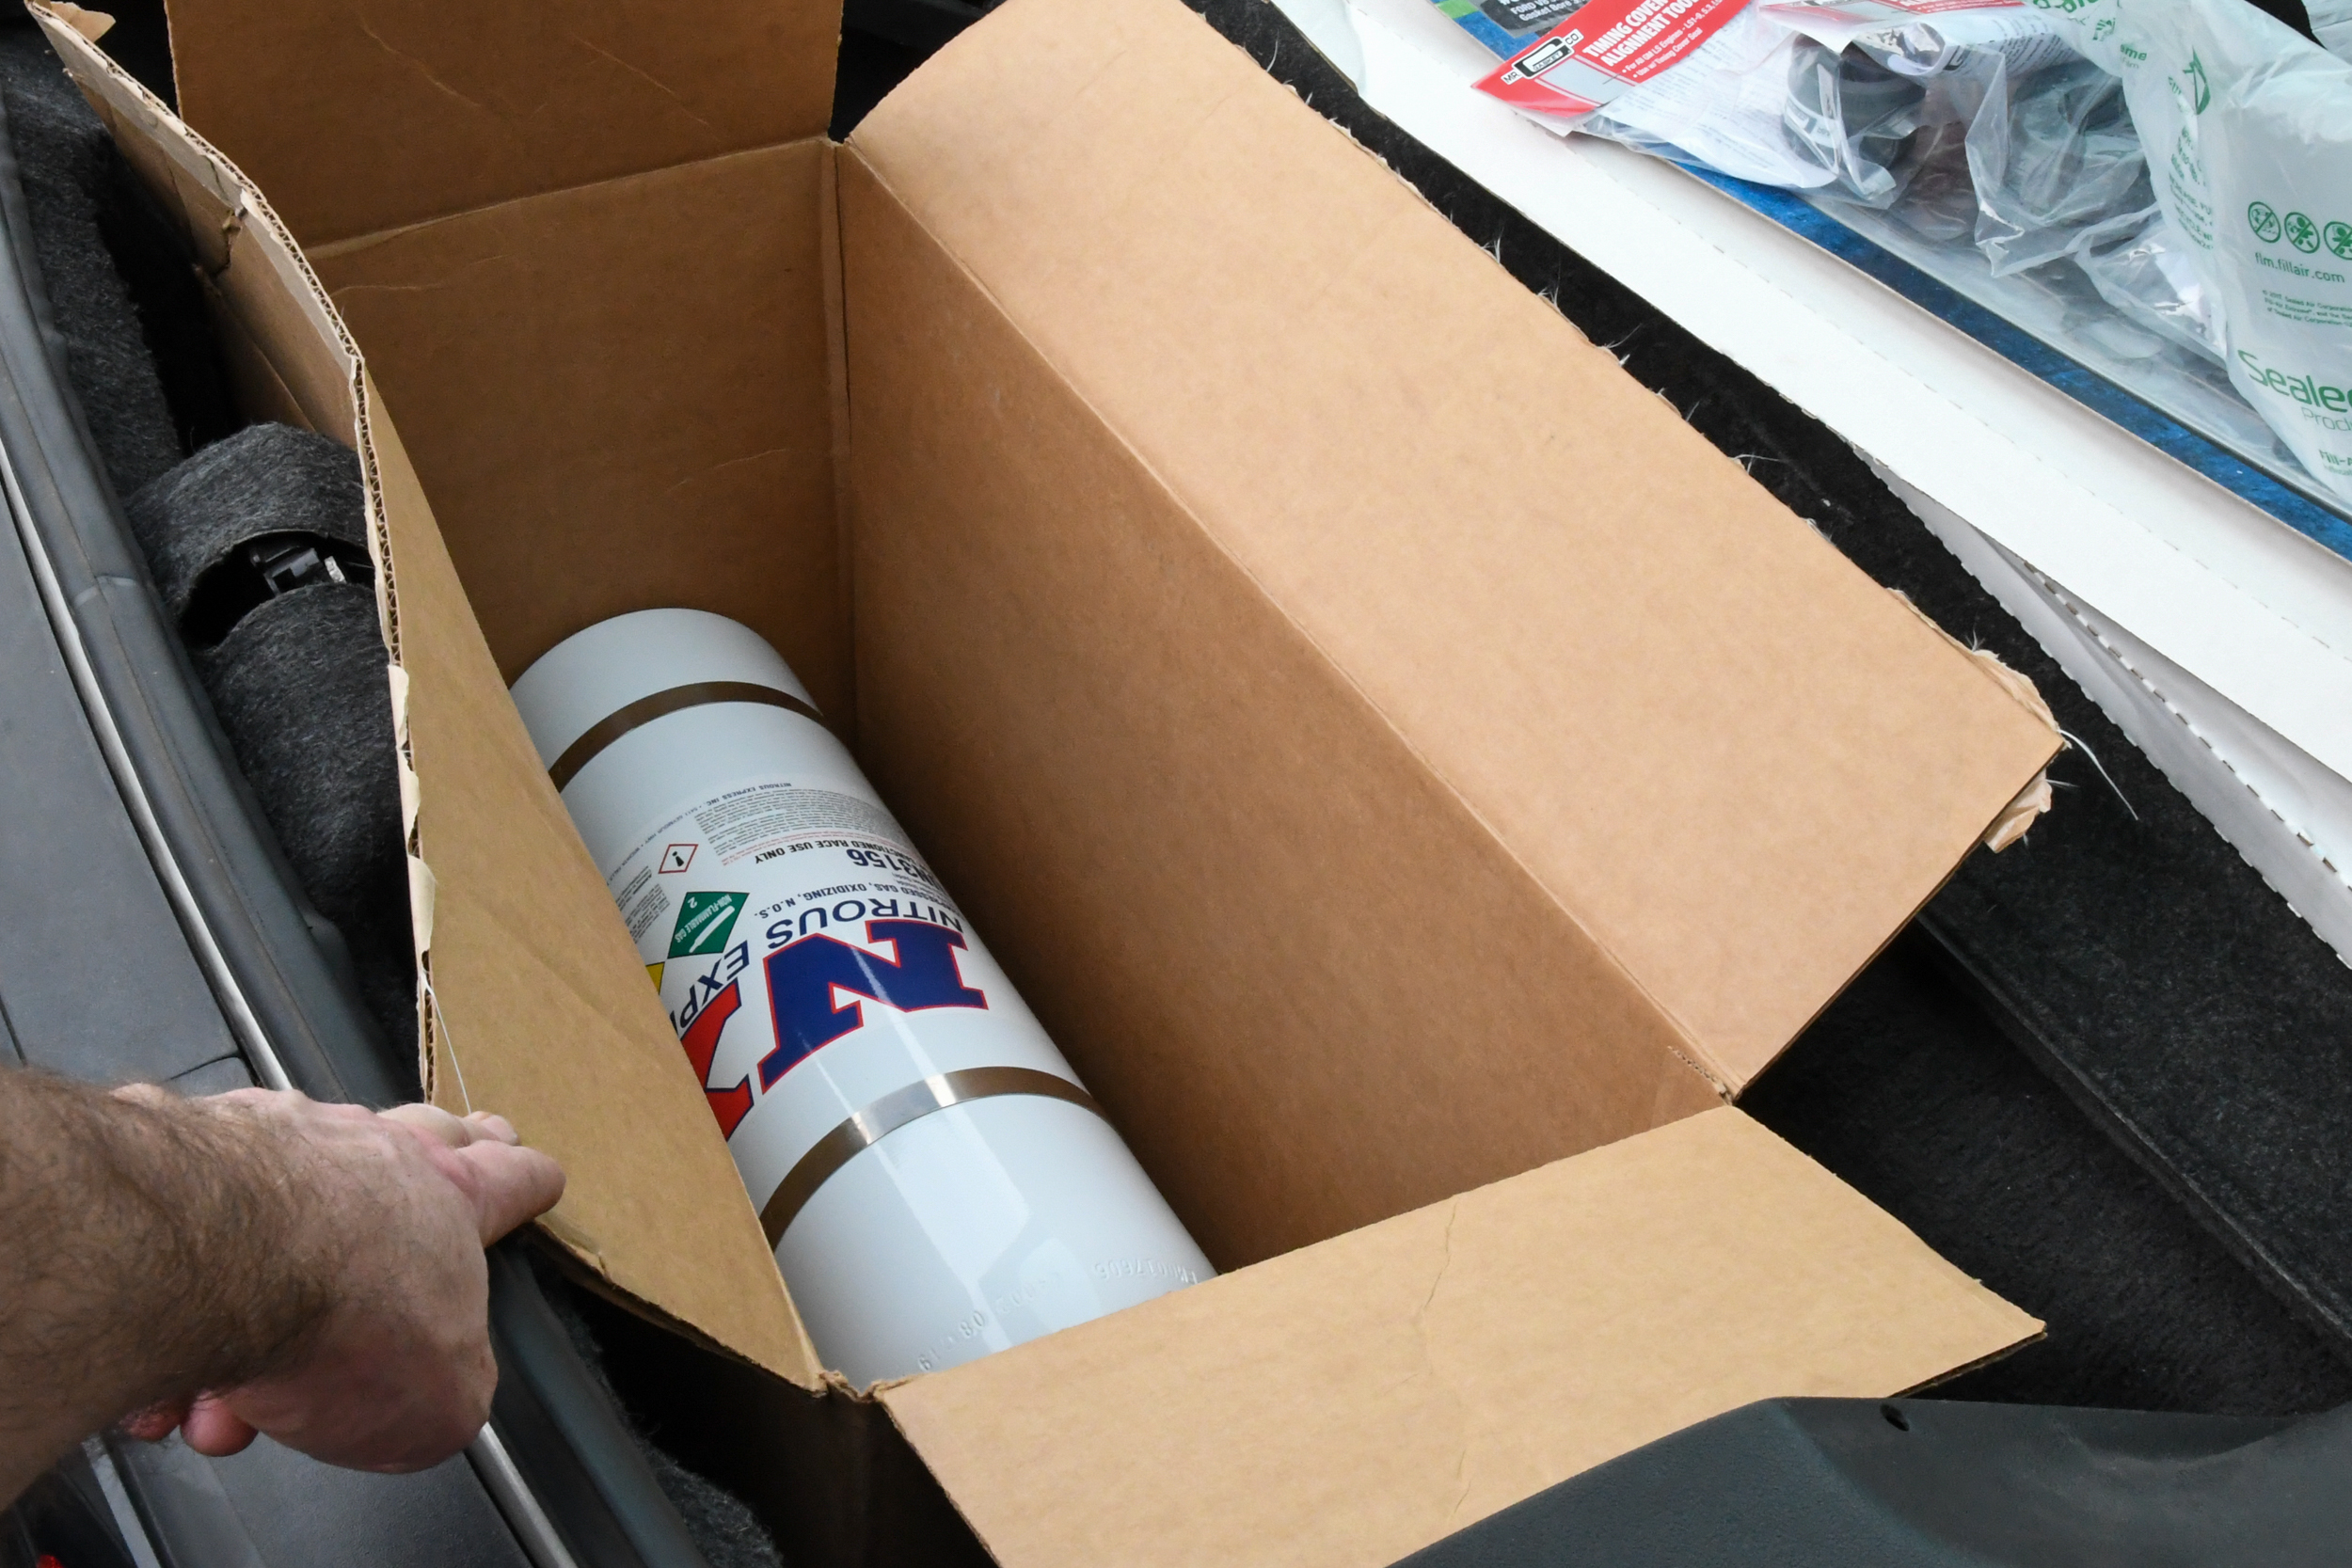
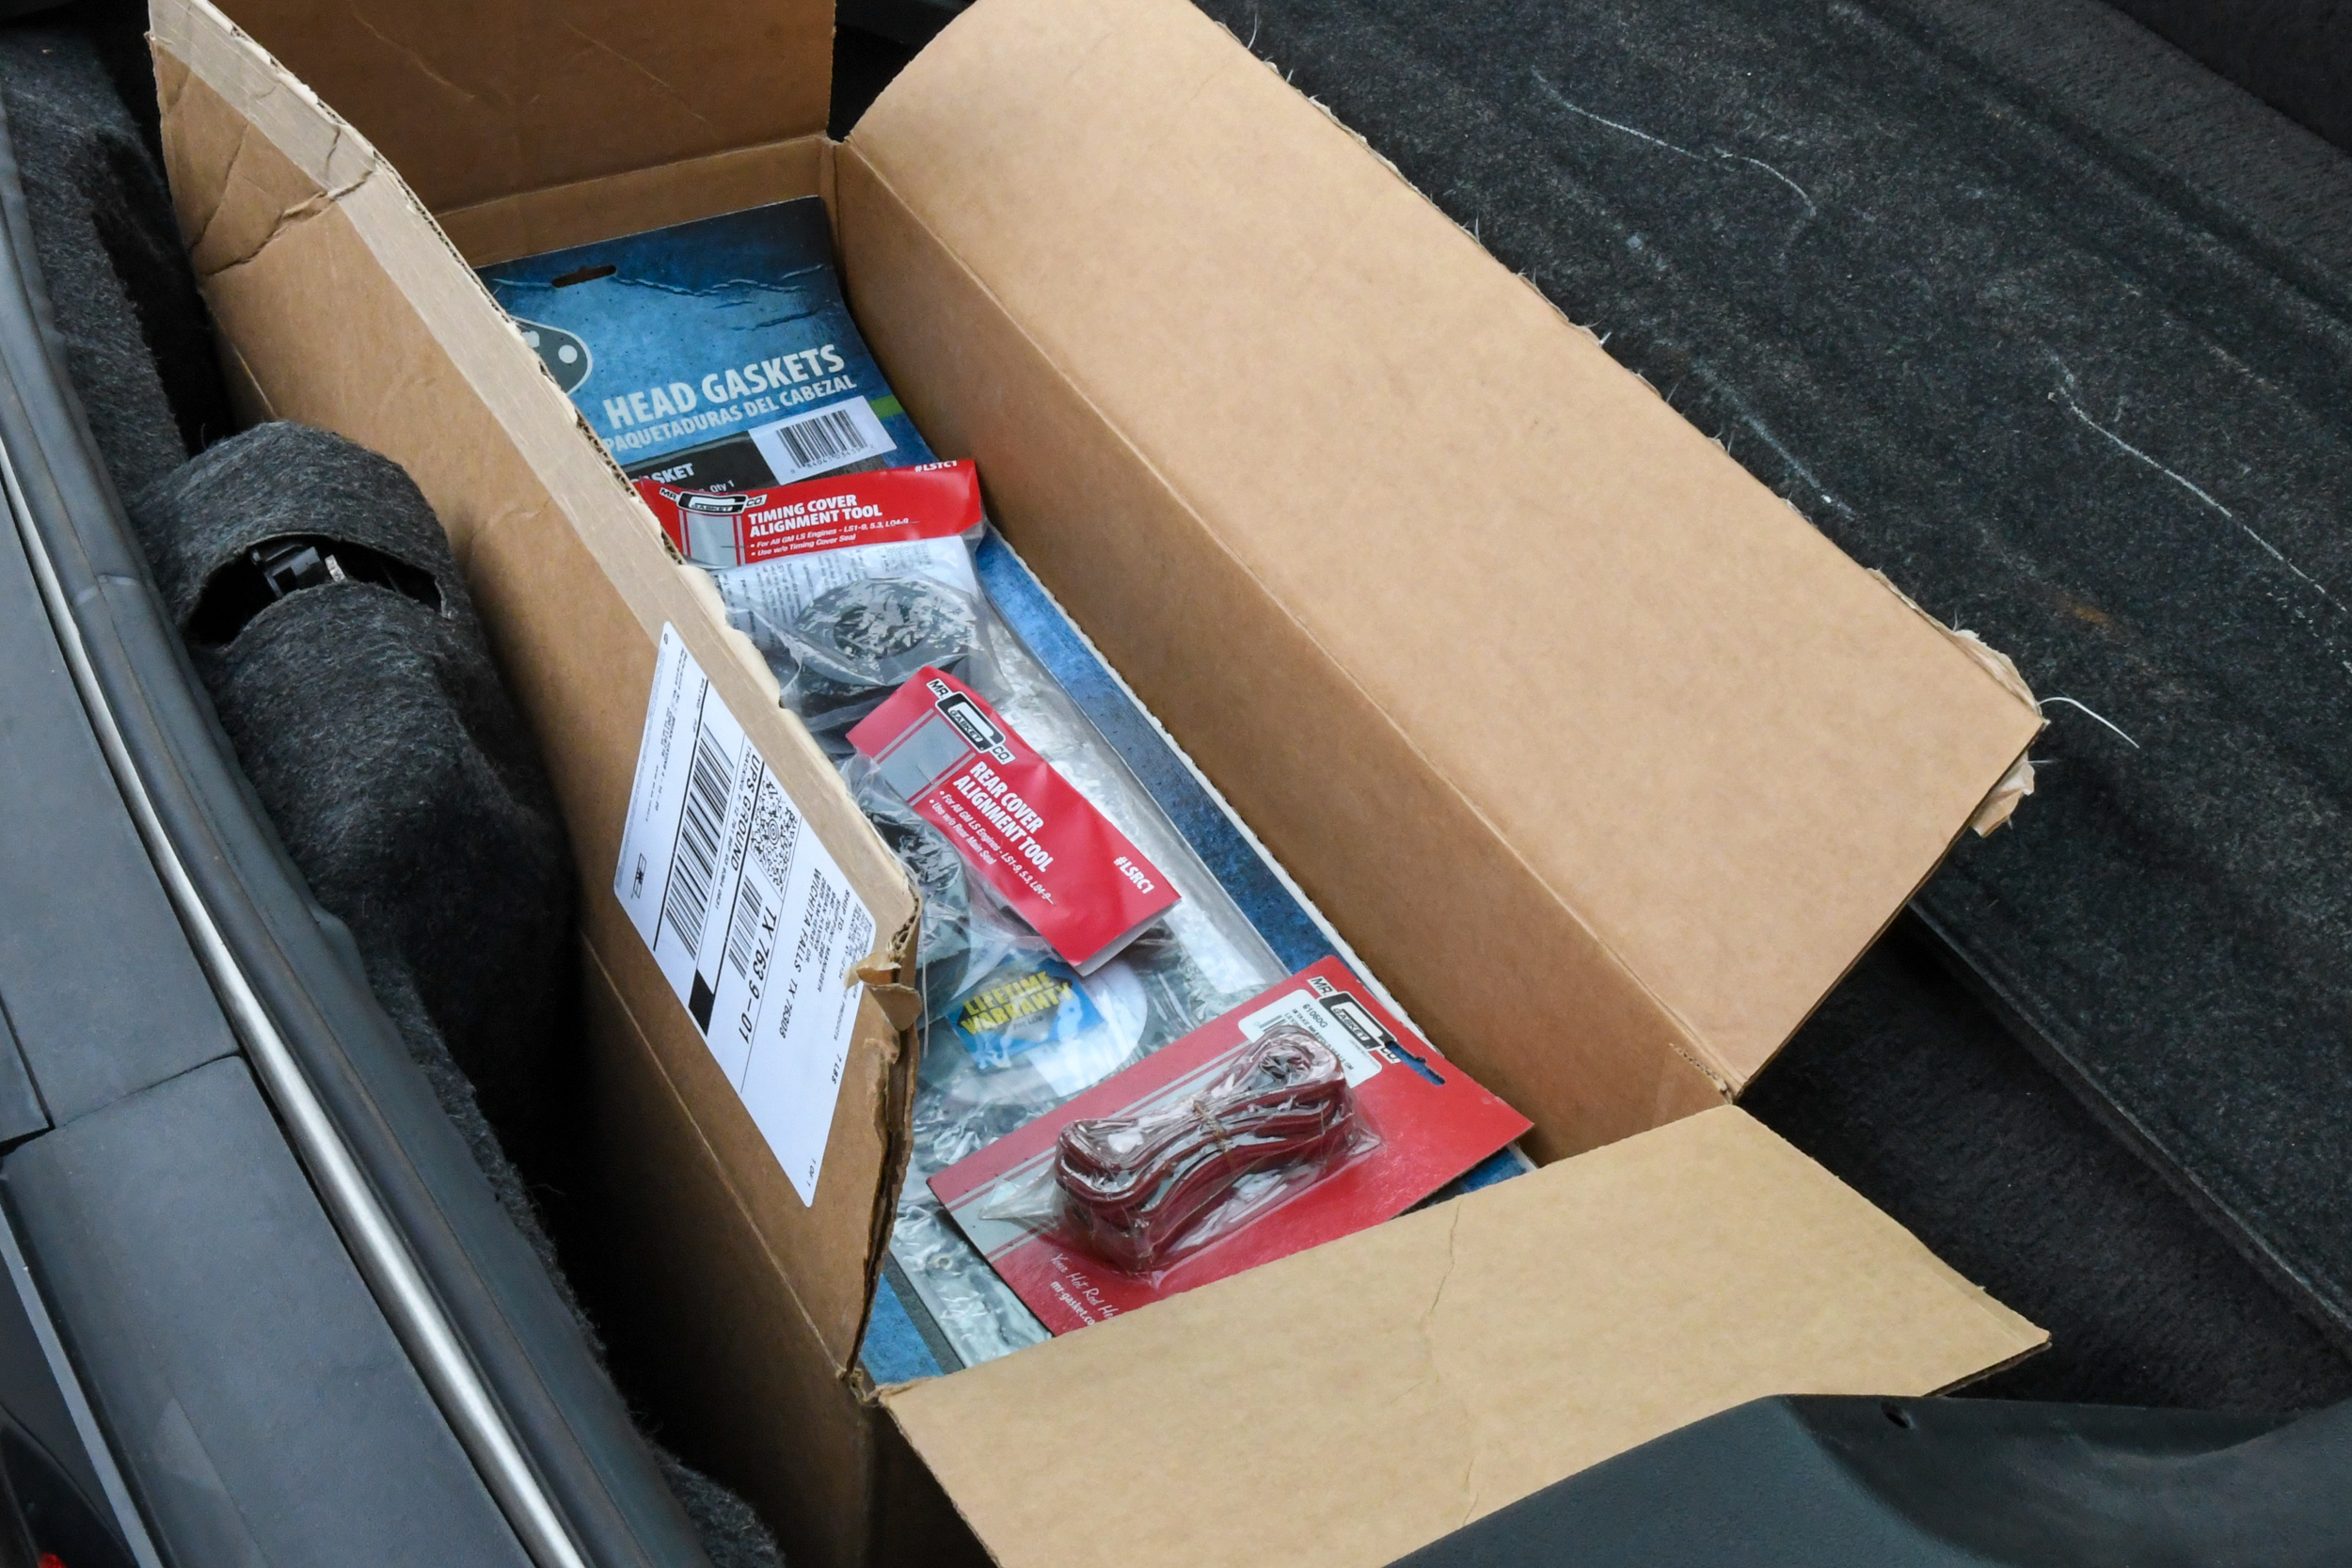
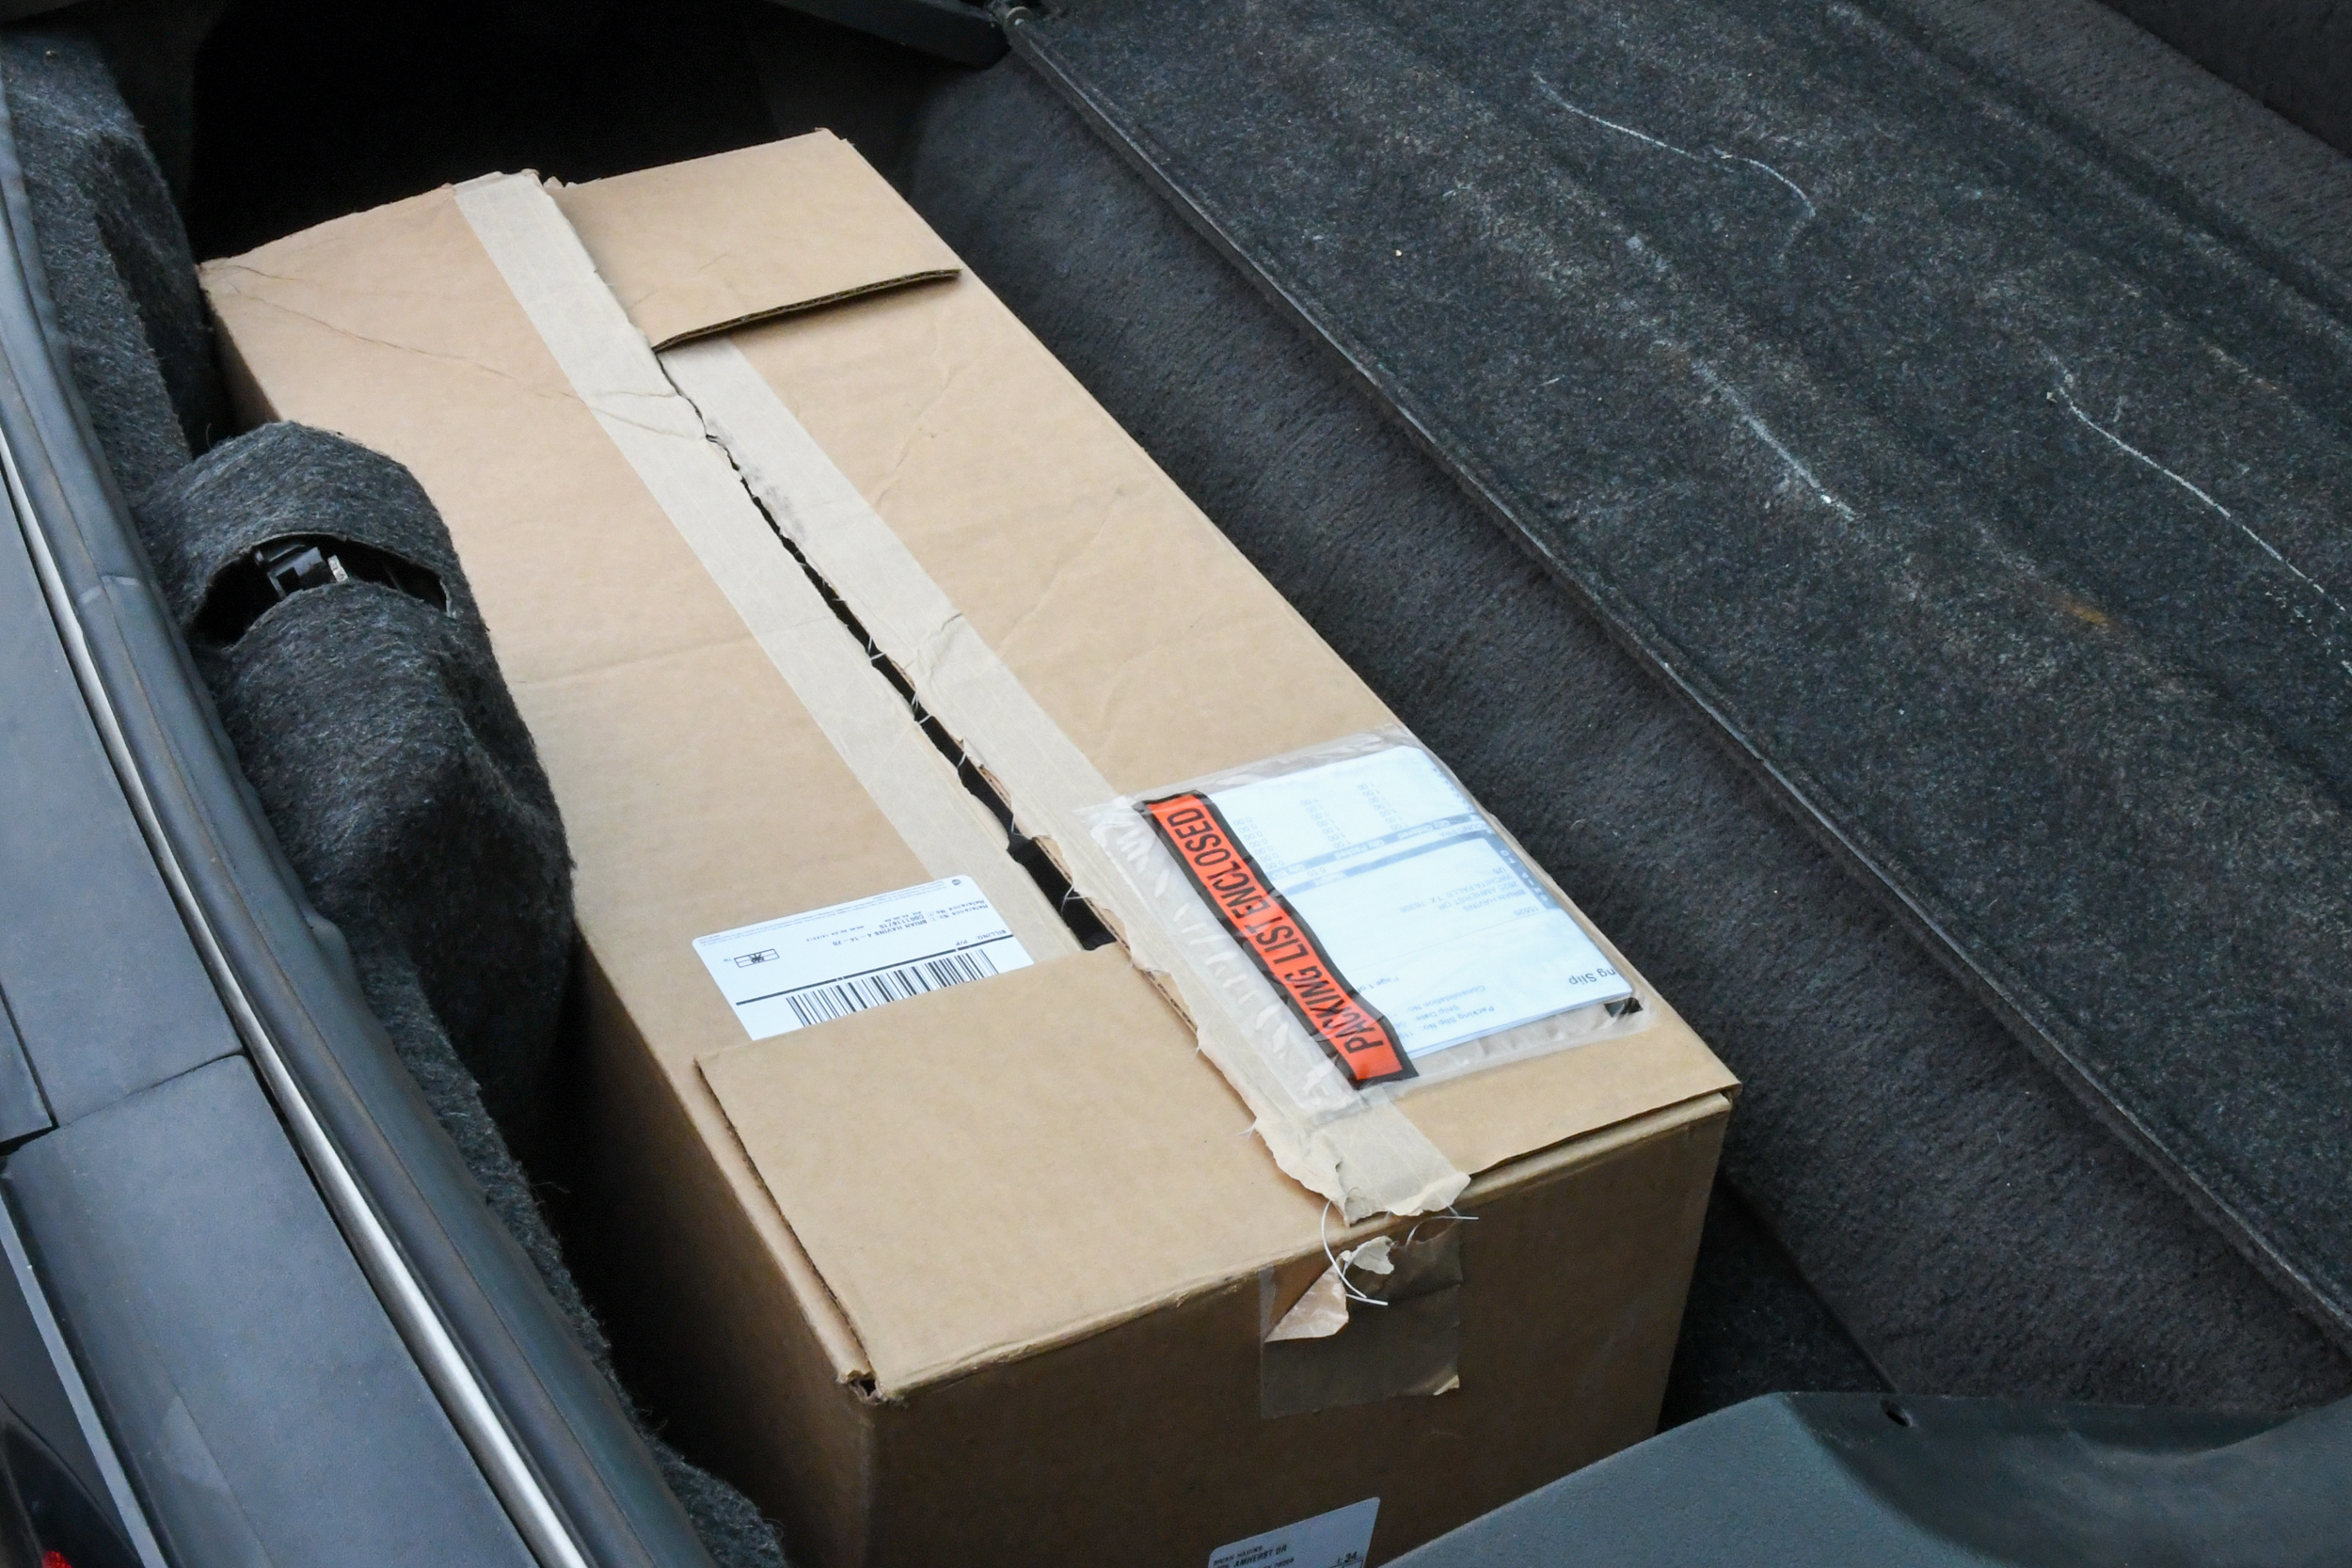
Our first idea came to us when we saw a box on the floor loaded with parts from Holley. Most car enthusiasts work on cars, including theirs, families, and other peoples too. It would not be uncommon to find a box of parts in any of our vehicles at a given time because we always have a project in the works.
We sized up the mundane brown cardboard box, and our 10-pound bottle fit perfectly. With the package in the back of the car, we then placed the bottle inside. We put the packaging material in the box, along with all of our parts. If you pulled out these pieces, we could tell you that we were getting ready to replace all of the seals on a junkyard build, and it would be the truth. That’s what all these parts are for: gaskets, seals, and a Mr. Gasket scraper. Now the question is, would you dig into the bottom of the box, expecting a nitrous bottle? You might now, but probably not before reading this article.
Bags And Bottles
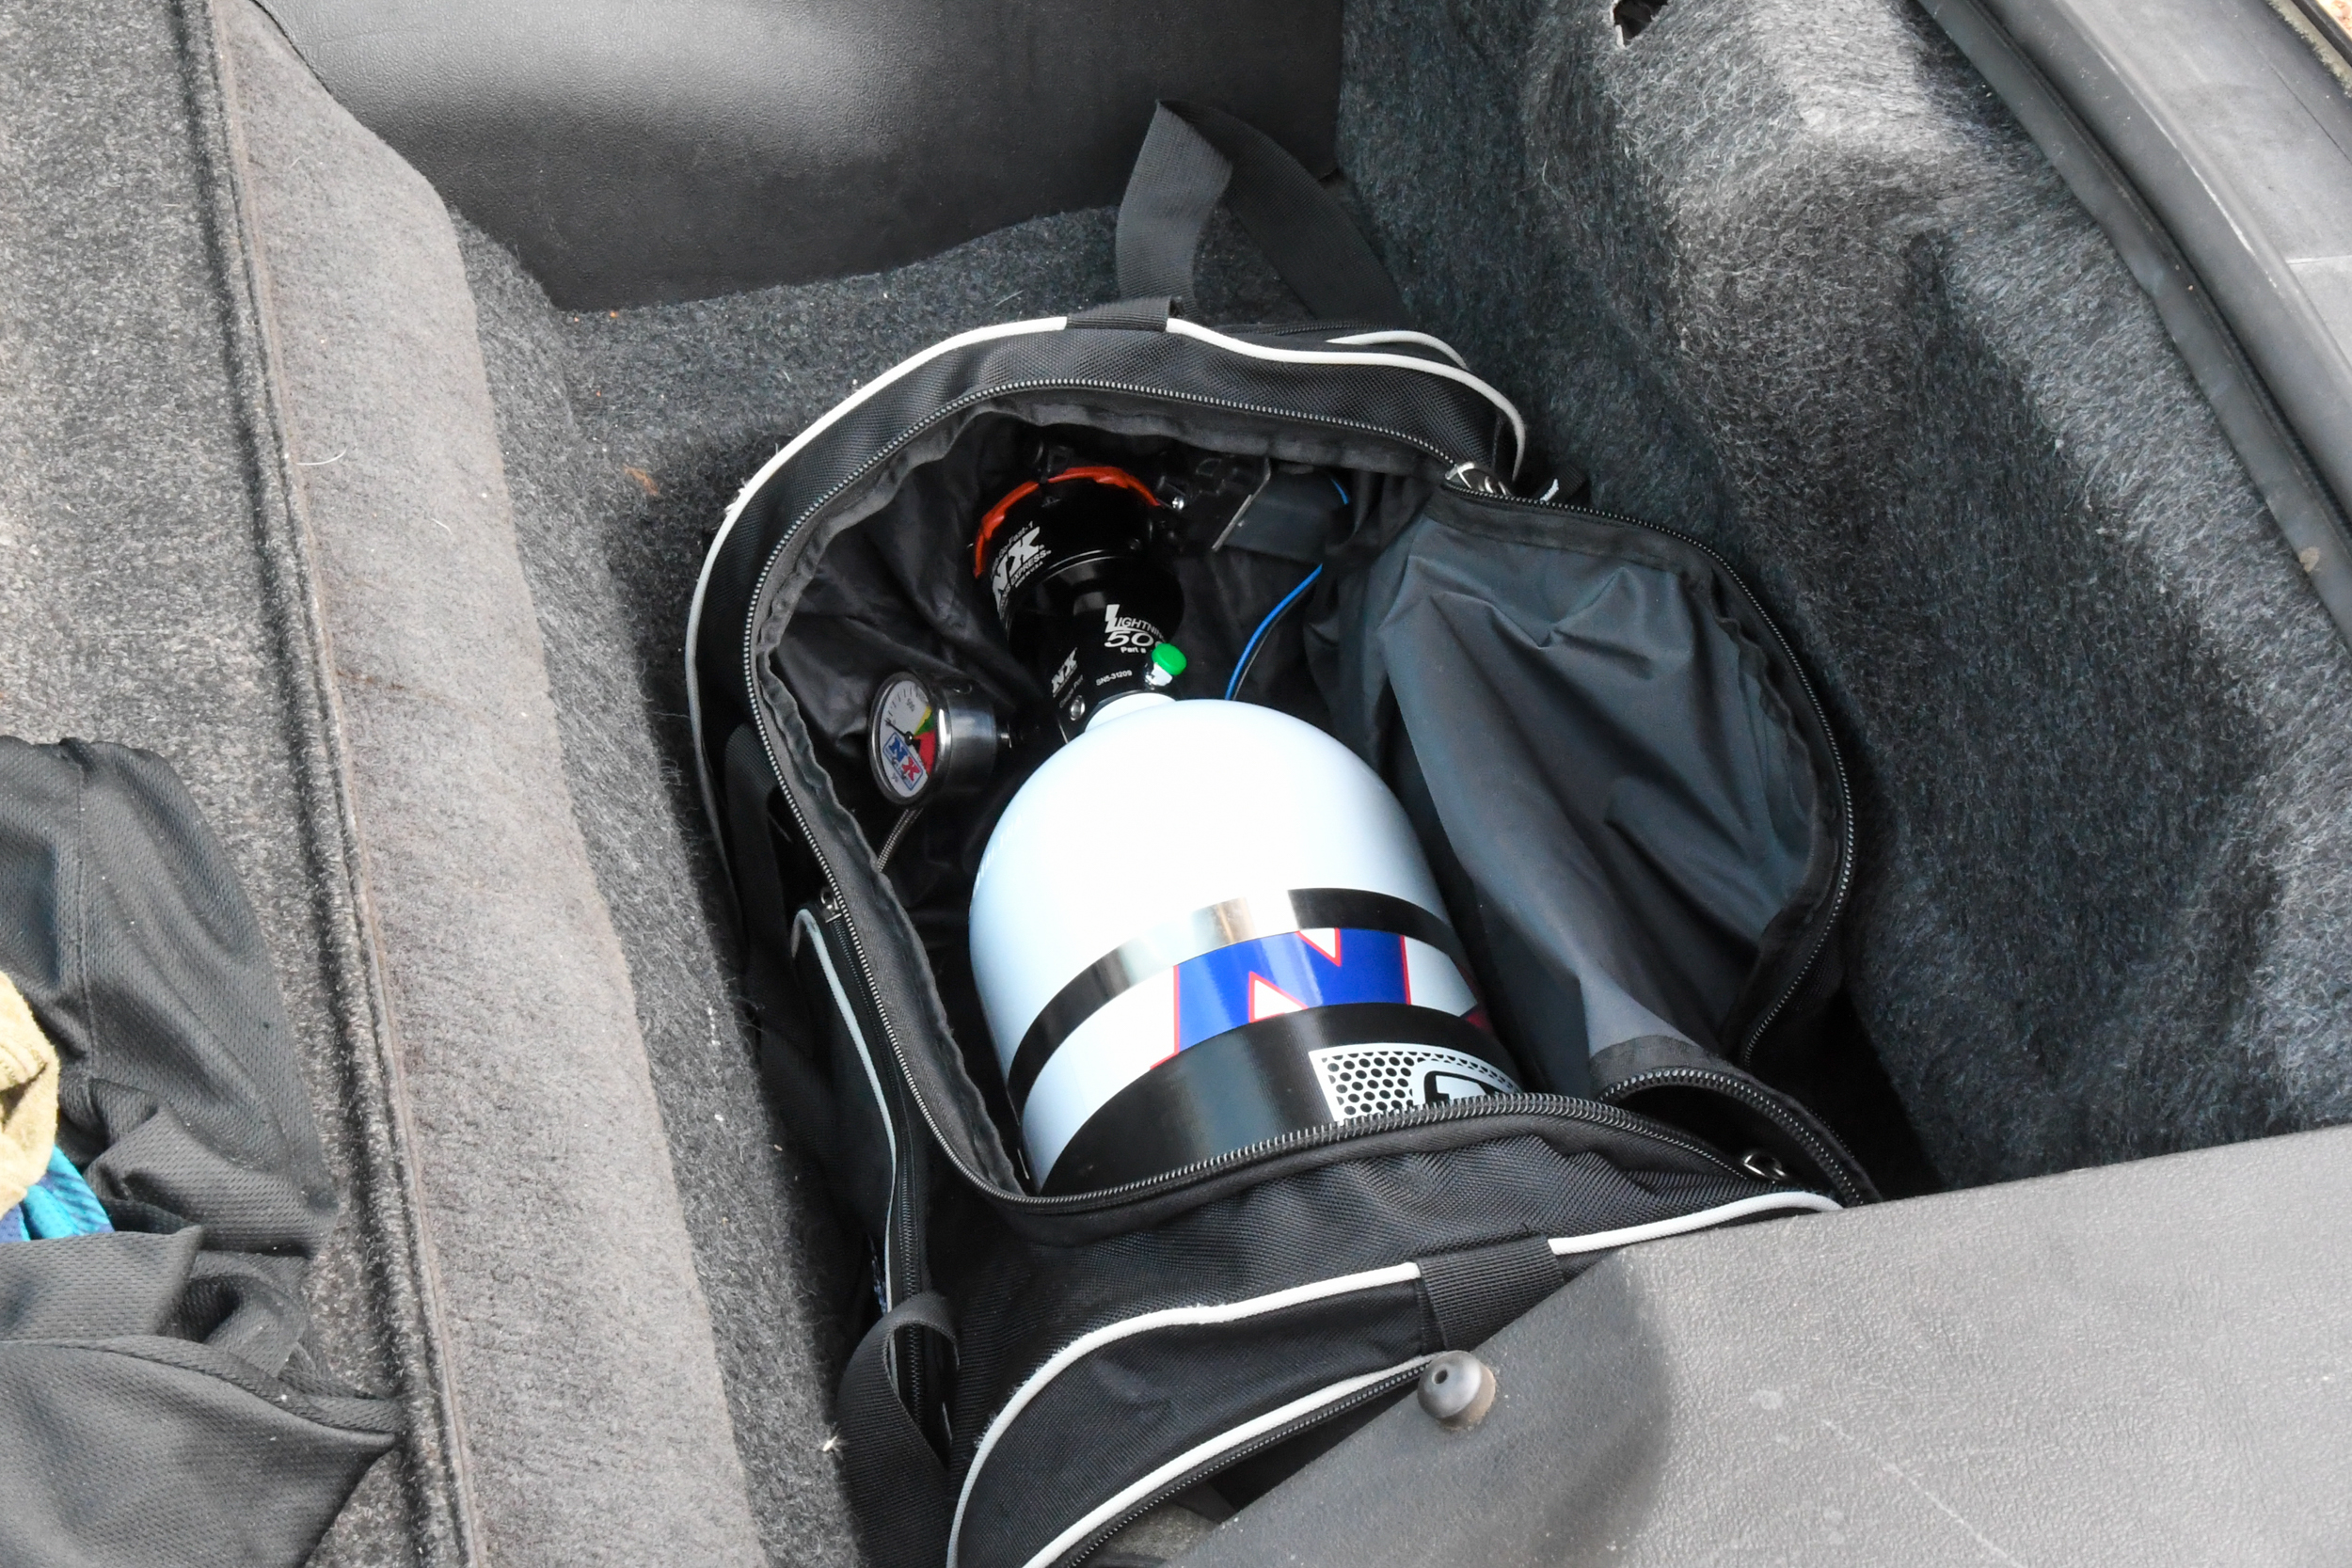
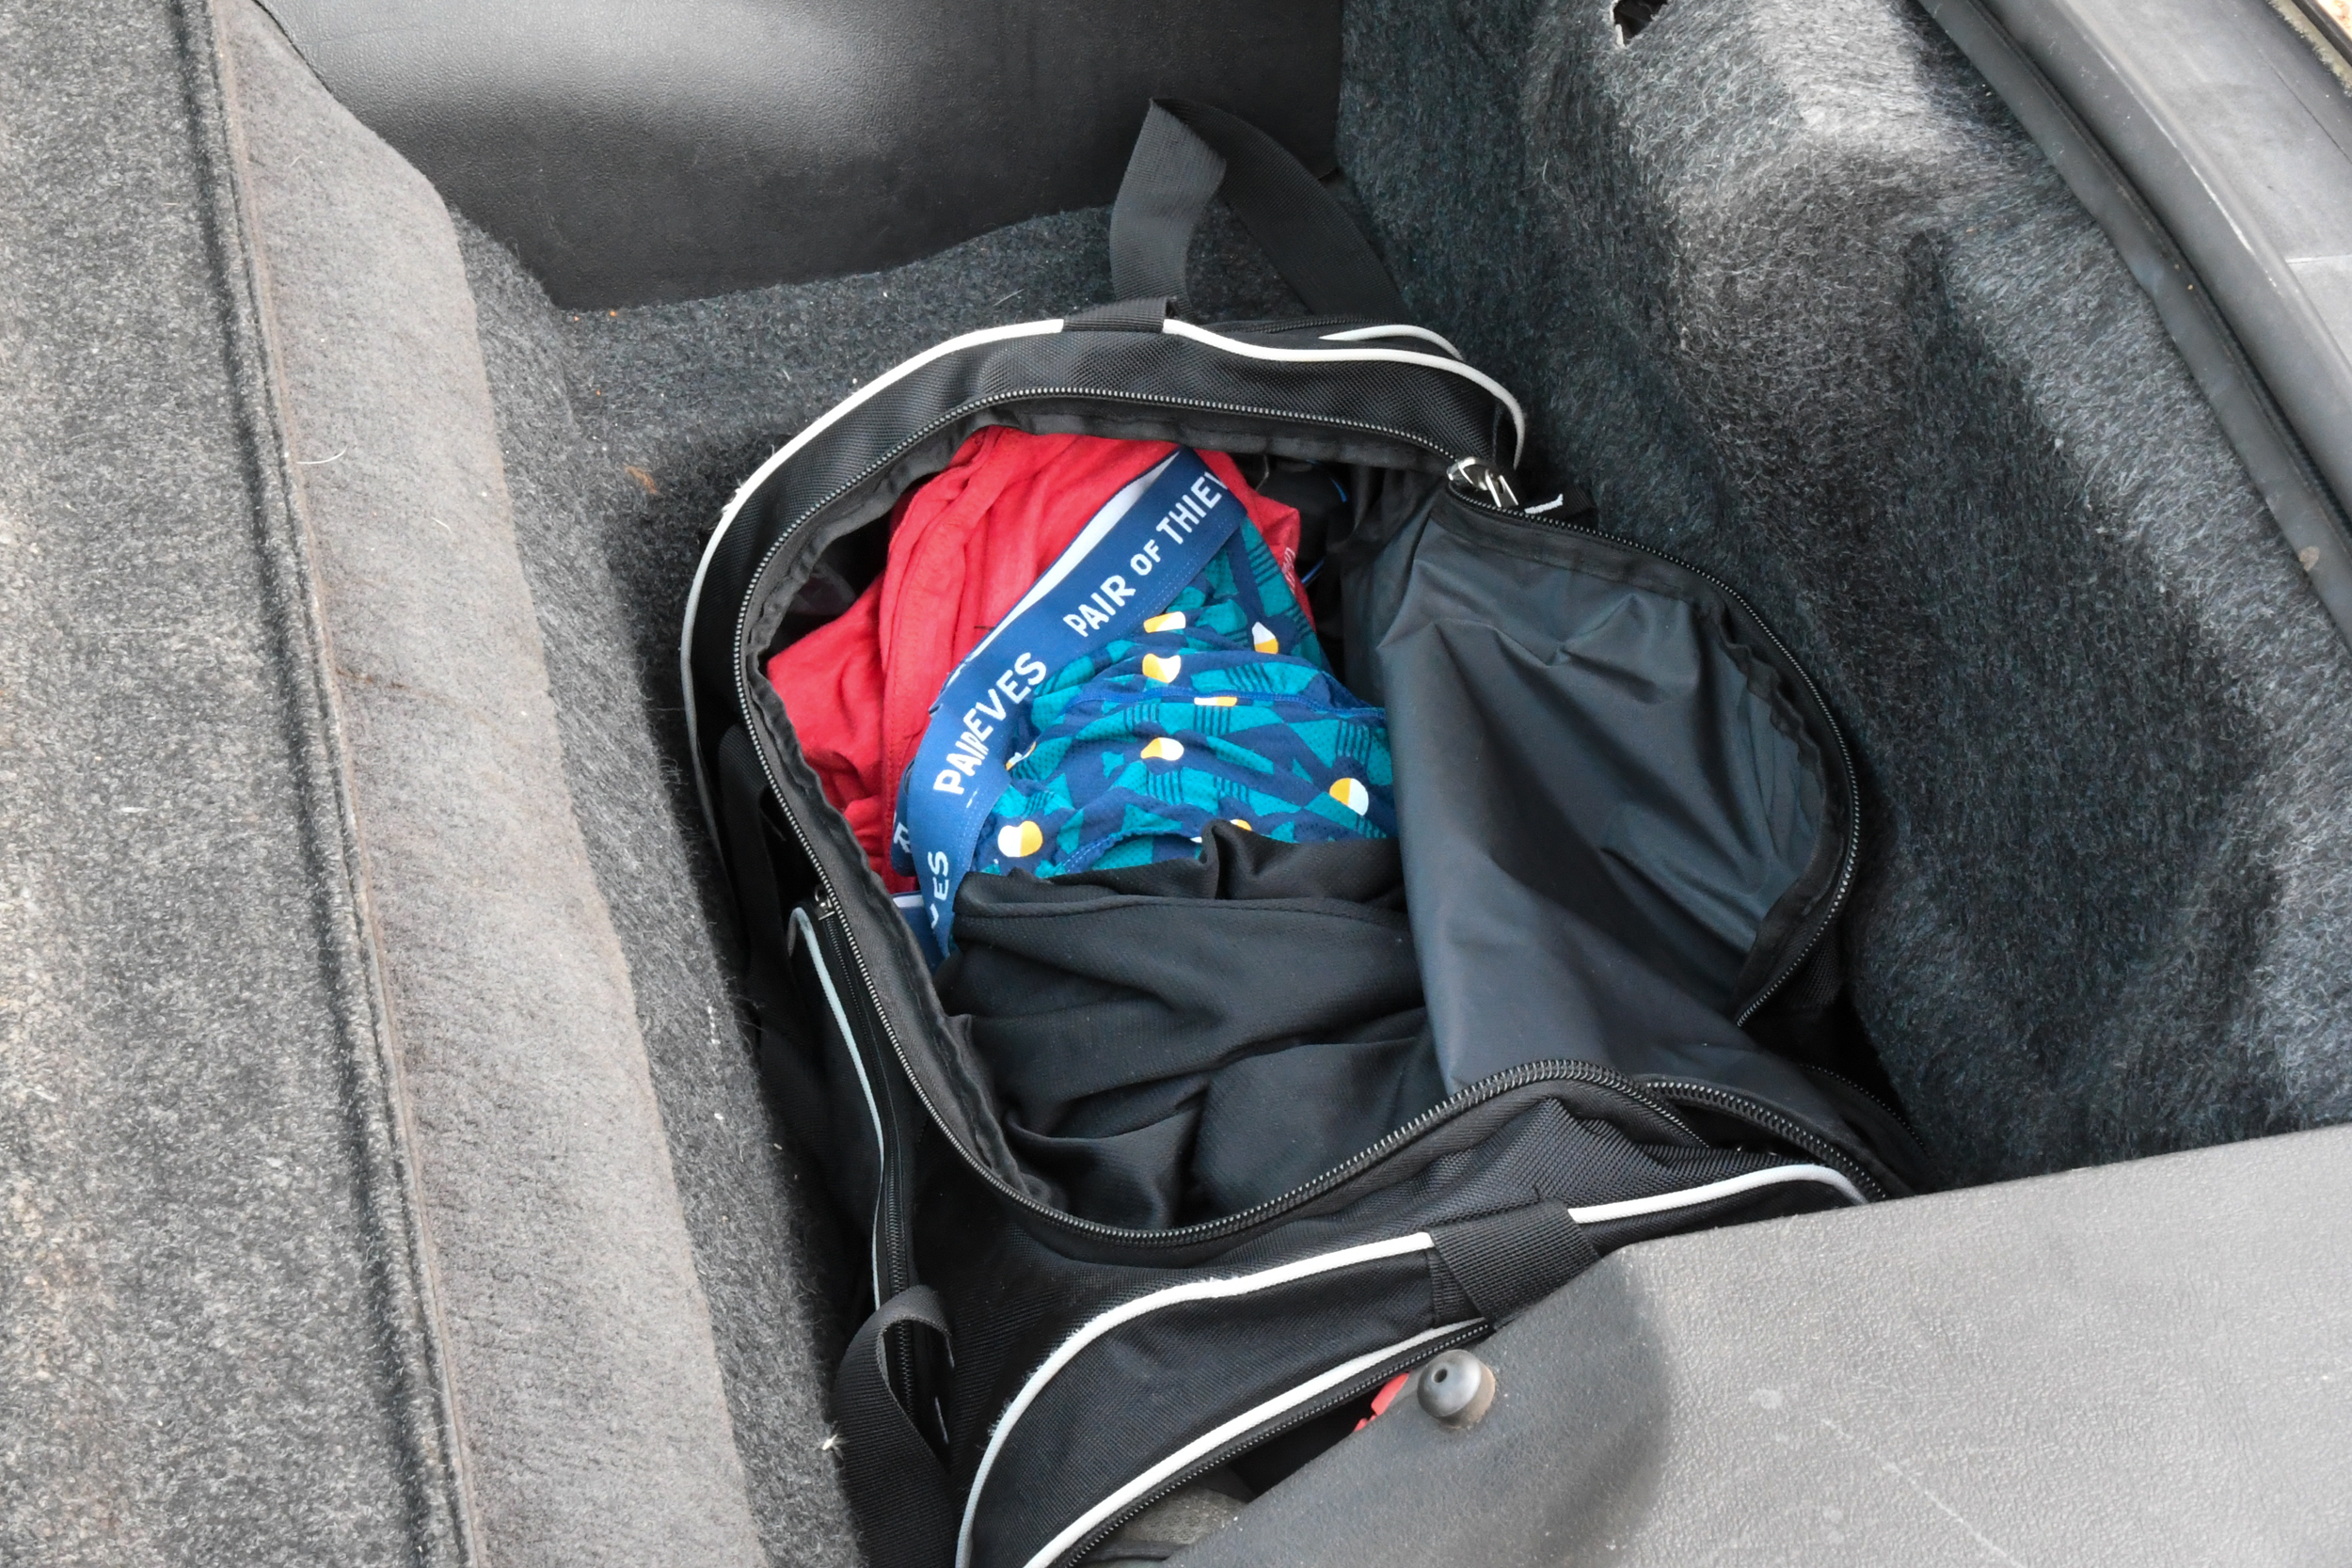
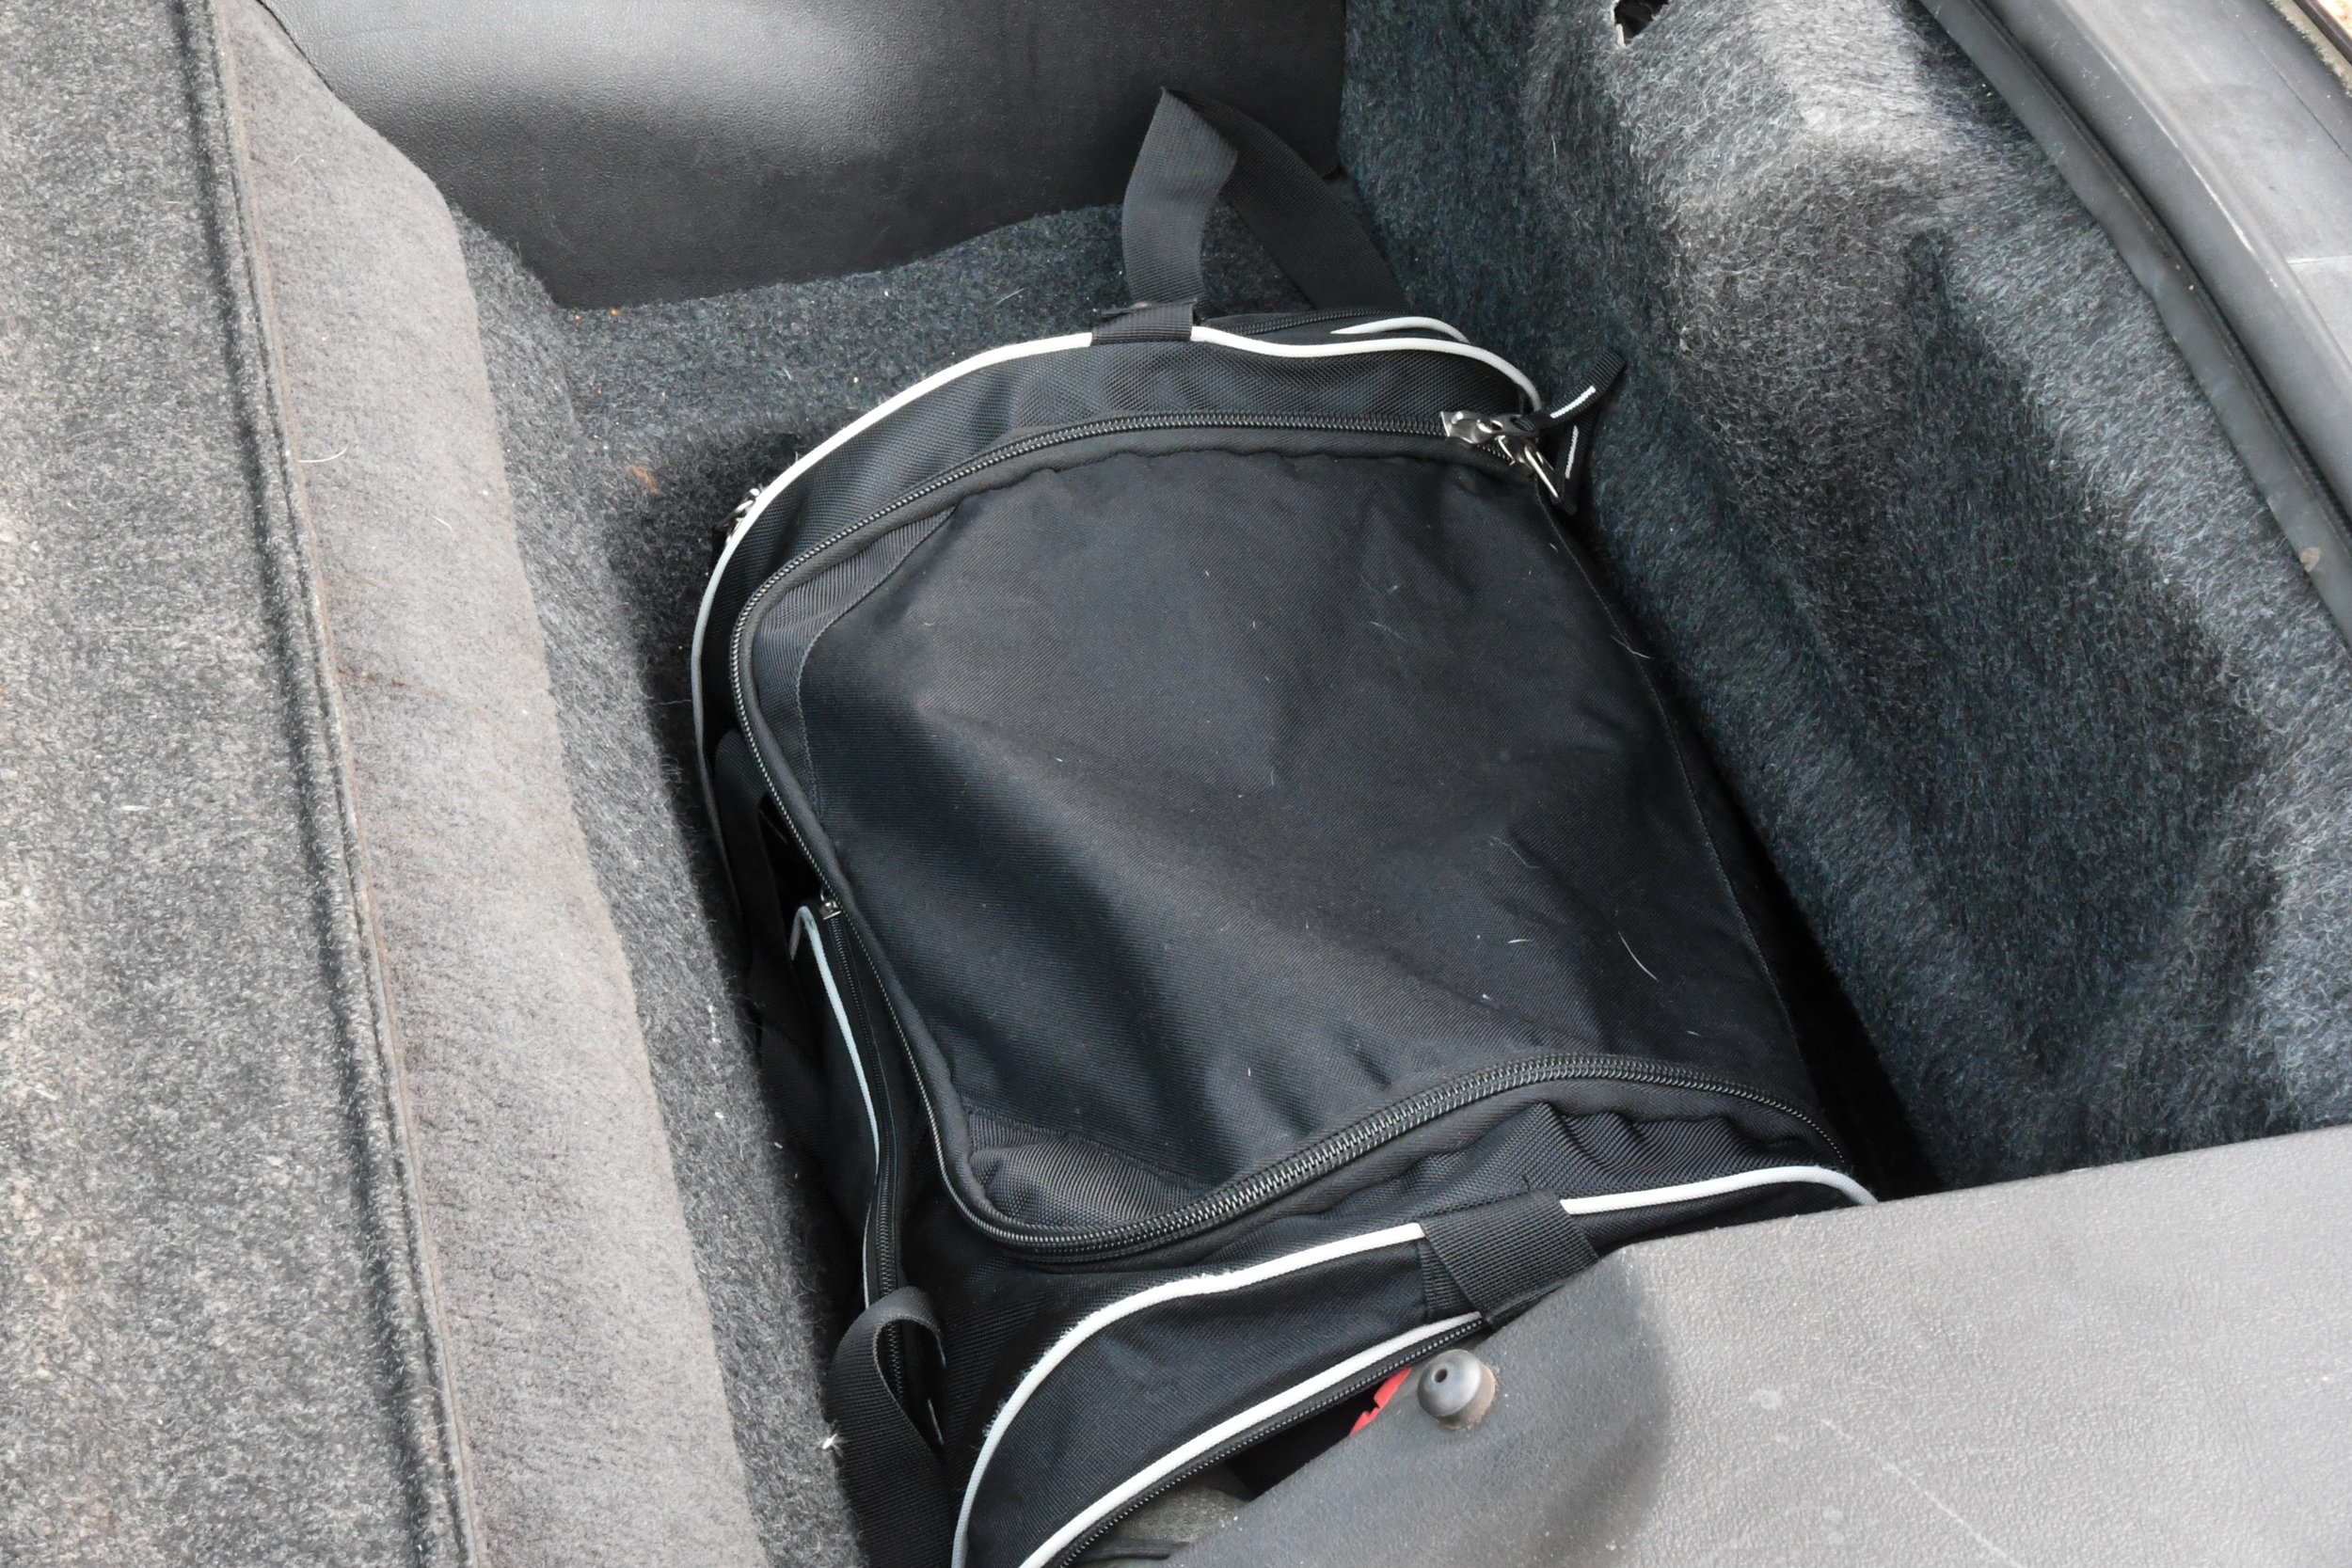
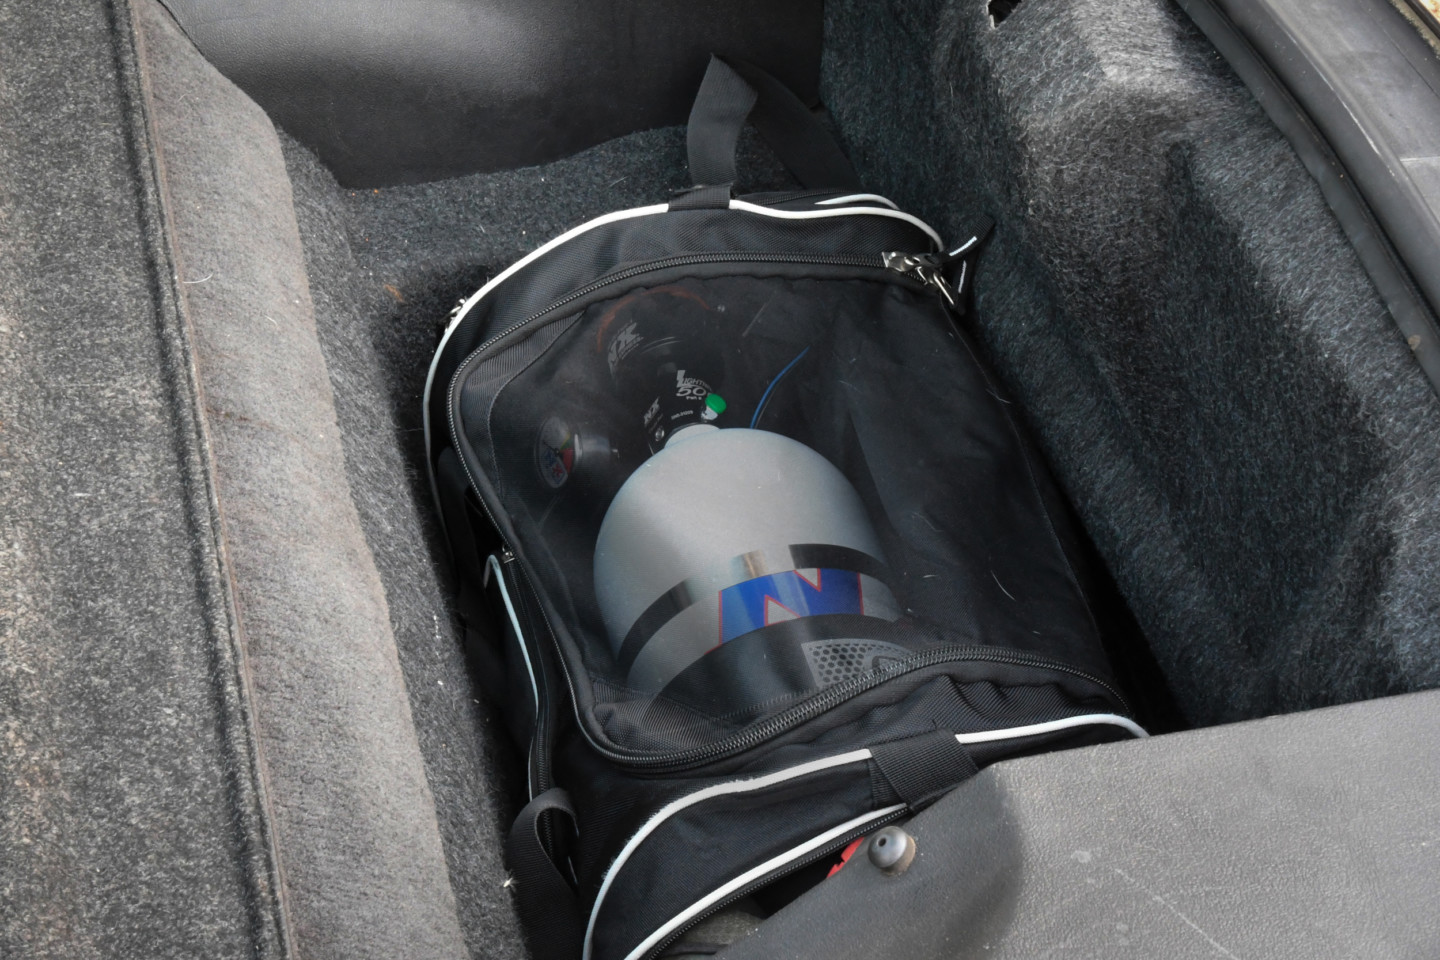 Here is another great solution to conceal your true intentions. Use an old gym bag to hide the bottle. Depending on its size, you can find a bottle that will fit inside. We had an old duffle bag lying around, and it housed a 15-pound bottle effortlessly. With the bottle in place, just add your gym clothes, shoes, and anything else you might take to the gym. We made sure a Pair Of Thieves brand underwear is the first thing people would see if the bag was opened. There’s nothing like a pair of silky used undies with polka dots to keep someone at bay if they decide to reach in the bag. Just make sure the bag is positioned in a normal spot. Most F-body owners would not keep it under the back hatch, but it still looks in place.
If you use the bag method, there's nothing like a pair of silky undies to discourage someone from digging in your bag.
Backpacking
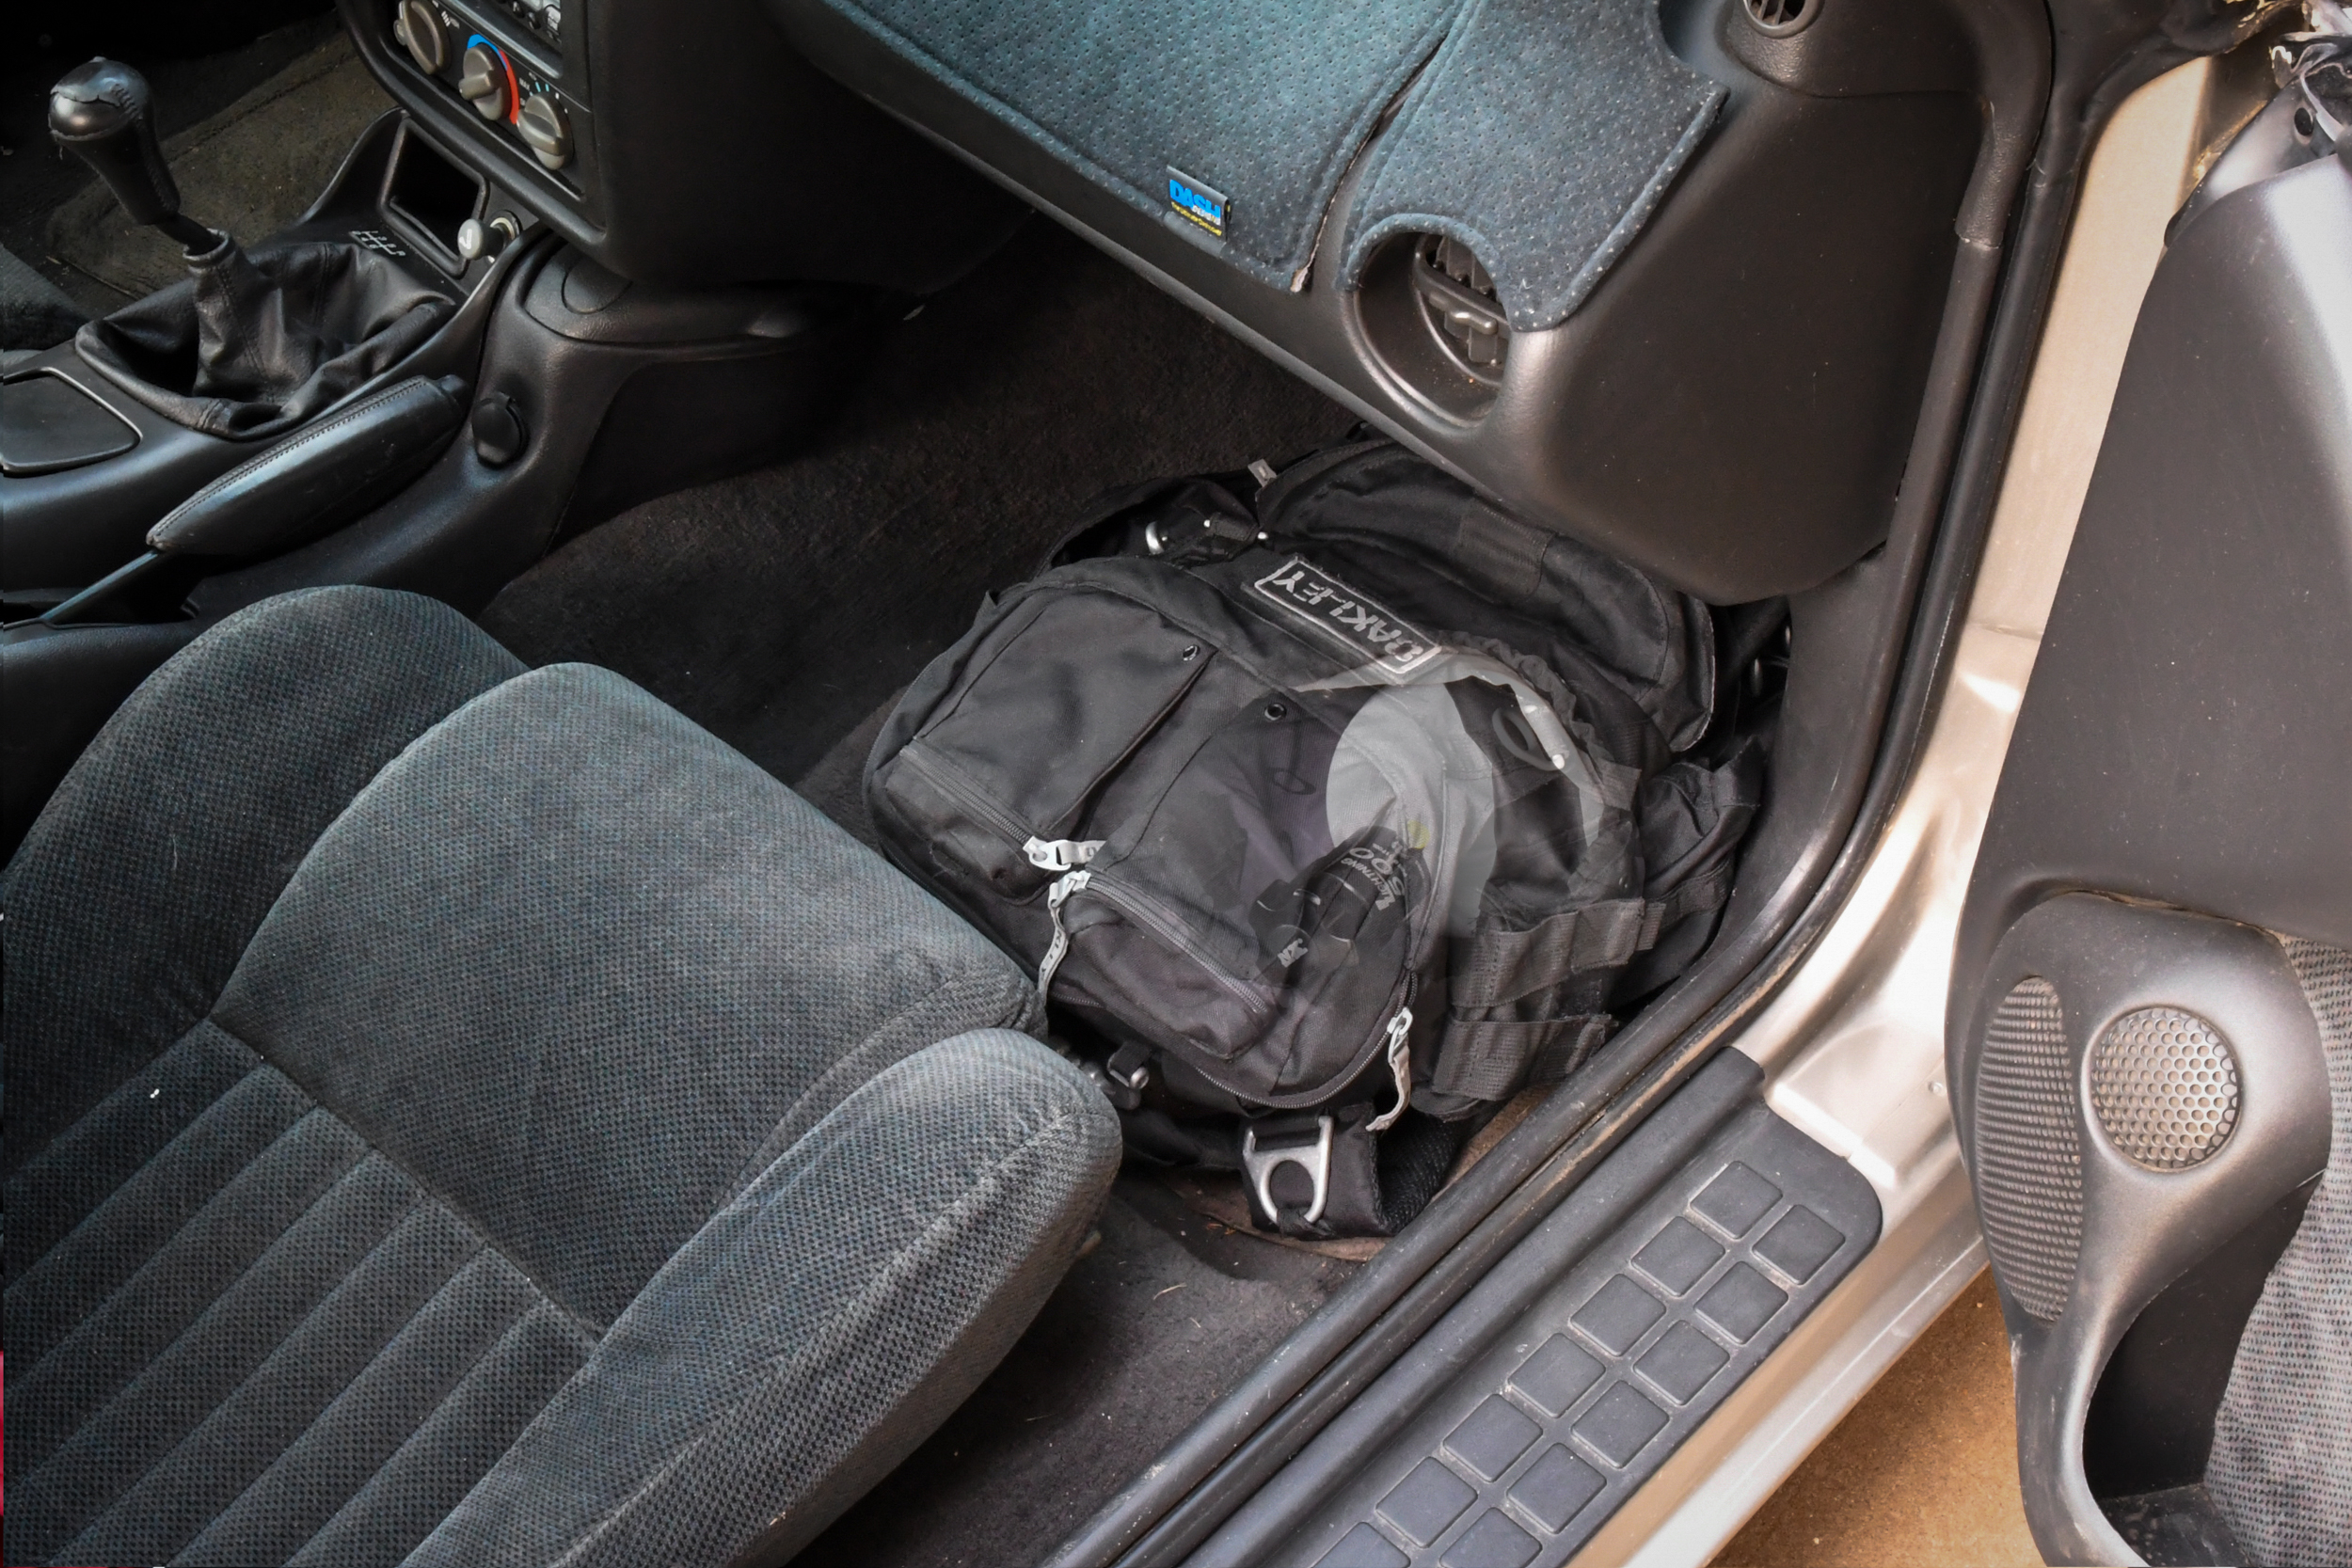
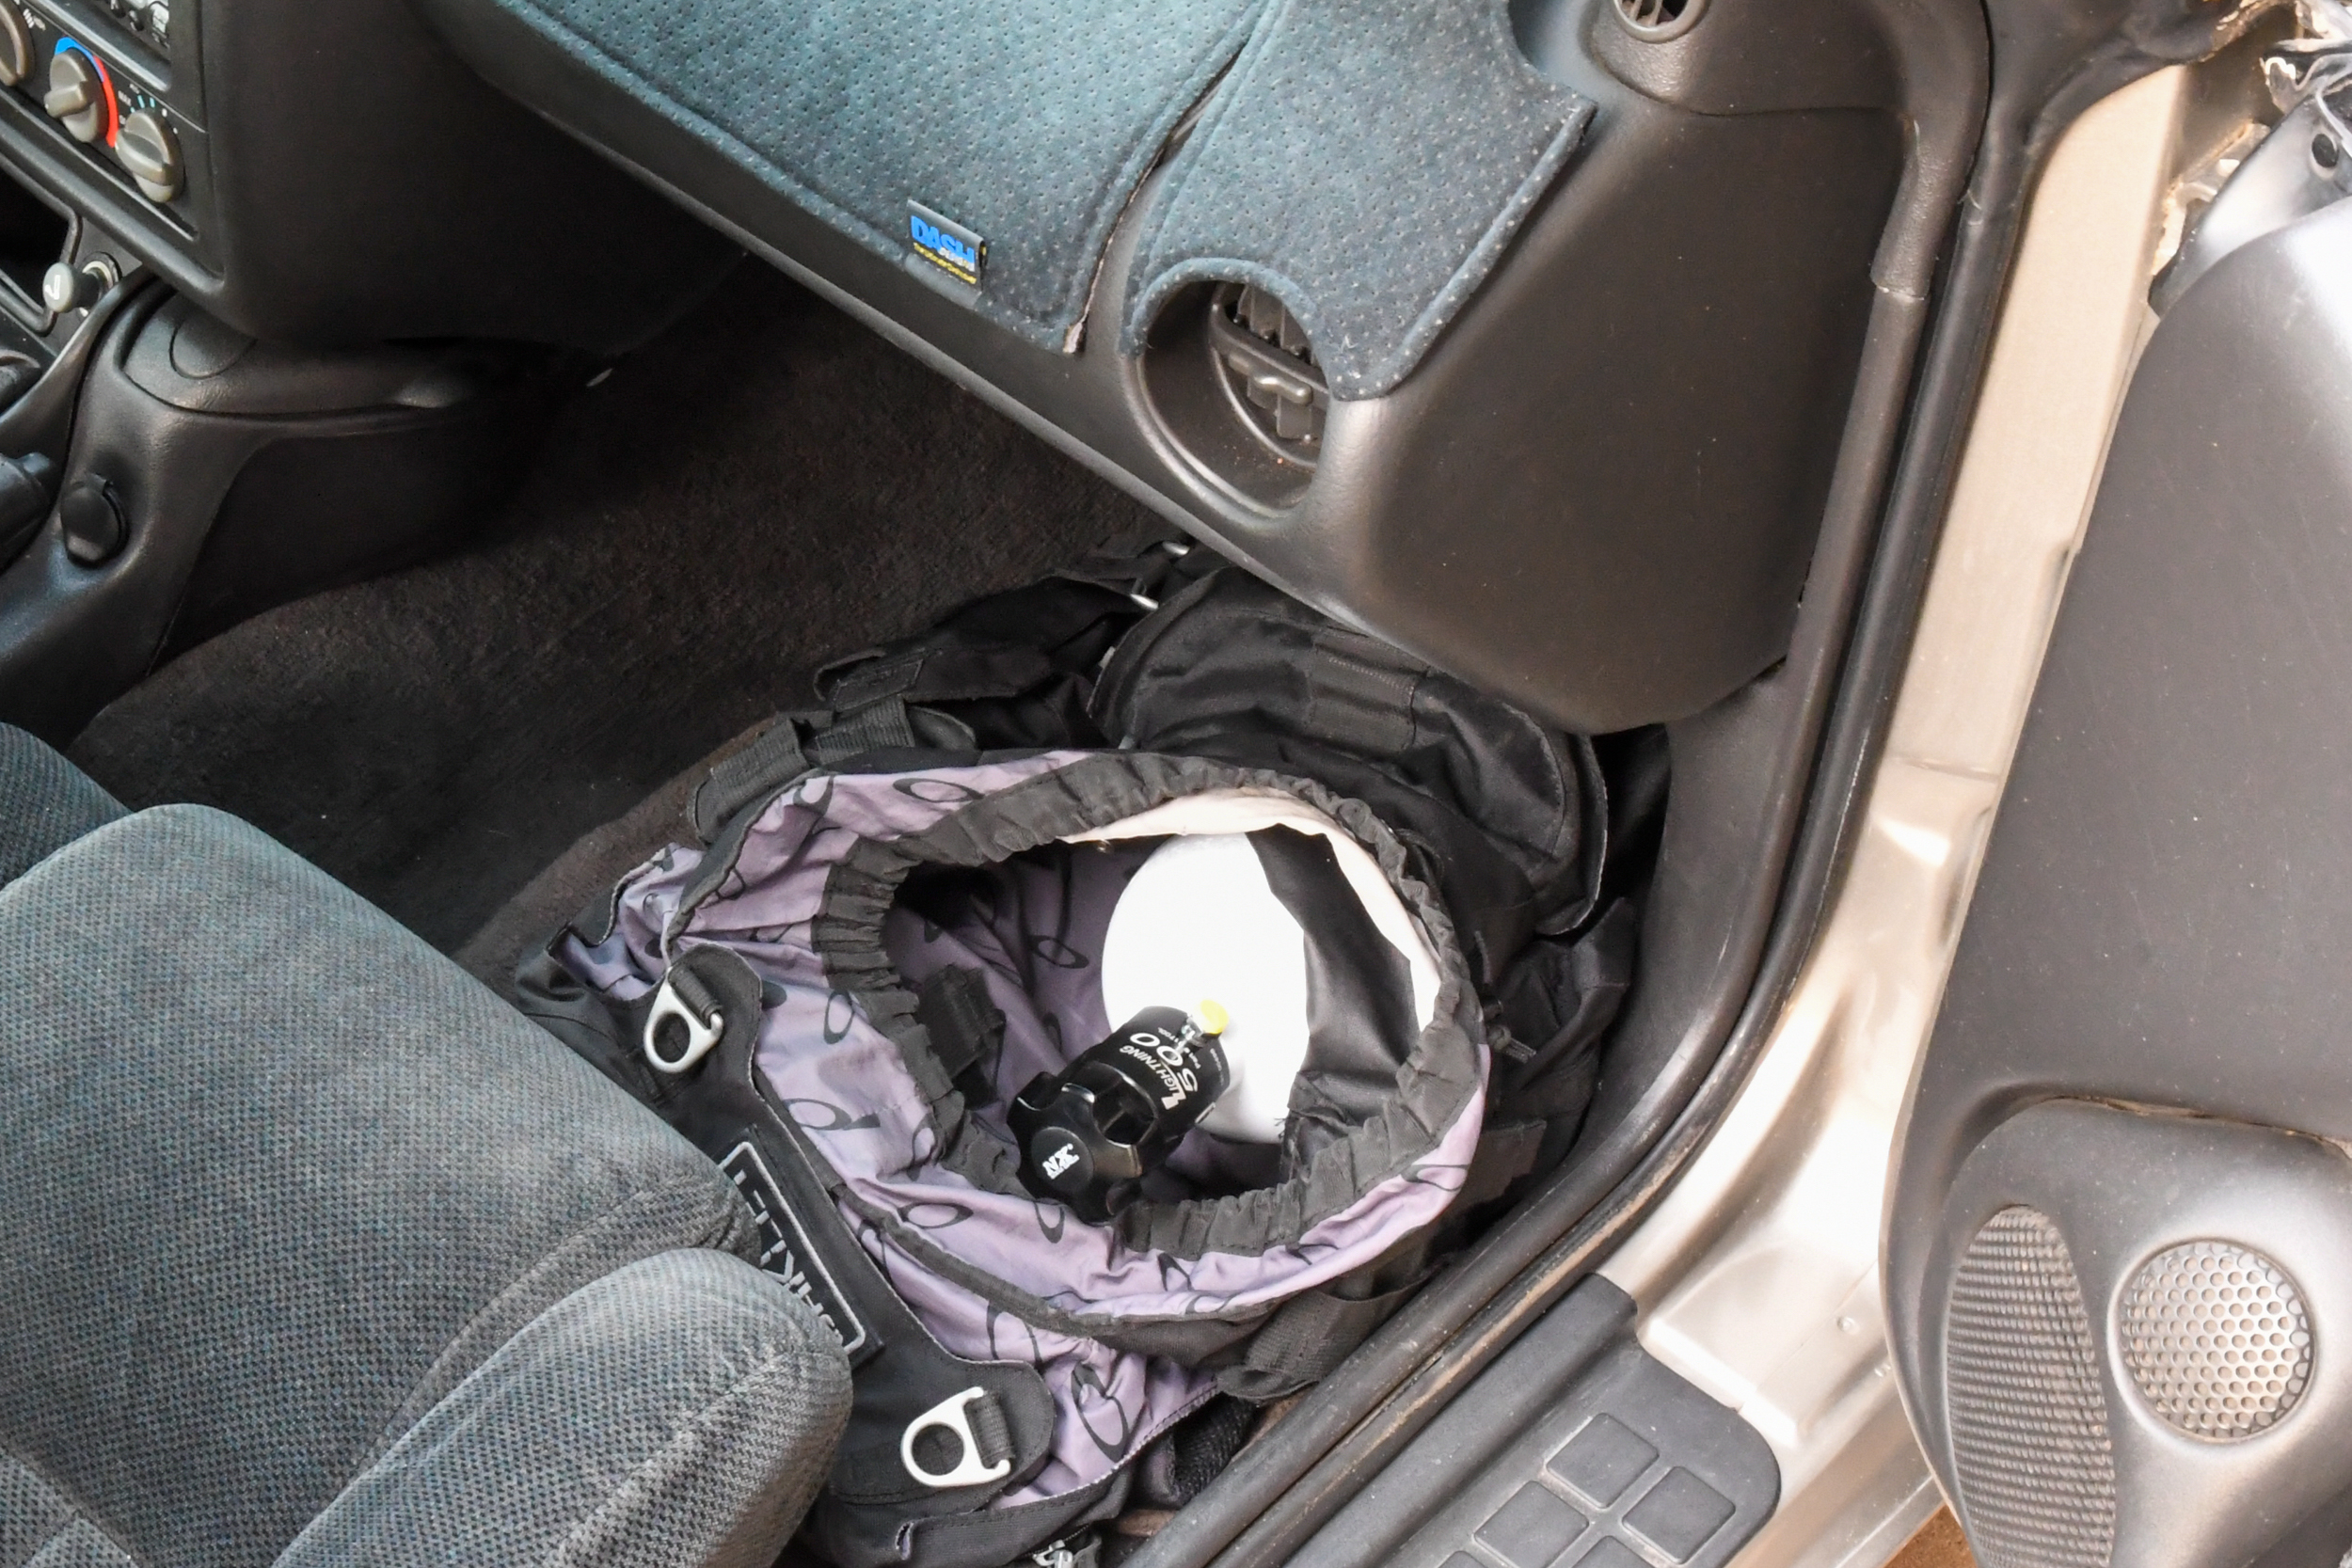
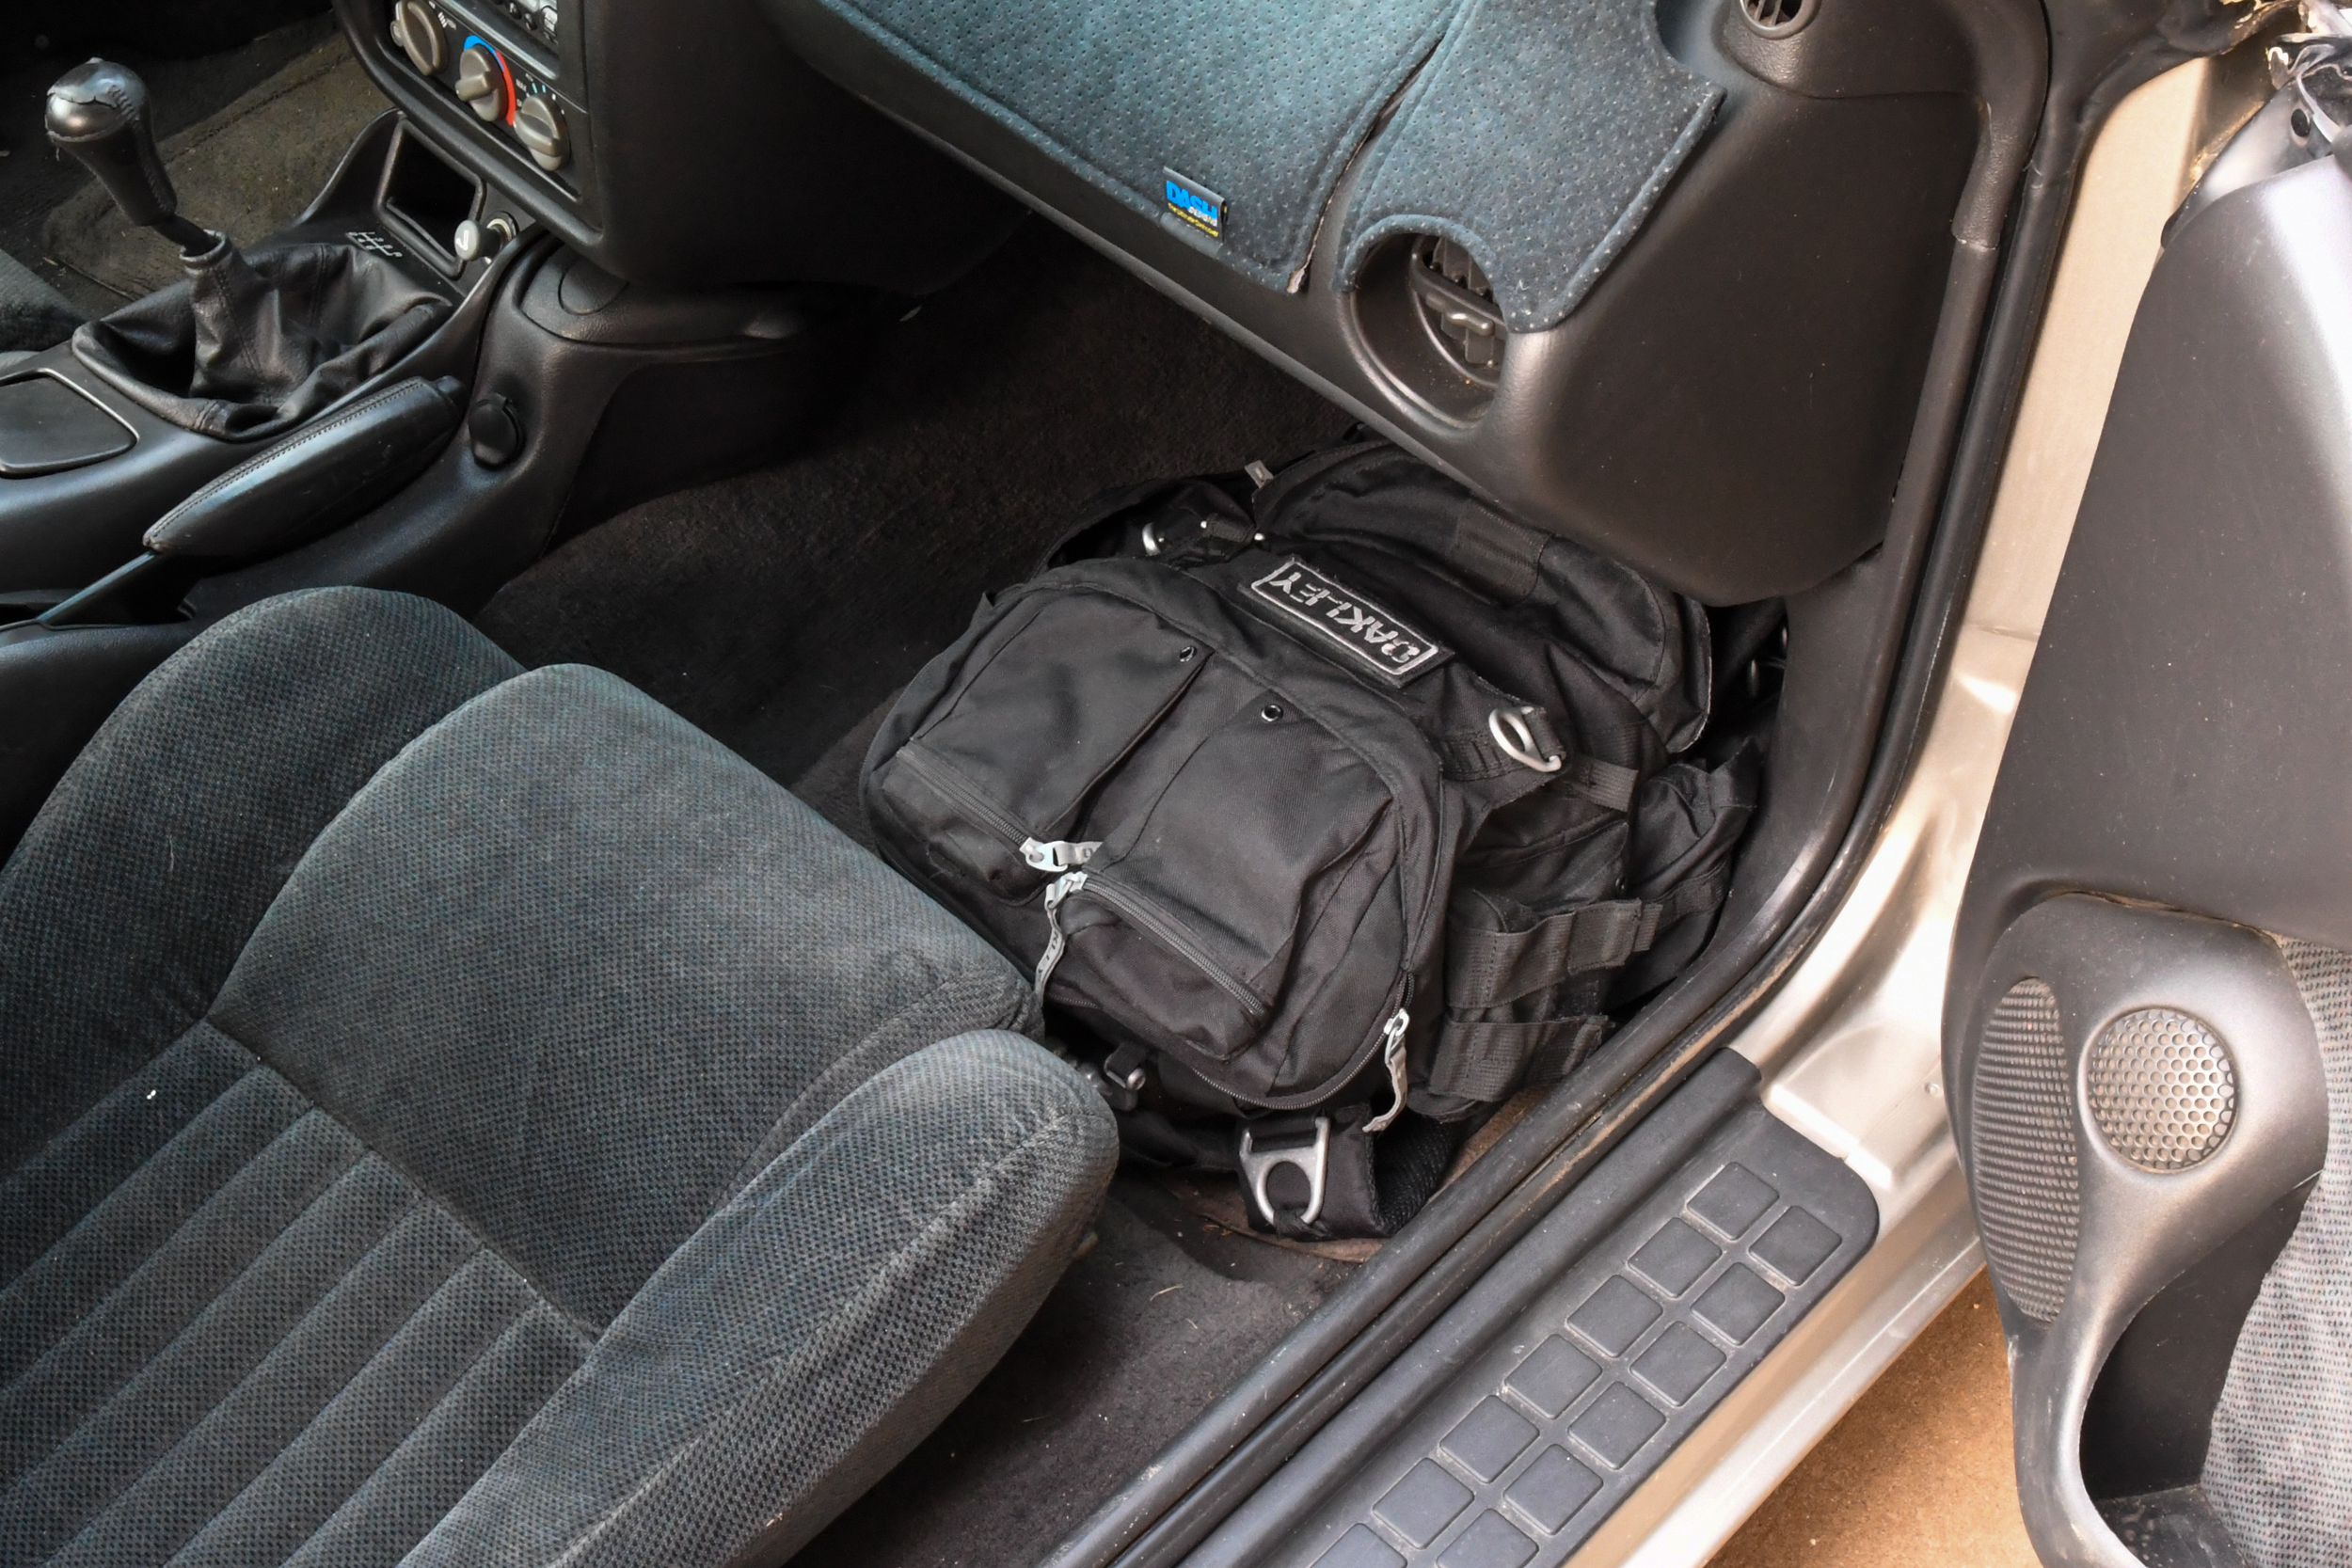
Can you fit a bottle in a backpack? You bet! You just need to either get a big backpack or downsize your nitrous bottle. We found that if we used a 5-pound unit in our Oakley bag, it still allowed room for mints, gum, car cleaning supplies, and our laptop for “tuning.” An excellent advantage of mounting the bottle in the passenger floorboard, you can quickly turn the valve on and off from the driver’s seat if needed.
Here’s the bottom line. There are a number of ways to hide or disguise a bottle in any given vehicle. You could have room under the dashboard, in the console, or even in the bumper, although we don’t approve of this location for obvious reasons.
The Old Bait and Switch
If you want to play mind games with your opponents, as Jim does with Dwight on The Office, this method is the best and possibly our favorite.
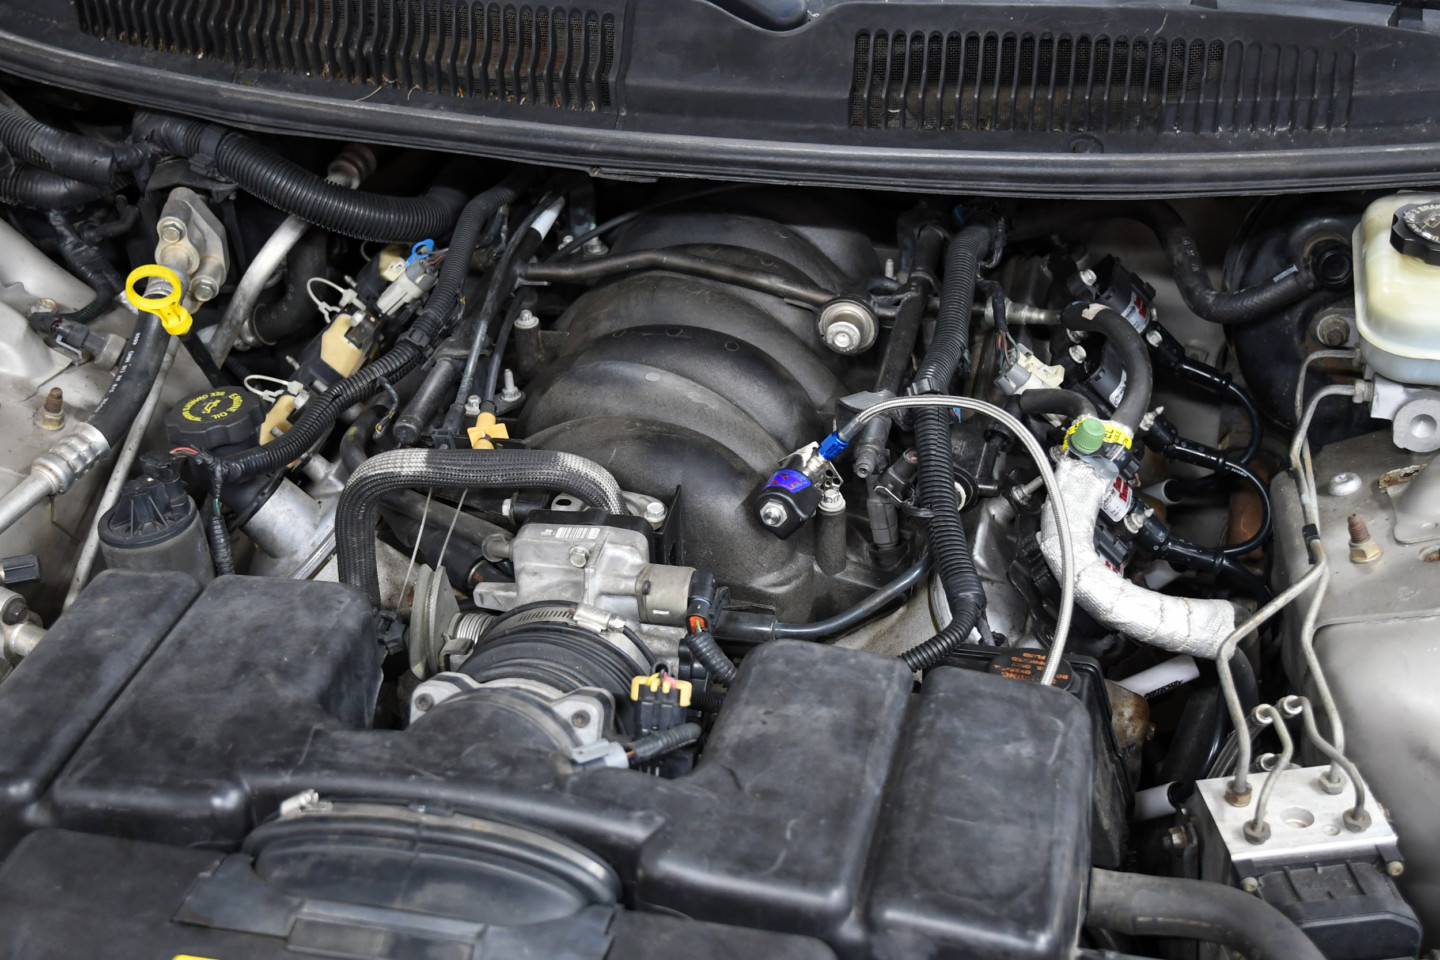
If you decide on the bait and switch method, just act like an idiot and tell everyone your spraying 500 horsepower. In our case, they will look at the small solenoid, missing wires, and no feedline thinking we’re crazy.
First off, you’re going to let people know that your car has a system installed, well sort of. You will have all of the makings of a complete nitrous system, but it will not be functional. Ideally, you will want to use old, crappy stuff that looks like it’s operative but not completely hooked up with a dummy bottle and brackets. If they think you’re up to something, simply pull the bottle out of the car. This should end any doubts they might have of you spraying the car. When you race, the other system will still be functional, but they will not be looking for that one. Instead, their attention will be affixed to the decoy.
Give Me Fuel
One of the drawbacks of wet systems is fuel delivery. If we weren’t trying to hide the system, this is an easy task on the fourth-gen. The factory-supplied a fuel test port on the fuel rail. However, this would be a dead giveaway, so we had to come up with another solution. We decided to tee off the fuel line and then run a hose to the fuel solenoid. Is this method foolproof? No, but it’s the safest way to pull the fuel while being discrete. We could put a splice in the main fuel line, but we didn’t want to cut the factory line. There are more options to evaluate — take your time, and choose wisely.
Nitrous Accessories
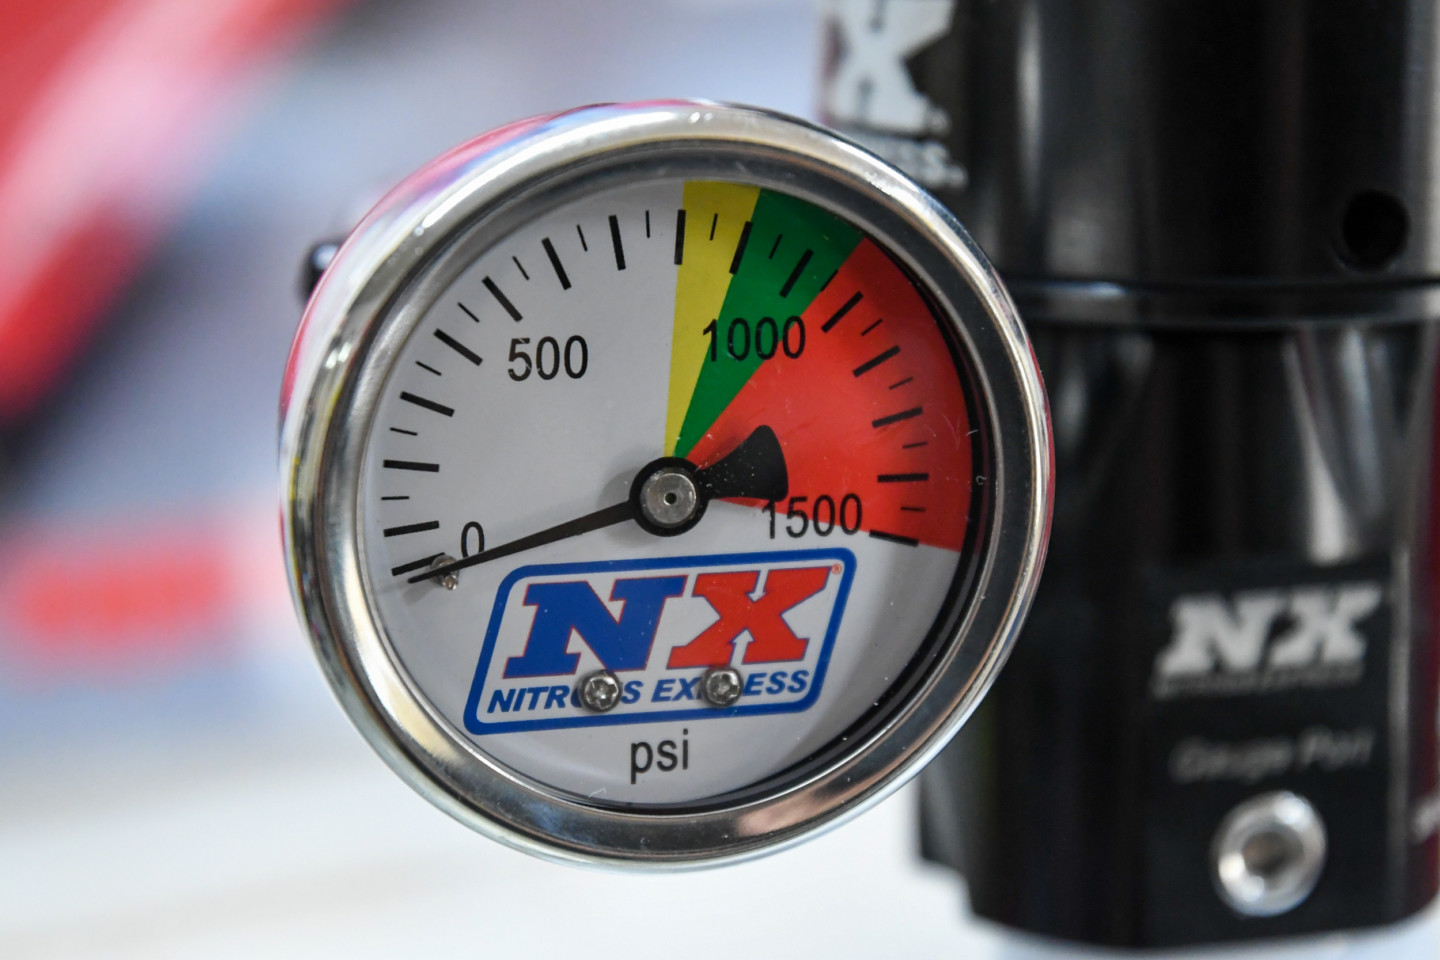
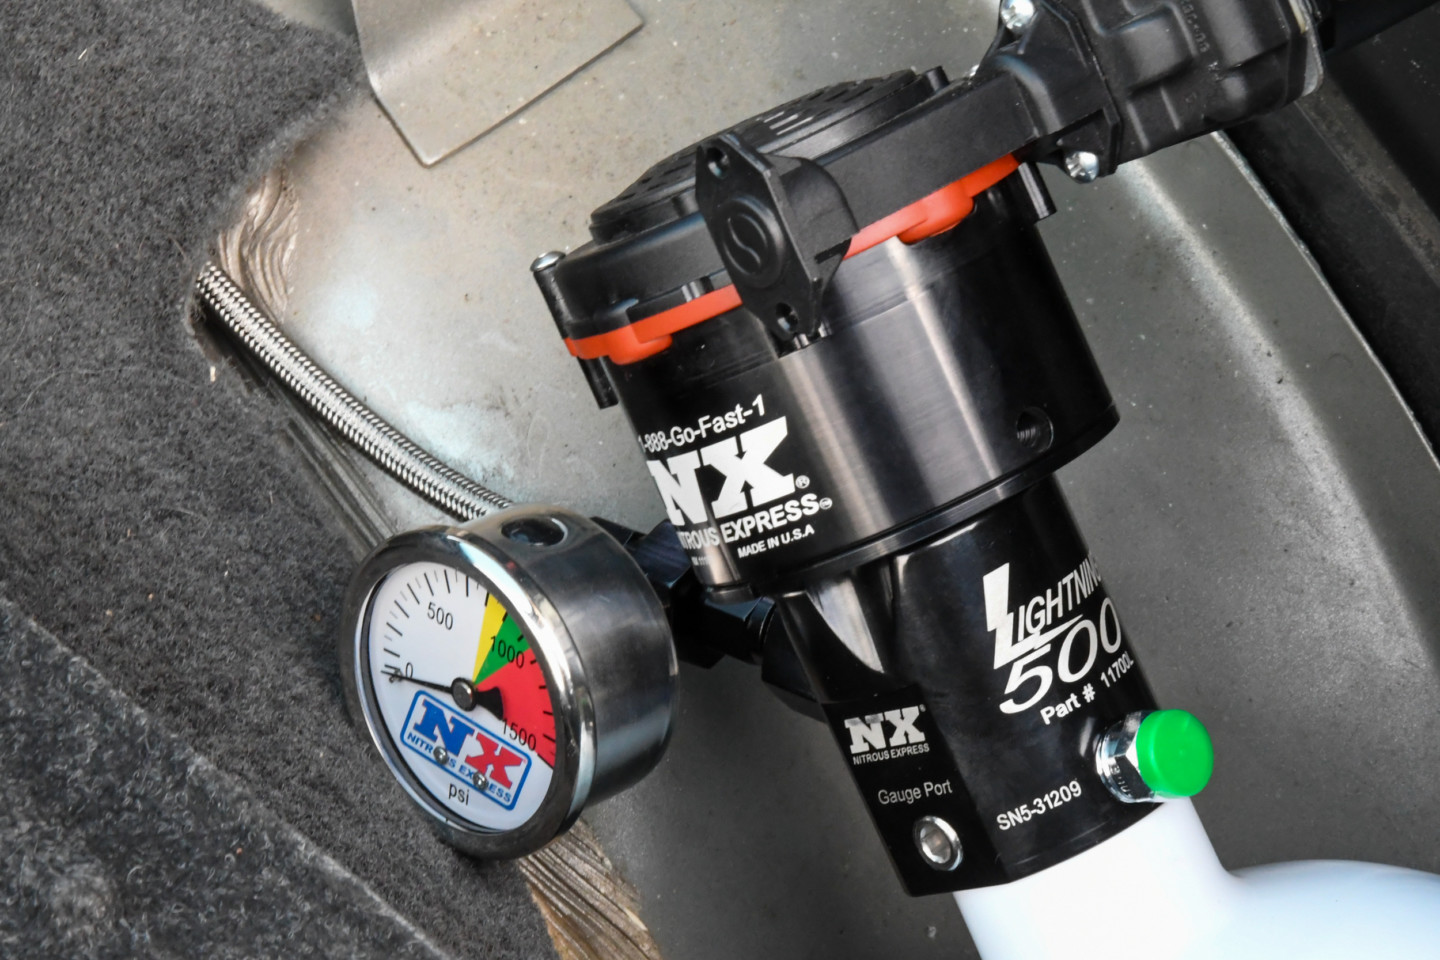
If you want a consistent-performing nitrous system, bottle pressure is extremely important. If the pressure is too high, the solenoid may not open. If too low, the system will surge, run rich, and not make the proper power. To cure this ailment, we installed a nitrous pressure gauge on the bottle, along with an automatic bottle heater.
Pressure Gauge and Bottle Heater
The gauge provides a quick visual reference that will tell us if we need to heat the bottle or cool it off. The automatic heater, when activated, will keep the pressure in the green if the pressure is too low by cycling the heating element on and off when needed. While the heater will take care of the bottle pressure safely, what do you do when you have too much pressure? Most nitrous systems have a purge that will bleed down the pressure while swapping out gaseous N2O with liquid. Since our system is hidden, a purge is out of the question. As soon as you hit the purge button it would scream, “Hey, look at me! I’m running a Naws!” In our case, a wet towel will have to cool the bottle down and drop the pressure.
Window Switch
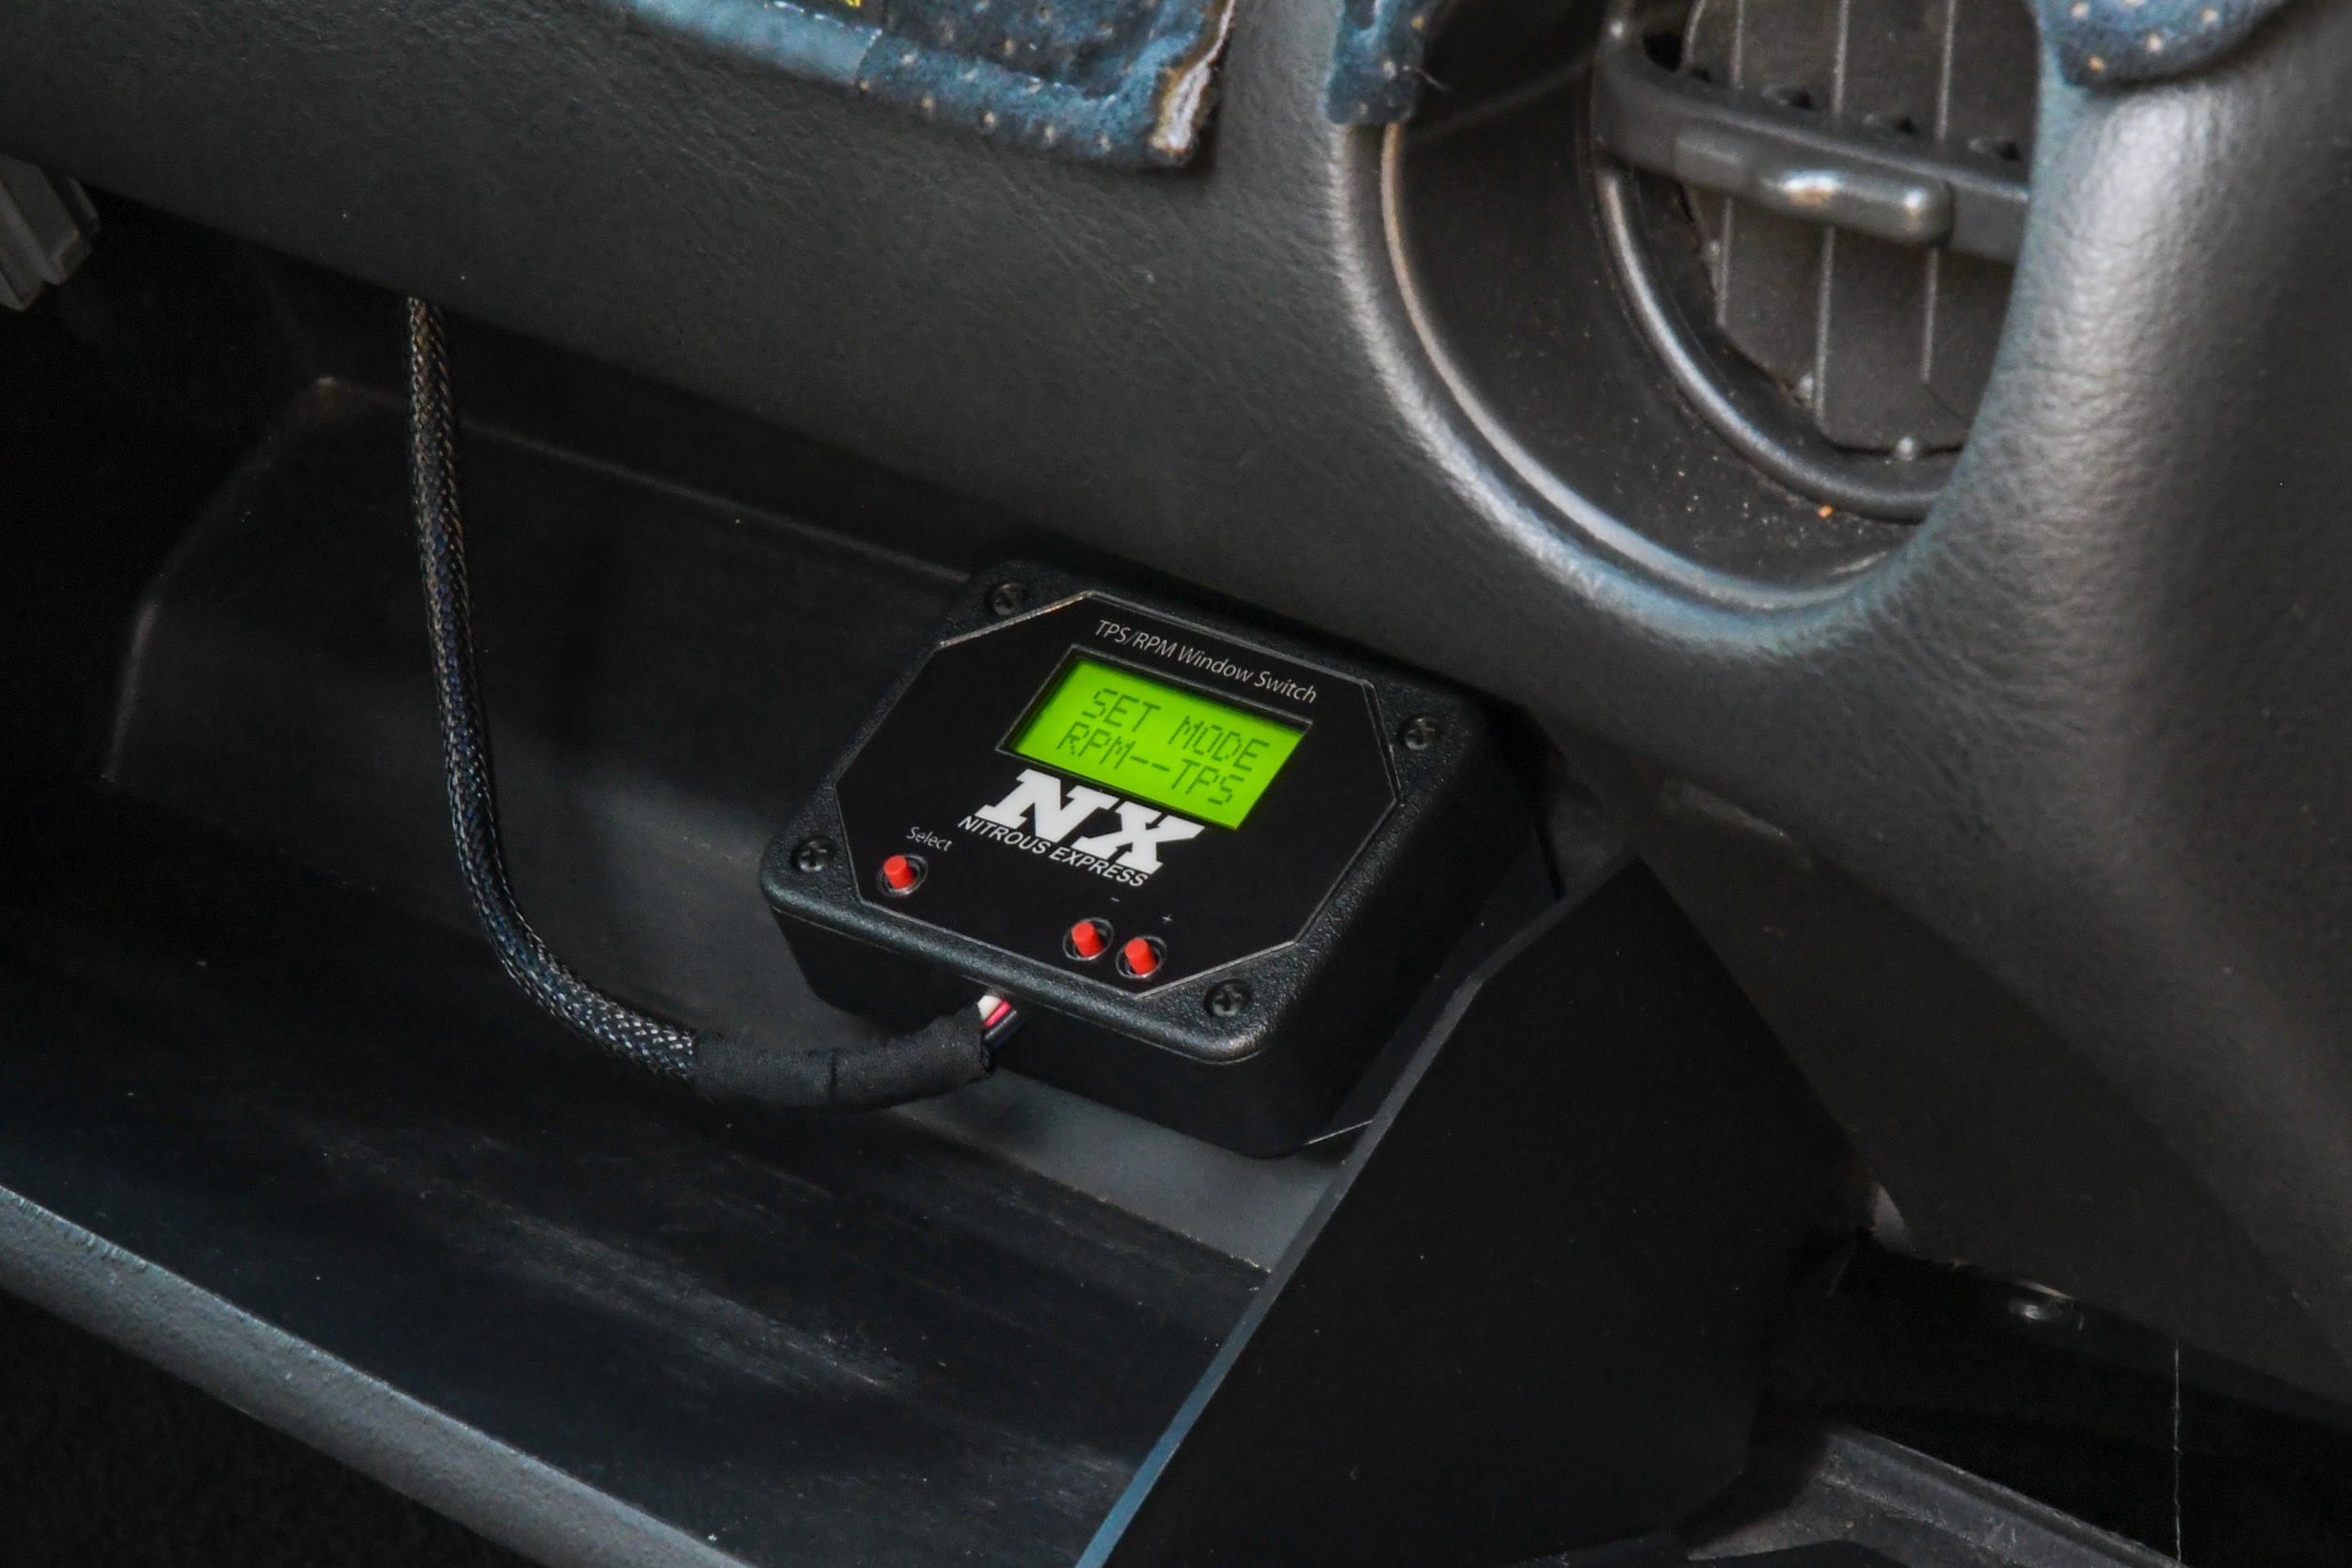
Since our car has a manual transmission, we wanted to install a window switch for added safety. However, window switches are not just for vehicles with standard gearboxes. Ryan said, “While window switches are important on manuals, they are great for automatic transmission vehicles, too. These units are user-adjustable and allow the racer/tuner to select an RPM “window” for the nitrous to be engaged, say 3000-6500 rpm, for example. When outside these parameters, the nitrous will disengage. This window will keep the nitrous from activating too low in the RPM range, which is very hard on engine internals. It will also keep the nitrous from coming on too high in the RPM range if the driver misses a gear or hits the rev limiter.”
Another reason that we wanted to run a window switch is that it allows us to do away with the supplied wide open throttle (WOT) switch that is typically mounted in plain sight on the throttle body. And while you could mount the switch on the gas pedal on the interior, we just tapped into the throttle position switch (TPS) wire off the ECU.
Remote Opener
Since our bottle is hidden and out of reach, we needed a way to open and close the bottle without removing the panels. Fortunately, NX offers a remote bottle opener that will open and close the bottle with the touch of a button. This feature allows us to cruise around with the bottle shut and then open it up when it’s time to make some noise.
Go Baby Go
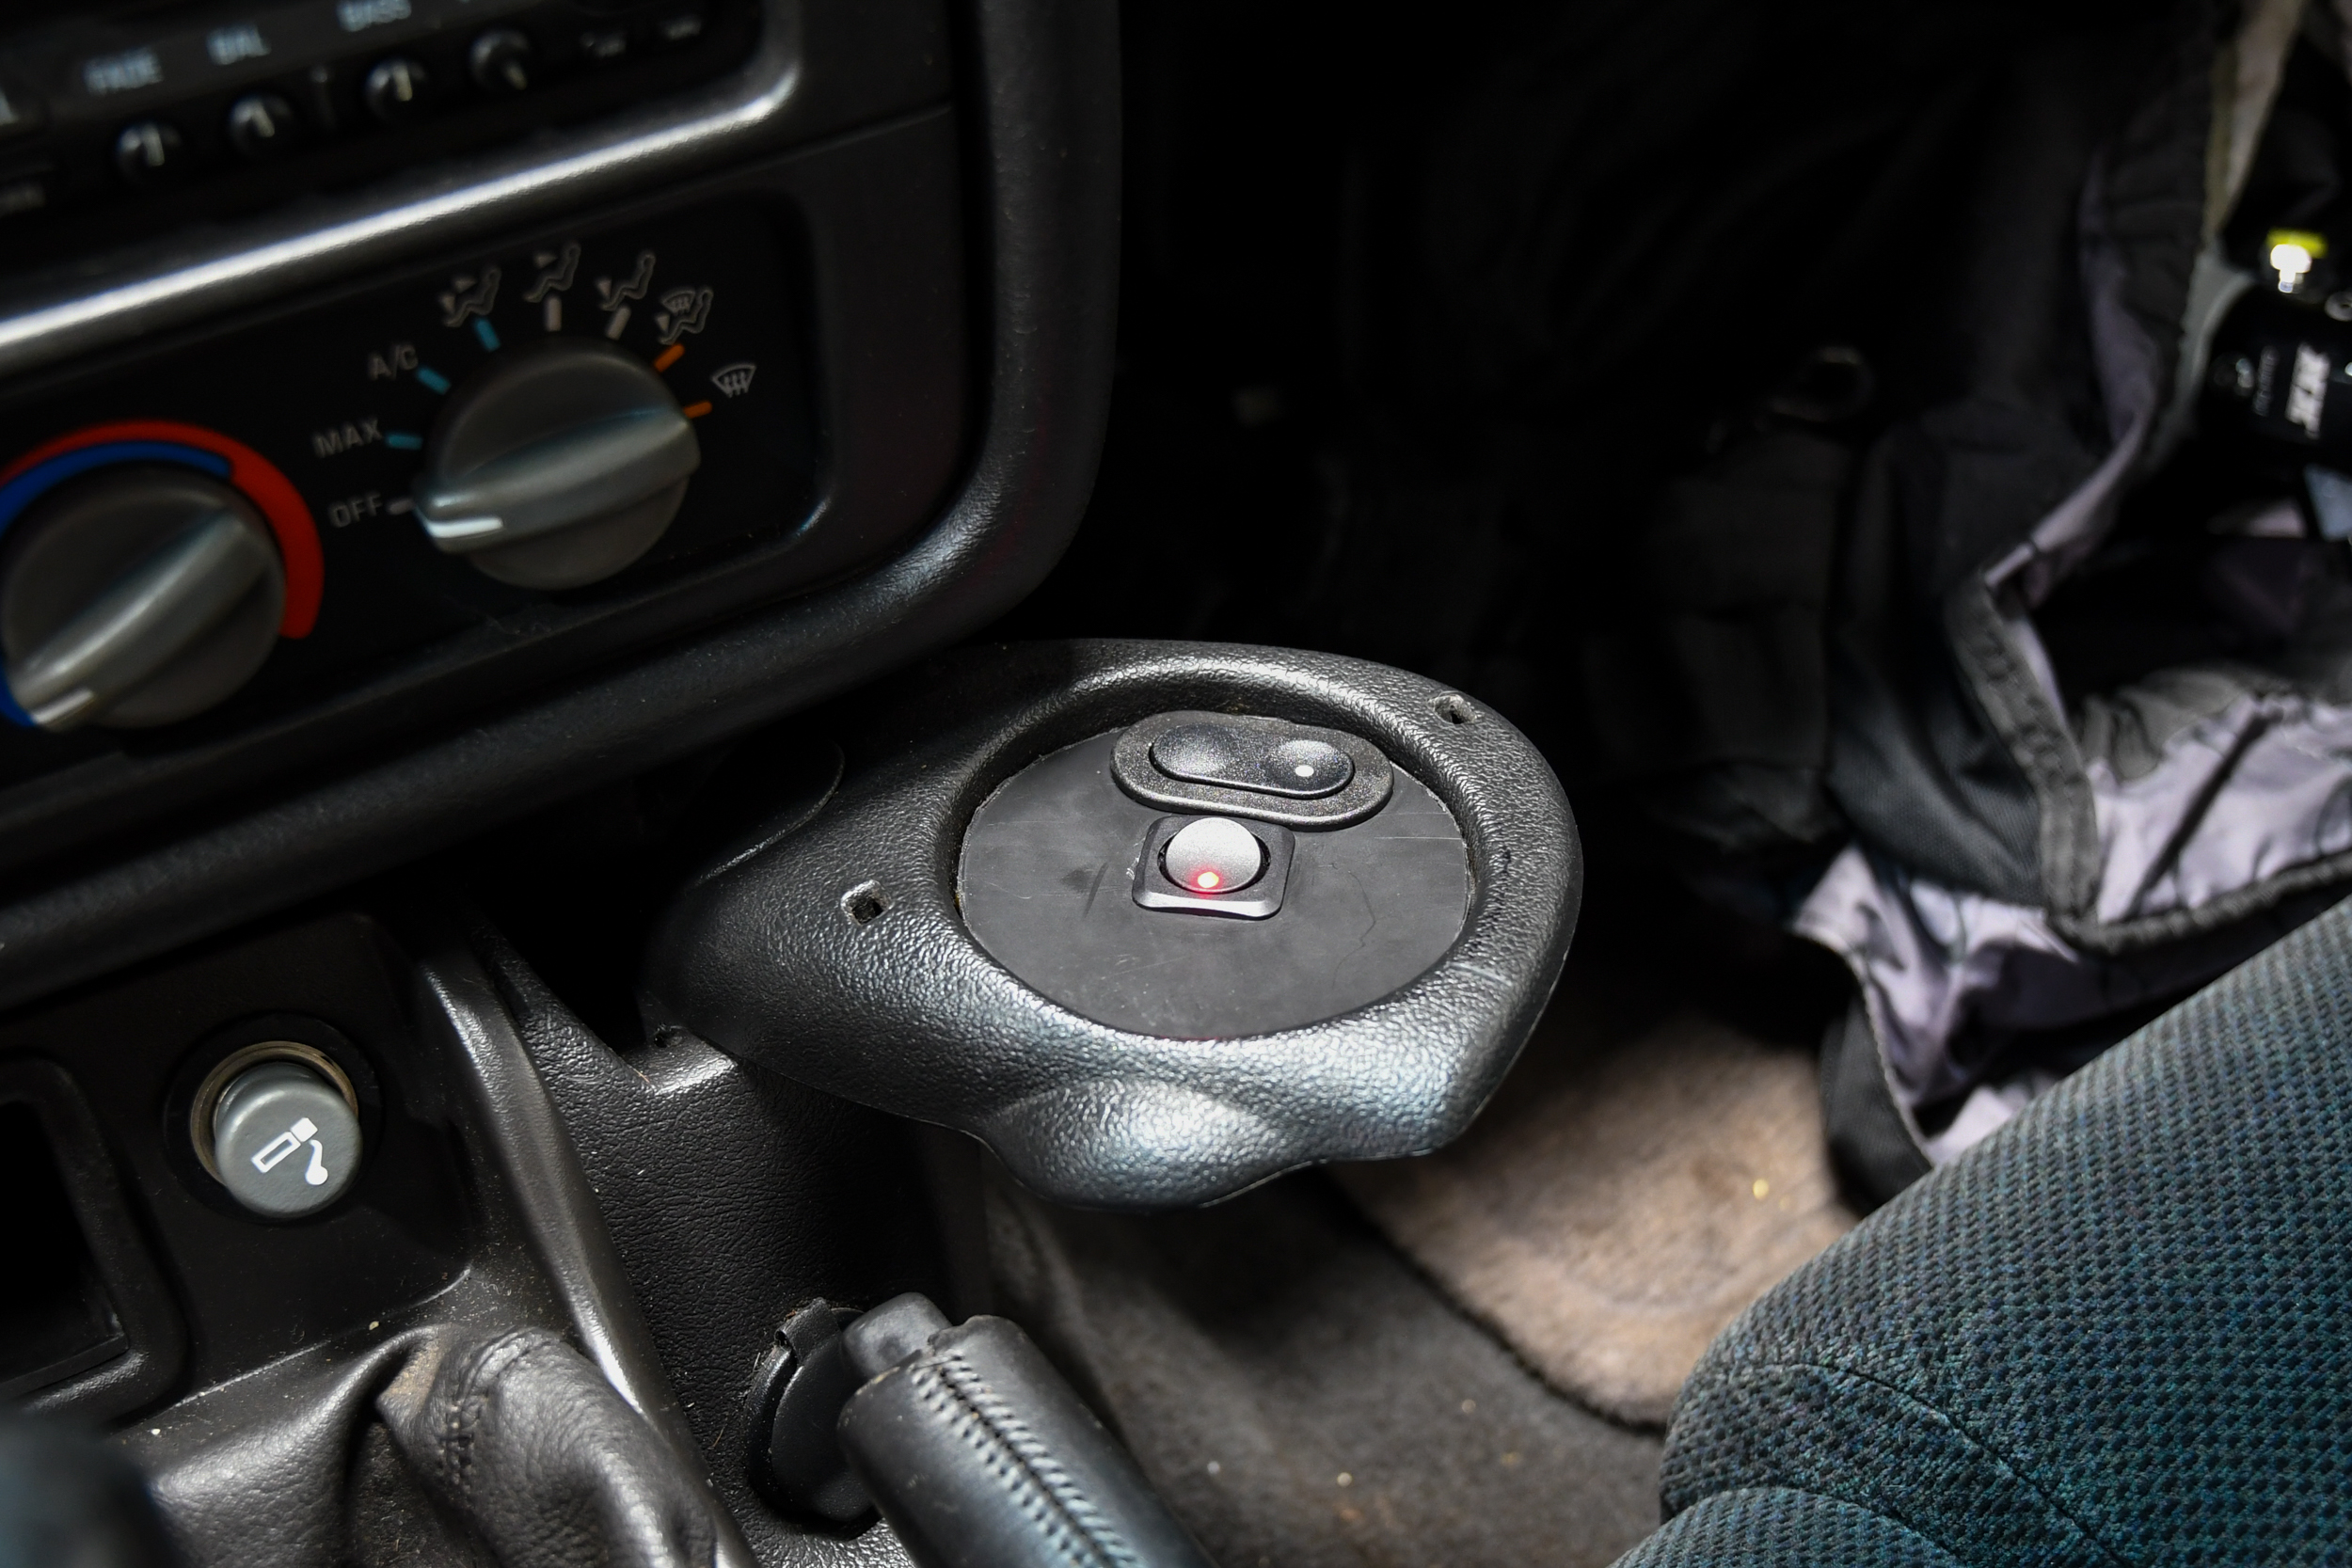
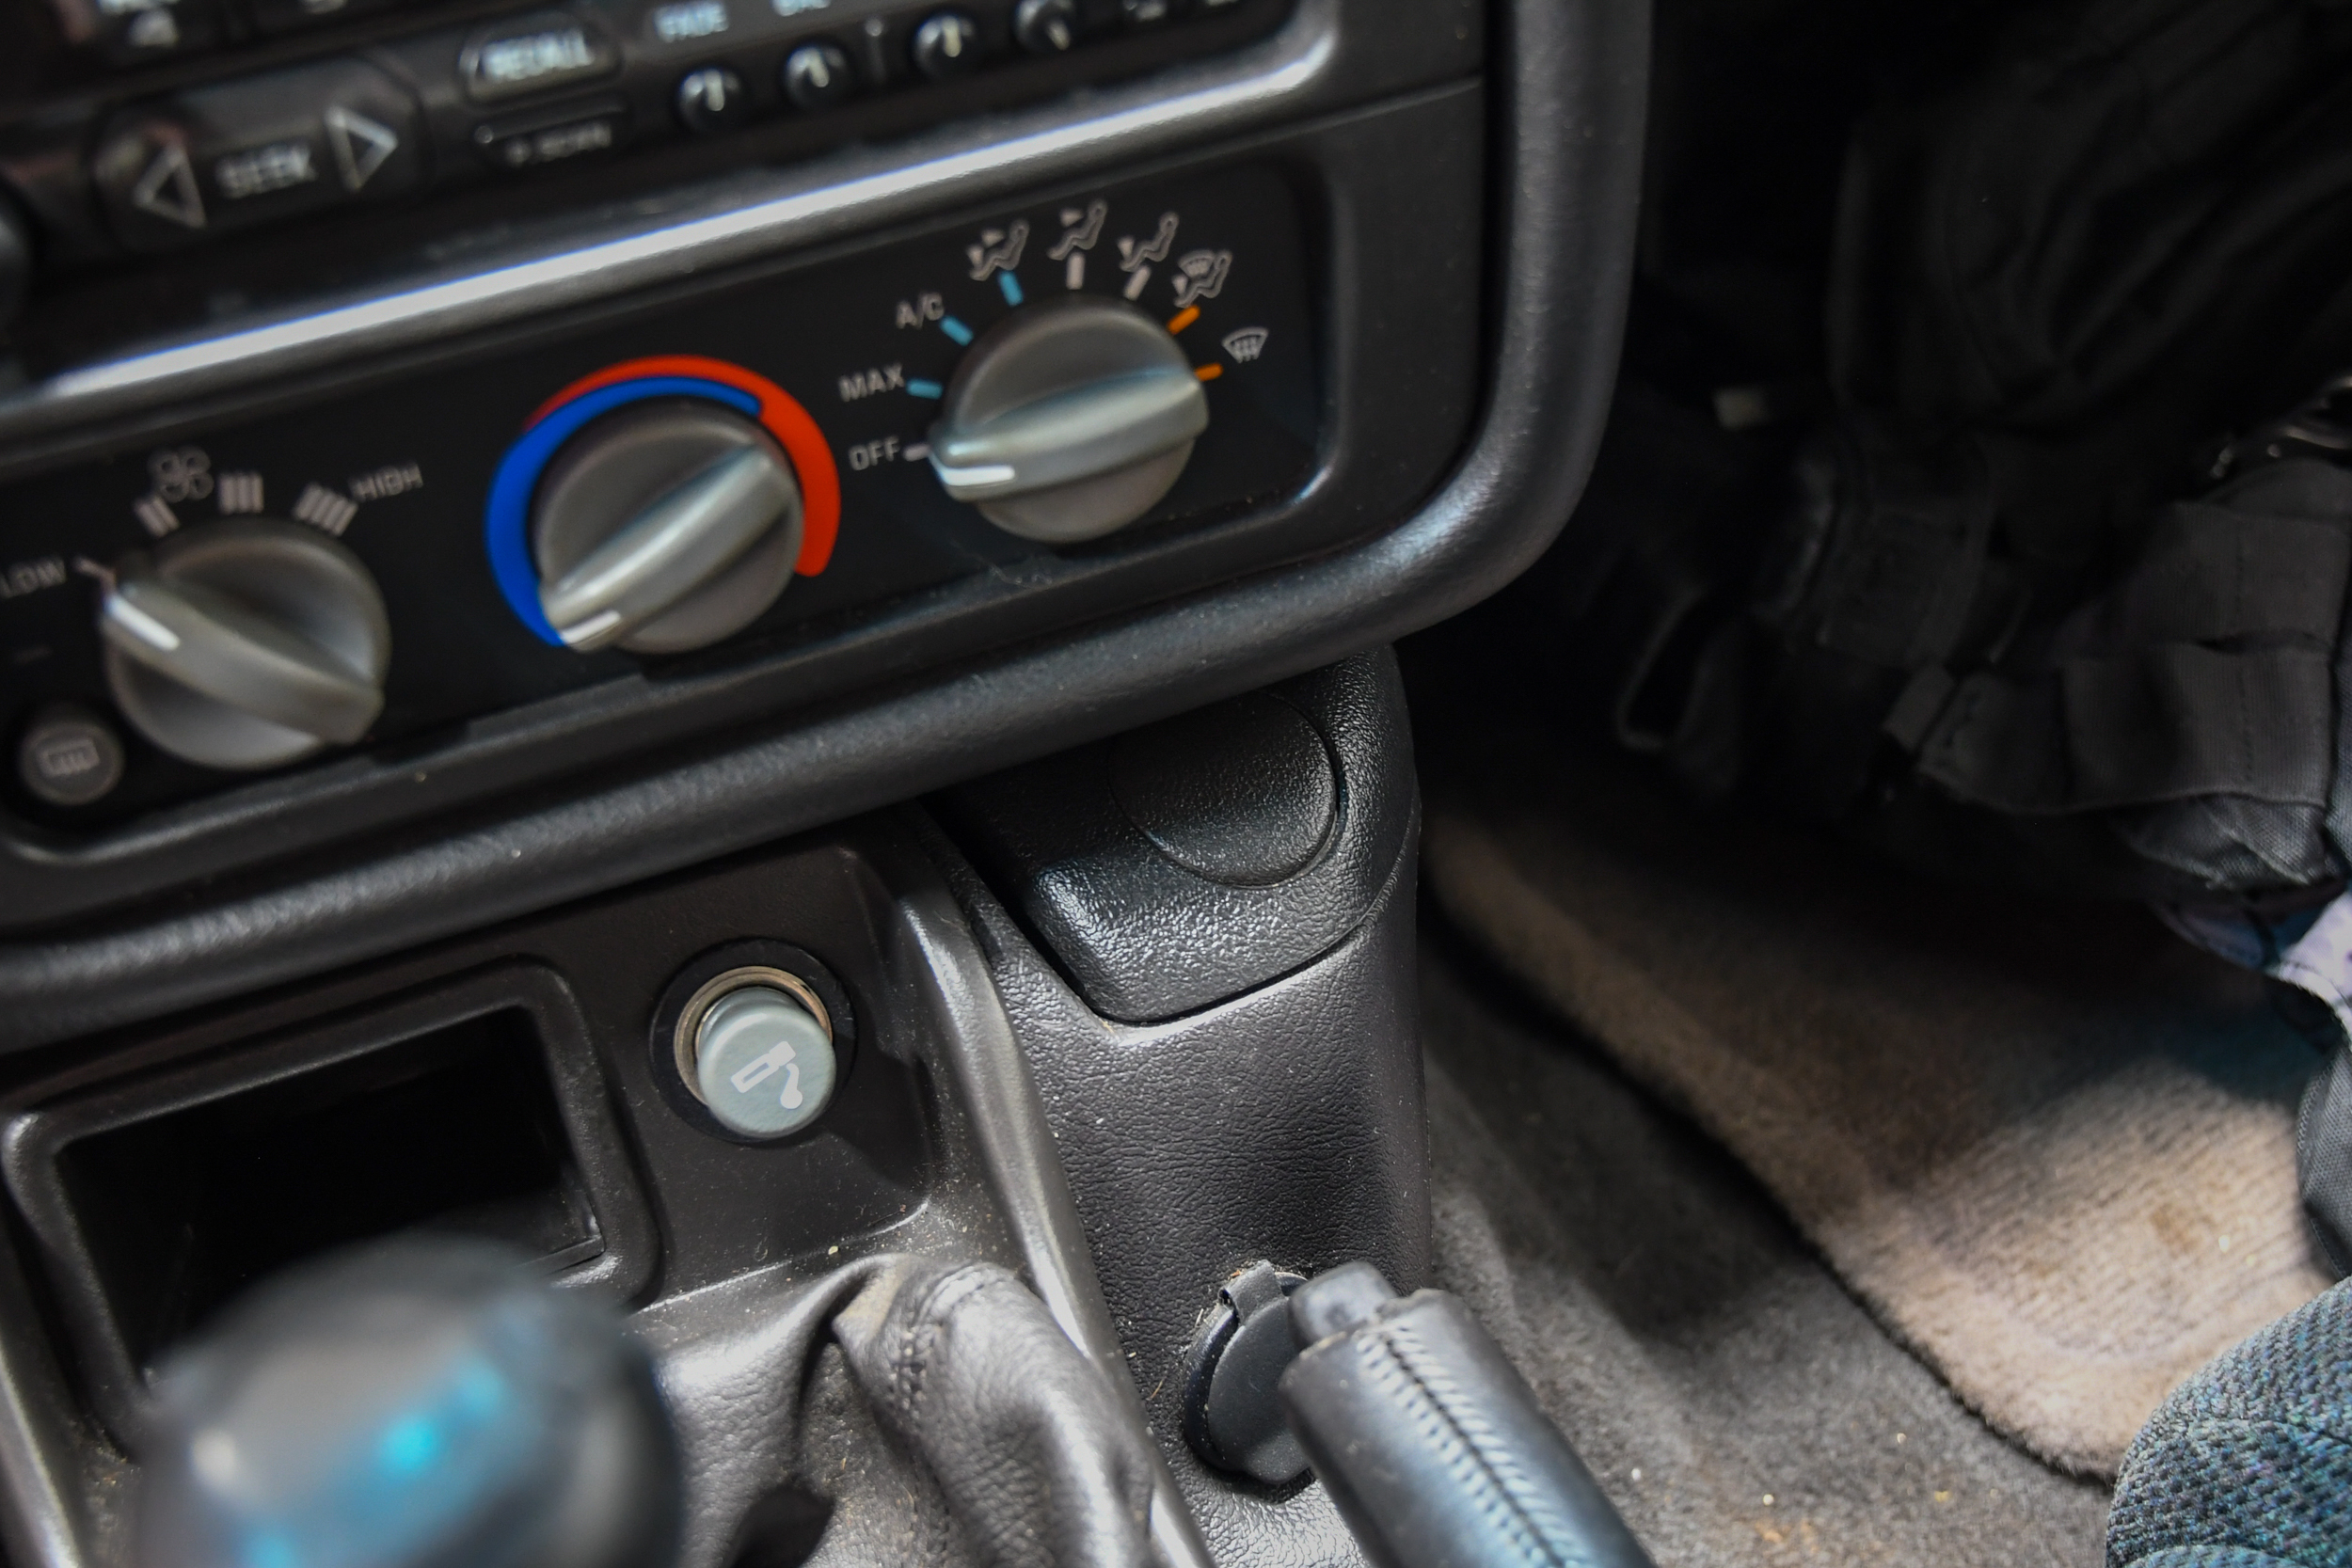
In the past, we have used everything from a horn button, high beam switch, and even a shifter as a nitrous activation device. Since our WS6 is a six-speed car, these options were out of the question. We need one hand on the wheel and the other on the shift knob. Since we never use the rear defroster, we simply wired it to the window switch. The defrost button now sends the signal to the window switch, putting the system on standby. When we hit 100-percent on the TPS and 3,000 rpm, the system will activate.
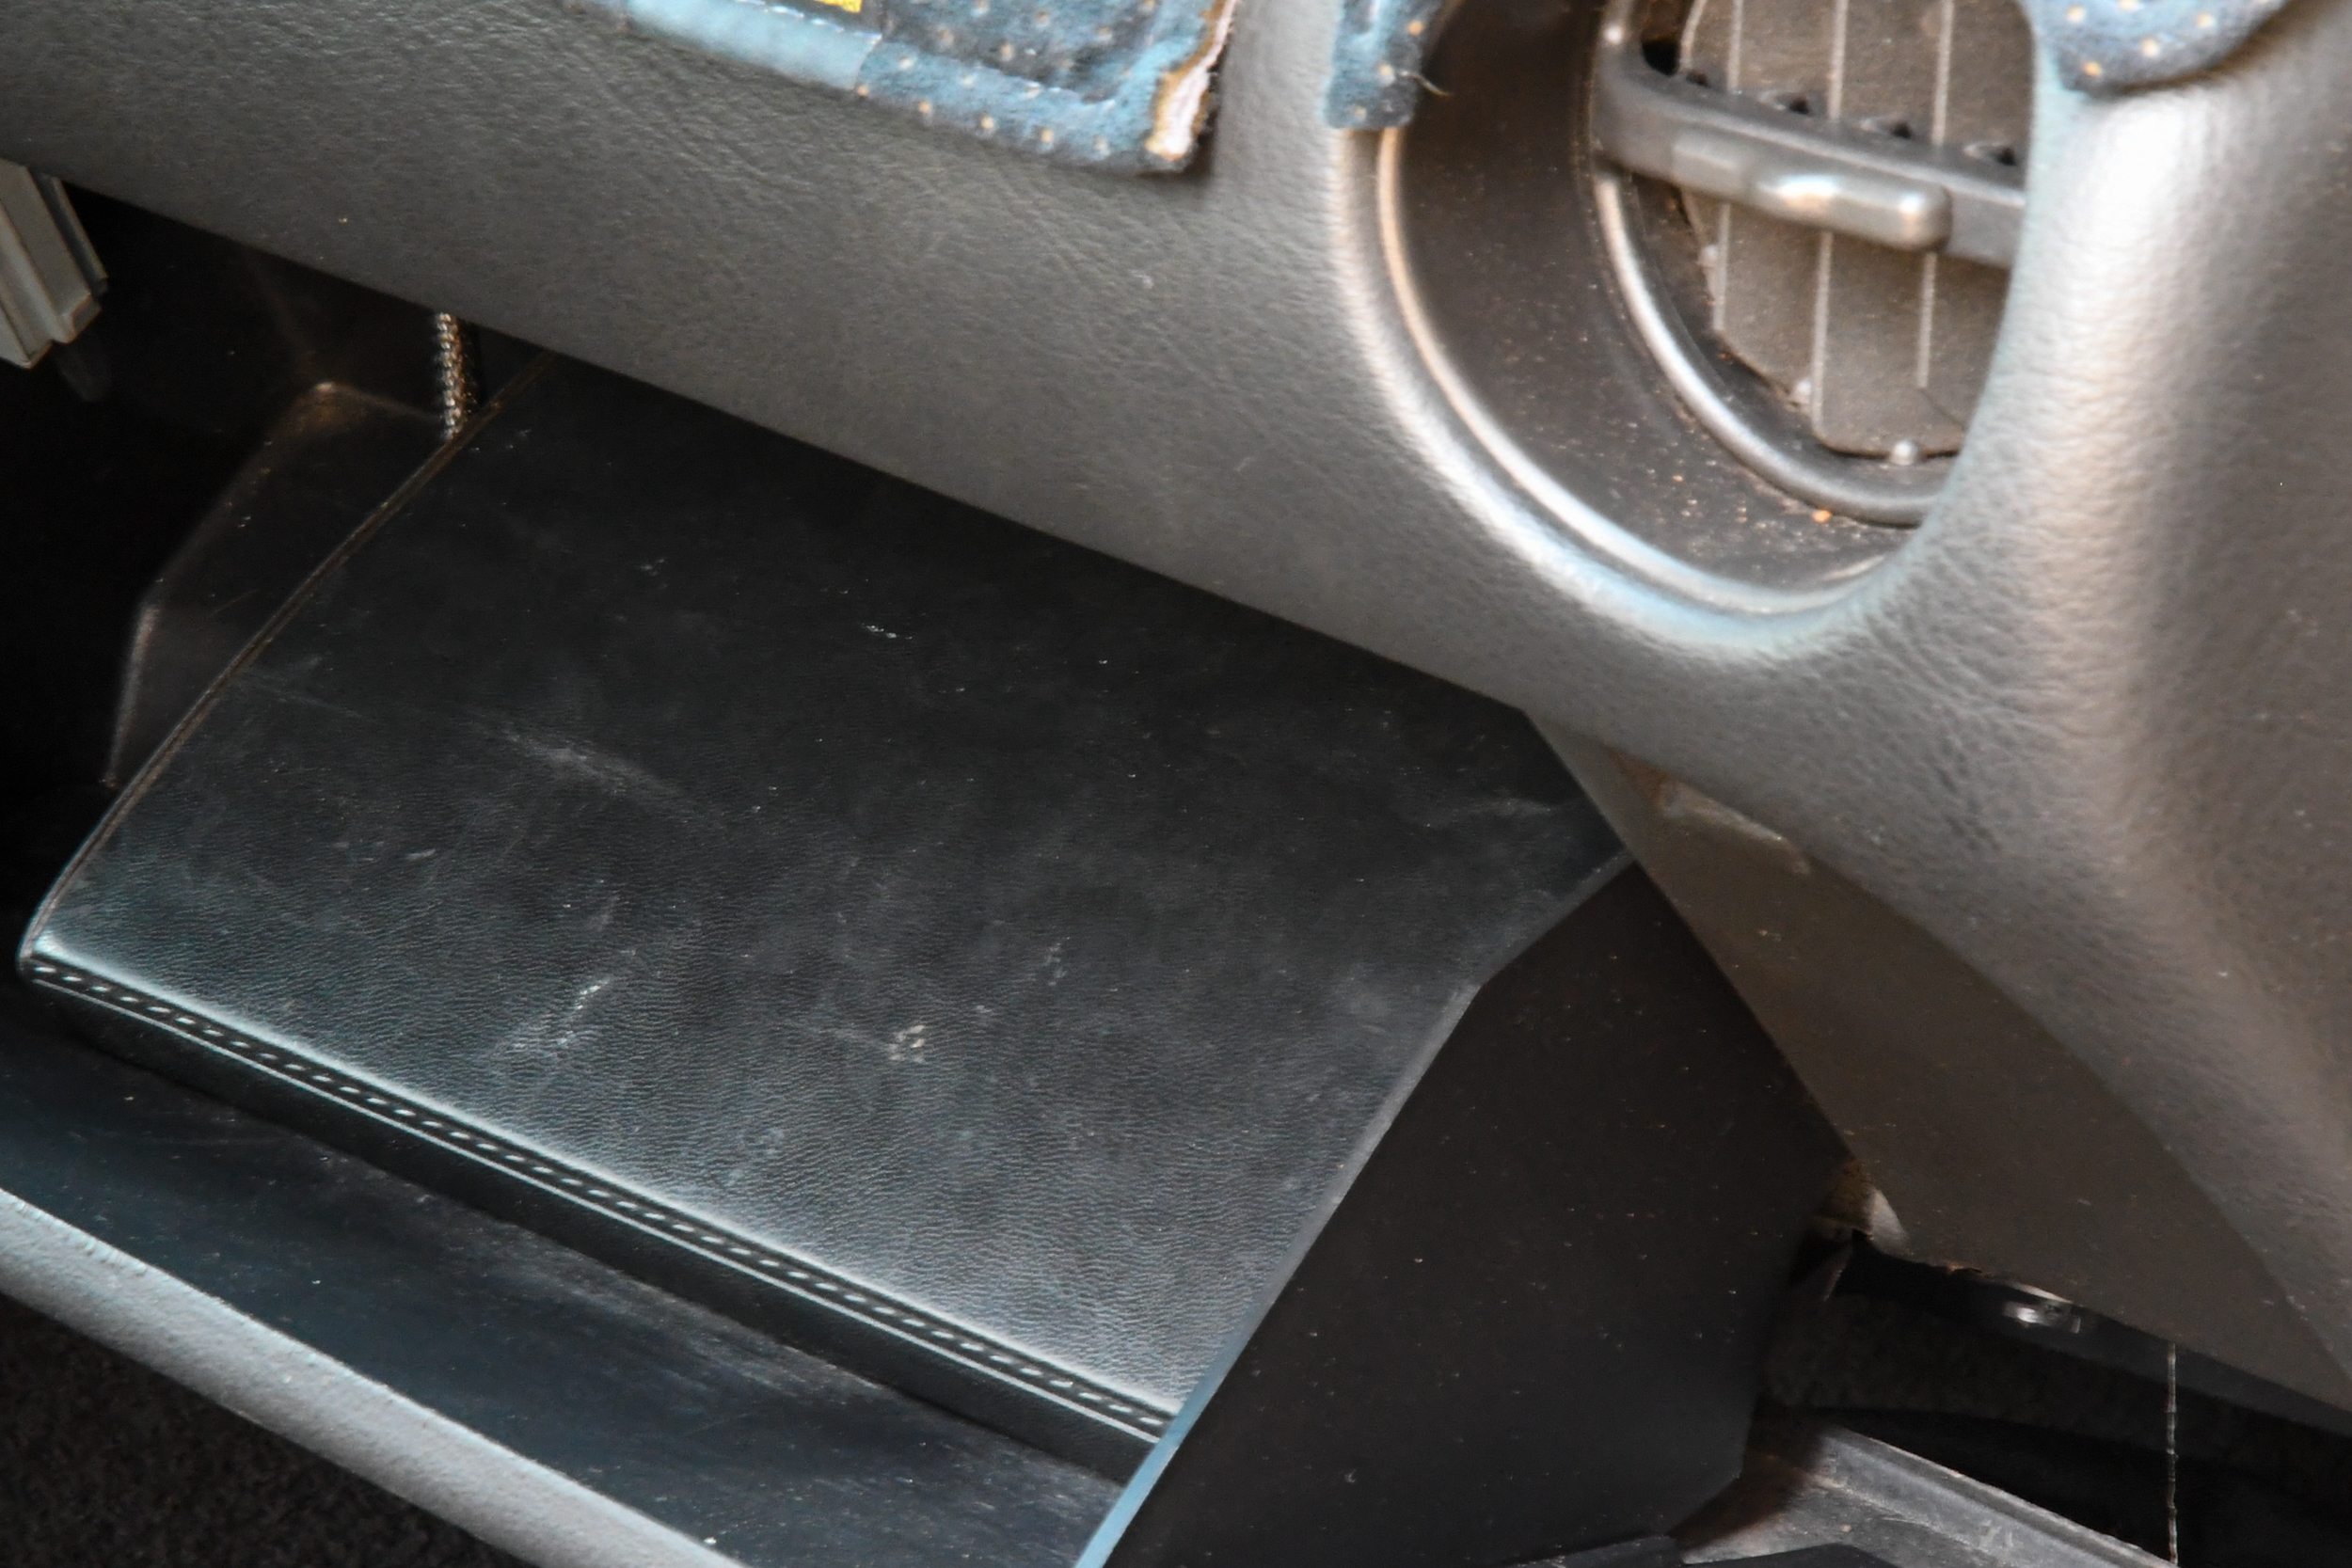
While we didn't choose to use the passenger's cup holder to mount our switches, it could be pulled off pretty easily. We opted to use the defroster switch to arm the system and put our remote opener and bottle heater switches under the driver's seat.
The only other two switches that we needed to worry about were the remote bottle opener and bottle heater. Rather than trying to mount them in the console or the dash, we left these loose and tucked them in between the driver’s seat and the console. This way, if anyone was snooping around for a switch, odds are they would never find it.
That’s A Wrap
Hiding a nitrous system is not as difficult as one might think. You will need to put some thought and time into the installation, and the more, the better. The end result will make for some great times blowing the doors off unsuspecting cars, and best of all, you will have some fantastic stories to tell your grandkids.


