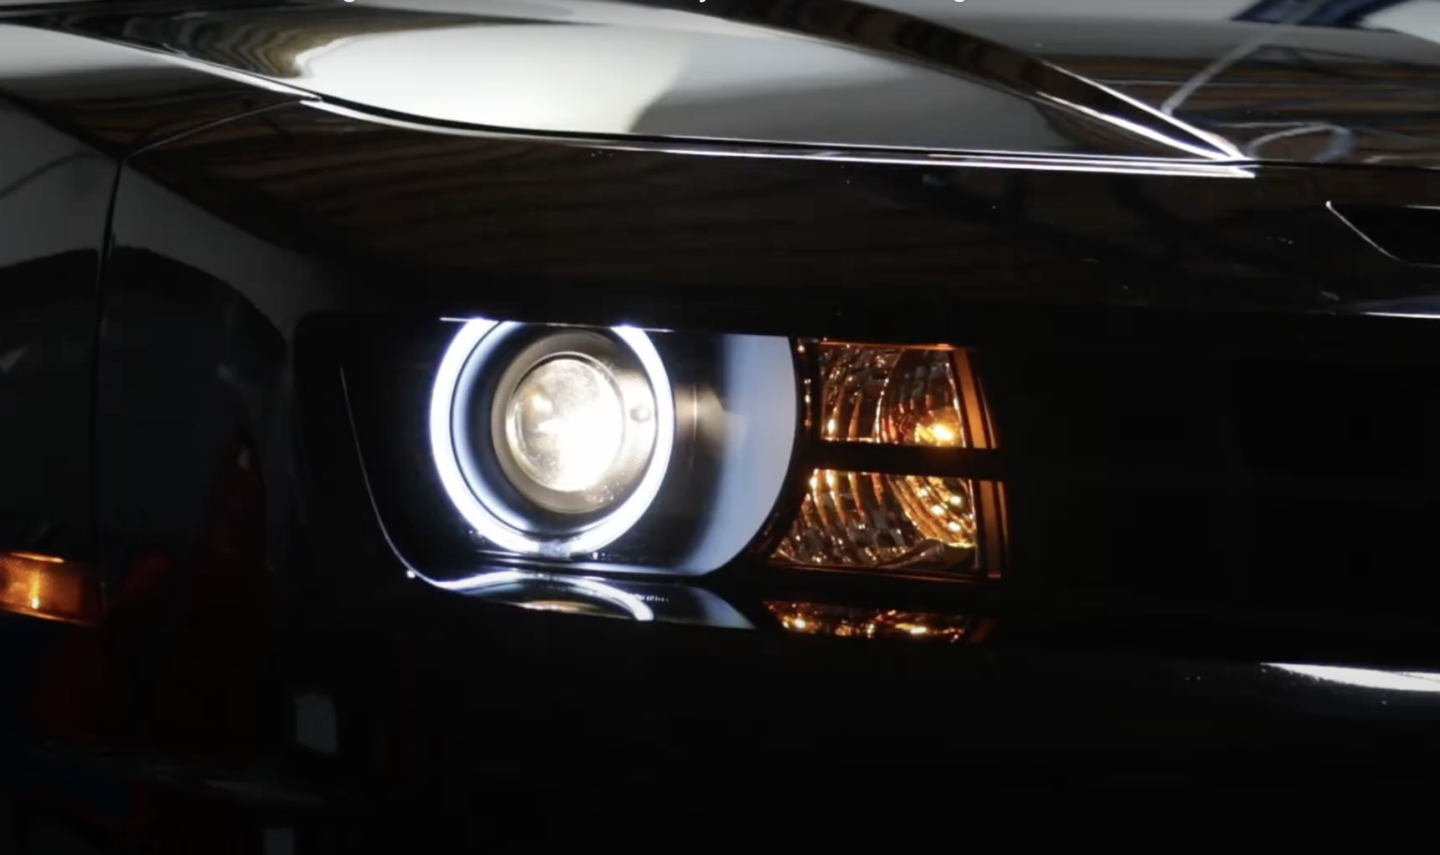
For a car enthusiast, there’s nothing worse than pulling up or parking next to a vehicle exactly like yours. And while they say, “Imitation is the sincerest form of flattery,” that’s not the case with cars. In fact, a whole industry is based on the customization of vehicles. Nowadays, you can find custom parts, including tires, wheels, and body kits to modify your project’s looks…and that’s just scratching the surface.
AnzoUSA knows how popular it is to modify vehicles and has been in the performance aftermarket game for some time, with over 30 years of manufacturing experience. The company specializes in SAE and DOT compliant lighting solutions for both cars and trucks. Anzo uses state-of-the-art CAD/CAM programs to design its products and then are tested using a 3D testing machine to guarantee a precision fit.
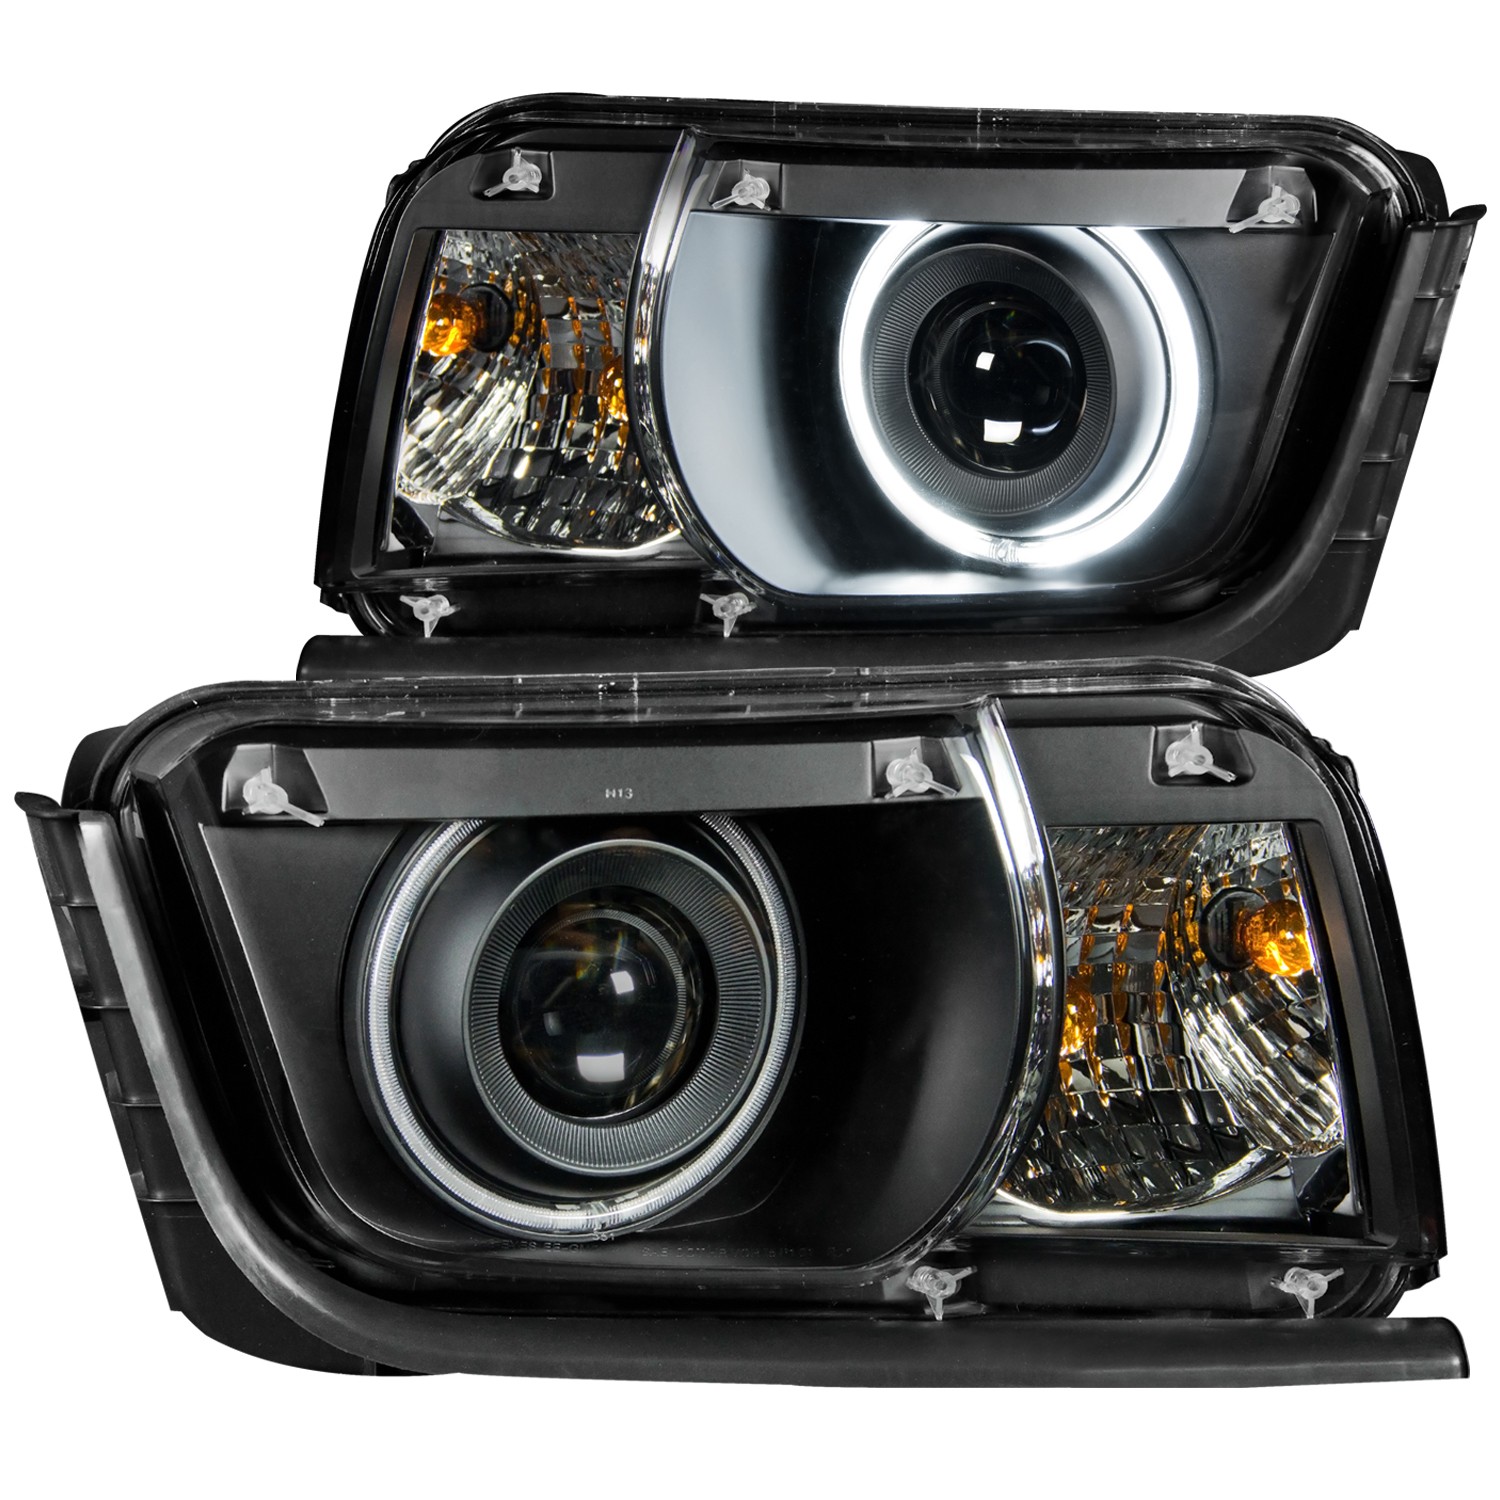
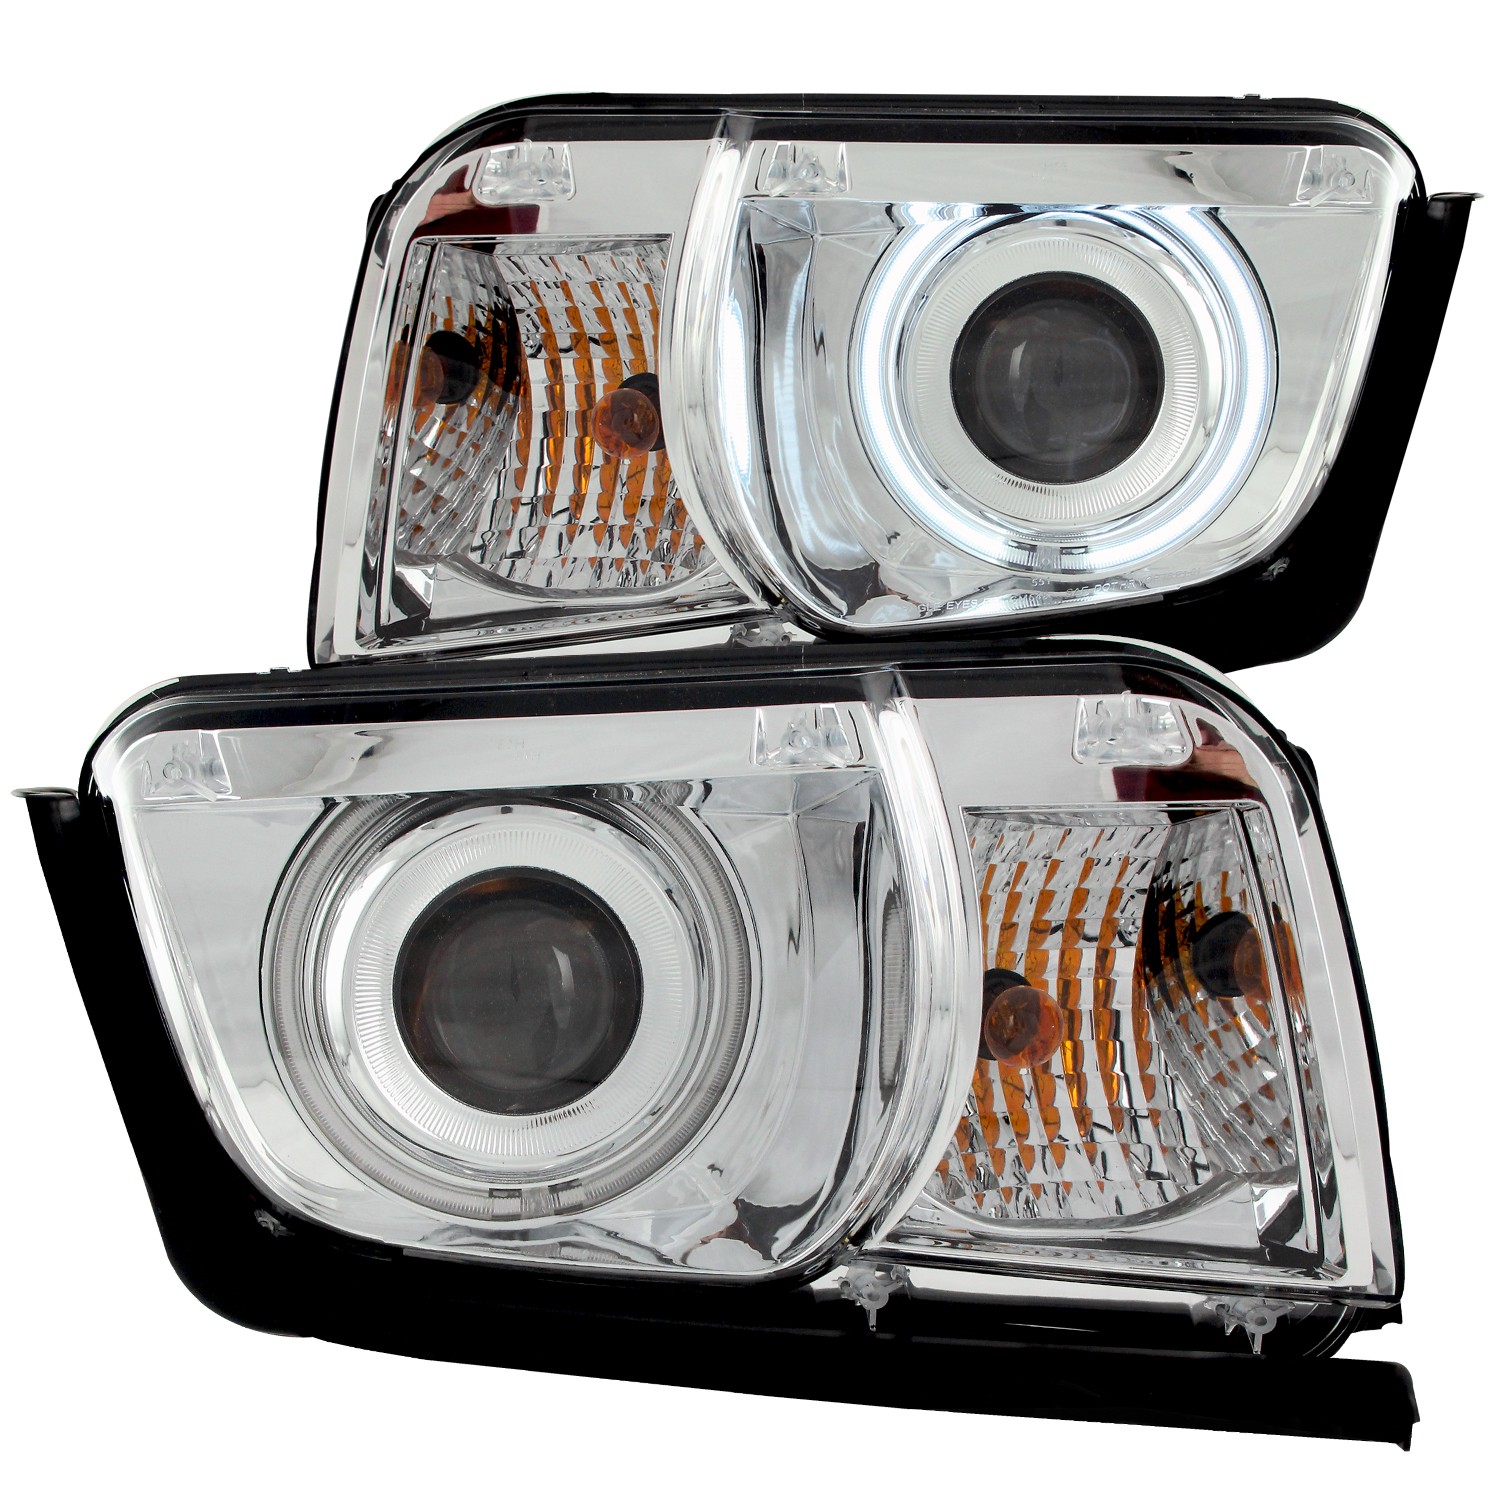
One of its latest products to hit the market is for the 2010-’13 Chevrolet Camaro. AnzoUSA offers two versions of this projector headlight: a clear lens with black housing (PN 121312), and a clear lens with a chrome housing (PN 121311). Both of these units are high-quality upgrades for the Camaro and offer a simple plug-and-play installation that will provide your Camaro a custom look with added safety. AnzoUSA also rigorously tests its products for improved operation over the factory units to help with visibility, no matter the weather conditions.
The 2010-’13 Camaro headlight installation is straightforward and can be done in a garage or driveway with ease. All you need is a ratchet, extension, swivel, 10mm socket, 7mm socket, T20 Torx bit, pliers, and a panel popper tool.
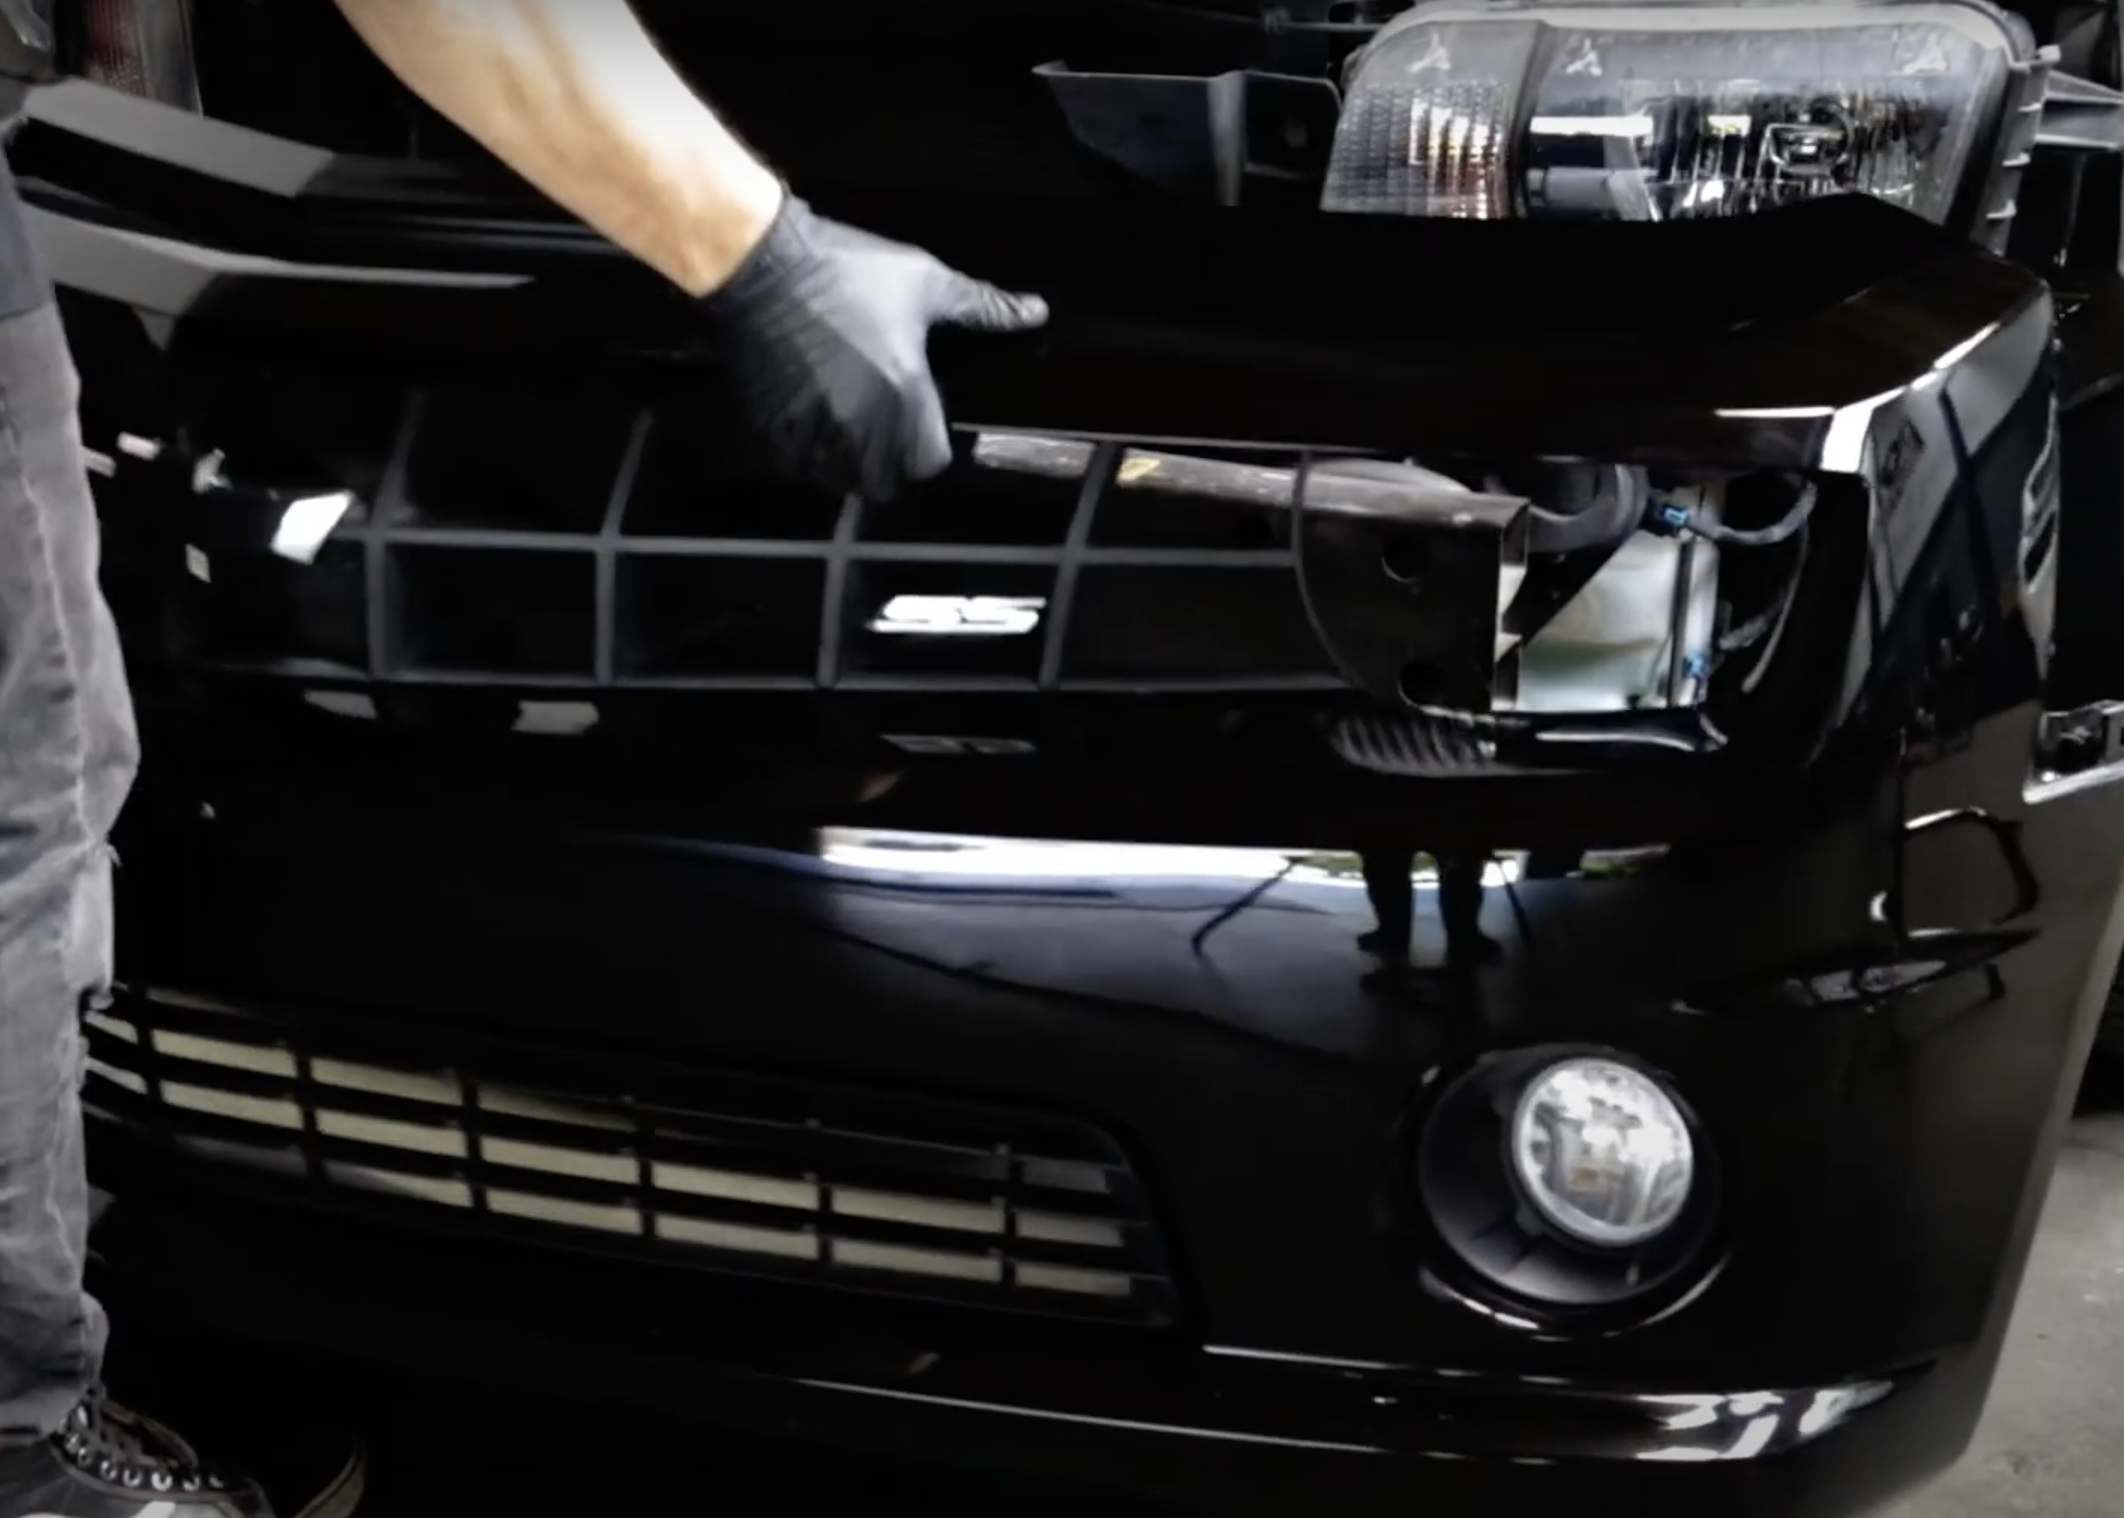
Anytime you are working on something that requires additional wiring, it’s always smart to disconnect the battery’s negative side. You will then remove the six body panel clips on top of the front fascia. You will then remove the two 10mm bolts on the top outside edge of the fascia. On the bottom of the bumper cover, you will find two more 10mm bolts in the middle. After you remove these two bolts, you will then unfasten the three Torx screws from each side of the fender liners. You can now peel back the inner fender liners, exposing the 10mm and 7mm bolts that secure the front fascia to the fenders. An extension and swivel will make this process easy. You will now grab the front fascia and slide it off the front of the Camaro. The only thing left to do is unhook the fog and parking lights before setting the fascia to the side.
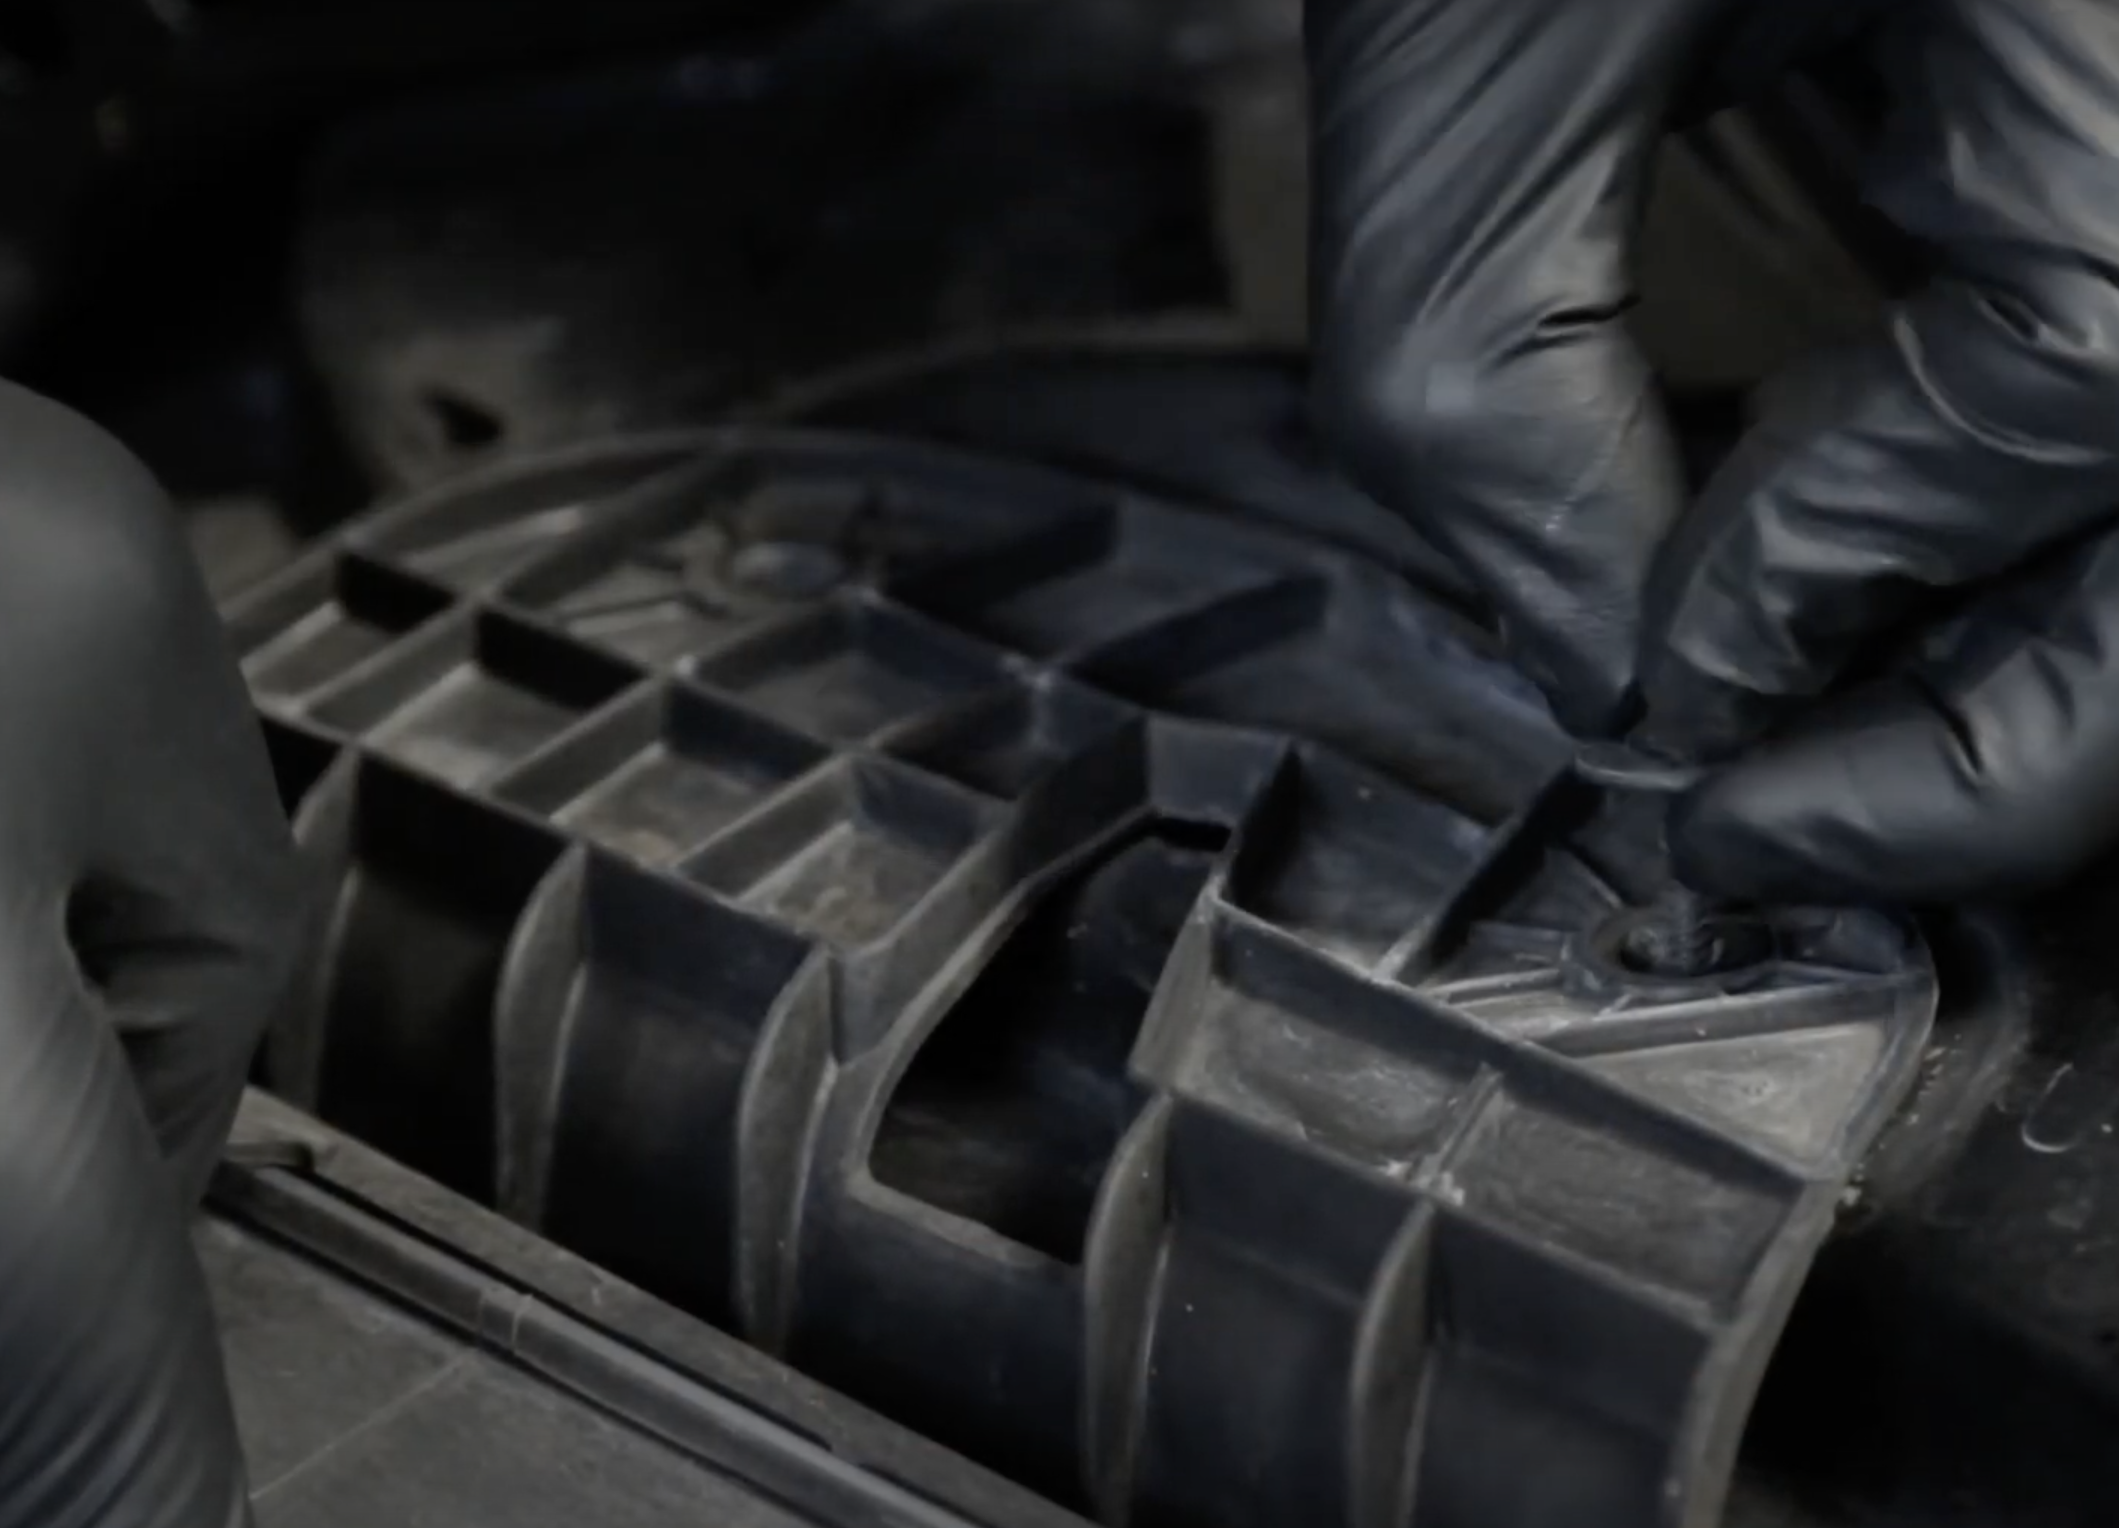
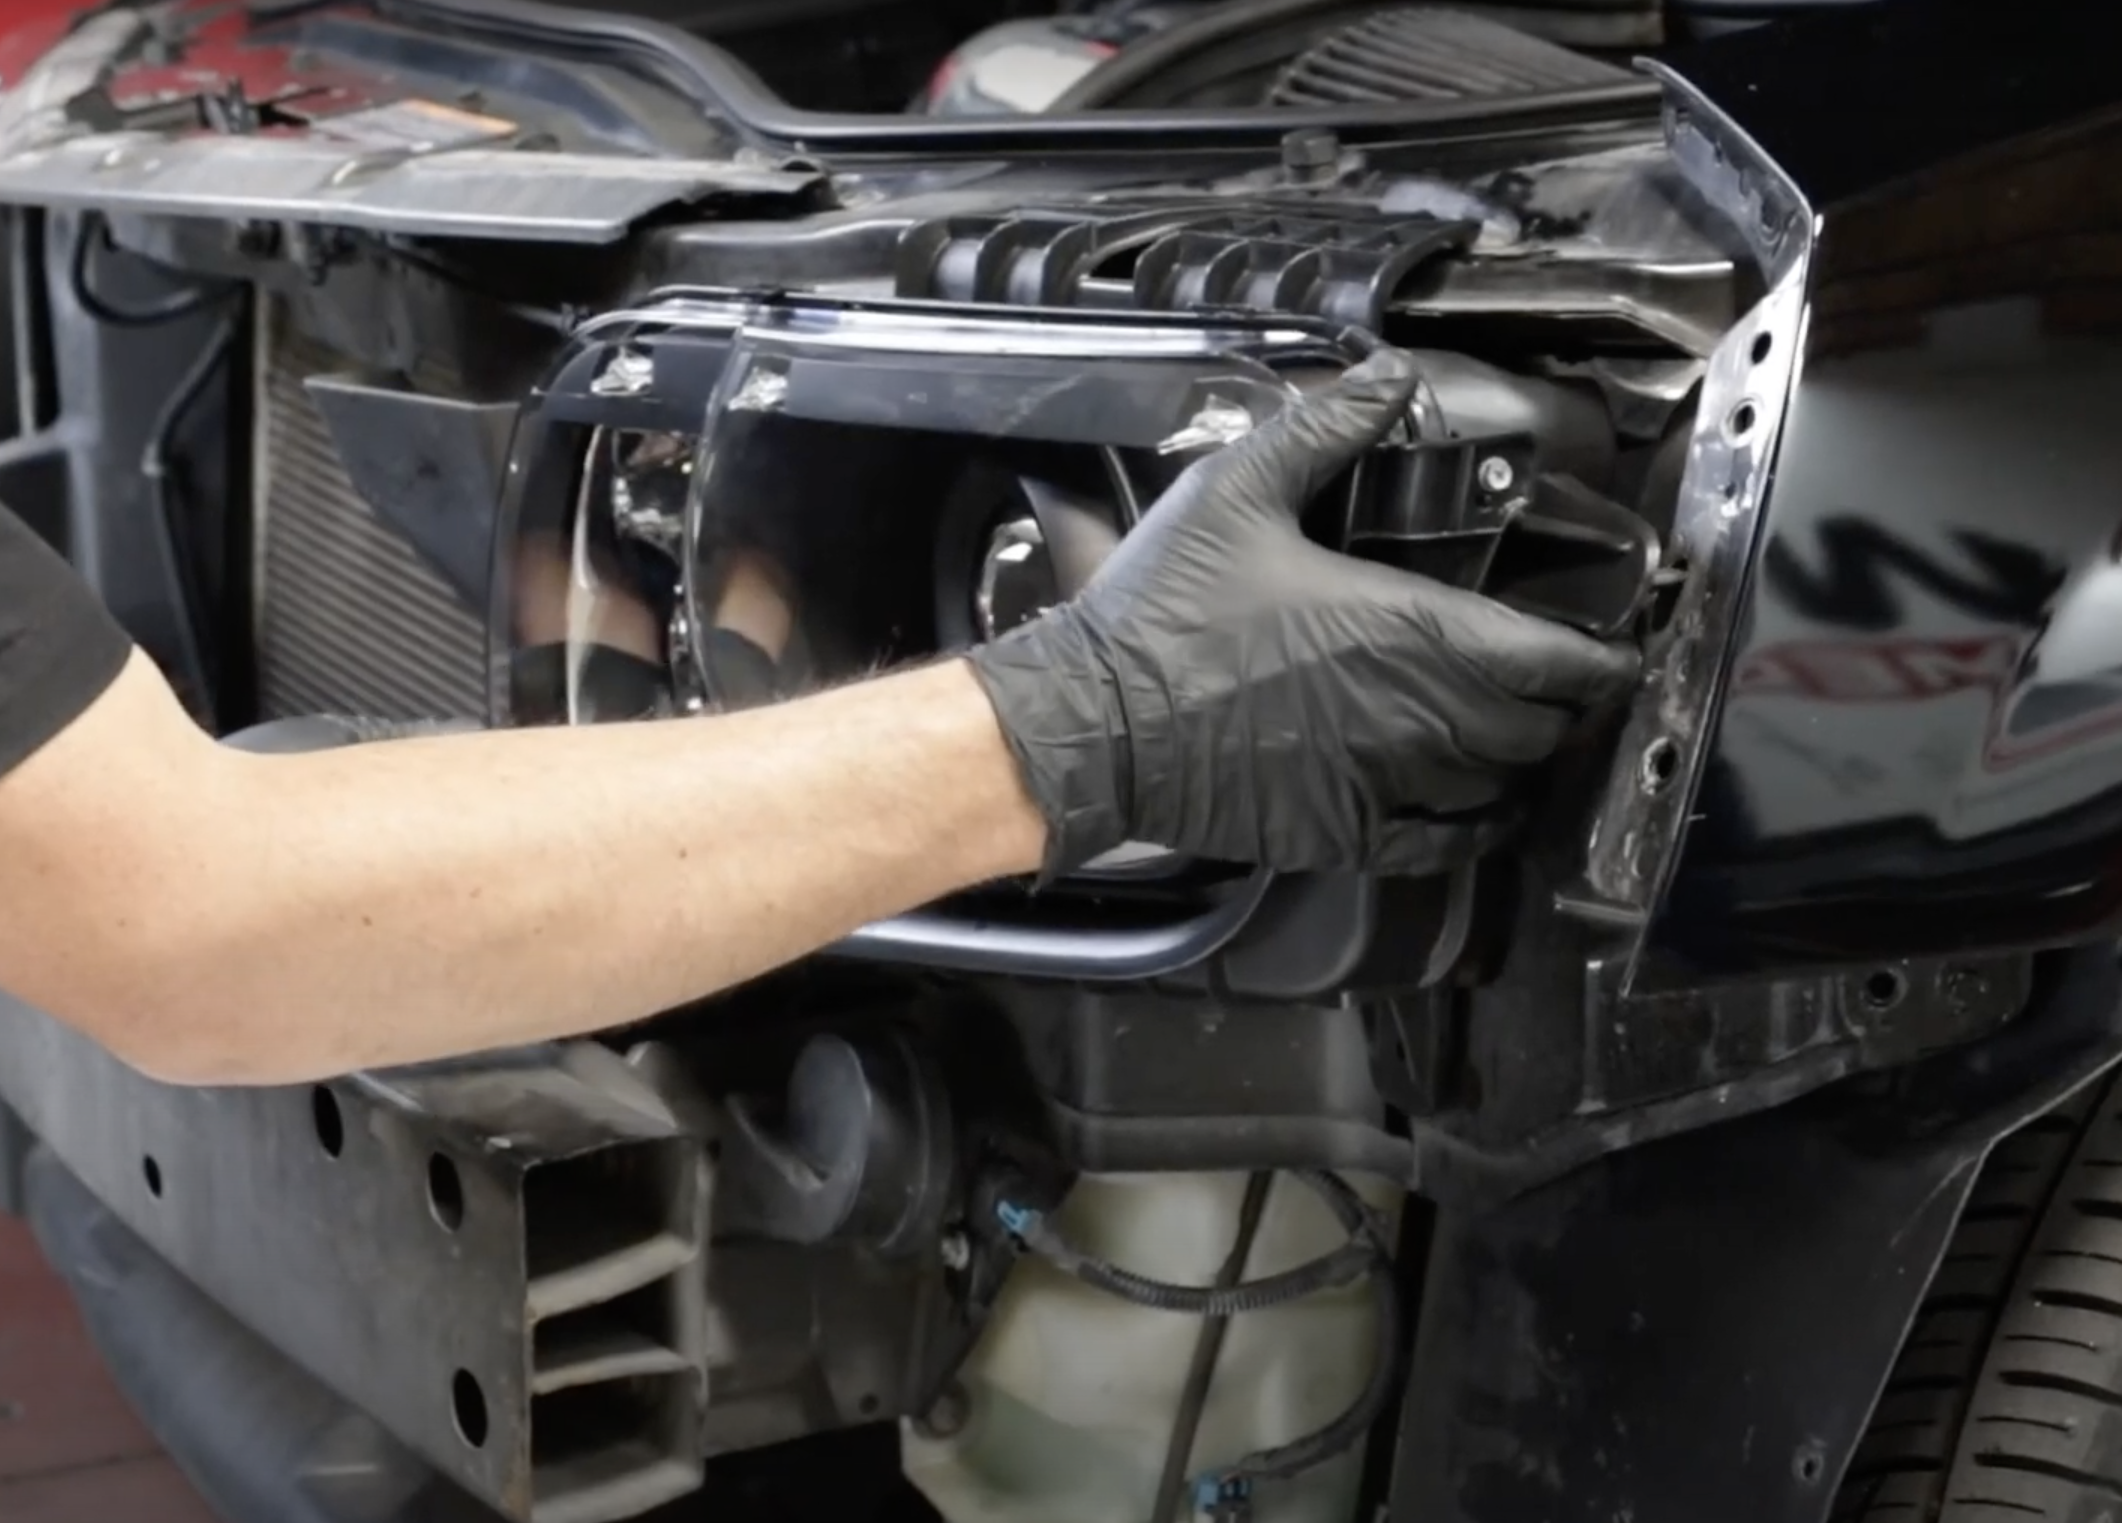
With the bumper cover out of the way, you can now remove the two 7mm bolts from the top of the headlight. Next, you will remove the 10mm bolts from the bottom of the assembly. The headlight will now slide forward, and you can disconnect the factory headlight harness. With the headlights out of the way, you will need to locate the power wire for the parking light harness.
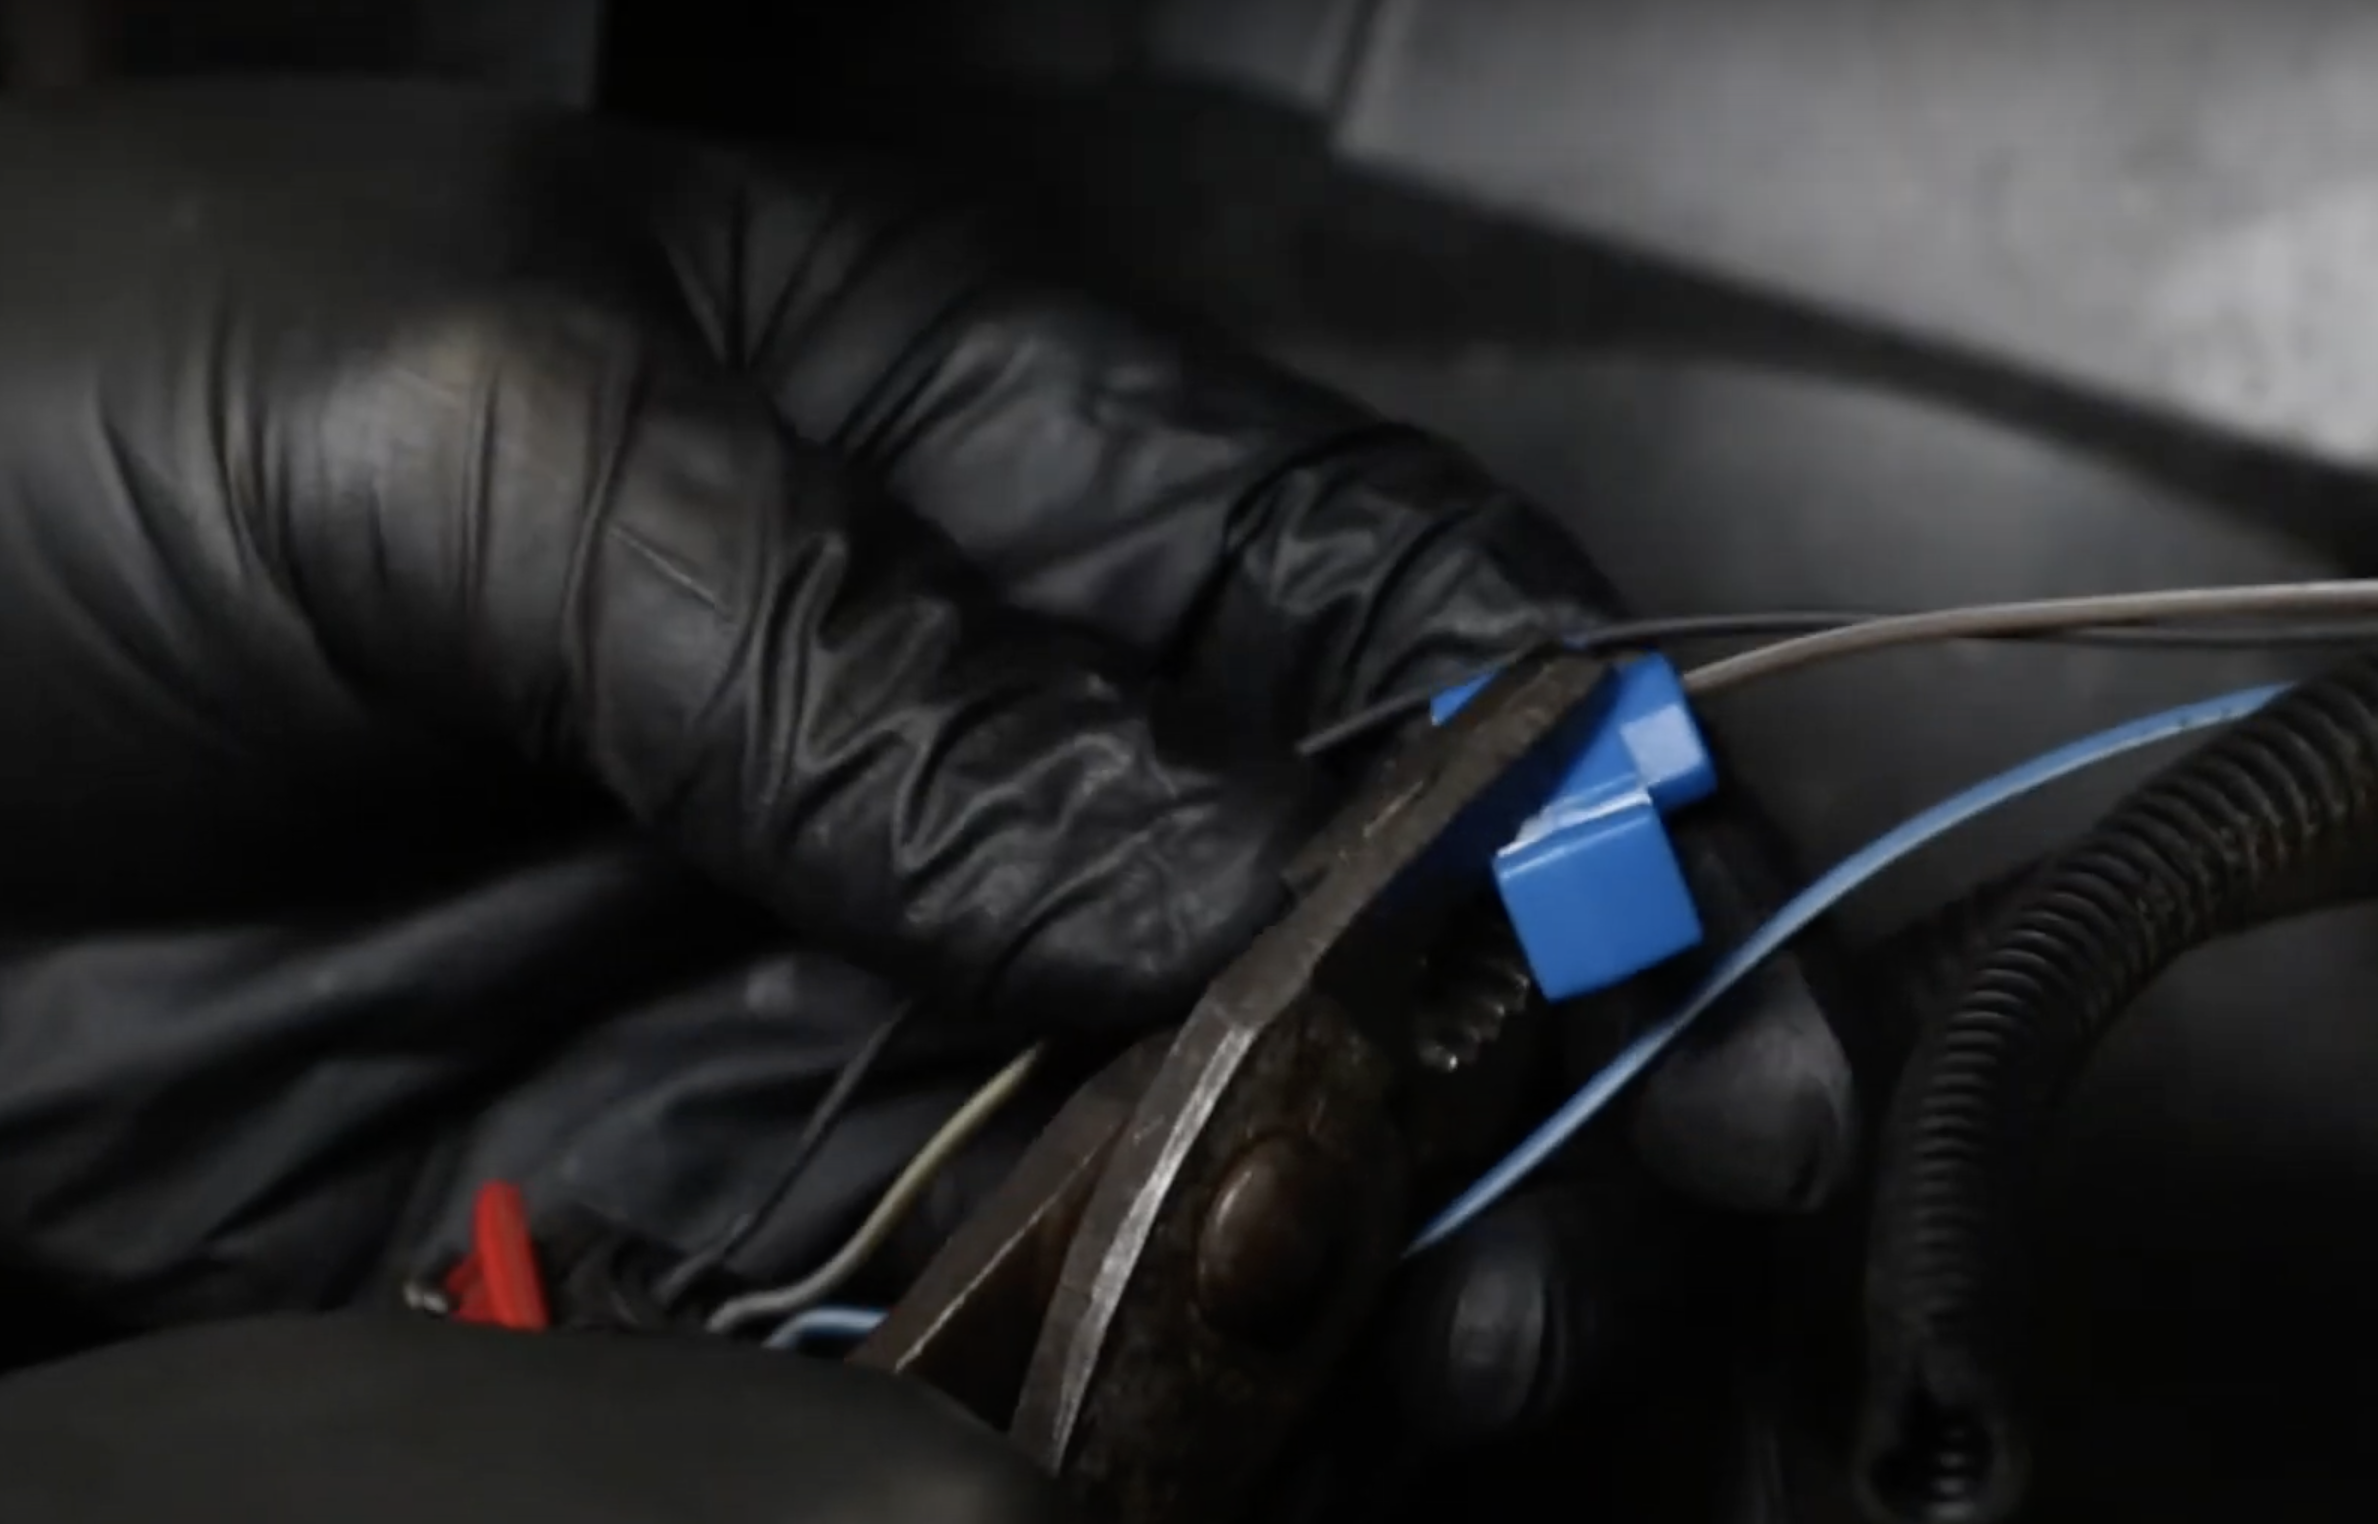
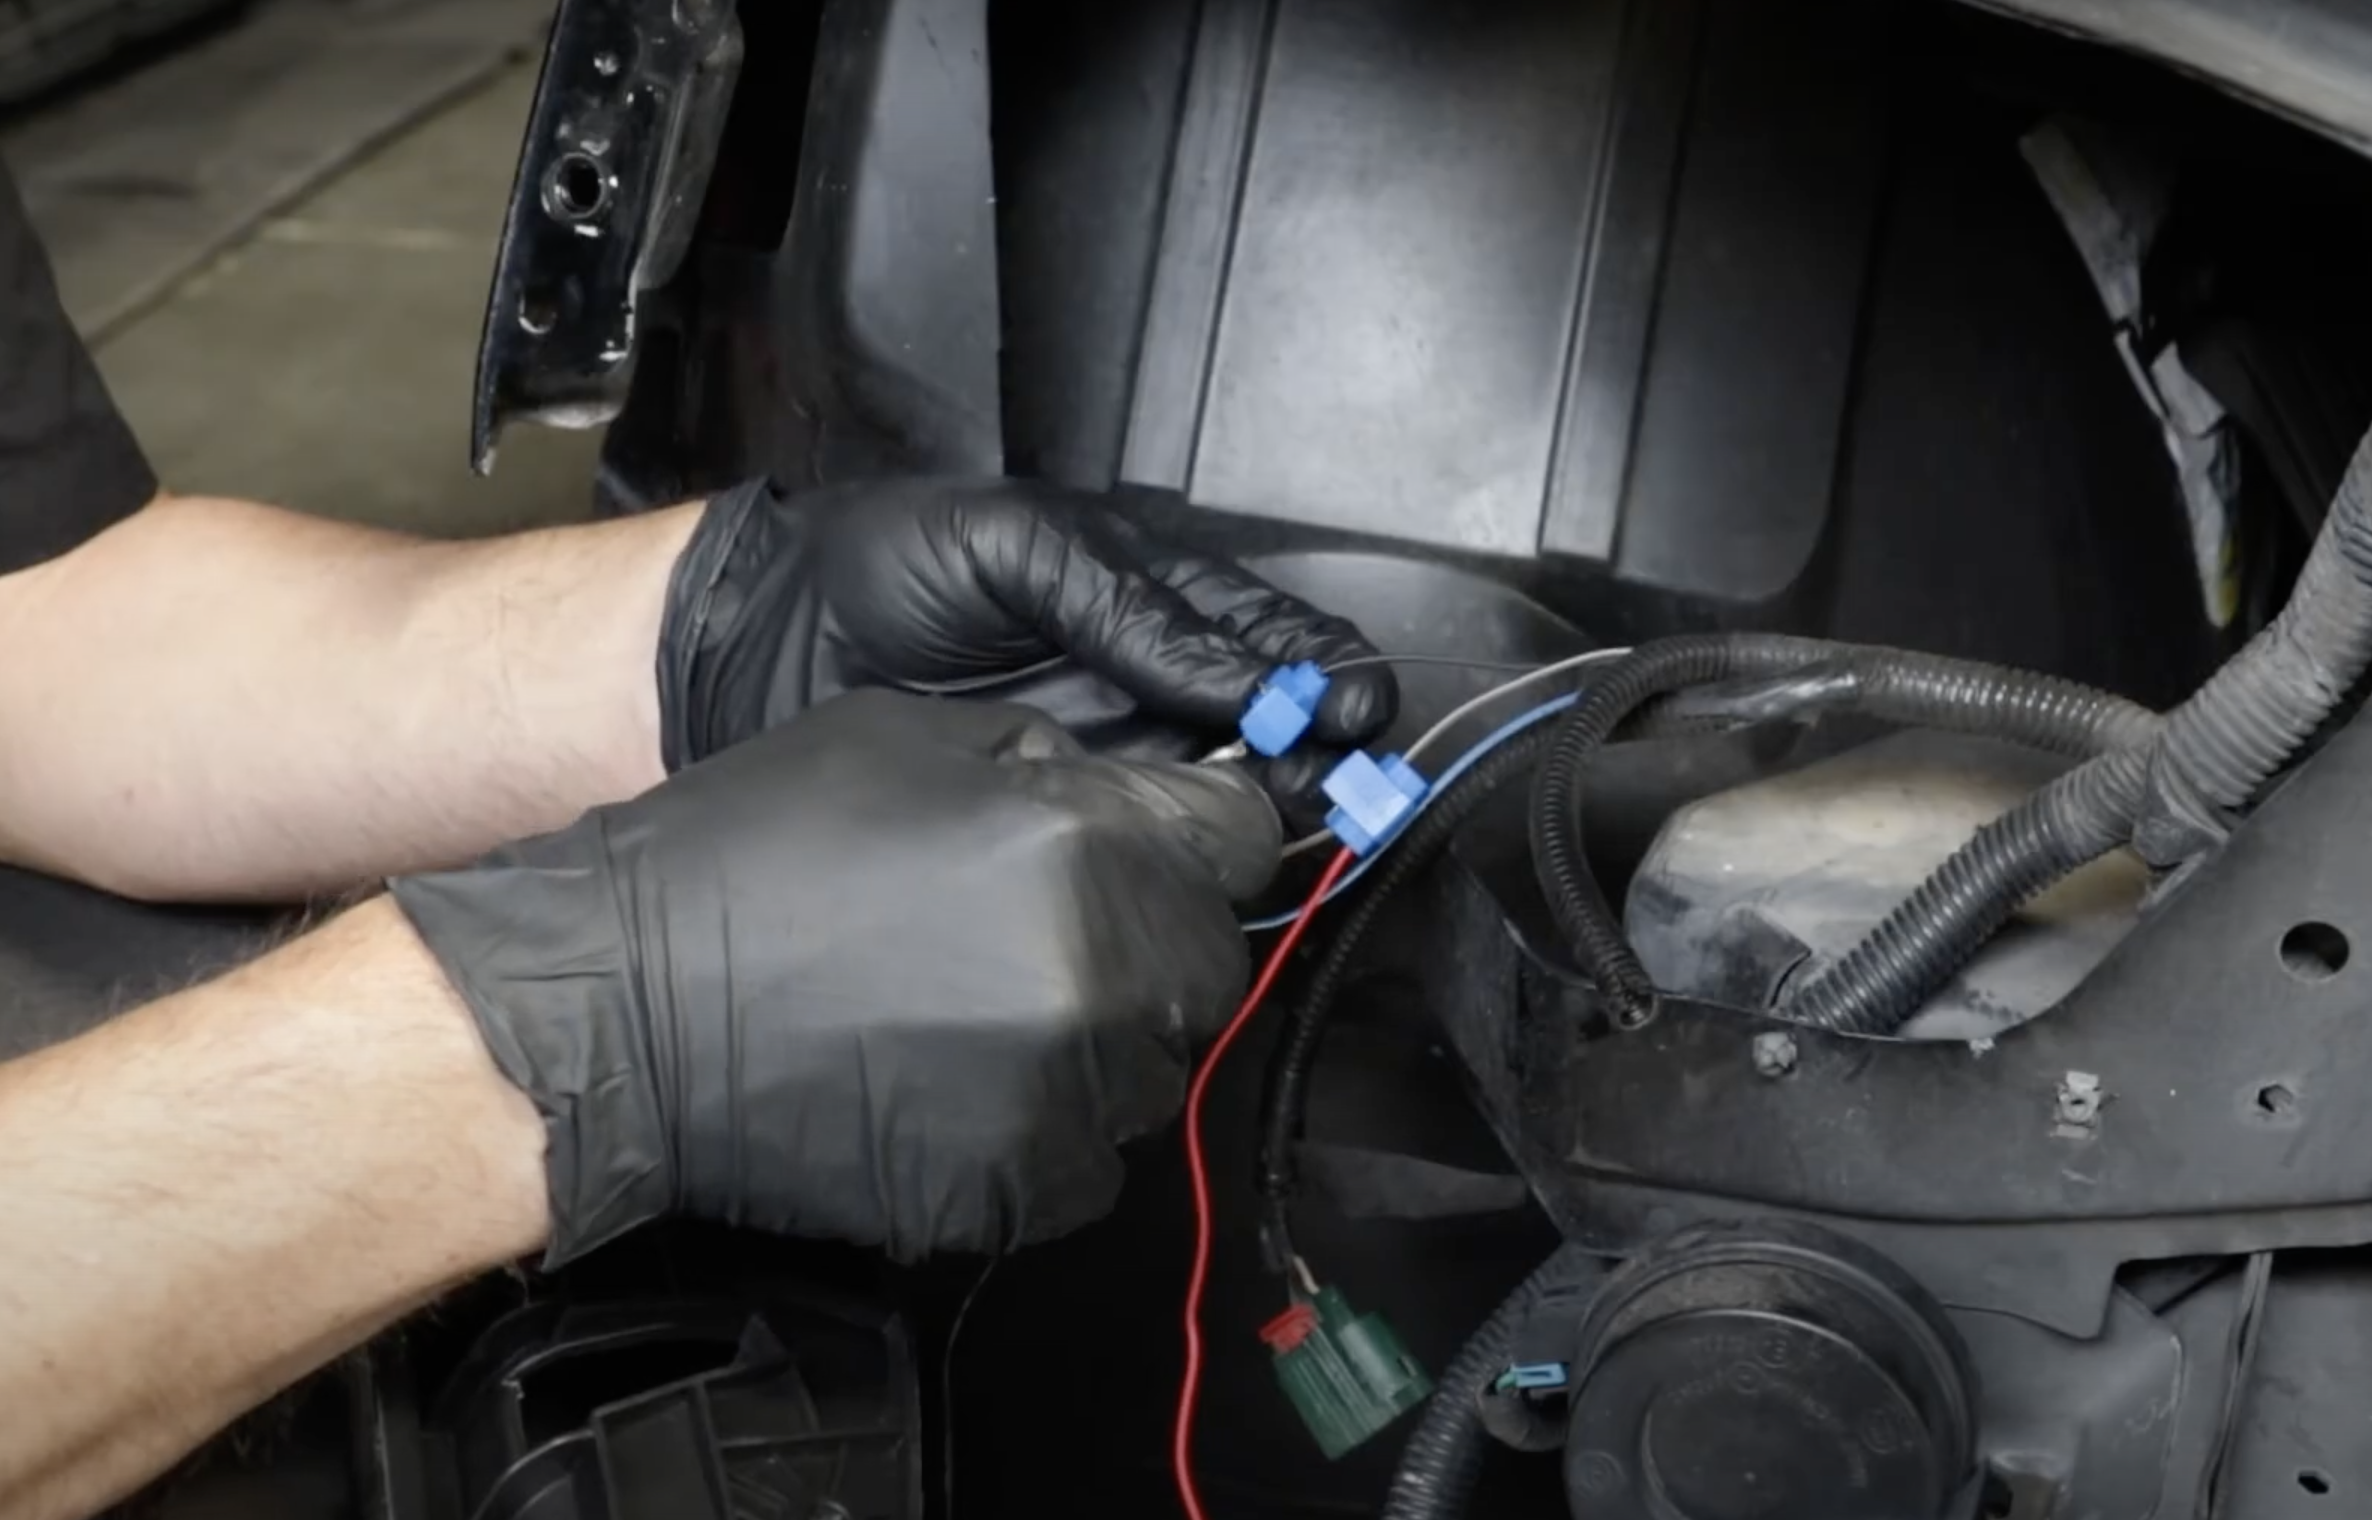
Take the red wire from the AnzoUSA headlight, and connect it to the parking light power wire using the supplied 3M Scotchlok electrical connector. With the wire in place, use a pair of pliers to push down on the Scotchlok connector. It’s always a good idea to give the wires a slight tug to ensure they are secure. If they check out, you can close the connector by locking the tab. You will now connect the black wire of the headlight to the black wire on the parking light harness using the same method as before.
With the factory harness plugged into the AnzoUSA lights, you can now reinstall the headlight assembly using the OEM hardware. With the new lights wired up and installed on the Camaro, the front fascia can be installed. However, now is a perfect time to hook the battery up and verify the function of your new headlights. If everything checks out, you can unhook the battery and continue the installation. You will use the same steps as before but in reverse to reattach the frontend. Before driving your Camaro, AnzoUSA recommends adjusting the factory lights using the car’s manual.
For more information on this product and others from AnzoUSA, check out their website.


