In our first installment of Giving A Modern LS Engine A Vintage Twist, we showed you how to freshen up the look of your LS the easy way. We first installed a set of Holley two-piece valve covers and an Edelbrock Pro-Flo 4 intake manifold and throttle body, and topped it off with a new Holley air cleaner. This conversion can be done in a matter of hours and completely transforms the LS engine’s modern look. We also started on our second engine, converting it as well.
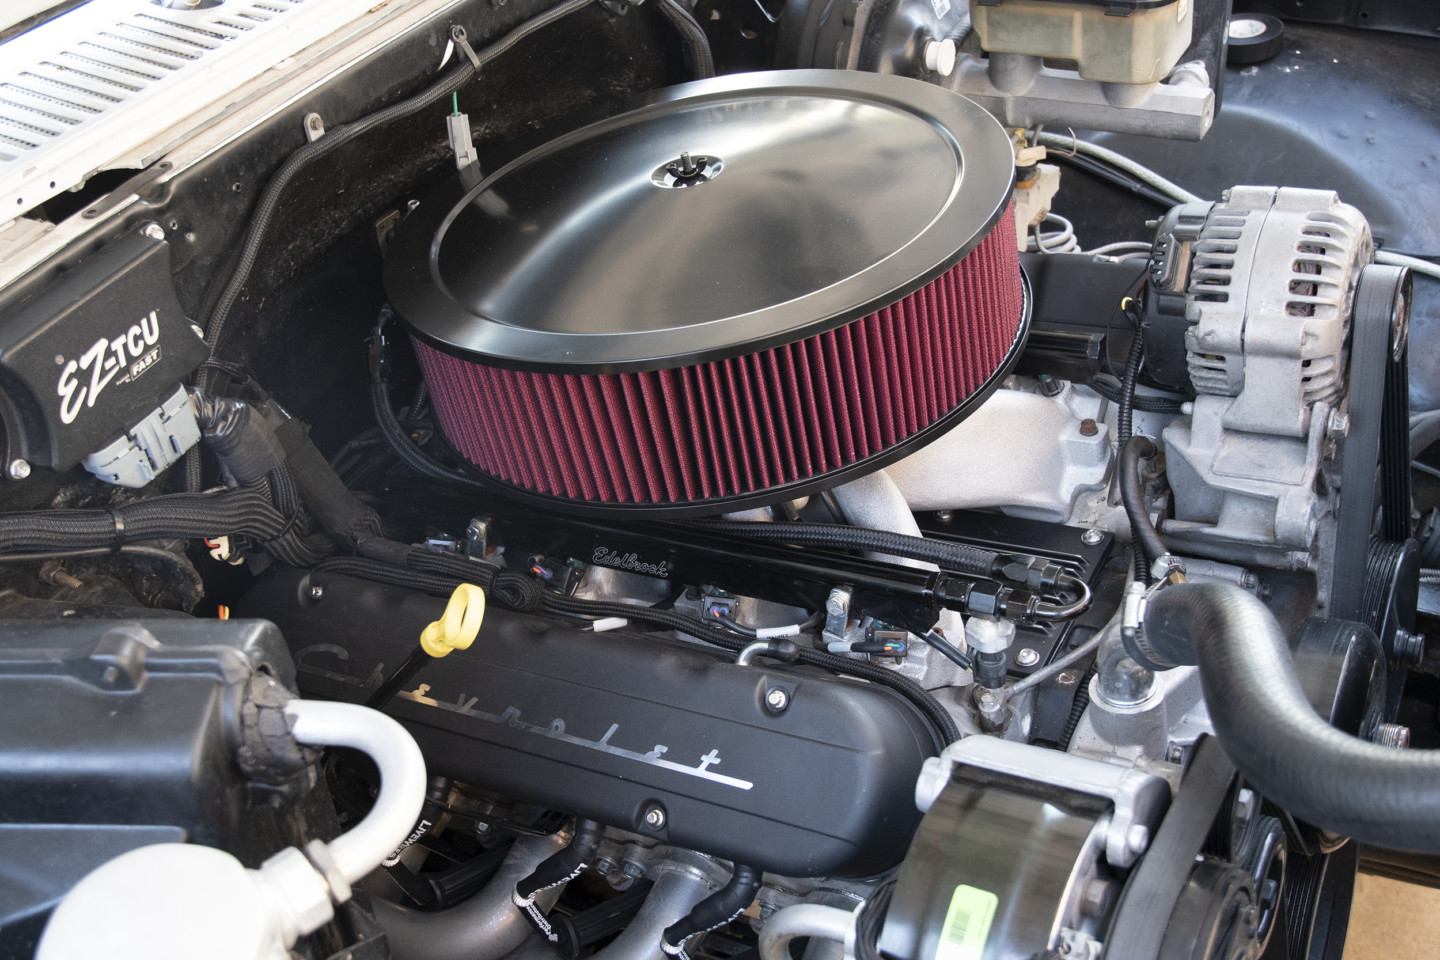
Holley’s two-piece Chevrolet valve covers make a big difference in the engine compartment of our LS-powered Suburban.
Our second installment, Giving A Modern LS Engine A Vintage Twist: Part II, we took a deeper dive into converting the LS, giving it a more convincing classic small-block Chevy appearance. In this article, we sprayed the engine Hugger Orange and used Holley’s small-block valve cover adapters, Sulton’s Of Spark LS coils, Holley’s finned valley cover, ARP bolts, and Hooker cast manifolds. We also installed an Eddie Motorsports S-Drive accessory system with natural finished accessories and black brackets.
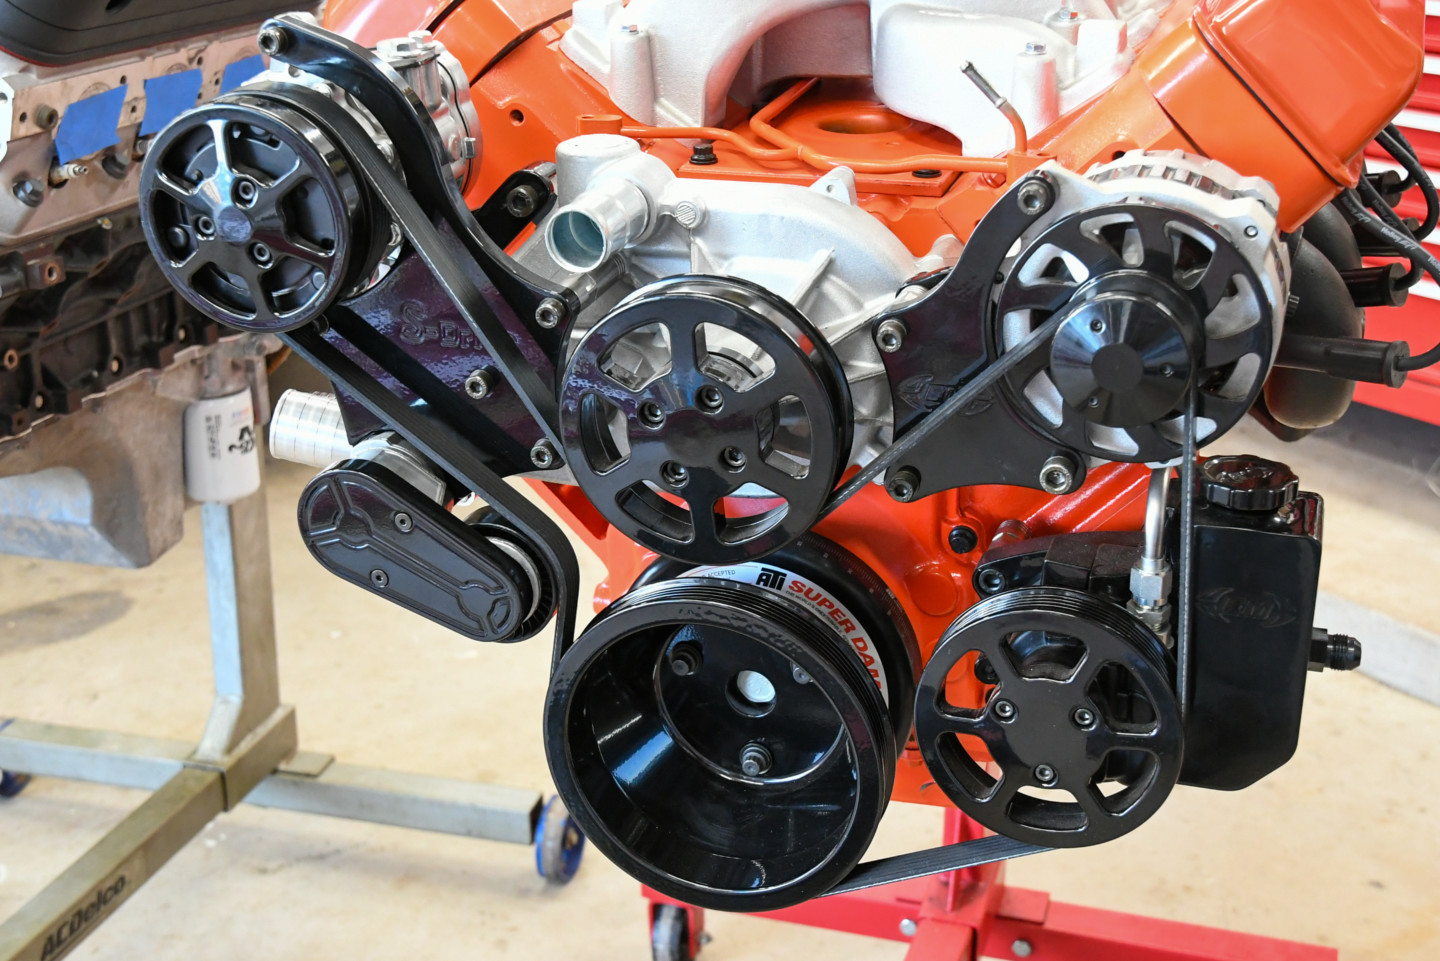
Our second story takes a deeper dive into making an LS engine look like a small-block Chevrolet. Naturally, we started by painting the engine Hugger Orange. Here you can see the Eddie Motorsport S-Drive accessory dive that looks amazing on the front of our LS.
While our engine is coming along nicely, we still need to address a few things. This article will focus on different types of induction and accessories needed to seal the deal. We will also talk to the experts at Holley about intake manifolds, fuel distribution, and complete the look of our engine with the help of Classic Industries.
Wired
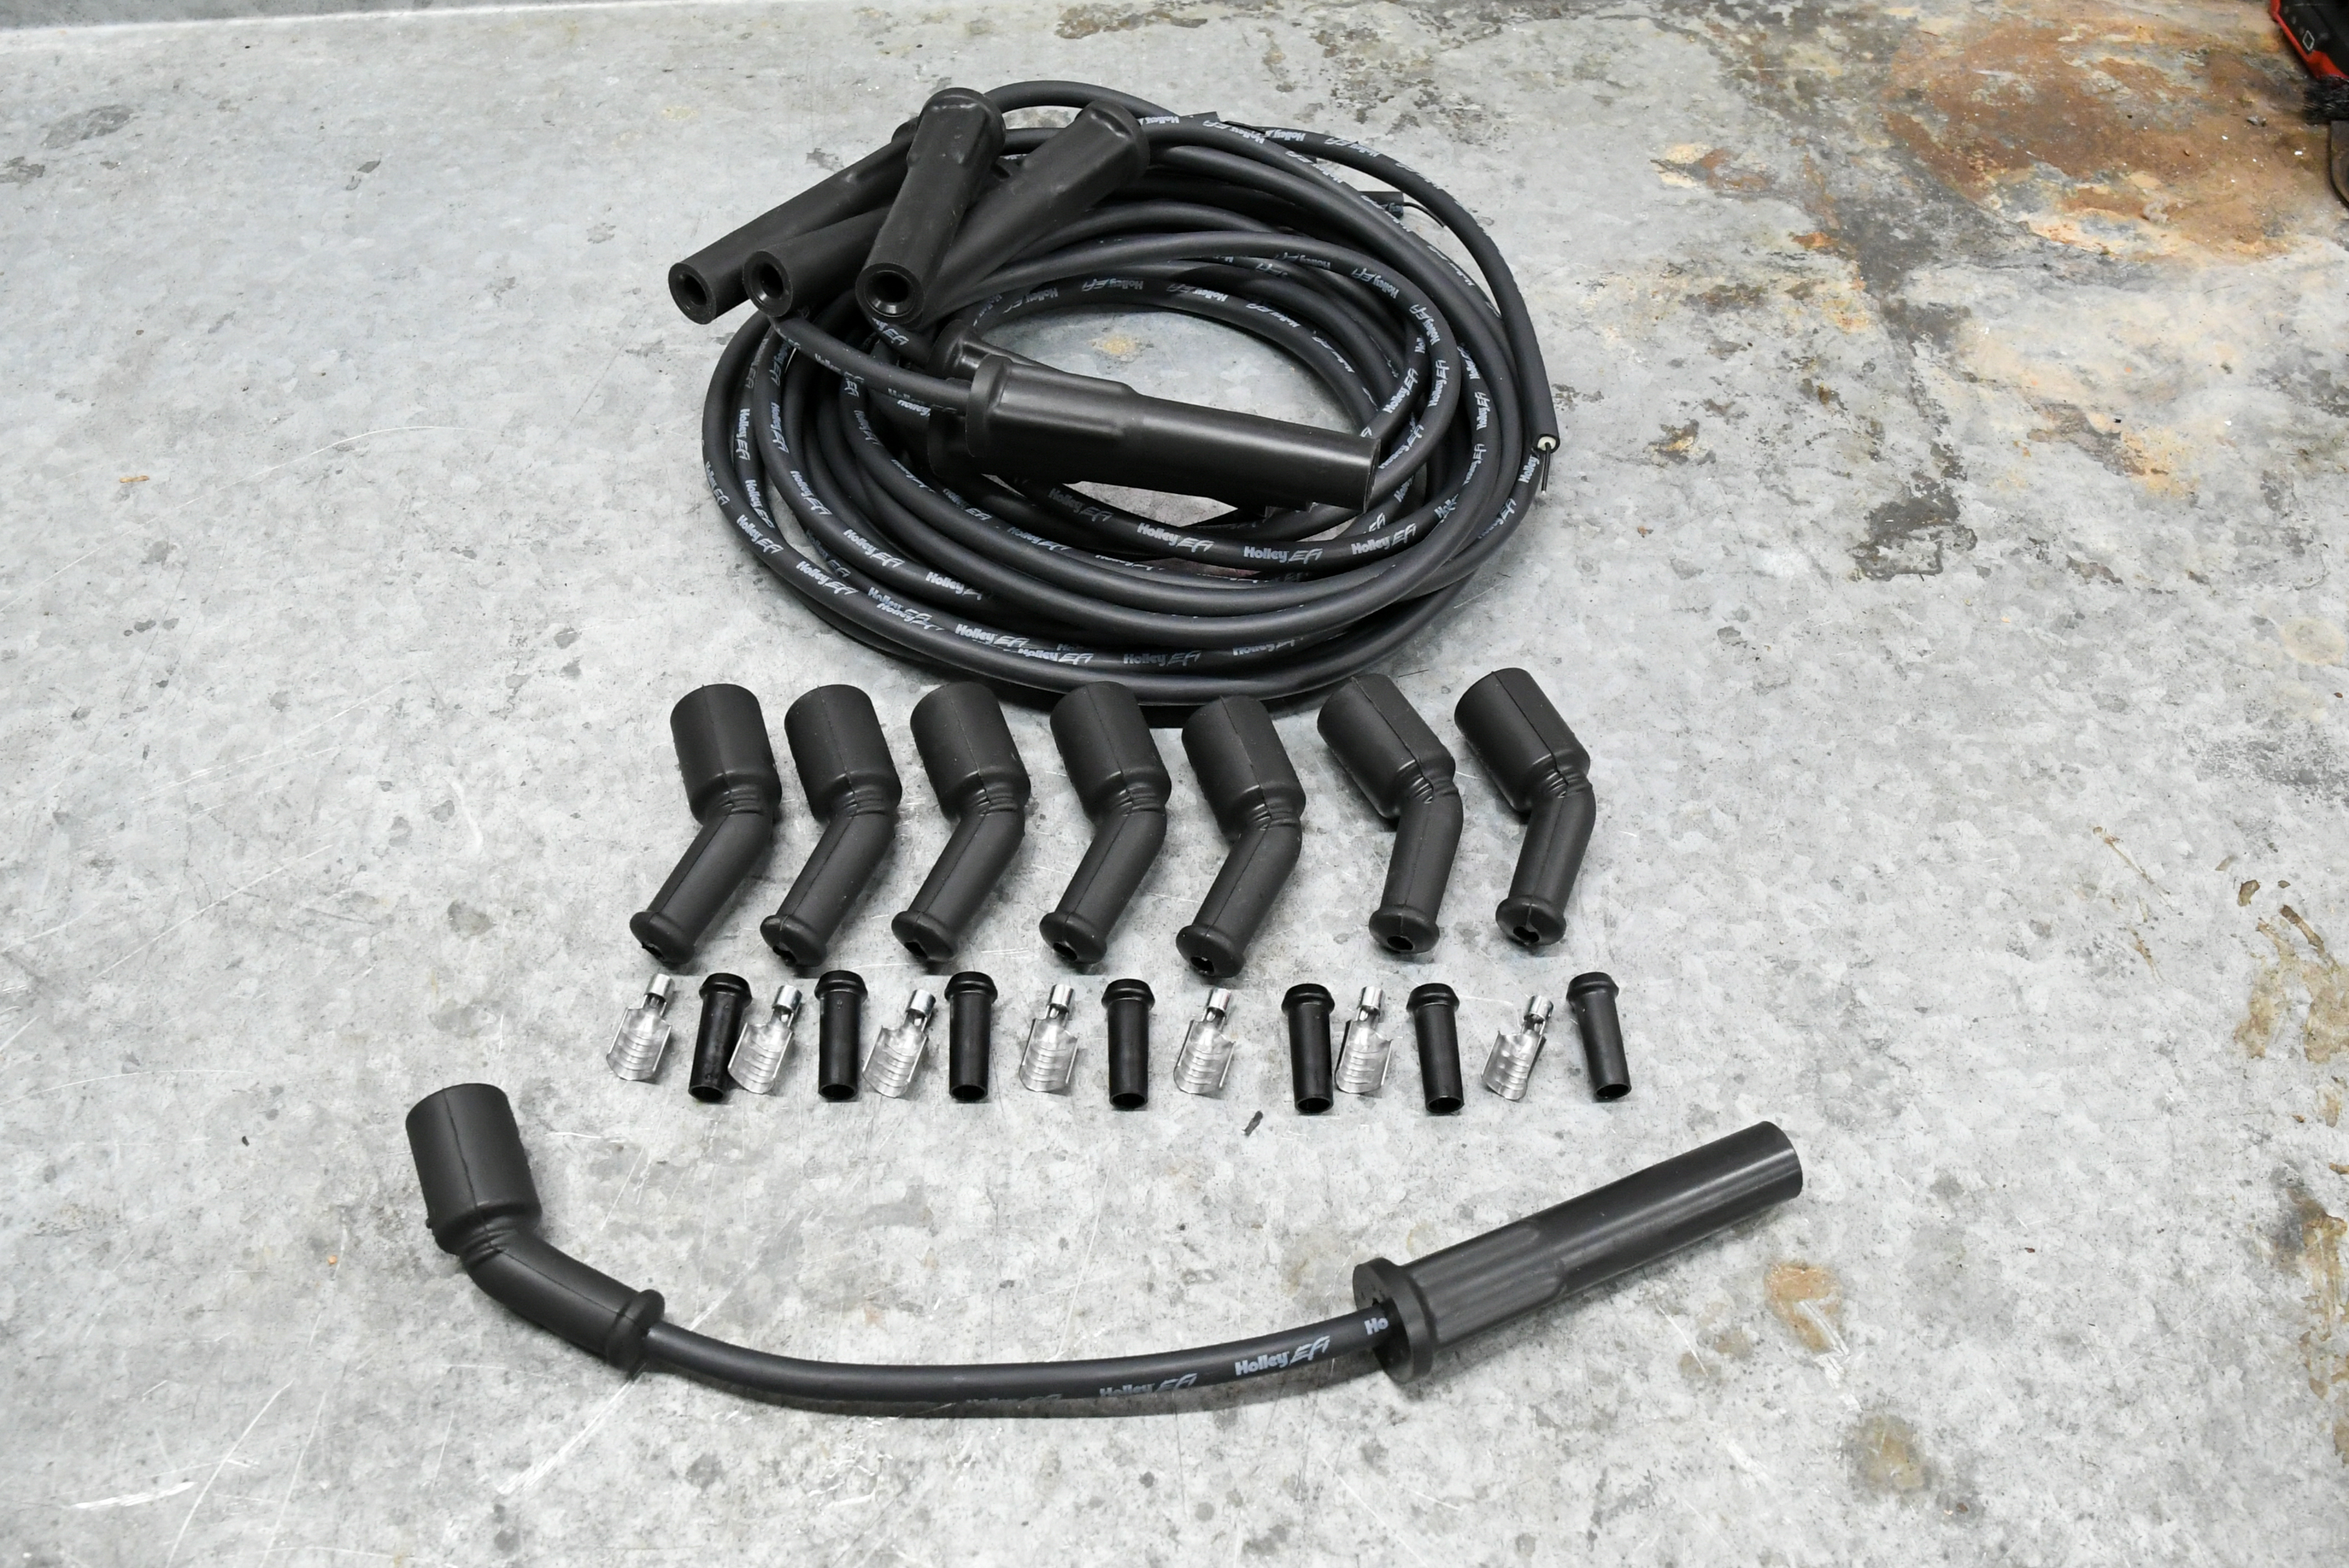
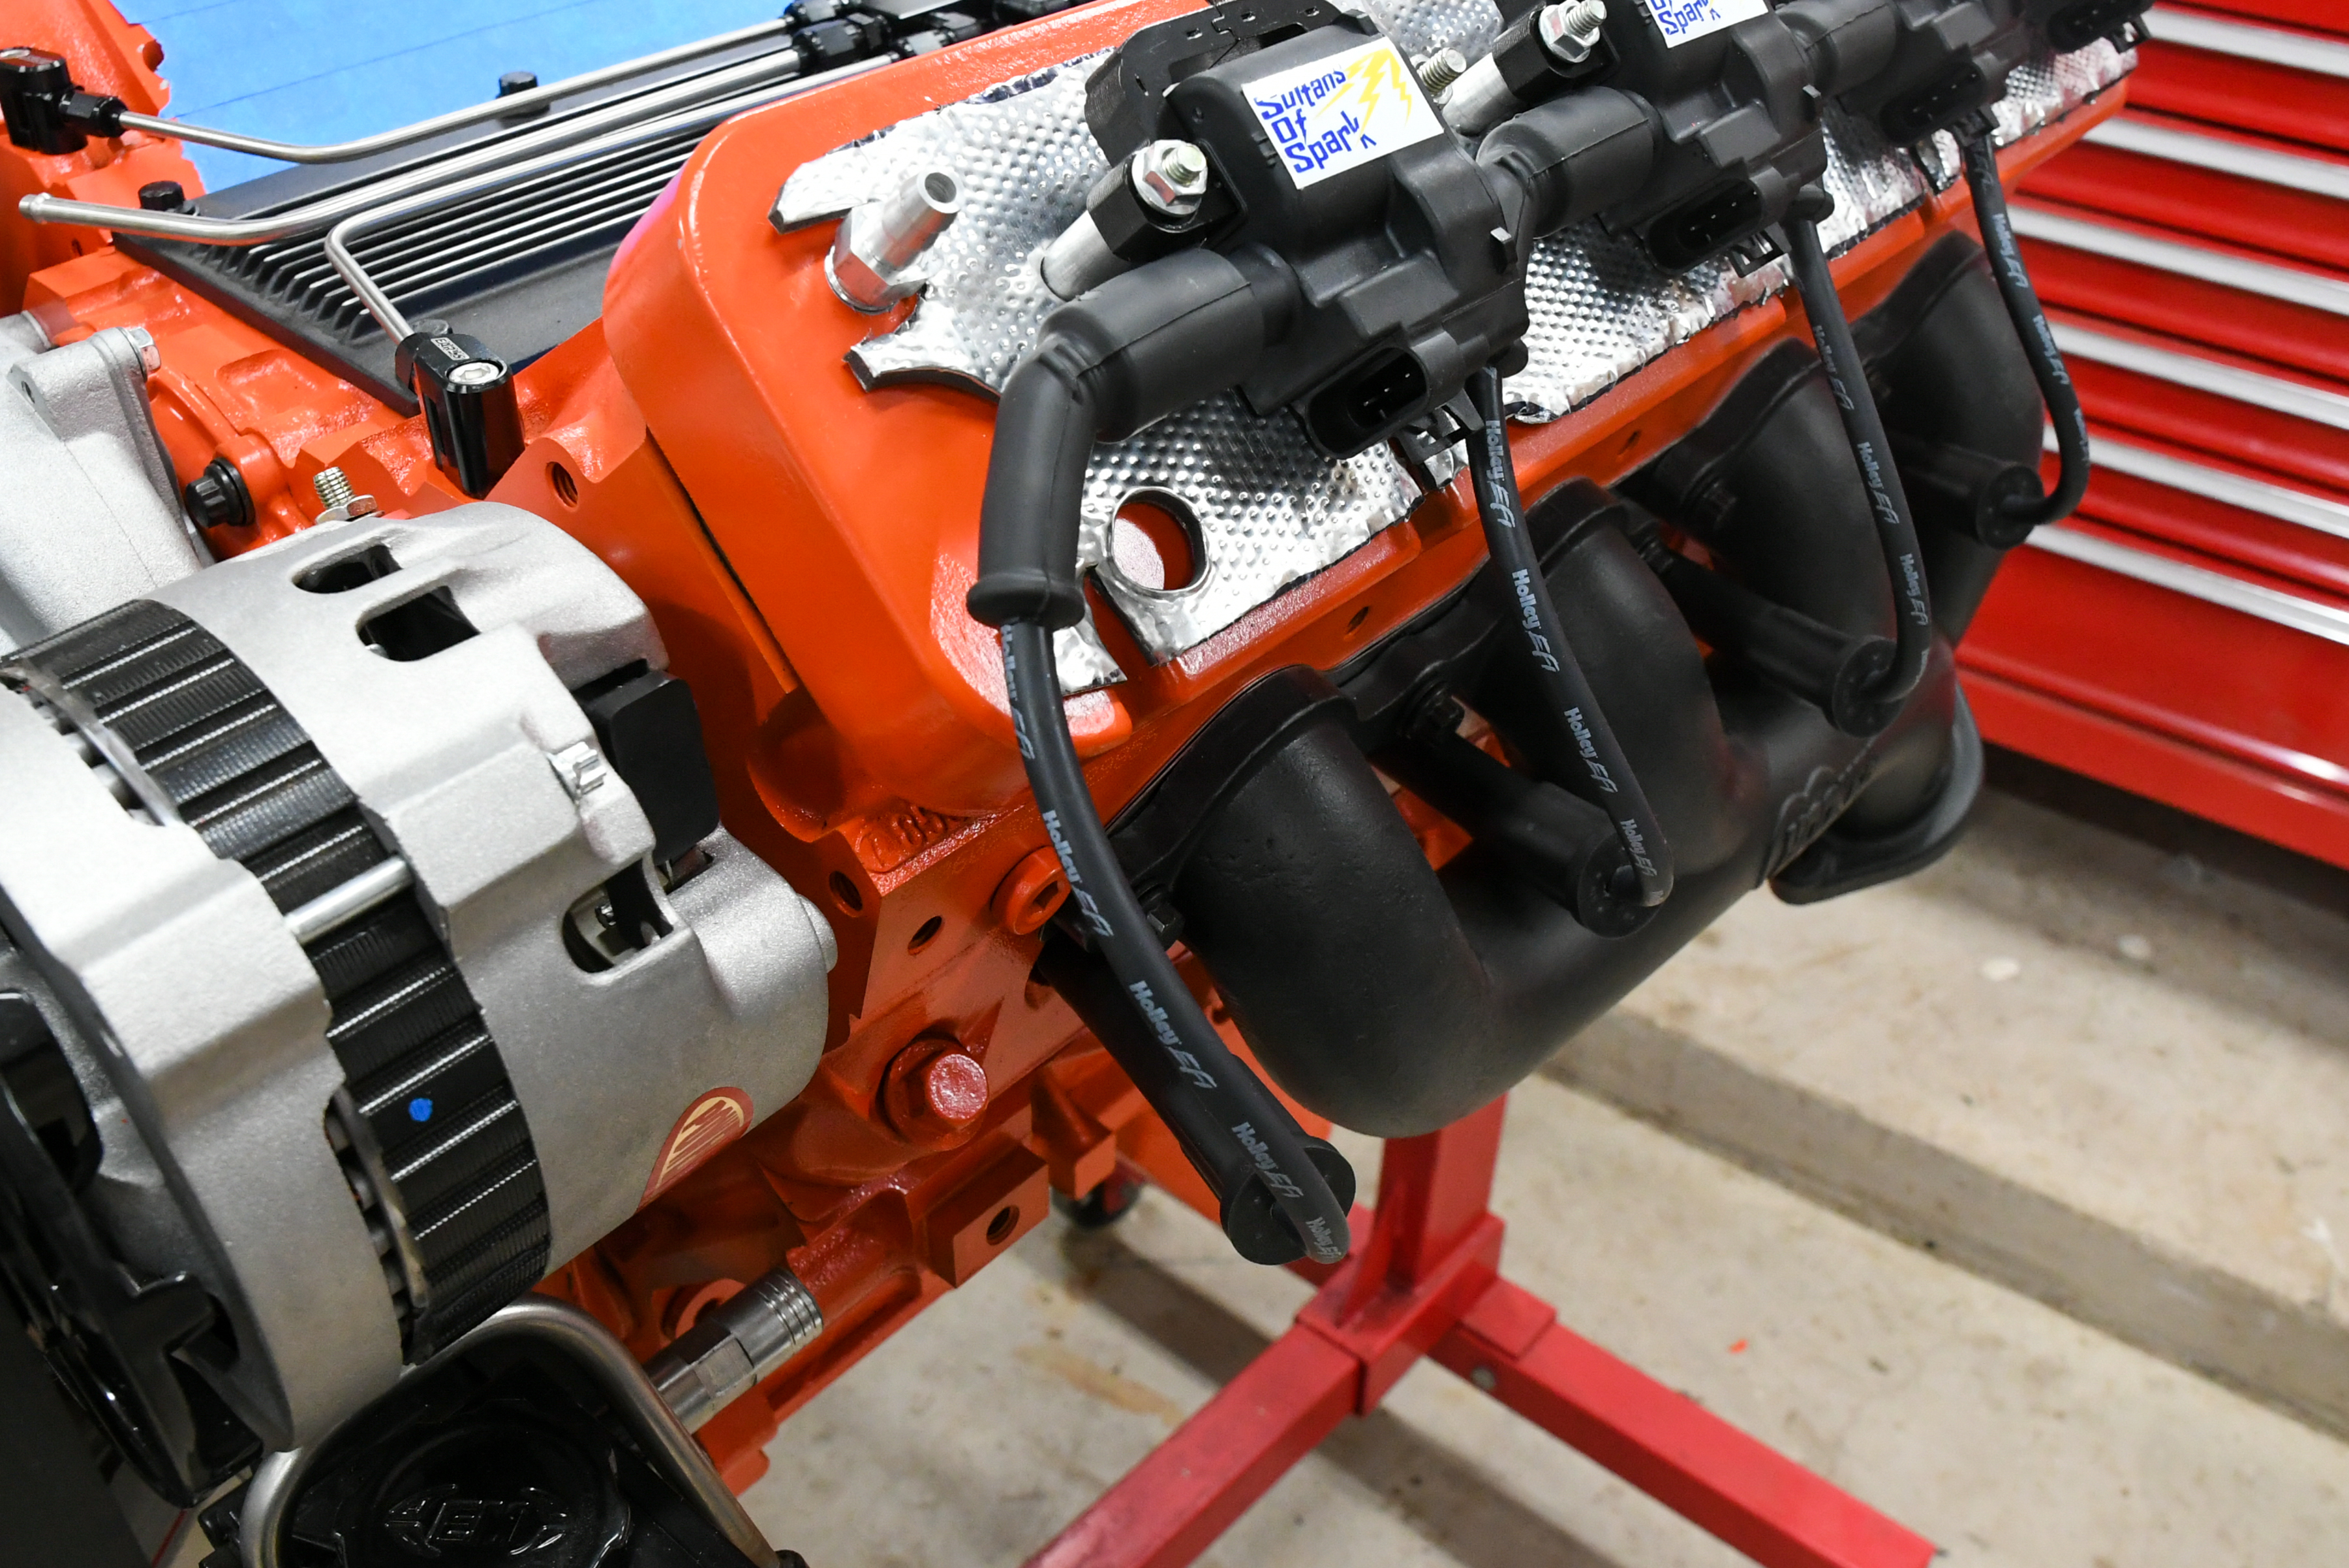
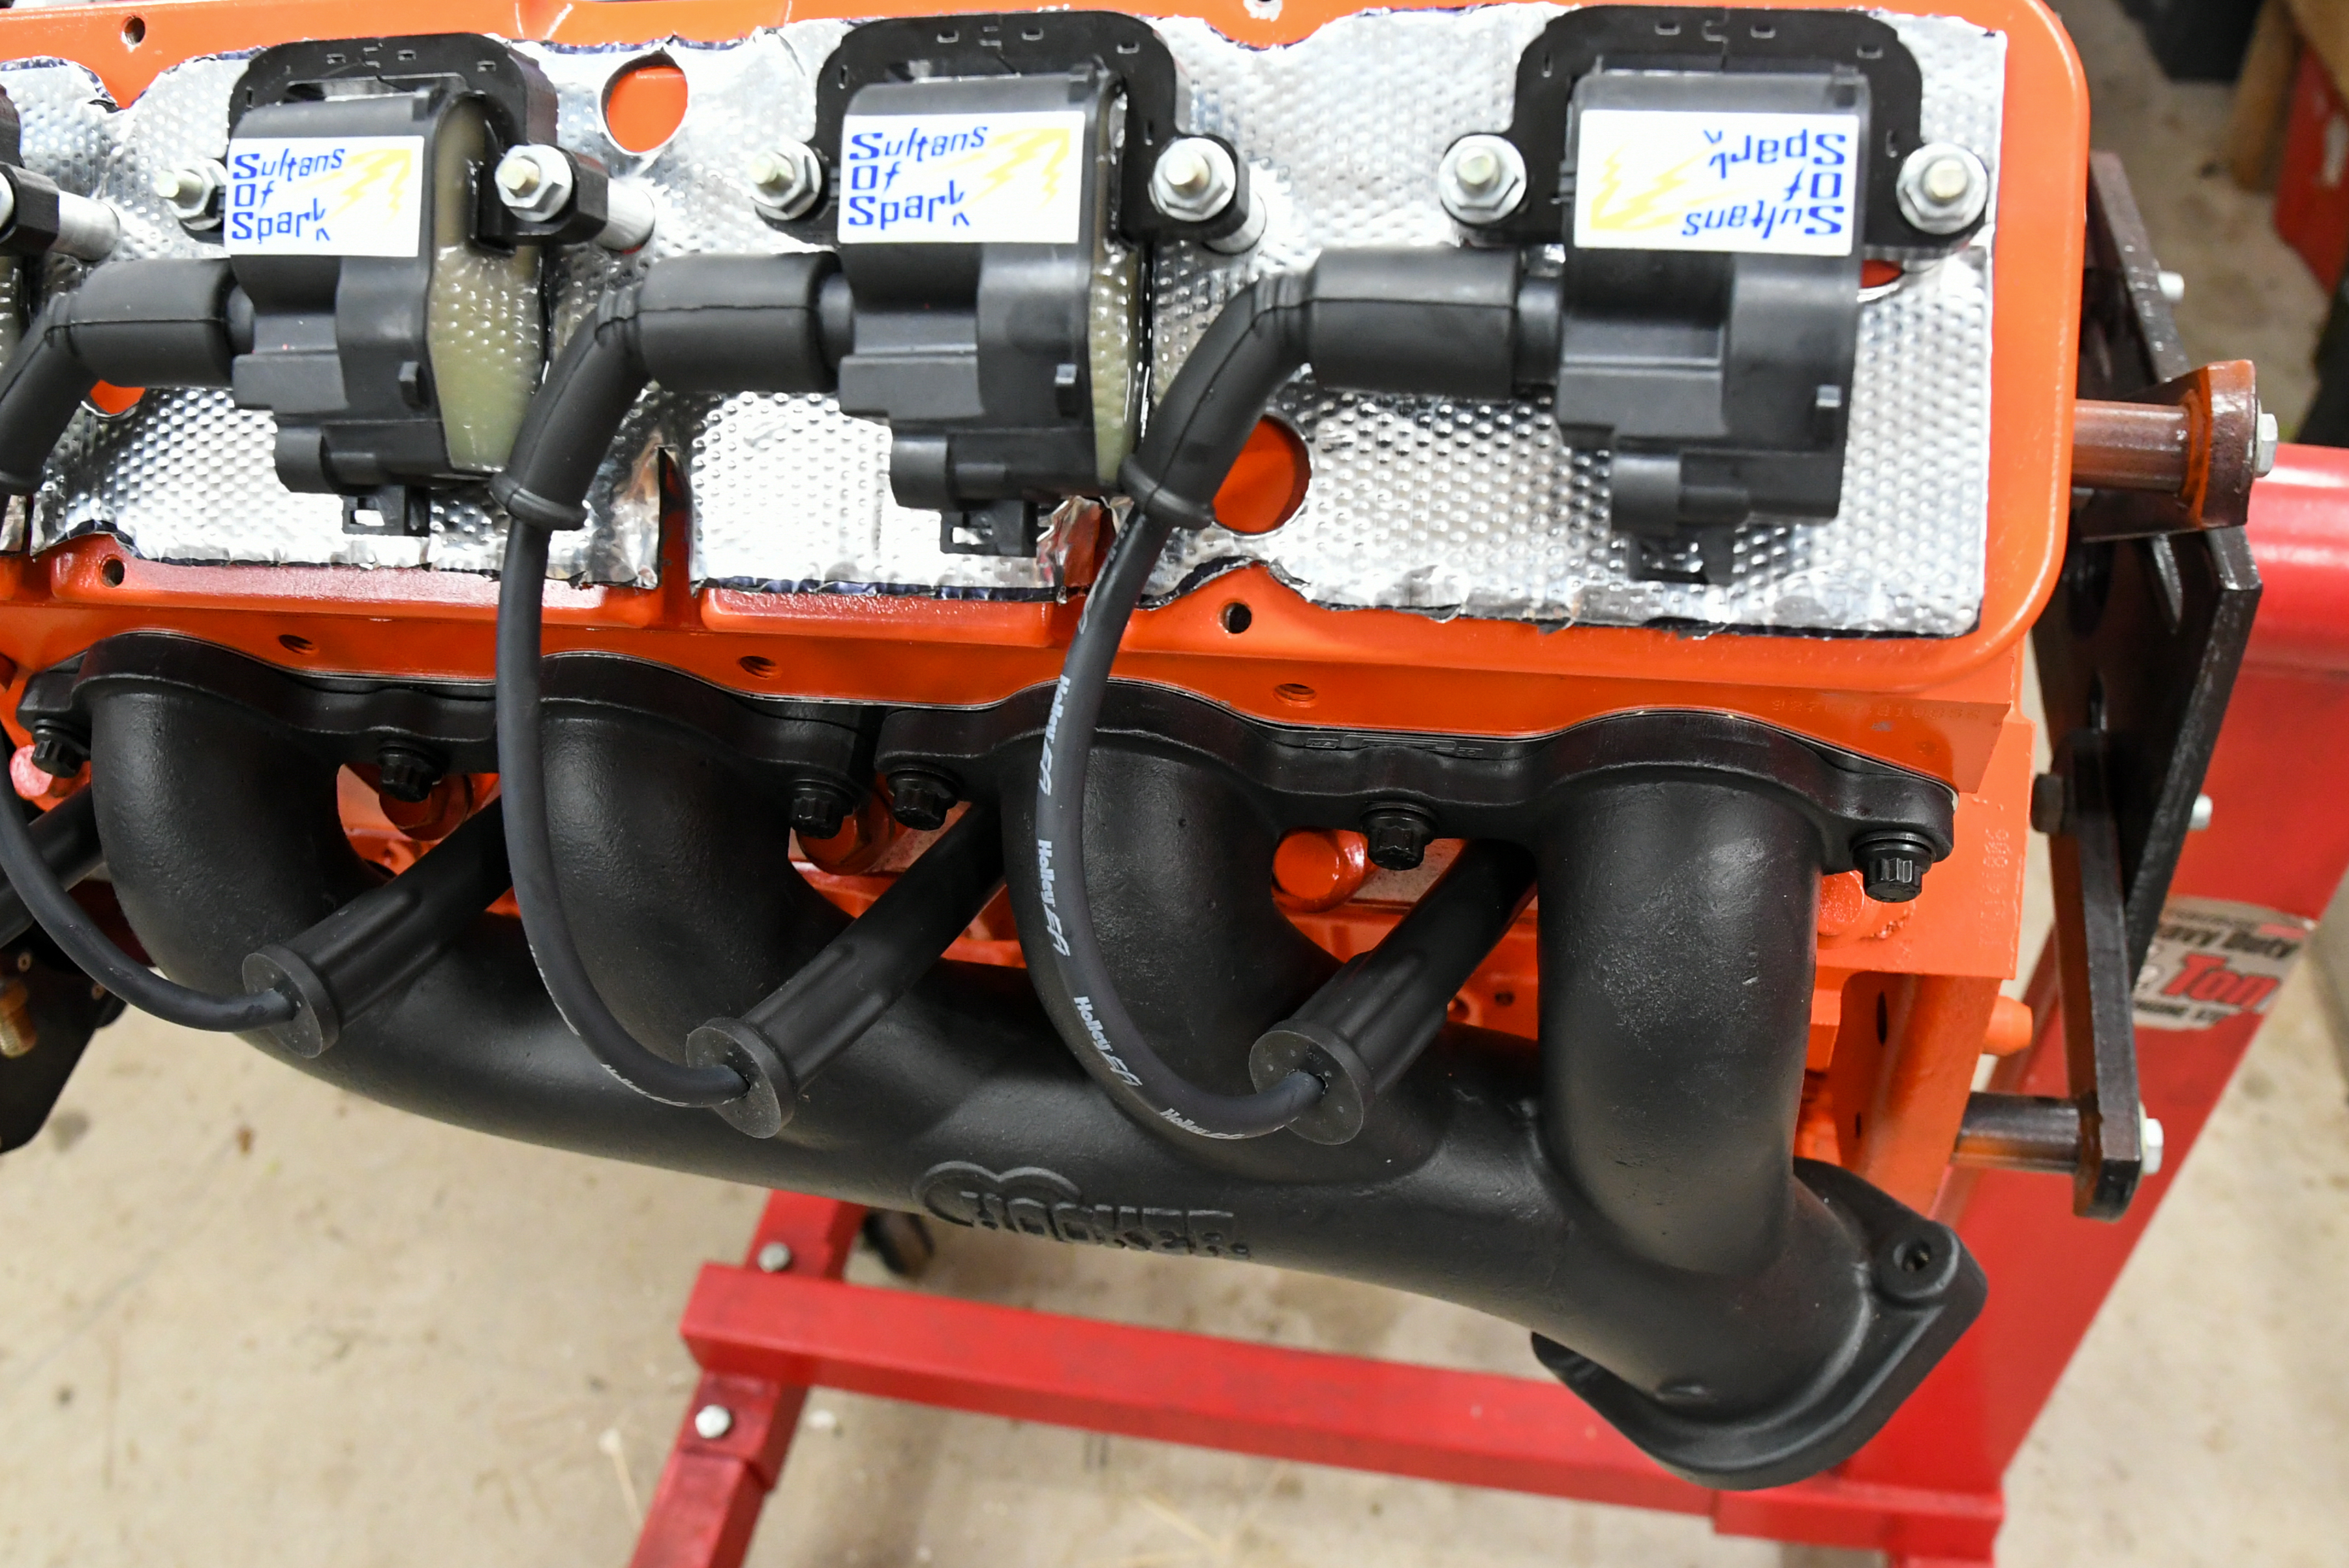
Since our Sultans of Spark (SOS) LS1 coils from Performance Distributors will mount under the valve covers, the factory LS wires will not work due to routing. So, we used a DIY kit from Holley (PN 561-110) to build a custom set. This process is straightforward, but as they say, measure twice and cut once; otherwise, you might have a problem on your hands. Since one end of the plug wires is already terminated, we snapped it on the spark plug and routed it to the proper coil. We then cut the wire according to the instructions and assembled the boot. The wires were then carefully measured and routed for a uniform look, making each a custom length. While we were able to build the wires with various tools on hand, we highly recommend using Accel’s spark plug wire crimping tool (PN 170040). After assembling all of the plug wires, we decided to address the steam vent.
Steam Vent Kits
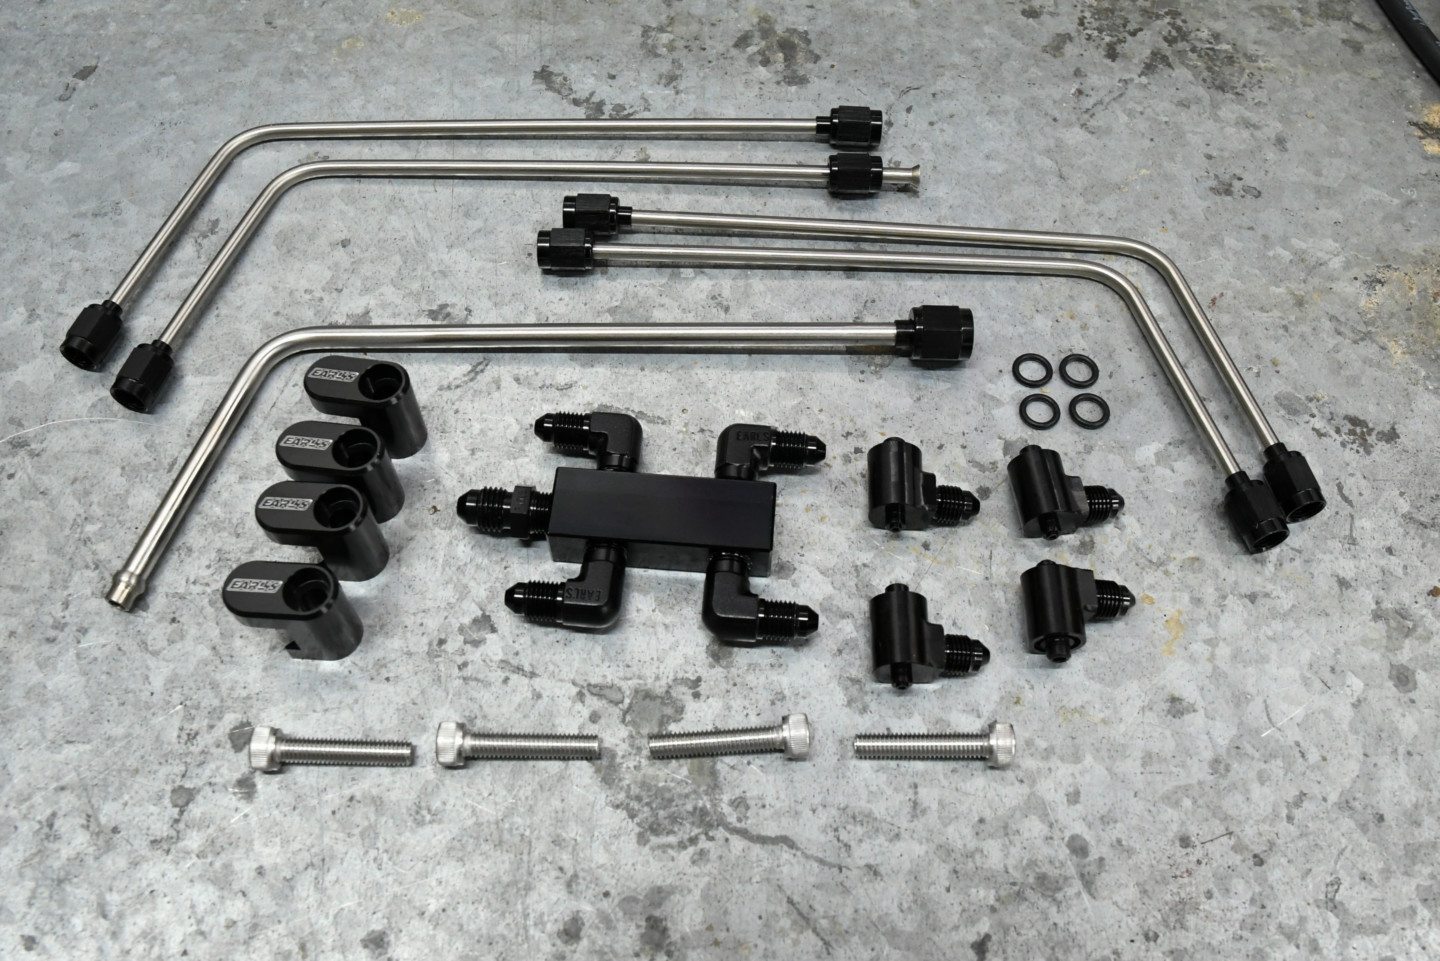
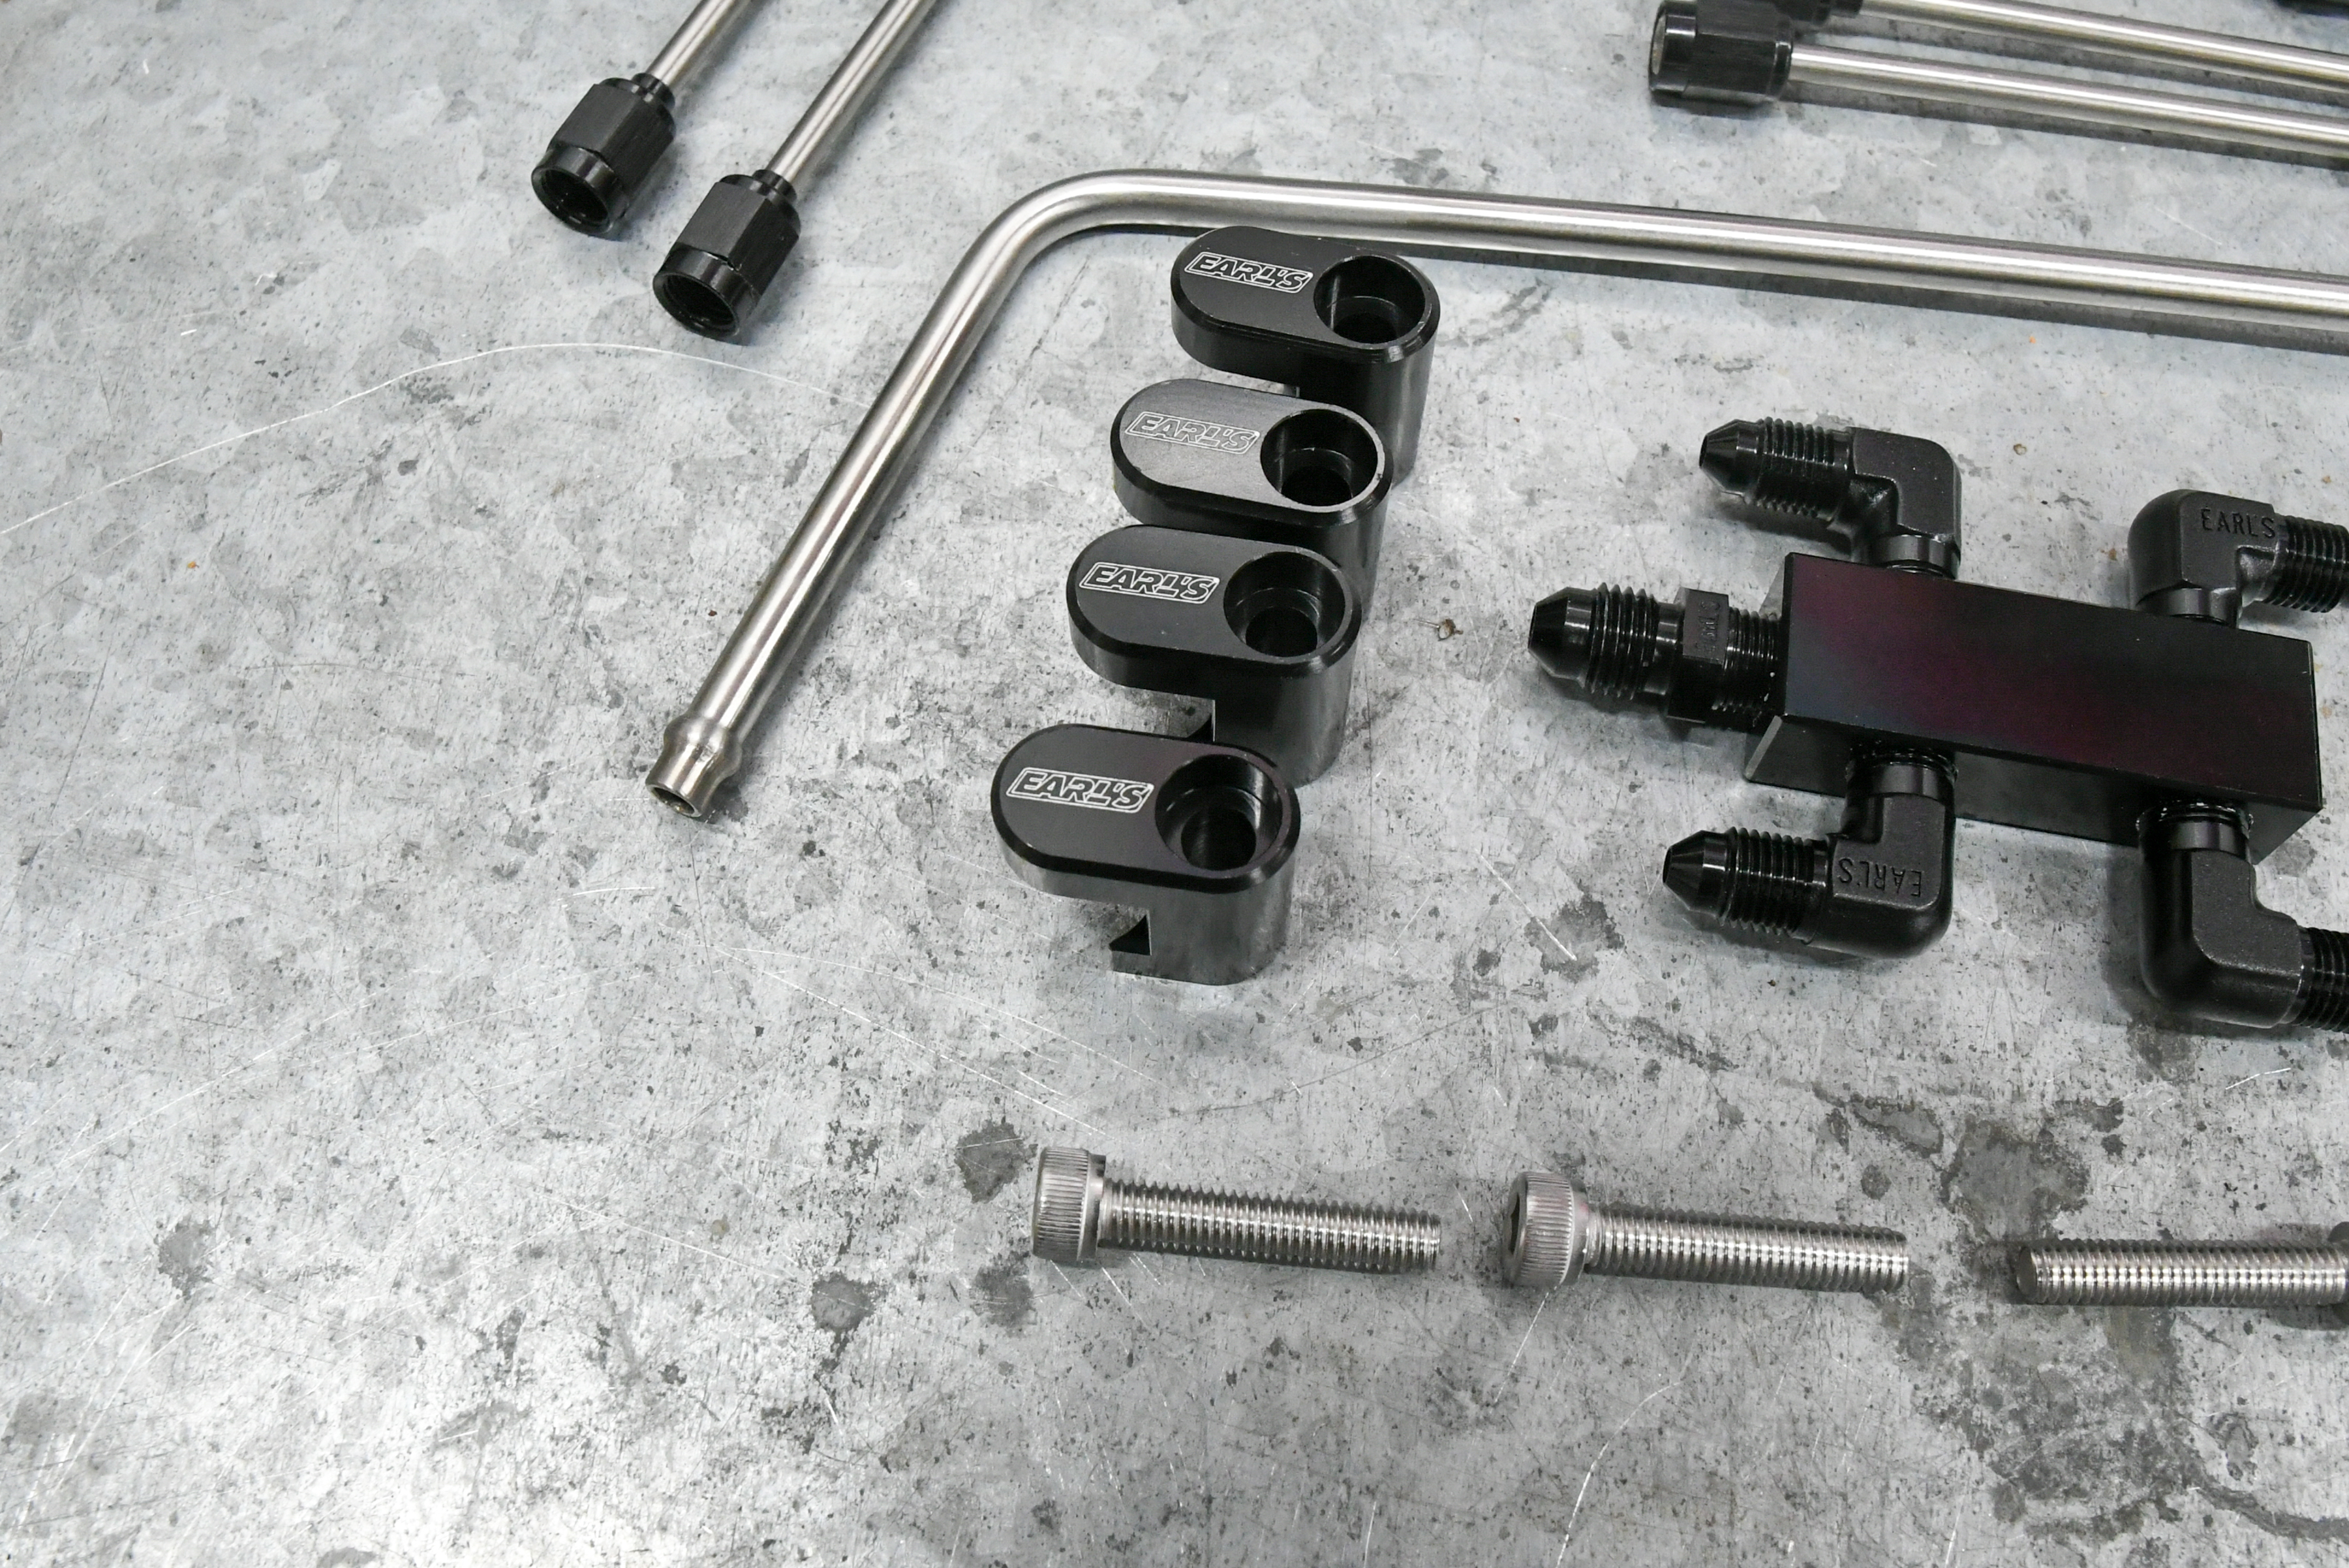
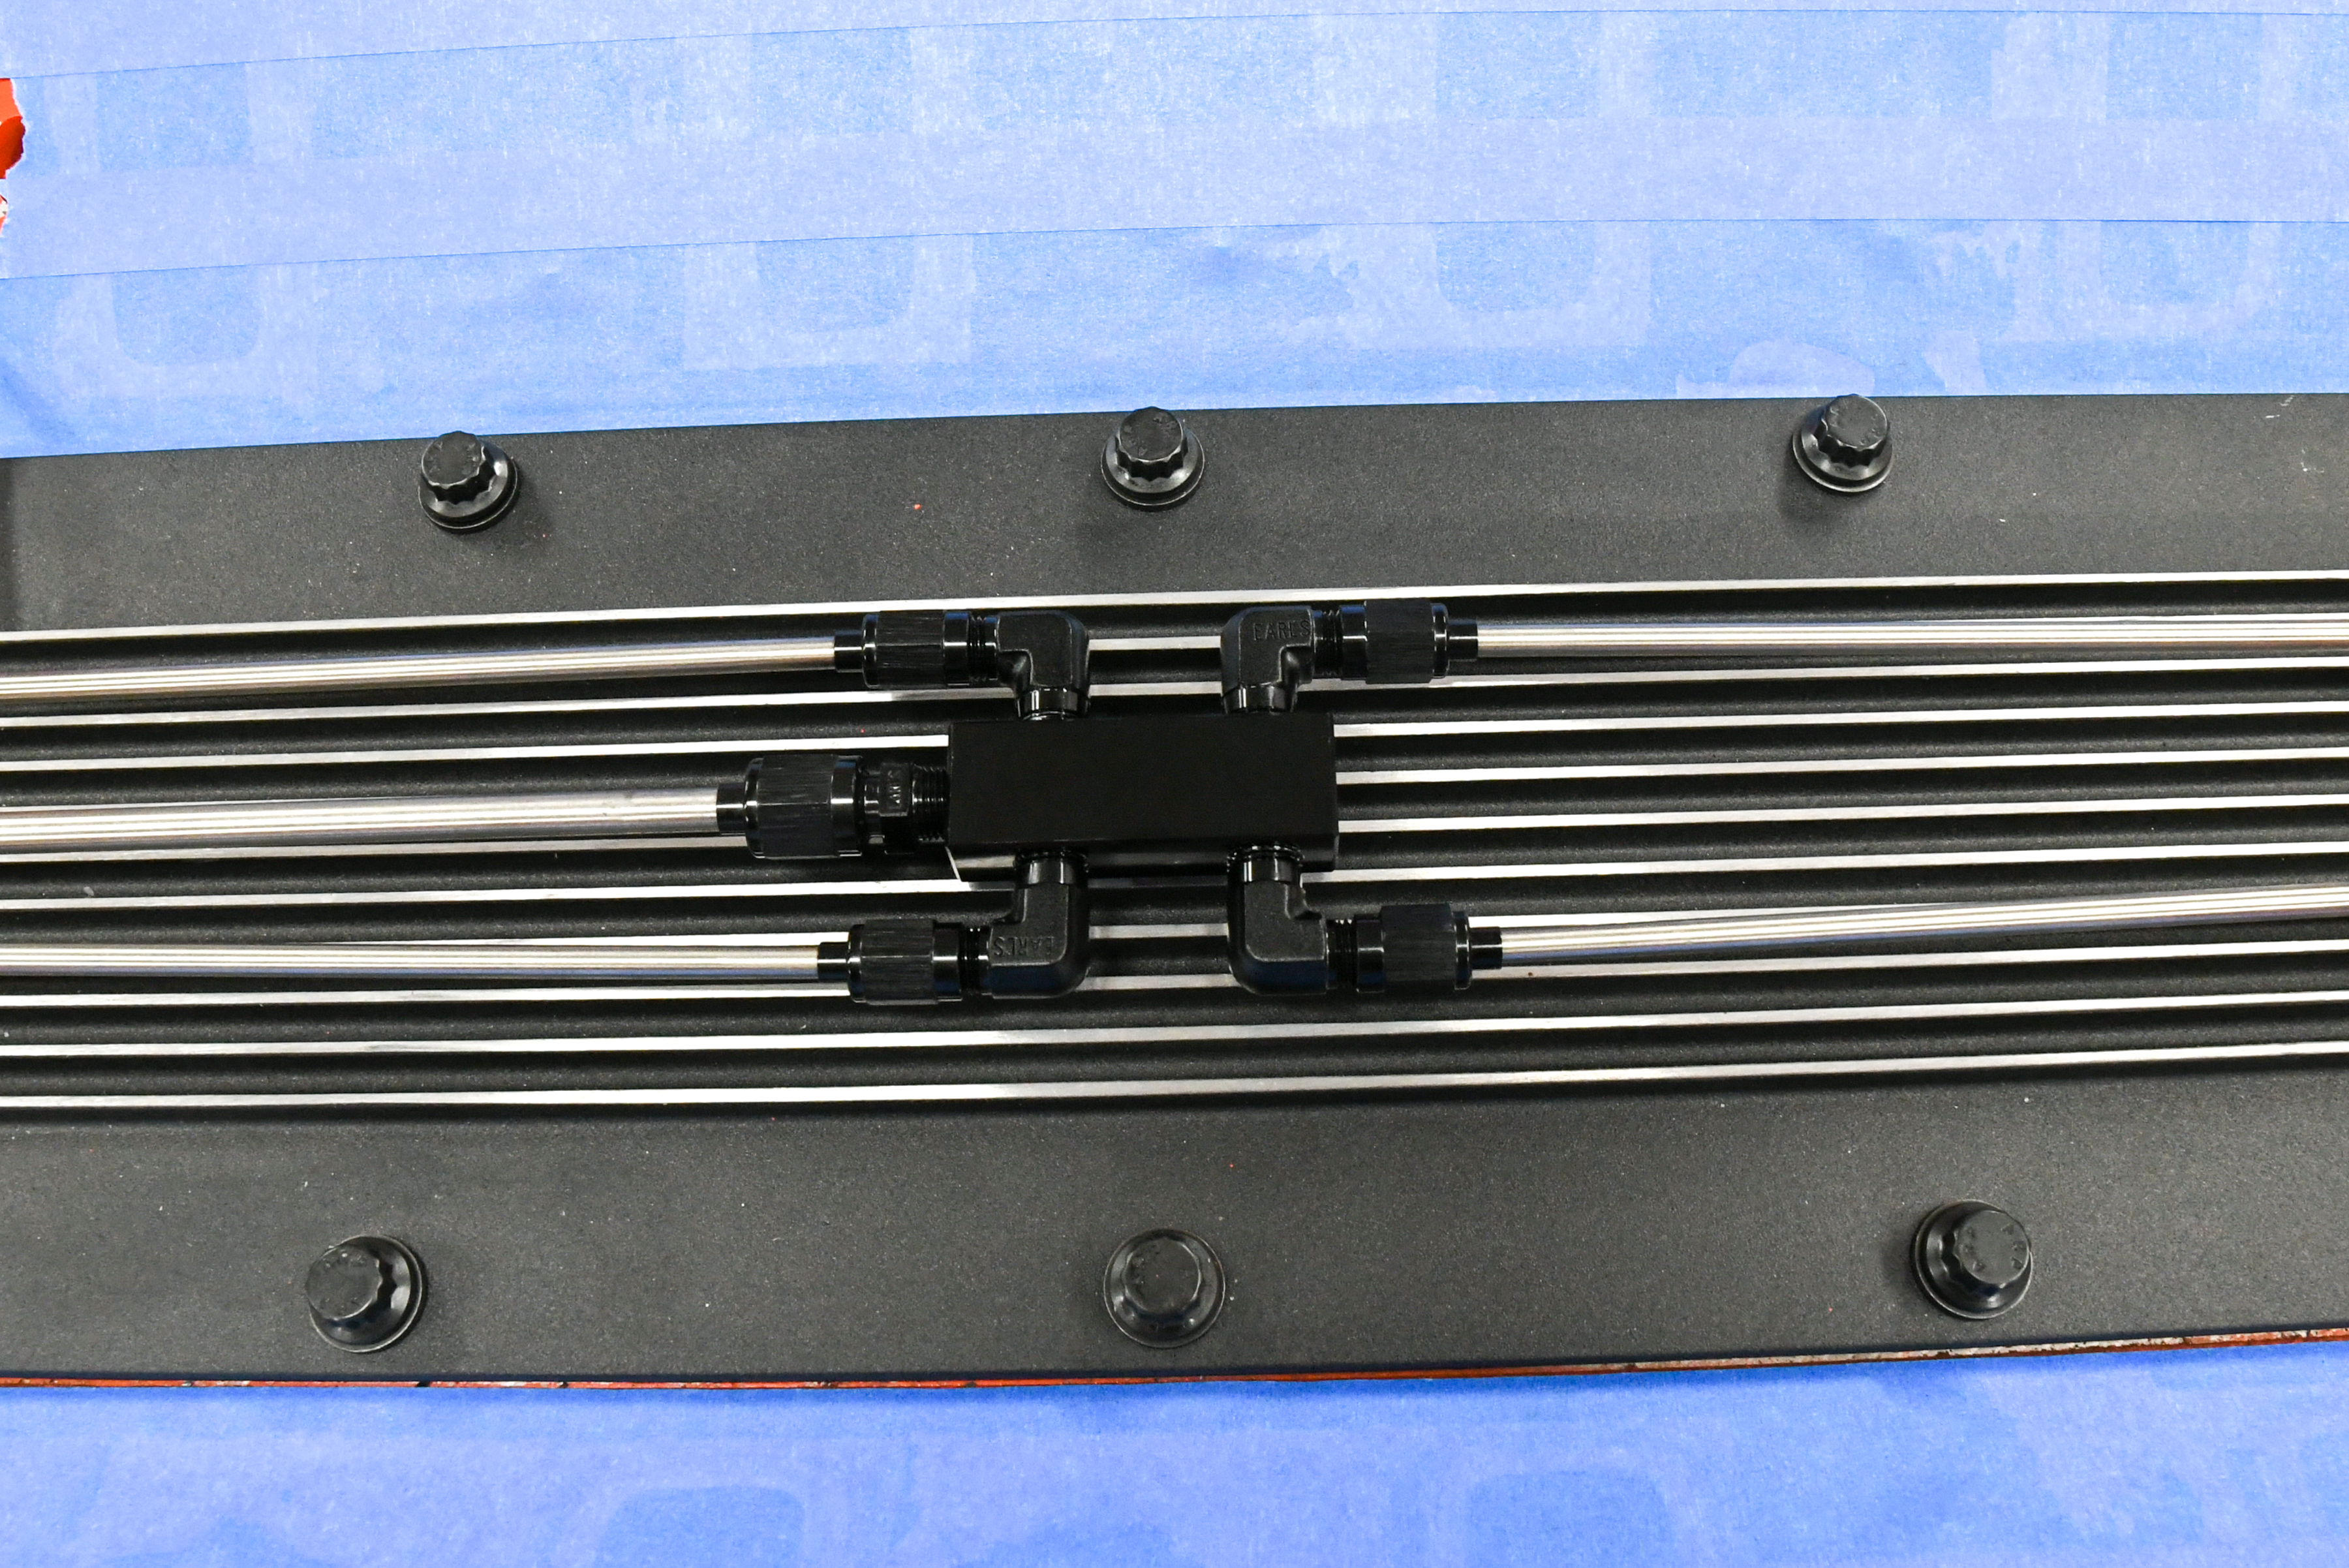
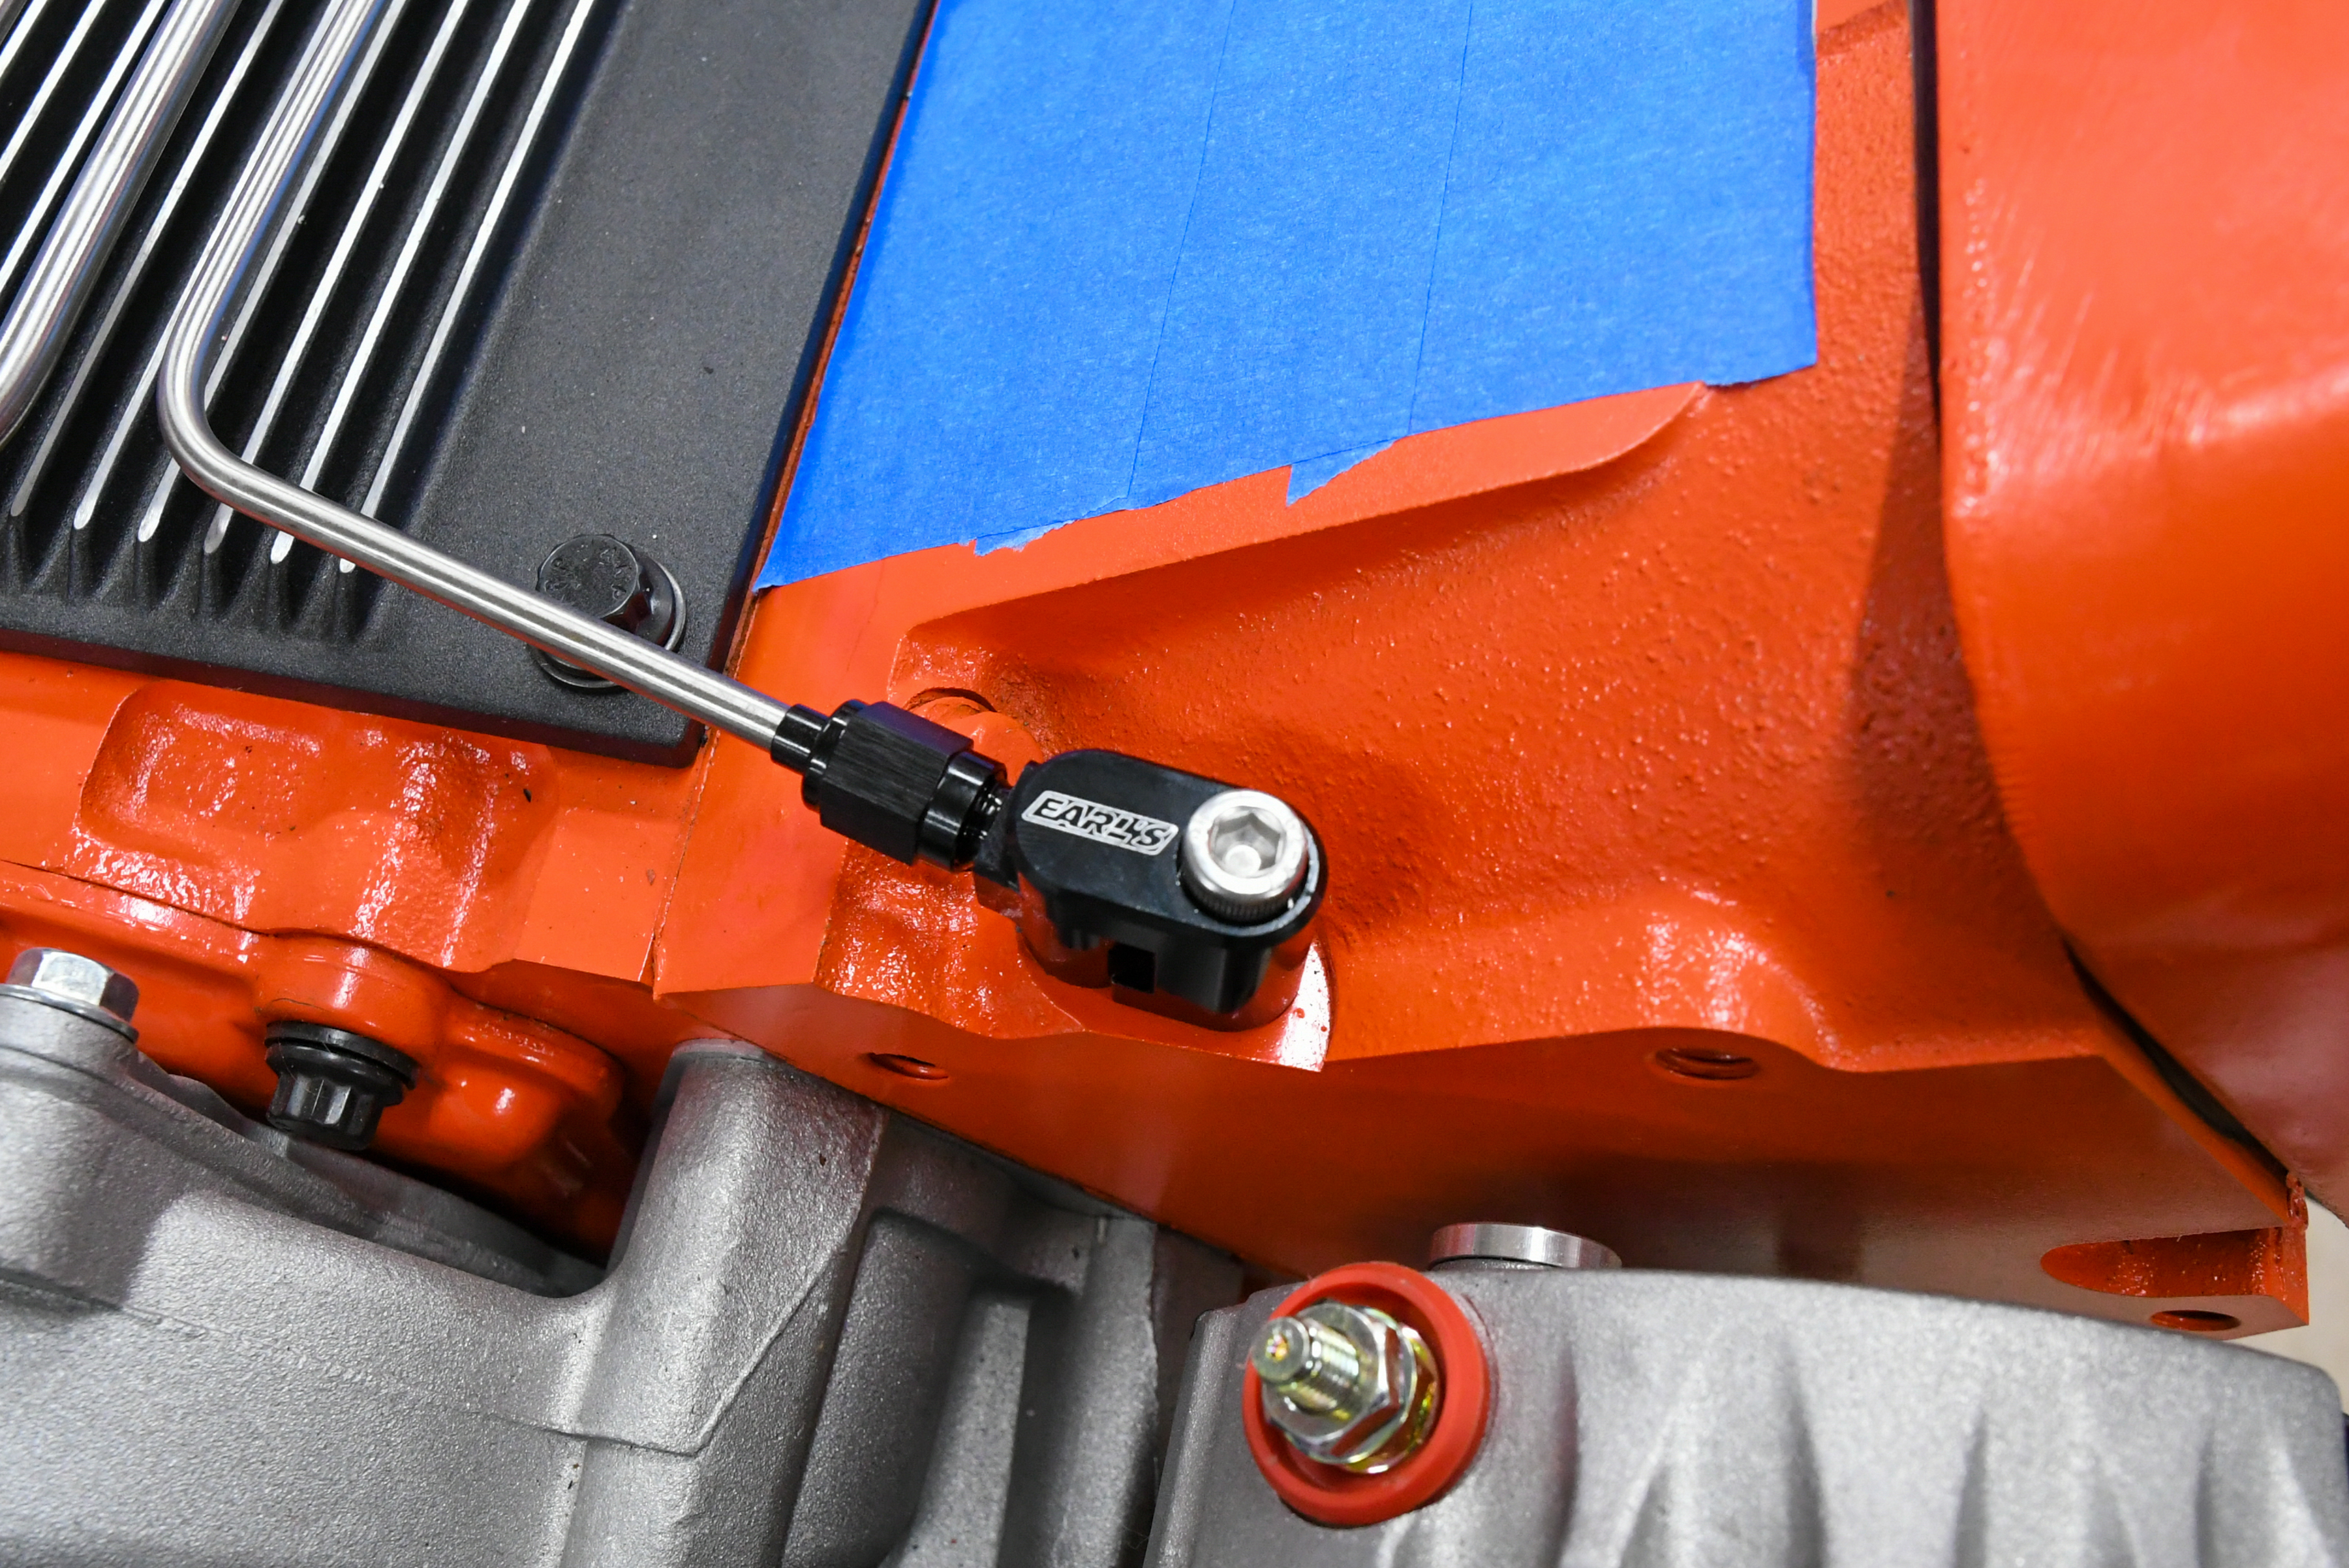
A steam vent line is needed for the LS engine to rid the heads of any air that might be trapped in the cooling system, causing cylinder head hot spots. You can run the factory unit, but it’s not the best-looking part. Earl’s offers a nice kit (PN LS0036ERL) that includes allen bolts, black anodized fitting, distribution block, o-rings, and pre-bent stainless steel tubing. All you need to do is remove the factory line and assemble the components. This is a quick and easy way to jazz up any LS engine.
Holley and Earl’s both offer a few steam vent options and we were curious about the differences. We contacted Evan Perkins, Digital Content Manager of Holley for clarification. Perkins said, “The Holley or Earl’s LS steam tube kit includes everything necessary to bolt them on, eliminating the need to hunt for factory parts. We also offer the kits in both hard line and flexible hose, which allows a lot more freedom for routing the steam tubes around aftermarket intake manifolds.”
Got Ya Covered
If you’re going to build a vintage LS engine, you will need small-block Chevy valve covers to pull it off. We used Holley’s finned small-block Chevrolet valve covers (PN 241-245), which are powdercoated black with silver fins, for our first round. The valve covers match the finned valley cover and give the engine a nostalgic hot rod feel.
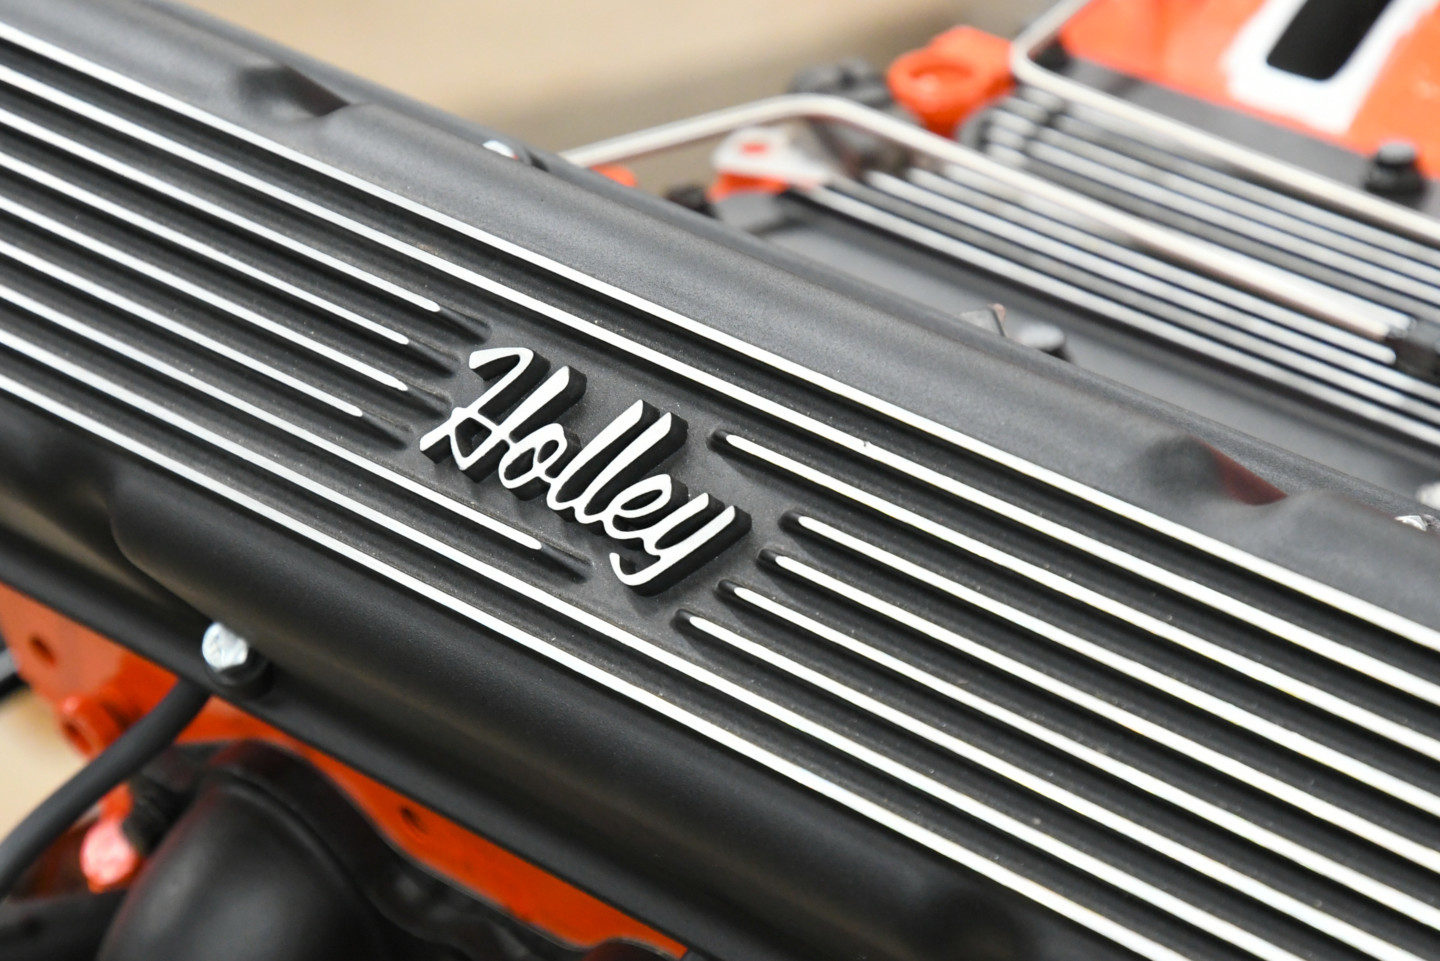
Holley’s small-block Chevrolet valve covers add a vintage hot rod look to our LS and they match the valley cover as well.
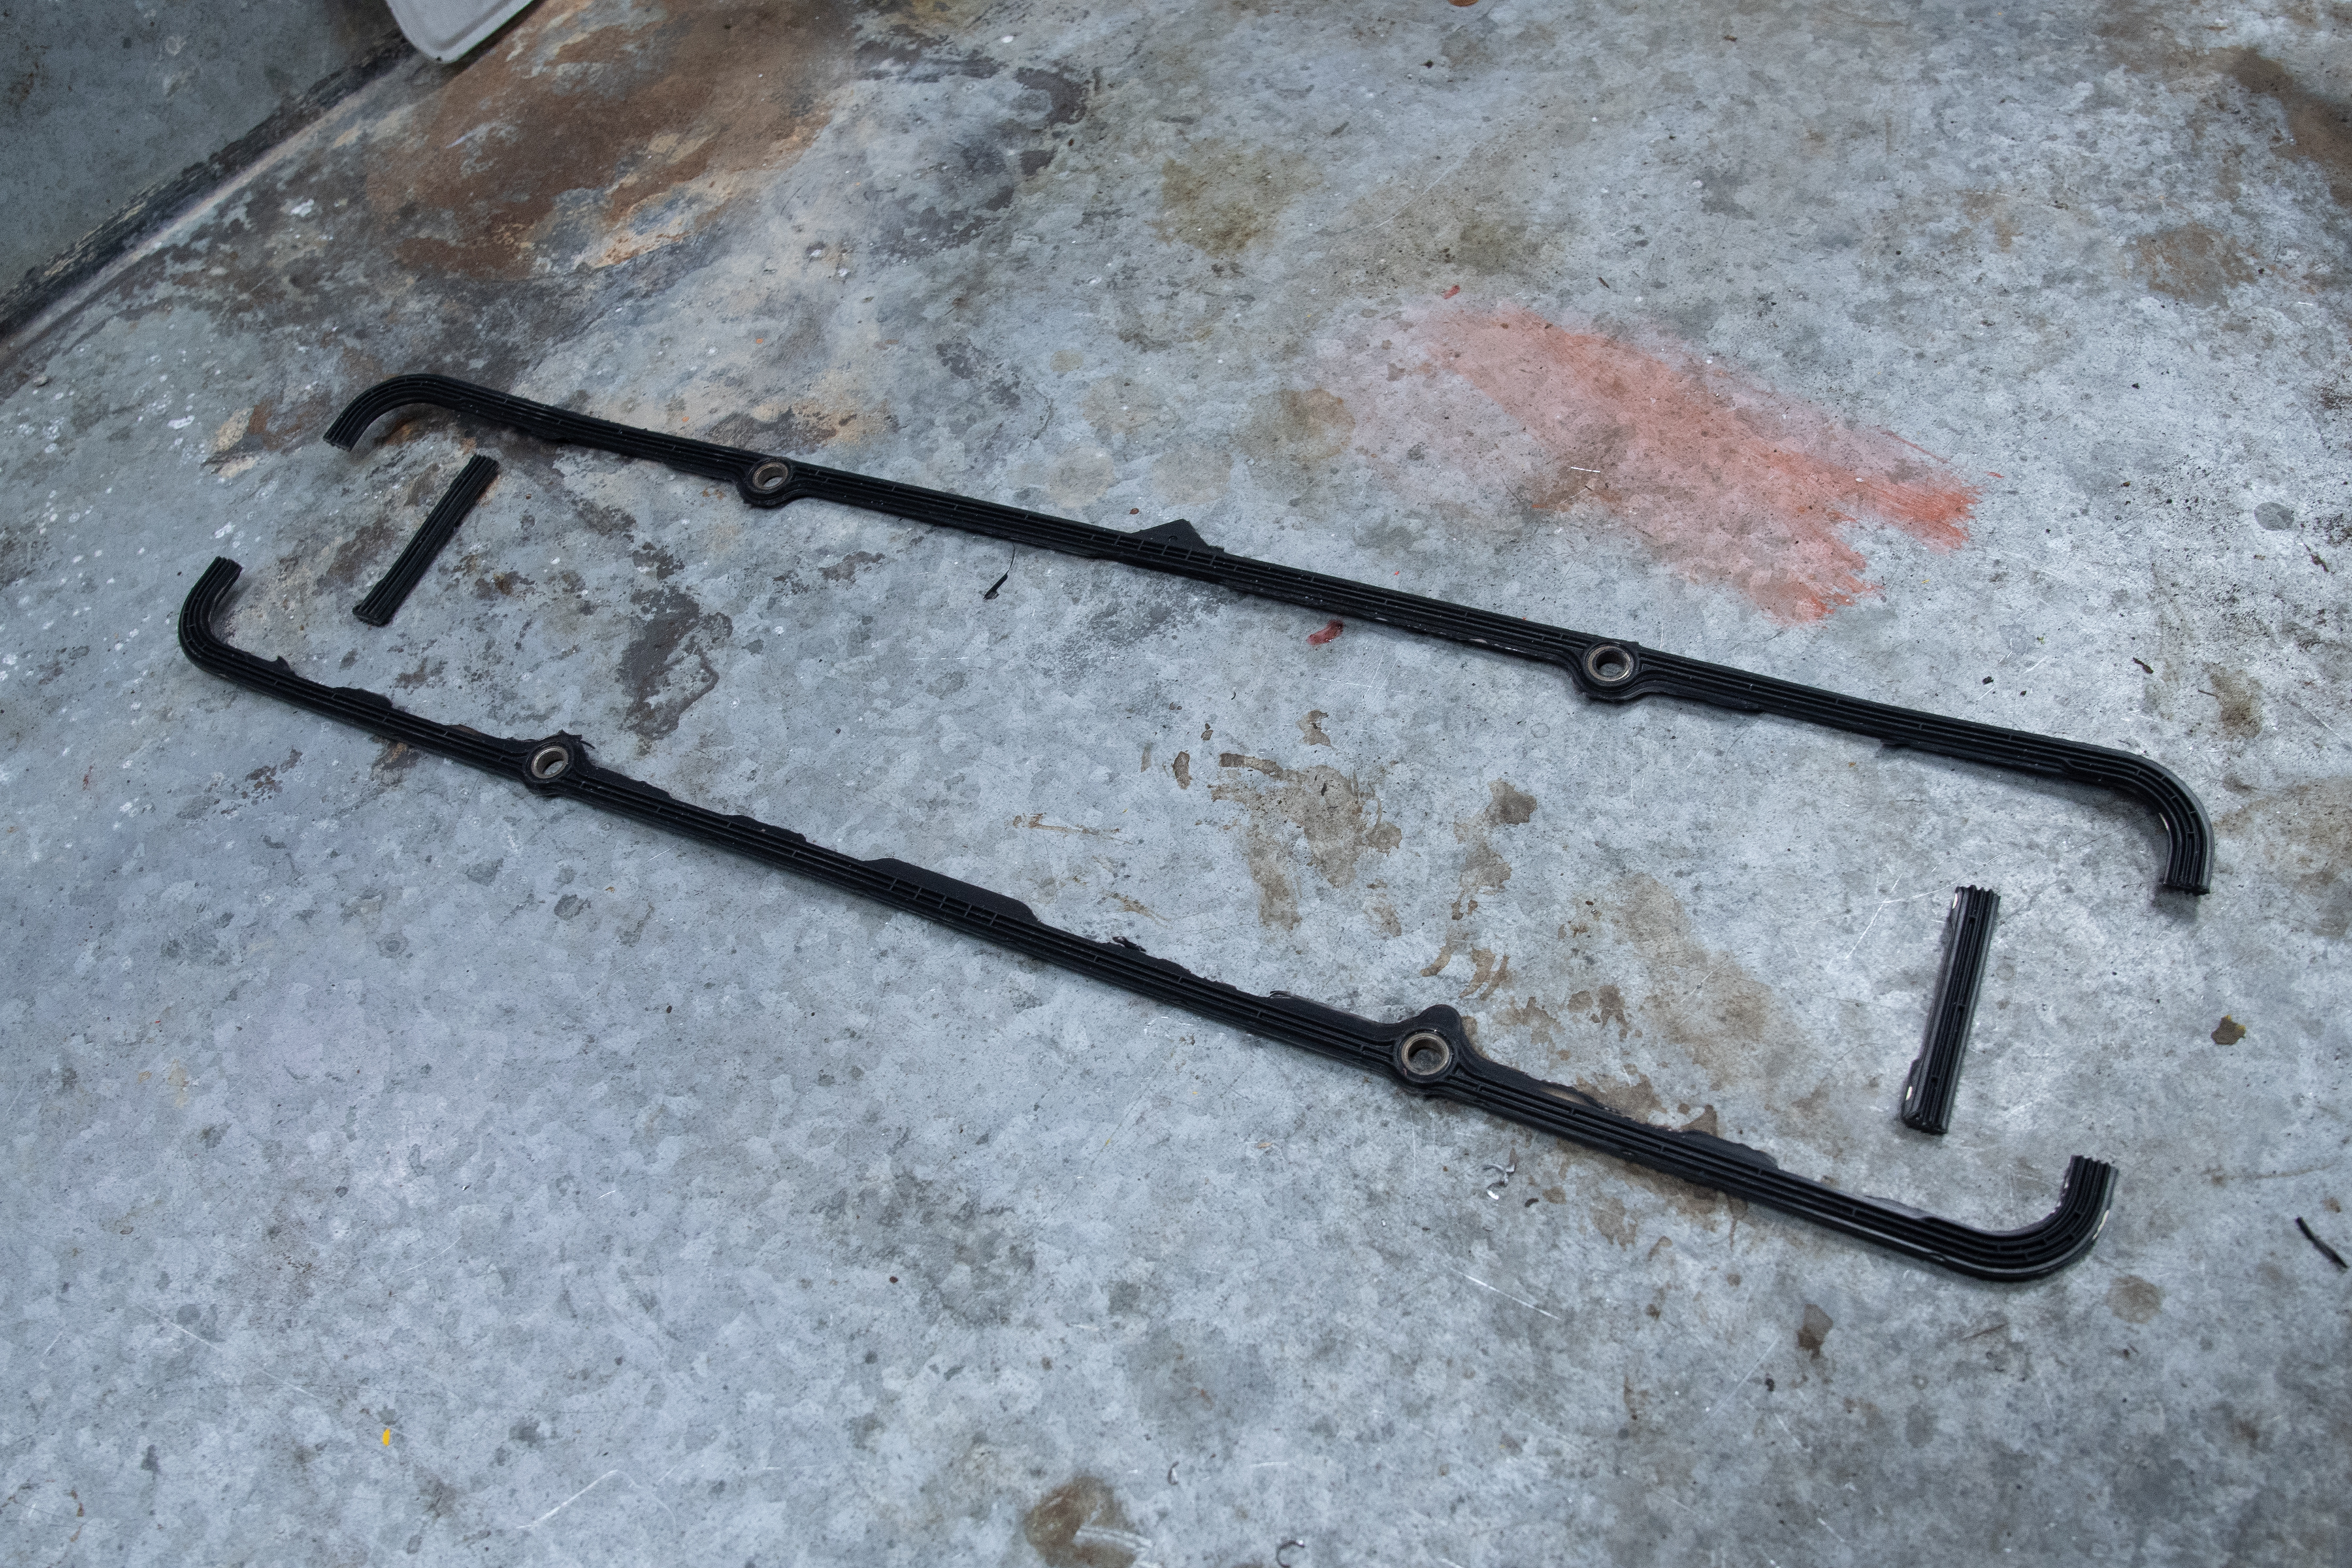
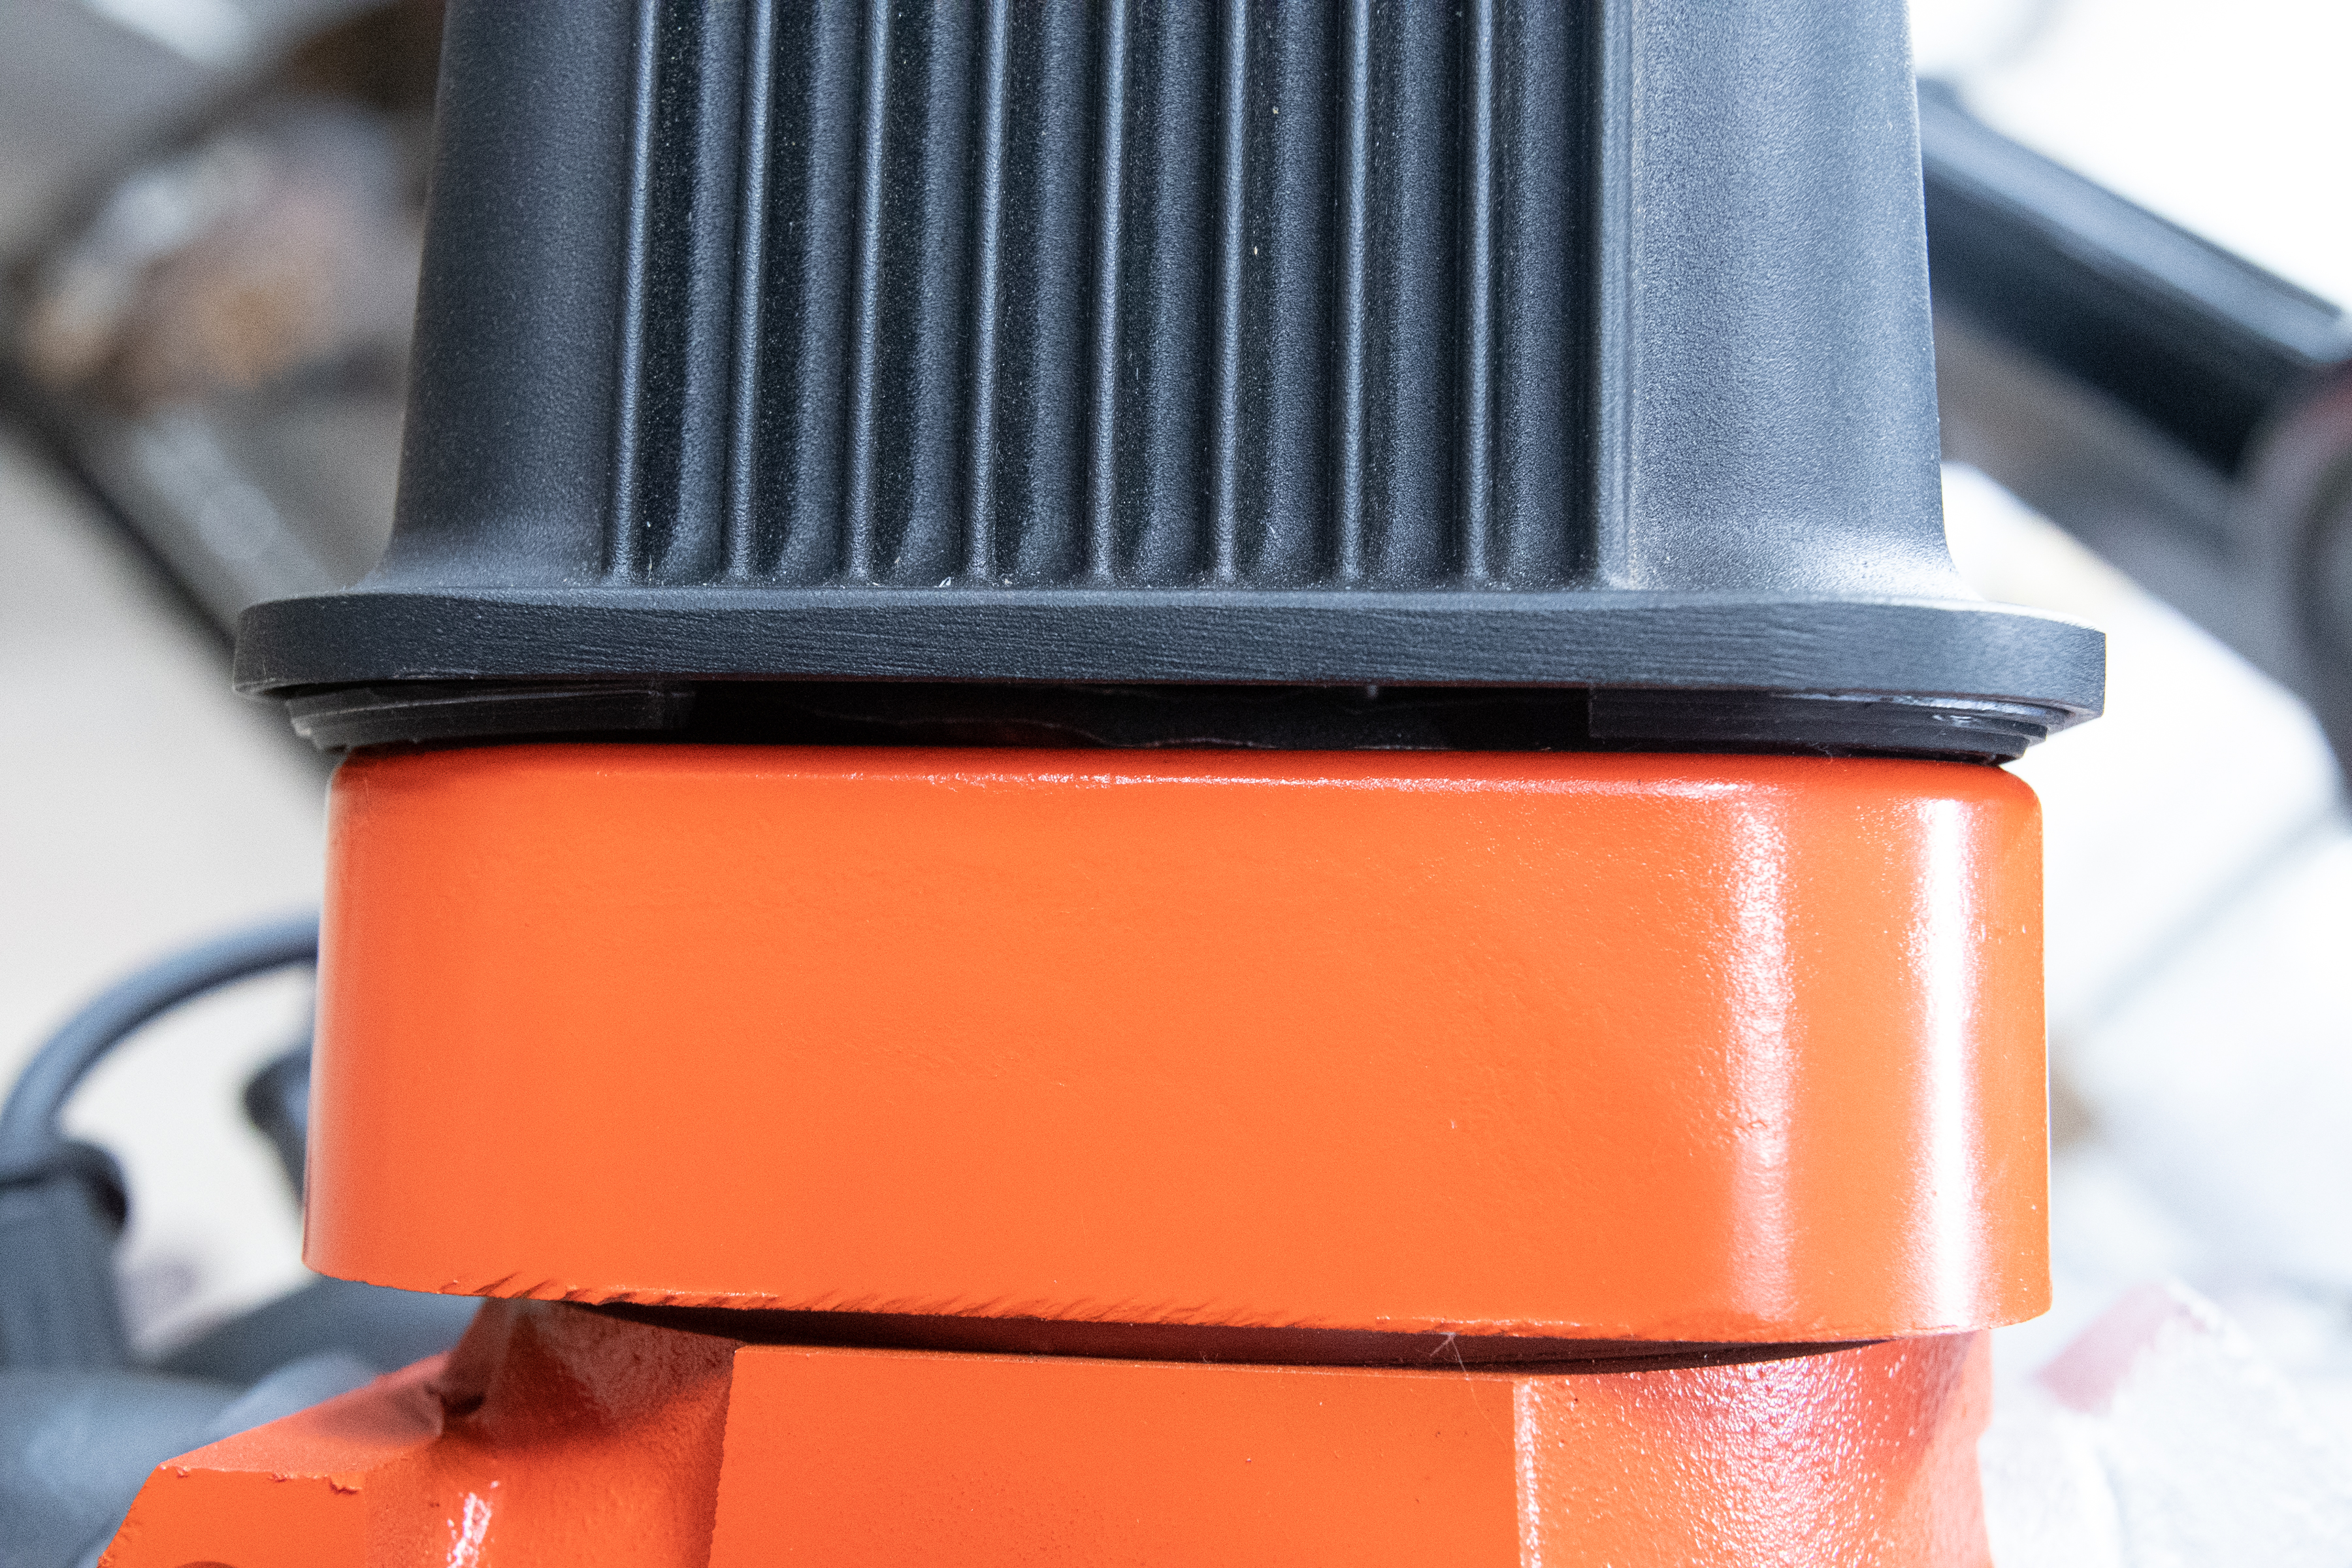
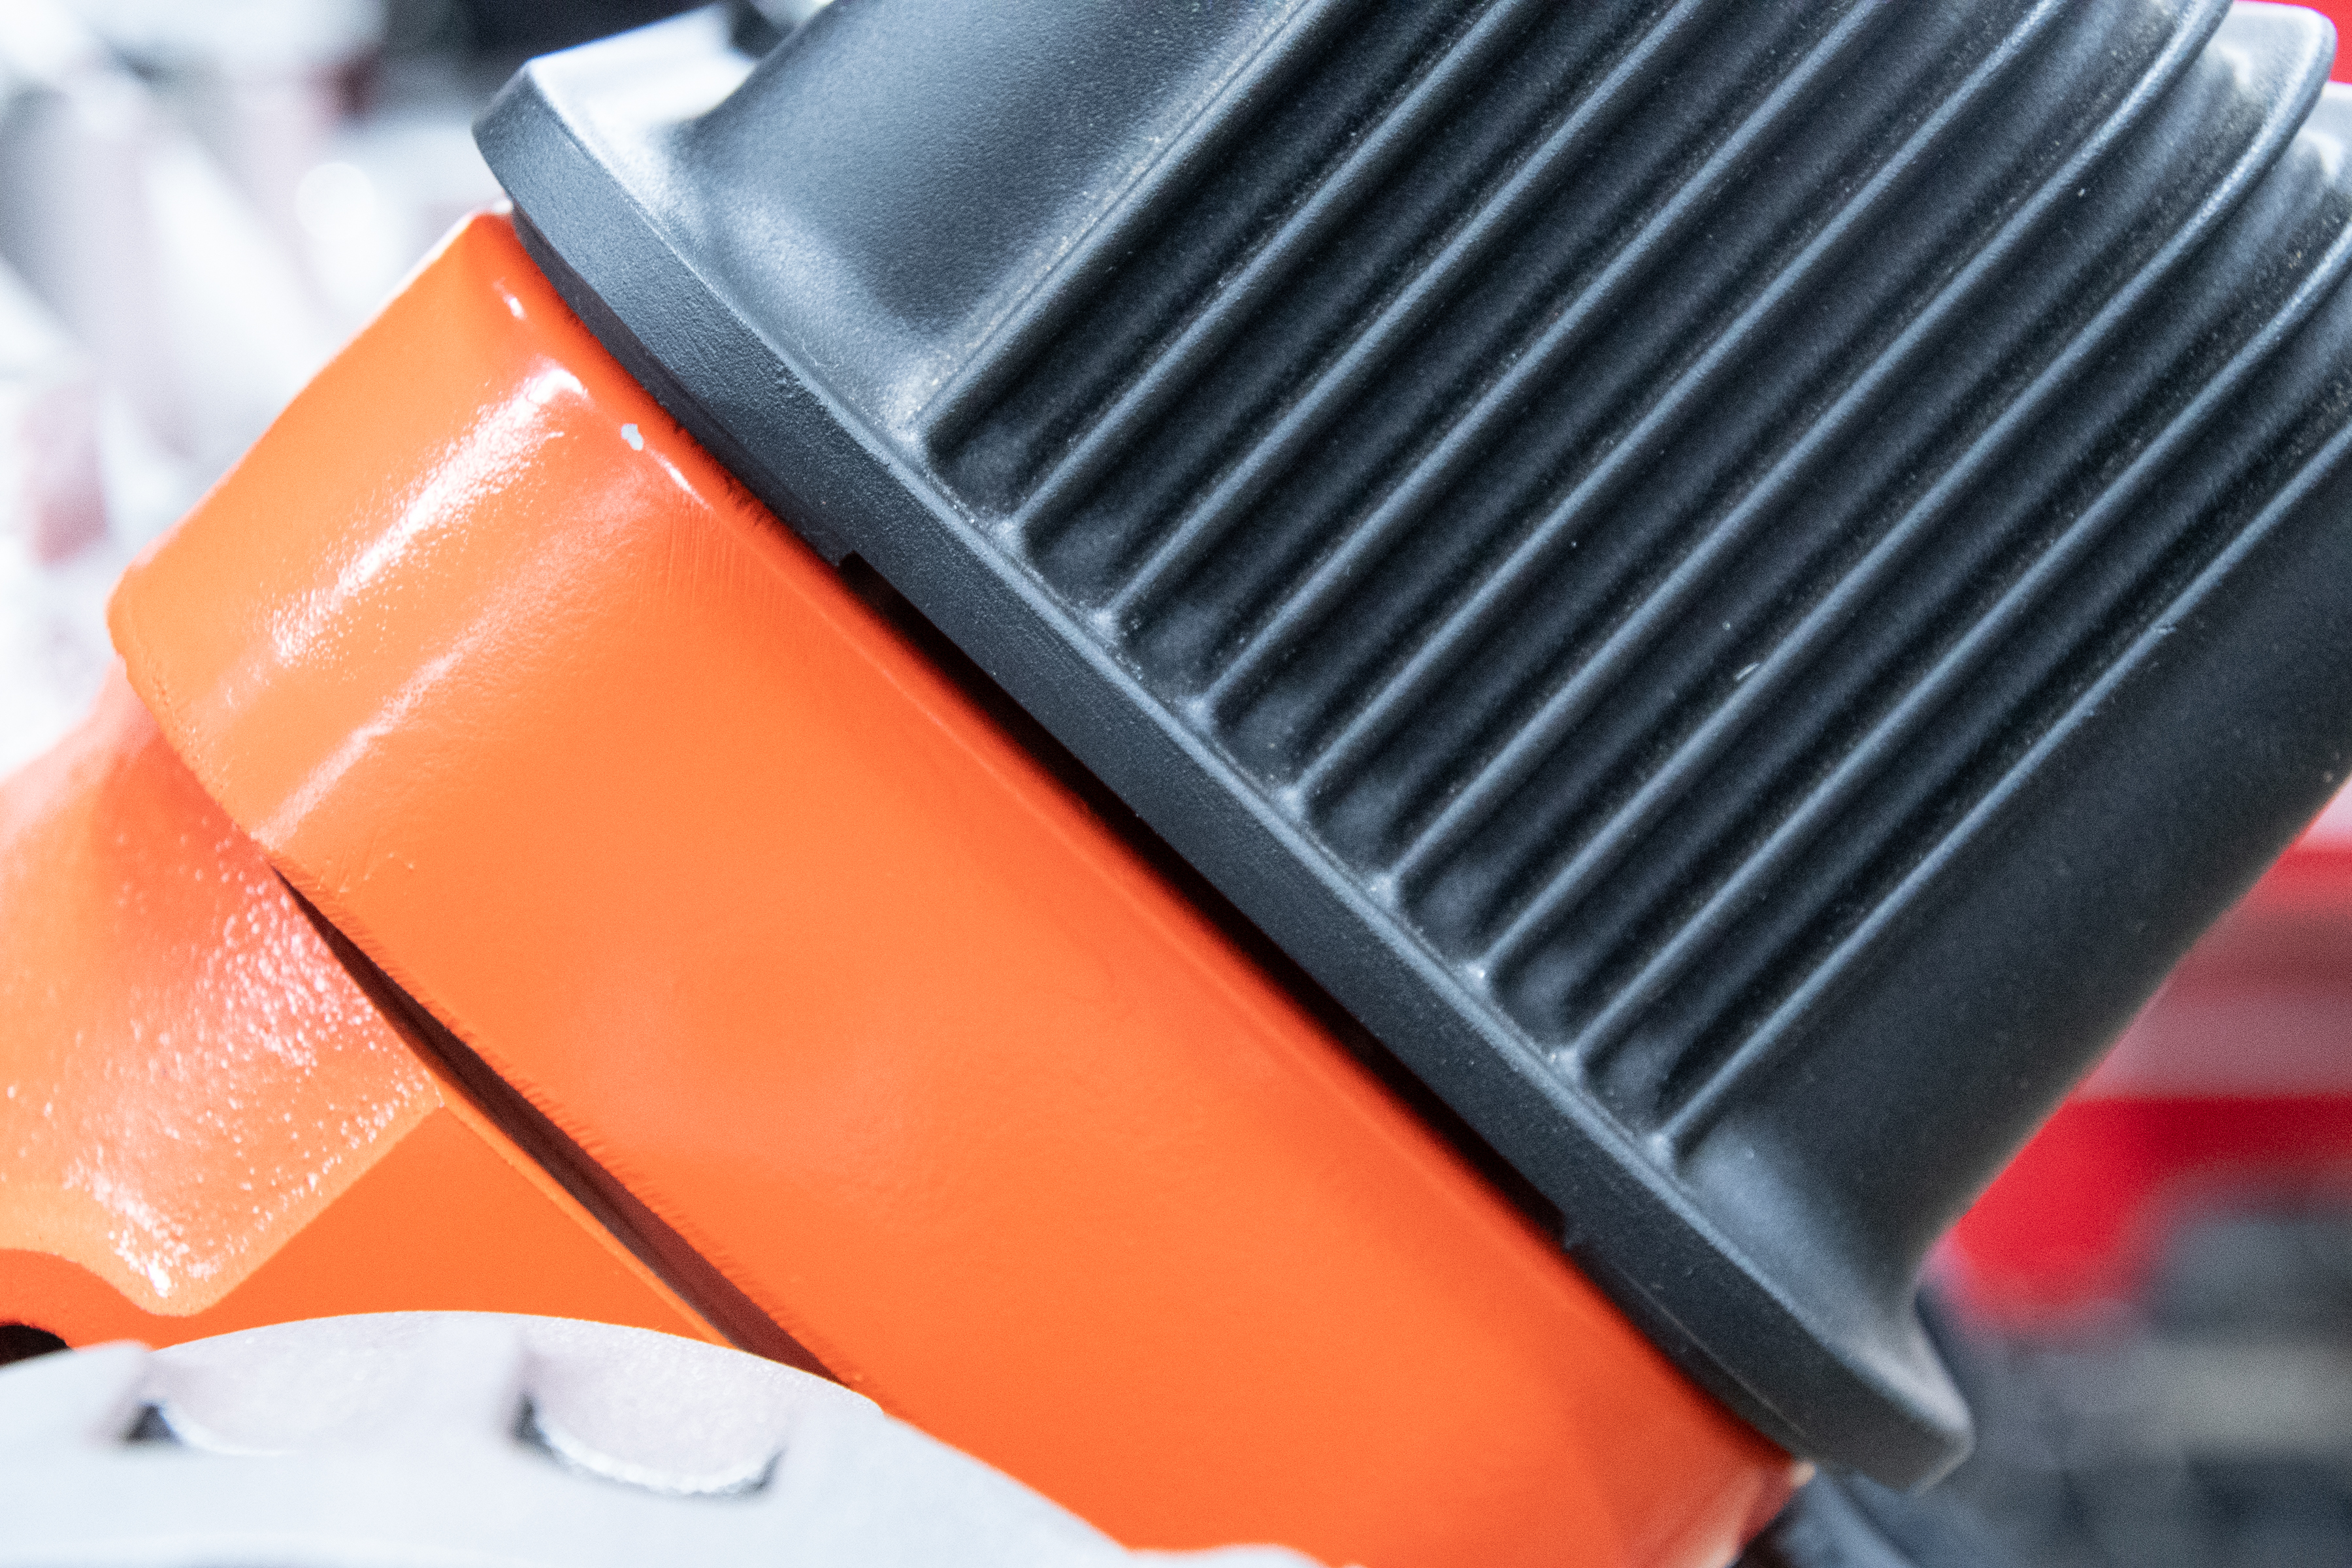
It’s important to note that heat and vibration can kill ignition coils. So even though we installed DEI’s heatshield under the coils, it’s essential to have some airflow to keep the coils from cooking under the valve covers. To achieve this, we cut two sections out of the valve cover gasket—one, 1-inch piece from the front and another from the rear. This modification will allow some air movement around the coils and won’t be noticeable once the engine is installed in our project.
We cut the valve cover gaskets to allow airflow for the coils since they sit under the Holley valve covers. With the covers mounted, you can't even tell we did anything. This modification will help get the heat out from under the Holley units.
With the valve cover gaskets sectioned, all we had to do was route the plug wires through the grooves on Holley’s valve cover adapters (PN 241-298), place the valve cover gaskets (PN 585G), and install the valve covers.
Intake Manifold Options
Holley offers several different intake manifolds for the LS. We wanted to use a four-barrel intake with a 4150 flange for this project, even though we had no desire to go carbureted. And while there’s nothing wrong with a carb on an LS engine, we prefer fuel injection. Even with our choices narrowed up a bit, you might be wondering what’s the best way to select the perfect intake manifold.
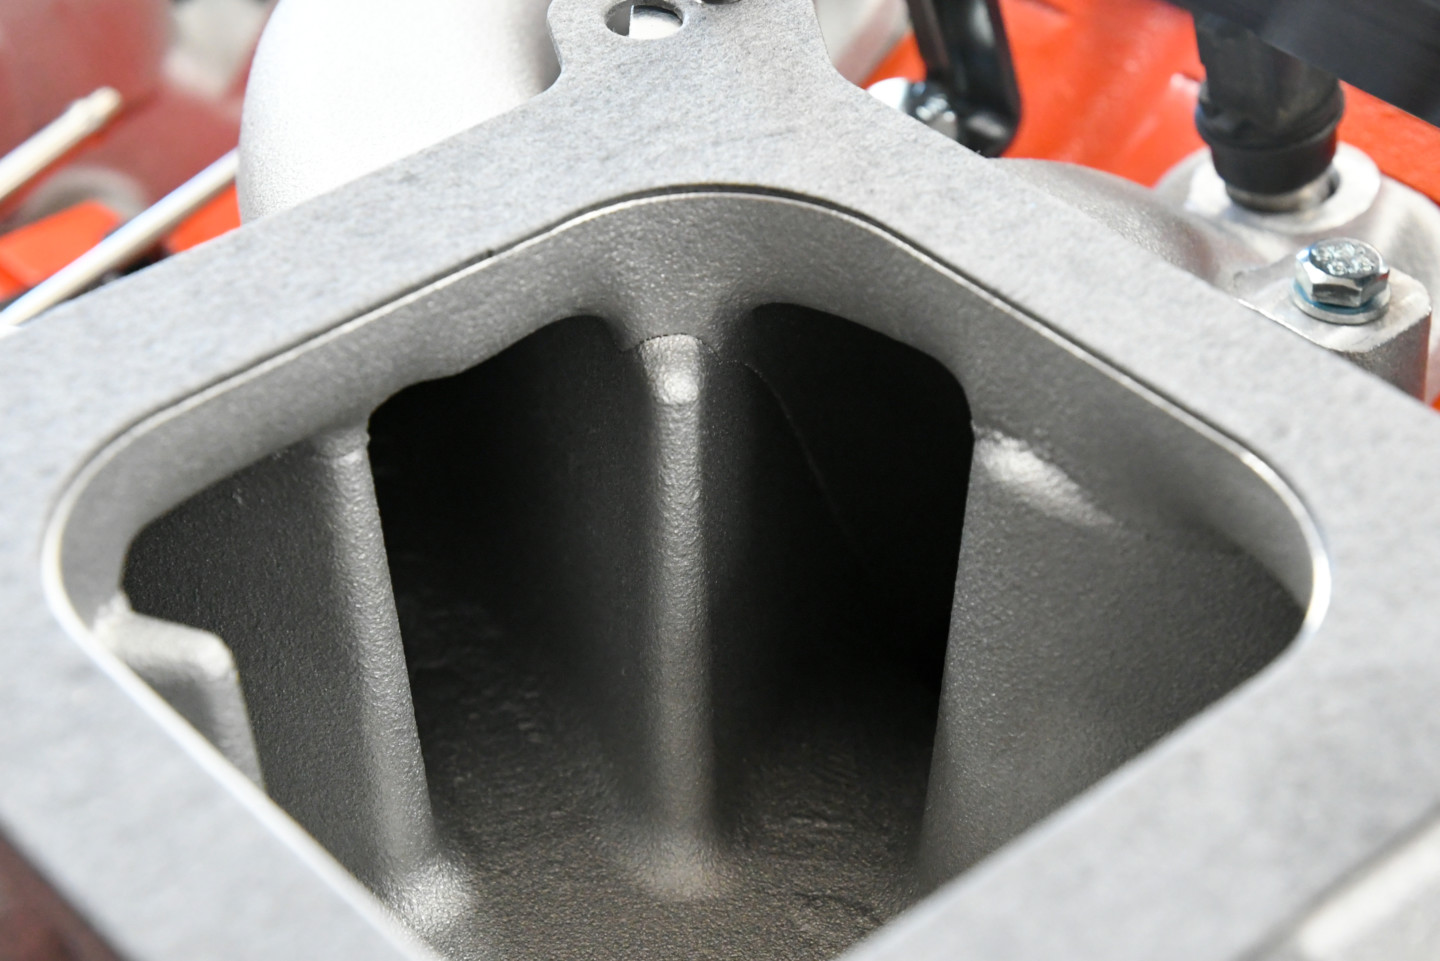
Single plane intakes shine at high RPM and are recommended on engines where a loss of bottom end performance is not an issue.
“The best method for intake manifold selection is always going to be evaluating the engine’s intended usage,” explained Perkins. “We typically publish an intended RPM range spec with all of our intakes that is a great metric for performance. A 7,000 rpm race engine is going to want a much different intake manifold than a cruiser that rarely sees more than 4,000 rpm.”
Another common question that we see a lot is which is better, an open plenum or a dual-plane? Perkins gave us some insight into these two very different designs.
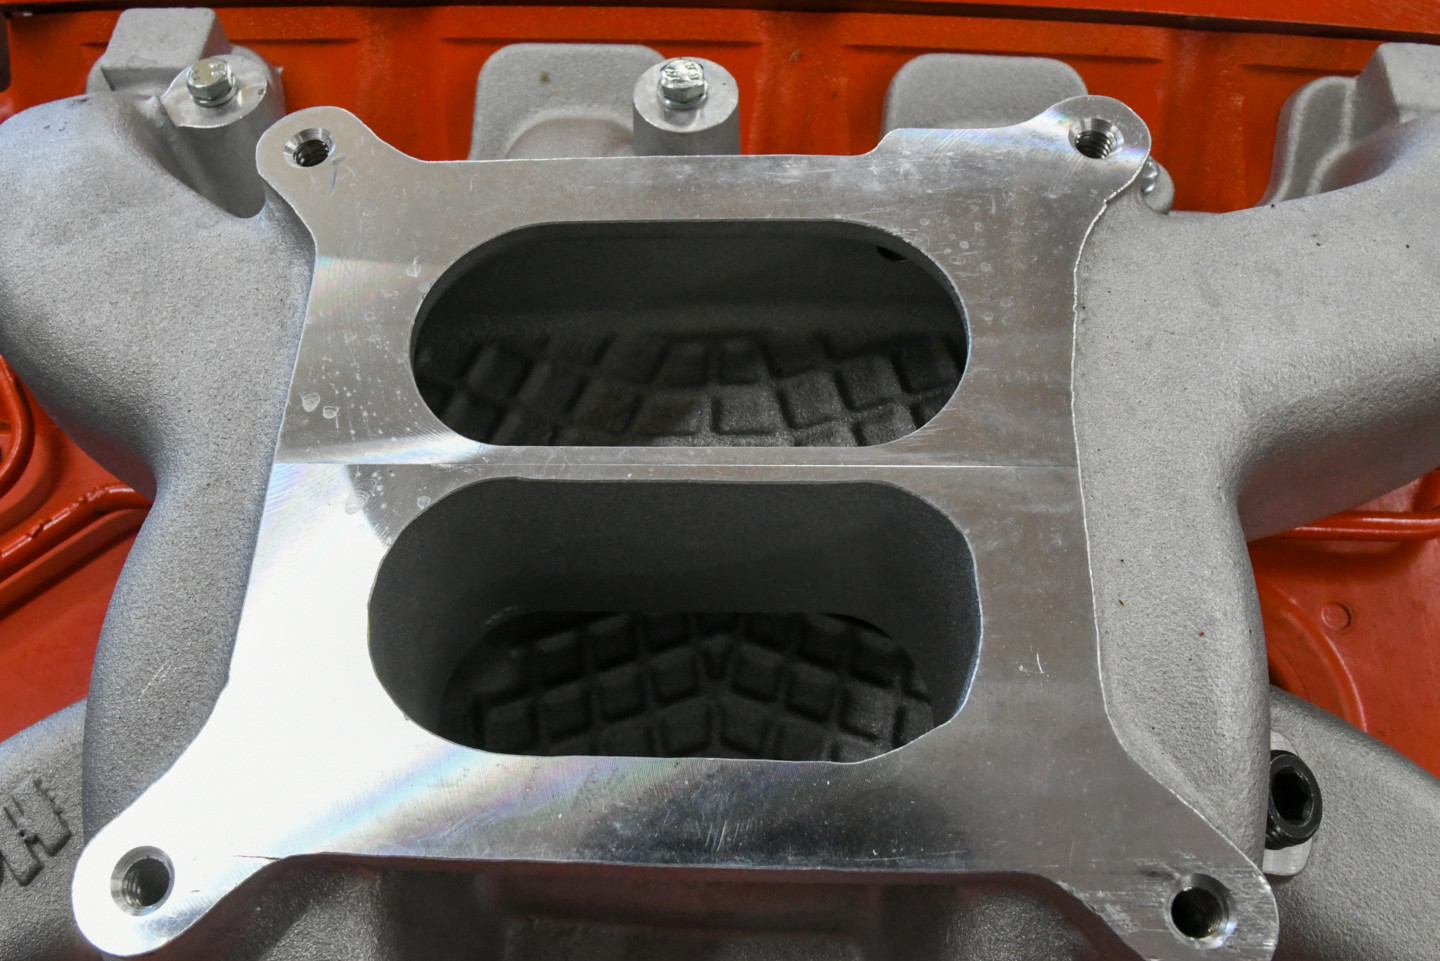
Dual plane manifolds make more power at a lower RPM than an open plenum design and are great for mild street cars.
“In a V8 dual-plane manifold, the cylinders are 180-degrees apart in the firing order, and are linked by a common plenum, two plenums in total. Whereas in a single plane intake, all eight cylinders share one common plenum. Dual plane manifolds tend to provide a much stronger signal to the carburetor and reduce intake reversion at idle and low RPM by separating cylinders that fire one right after another into separate plenums. They generally make more low-end torque and have better street manners on carbureted engines. Single plane intakes shine at high RPM and are a better fit in hot street cars and high-RPM race cars where a loss of bottom end performance is not an issue.”

Here are three different intake manifolds from Holley with a 4150 flange. The intake on the left is an open plenum design for carb or TBI use. The middle intake is a dual-plane design for carburetors and TBI as well. The manifold on the right is designed for multi-port fuel injection. You can see that the injection bungs are milled out, and it has provisions to mount fuel rails.
Carburetor vs. EFI
A lot of people will balk at the idea of a carbureted LS engine, but this type of mechanical fueling works well on an LS engine. And while EFI is all the rage, each has its advantages and disadvantages. One advantage to carbs other than their simplicity is they tend to make better horsepower numbers on the dyno than an EFI system. But why?
“Introducing fuel further away from the port allows it to cool the intake charge through latent heat of vaporization, Perkins explains.”
Carburetors have some disadvantages, as well, and if you’ve tried to start an old car on a cold day, you know where we’re going. Let’s say that you’re lucky enough to get a carbureted engine to fire in freezing temperatures, you then need to keep it running until the engine is warmed up is another feat, as well. But the bigger problem is fuel distribution. Perkins said, “Depending on the intake manifold, some cylinders will inevitably run richer or leaner with a carb. This is why many race-oriented carbs on fabricated or tunnel-ram intakes have different jets at each corner.”
We used to see hardcore racers stick to carbs, but if you follow small-tire drag racing, even those 2,500-plus horsepower cars are making the jump to EFI for the added control and predictability. – Evan Perkins
With EFI, all of a carburetor’s shortcomings are a thing of the past. And precision is the name of the game, especially with multi-port injection.
“With an injector at each port, you can deliver the exact amount of fuel required to each cylinder of the engine. Using a coolant temperature sensor, you can program EFI for all engine temperatures from cold-start to operating temperature and have the perfect mixture across the board,” Perkins shares.
The only disadvantage we can think of with an EFI system over a carburetor is the cost of a unit, but this is a small price to pay with all of the added benefits, and Perkins agrees.
“We used to see hardcore racers stick to carbs, but if you follow small-tire drag racing, even those 2,500-plus horsepower cars are making the jump to EFI for the added control and predictability.”
Multi-Port vs. Throttle Body Injection
Now that we’ve looked at some of the reasons EFI is a popular choice among enthusiasts, let’s break down the different types. For this matter, we once again turned to Perkins.
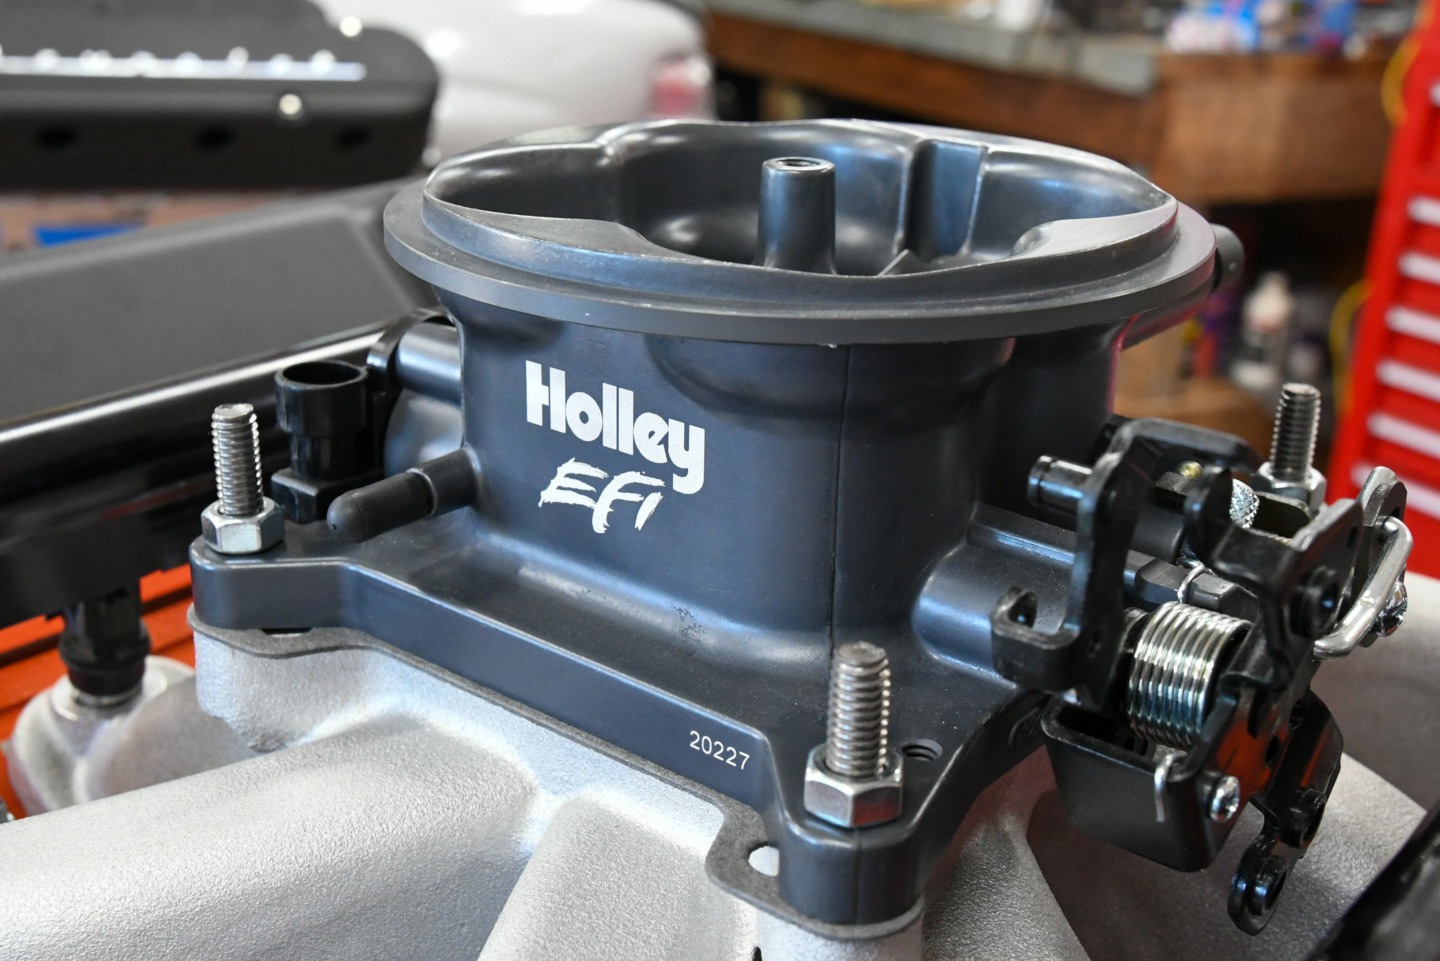
This unit may look like a carburetor, but it's actually a throttle body injection unit from Holley and makes converting over to EFI super simple.
“Multi-port fuel injection places an injector in each port, whereas throttle body injection, like Holley’s Sniper, places the injectors (whether that’s 1,2, 4, or 8) in the throttle body, above the manifold flange. Multi-port fuel injection is always going to be more accurate and slightly more expensive. The Sniper throttle body injection (TBI) system is an excellent, easy-to-install product that puts fuel injection in the reach of more enthusiasts than ever,” explained Perkins. “This product simply bolts to the existing carburetor flange of the intake manifold and only requires a four-wire hookup. From there, all you need is a high-pressure fuel and a return line to the tank to hook up. The Sniper line is designed to be installed on a Saturday and have you back on the road on Sunday. It’s a significant upgrade from the tired, poorly tuned carbs many enthusiasts still have on their classic cars.”

For the ultimate control and tunability, we used Holley’s 1,000 CFM throttle body (PN 112-587) on their MPFI intake manifold.
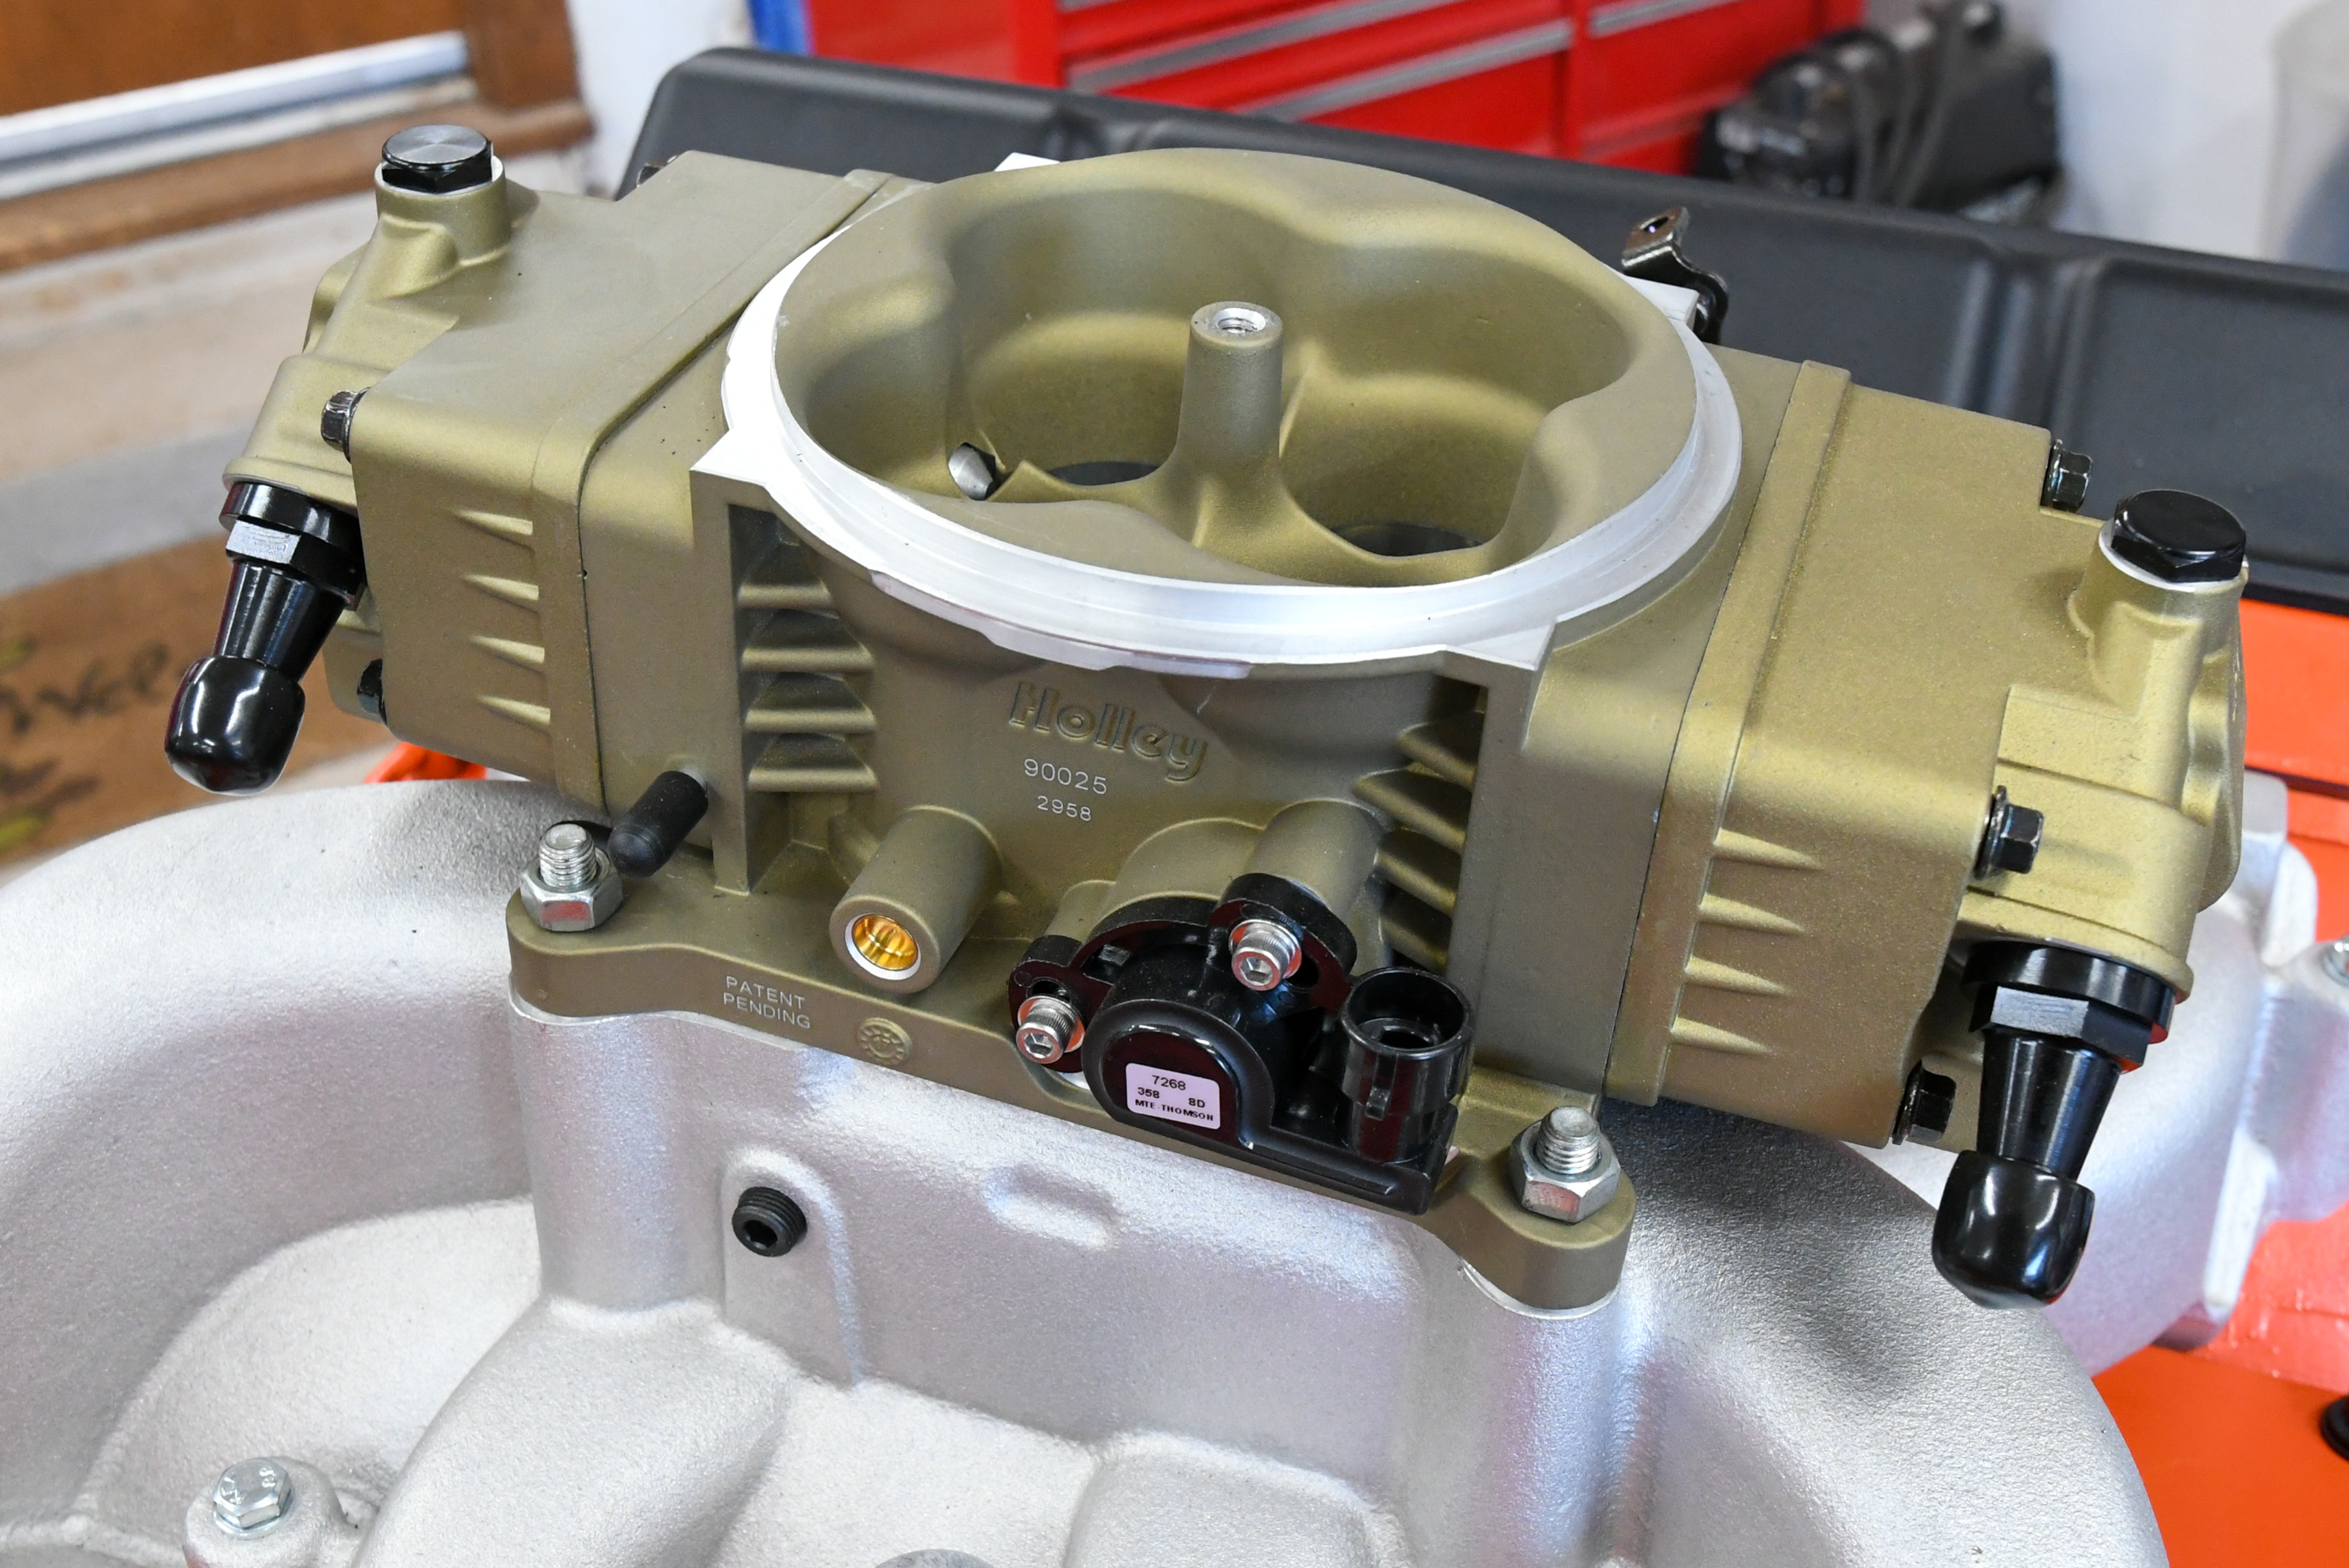
If you really want to pull off a vintage carbureted look with EFI, the Sniper is tough to beat. These TBI units look like the carburetors they are designed to replace. They are available in several applications, including a Stealth 4150 (different from the base 4150) Sniper Quadrajet, Sniper 2300 two-barrel, Sniper BBD, Sniper 2GC, Sniper Autolite 1100 single-barrel, and a Sniper Stealth 4500. Holley even offers a 2 x four-barrel set up so that people with dual carburetors can convert their existing induction to fuel injection, too.

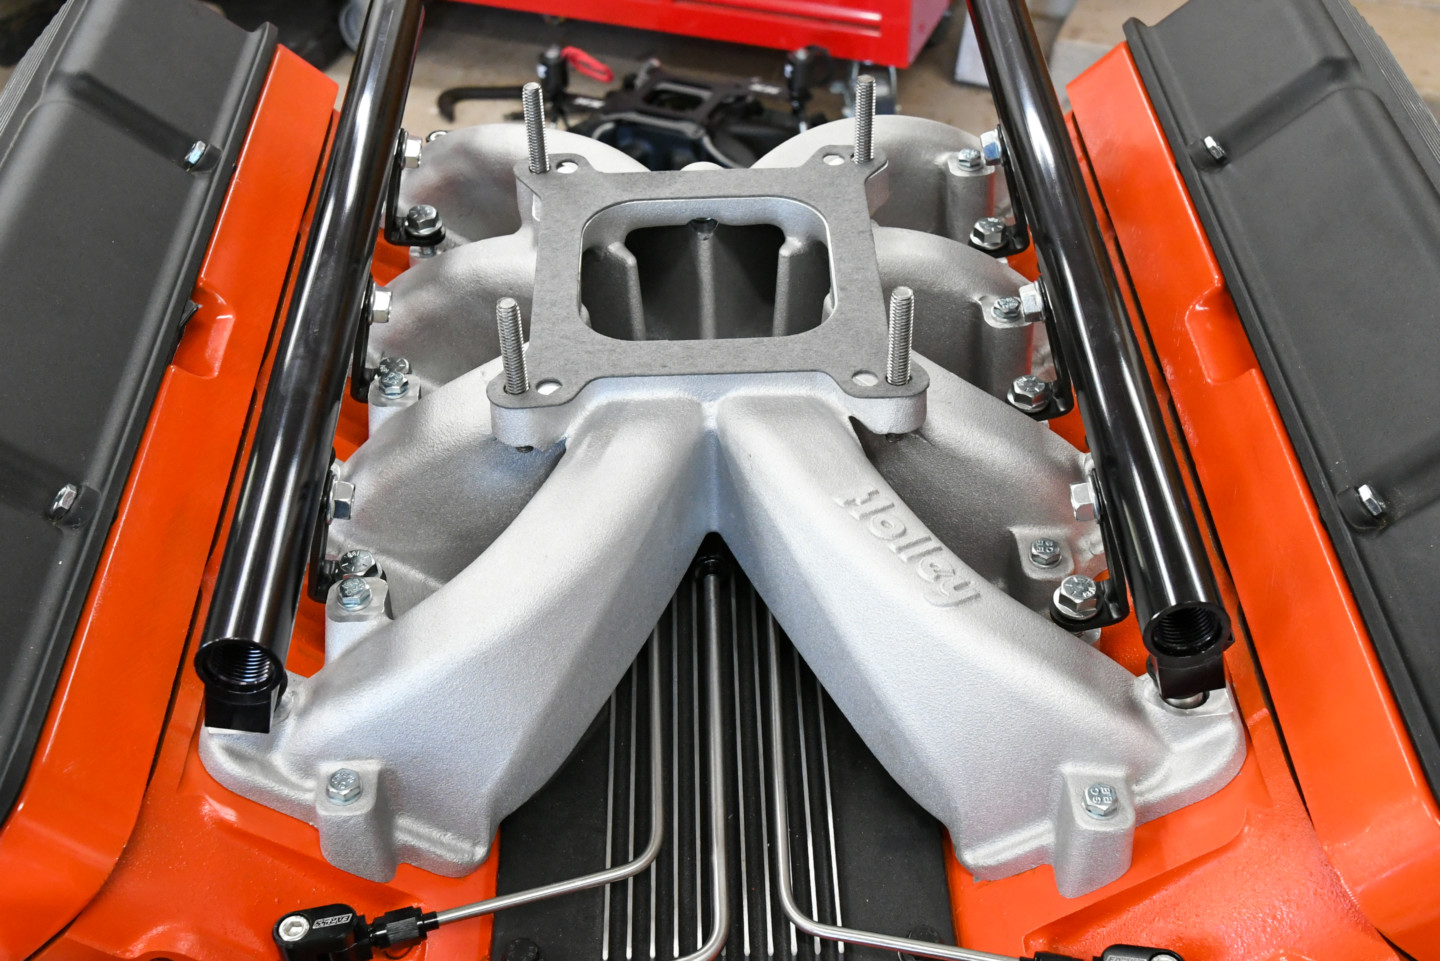
Here’s our LS engine mocked up with the Holley valve covers, finned valley cover, and multi-port fuel injection. While this combination looks great, we want to show you how to get a more OEM look.
However, if you need a multi-port’s tunability, you can either live with the fuel rails or get creative with the system.
“We have a myriad of customers that have found ways to hide multi-port fuel injection, whether under the manifold, in the plenum, or by fabbing up custom hard lines for a mechanical injection look,” said Perkins. “They’ve tied these setups together with excellent results using our universal Holley EFI ECUs.”
All In The Details
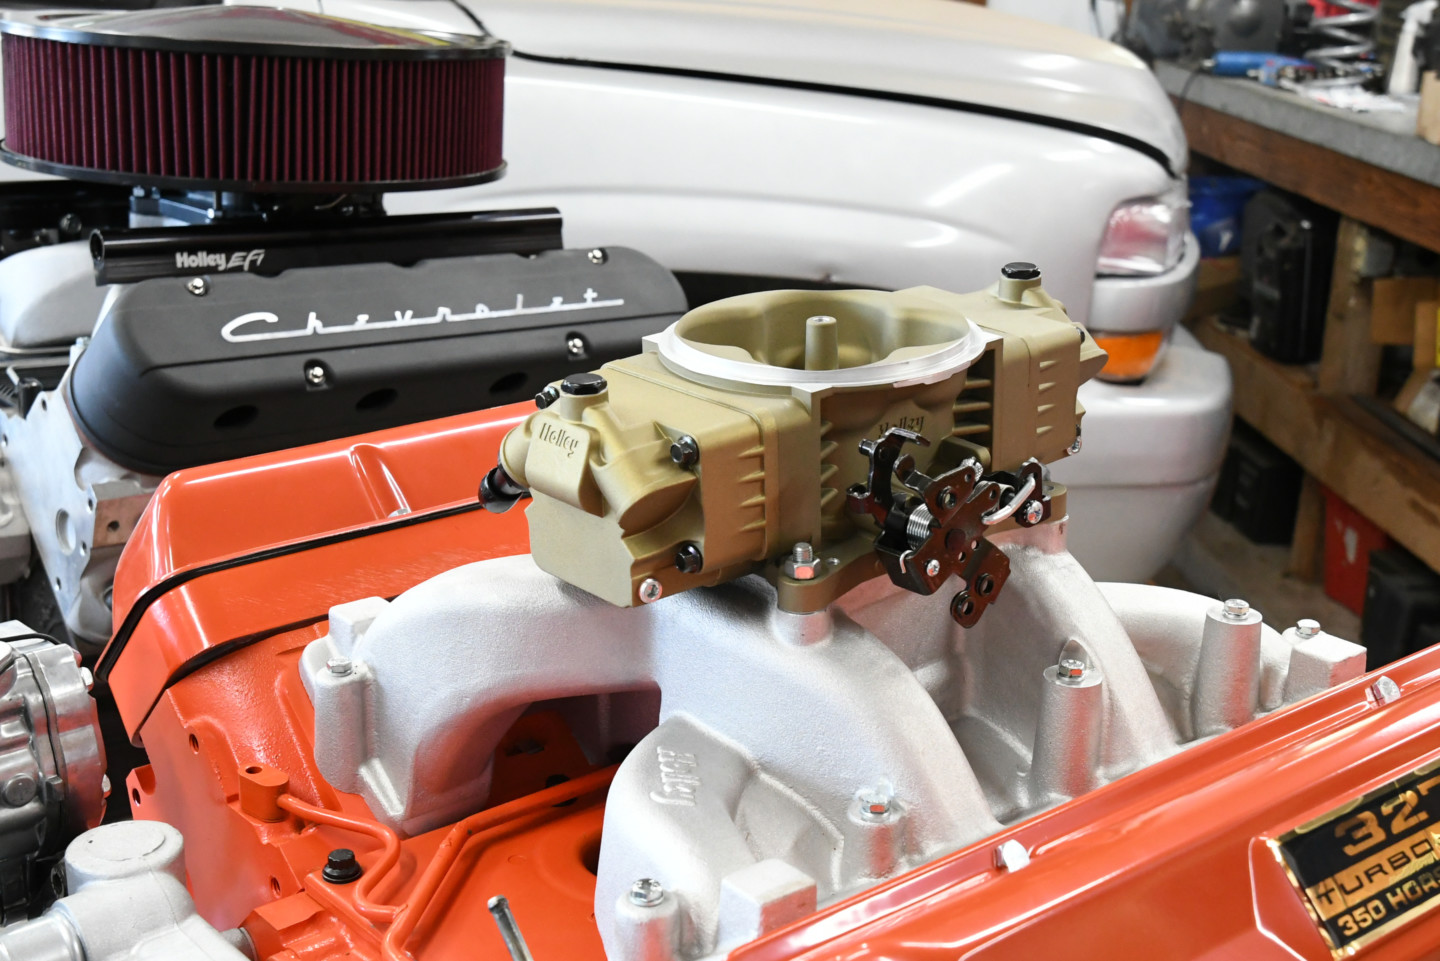
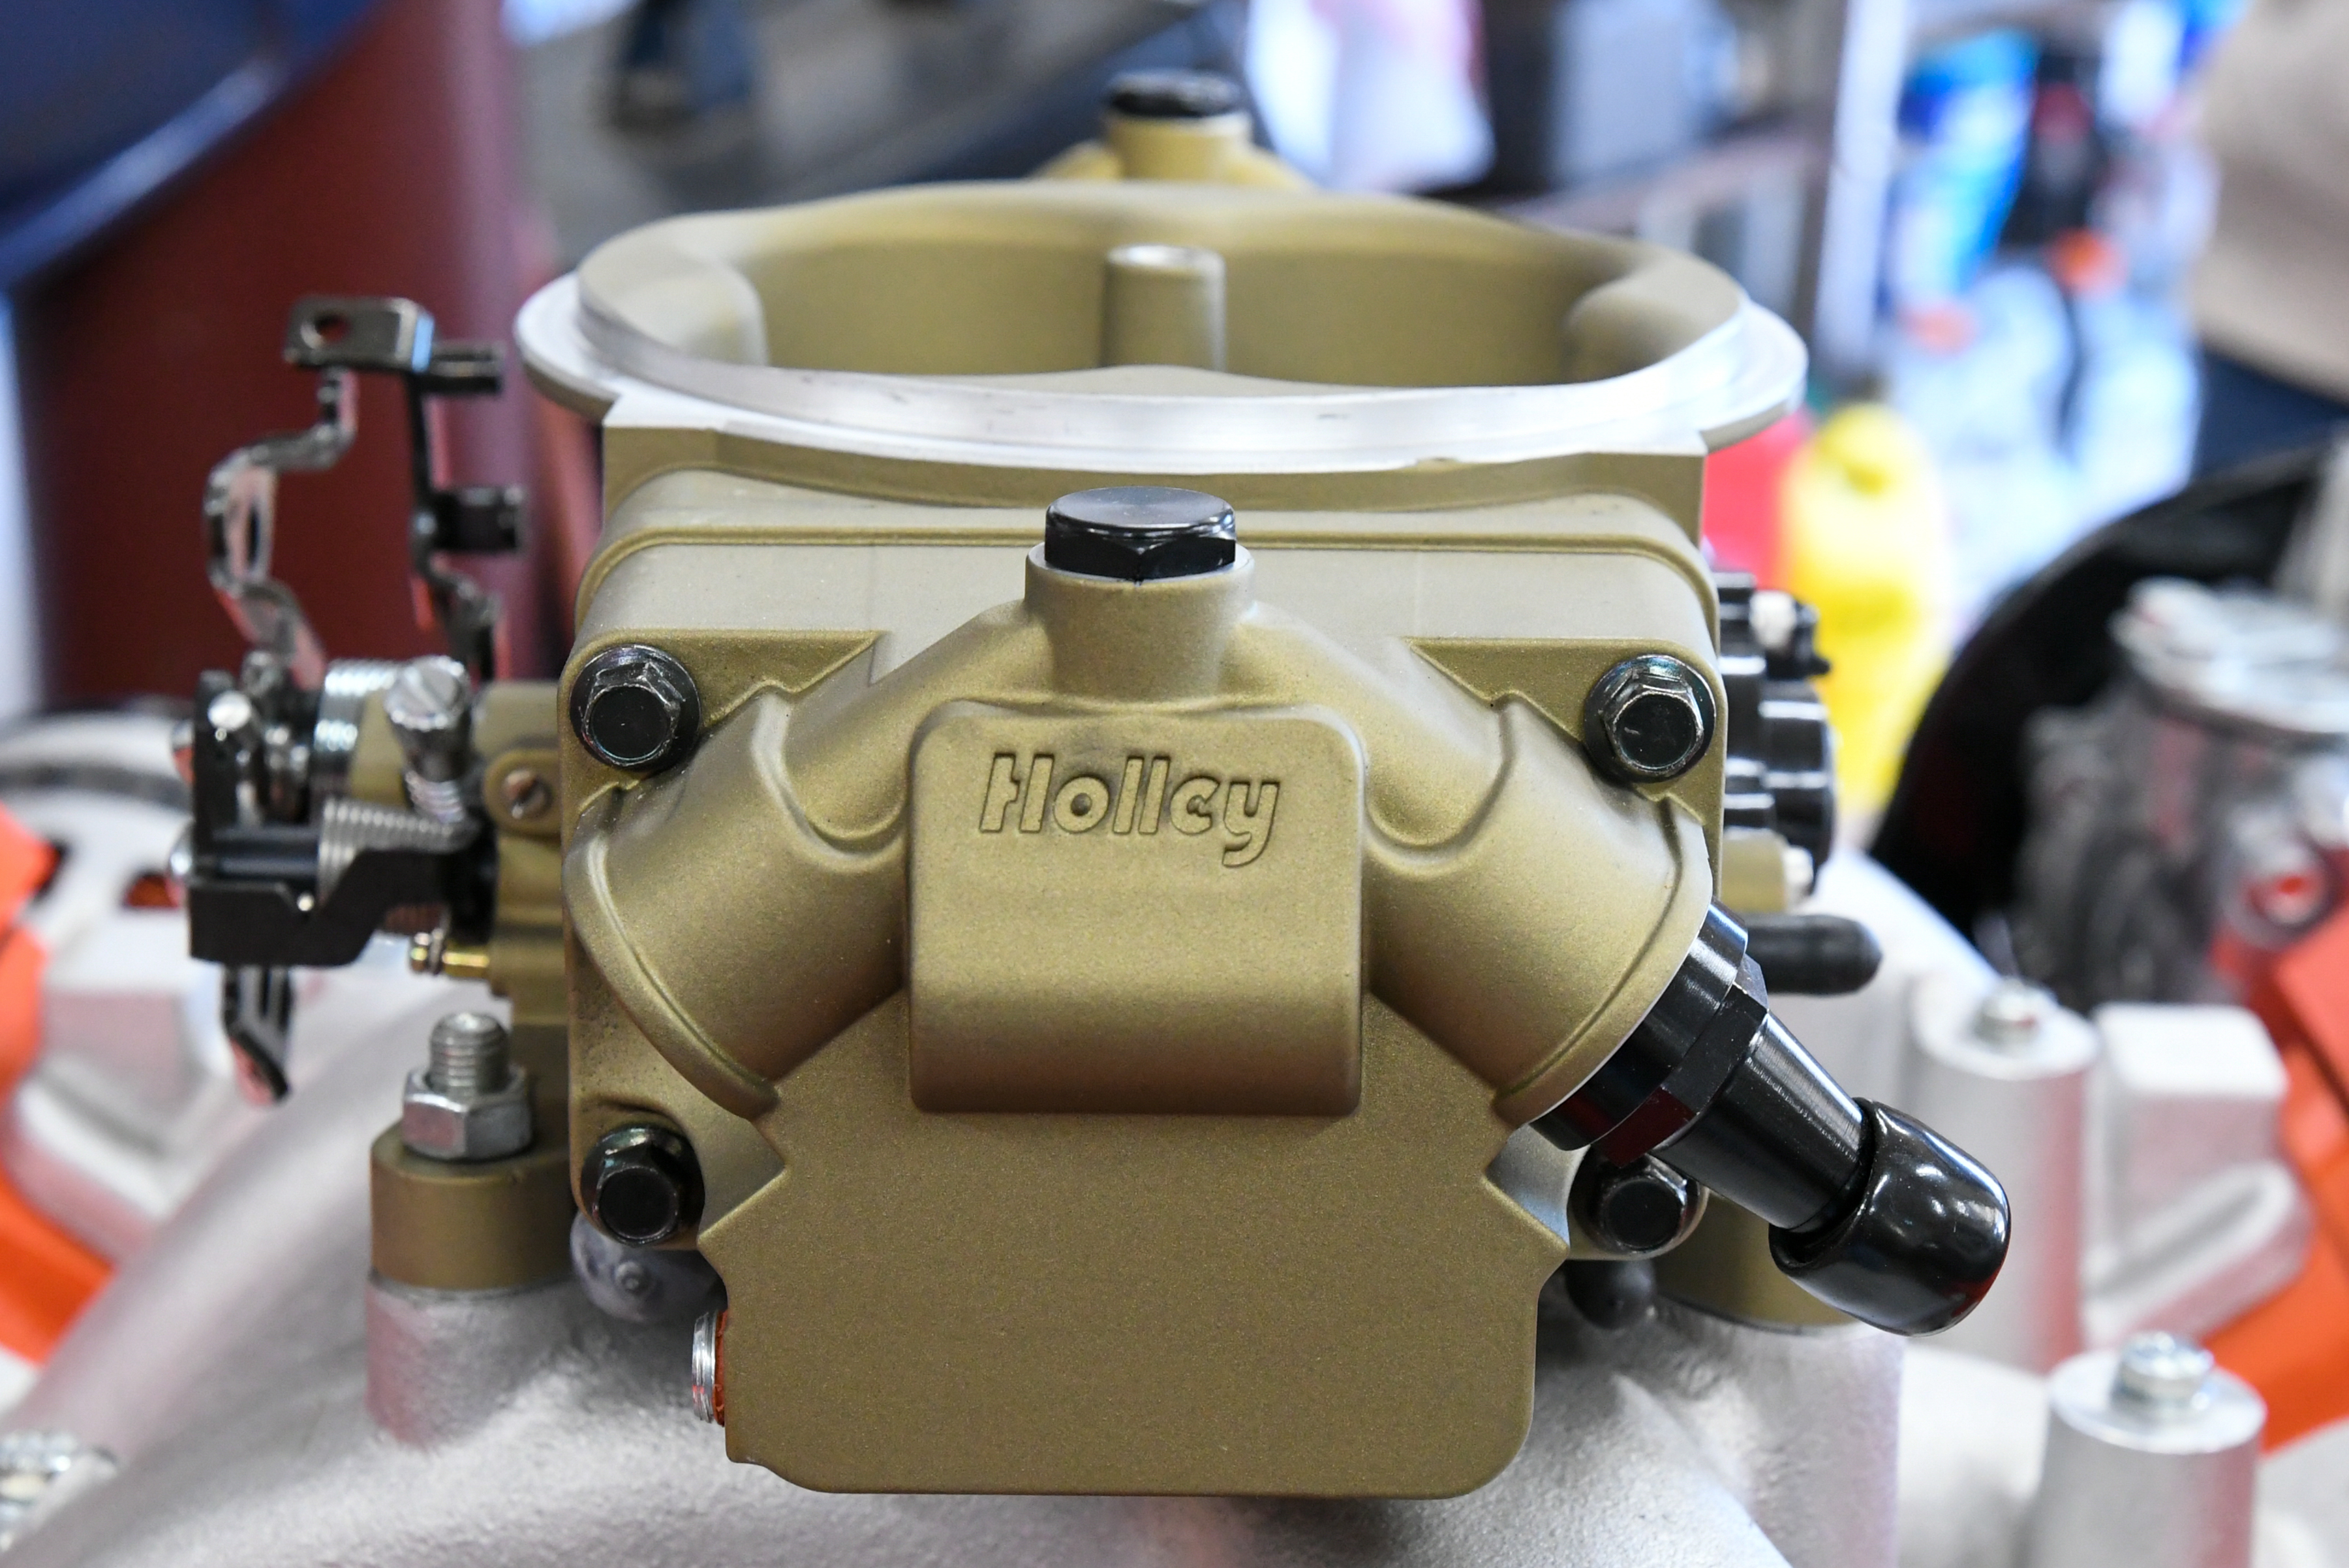
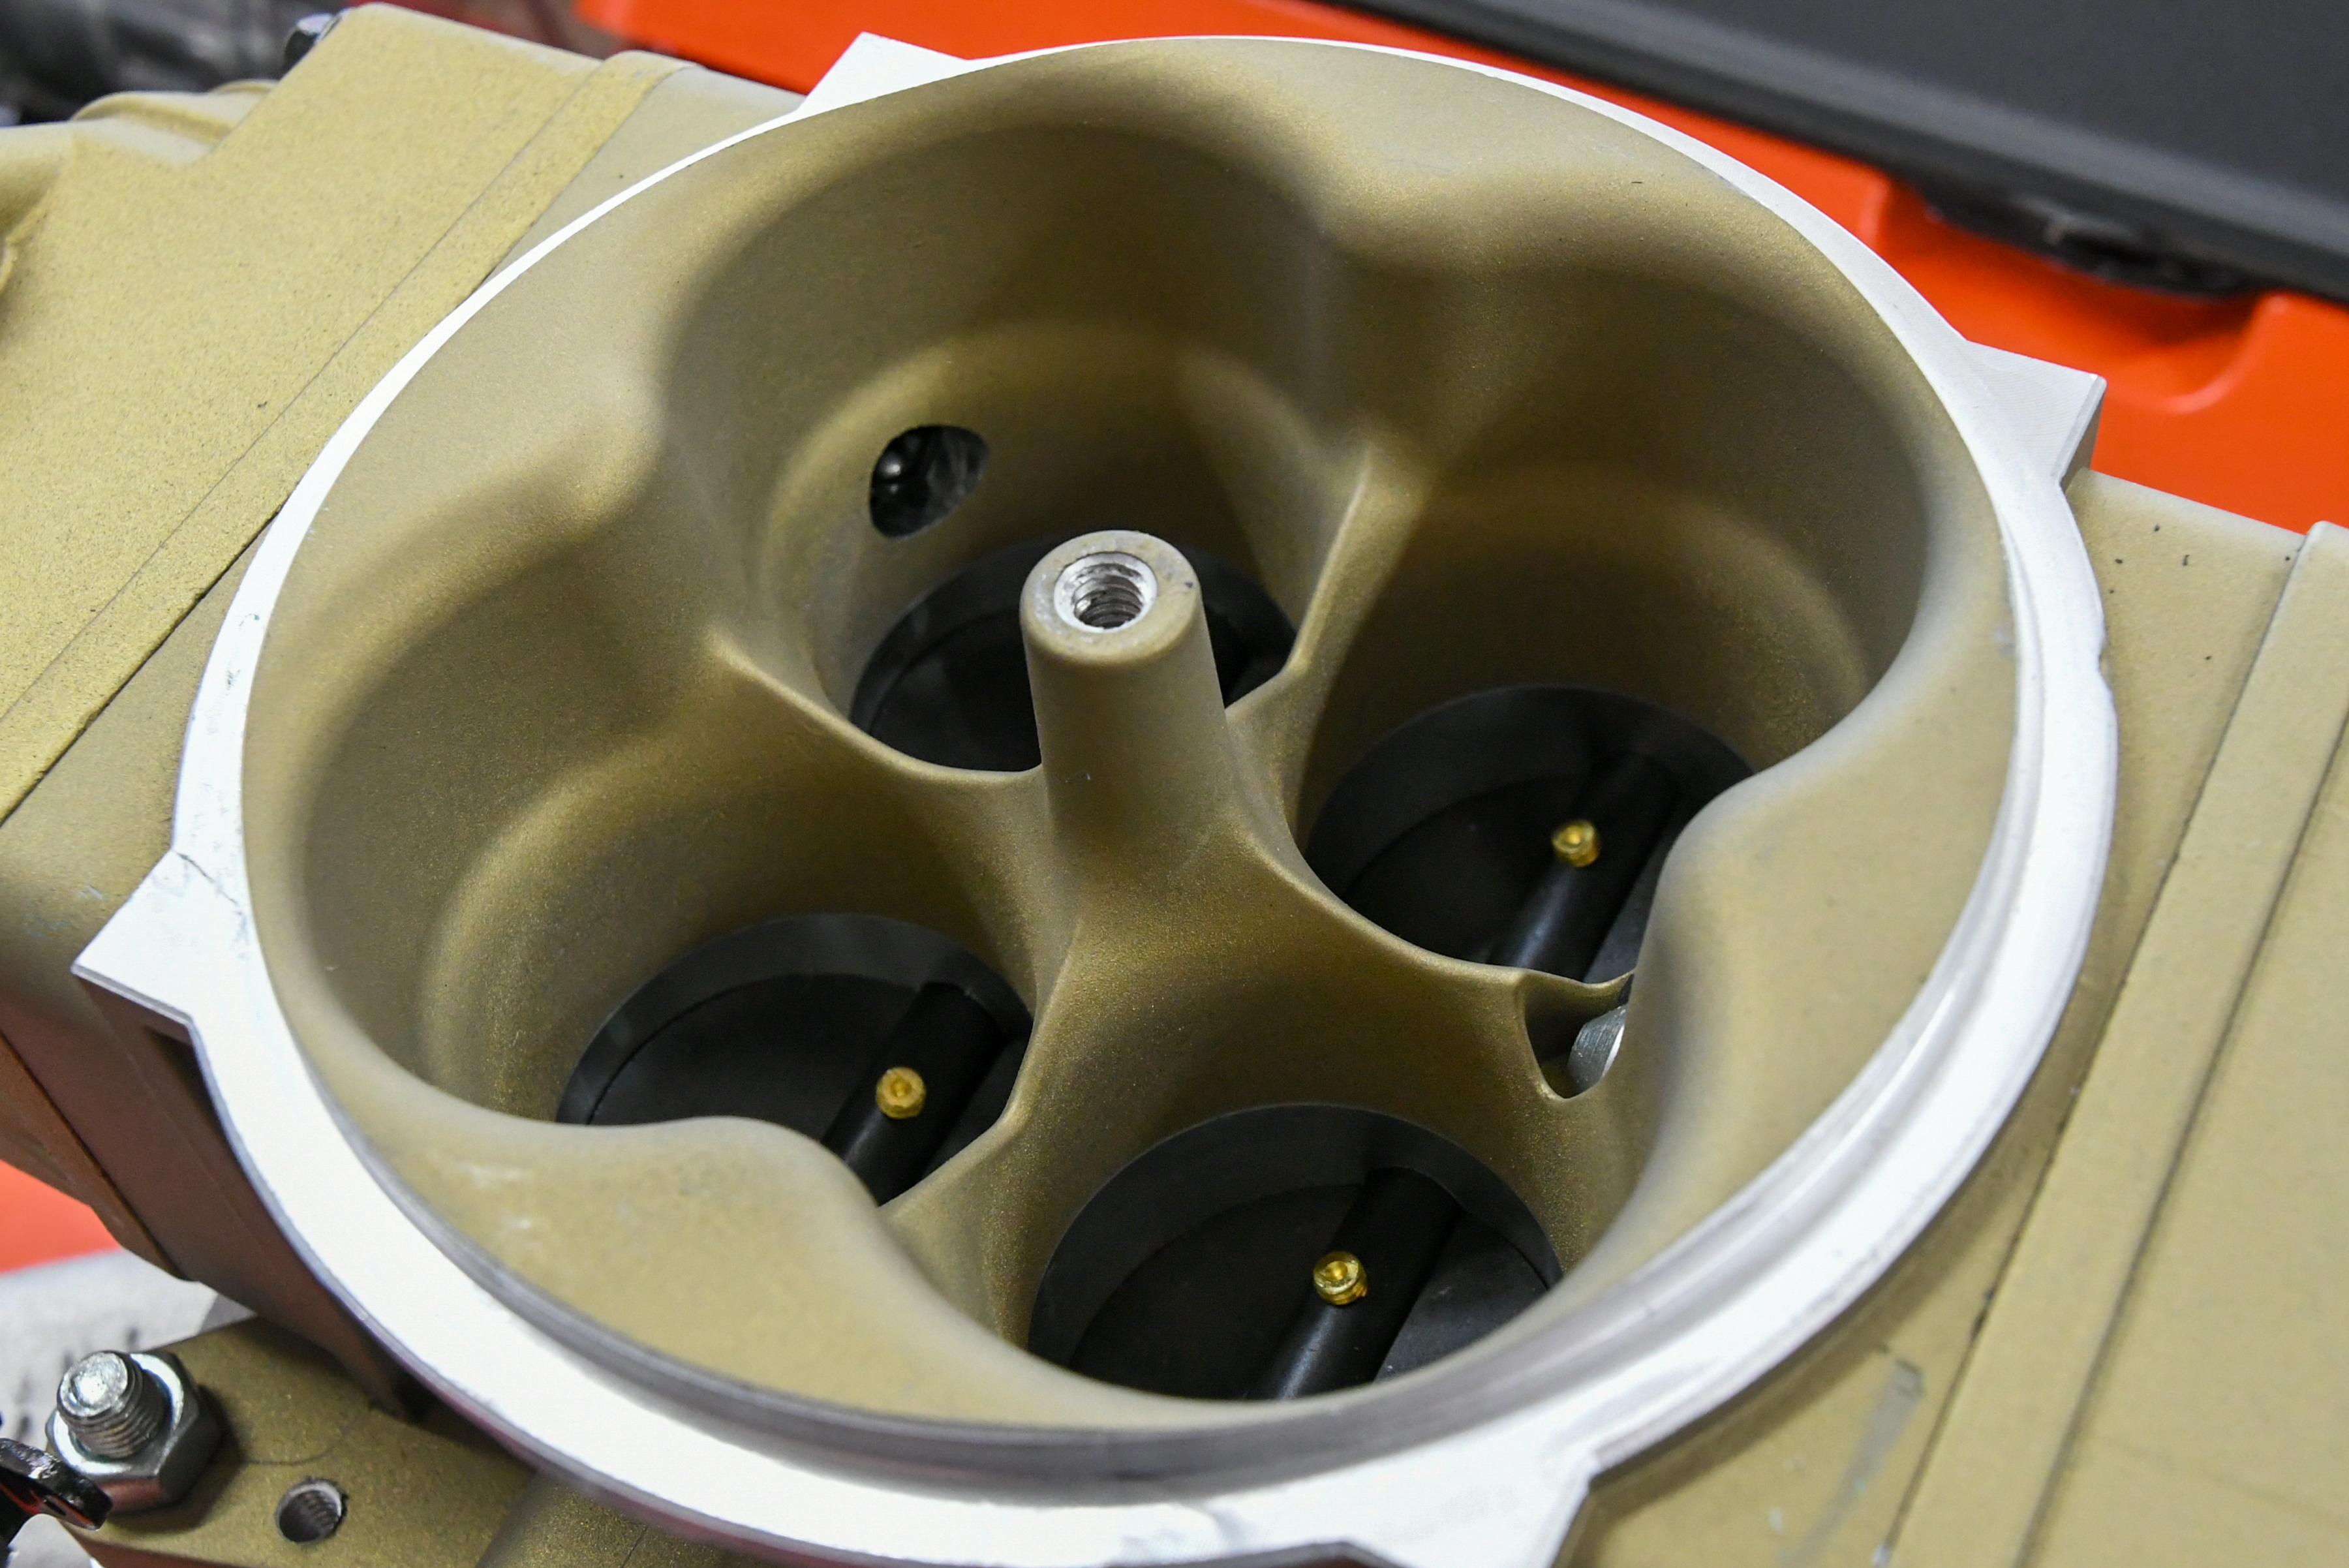
Holley’s Terminator Stealth four-barrel looks almost exactly like a four-barrel carburetor. You get classic looks with modern performance and it simply bolts in place of a carb.
In the end, we wanted a system that made our LS look like it just rolled off the GM assembly line in 1960, so we went with the Terminator Stealth four-barrel with GM transmission control (PN 550-445) and Holley’s dual-plane intake manifold (PN 300-130). We then removed the Holley valve covers and replaced them with a set of stamped steel small-block units from Classic Industries (PN A26019). We also reinstalled the LS valley cover and steam vent lines after a coat of Hugger Orange paint.
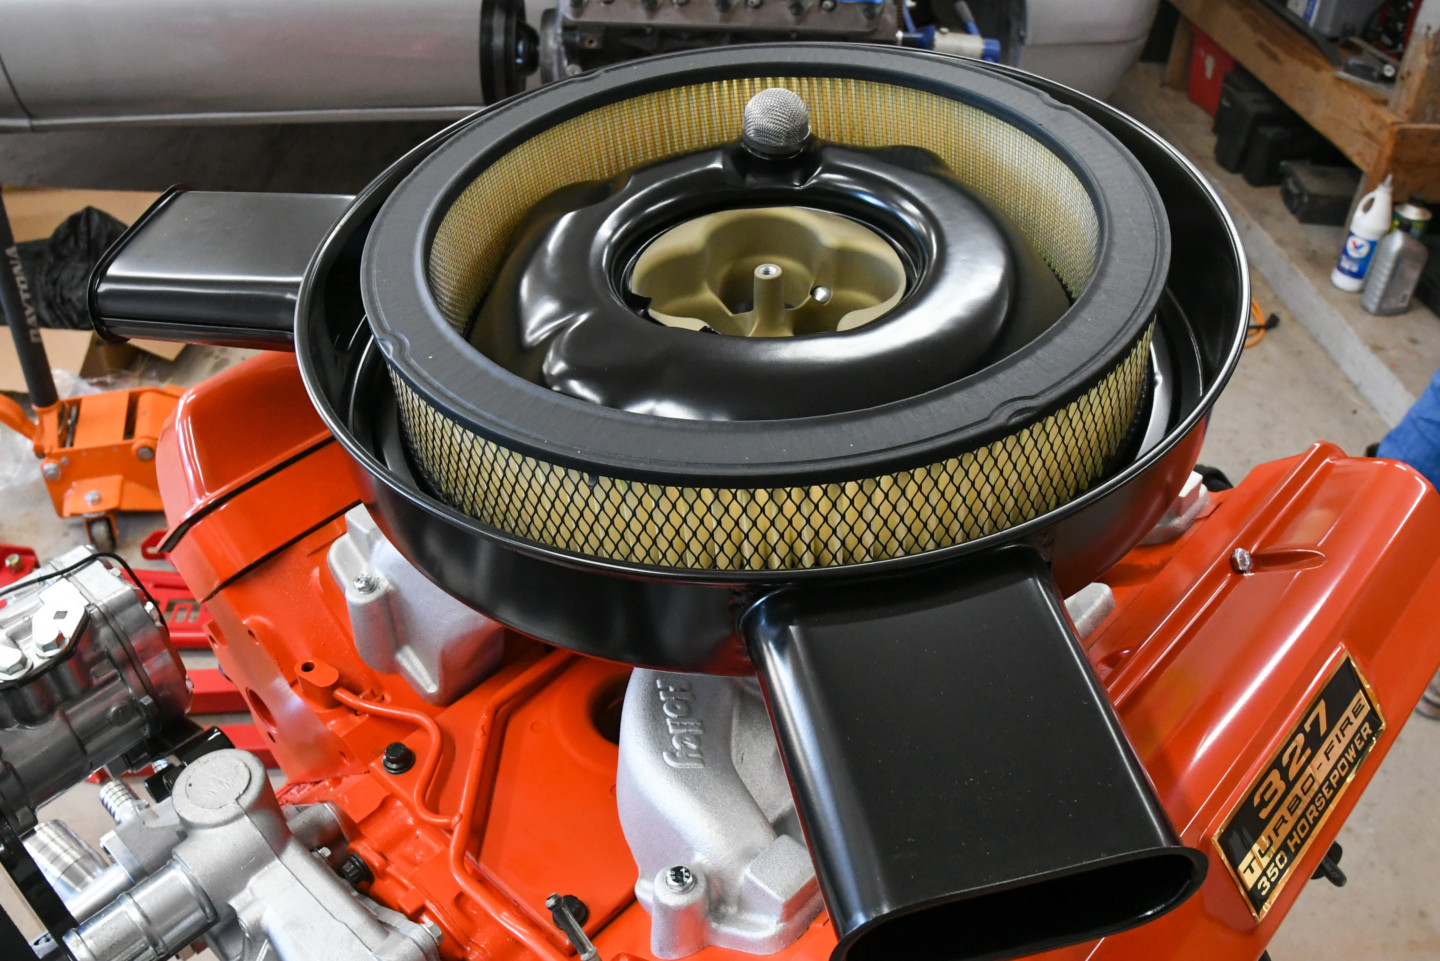
The black dual-snorkel air cleaner and stamped steel valve covers from Classic Industries really set this vintage LS apart from the rest.
With the engine buttoned up, we only needed one more piece to convince 90-percent of the people at a car show that our LS was, in fact, a Gen I small-block. That part was the air cleaner. We once again turned to Classic Industries, which offers all kinds of cool dress-up accessories for engines. Since we have always been a fan of the dual-snorkel air cleaner, we had to order one for this build. The unit from Classic Industries (PN KW725) included the base, top, and air filter and it looked perfect on top of the Sniper…well, almost. If you go through this much trouble to disguise an engine, you might as well go all out. And what good are vintage components without the proper decals? Classic Industries had those, as well. The 327/350-HP valve cover decals (PN DC114) and the breather decal 327/350-HP (PN DC114) made for the perfect touch on our LS.
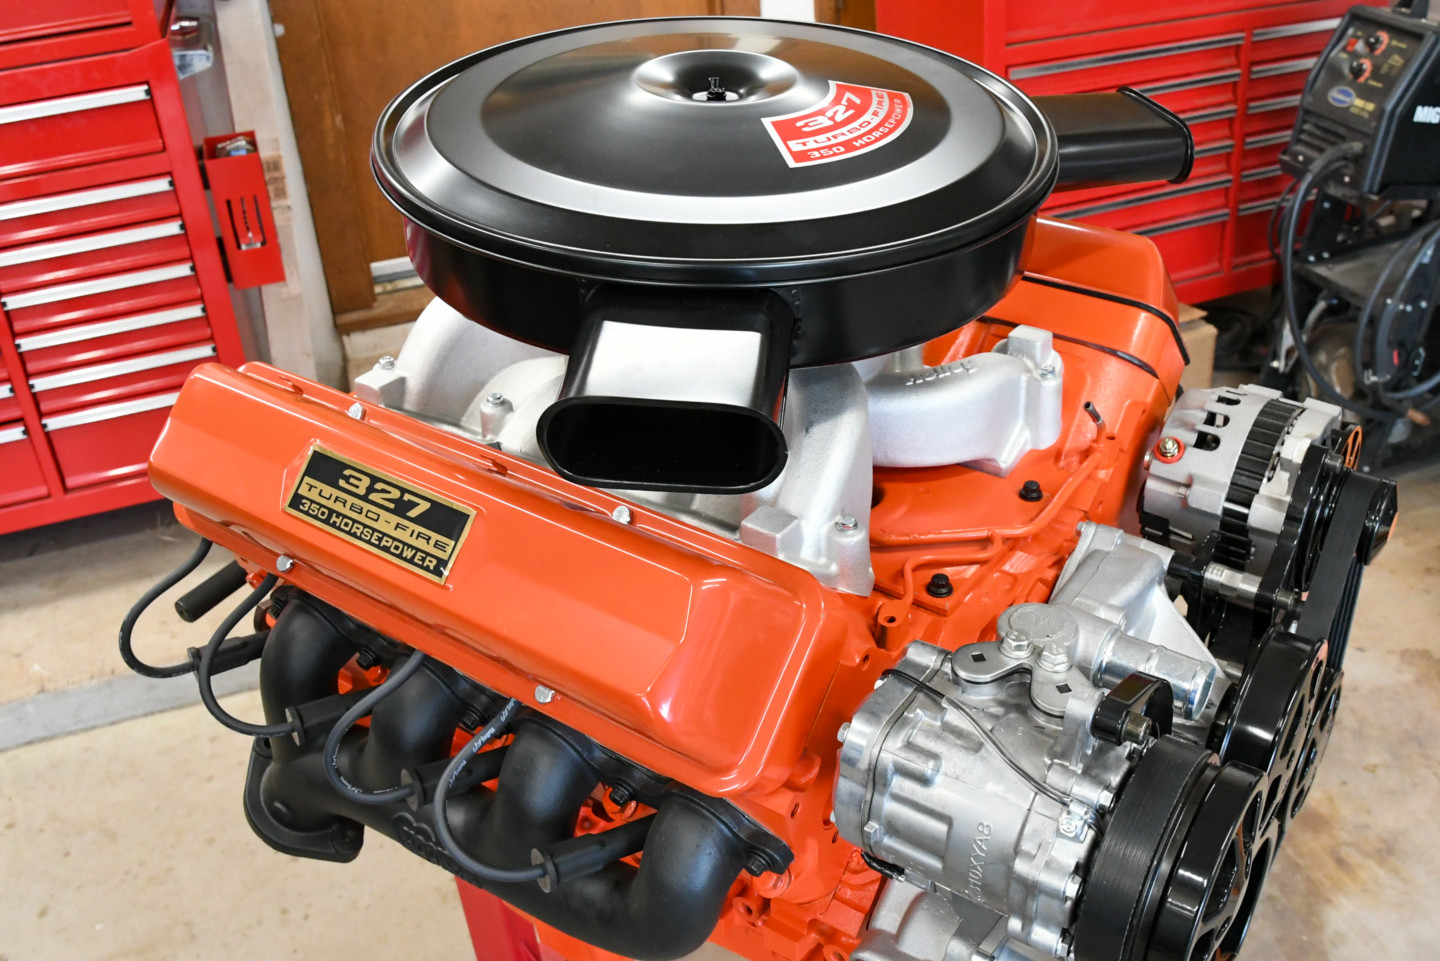
Classic Industries also offers decals for the valve covers and air cleaner. We couldn’t help but use the legendary 327 Turbo-Fire stickers for this 5.3-liter LS build
We know that this engine will not fool everyone at a car show, and that wasn’t our intent. We wanted a period correct-looking powerplant for our project that will cause people to scratch their heads, and to do that, we needed to rid our LS of the plastic parts, OEM accessory drive, and exposed coils. Fortunately, Eddie Motorsports, Holley, Hooker, ARP, Performance Distributors, and Classic Industries had all of the products necessary to make this transformation easy and timeless.
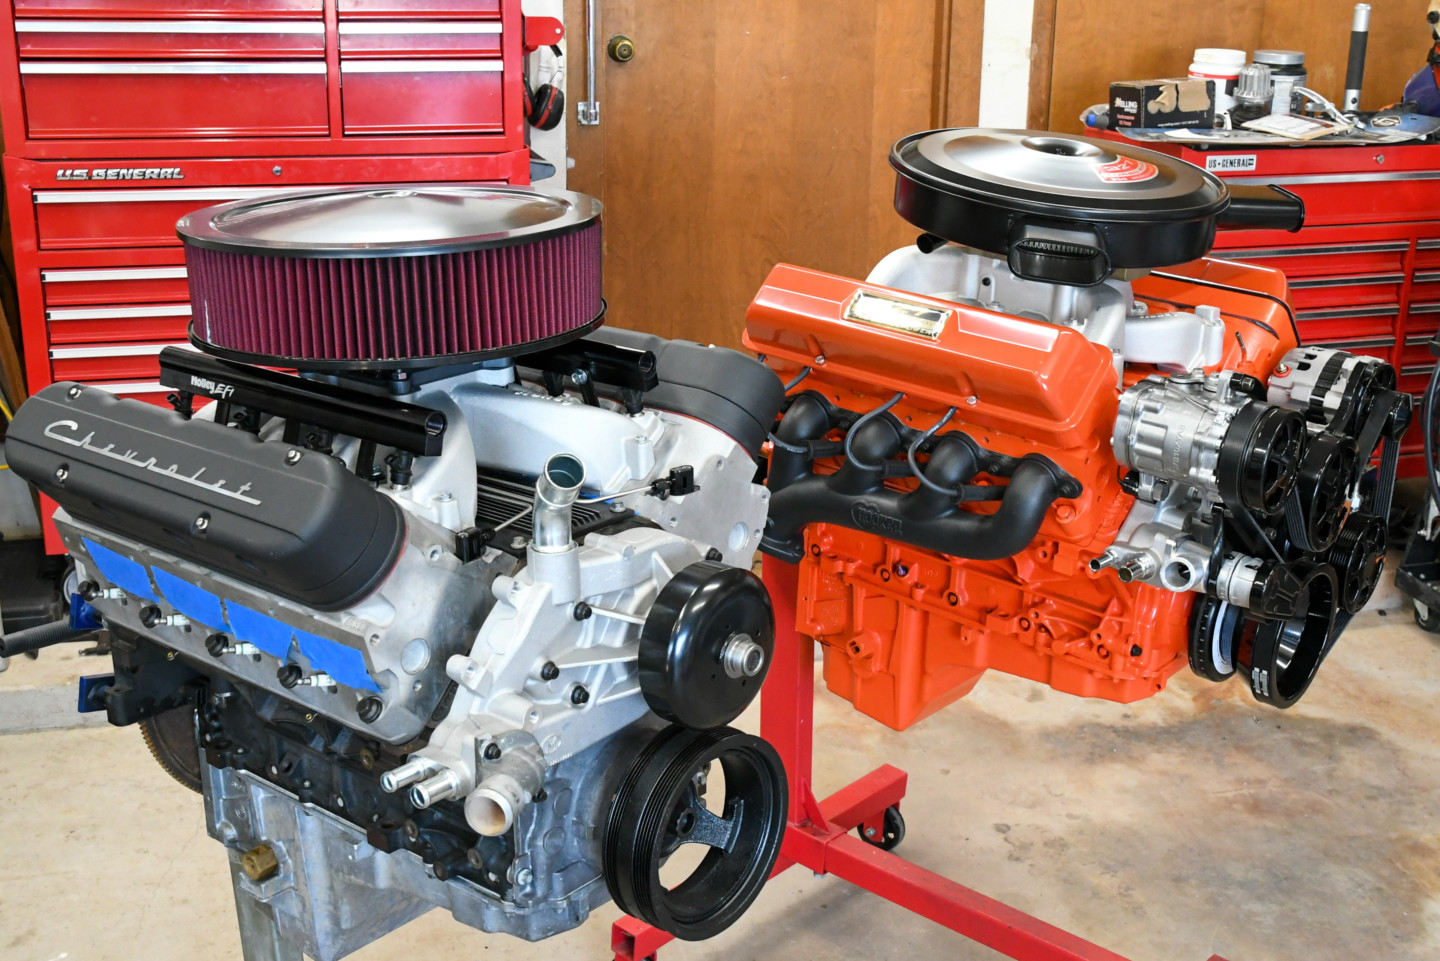
Here are two variations of vintage LS builds. While neither of these engines looks identical to a small-block Chevy, they will certainly look great under the hood of any classic.


